
BrickFix
Print Profile(1)

Bill of Materials

Description
BrickFix – The Modular Workshop with a Working Car Lift
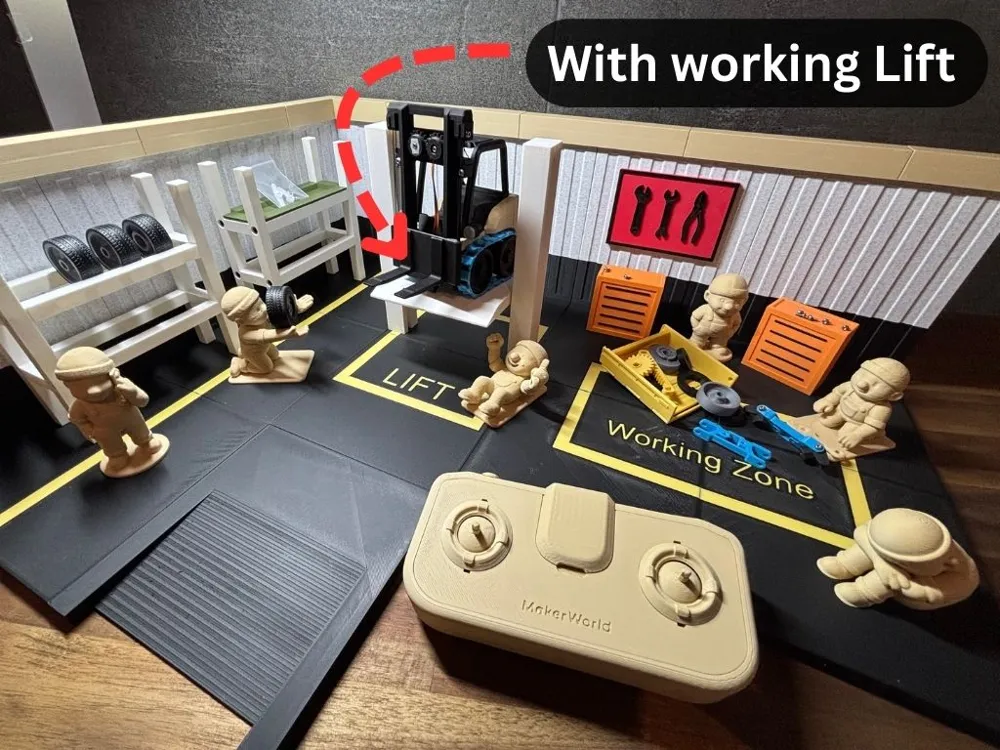
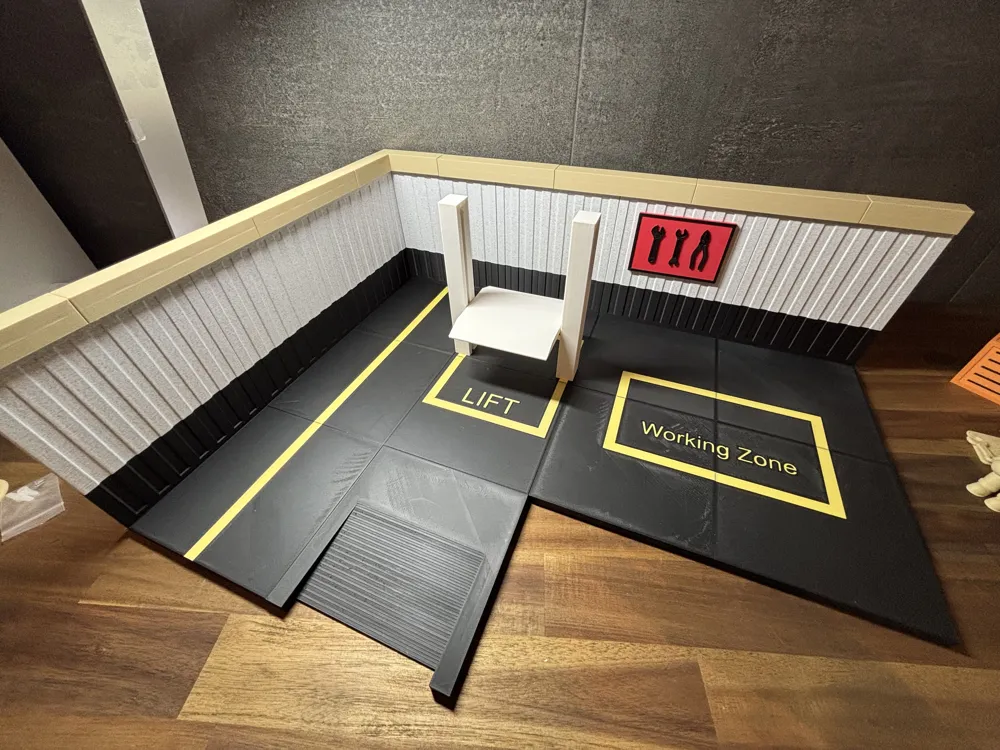
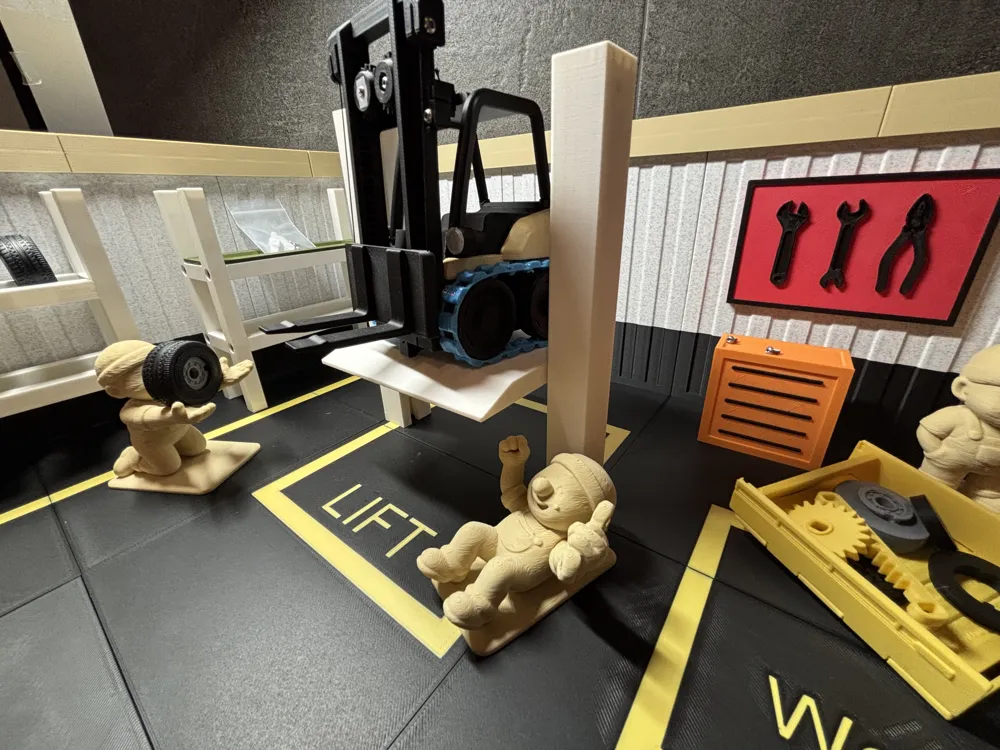
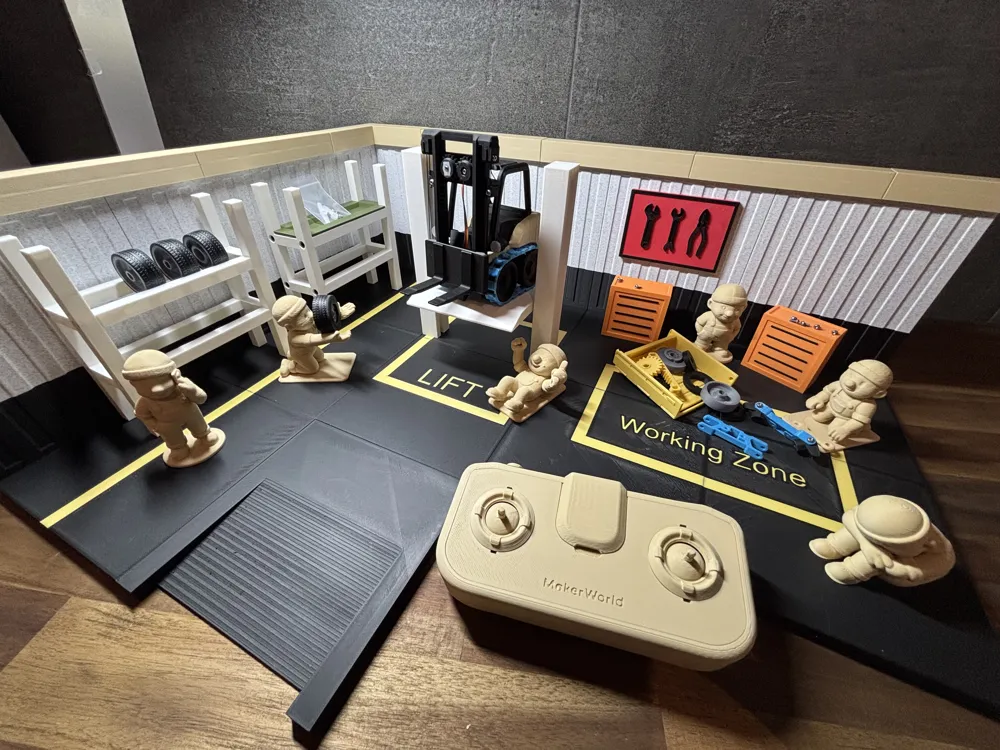
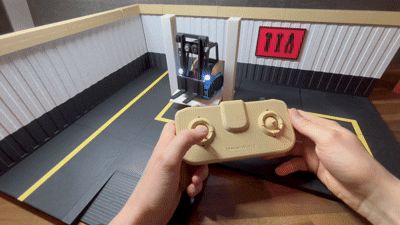
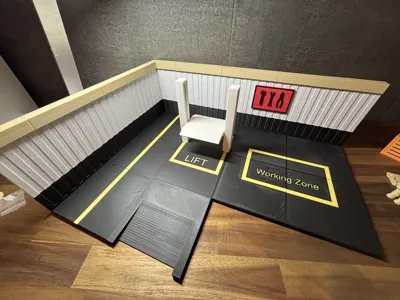
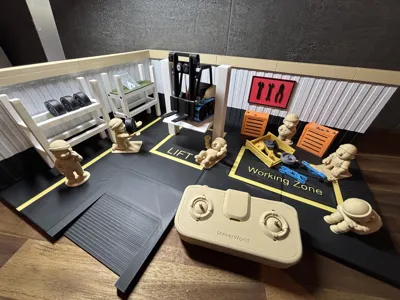
BrickFix is a highly detailed, fully 3D-printable miniature workshop – modular, expandable, and equipped with a fully functional car lift that can be controlled via remote. Whether as a diorama, play scene, or collector's piece – BrickFix is a real eye-catcher!
Boost Me (for free)
A little Lift for me ?
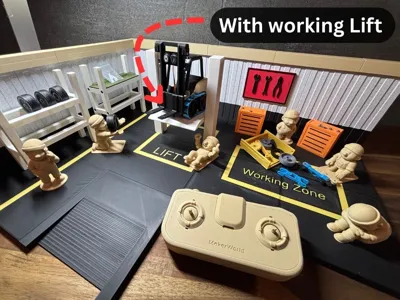
Working Car Lift

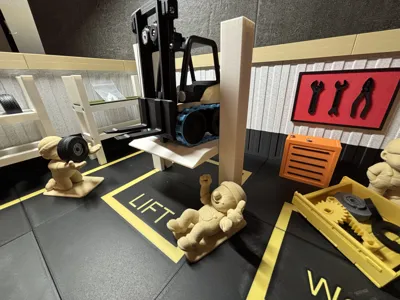
At the center is a realistic car lift: Simply drive a toy car onto the marked “LIFT” area and raise or lower it at the push of a button – fully motorized and controllable with the included remote. Perfect for cool workshop scenes!
Modular System
All floor tiles and walls are compatible with each other. You can expand or modify your workshop however you like. Everything fits together – from the ramp to the tool wall. Need more space? Just add another module!
Mini Mechanics & Accessories
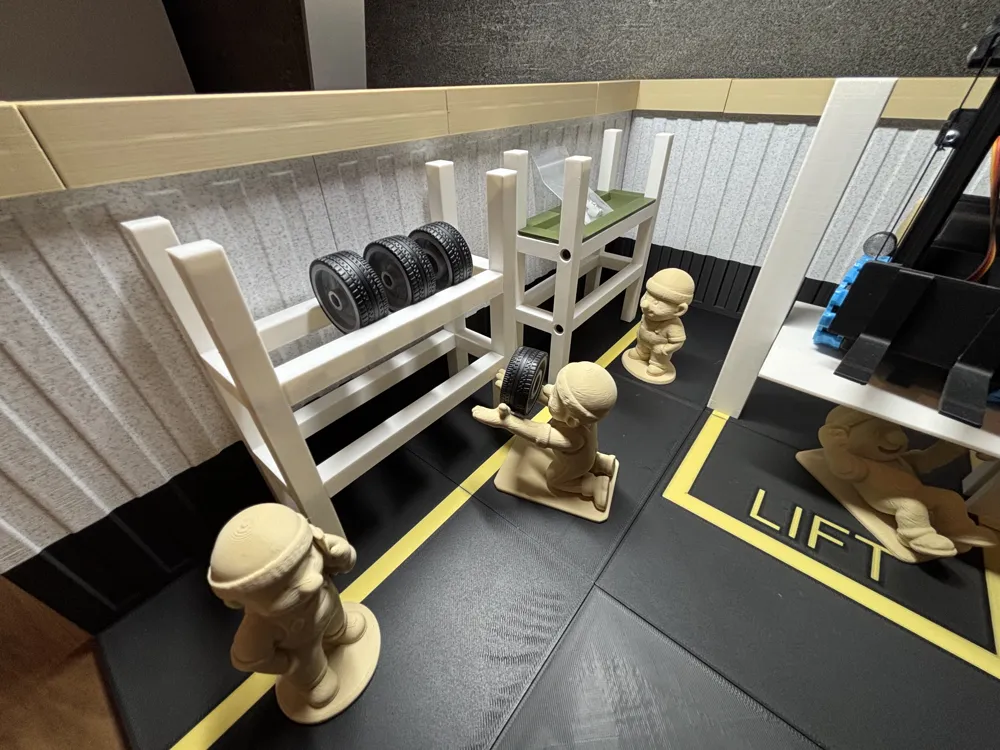
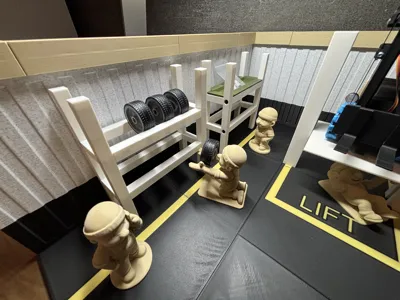
BrickFix comes to life with 6 small figures – each in their own pose: carrying tires, working on tools, observing, or taking a break. The figures were created using the MakerWorld feature “Image to 3D Model.” The set is completed with toolboxes, spare parts, tire racks, and much more.
Highlights
- 100% expandable – endlessly combinable
- Ideal for small toy cars or dioramas
- Designed with great attention to detail
- Easy to print & simple to assemble
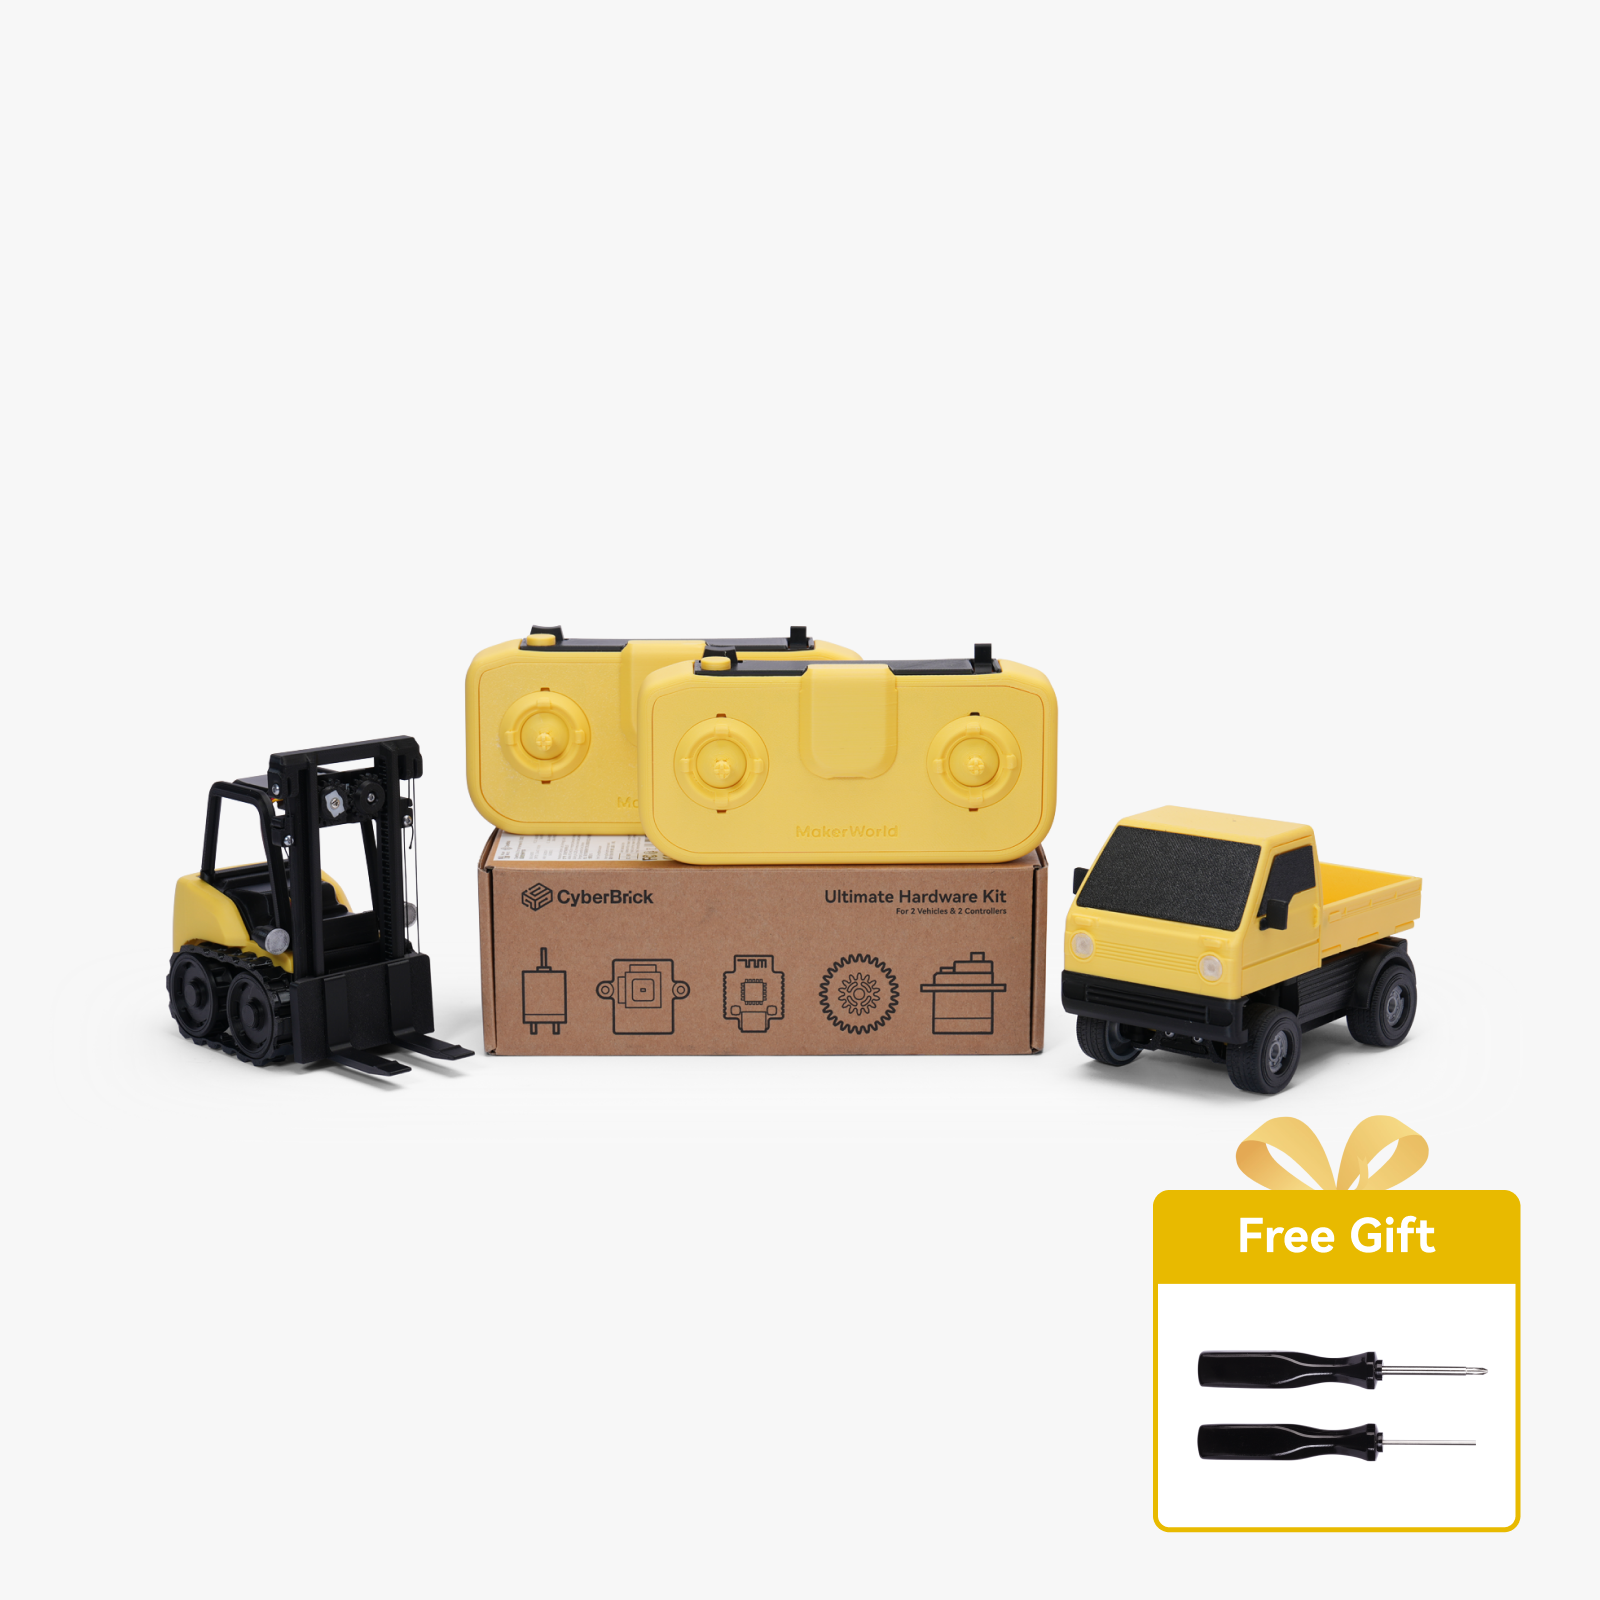
If you don't have the forklift and the remote control yet, you need to buy the set described below: ZK003.
If you already have it, you only need the cylinders.
In general, for my set you need:
- 1x XA004
- 1x XA003
- 1x PC003
- 1x XC011
- 2x LA011
How to Assemble the Lift
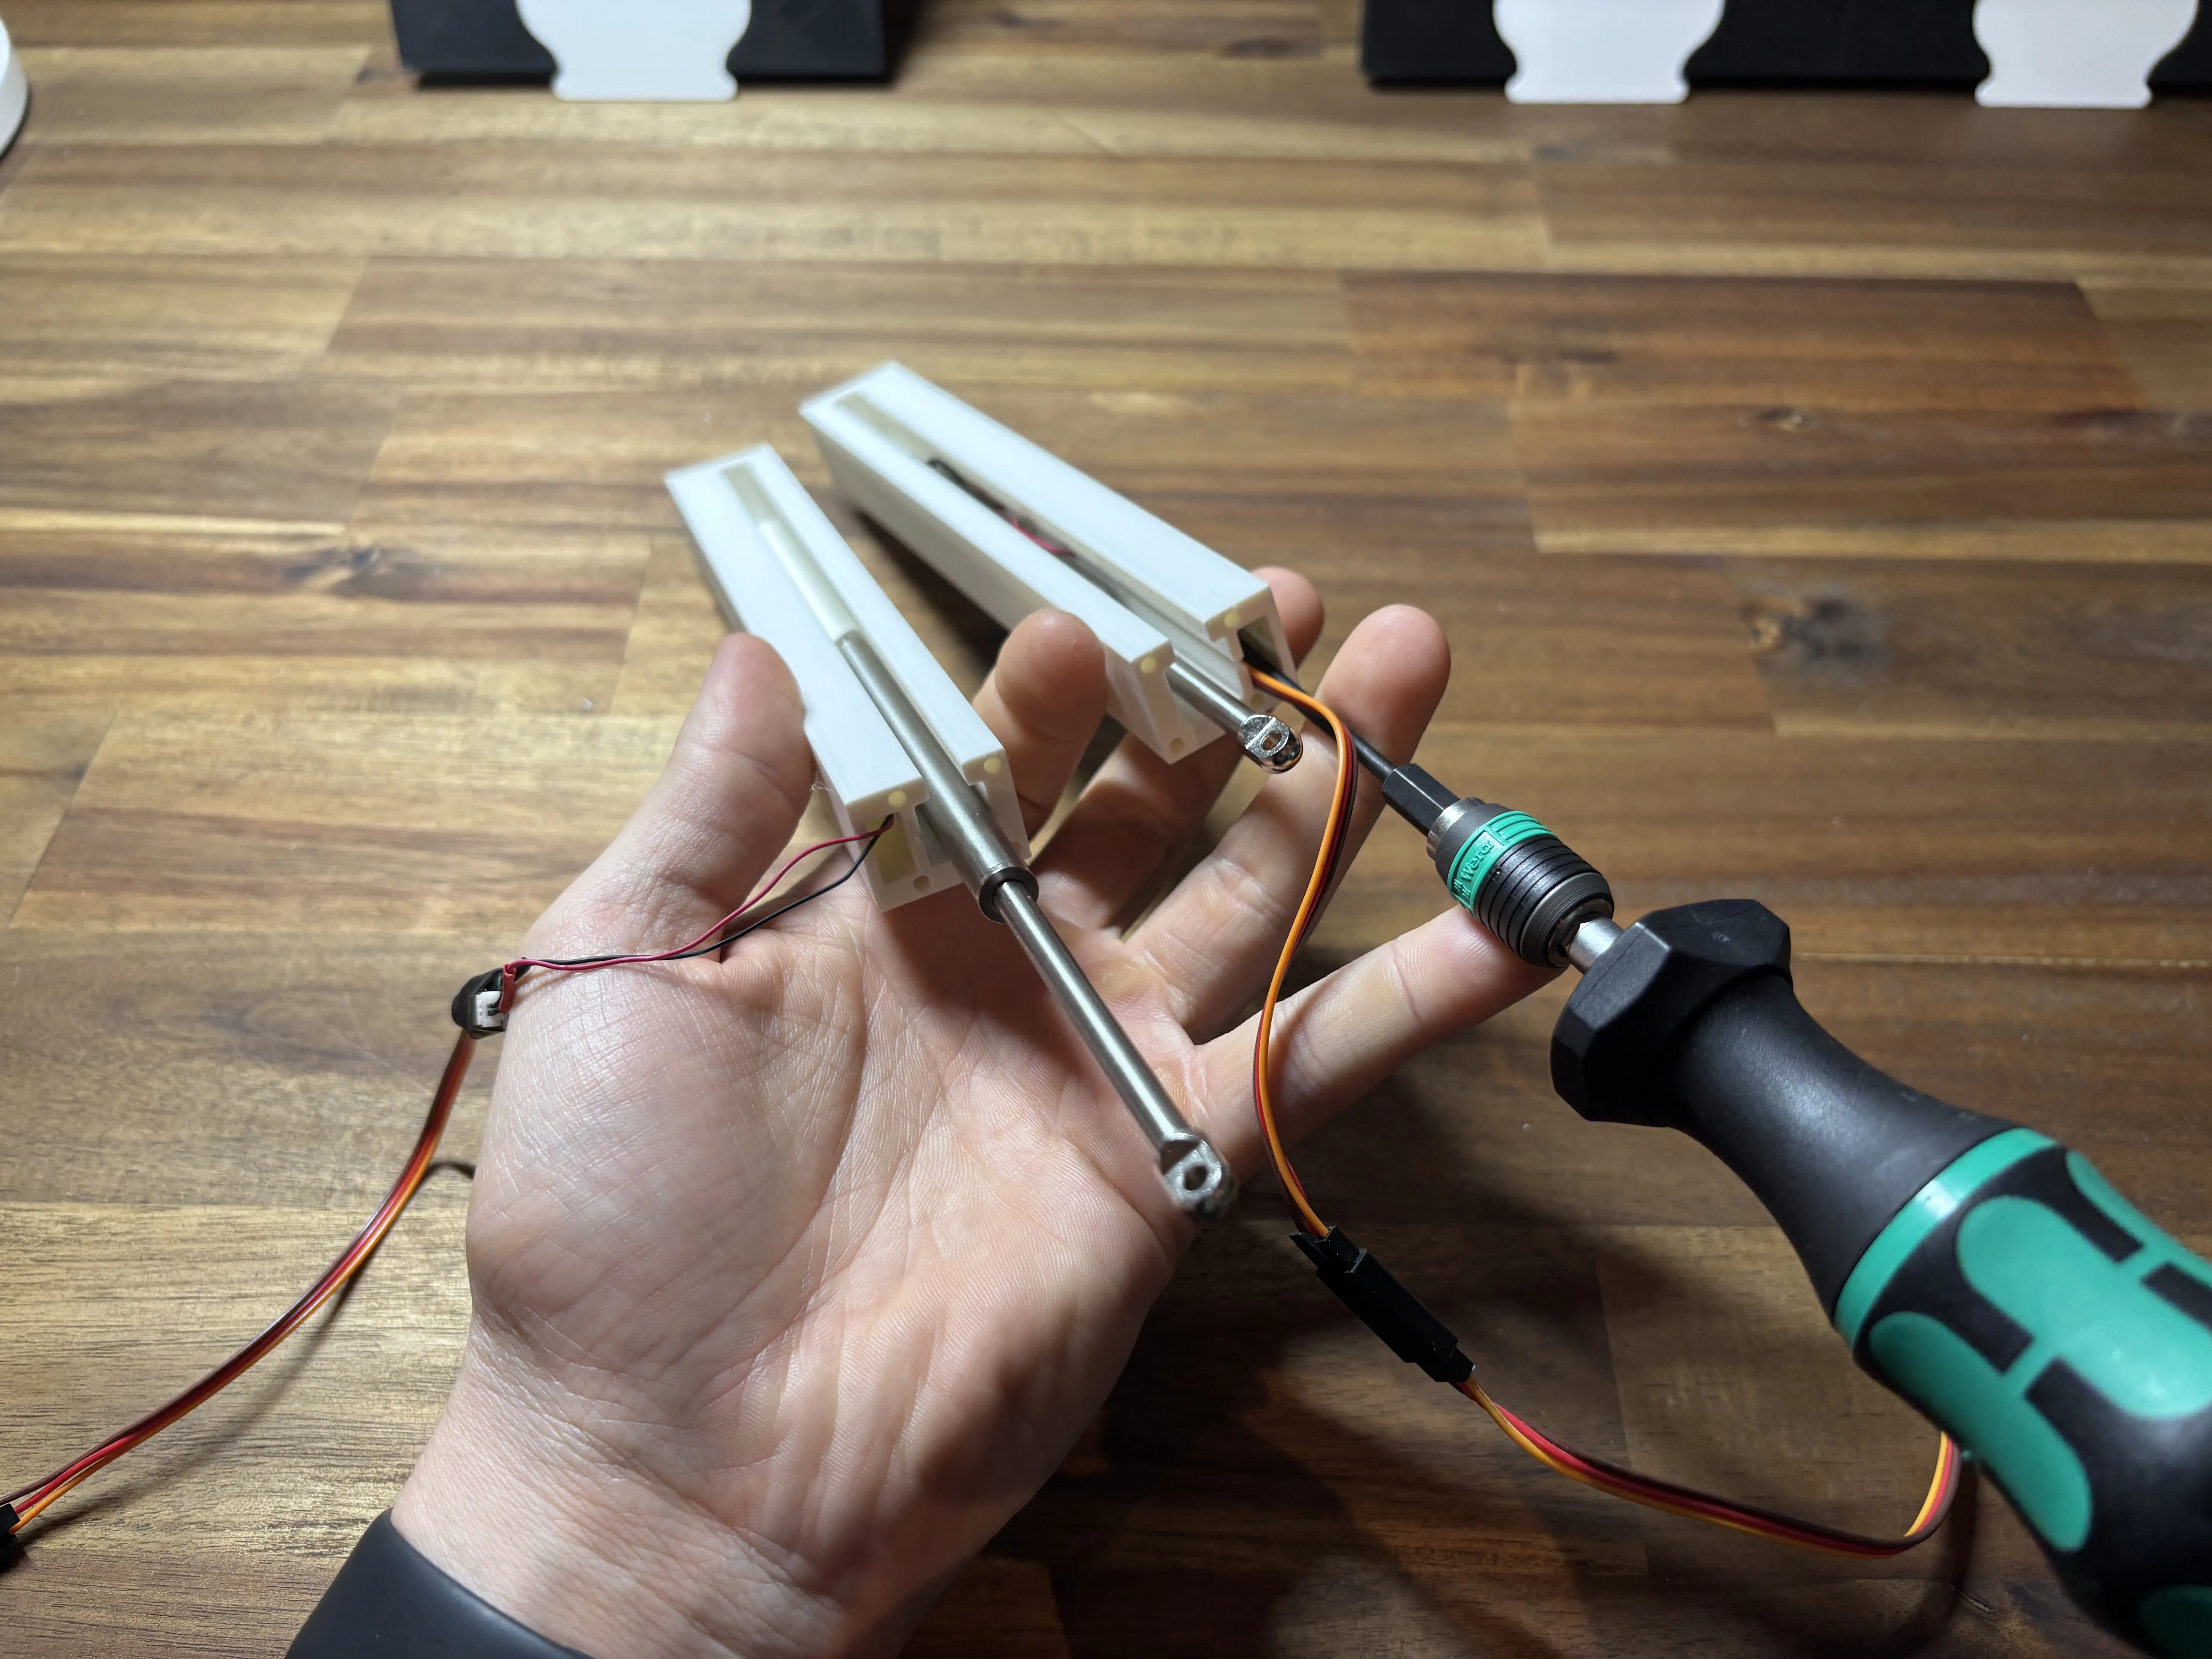
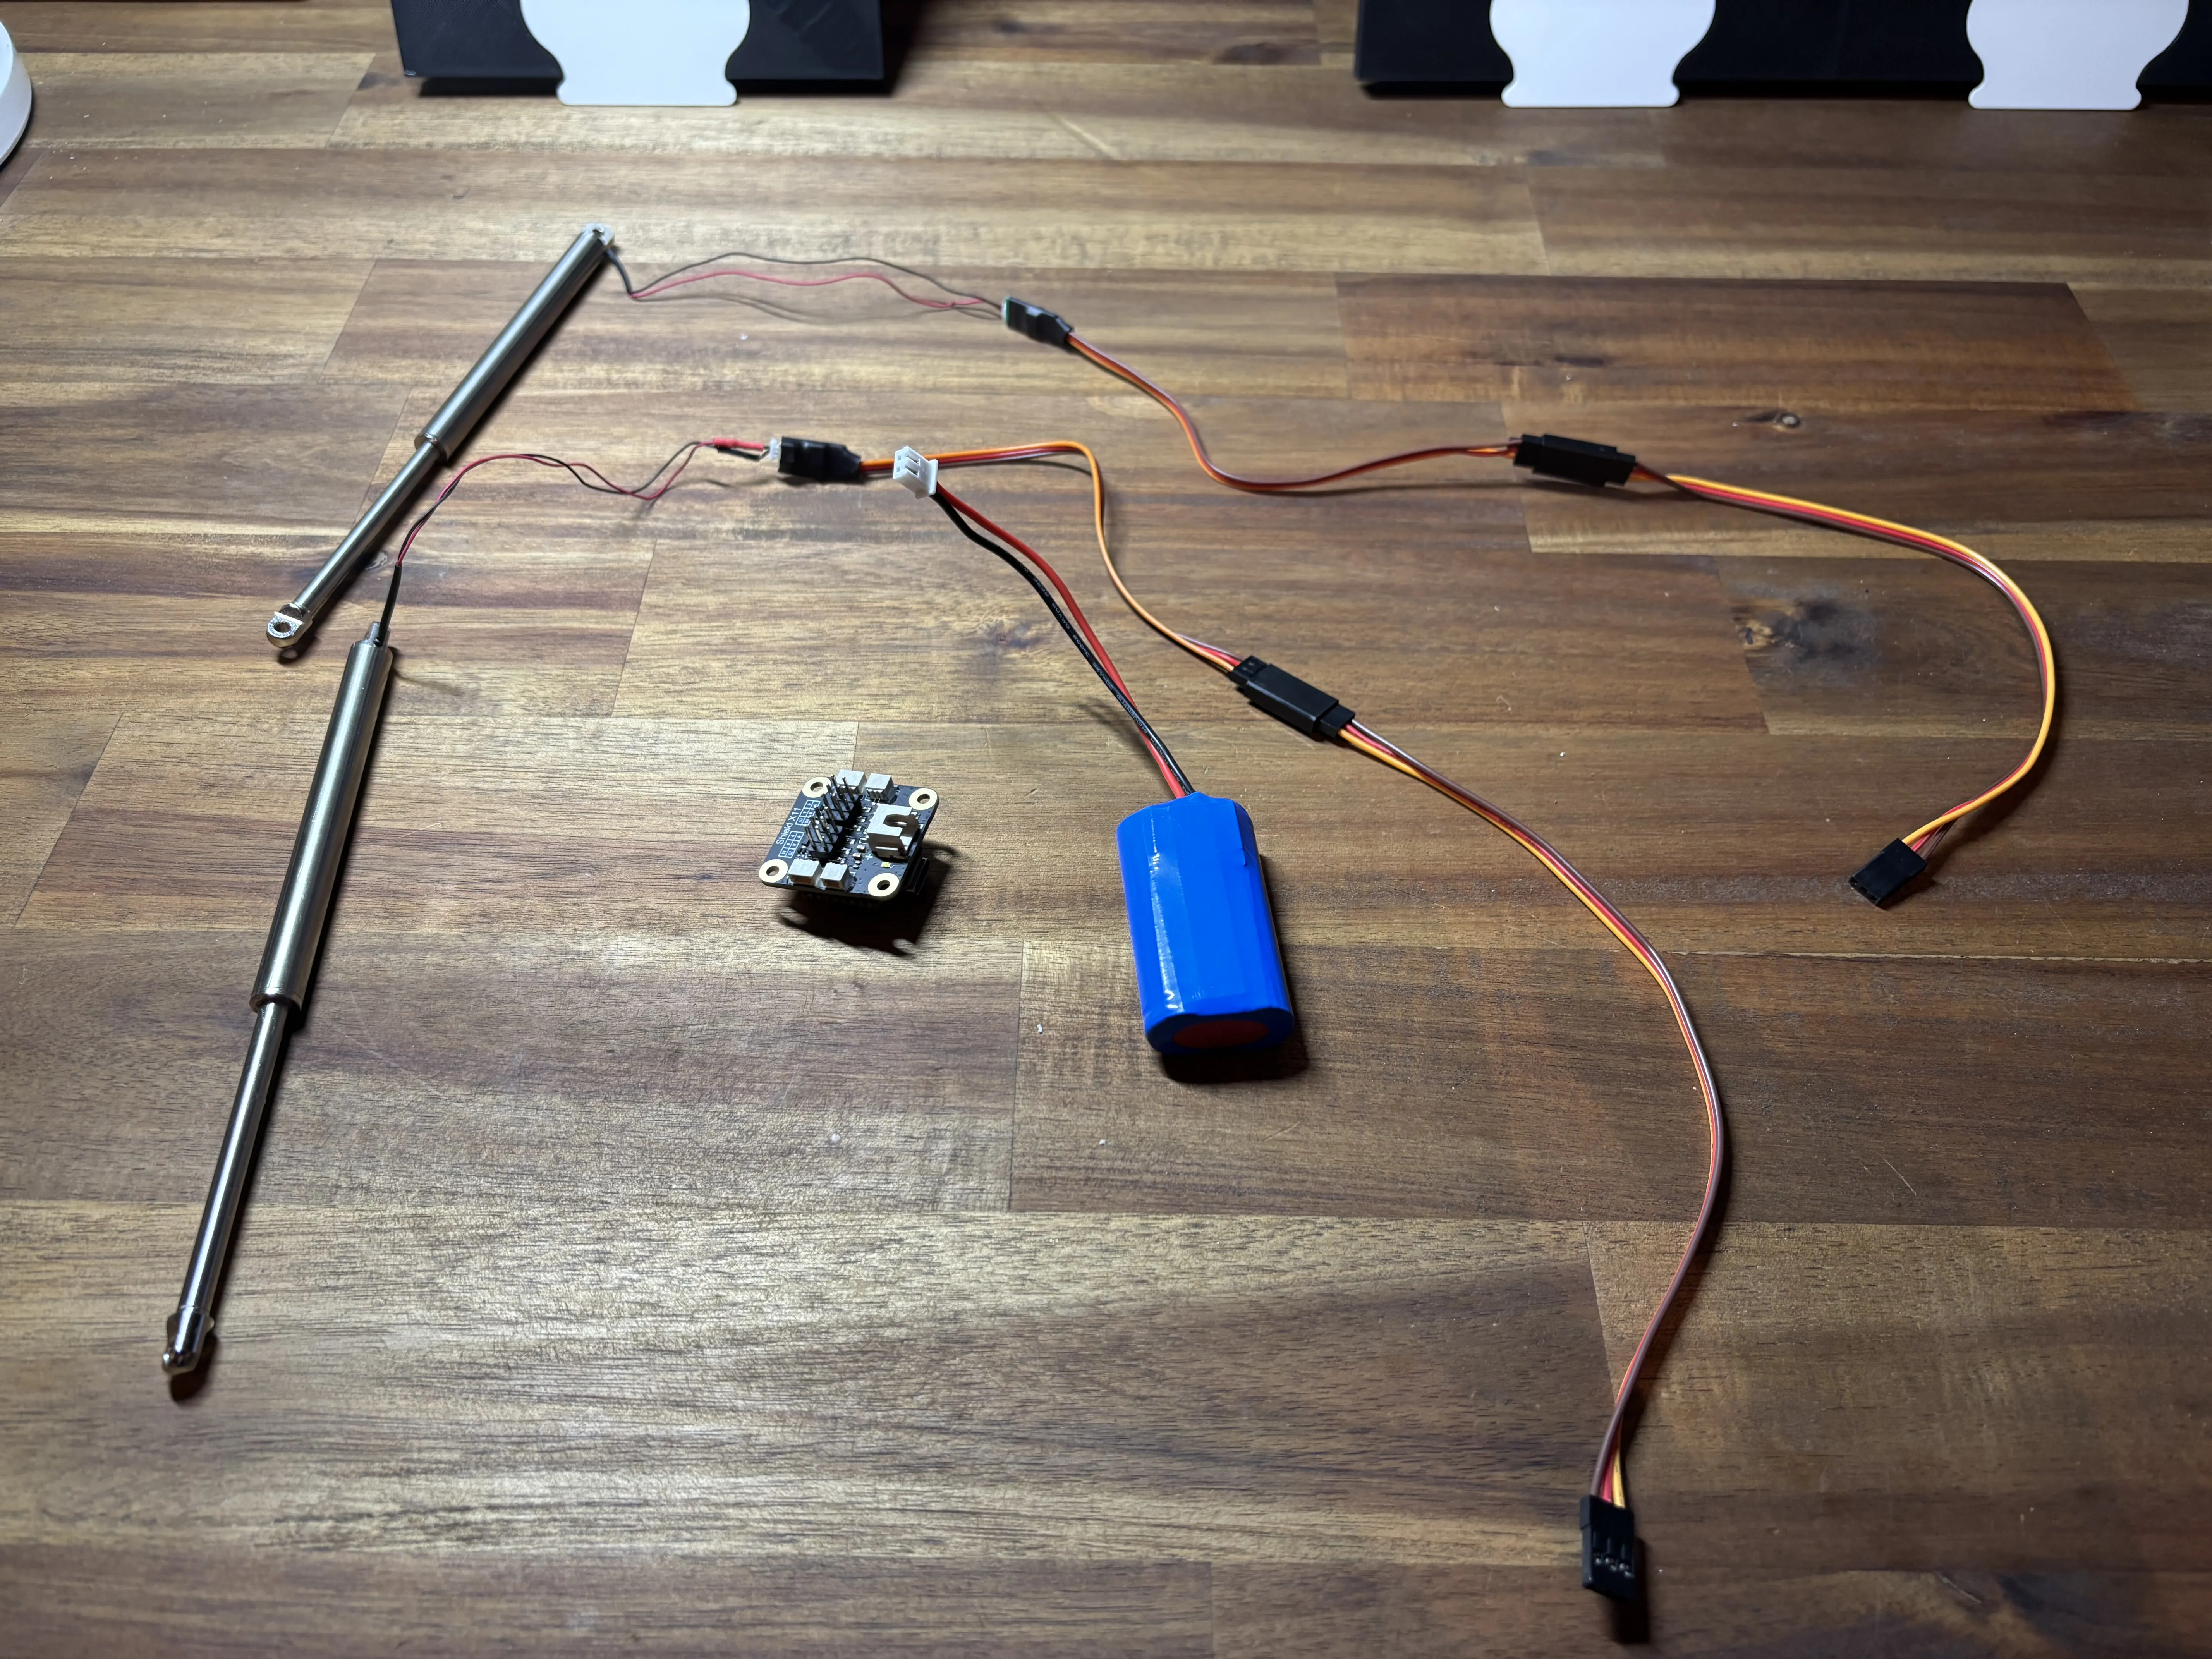
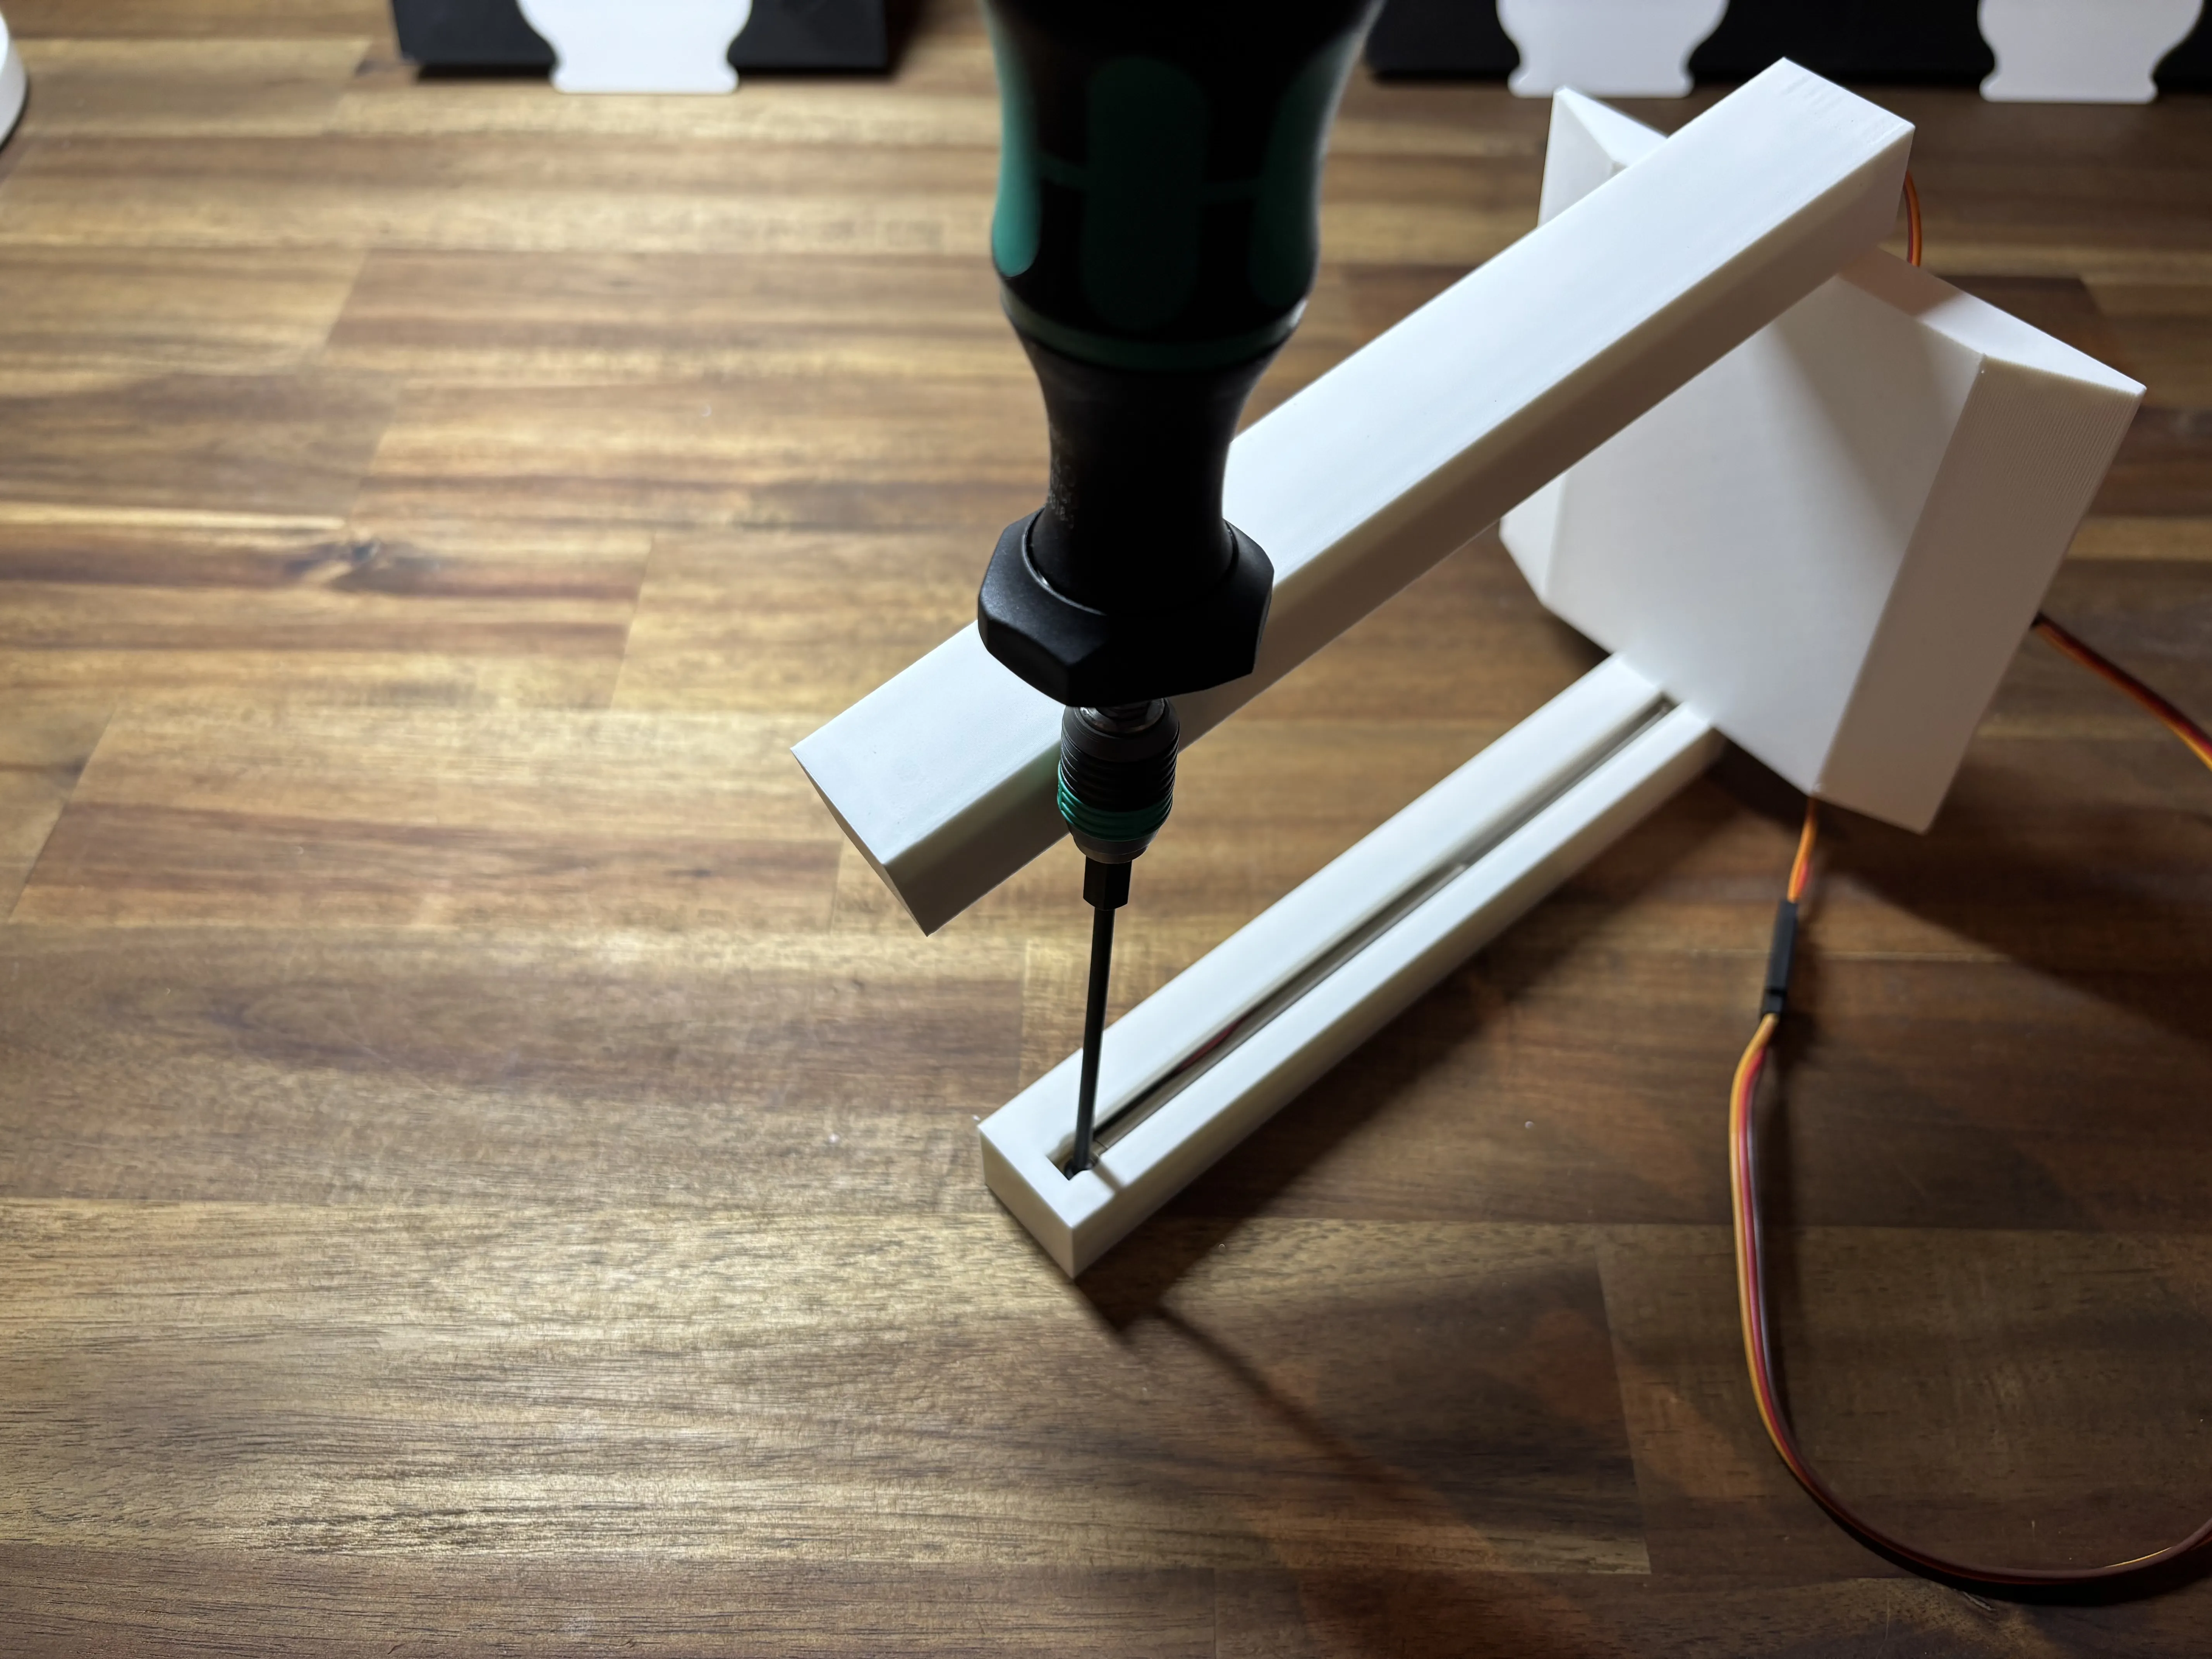
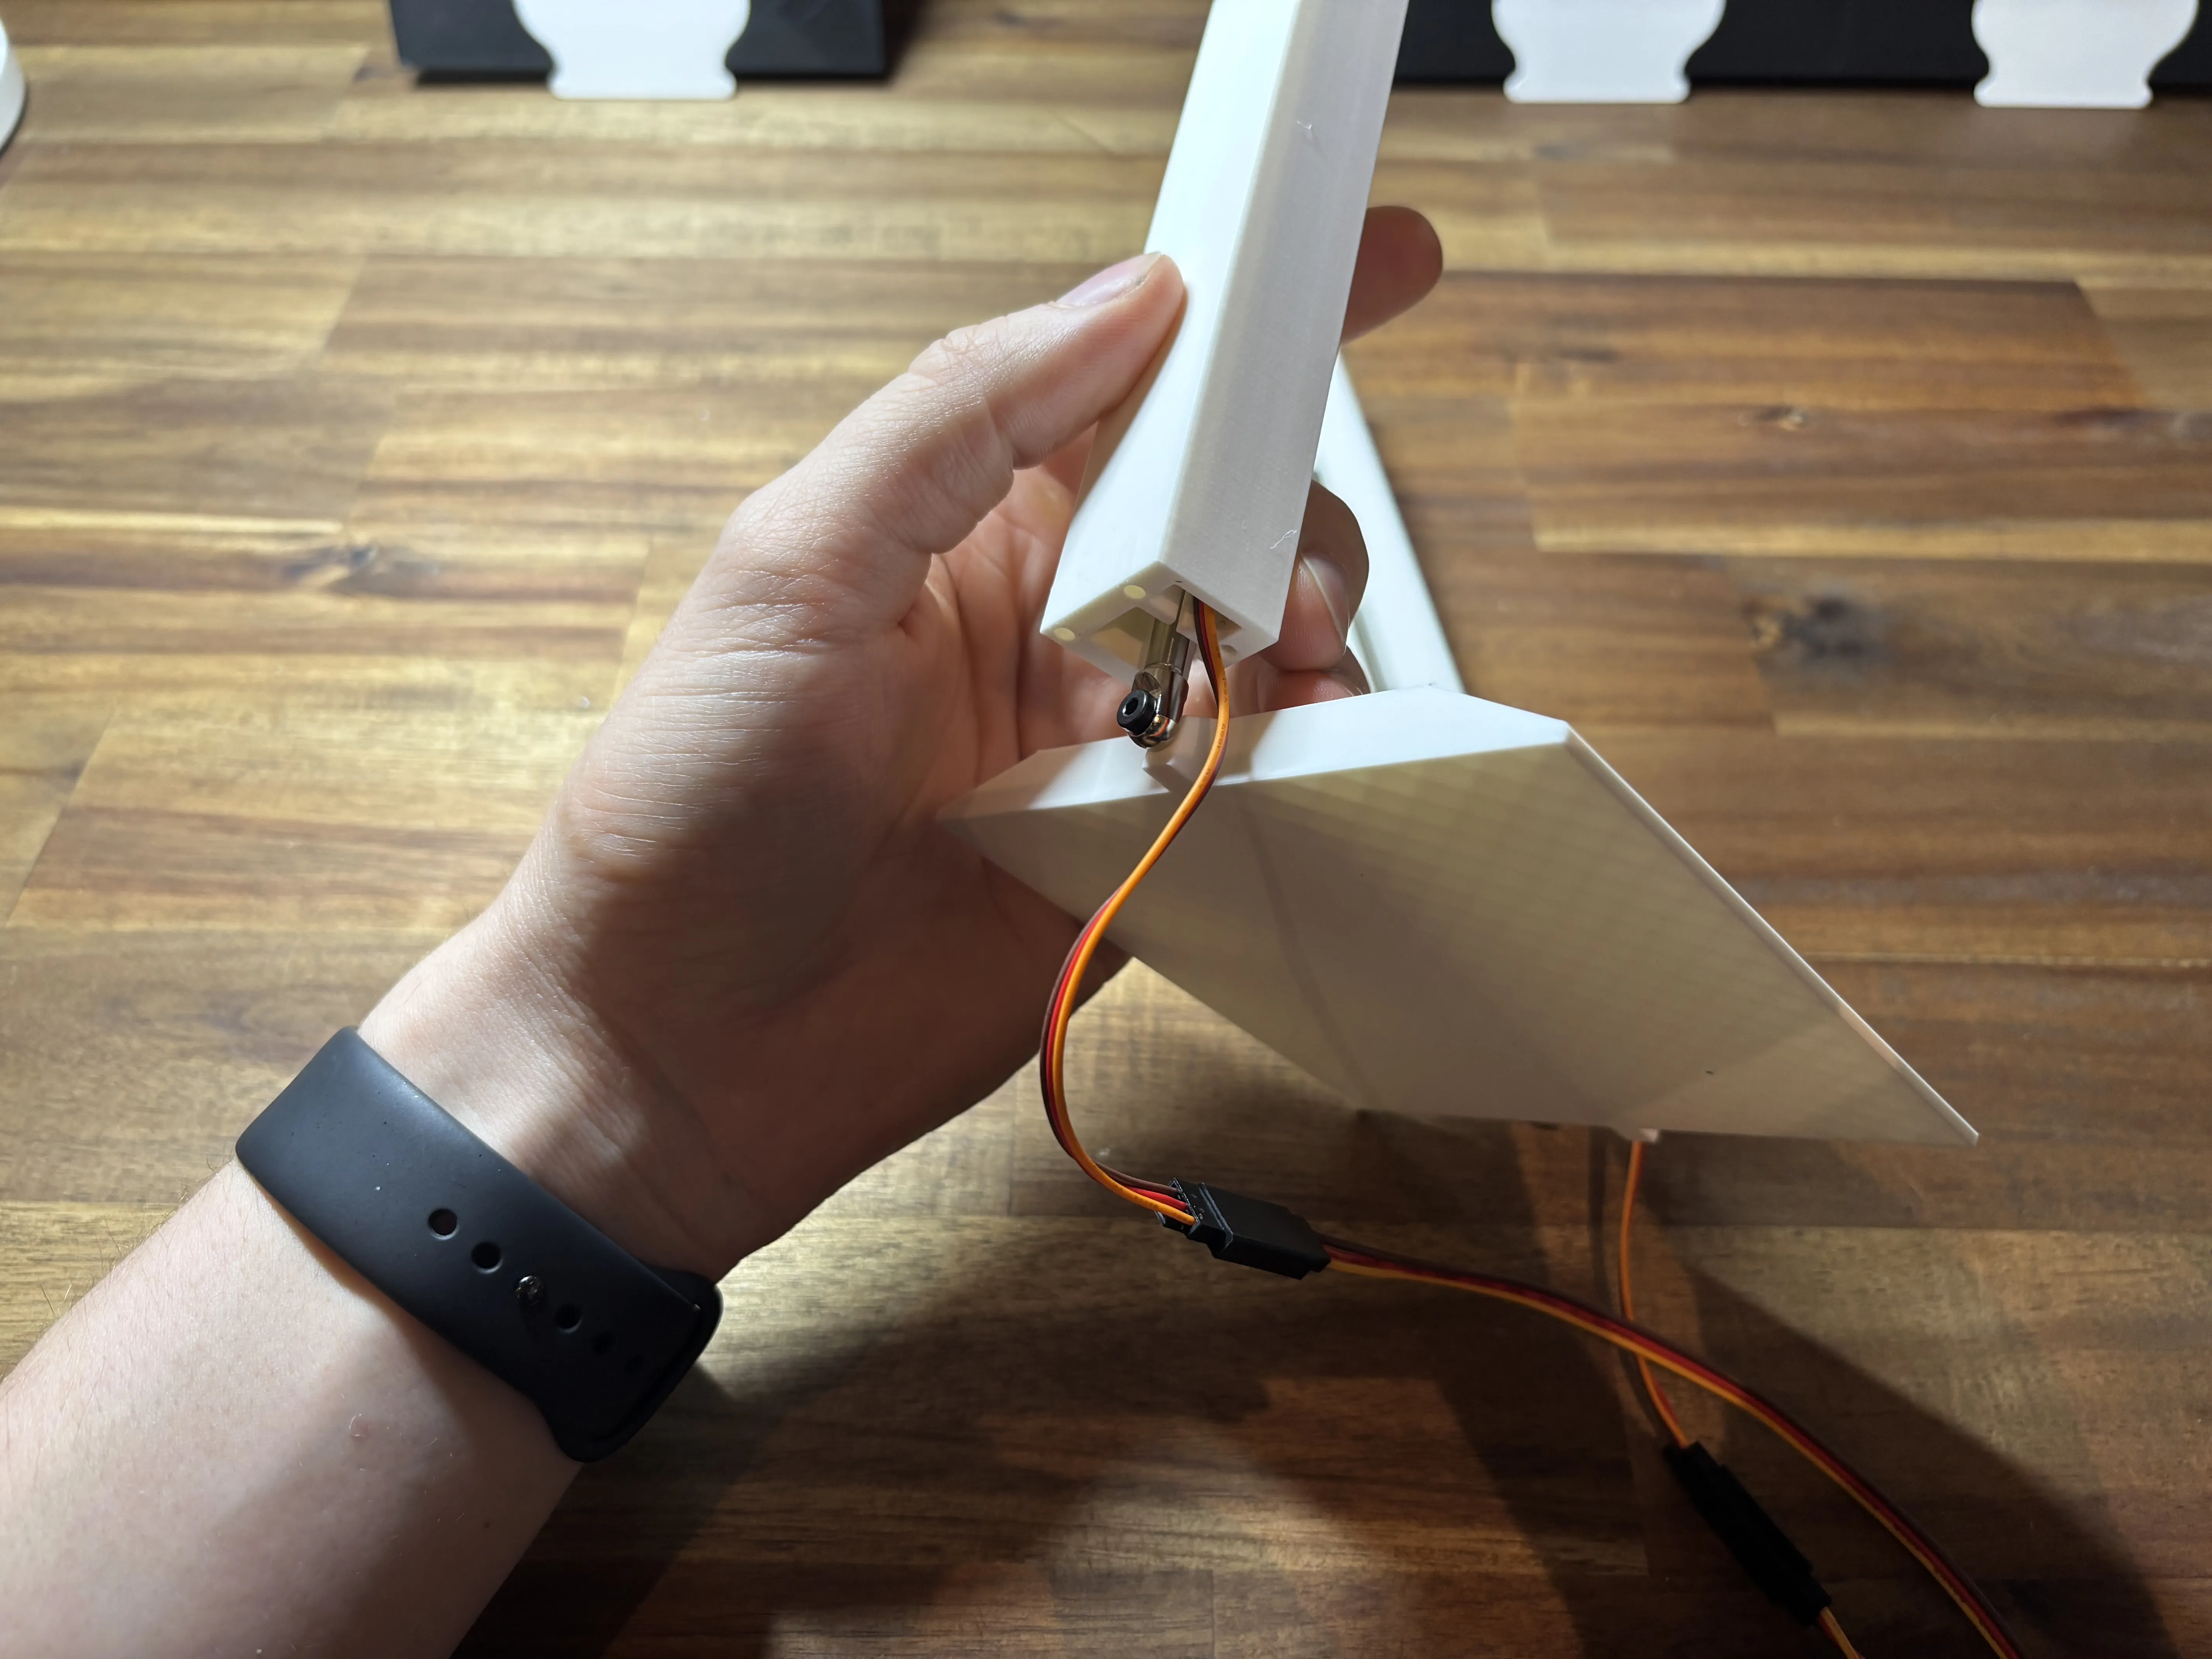
Start by fully extending both cylinders until they are completely pushed out. Then connect the wires: the cable that is directly attached to the cylinder goes into the cable with three wires and the small control board. Add an extension cable to this connection – repeat this process for both cylinders. Now insert each cylinder into the lift frame, starting with the end that has the cable attached. Push it in until only a small part of the end sticks out. Make sure the cable goes into a separate channel from the cylinder itself. The easiest way to push the cylinder in is by using a screwdriver or similar tool, as shown in the image. Next, attach the lift platform (where the car will later be placed) to both cylinders. Tighten the screws fully, then loosen each one by half a turn to allow some flexibility. Now fully retract the cylinders and mount them to the top connection points.
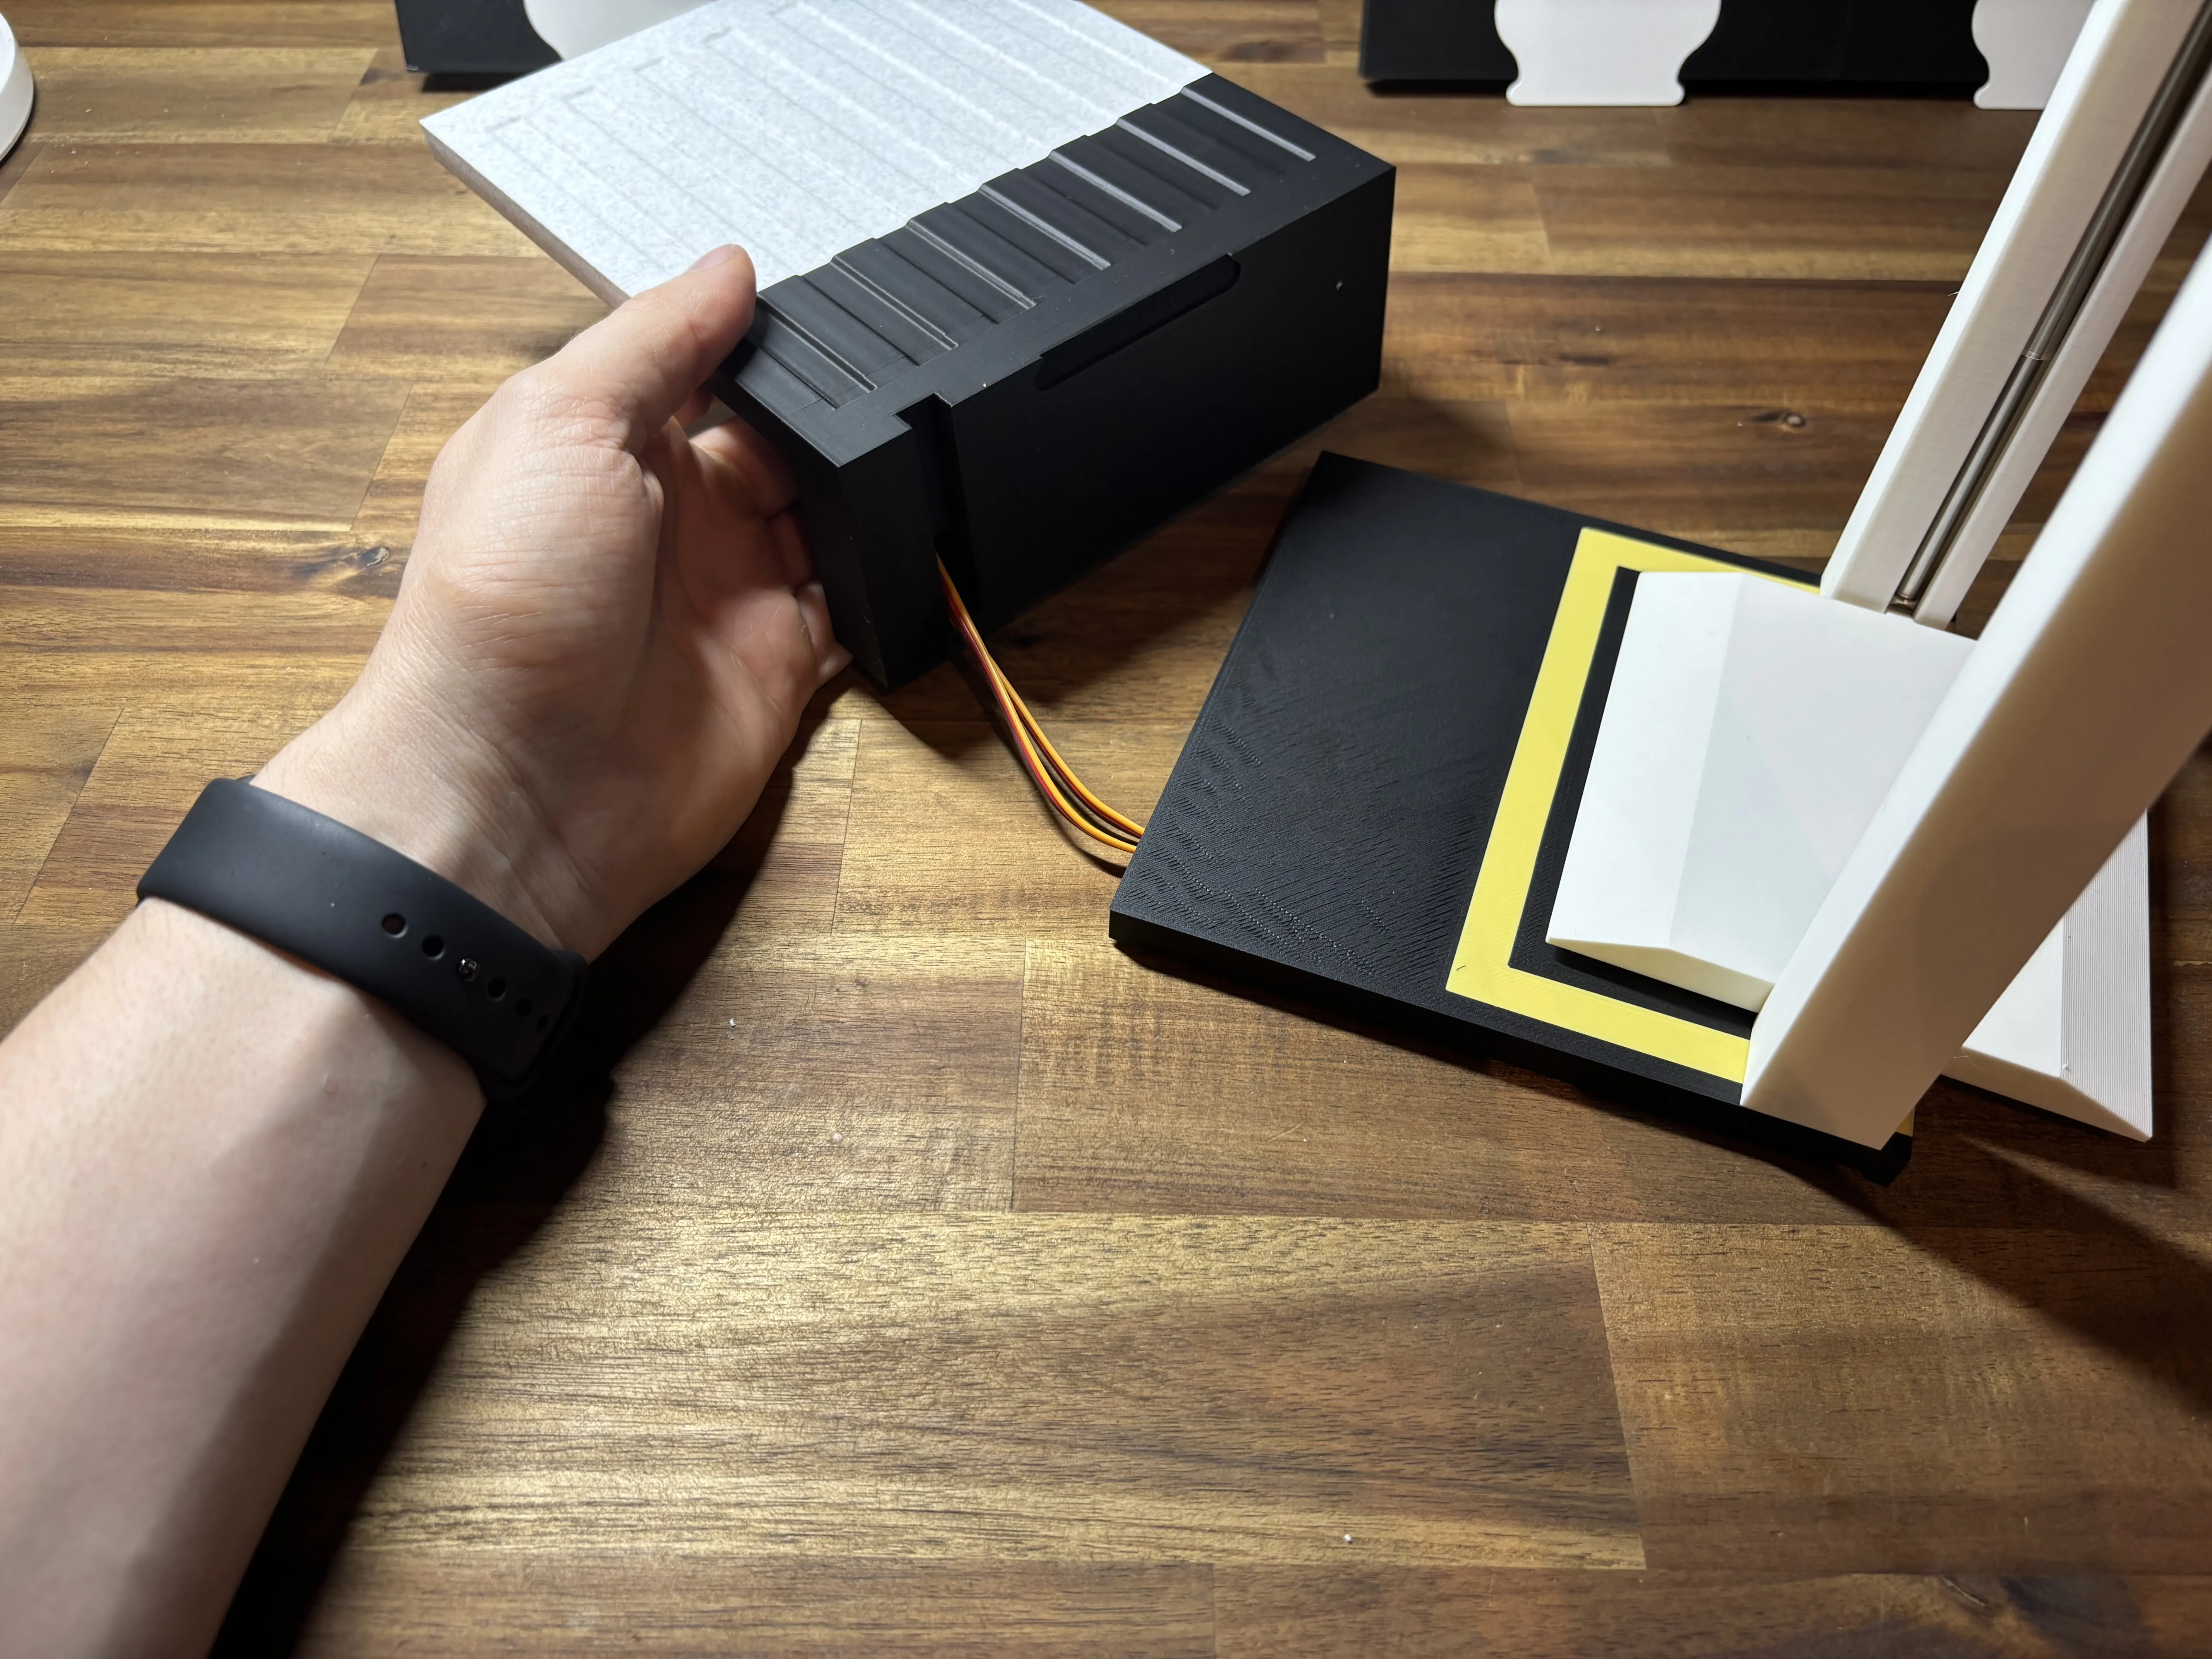
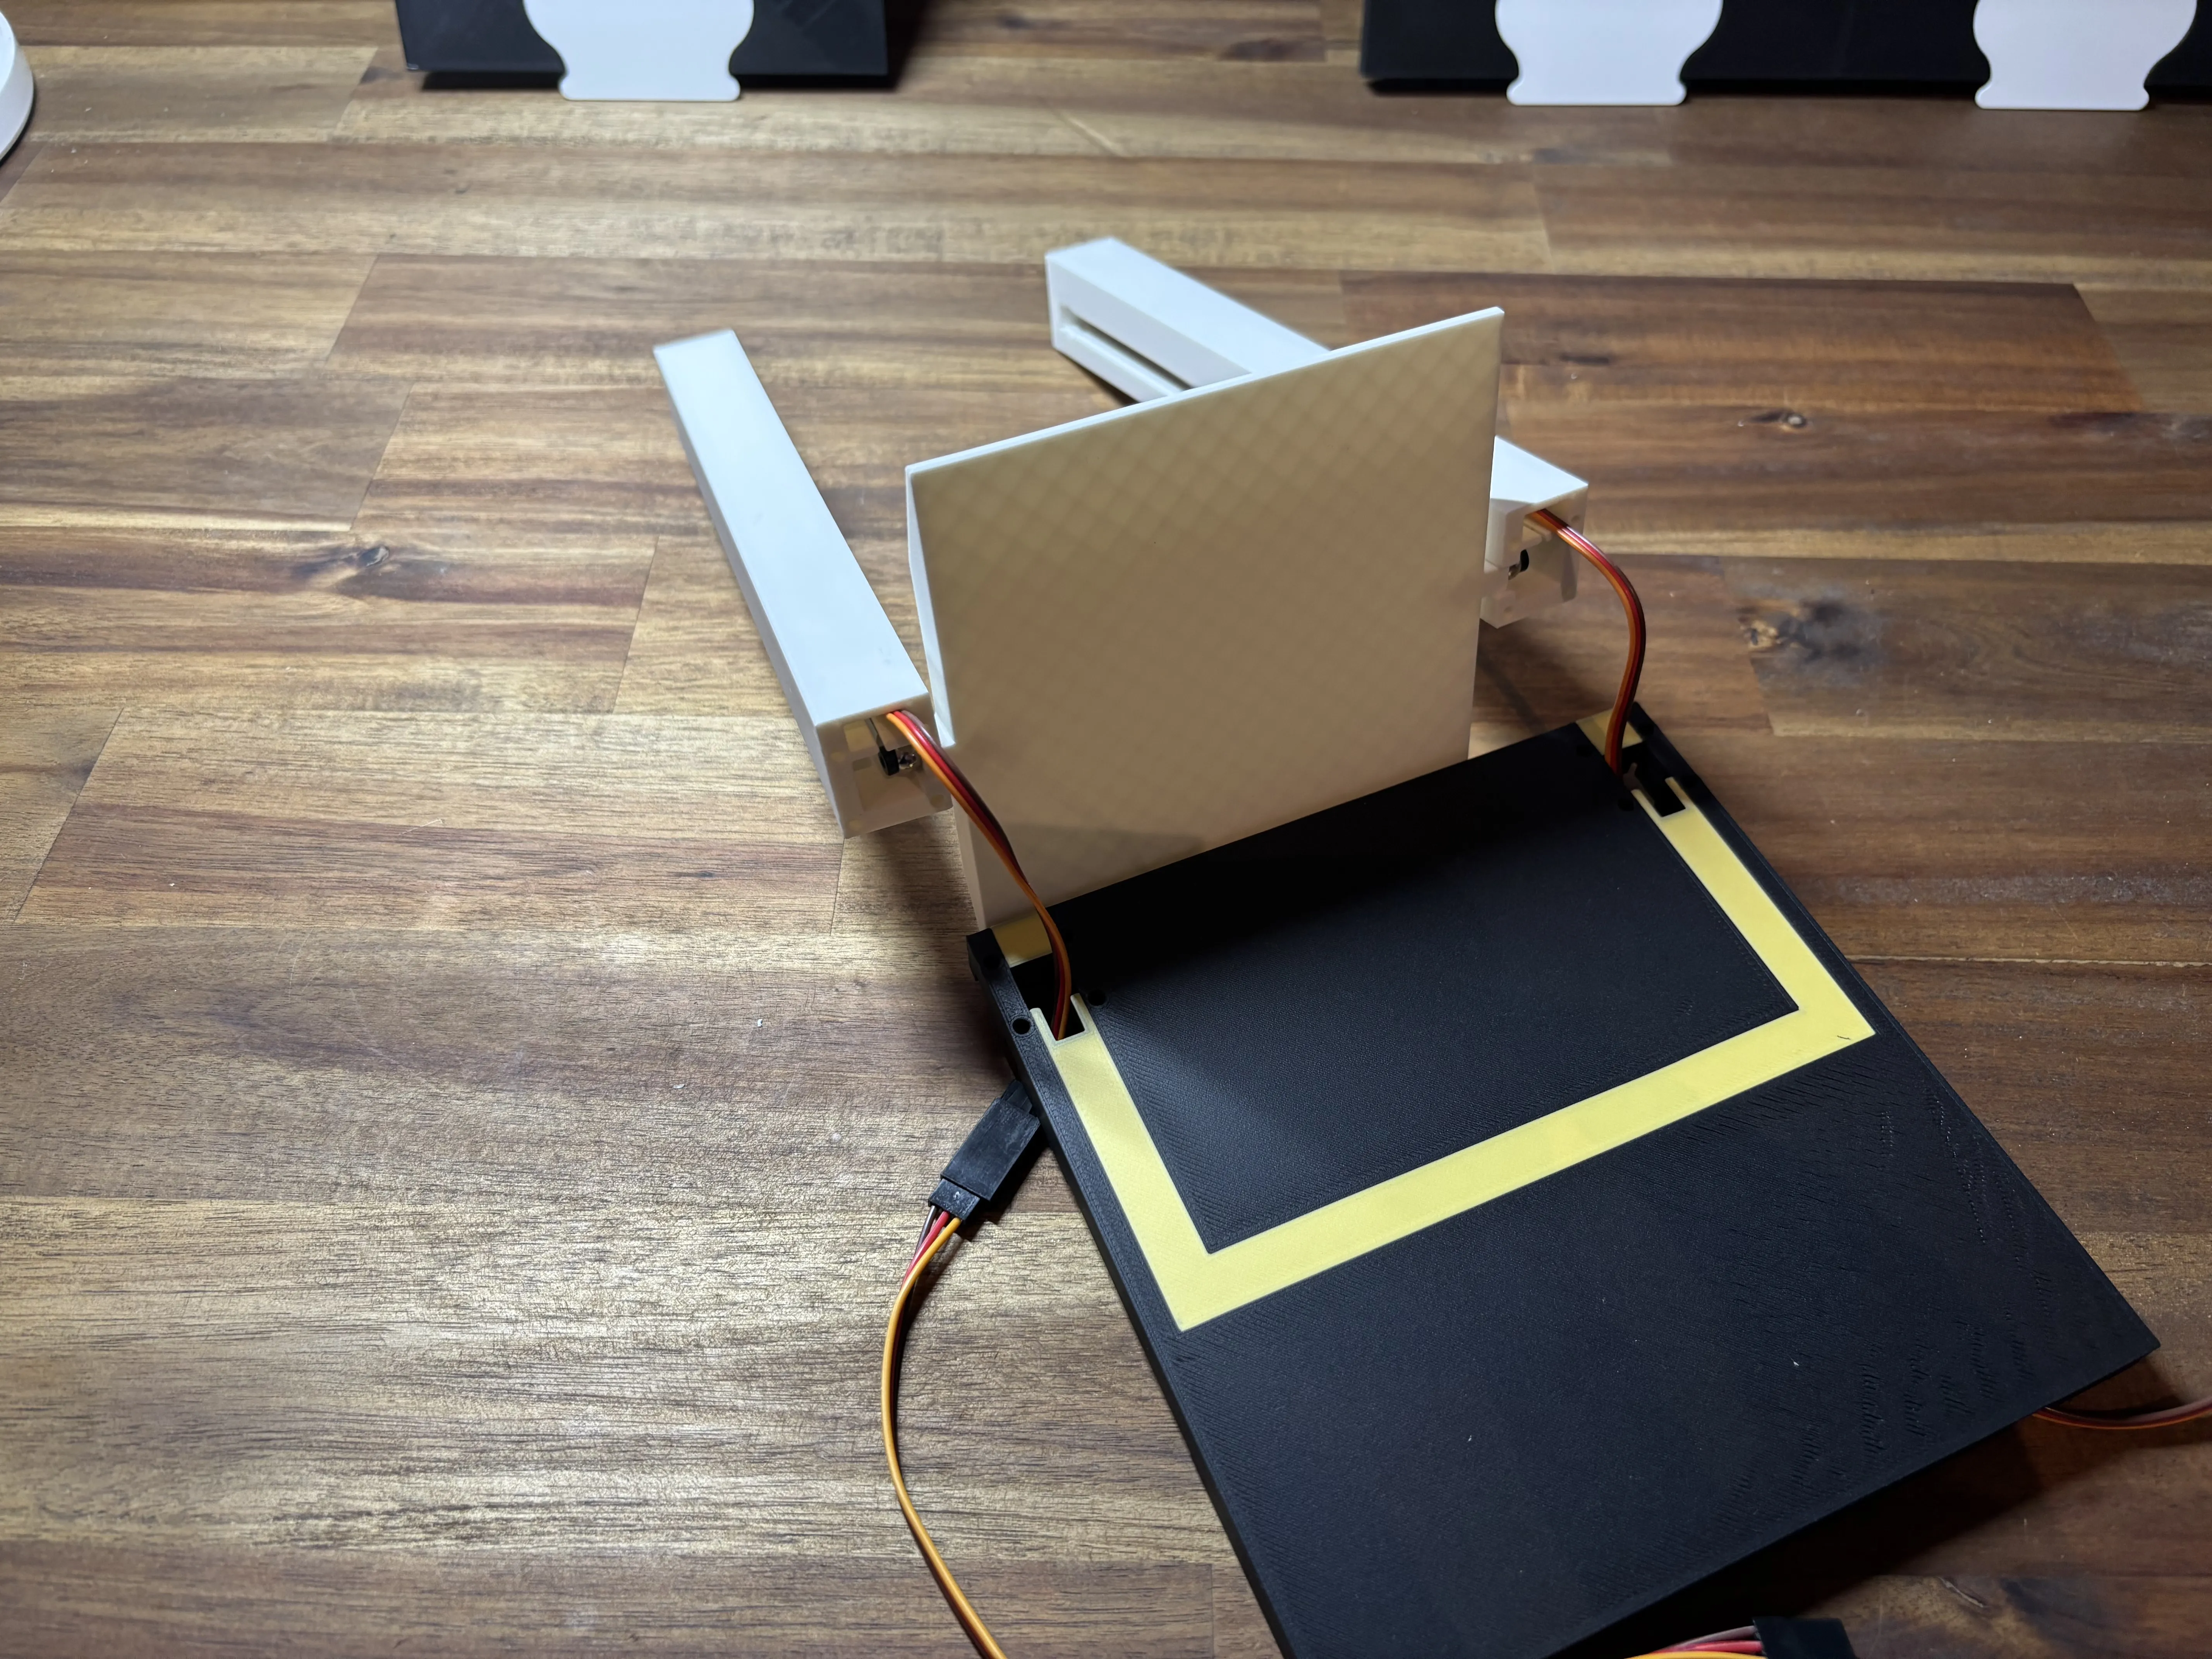
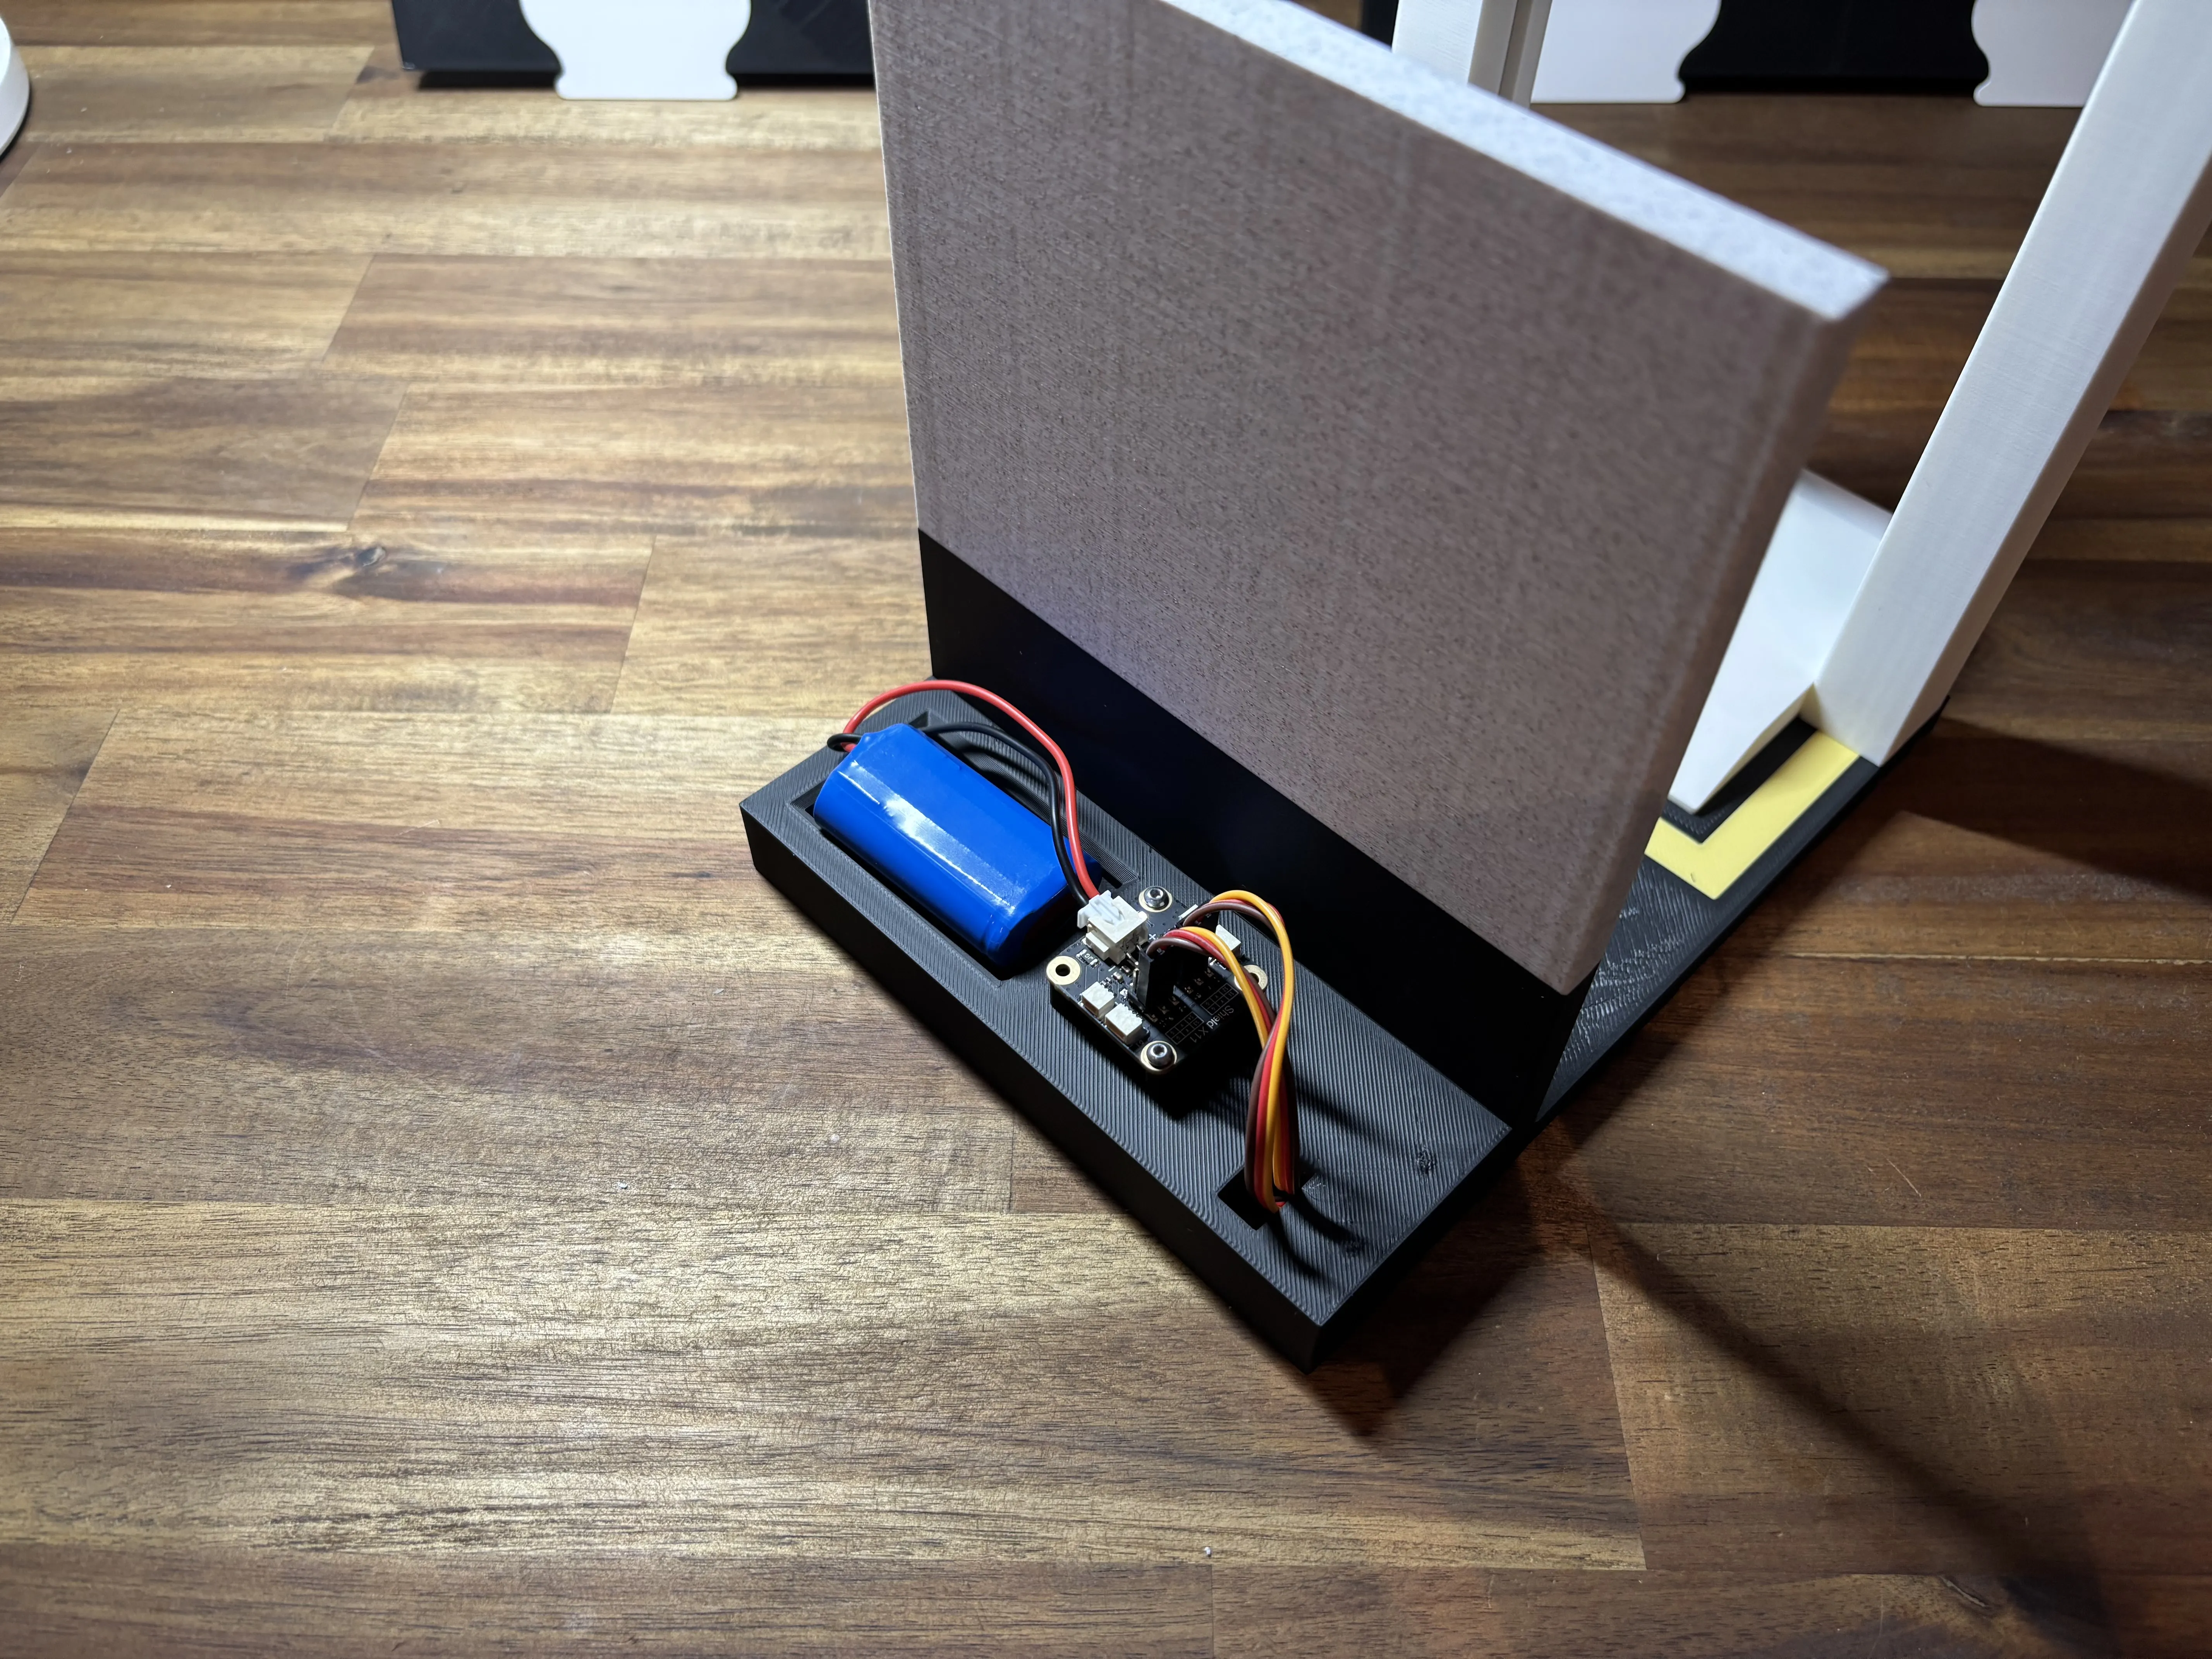
After that, fix the entire assembly to the base plate, guide the wires through, and screw down the lift using all 8 screws. Route the cables through the rear wall and connect them to ports 1 and 3, as shown in the picture (left and right side). You can now mount the control board and connect the battery – it fits best on the left side of the setup. If you don't want the lift to move during transport or display, simply unplug the battery. Finally, there’s a bottom cover that hides the cables so they don’t get in the way. I used a bit of superglue to hold everything in place – a hot glue gun works just as well.

License

You shall not share, sub-license, sell, rent, host, transfer, or distribute in any way the digital or 3D printed versions of this object, nor any other derivative work of this object in its digital or physical format (including - but not limited to - remixes of this object, and hosting on other digital platforms). The objects may not be used without permission in any way whatsoever in which you charge money, or collect fees.
Comment & Rating (6)