
Bambulab A1 Side/Back Spool Holder

Print Profile(5)


Description
Update December 05 2024: Just added a mirrored version of the spoolholder so you can choose right side or left side version. Also updated both print profiles so there shouldn't be any more problems with the clearence of the printhead.
Please let me know if you find any more flaws or have some additional ideas, thanks!
Update v2 (January 31st 2024): Got feedback from iRupert that at the very top the clearance between printhead and holder was not enough. I never printed full hight before, so I missed it. Version 2 is now just a tiny bit slimmer to allow the printhead to clear the holder at the very top.
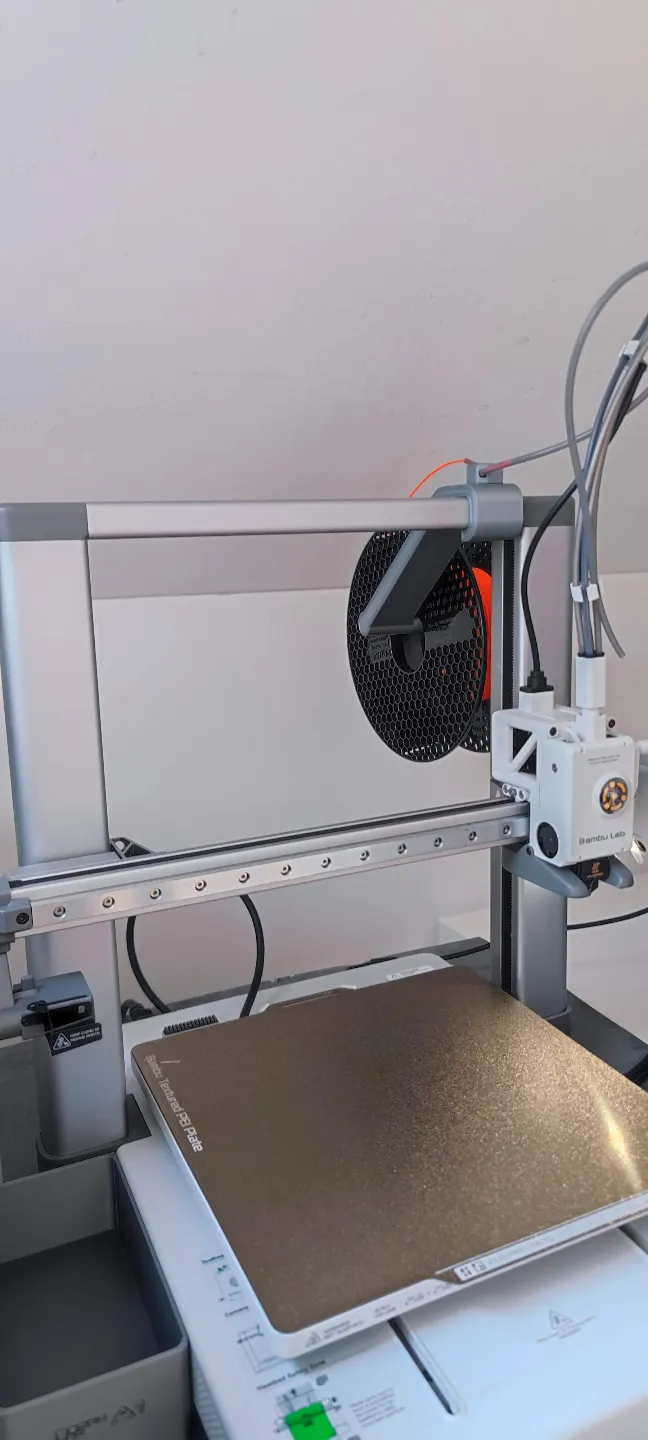
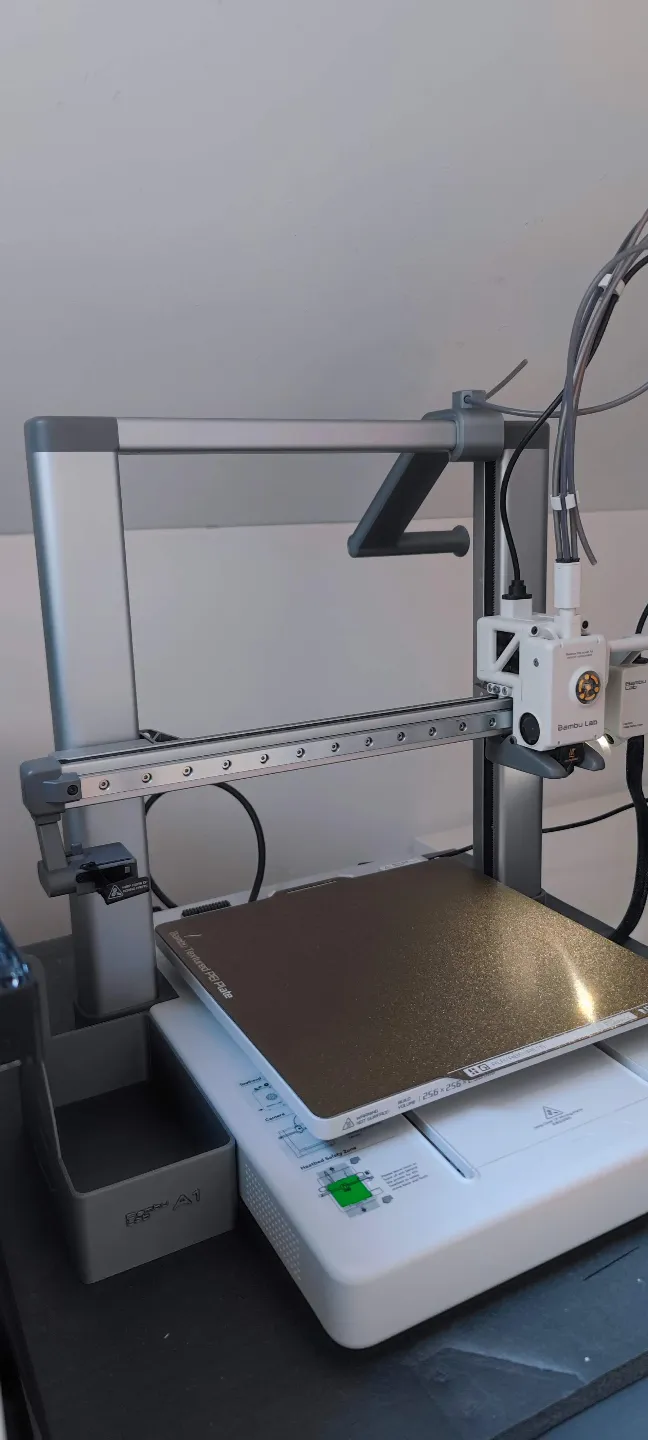
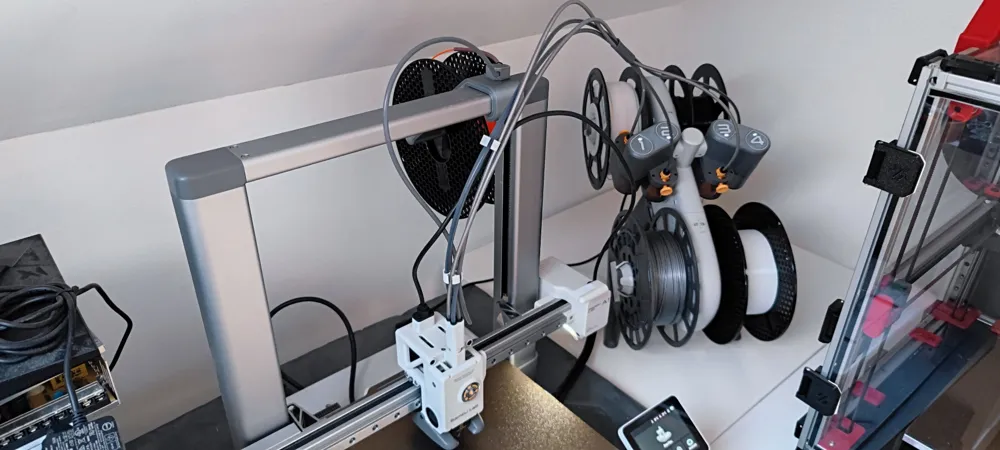
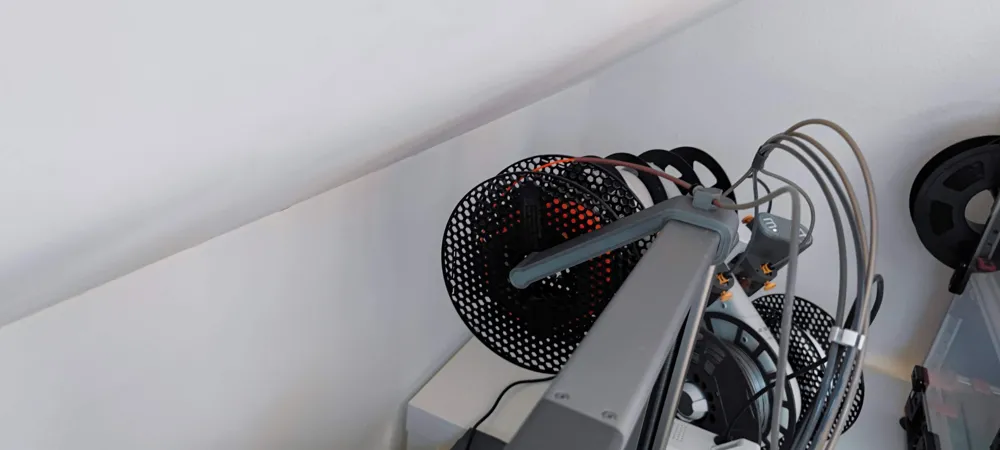
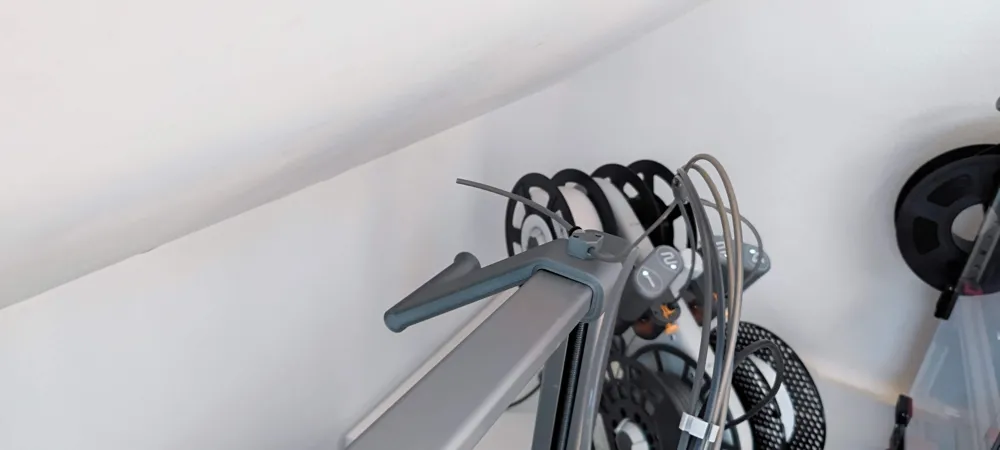
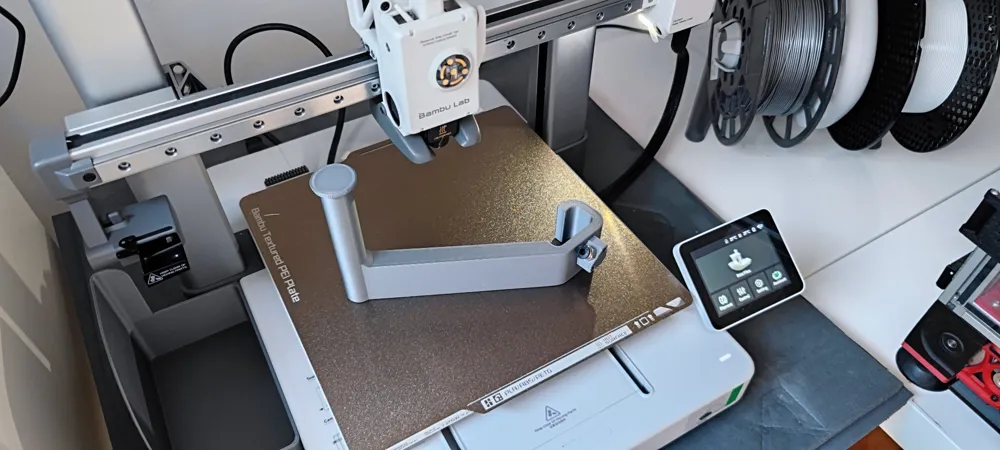
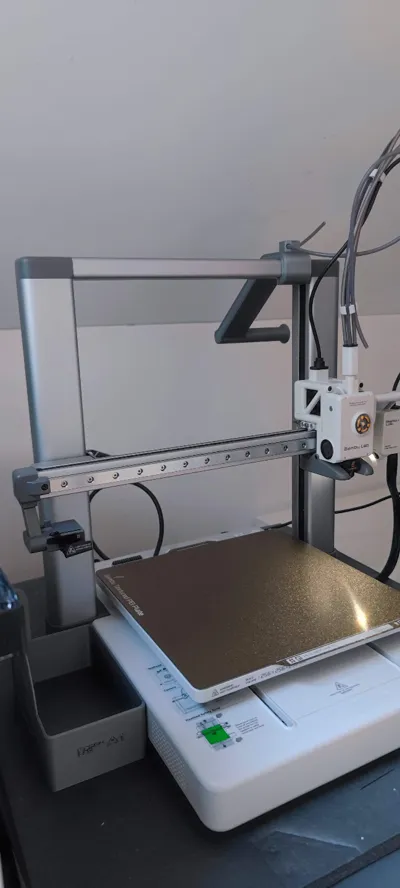
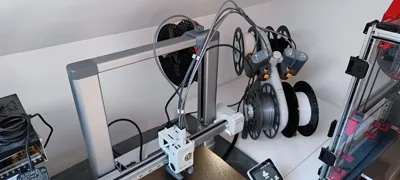
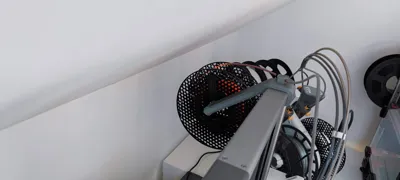
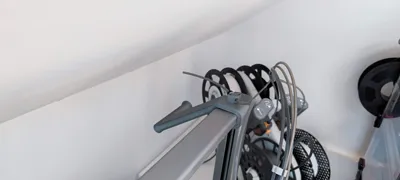
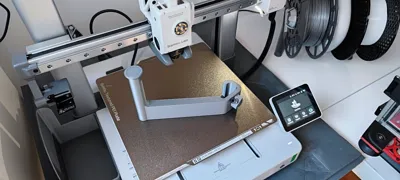
Because I couldn't use the included Bambulab A1 spool holder for the single spool as I don't have the necessary height, I created a back/side spool holder which also attaches to the top aluminium extrusion and extends to the lower back of the printer.
The spool holder consists of two parts:
- the spool holder itself
- a small part to hold the bowden tube to the printhead in place, fixed with two small screws (10x2mm self tapping or similar) or super glue
- choose either the one to fit a standard M10 pneumatic fitting
- or the one with a 3.8mm hole to friction fit the bowden tube directly
To mount the spool holder to the printers frame, slide the front part over the frame, then push from the front and lower the back part at the same time.
License



Comment & Rating (77)