
Wall.E
Print Profile(0)
Description
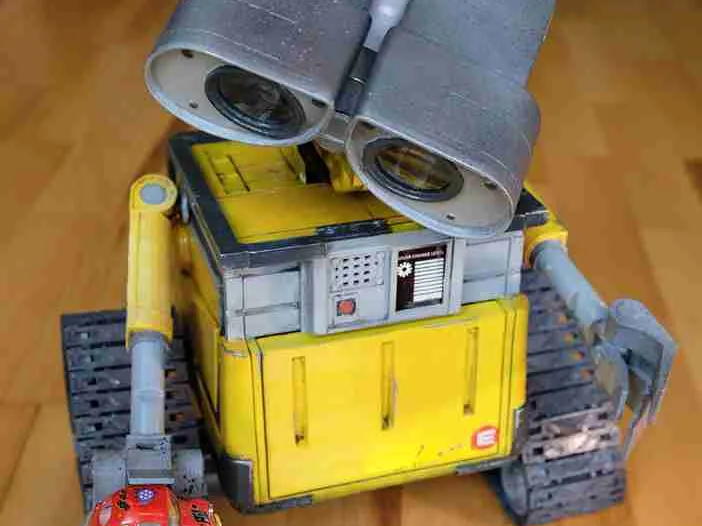
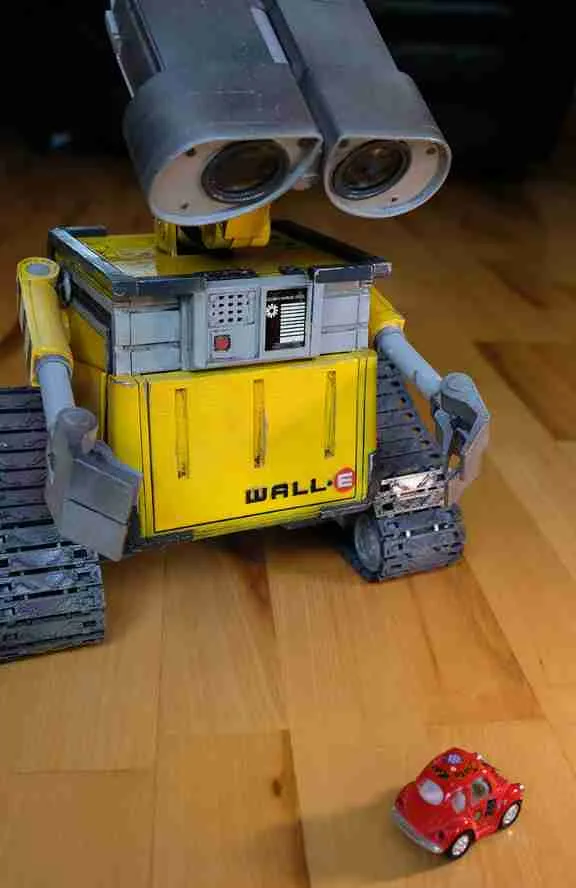
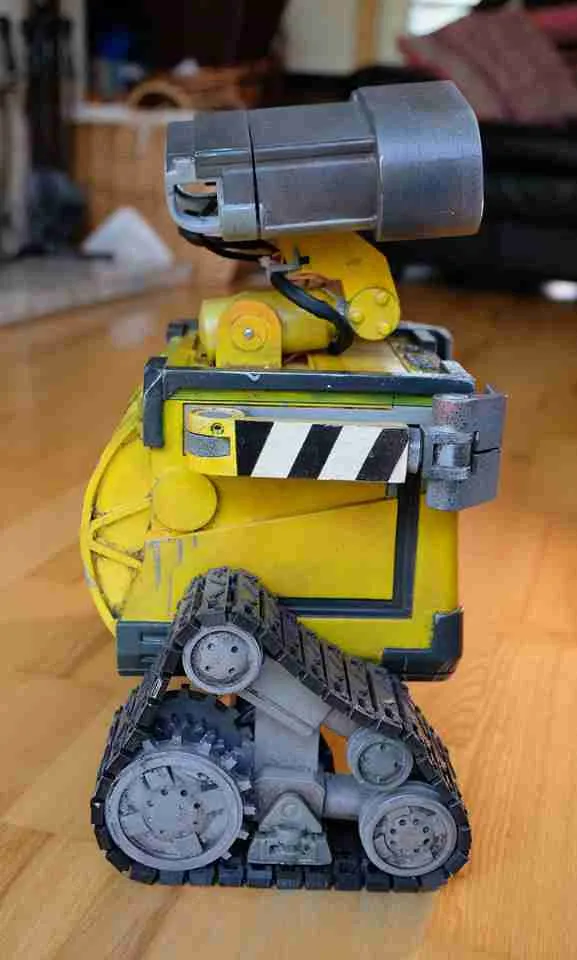
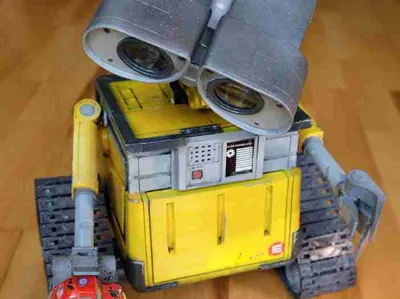
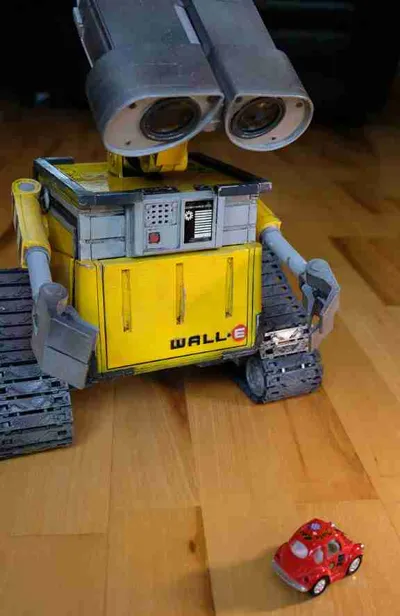
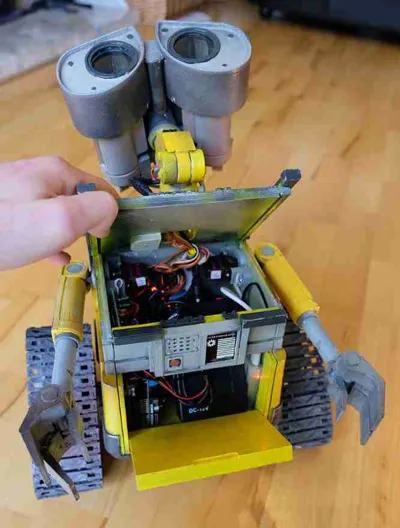
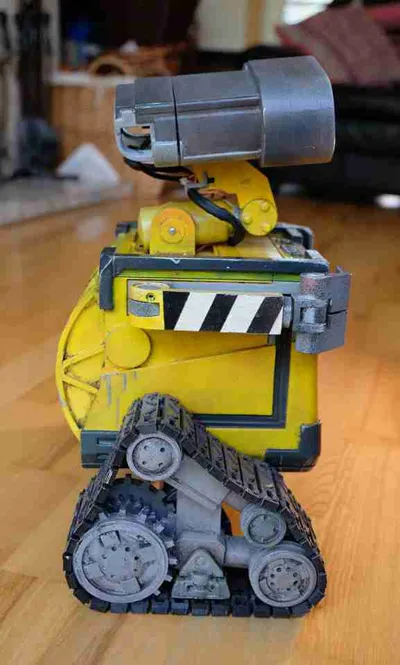
Few robots are more recognisable than WALL·E; his cute appearance and distinctive personality make him instantly endearing to anyone who sees him! In this project, I designed a WALL·E replica with the aim to allow each of the robot’s joints to be moveable by hand or using servo motors.
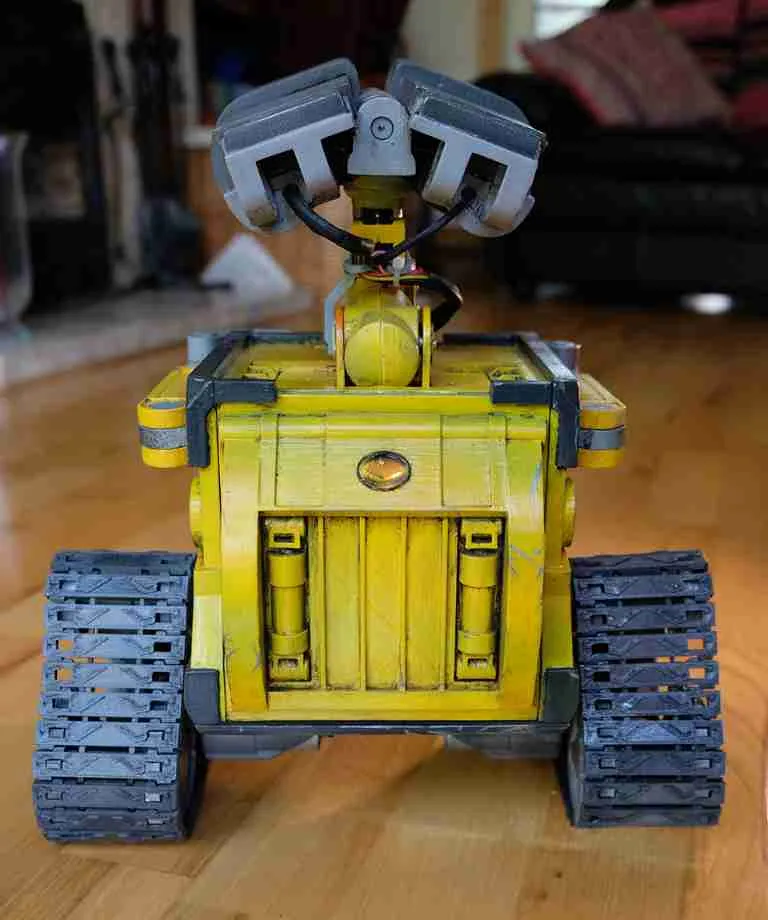
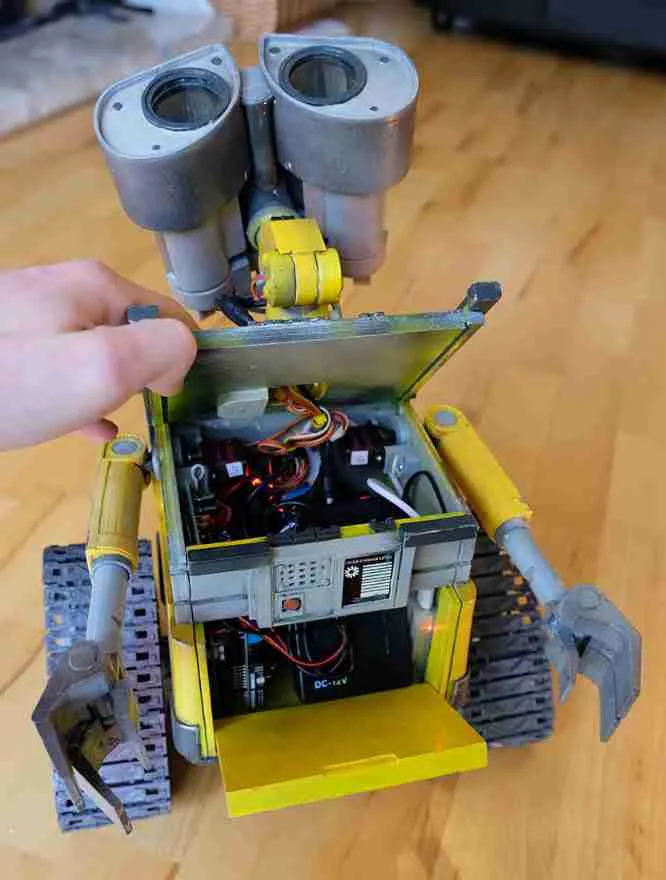
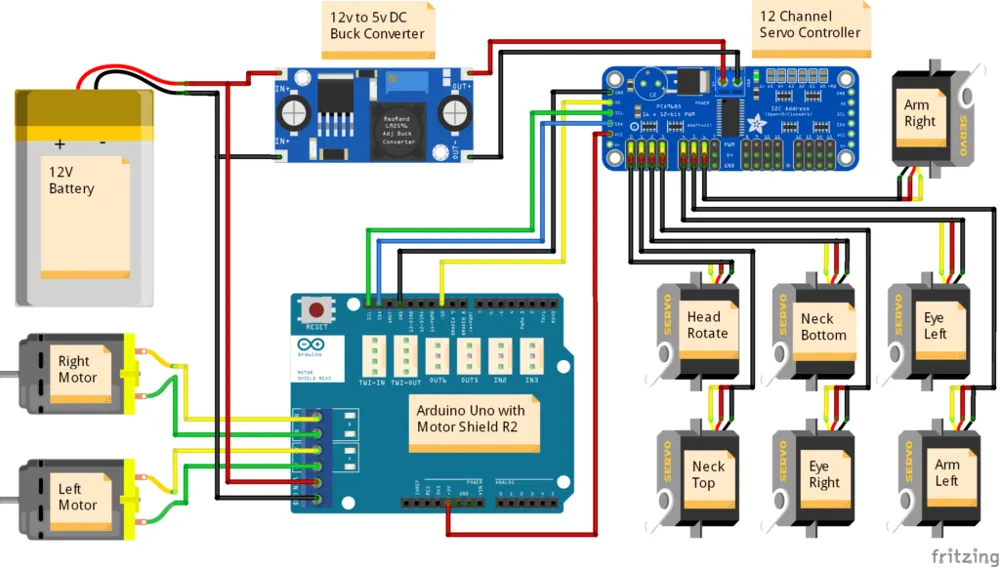
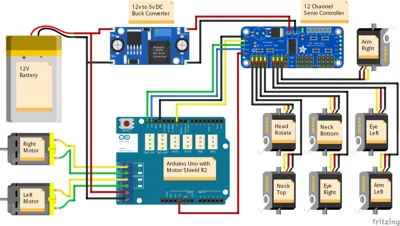
Loosely based on the dimensions and design of ChaosCoreTech’s Wall-E replica, this version was designed from scratch in Solidworks and allows 7 of the joints to be actuated, including the arms, neck, head and eyes. The robot design has the following features:
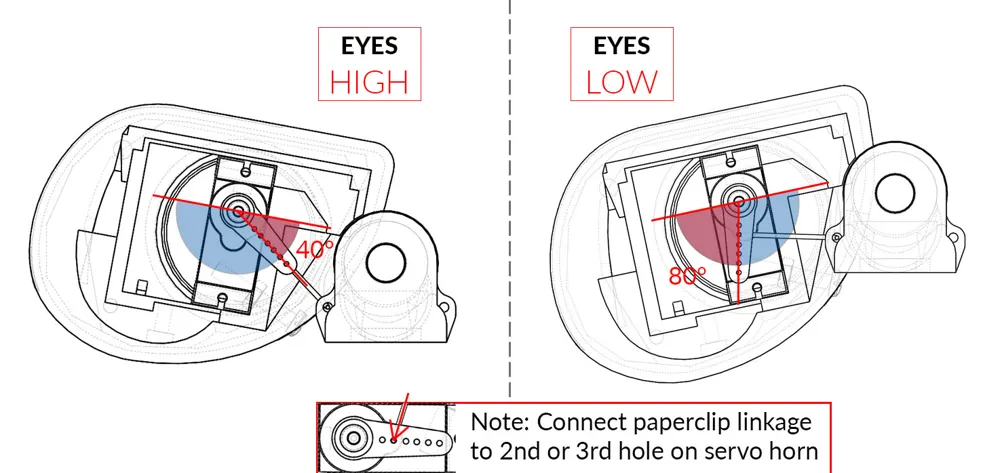
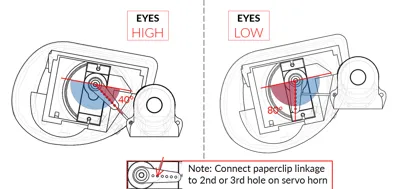
- Each eye can be raised and lowered independently with servo motors.
- There is room in each eye to add a small camera.
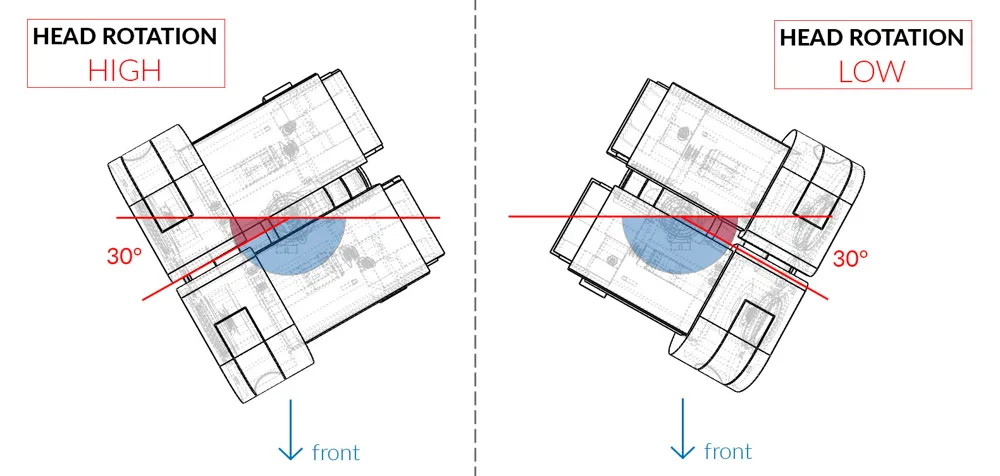
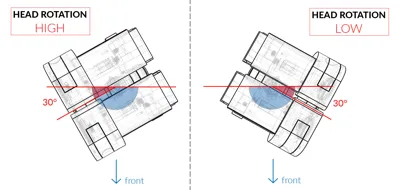
- The head can look left and right using a servo motor.
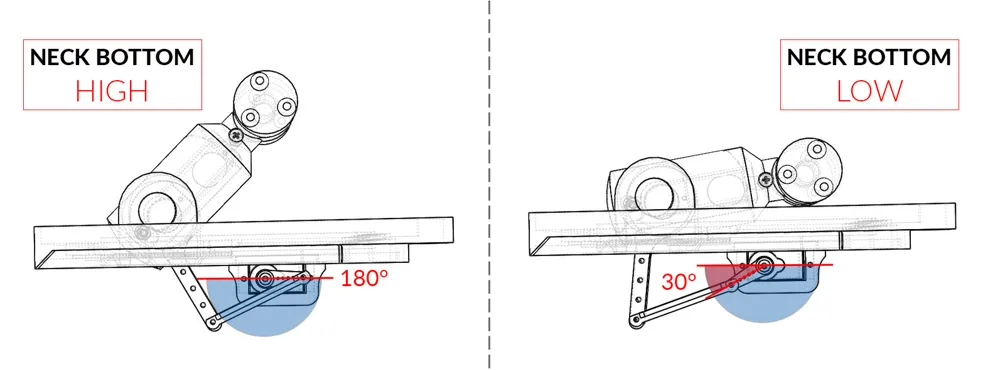
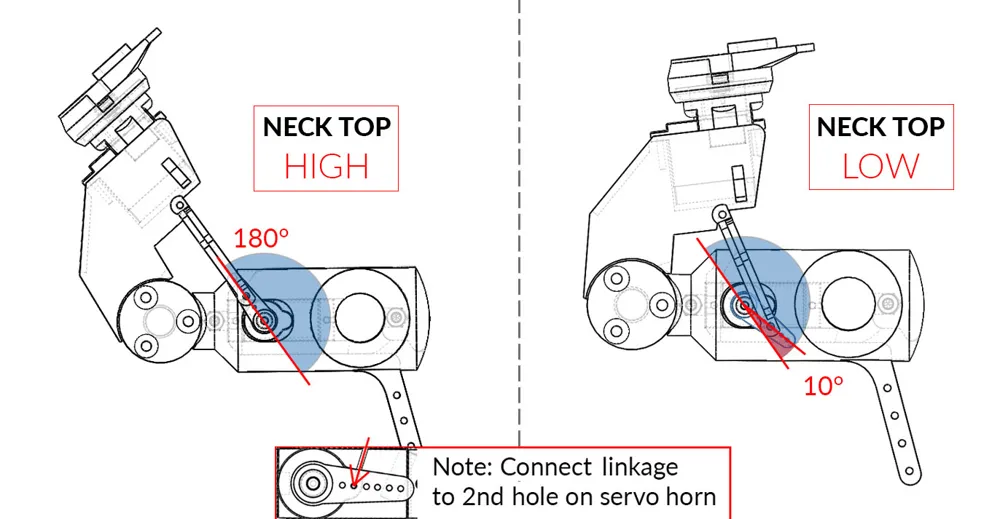
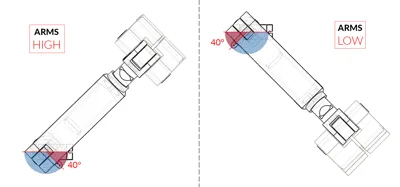
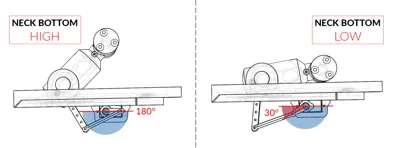
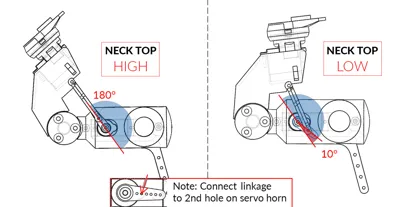
- The neck is actuated at two joints, allowing the head to look up/down and to be raised/lowered.
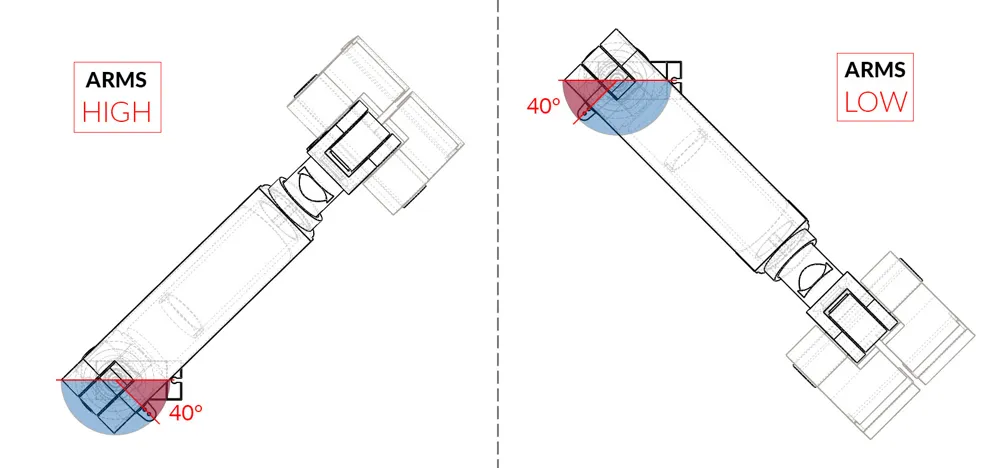
- Each arm has a motor at the shoulder to move it up/down.
- The arms consist of pressure fit joints, hands and fingers, which can be manually posed.
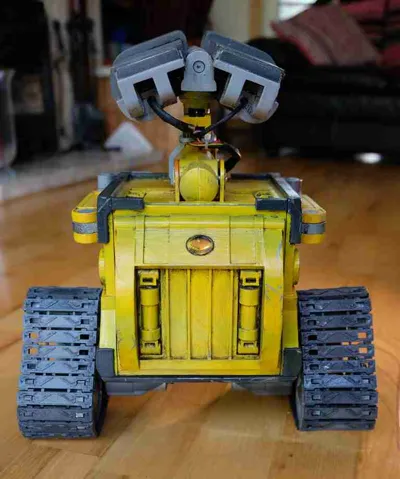
- The tank treads (skid steering) are fully 3D printed and can be powered using two 12V DC geared motors.
This is an ambitious project, aimed at people who want to build a fully animatronic WALL·E robot with servo controlled joints. It took me about 3 months to design and assemble the robot, with more than a month spent on just 3D printing all of the parts. In total, there are 310 parts (although 210 of those are very small and make up the tank treads).
After 3D printing each of the parts, I spent a lot of time sanding the parts to remove all of the print lines and give them a smooth finish. Two coats of filler-primer were then applied, with more sanding done between each of the coats. Using a primer is important, as it helps the paint to stick to the plastic and not rub off as easily. It is also useful as it makes imperfections and bumps on the part more obvious, showing where further sanding needs to be done.
Each of the parts was then individually painted with lacquer spray paints. I only used yellow, white, light grey, dark grey, black, and red spray paints to paint the whole robot. By splattering light layers of black and red paint onto the parts that were painted grey, it was possible to add texture and make them look a lot more like real metal.
Finally, after fully assembling the robot, I used black and brown acrylic paints to weather the robot. This involves applying the paint liberally onto all the surfaces, and roughly wiping away most of it with a towel. The paint that isn’t wiped away stays in the corners and crevices of the parts, making the overall replica look older and more realistic.
Documentation (2)
License



Comment & Rating (9)