
Beach table


Print Profile(6)


Bill of Materials



Description

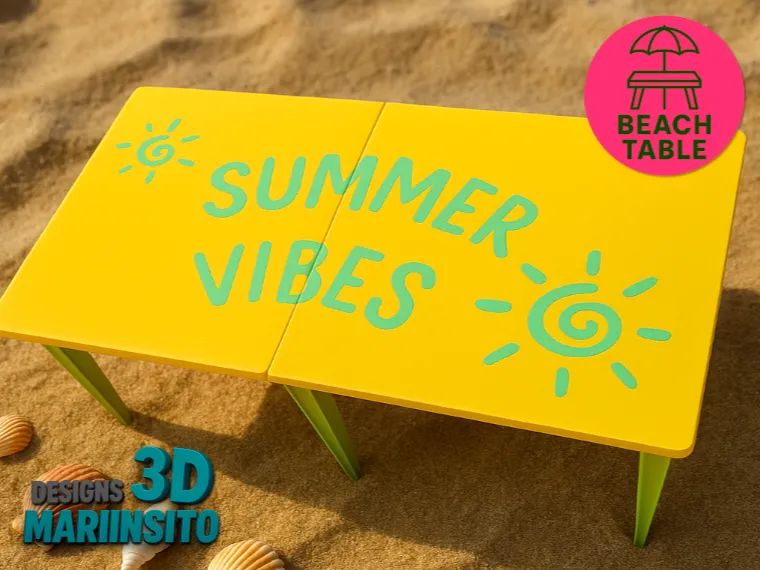
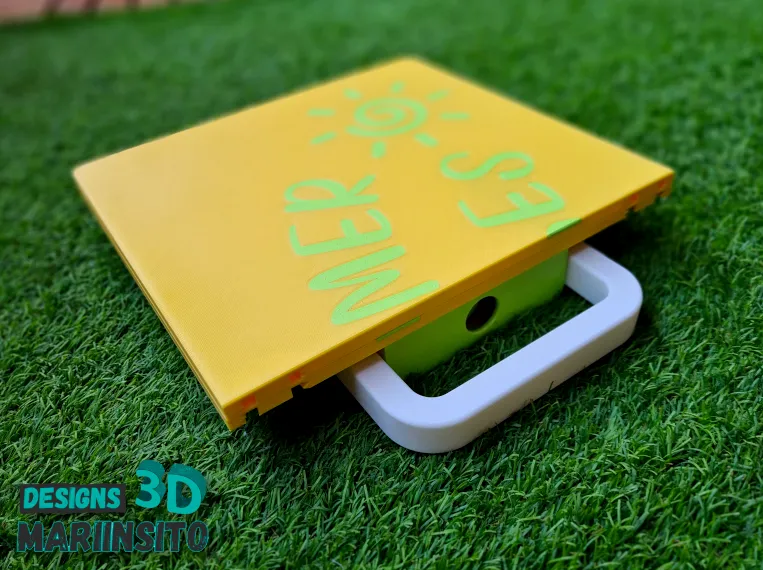
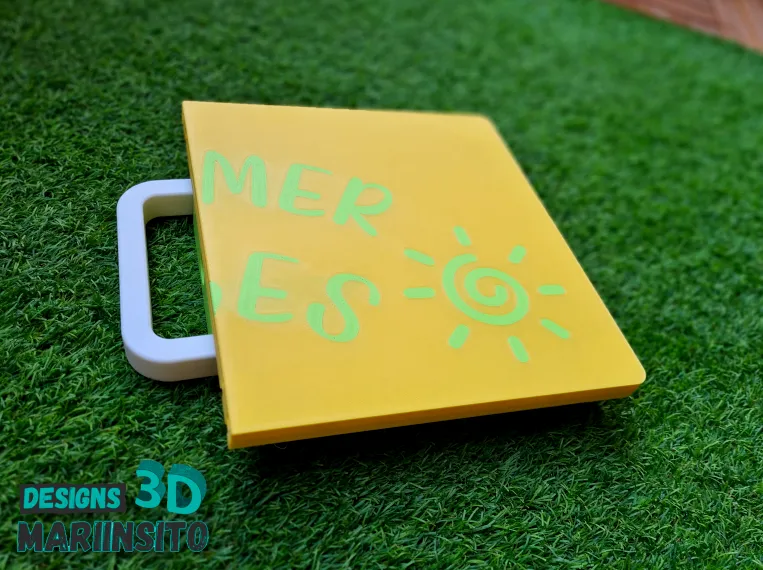
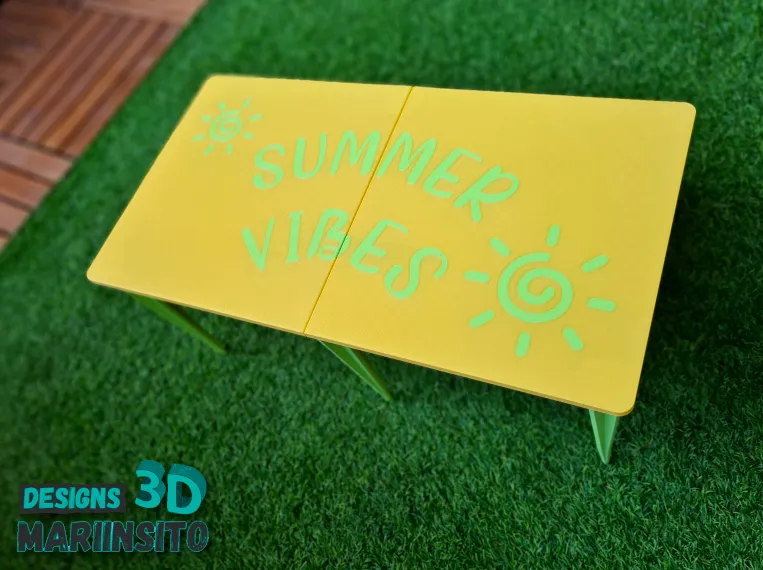
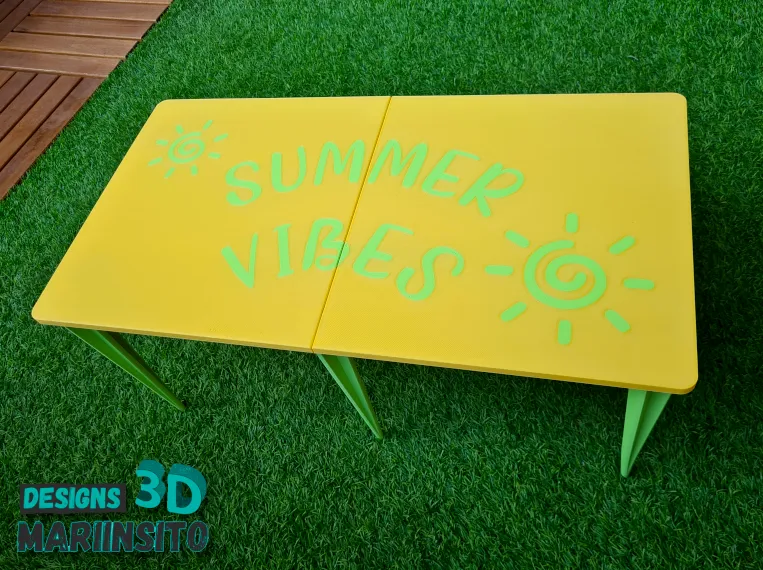
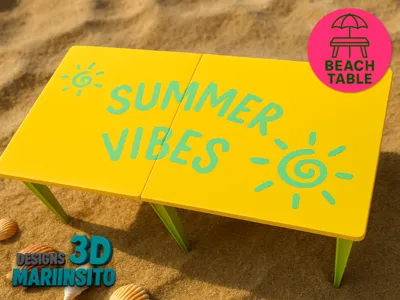
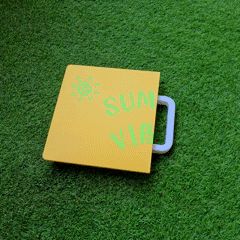
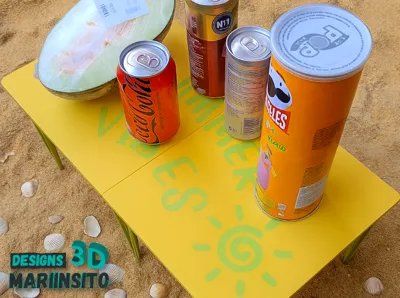
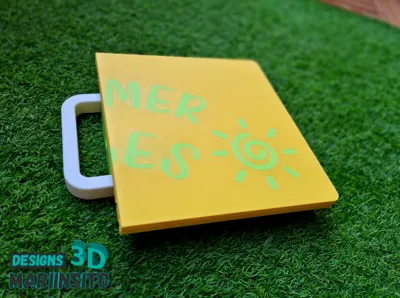
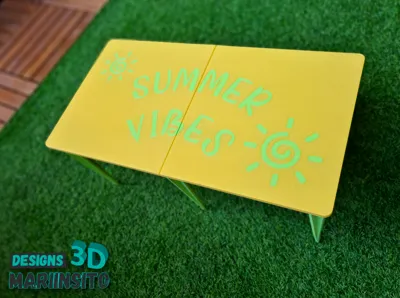
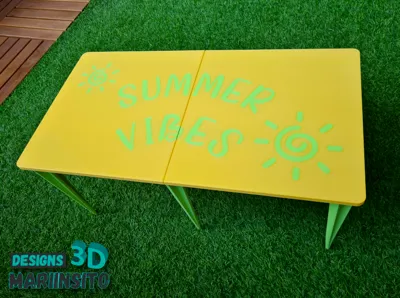
🌴 The ultimate beach table has arrived! 🌊
Take it on all your adventures: lightweight, durable, and ready in seconds. Its smart design makes it easy to transport, set up, and clean. Yes, even water and sand proof!

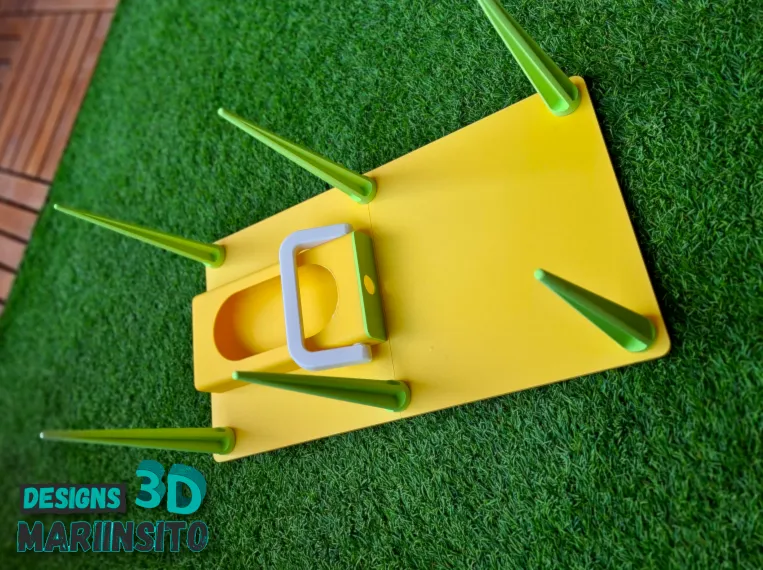
🧲 Folds flat thanks to powerful magnets.
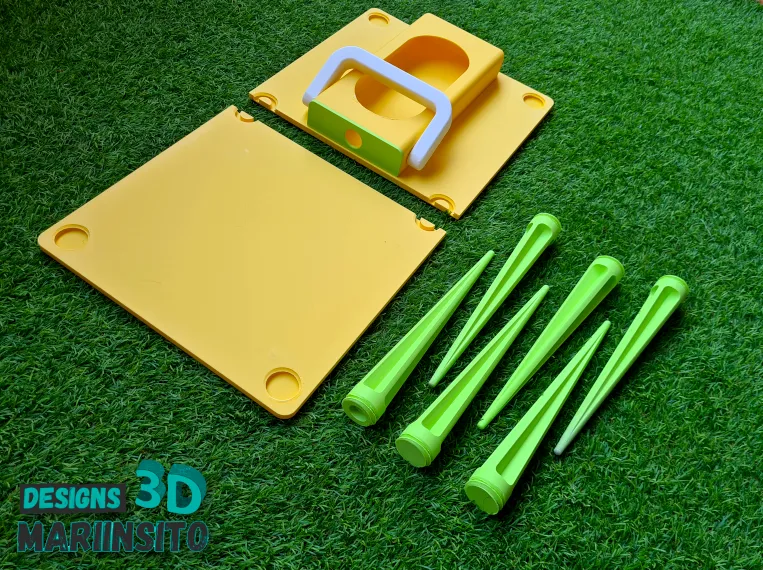
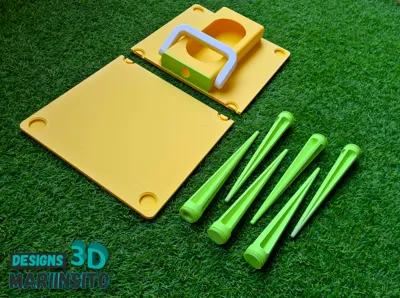
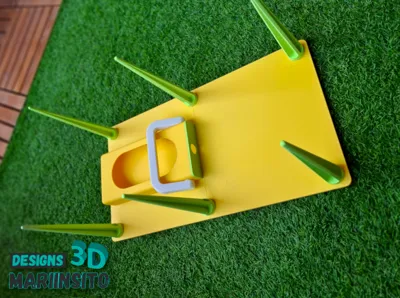
📦 Spike-shaped legs: stable on any terrain.
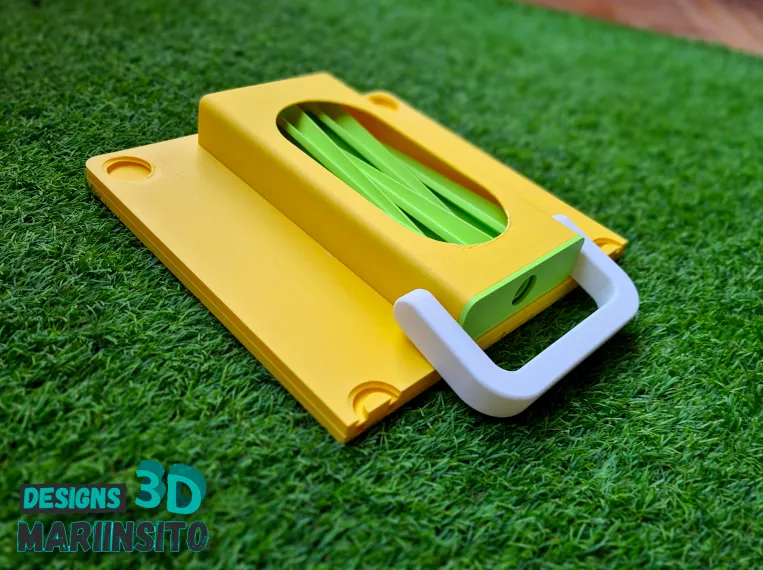
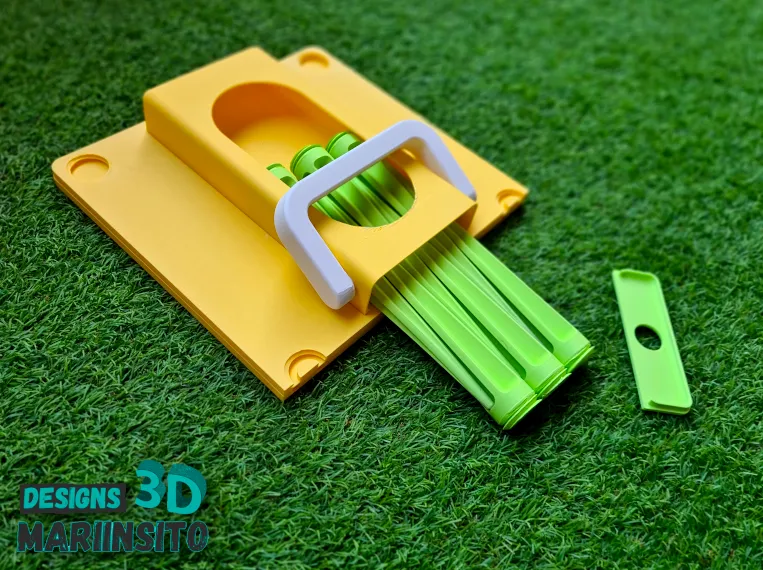
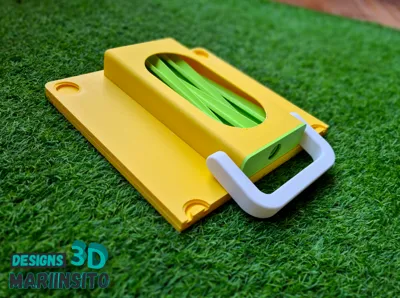
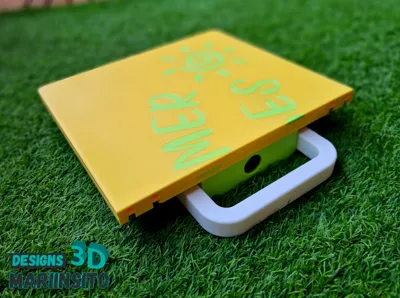
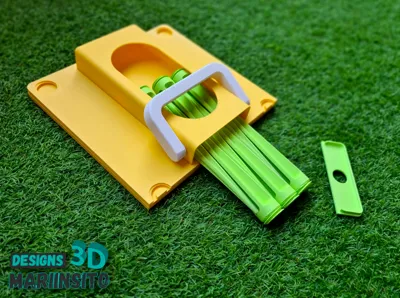
🧰 Compact storage in the bottom drawer.
🔩 Quick assembly with a firm and secure screw.
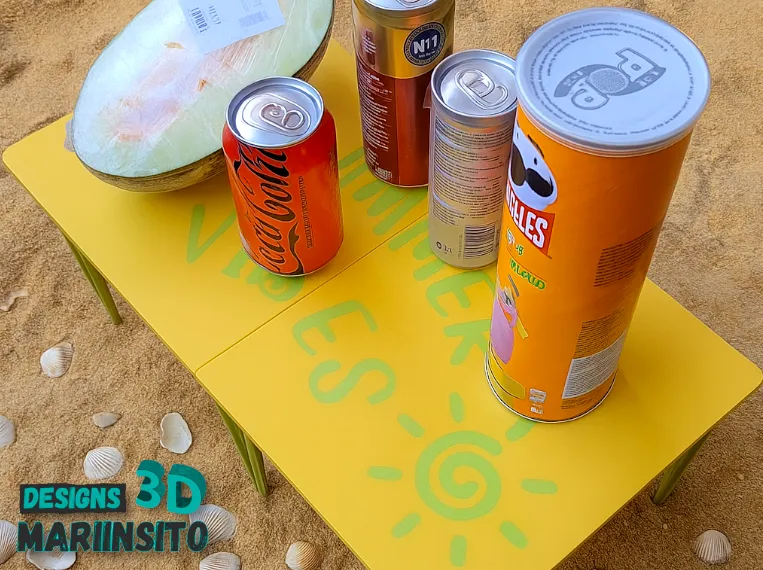
🏋️♂️ Supports weight without a problem!
Ideal for enjoying your vacation like never before: games, reading, meals, or a simple toast by the sea.
Once you try it, you won't want to go to the beach without it.
Turn every day at the beach into a perfect experience.
🔧 ASSEMBLY 🛠️
1. Print the two main parts of the table.
Attention!! The print profiles include a PAUSE where you must insert the magnets before resuming the print; secure them with contact adhesive to prevent the nozzle from attracting them when printing resumes.
Once they are ready, proceed to print the drawer where the table legs will be stored.
2. Secure the drawer to the left side.
Place it at the bottom of the left side of the table and glue it firmly with strong adhesive (recommended: epoxy or strong cyanoacrylate glue).
3. Attach the grip.
Insert the grip into the drawer recess.
Then, insert the two plugs from the inside of the drawer and glue them down.
🛡️ This reinforces the grip, ensuring greater durability during use.
4. Store the legs in the drawer.
Insert the legs, alternating their orientation to reduce space and make the drawer more compact.
5. Print the drawer lid.
Once you have it, place it to close the storage system.
✅ Assembly complete!
Your 3D-printed beach table is now ready to enjoy. Compact, functional, and custom-made for you. 🏖️
License

You shall not share, sub-license, sell, rent, host, transfer, or distribute in any way the digital or 3D printed versions of this object, nor any other derivative work of this object in its digital or physical format (including - but not limited to - remixes of this object, and hosting on other digital platforms). The objects may not be used without permission in any way whatsoever in which you charge money, or collect fees.


Comment & Rating (38)