
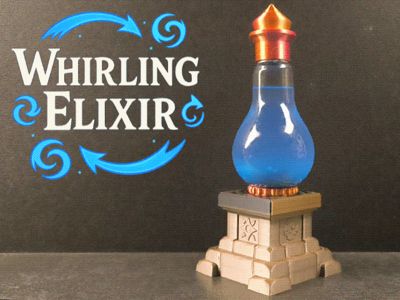
Whirling Elixir
Print Profile(2)


Bill of Materials

Description
Update
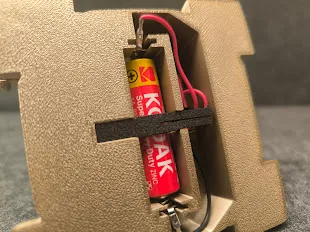

15.10.2025: I added battery protection. It shouldn't fall out now. Insert the protection from the bottom as shown in the picture
Overview

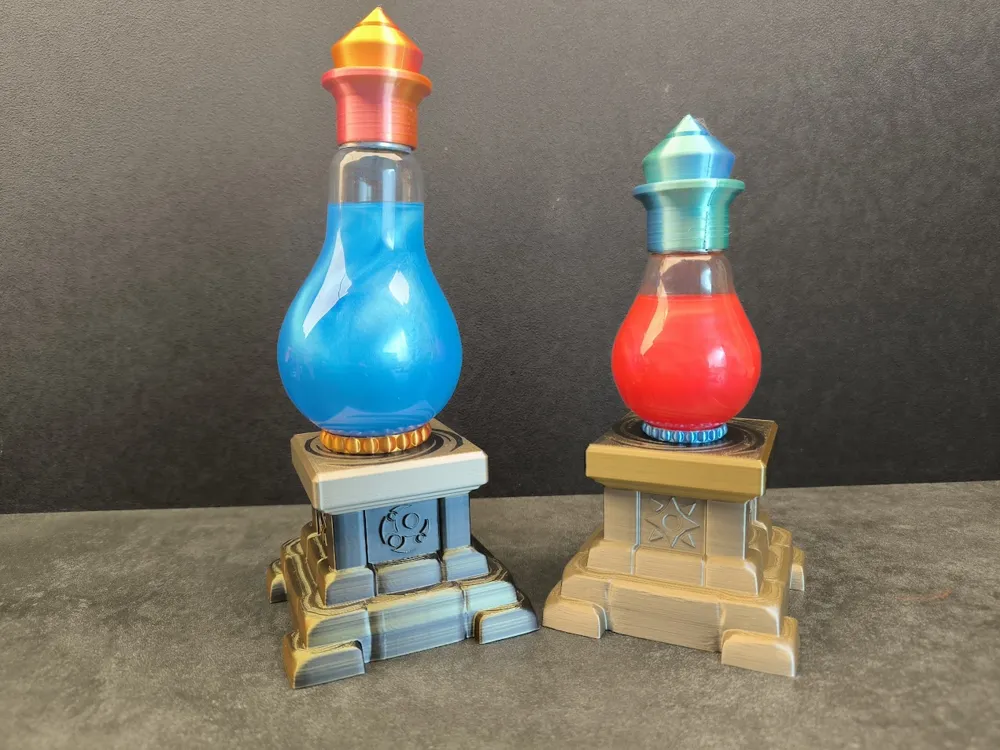
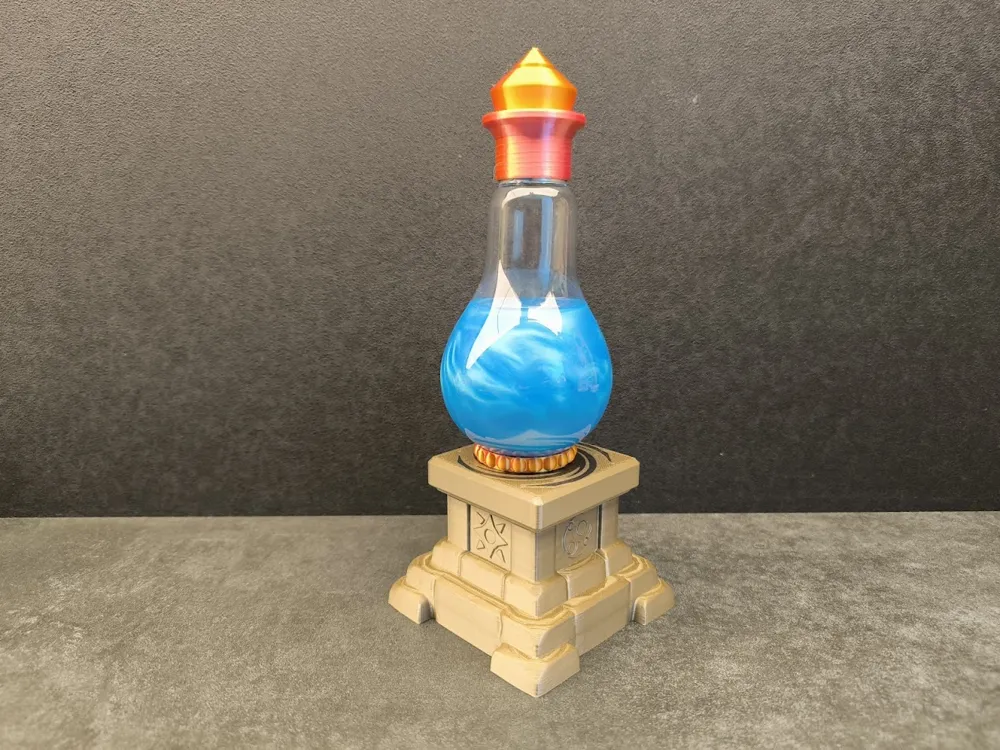
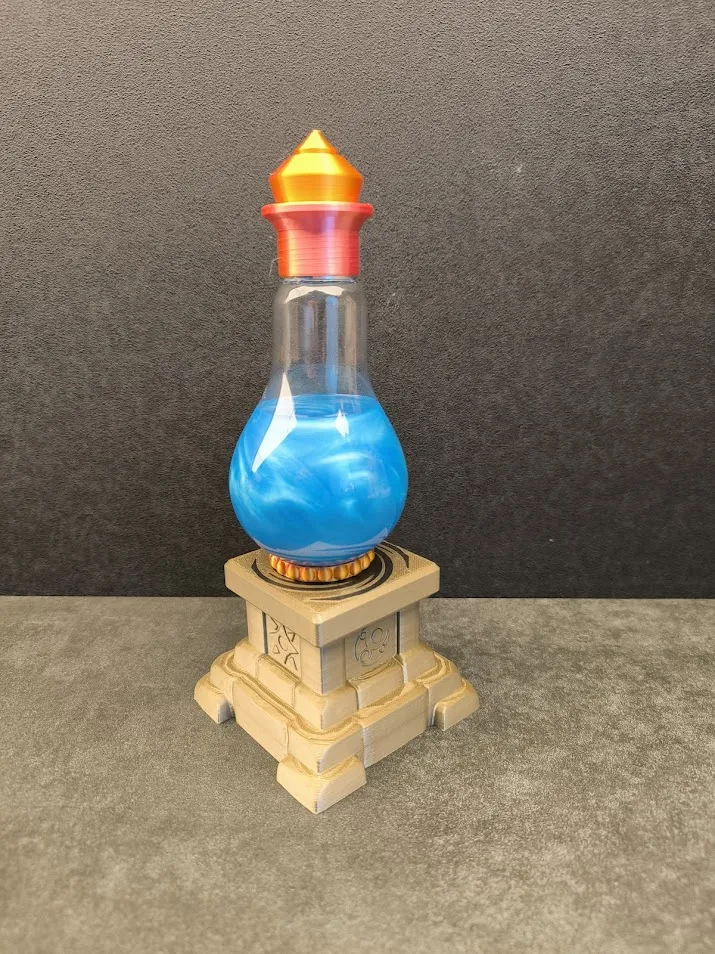
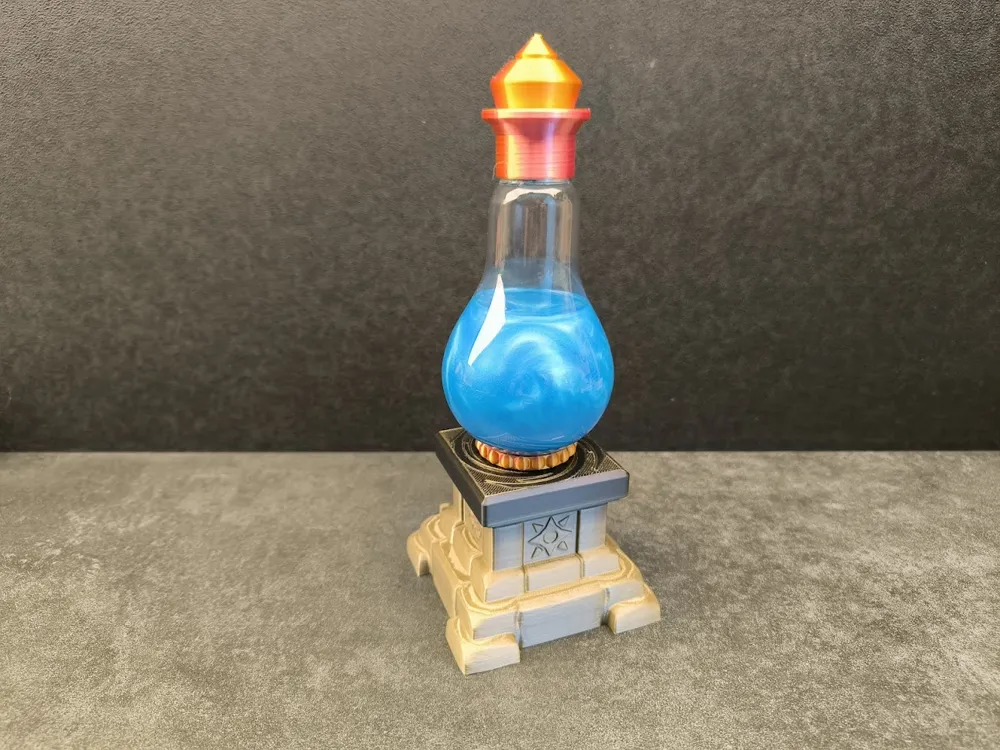
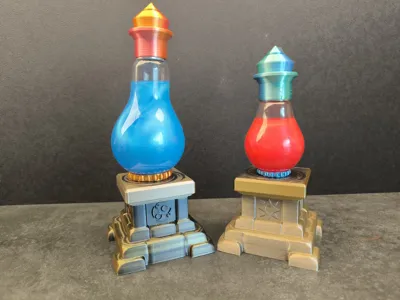
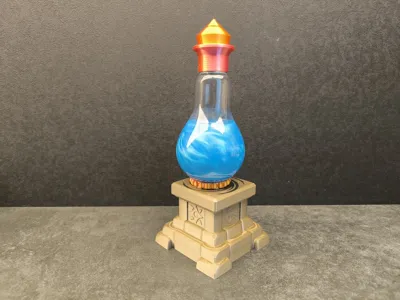
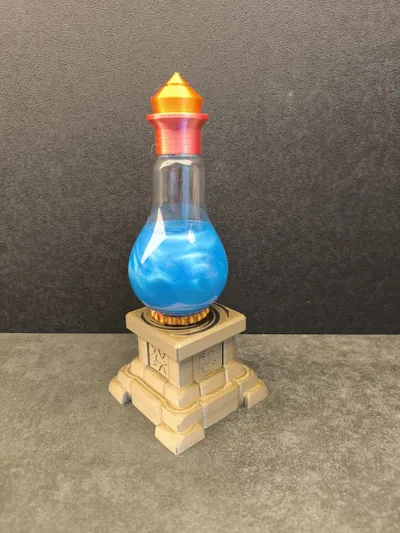
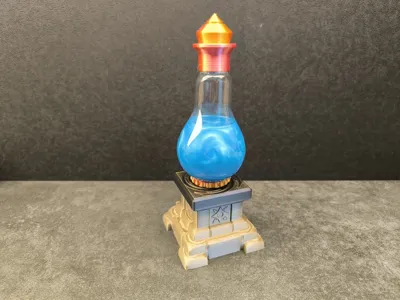
I present my diorama with magical monument that sets in motion the potion you place on it.
Monument uses components that can be found in the Maker's Beginner Kit
- D4x2mm Round Magnet x4
- AAA Battery Terminal Kit
- 030 Micro DC Motor
- Power Cable Kit with 2mm Spade Terminals
Instruction
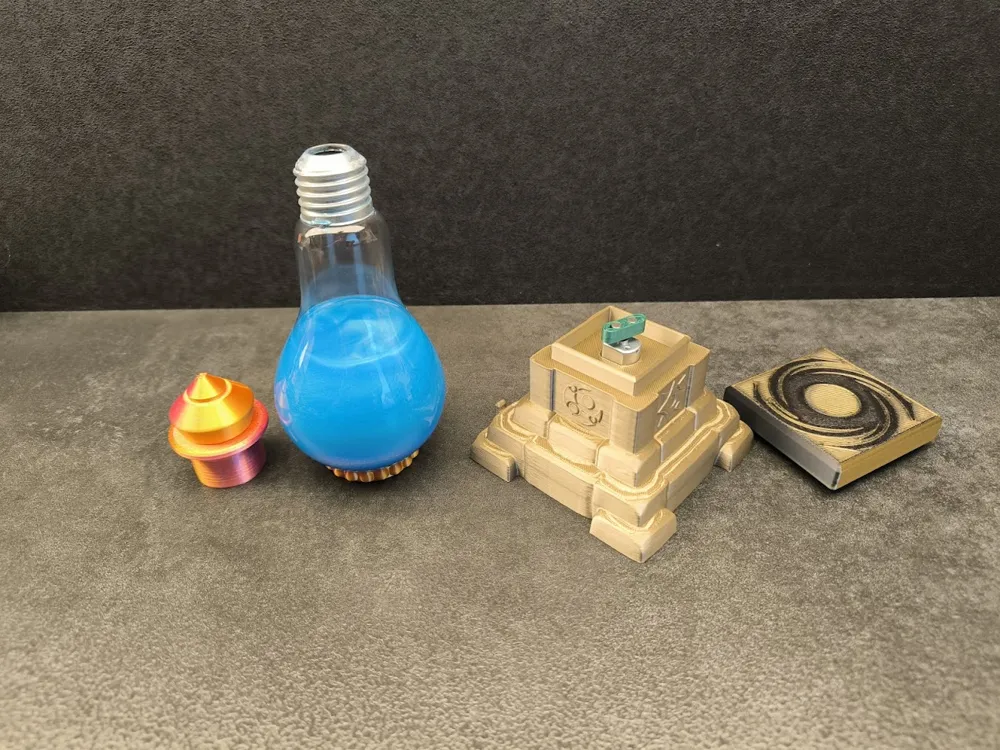
Insert the motor into the base from the top
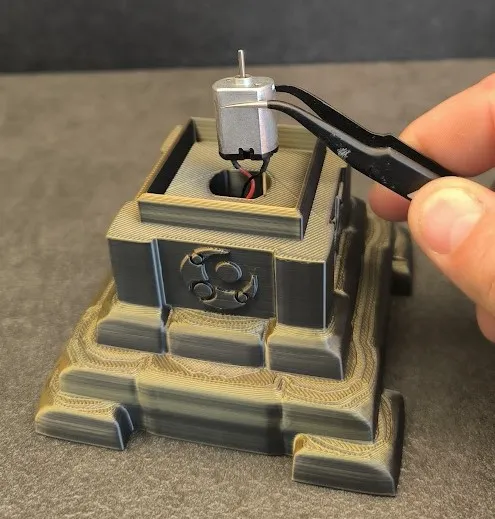
The engine must sit tight. Unfortunately, in my case, if I use regular PLA, the motor fits tightly, while if I use PLA SILK, the motor fits loosely. If your engine is sitting loose, use a drop of hot glue to hold it. Otherwise, the magnets will pull the motor up towards the wire in the potion and the whole thing will block against the lid.
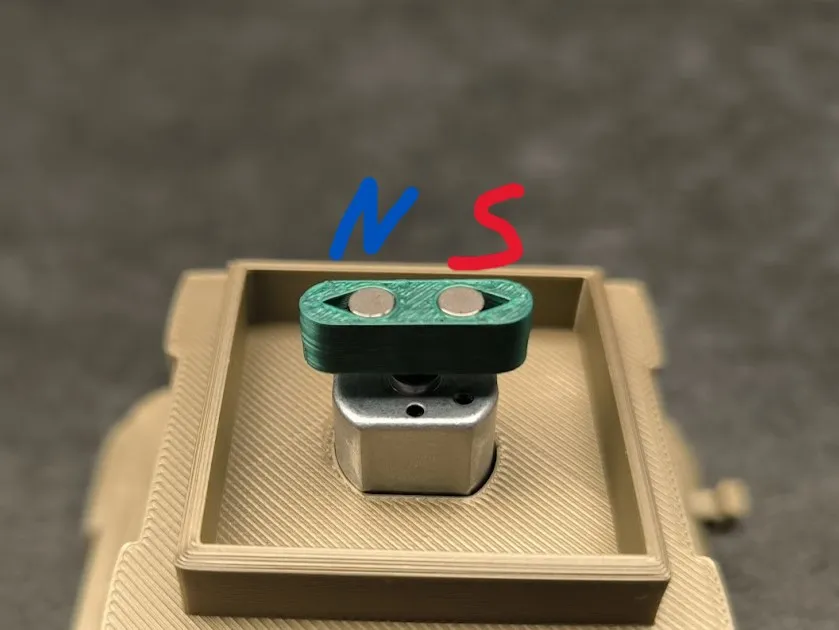
Put the tip with magnets on the engine
The positioning of the magnets is important. They must be arranged as in the picture. Two magnets go into each slot
There is no off switch in the Maker's Beginner Kit. So I designed a simple mechanism that disconnects the battery from the connector.

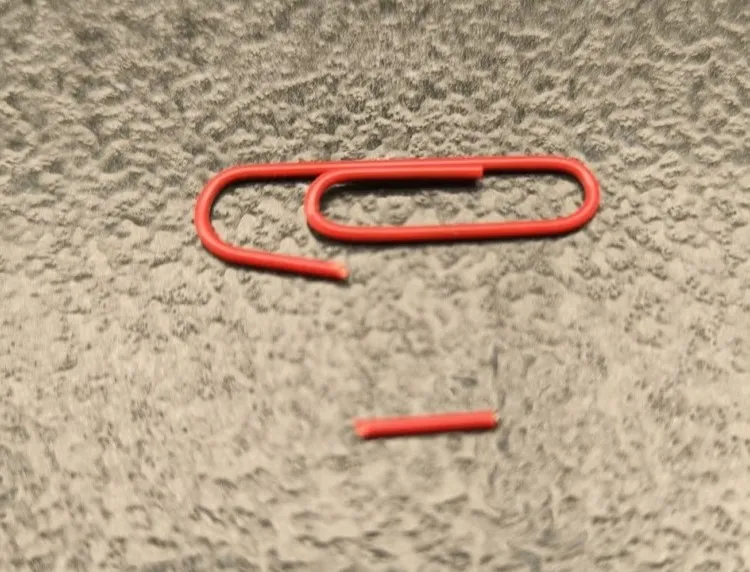
To mix the substance in the potion, you need to throw a piece of wire from a paperclip inside. However, an ordinary paperclip makes a certain noise. If you want everything to be quiet, use a plastic-coated paper clip. About 1 cm of wire is enough.
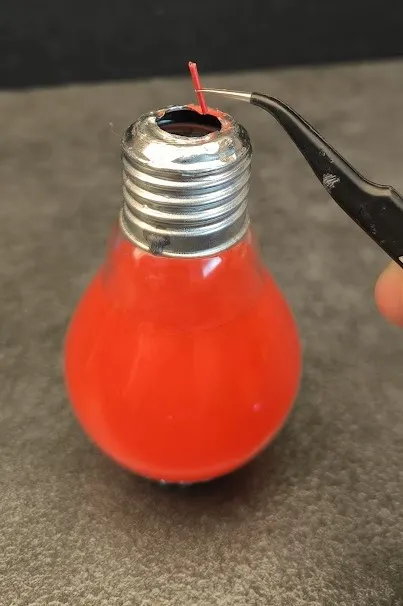
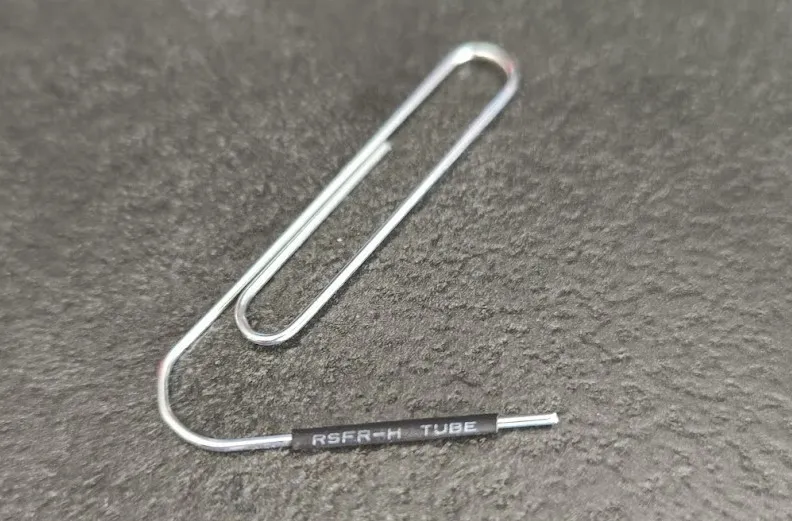
You can also use heat -shrinkable tubes and cover with it the normal paper clip.
And now instructions on how to prepare the magic potion
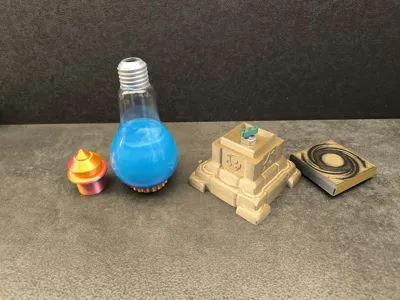
I came up with the idea that anyone can get a magic bottle by disarming an ordinary light bulb. I used a large 150W bulb with a diameter of 70 mm. But you can also use a smaller one. If you have any other bottle at home. You can also use it.
I have prepared two bulb sizes in the print profile. They only differ in the size of the base. One version is for bulbs with a diameter of 70 mm and the other version is for bulbs with a diameter of 56 mm. There is also a base for a 100 mm diameter ball, so you can easily scale it to whatever size you want. Glue the base to the bulb to make it stable
The nut consists of two parts. Just glue two parts together. Fits E27 thread.
I also added a funnel to fit the light bulb
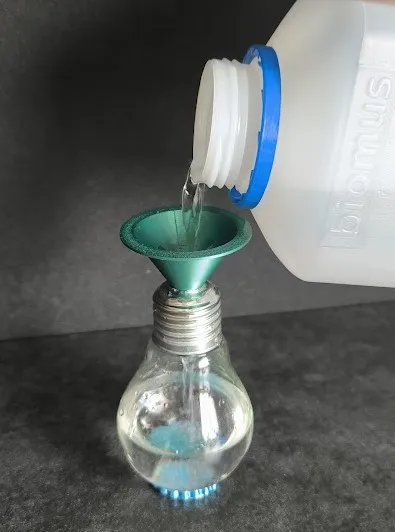
Below is a link to a video on how to disarm a regular light bulb.
And here is a link to a video on how to make a magic potion that looks nice. All you need is mica powder and isopropyl alcohol.

That's all .
Have Fun.
License

You shall not share, sub-license, sell, rent, host, transfer, or distribute in any way the digital or 3D printed versions of this object, nor any other derivative work of this object in its digital or physical format (including - but not limited to - remixes of this object, and hosting on other digital platforms). The objects may not be used without permission in any way whatsoever in which you charge money, or collect fees.


Comment & Rating (62)