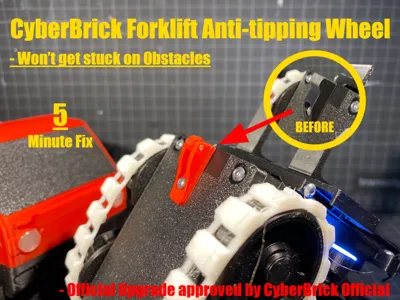
CyberBrick Forklift Anti-Tipping Wheel


Print Profile(1)

Description
Introduction
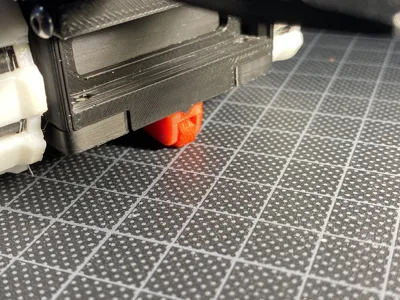
I 3D Printed the CyberBrick Forklift, but quickly found that the anti-tipping block got stuck on the smallest obstacles!
So I made this small wheel to replace the stock anti-tipping thing. It works by inserting a piece of filament thru the Wheel.
This mean that its COMPLETLY HARDWARE FREE!
If you wonder why this is needed, then you should read this:
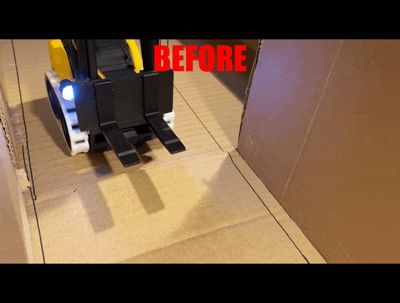
Before with the old anti-tipping thing, you couldn't drive outside on concrete, and hard wood flooring, without getting stuck all the time.
Well now you can! With this small wheel, you can drive over smaller bumps, even when you're lifting pallets!
The wheel also conserves batterylife by, making less friction! Remember it's a wheel, so it rotates, other than scraping on the floor
So why not give it a try?
It only takes:
LESS THAN 5 MINUTS TO PRINT, AND 1 GRAM OF FILAMENT!
Print Settings
I recommend using Fuzzy Skin on the Wheel, This makes the wheel more grippy on cardboard and smooth flooring!
This is the setting i recommed for that application:
- Fuzzy Skin = Contour ONLY
- Fuzzy Skin Point Distance = 0.2 mm
- Fuzzy Skin Thickness = 0.2
- (I recommend these values because of the whell size)
General print settings:
- 3 walls
- 100% infill
- NO supports
Assembly Instructions

The first step is that you need the 3D printed Parts, and a small
piece of 1.75mm filament!

The second step is to put one end of the filament into one of the holes
of the base part. Make sure not to let it stick all the way thru the hole.

The third step is to place the wheel and push the filament all the way thru.
This can be a bit fiddley, so i recommend using some pliers!

Step number four is to cut off the exsess filament with a hobbyknife.
(You can also use flatcutters, scissors, anything will do!)

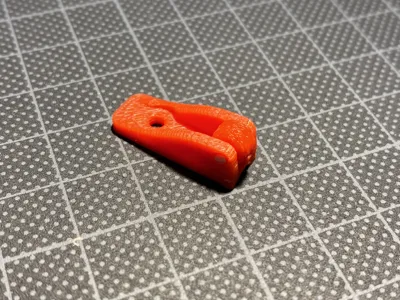
Now you should have something that looks like this!
Installation Instructions

Use a 1.5mm hex allenkey to remove the singular screw holding
the old anti-tipping thing! Remember to keep the screw!

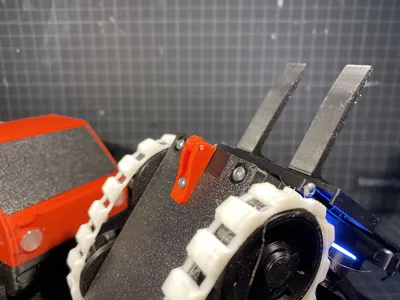
Screw in you new Anti-Tipping whell in the same place as the old thing.
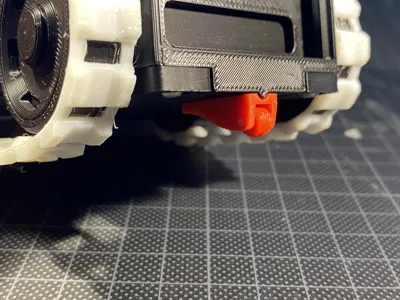
Make sure to have the whell forward, see the photo!

Now you should have something like this!
Congratulations by assembling an installing your new Anti-Tipping Whell!
I Hope this makes your forklift more capable!
Thank you for downloading and printing my model:-)
Boost Me (for free)
I hoped you liked the model and assembly instructions, they took a long time to make! If you think i derseved a boost, click here:-)
License
You shall not share, sub-license, sell, rent, host, transfer, or distribute in any way the digital or 3D printed versions of this object, nor any other derivative work of this object in its digital or physical format (including - but not limited to - remixes of this object, and hosting on other digital platforms). The objects may not be used without permission in any way whatsoever in which you charge money, or collect fees.
Comment & Rating (56)