
Minecraft Sword
Print Profile(1)

Description
This is a beta release of the Pixel Torch Sword project!
- The electronics wiring diagram and ready-to-flash firmware will be added soon.
- Right now, you can already print all the parts, study the assembly steps, and order the required electronics from the shopping list.
- Join our Discord community (https://discord.gg/wBnBFWyn) to be the first to get updates, ask questions, or share your progress.
Thank you for testing and helping improve the project! Your feedback, ideas, and photos are always welcome.
Print, Swing & Glow – Motion‑Reactive Sword (3D‑Printable)
1 · What’s the big idea?
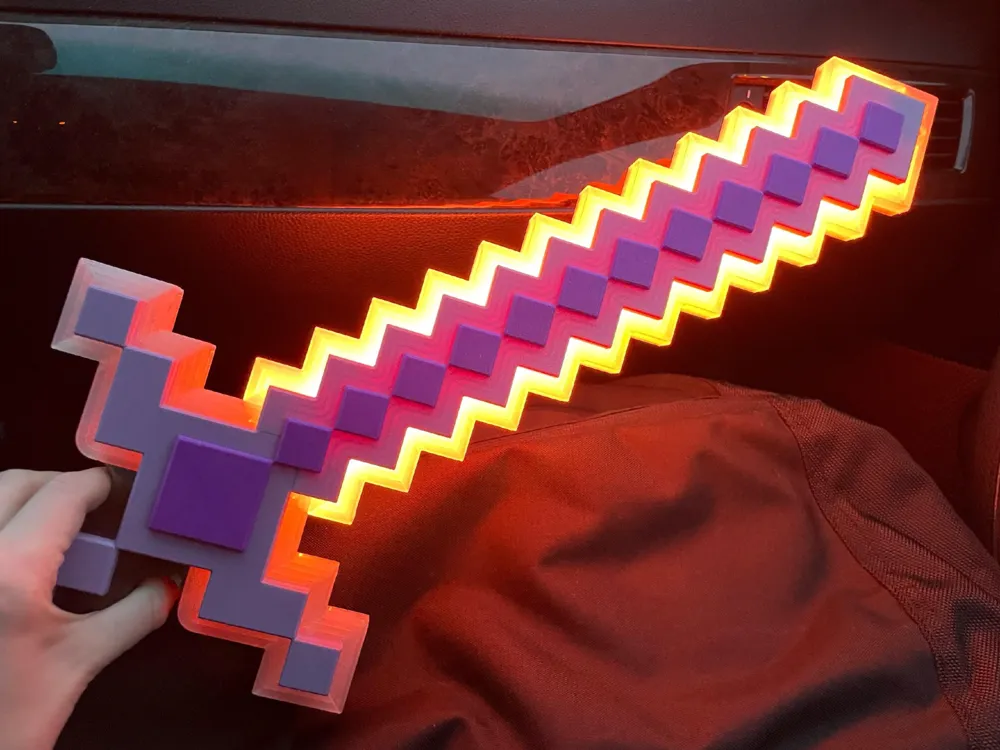
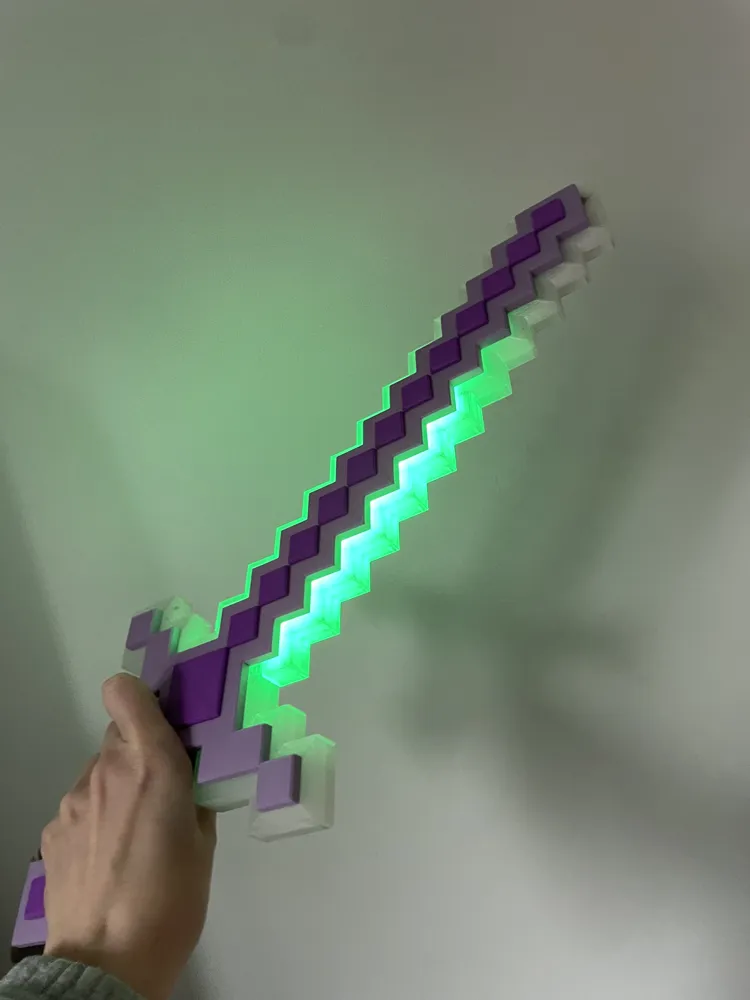
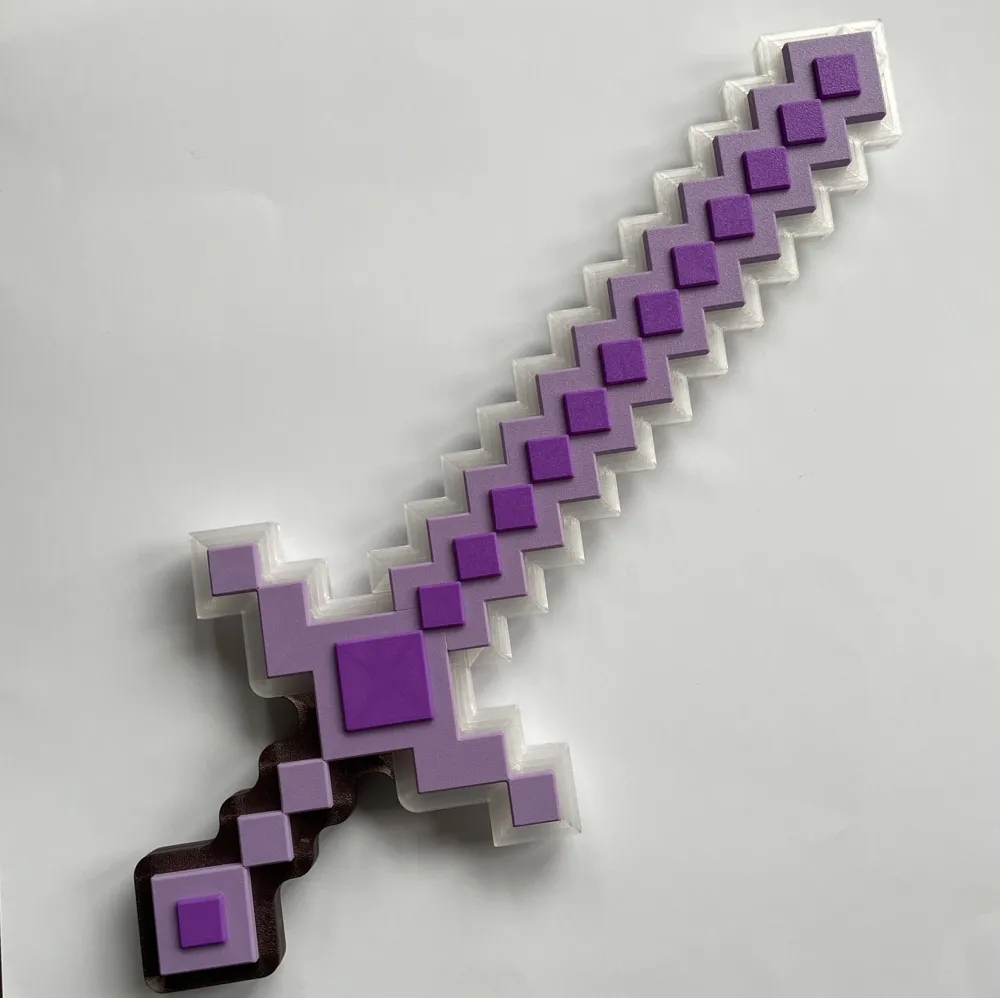
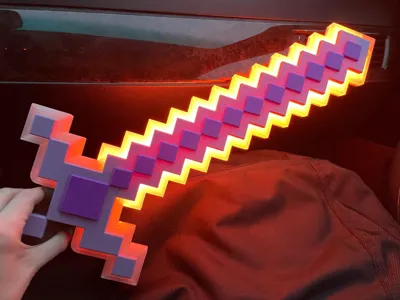
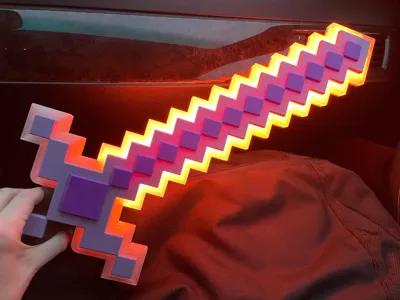
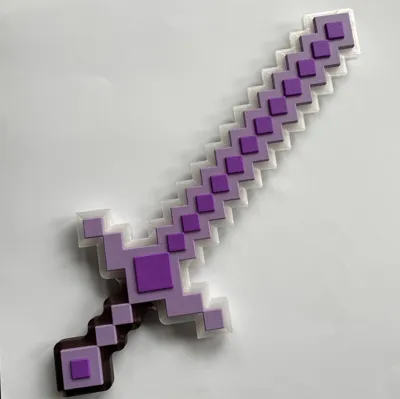
Ever picked up a Minecraft sword and wished it actually did something? This one does. Print the parts on any mid‑sized FDM printer, slide in a little electronics pack, and you’ve got a saber that wakes up when you move, crackles like a torch when you hold it aloft, and throws a brilliant white clash when you strike.
2 · Magic in Motion (automatic modes)
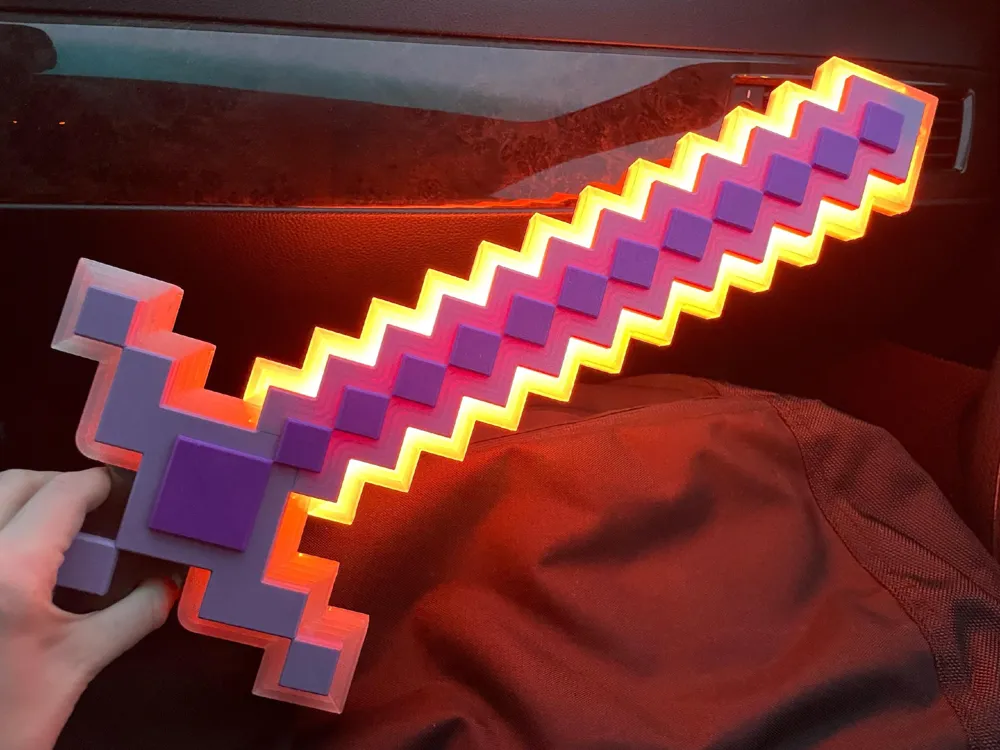
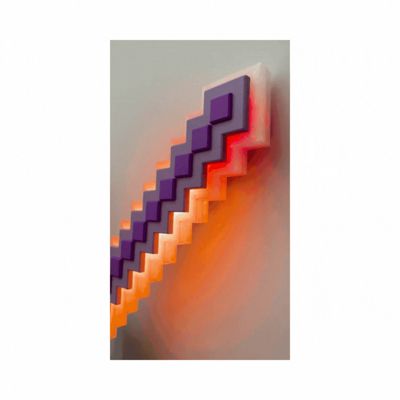
- Torch Flicker – Hold the blade straight up for three seconds and it glows like a camp‑fire, warm reds and dancing sparks near the hilt. Great for mood lighting!

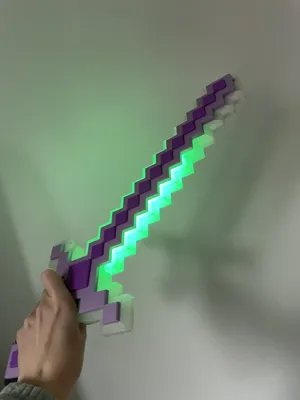
- Motion‑Reactive Glow – Swing gently and only the tip lights in cozy amber; swing hard and the whole blade blazes icy steel. Brightness and colour scale smoothly with acceleration, so it always feels alive rather than blinky.
- Clash Flash – Any hit over ~6 g dumps a 0.5 second white flash that fades back out—perfect for stage fights.
- Snuff the Flame – Point the sword straight down for three seconds and the fire fades away. Simple.
3 · Print & build (how it comes together)
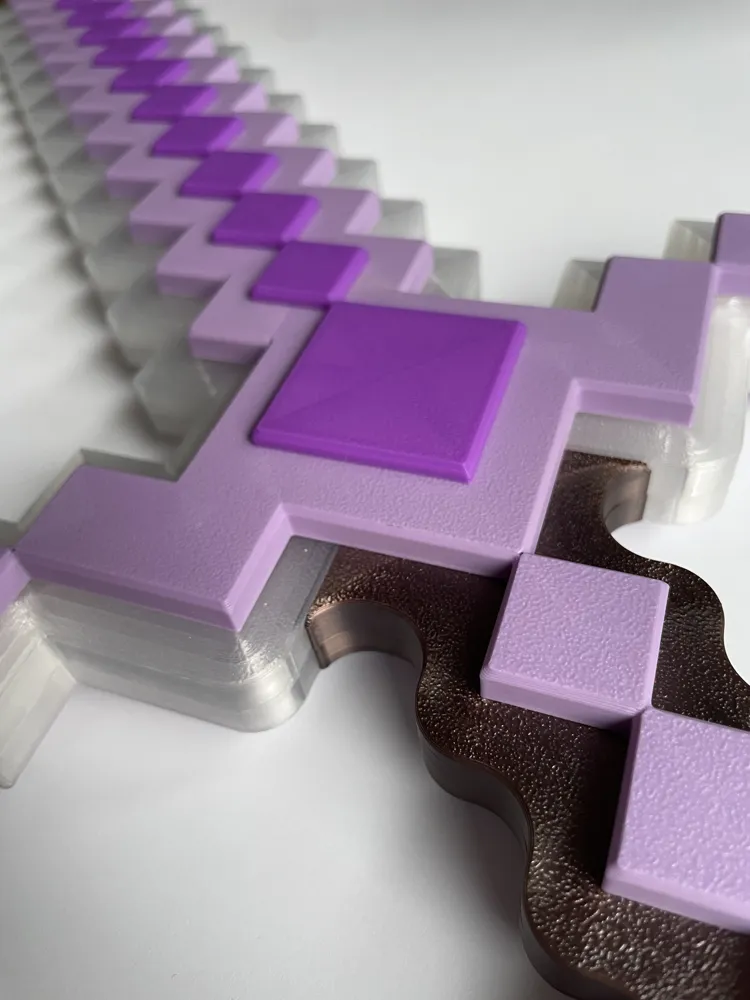
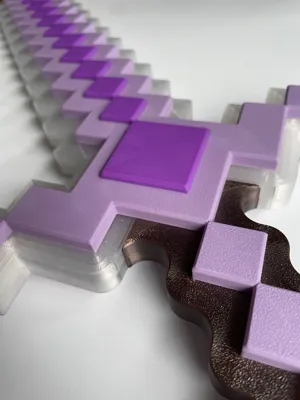
- Six pixel‑blade layers – three for the left side, three for the right. Each flat slice already includes the guard cross‑piece and the first few handle pixels, so when the six are stacked you get a perfect sword silhouette. Print them in clear or translucent PLA/PETG so the LEDs diffuse their light smoothly.
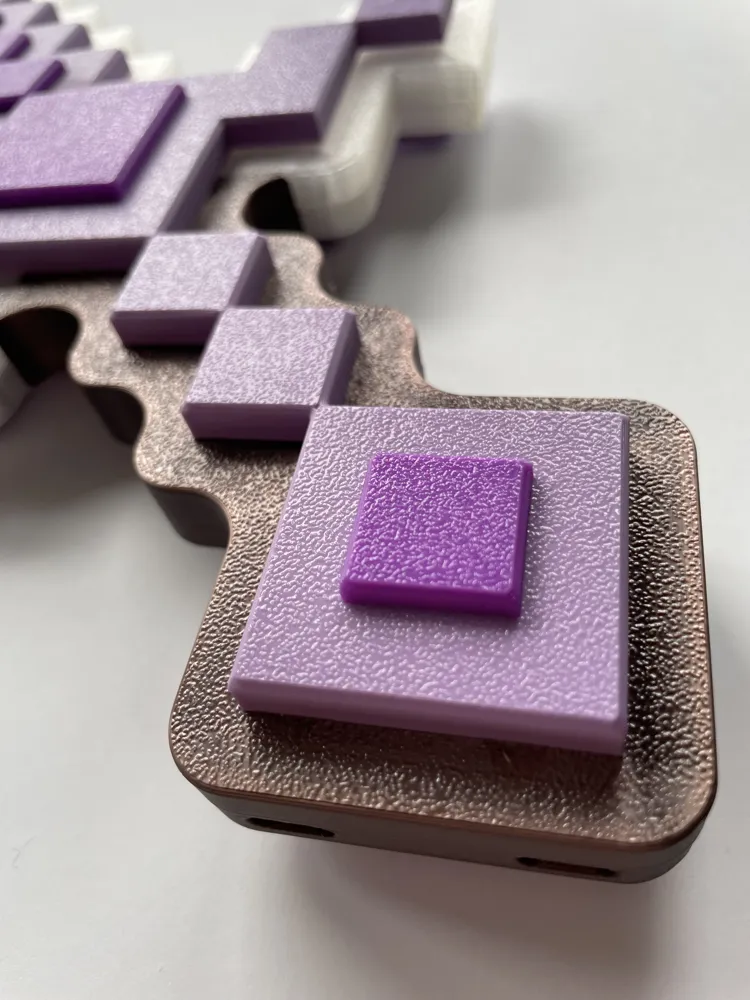
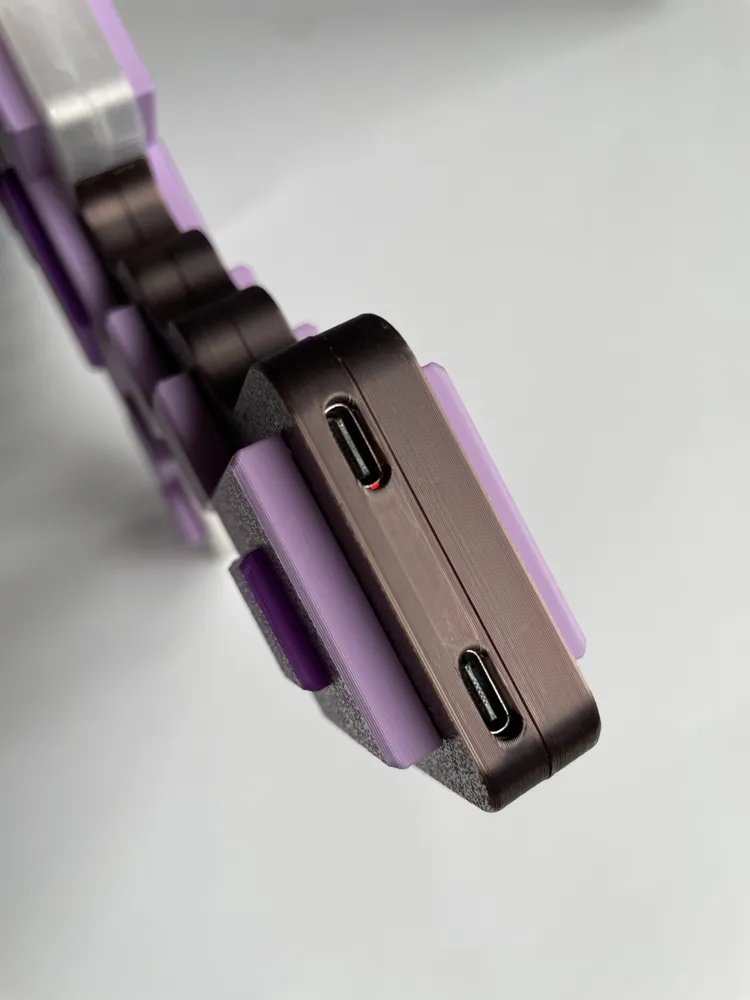
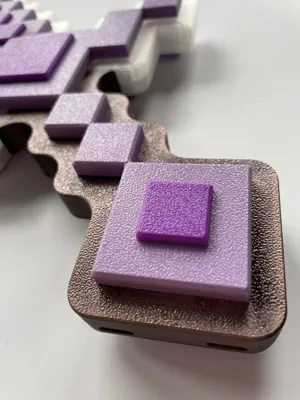
- Handle core – a sturdy inner section with all wire channels and mounting slots for the Nano, TP4056, and battery.
- Grip shell and pommel cap – two outer pieces that snap or glue on to finish the hilt. No cutting, drilling, or sanding needed—everything’s ready right off the printer!
4 · What you’ll need (shopping list)
- 60 cm of WS2812 (NeoPixel) LED strip – 5 V, 60 LED m‑¹.
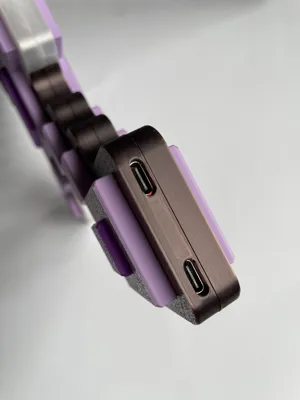
- Arduino Nano (USB‑C version)
- MPU‑6050 motion sensor (installs in a pocket at the very tip of the blade).
- TP4056 USB‑C charger with built‑in battery protection.
- 18650 Li‑ion cell (around 3000 mAh is perfect).
5 · Quick assembly walkthrough
- Print everything – the six blade layers (three left, three right).
- Build the two half‑blades – For each side, align the three layers (inner, middle, outer) and wick a thin line of CA or epoxy along their mating steps. Clamp or tape until fully set. You’ll have two rigid mirror‑image slabs.
- Install the electronics – Lay the LED strip into the light channel of one half‑blade, hot‑glue at both ends, and seat the MPU‑6050 in its pocket at the tip. Thread the ribbon cable back through the blade root into the handle cavity, then click the Arduino Nano and TP4056 into their printed slots inside the handle core. Drop in the 18650 cell. Solder everything according to the wiring diagram, flash the Arduino firmware, and check that it works.
- Close the sword – Apply glue to the perimeter of the stacked half you just populated and press the second three‑layer slab on top, making a perfect six‑layer sandwich. Use painters tape or light clamps so the pixel edges stay flush while curing.
And that’s it—no drilling, no sanding mortises, just neat stacks and a little glue.
6 · Grow the project together!
This sword is just a starting point. If you have ideas for improvements, new lighting modes, or want to share your print, join the conversation! Discord: https://discord.gg/wBnBFWyn Bug reports, feature requests, translations, wild ideas—all are invited. Let’s build something awesome, together.
Print it, charge it, swing it—and watch the pixels dance!
License

You shall not share, sub-license, sell, rent, host, transfer, or distribute in any way the digital or 3D printed versions of this object, nor any other derivative work of this object in its digital or physical format (including - but not limited to - remixes of this object, and hosting on other digital platforms). The objects may not be used without permission in any way whatsoever in which you charge money, or collect fees.


Comment & Rating (10)