
SpaceX Starship (Block 2, 1:144)
Print Profile(0)
Description
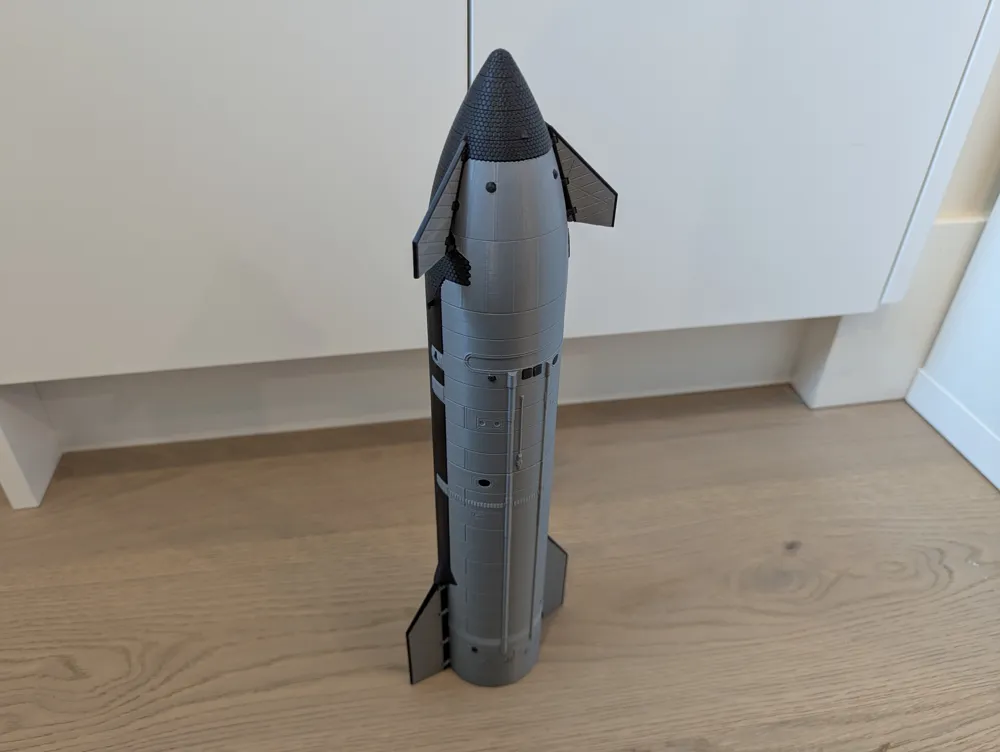
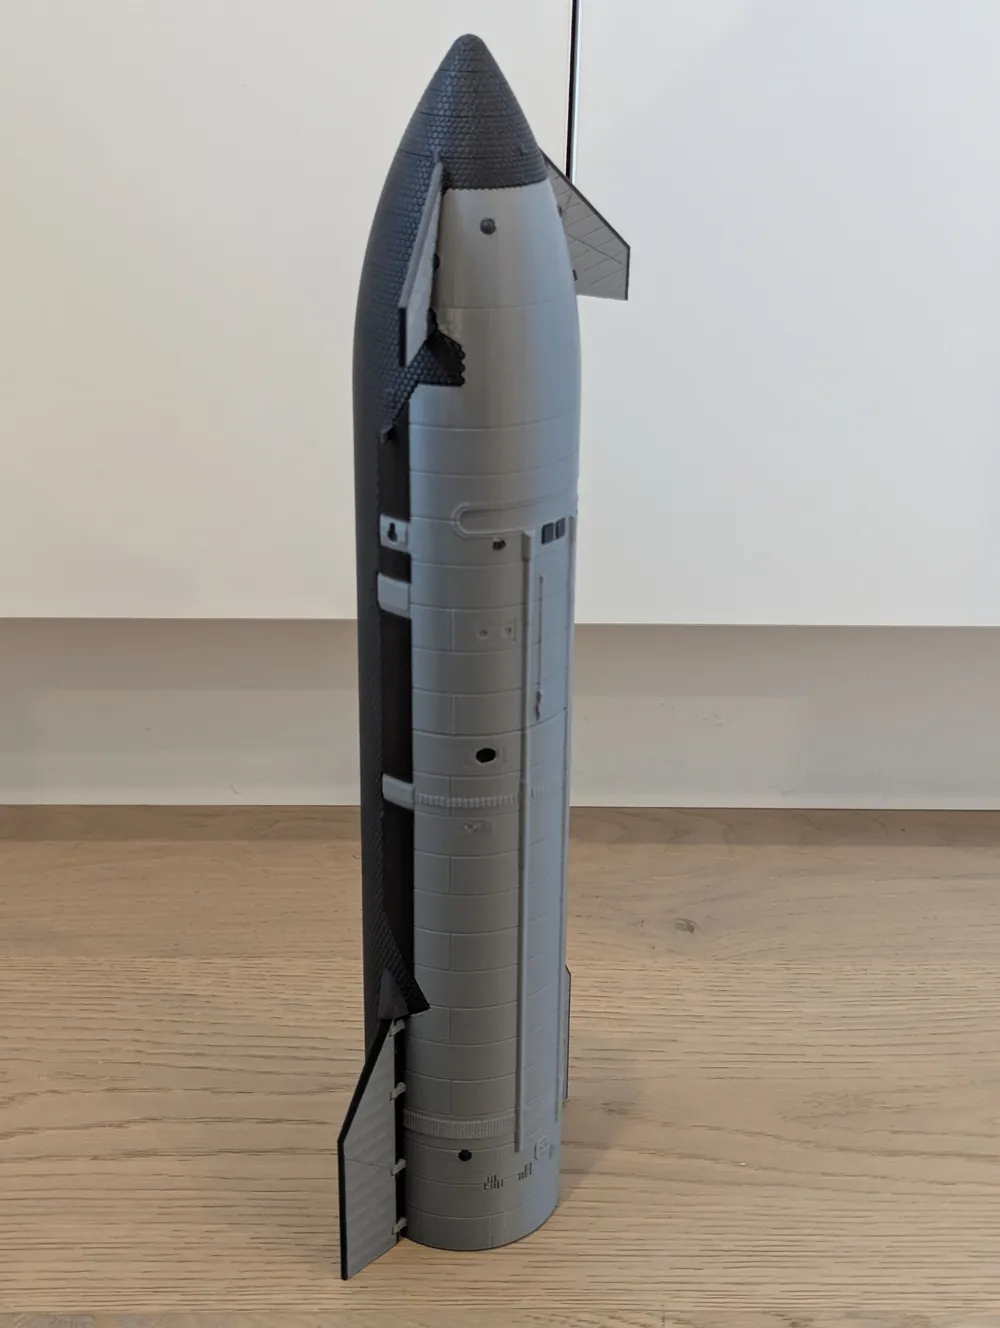
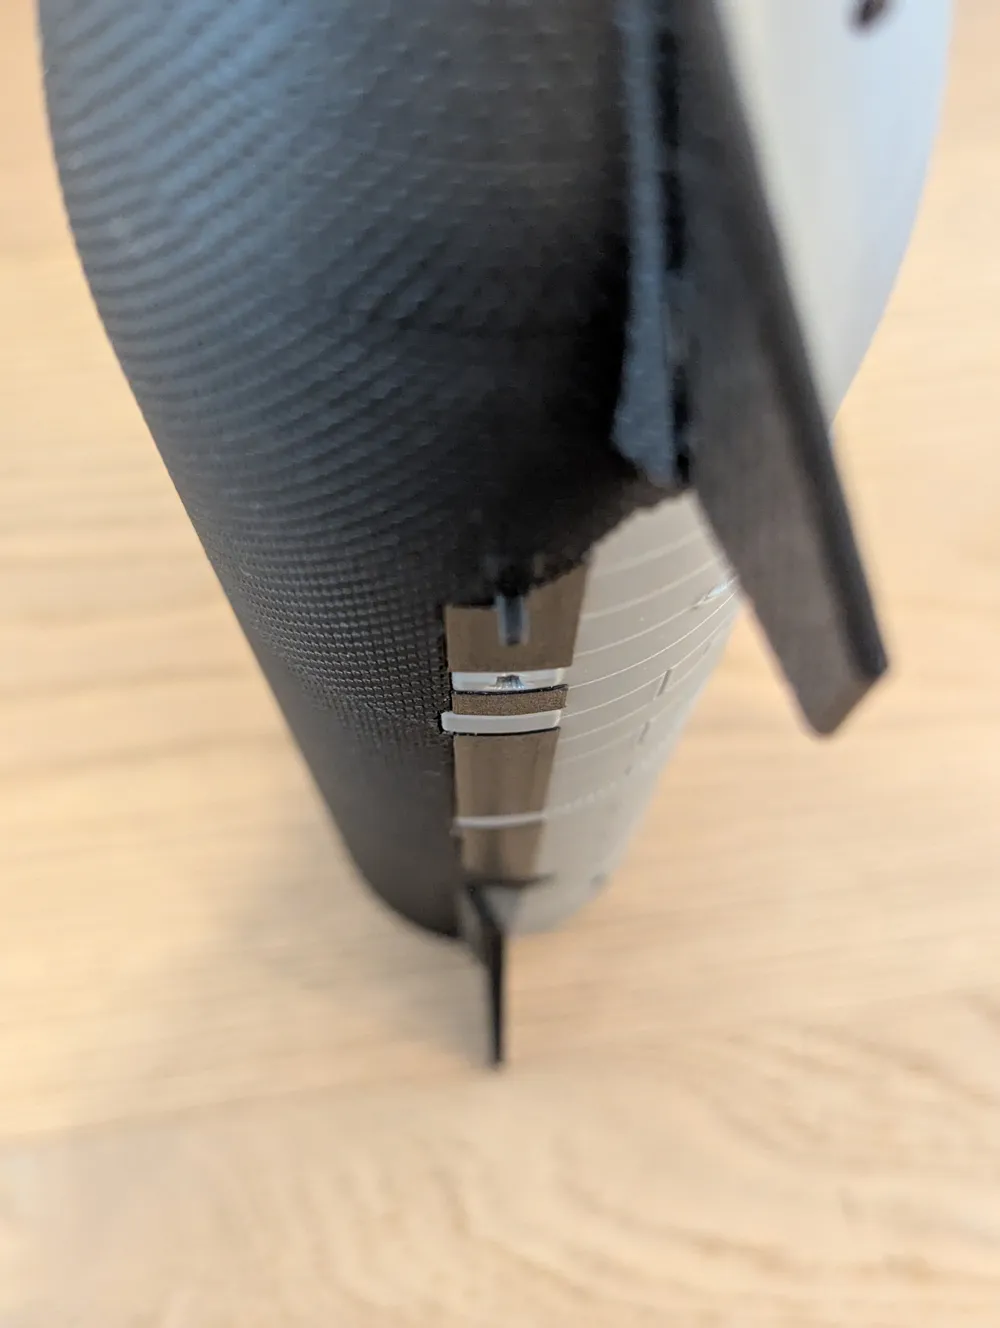
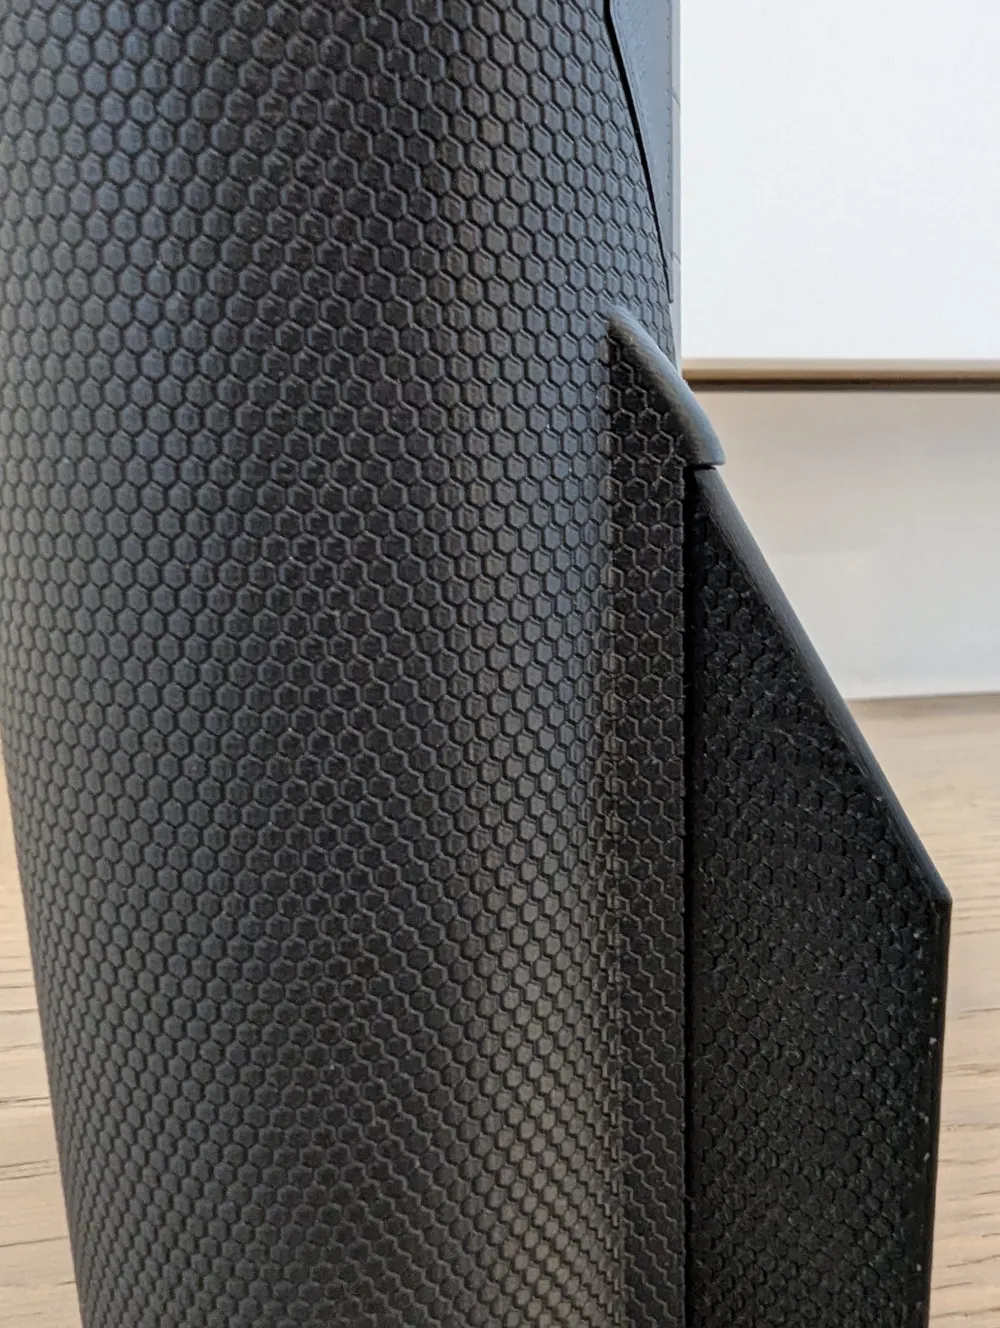
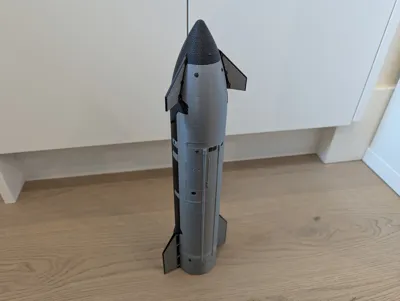
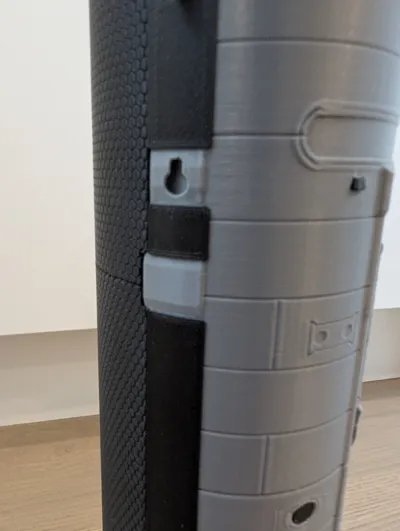
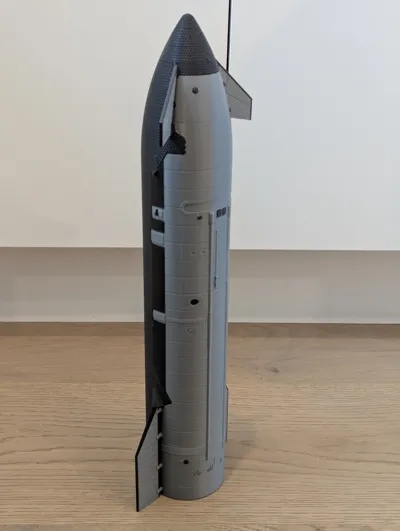
This is a 1:144 scale model of the SpaceX's Starship upper stage! It measures 62.5mm in diameter and approx. 370mm in height! This is the “Block 2” version of the ship, featured on flights 7-9 (so far)!
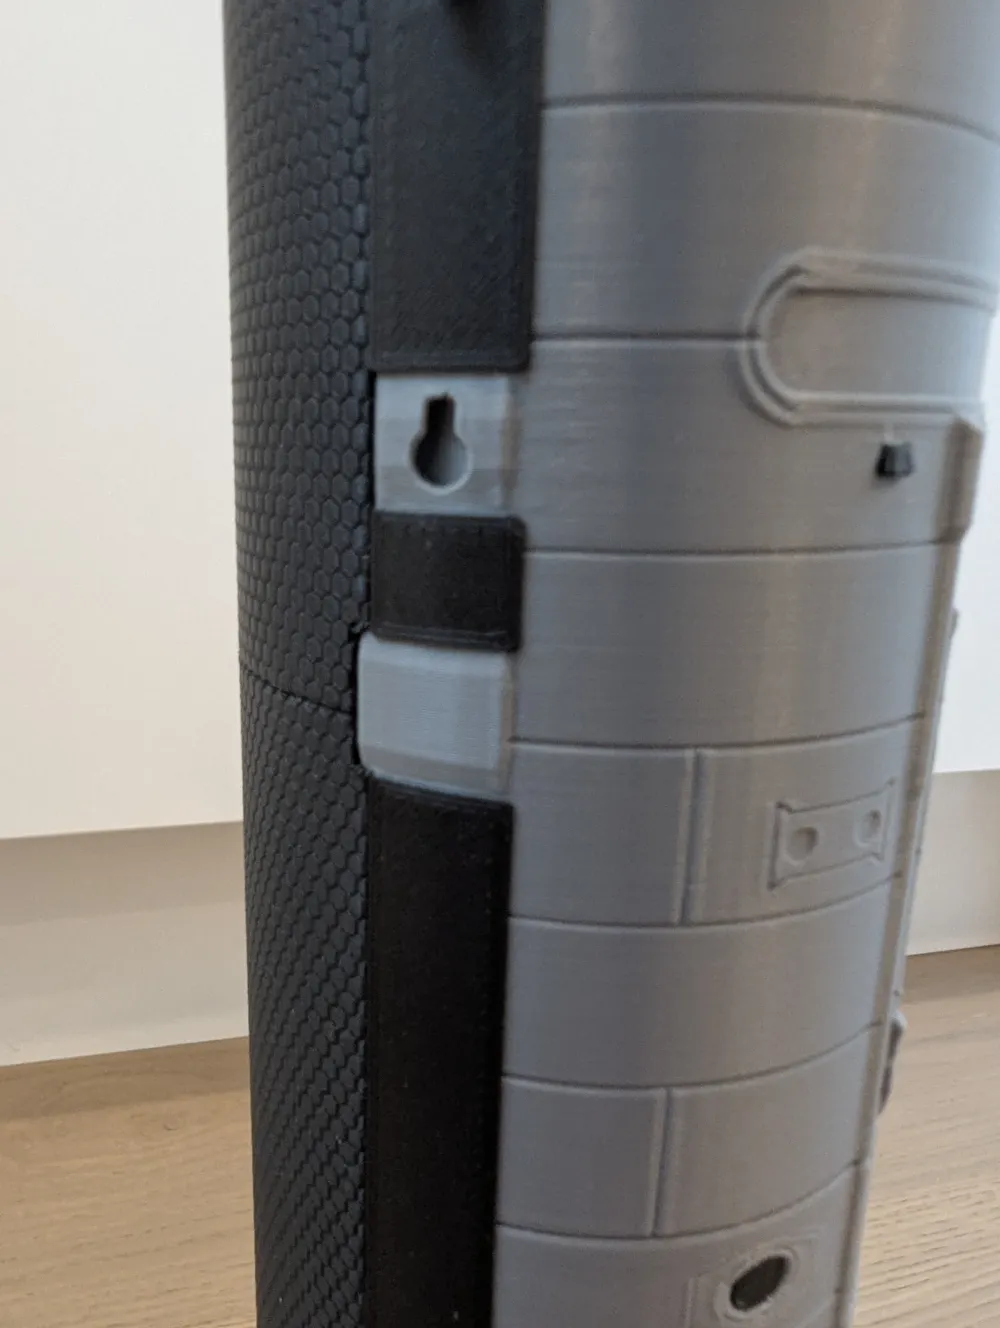
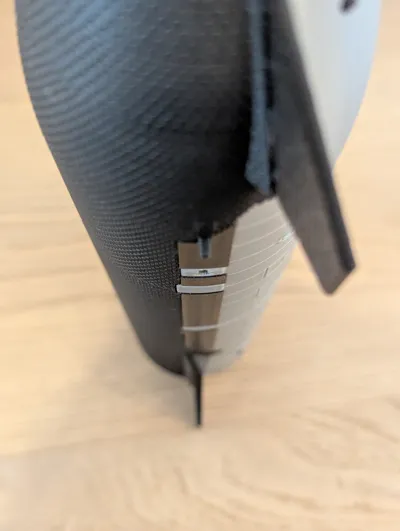
This ship is based on an early version of Ship 35 from Starship Flight Test 9. There are slight inaccuracies such as the patches on the sides that aren't black.
Booster can be found here: SpaceX Starship Super Heavy Booster (Block2 1:144) by Anventia MakerWorld: Download Free 3D Models
Total print time was around 30 hours! Silver is eSun PLA Plus, and black is Elegoo PLA.
Also on Printables!
Some notes:
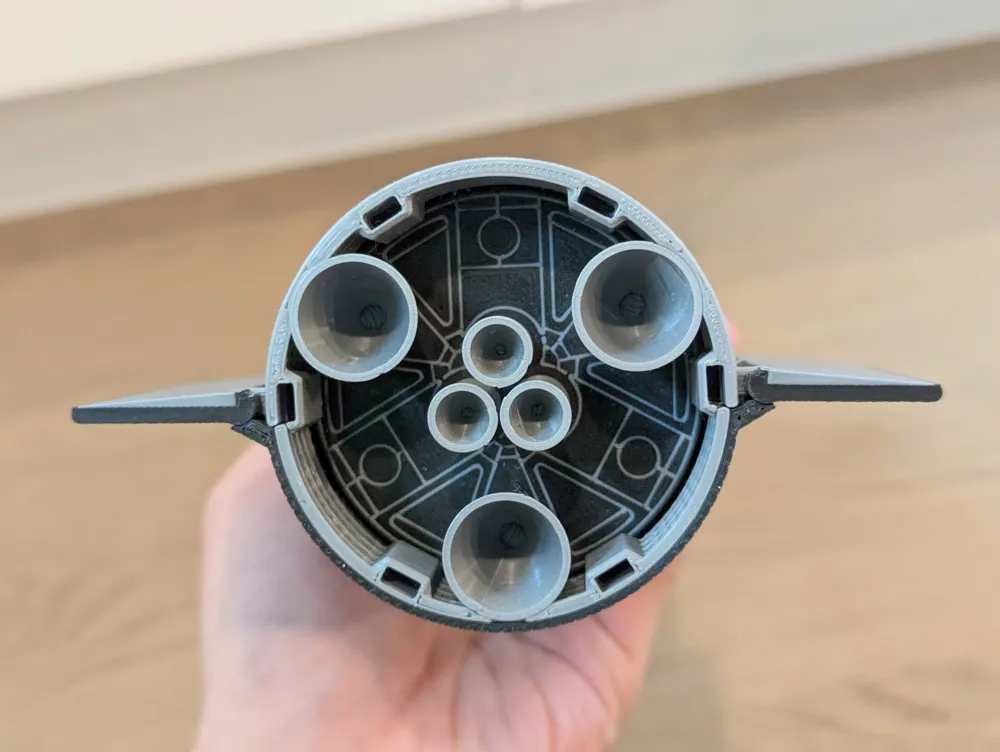
- Currently uses six pins to connect to the booster. Will use 10x5x2mm rectangular magnets in the future, but mine haven't arrived yet so I cannot test if they fit.
Read all instructions before printing, and if you have any questions or need clarification, please leave a comment!
Printing Instructions
Quantity and color of parts are in the Files tab by the filename. All parts are printed in silver unless otherwise specified there.
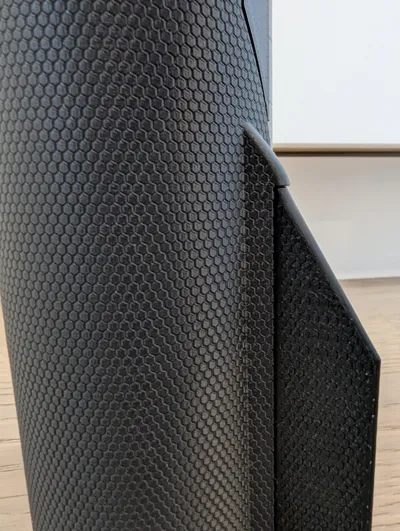
Recommended to print the heat shield parts with a 0.1mm layer height, and the flaps with 0.1mm or less to maximize detail! 0.2mm is fine for the rest.
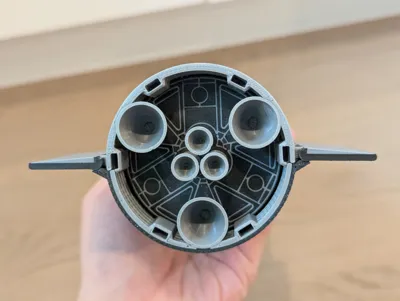
There are two versions of the engines, one normal and one with a bit more tolerance to fit in.
Scale the thickness of the side parts to print 2 layers thick. (1 layer might work but probably too fragile)
if engines stick out a bit, lower into build plate a little to make them shorter
The forward and aft flaps are split into two STLs each, and are designed to print with a multi-color printer such as a Bambu Lab printer with AMS. Import one file into PrusaSlicer/BambuStudio/OrcaSlicer, right click, and click “Add Part” to add the other STL to the same object. Then you can set one part to black and one to silver.
- Print the flaps with the heat shield facing upwards and the silver part facing downwards!
- Make sure to print each flap twice, with one copy mirrored!
Drop a comment and I can modify it so it can be printed without a multi-material system and use a manual color change on the first layer instead!
The engine_shielding part can be printed in this way, print the lines part first in silver/white, then switch to black to print the other part on top of it!
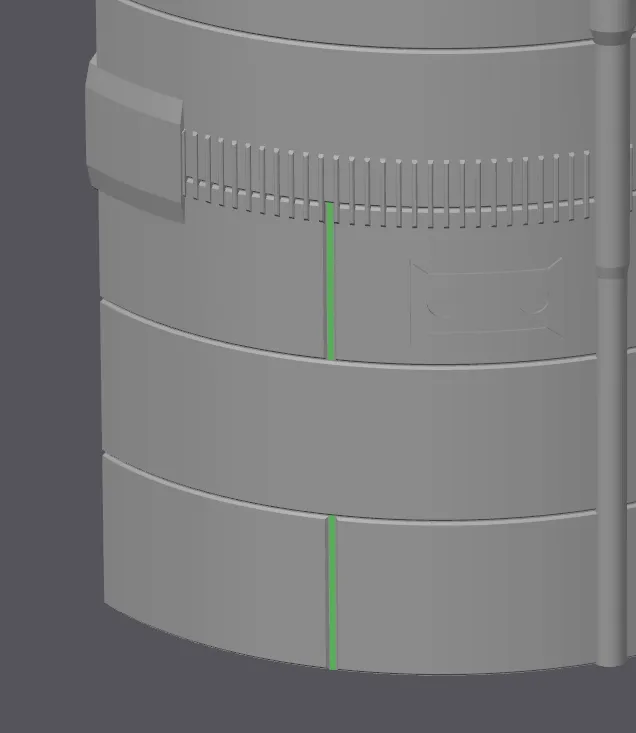
You can hide the seams along the vertical lines on the grey part, or along the slot in the back.
Also hide the seams on the main heatshield in the back down the middle.
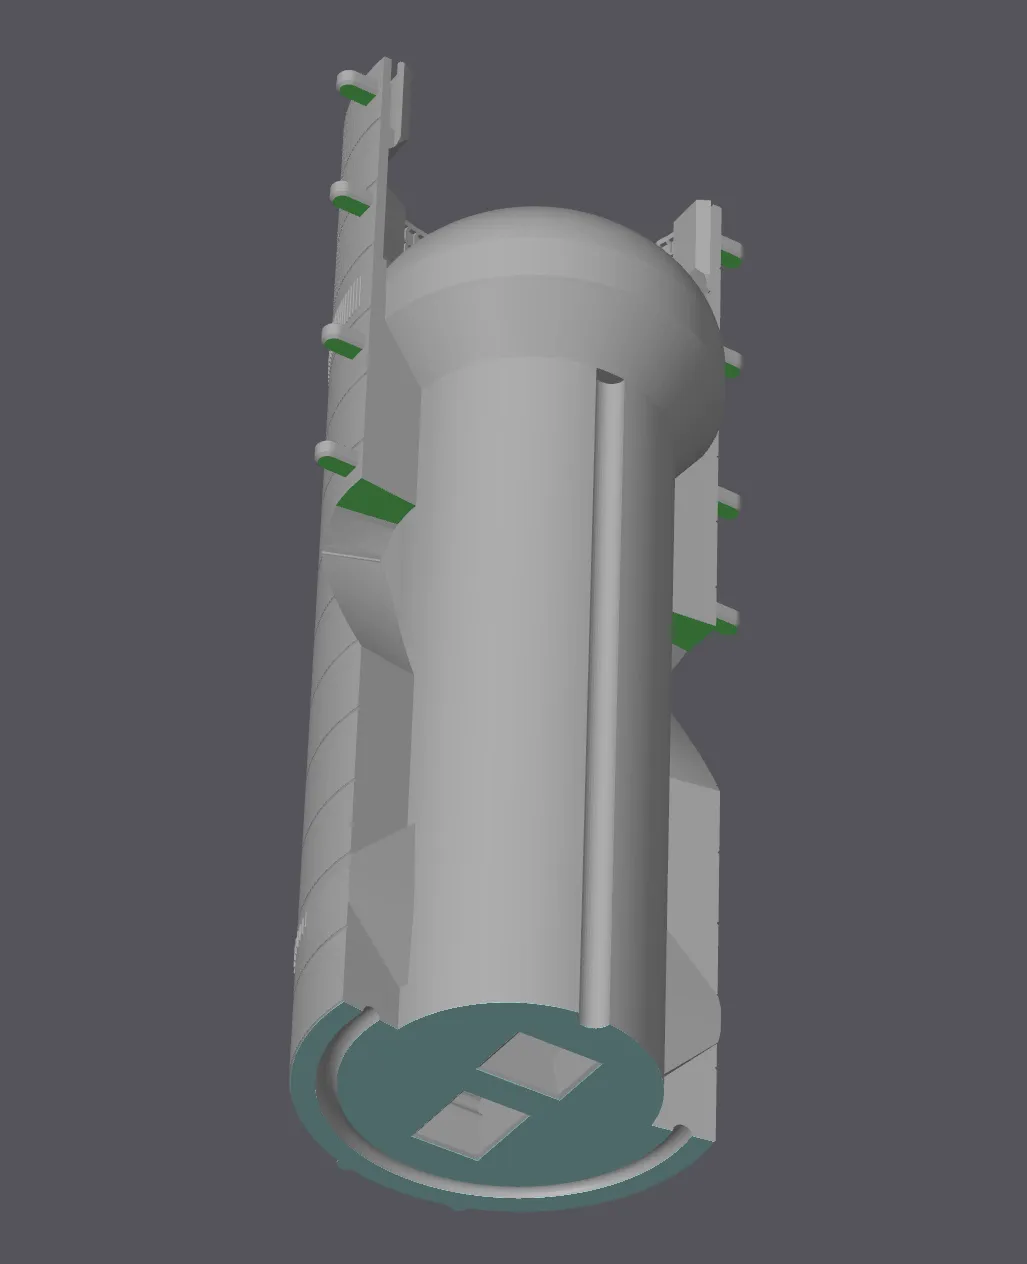
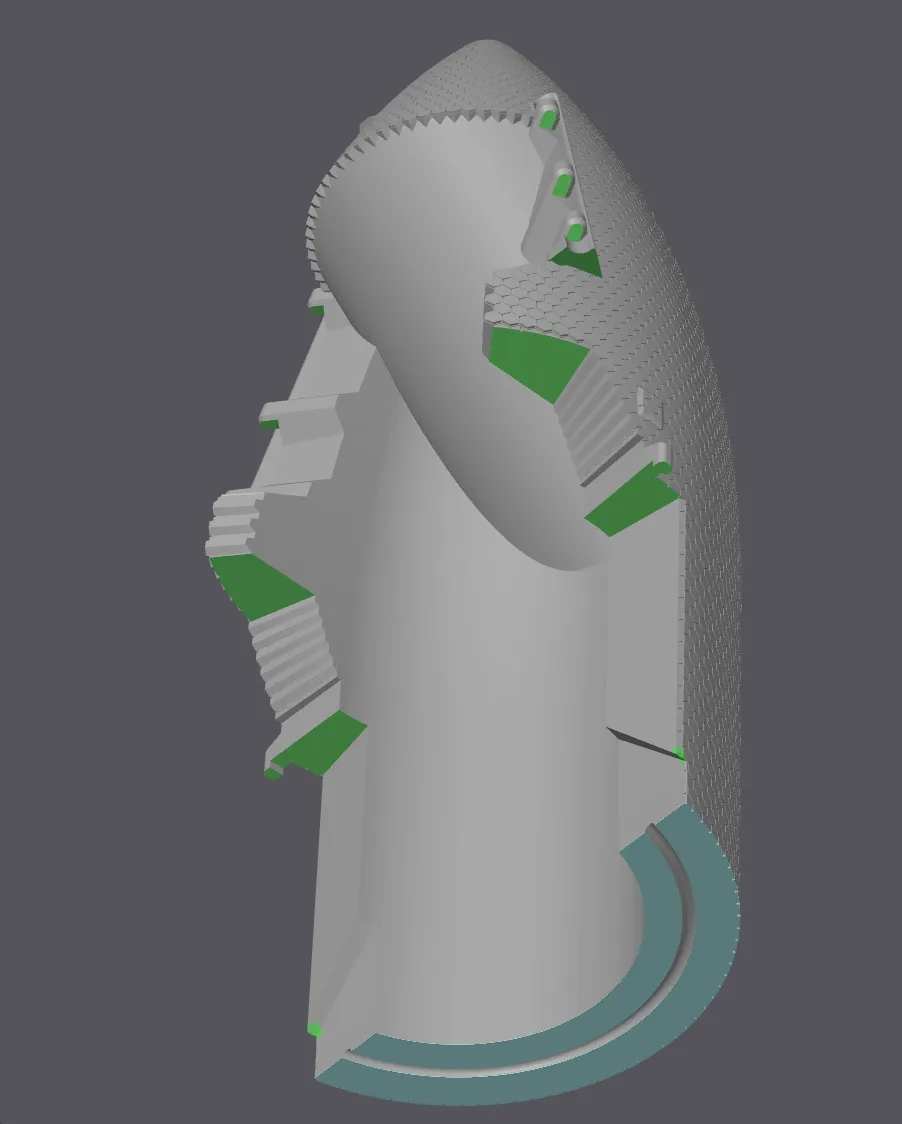
Print the body pieces with the connecting surface downards. A smooth build plate is preferred.
Pain on supports in the areas highlighted in bright green. (none required in the connector slots, just bridge it)
Orientation for body parts
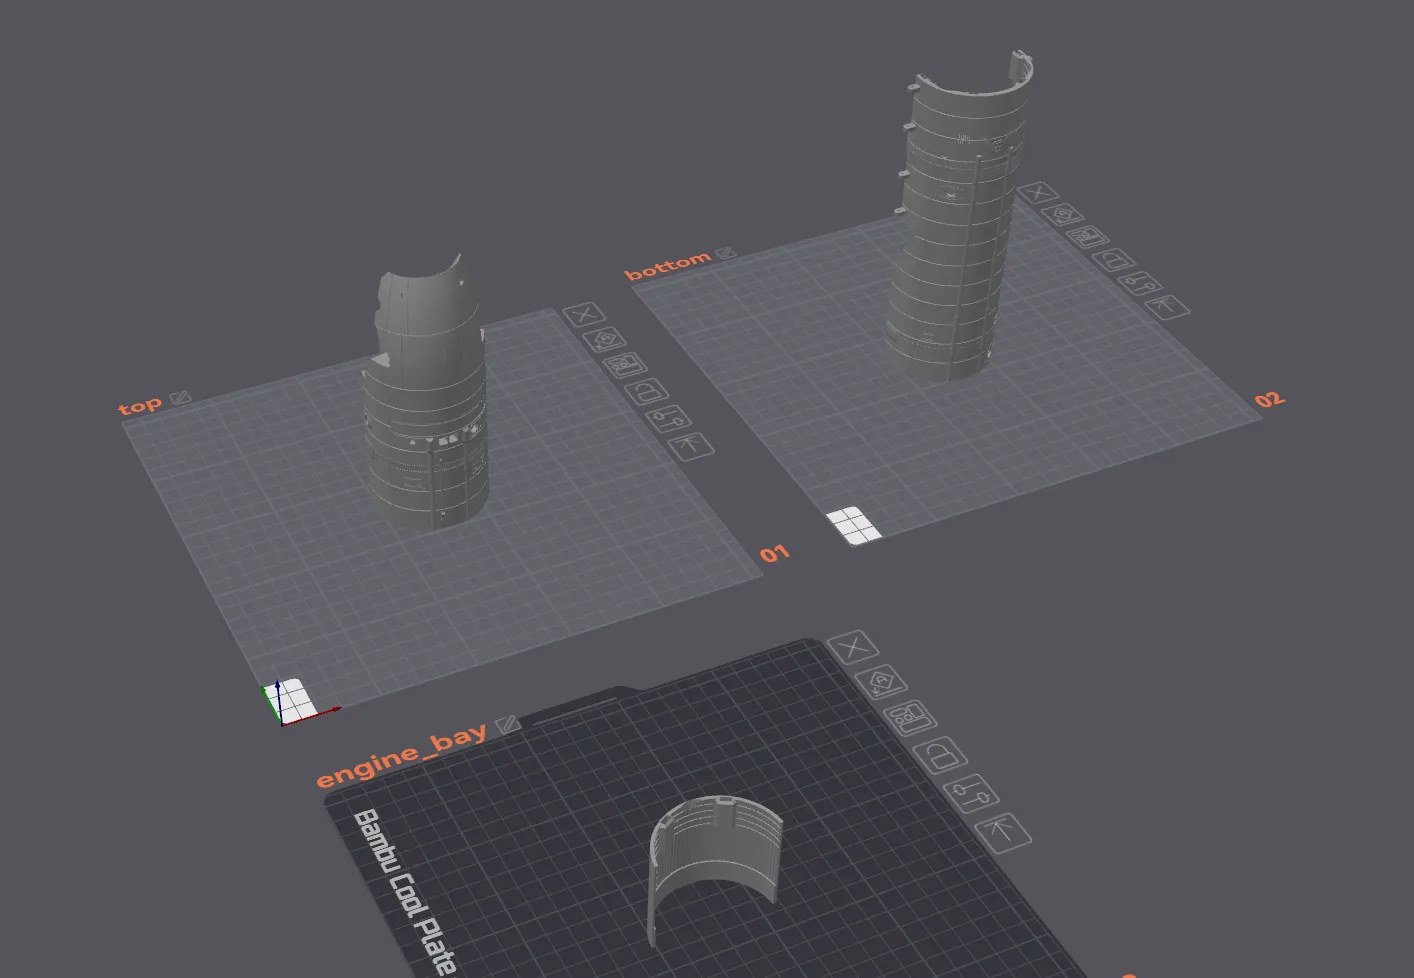
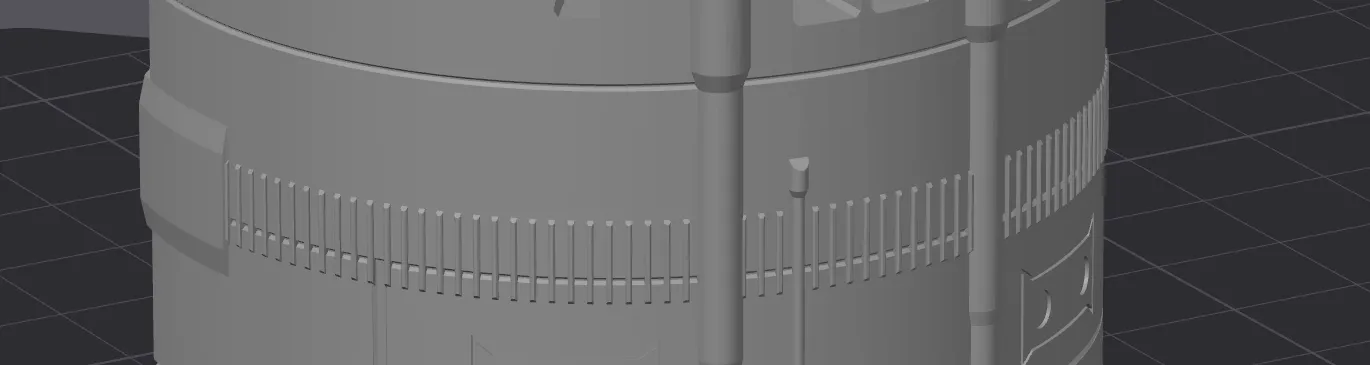
Use the Arachne wall generator to ensure the fine details on the body print well. Make sure to double check the sliced view that they appear!
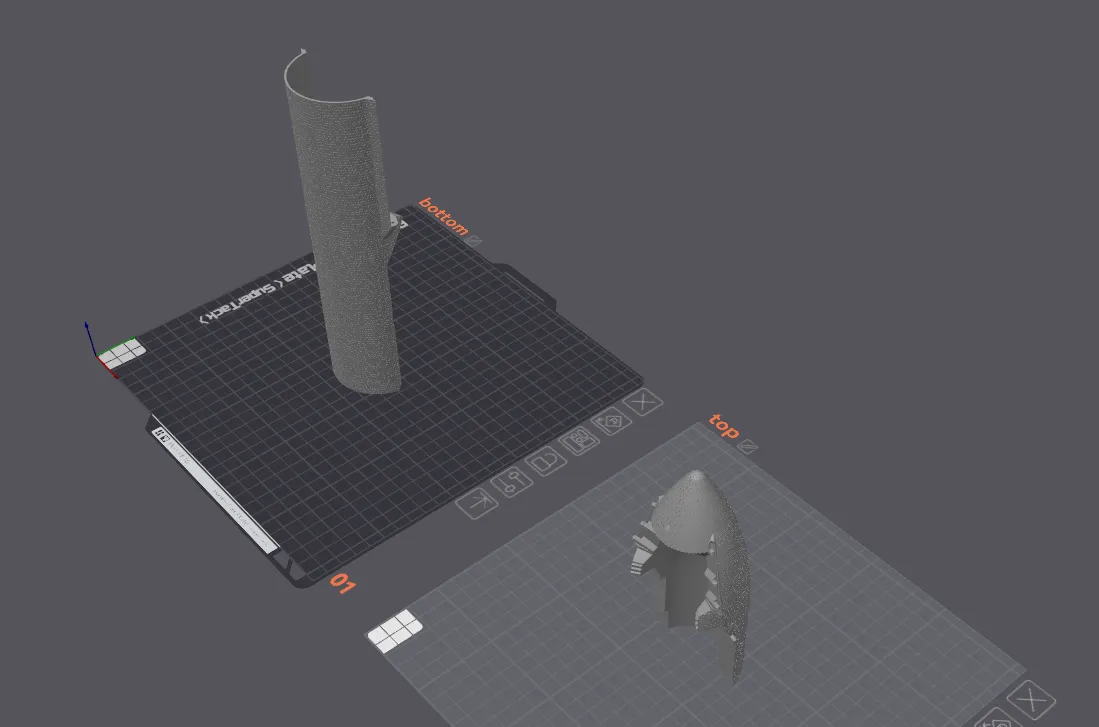
The heat shield part also requires supports painted on.
Orientation for heat shield parts:
Assembly Instructions
Snap together and glue the main body pieces together. There's a “moat” around the edge to keep glue from oozing outside.
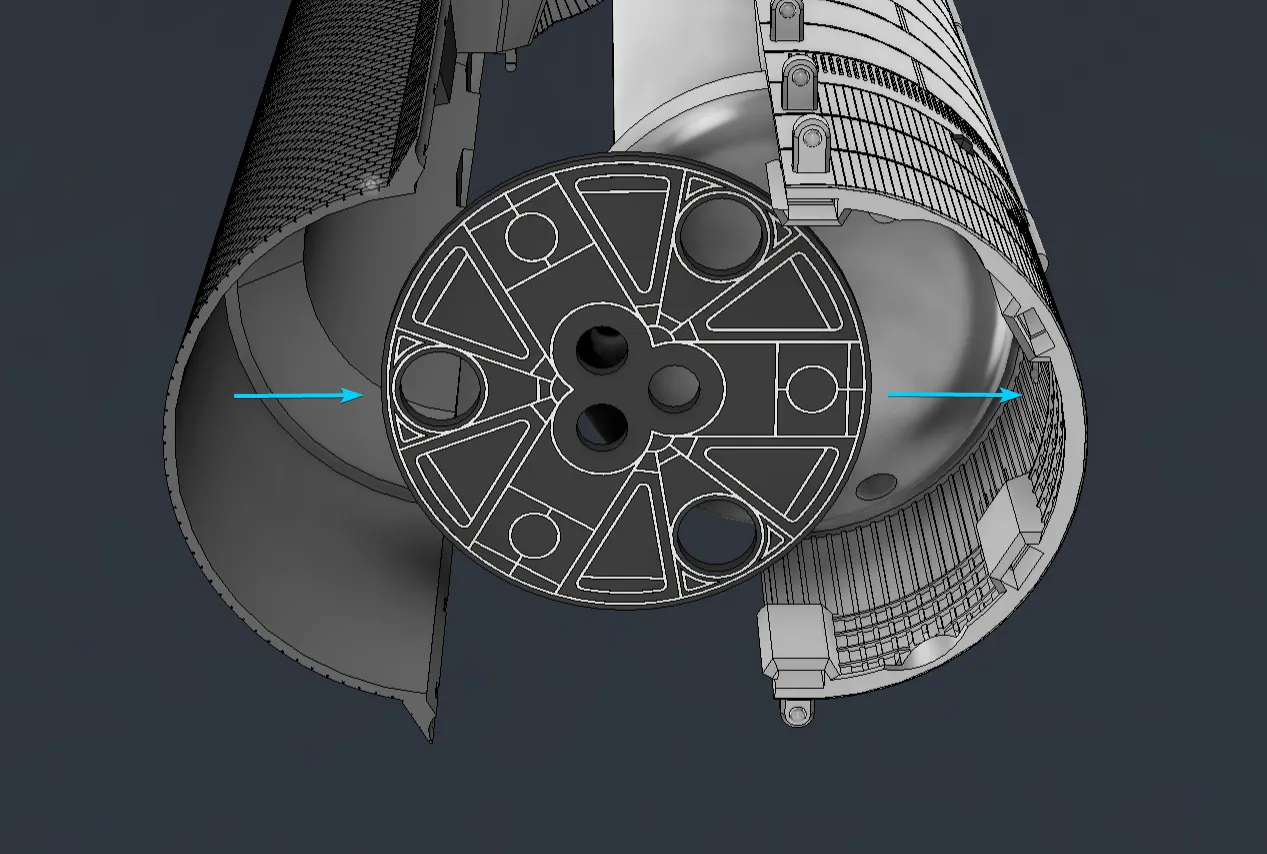
Insert the engine shielding into the engine bay at the bottom with a small drop of glue in the middle, with the lines visible downwards, then sandwich with the heat shield. Glue the heat shield together with the main body, wrapping with masking tape to keep it tight while the glue dries.
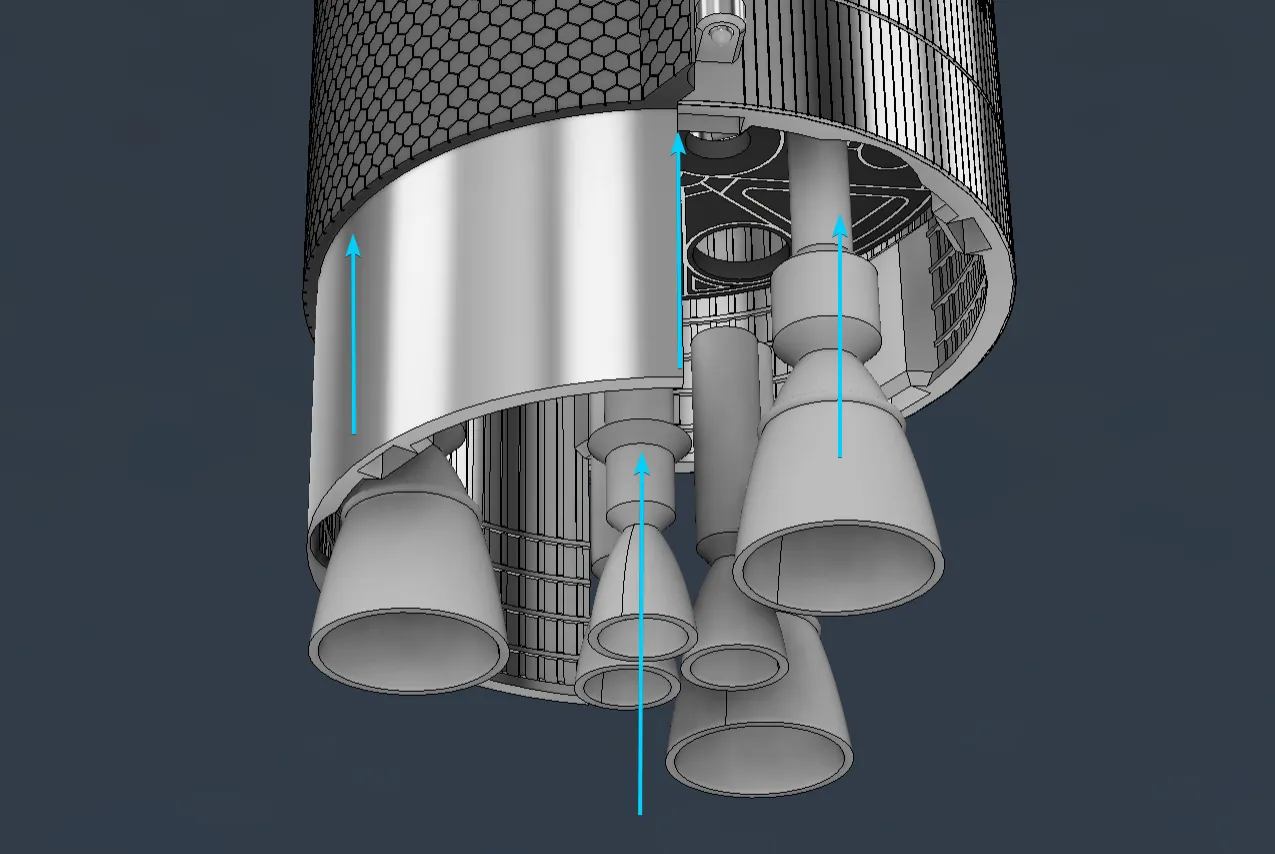
Slide the engine bay part in place with a bit of glue. Then, glue in the engines.
Once the glue is dried, you can remove the tape and glue in the black details. Use masking tape to secure.
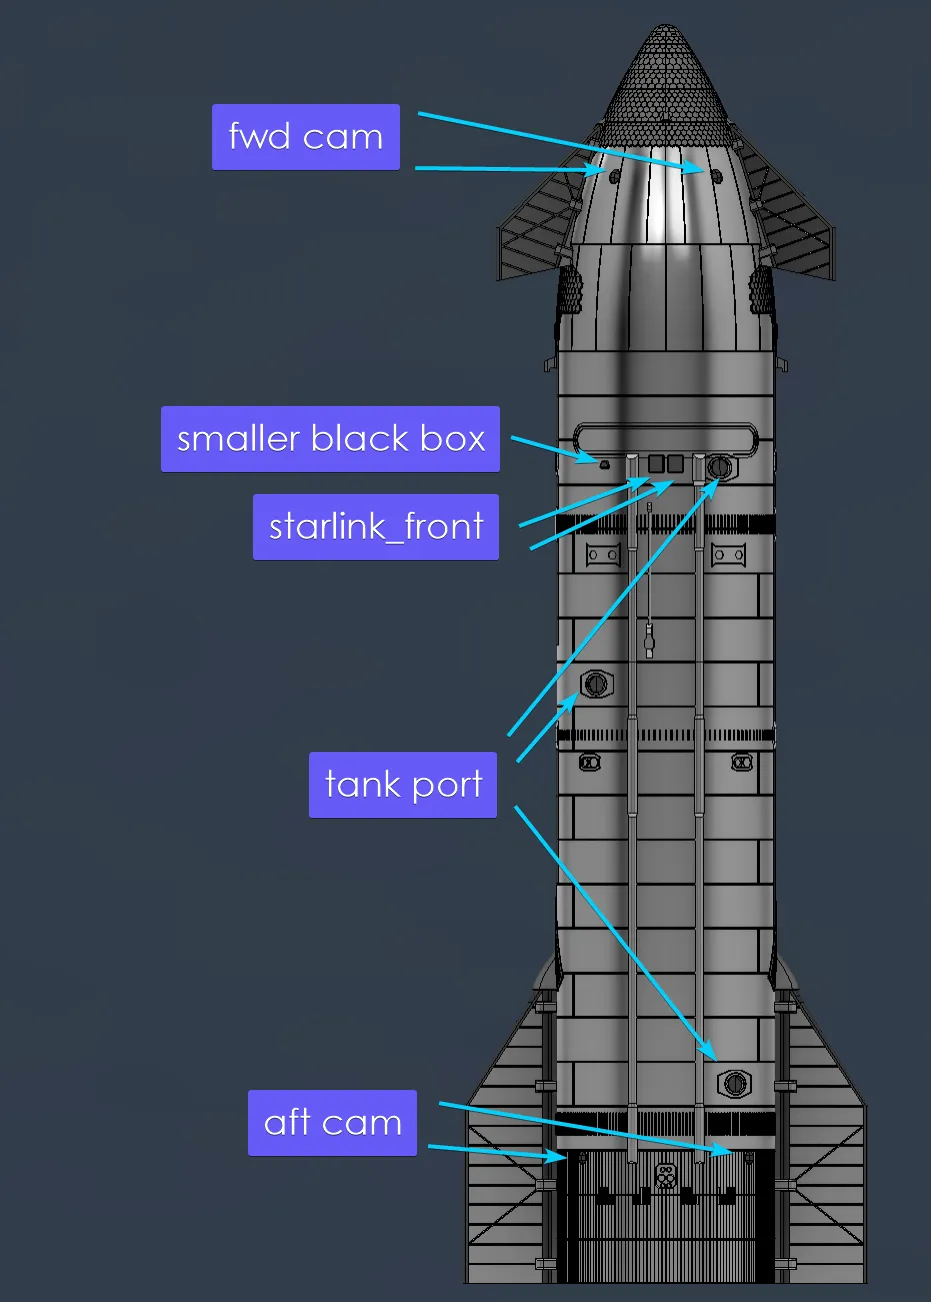
For the sides, gently curve them slightly to match the curvature of the cylinder before gluing. Use masking tape to secure.
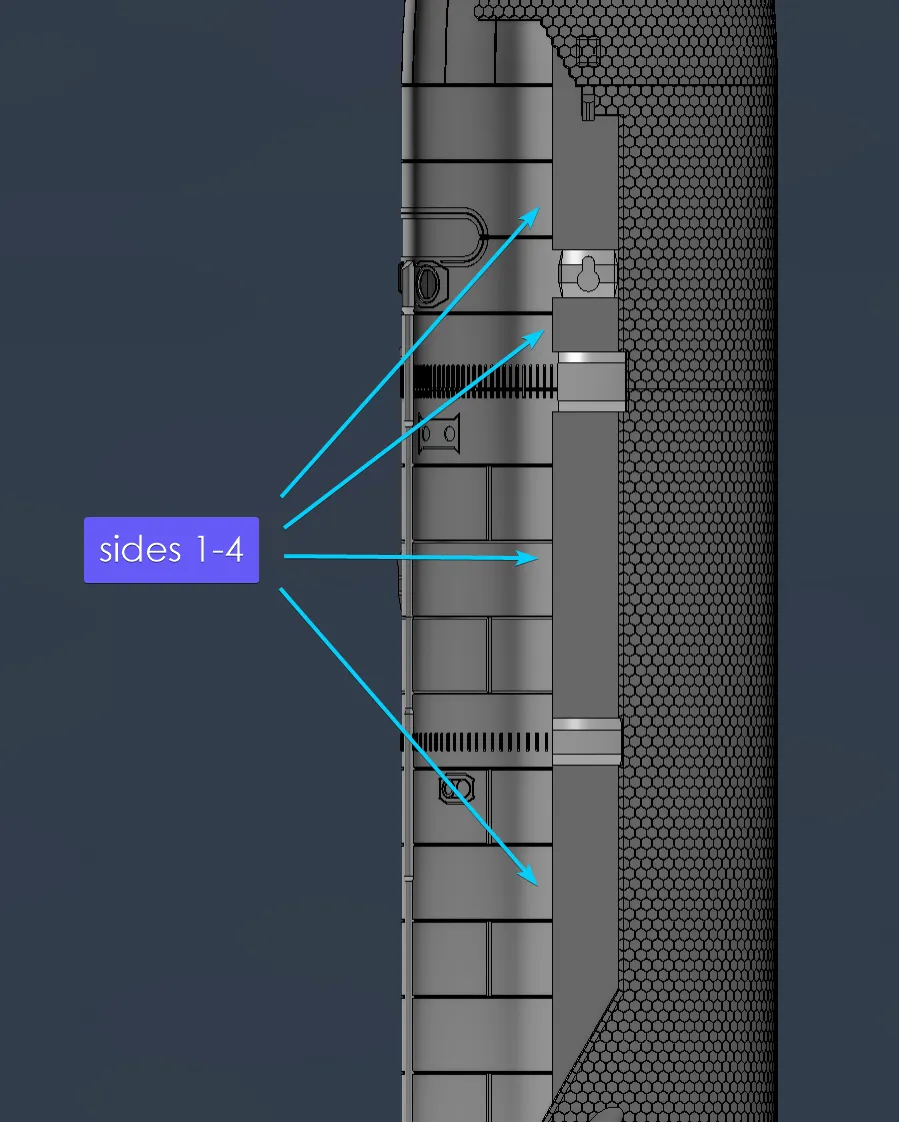
Finally, you can snap in the flaps! The aft ones have a slot to make it easier if you insert them at 45 degrees forward, but depending on your printer they may be too hard to snap in. It may be necessary to use flush cutters to clip short the small bumps on the hinges on the main body to make it easier.
Finished!
License



Comment & Rating (9)