
Chessboard Box
Print Profile(0)
Bill of Materials
- Wood Veneer x 2:
- Wood Glue x 1:
- Masking Tape x 1:
Description
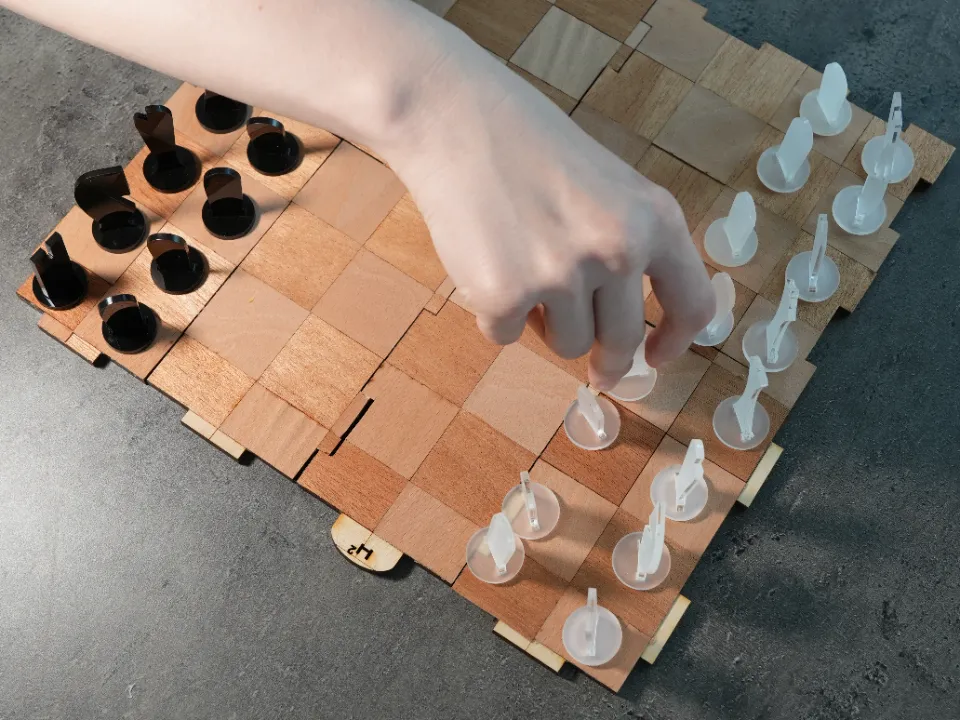
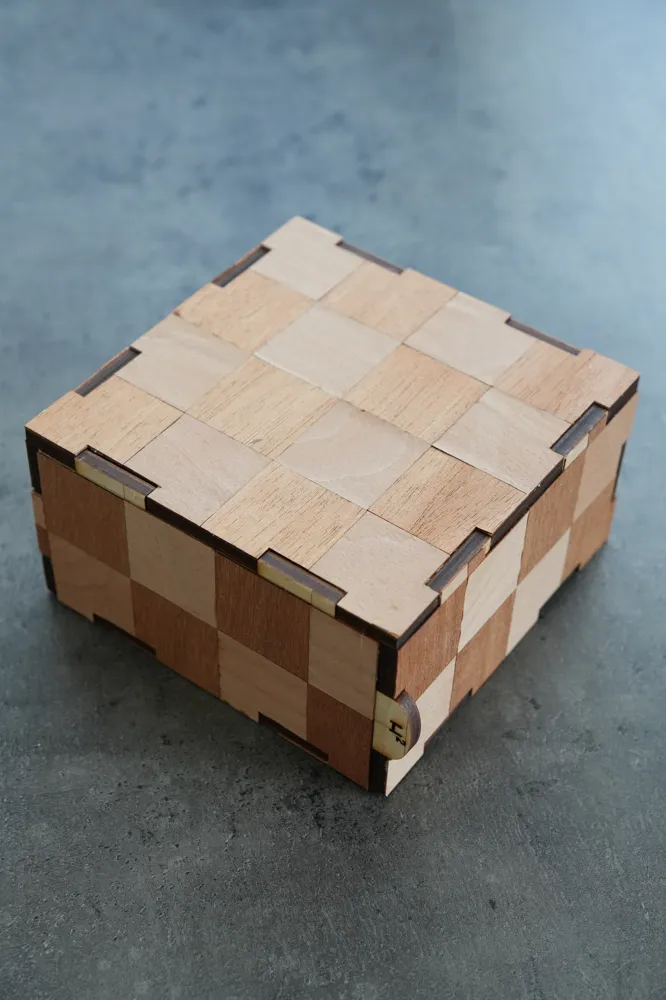
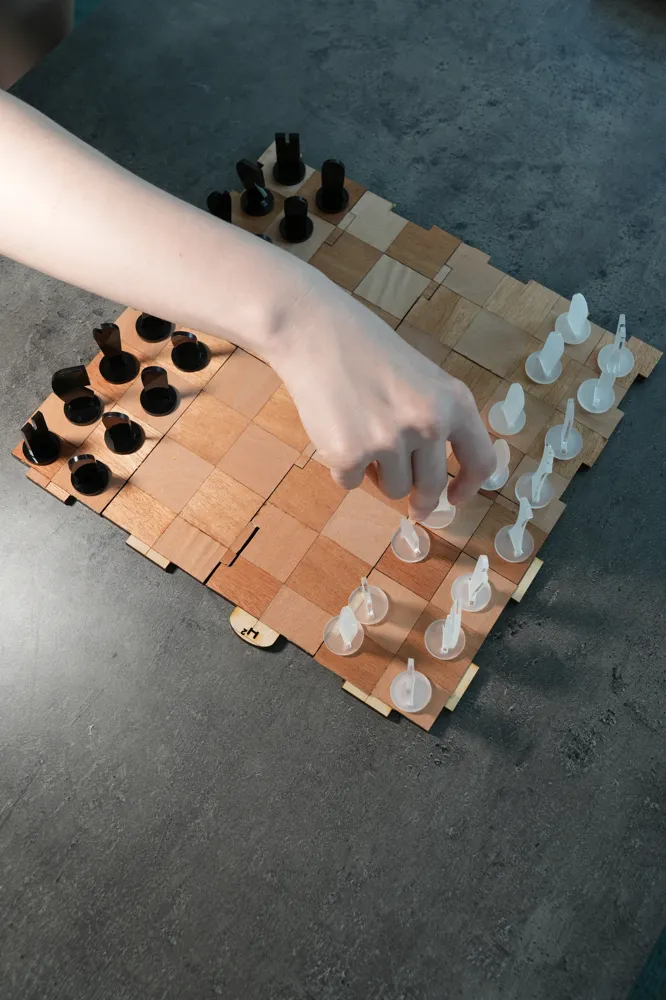
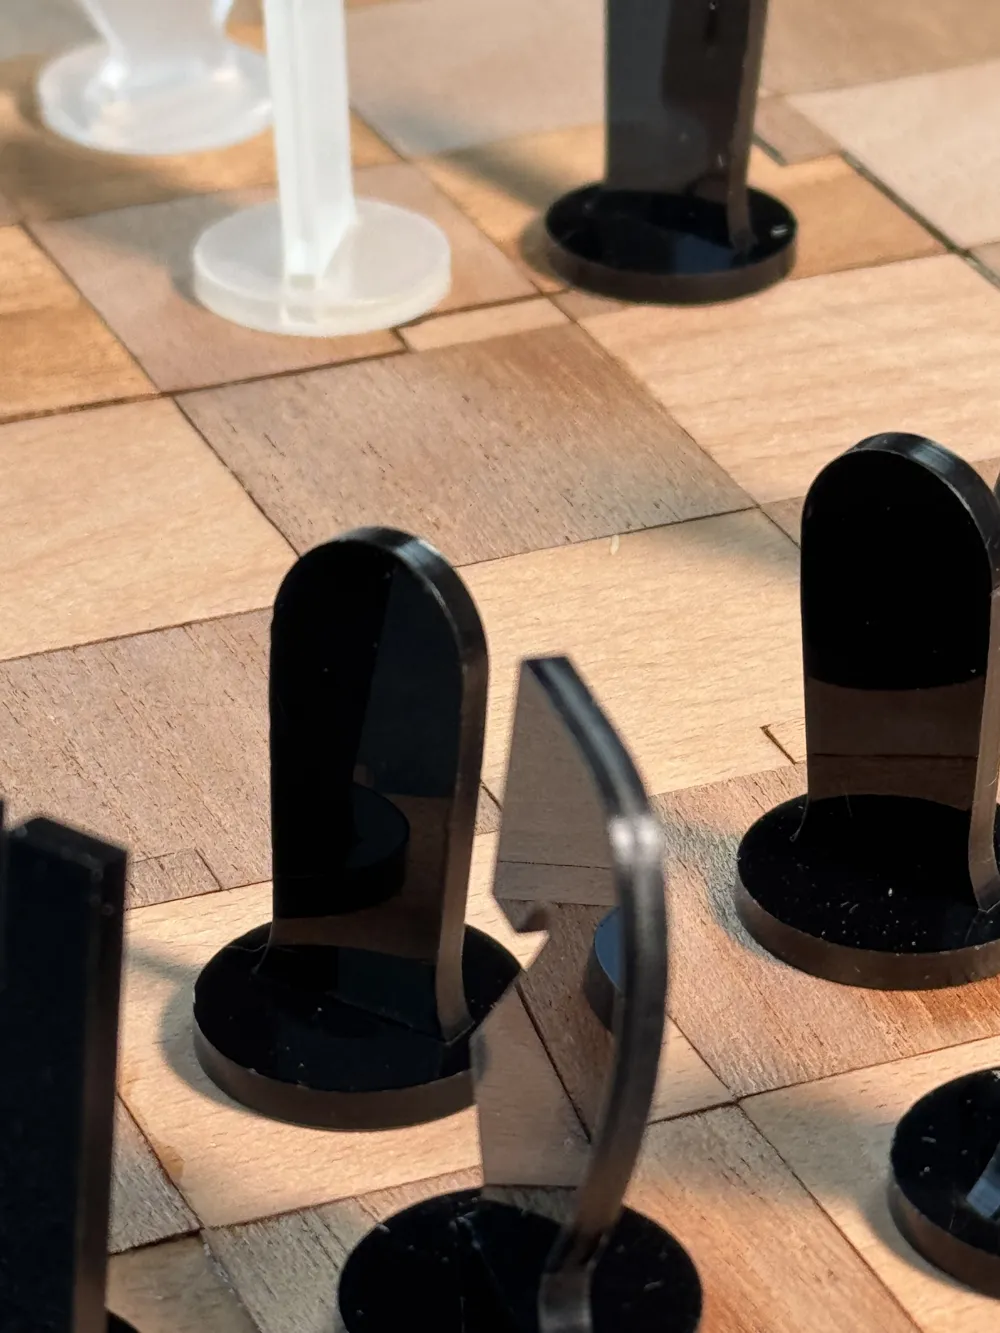
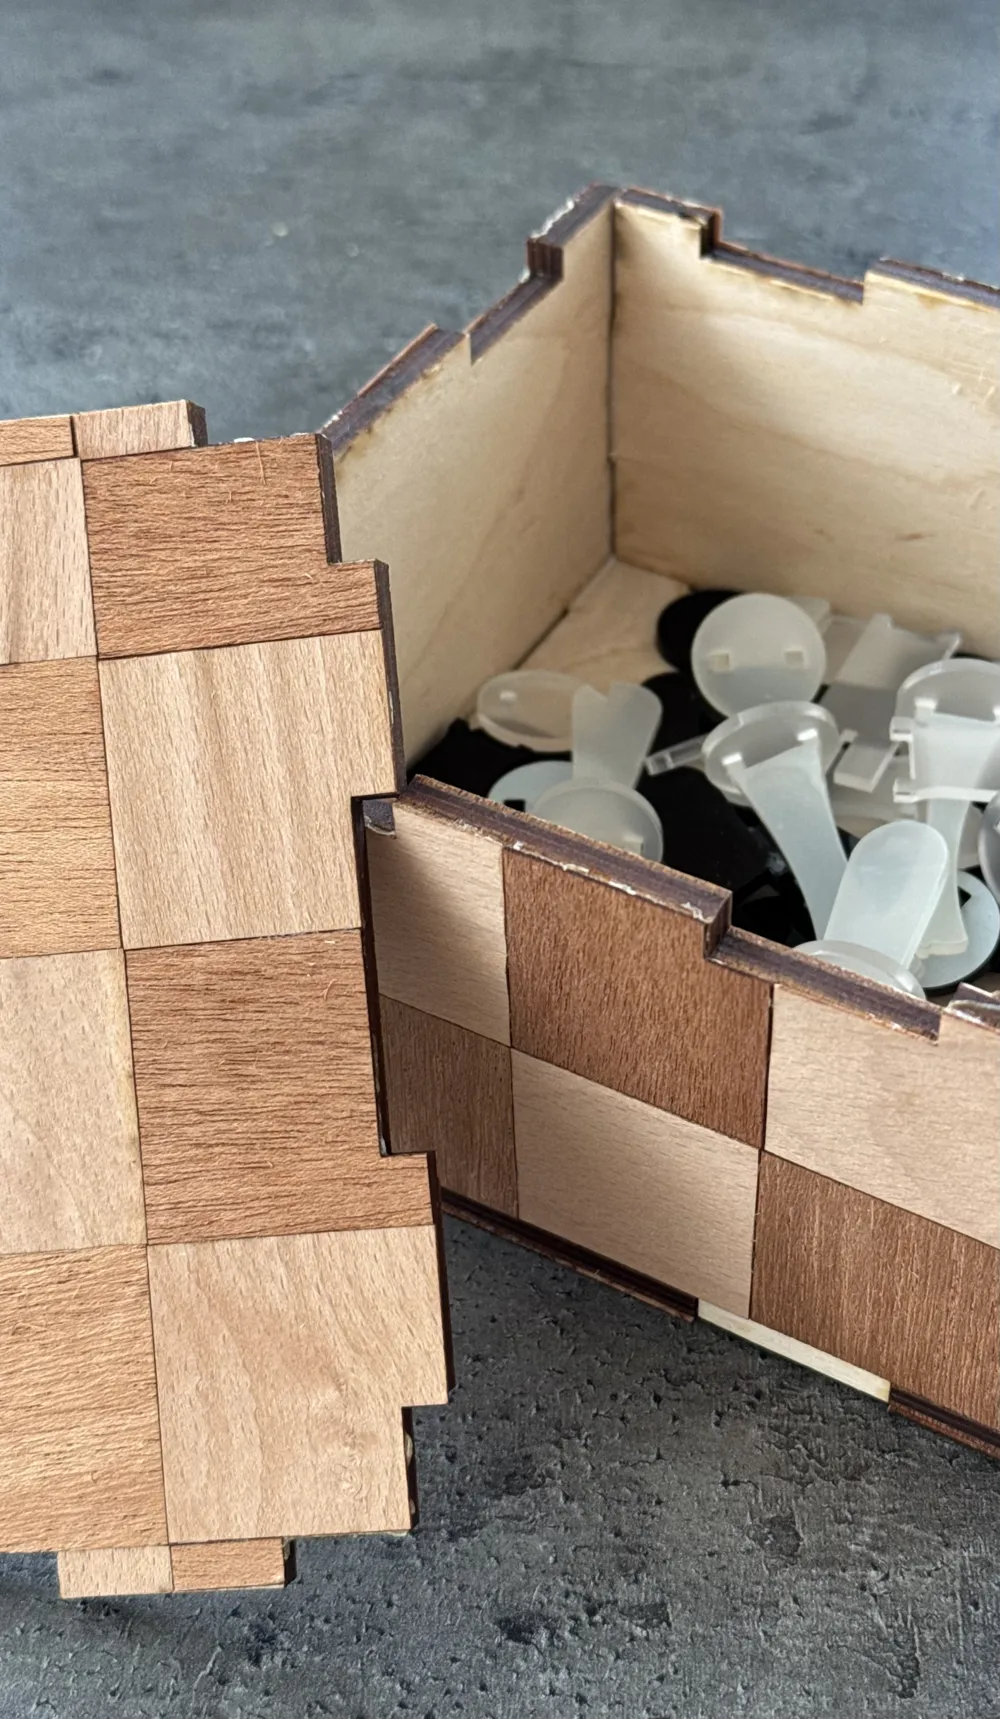
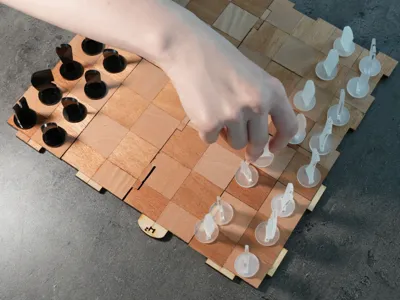
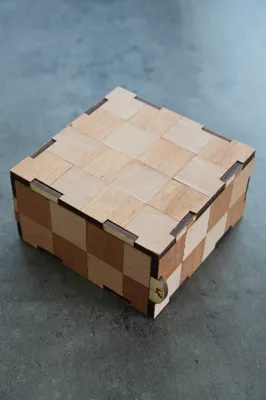
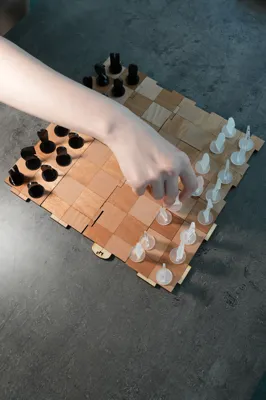
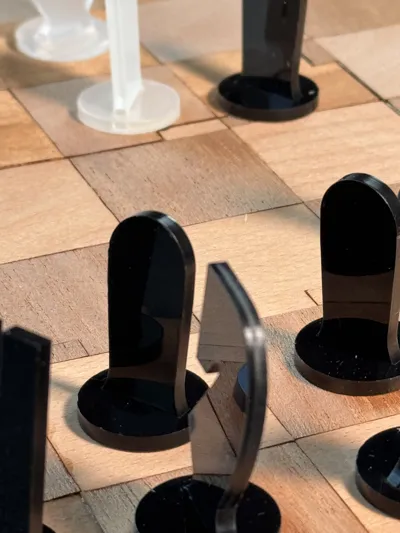
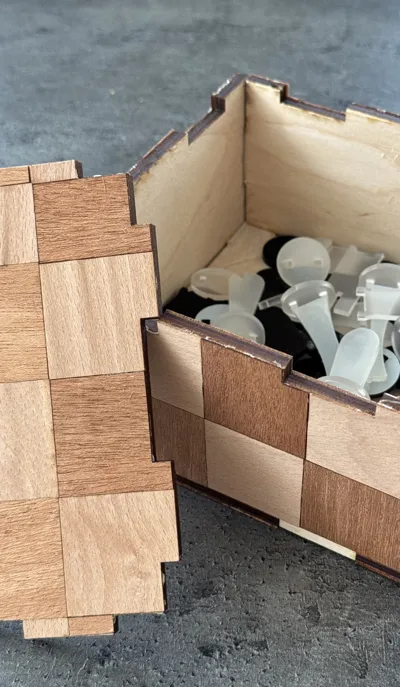
This is a laser-cut box that fits together neatly, and when you lay it flat, it turns into a chessboard. You can store all your chess pieces inside — or use it for anything else you like.
The idea came from wanting to make something useful and not waste materials. I’d made a veneered chessboard before using a laser cutter, and thought it would be fun to take it a step further.
The original file is set up for 6mm thickness, which you can get by stacking two layers of 3mm plywood for extra strength. I might also add a 3mm-only version later. The file includes everything you need — you can laser-cut just the veneer pieces, or score the board to mark out where they go. You can also resize the veneering size for the chessboard if you want to make a different size of the game.
It’s a fun little project. The veneer part takes a more time but is really satisfying to put together, mainly when you can do it all with laser.
BE AWARE- not all the part of the veneered board might be visible on the outside to make sure the box fits together. Maybe it's time for a personalisation on it.
First, laser-cut the board using 6mm material, or cut two pieces of 3mm and glue them together. If you want a bit more accuracy, you can score guide lines onto the board to show where the veneer pieces will go on top.
Next, choose two colours of wood veneer, and laser-cut each one using the specific files. Make sure you keep track of all the pieces — they’re easy to lose!
To glue the veneers onto the board, the best way is to lay out all the pieces for one side, fitting them tightly together. Tape them down with low-tack masking tape — the tension will help keep everything in place. Then, spread wood glue (or PVA) over the board where you’ve scored the pattern, and carefully stick the veneer sheet on top. Once it’s in place, tape around the edges again to make sure it sticks properly.
While the glue is drying, it’s best to put the board under a heavy weight or in a book press for at least 30 minutes. Don’t leave it too long though, or you might tear the wood grain when you remove the tape. If you’re using a vacuum press, around 2 hours is a good amount of time.
For best finish you would want to sand down the top and the edges for smoother finish and hide inpurities. Lastly you might want to finish it by oiling the wood.
The process might seem simple, but it takes a lot of accuracy and patience. Things can go wrong at any stage, so take your time and enjoy it at your own pace.
License

You shall not share, sub-license, sell, rent, host, transfer, or distribute in any way the digital or 3D printed versions of this object, nor any other derivative work of this object in its digital or physical format (including - but not limited to - remixes of this object, and hosting on other digital platforms). The objects may not be used without permission in any way whatsoever in which you charge money, or collect fees.


Comment & Rating (0)