Search models, users, collections, and posts

Openwork Pegboard (Lightweight Solution)
IP Report
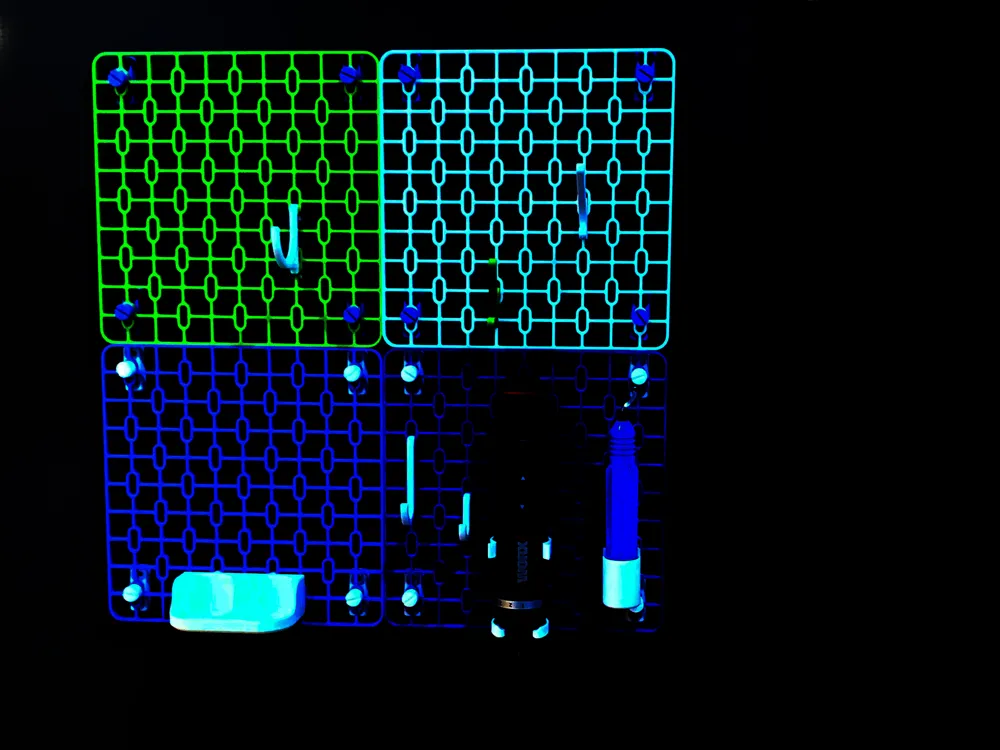
Print Profile(4)

200mm x 200mm pegboard
Designer
2.6 h
1 plate

Four clips (four per set)
Designer
45 min
1 plate

160x160mm pegboard
Designer
1.7 h
1 plate

180x180mm pegboard
Designer
2.4 h
1 plate
Open in Bambu Studio
Boost
125
311
16
13
148
65
Released
Description
Content has been automatically translated.
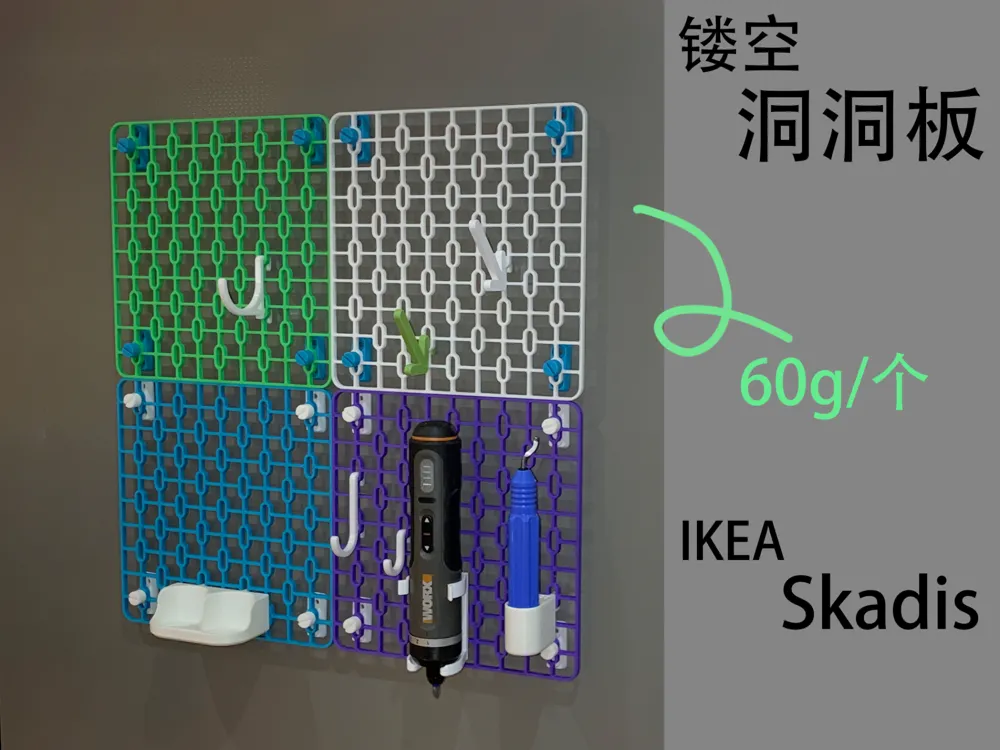
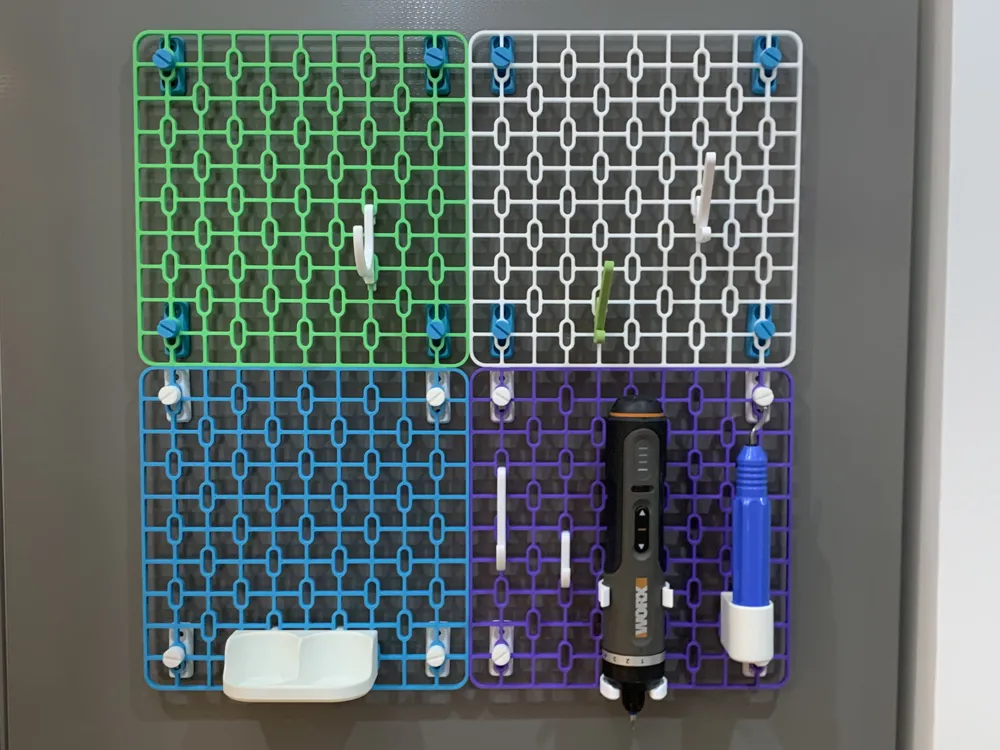
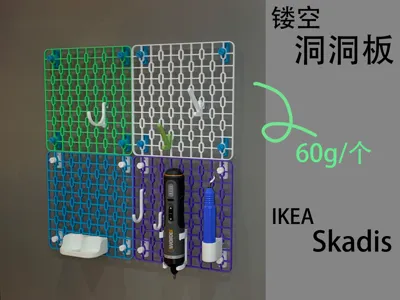
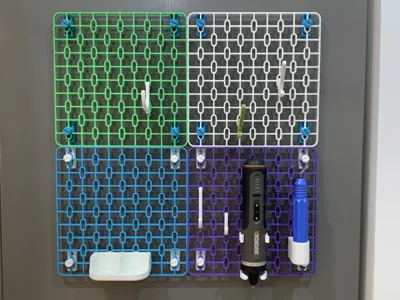
This model is a lightweight pegboard mounting solution, measuring 200*200mm.
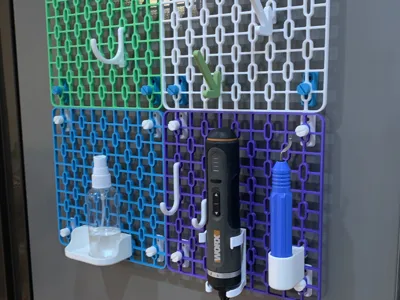
5mm thickness, compatible with IKEA SKADIS pegboard dimensions. It is installed at my entrance, convenient for hanging lightweight items such as keys, hats, pen holders, etc.
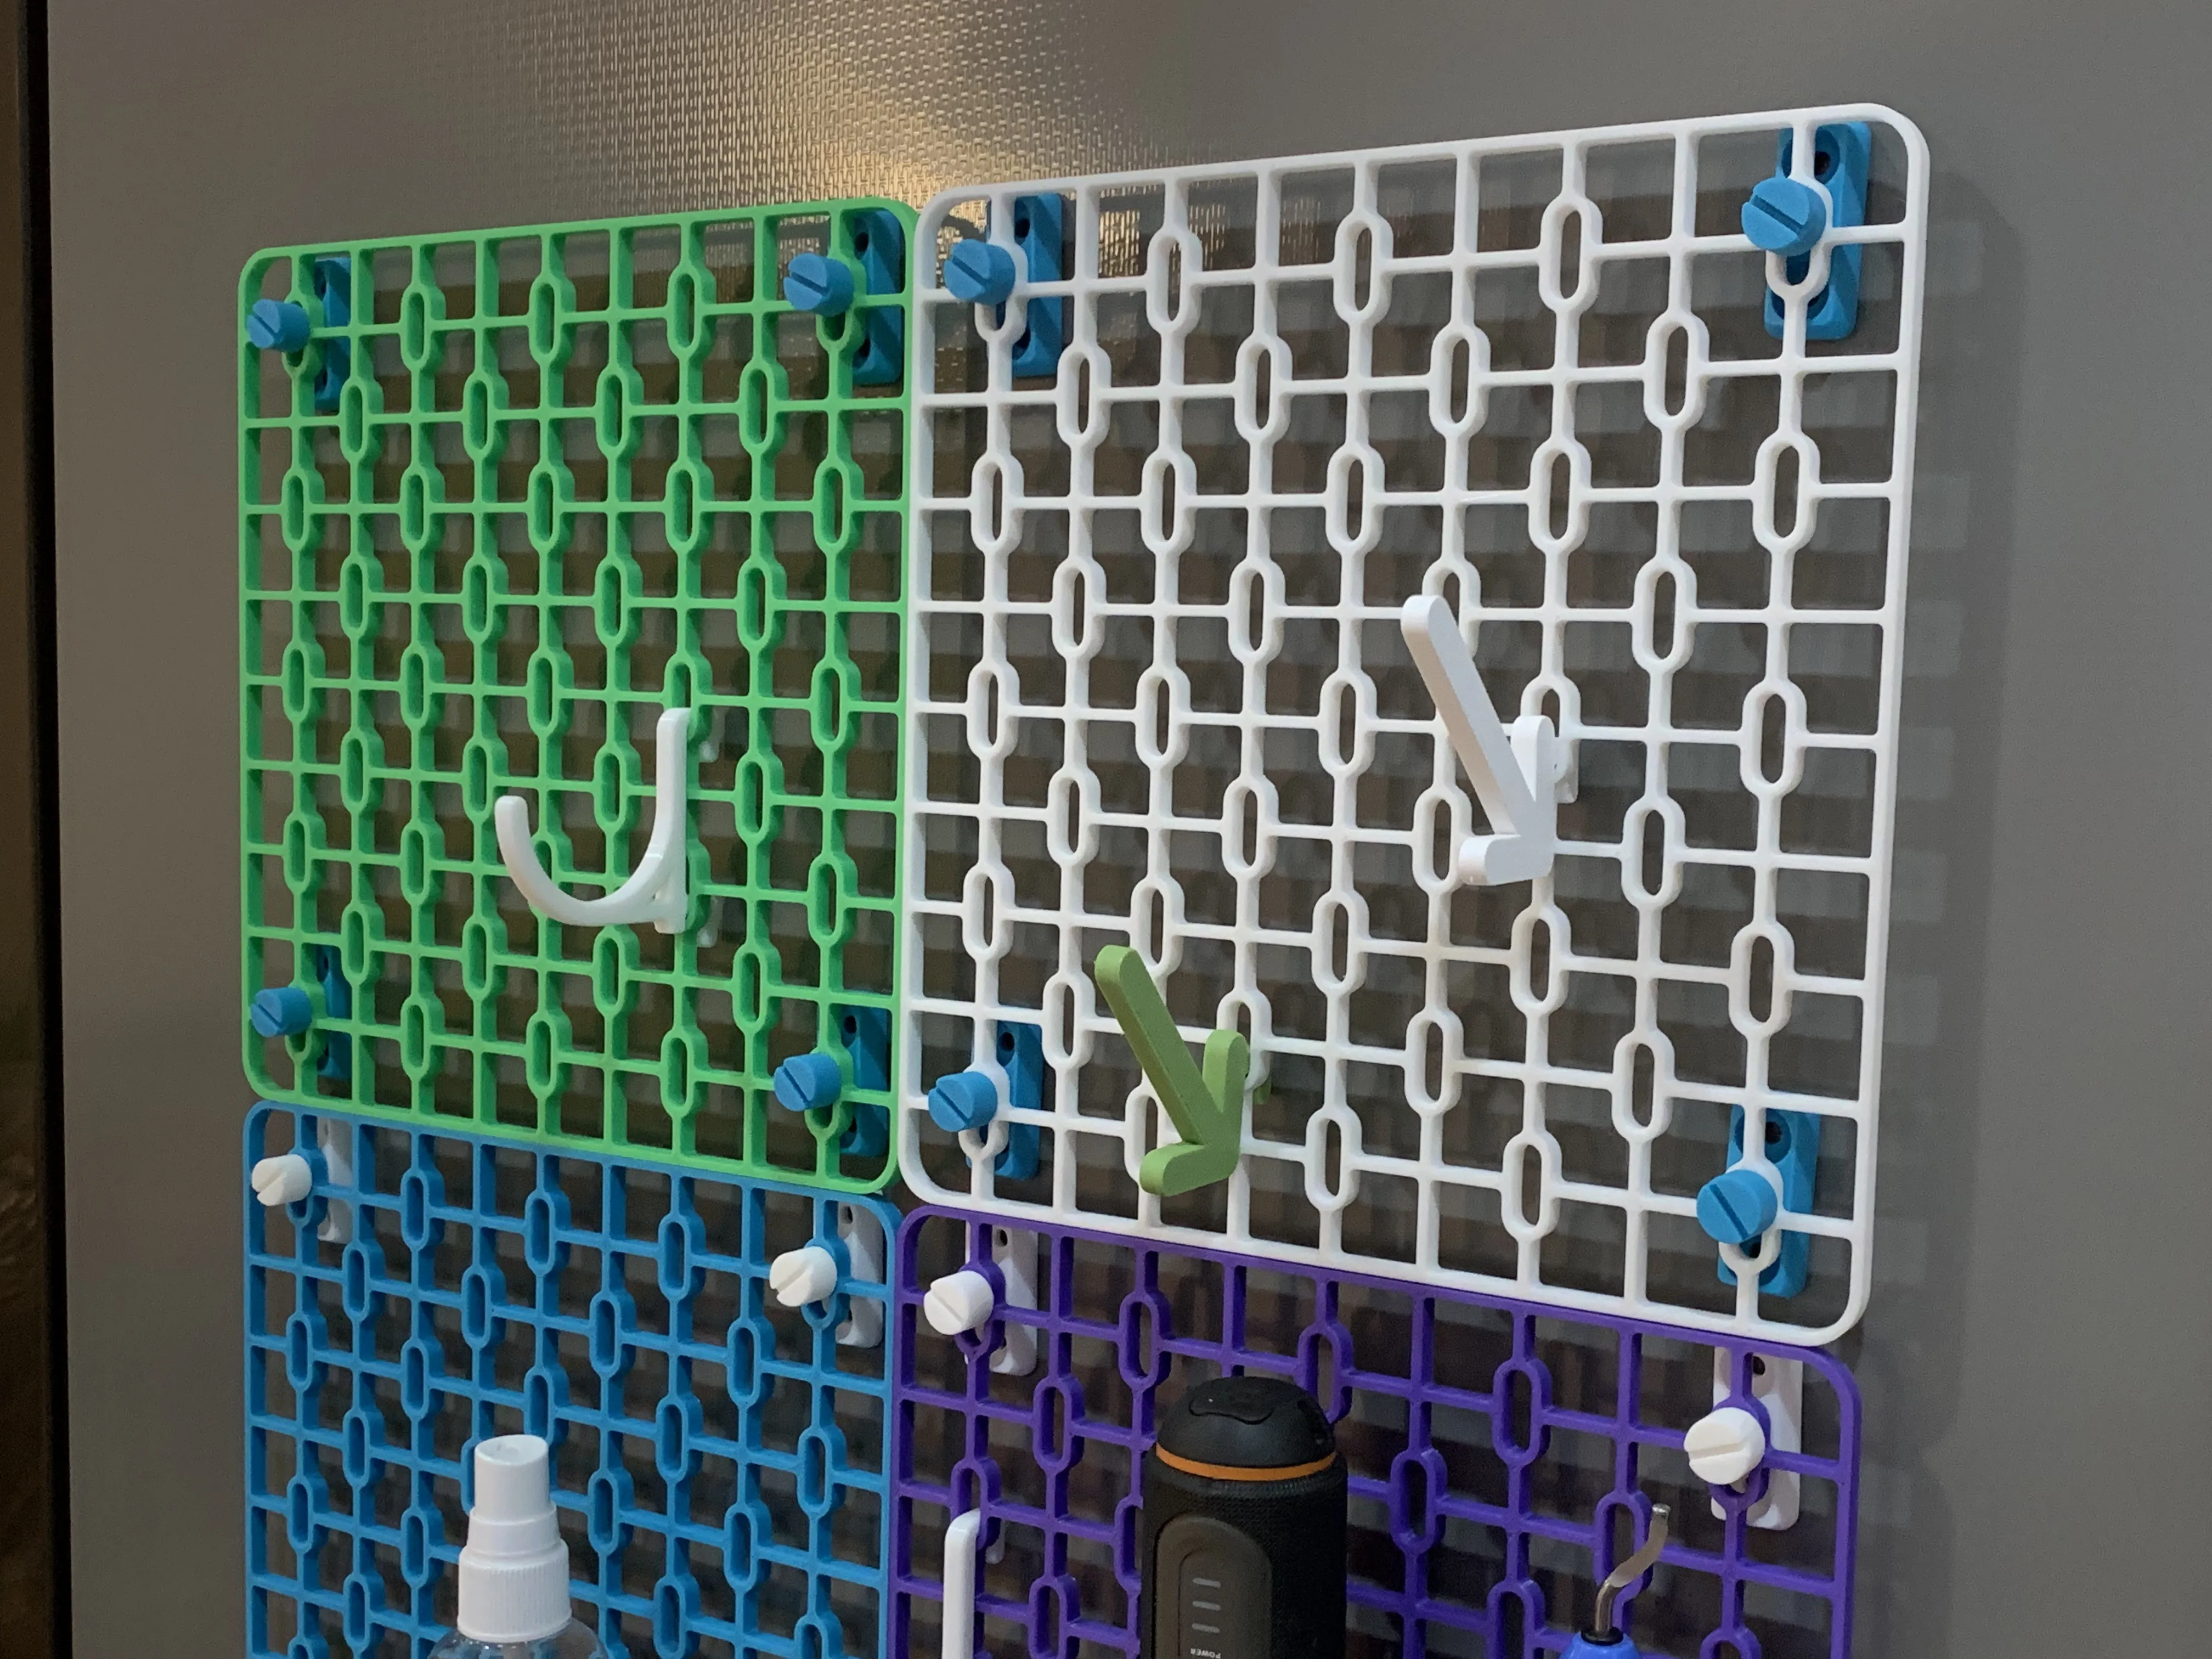
Features:
- Lightweight design, each piece requires only 58g of filament.
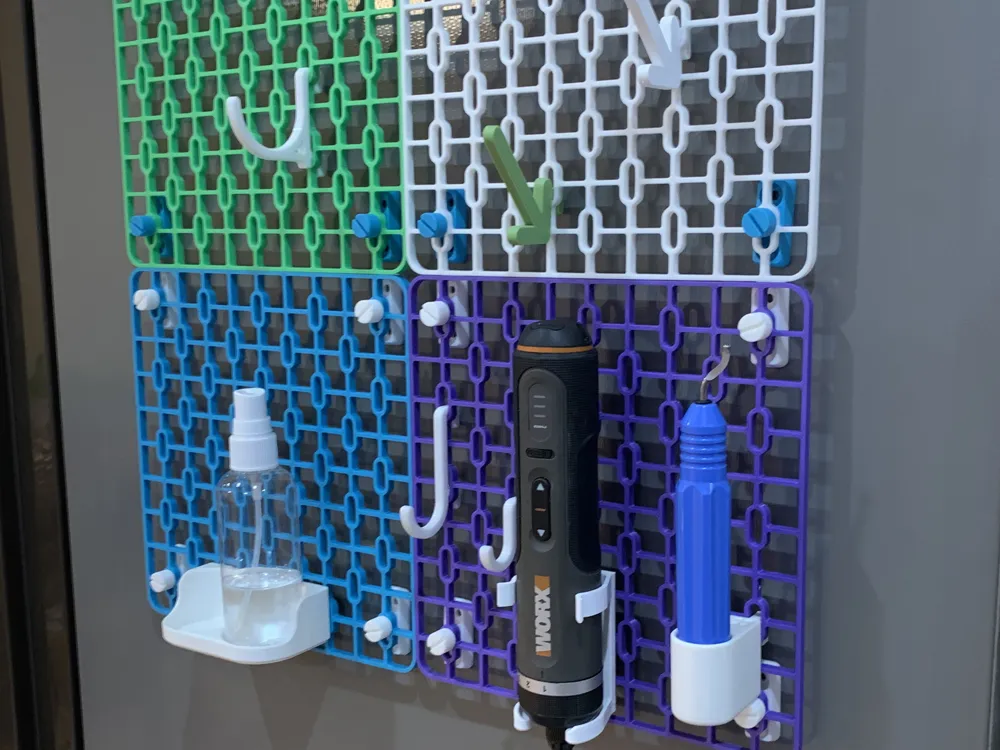
- High-load-bearing corridor design, no problem with weight, but more suitable for scenarios with low weight requirements, such as hanging keys, hats, pen holders, card boxes, etc. in the entrance.
- Fully openwork design with optimized details, achieving greater strength and details in structural idle conditions, such as chamfers, dimensions, spacing, etc. It is actually a complete pegboard.
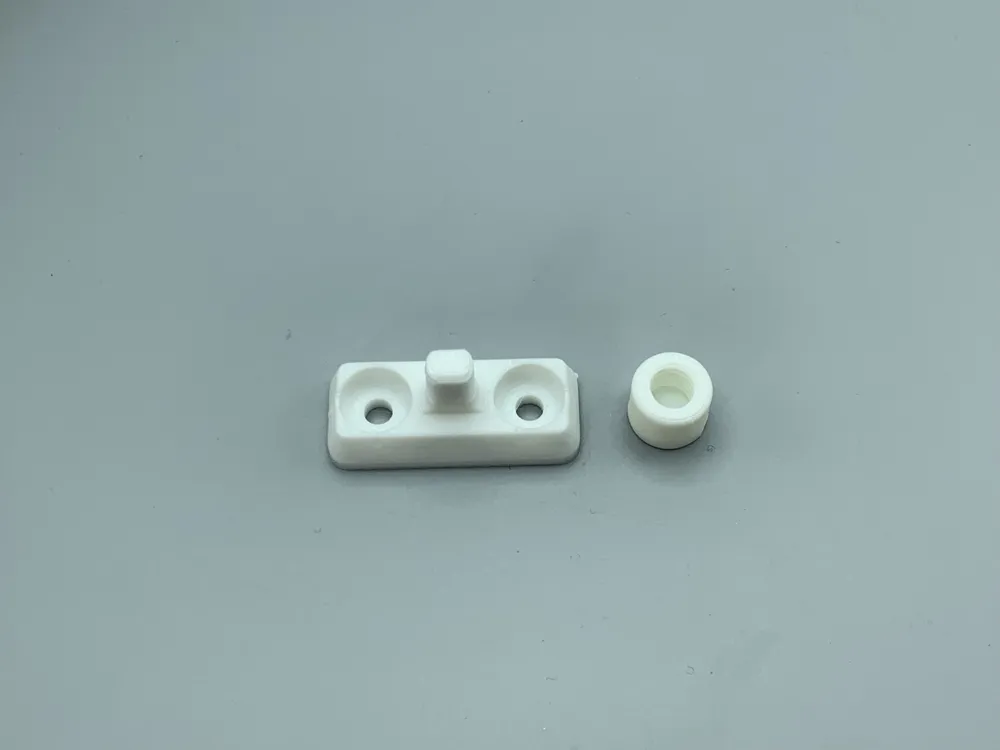
- The snap fasteners can be fixed to smooth surfaces such as tiles using strong nano-glue (sufficient strength), or fixed to wood with M4 self-tapping screws. The nut design makes installation quick and easy. To enhance compatibility, the main body does not have pre-drilled screw holes (considering appearance and integrity).
- An ultra-low-customization original version suitable for mainstream pegboard mounting schemes.
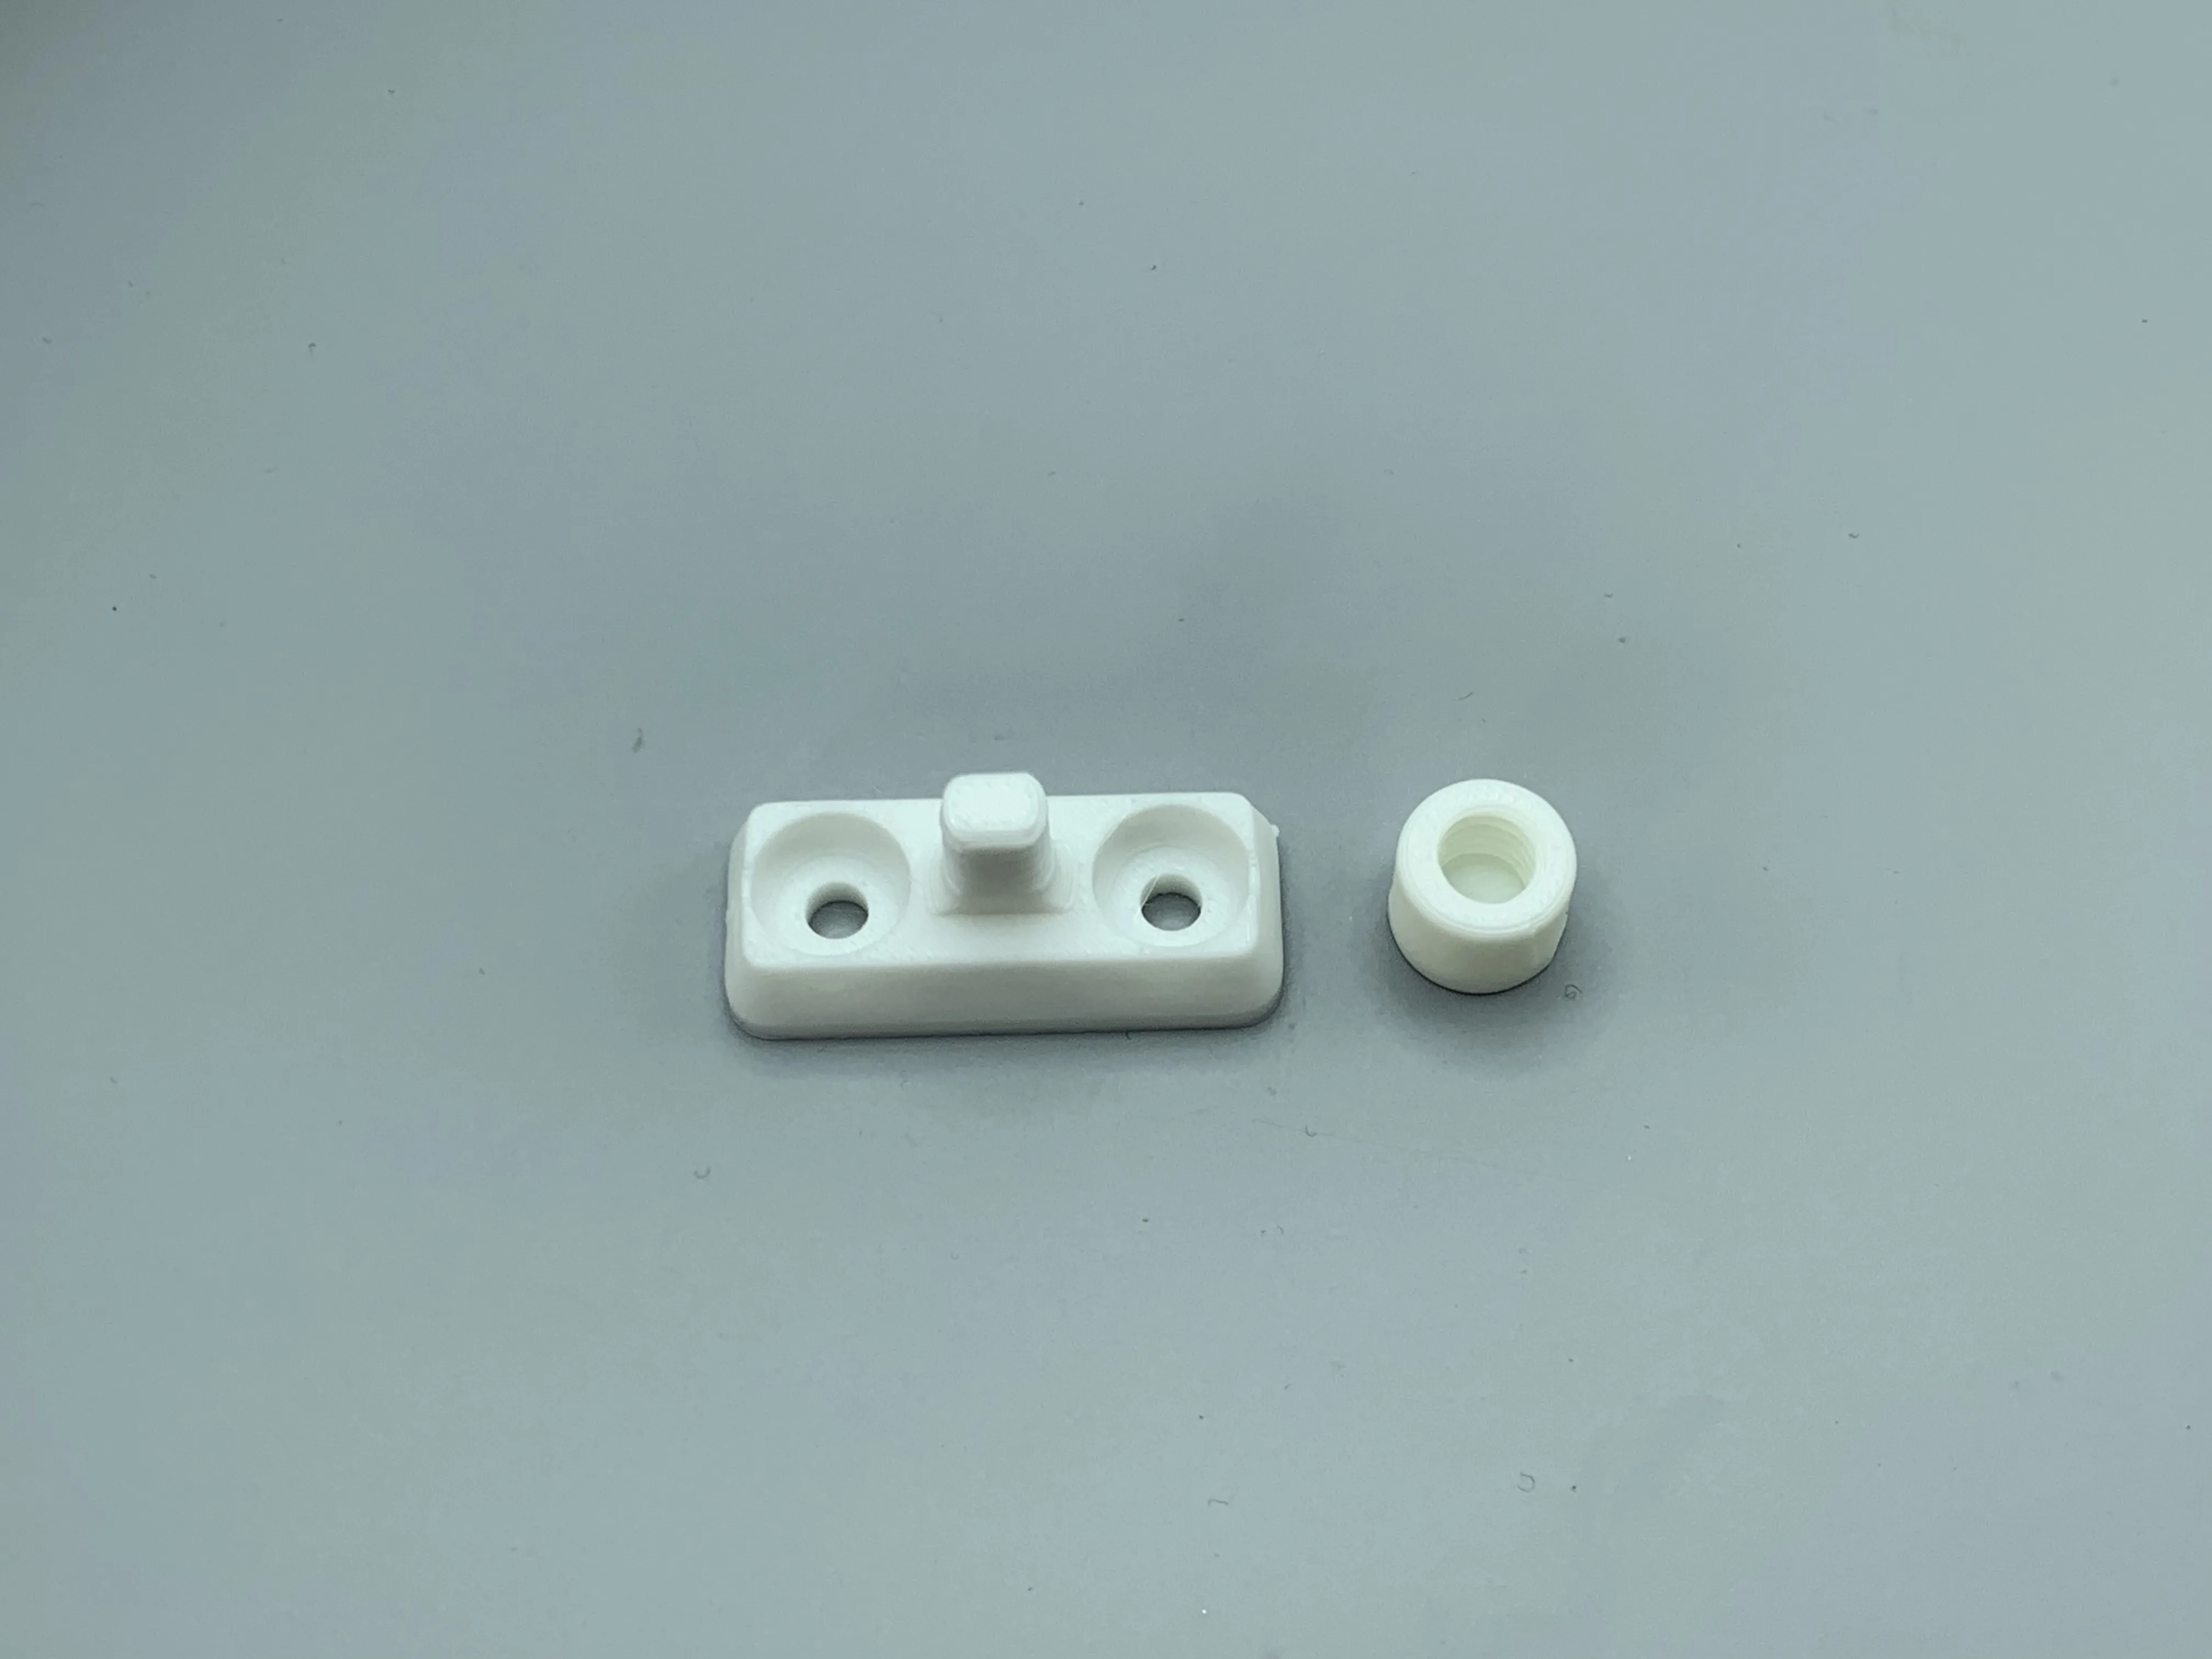
Installation Method:
- Suitable for popular pegboard mounting schemes on the website, you can use the scheme suitable for your needs.
- Alternatively, you can choose this model's mounting scheme, using a printed base and nuts. The base can be fixed to the wall using strong nano-glue or M4 studs, and after mounting the pegboard, simply tighten the studs.
- Accurately measure the installation position during installation to avoid misalignment with the mounting holes.
License

This user content is licensed under a Standard Digital File License.
You shall not share, sub-license, sell, rent, host, transfer, or distribute in any way the digital or 3D printed versions of this object, nor any other derivative work of this object in its digital or physical format (including - but not limited to - remixes of this object, and hosting on other digital platforms). The objects may not be used without permission in any way whatsoever in which you charge money, or collect fees.


Comment & Rating (16)