AMS STAND WITH LEDS
AMS STAND WITH LEDS


Print Profile(0)
Description
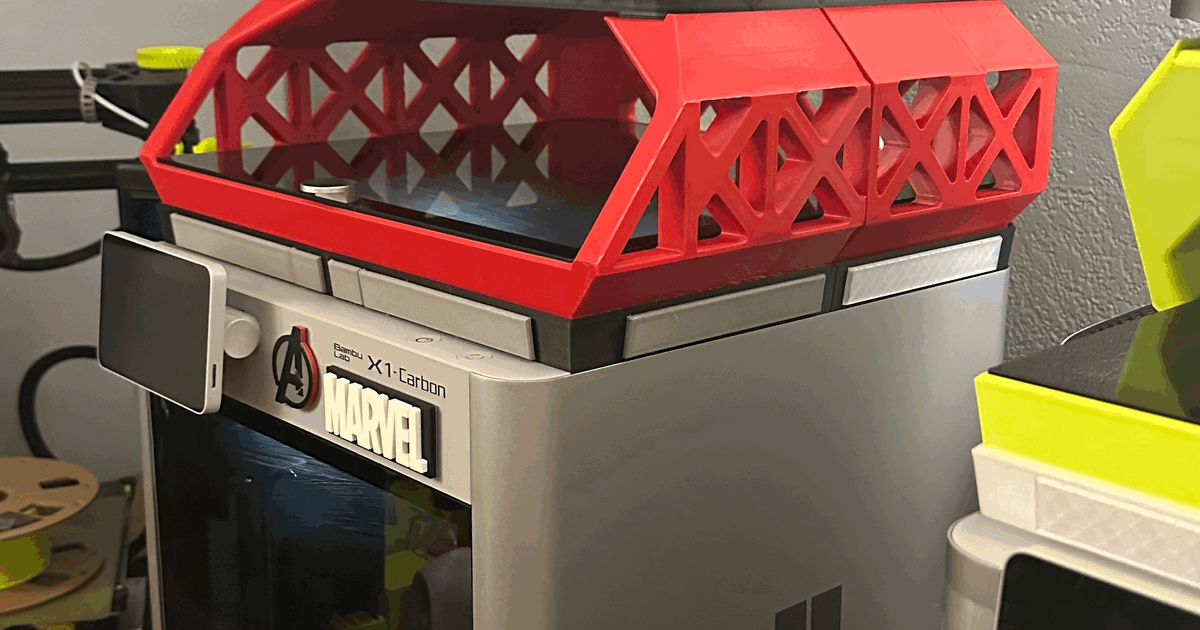
I made a remix of the cool design of my colleague RockChewer
What's new in this design?:
- A hole has been added where to mount the leds with their respective holes facing the outside.
- The front has been reduced by 1mm since in my case the front part did not fit in the hole of my X1.
- The position of the connector holes has been changed. Now it is mounted from the bottom. Also the size of the connector has been increased to make the mounting more rigid.
- The top holes for the led mounting have been removed as I think the new led location is better.
- Attached are the files in .step format and a project file that already has the brackets in the critical places.
- Accessories are added as an external coil support and a piece to add a switch and a DC connector for the leds.
In my case it has been printed in PLA
Layer height 0.6
4 perimeters
3 layers top and bottom
15% gyroid.
(Optional) The following is required for mounting the switch and DC socket:
- 1x 15x21mm push button
https://s.click.aliexpress.com/e/_DkjPZif
- 1x 10,7mm outer diameter female dc connector
Select "type D" https://s.click.aliexpress.com/e/_DkVP1Zz
- Quick glue to fix the dc connector
If you like my designs give me like and share. If you like them a lot invite me to a coffee.
https://www.buymeacoffee.com/kjbturok
https://www.paypal.com/paypalme/ChinadlaConchinchina
ES
Hice un remix del genial diseño del compañero RockChewer
Que hay de nuevo en este diseño?:
- Se a agregado un hueco donde montar los leds con sus respectivos agujeros que dan al exterior.
- Se a reducido 1mm el frontal ya que en mi caso la parte frontal no encajaba en el hueco de mi X1.
- Se a cambiado la posición de los agujeros del conector. Ahora este se monta desde abajo. También se aumentado el tamaño del conector para que el montaje sea mas rígido.
- Se an eliminado los agujeros superiores para el montaje de los led ya que pienso que la nueva ubicación de los leds es mejor.
- Se adjunta los archivos en formato .step y el un archivo de proyecto que ya cuenta con los soportes en los lugares críticos.
- Se añaden accesorios como un soporte de bobina externo y un pieza para agregar un interruptor y un conector DC para los leds
En mi caso se a impreso en PLA
Altura de capa 0.6
4 perímetros
3 capa superior e inferior
15% giroide.
( Opcional ) Para el montaje del interruptor y conector dc hace falta lo siguiente:
- 1x Pulsador 15x21mm
https://s.click.aliexpress.com/e/_DkjPZif
- 1x Conector dc hembra de 10,7mm de diametro exterior
Seleccionar "tipo D" https://s.click.aliexpress.com/e/_DkVP1Zz
- Pegamento rápido para fijar el conector dc.
Si te gusta mis diseños dale me gusta y comparte. Si te gustan mucho invítame a un café.
https://www.buymeacoffee.com/kjbturok