Search models, users, collections, and posts

GIF
Print Profile(3)

Body & Base Plate
Designer
7.5 h
2 plates

Diffuser (0.2 Nozzle)
Designer
2 h
1 plate

Body cut in 2 pieces
Designer
5.7 h
2 plates
Open in Bambu Studio
Boost
55
152
3
5
46
10
Released
Bill of Materials
Bambu Filaments
Select all


Description
Boost Me (for free)
I spent a lot of time on this model, please consider boosting me so I can continue designing models like this!
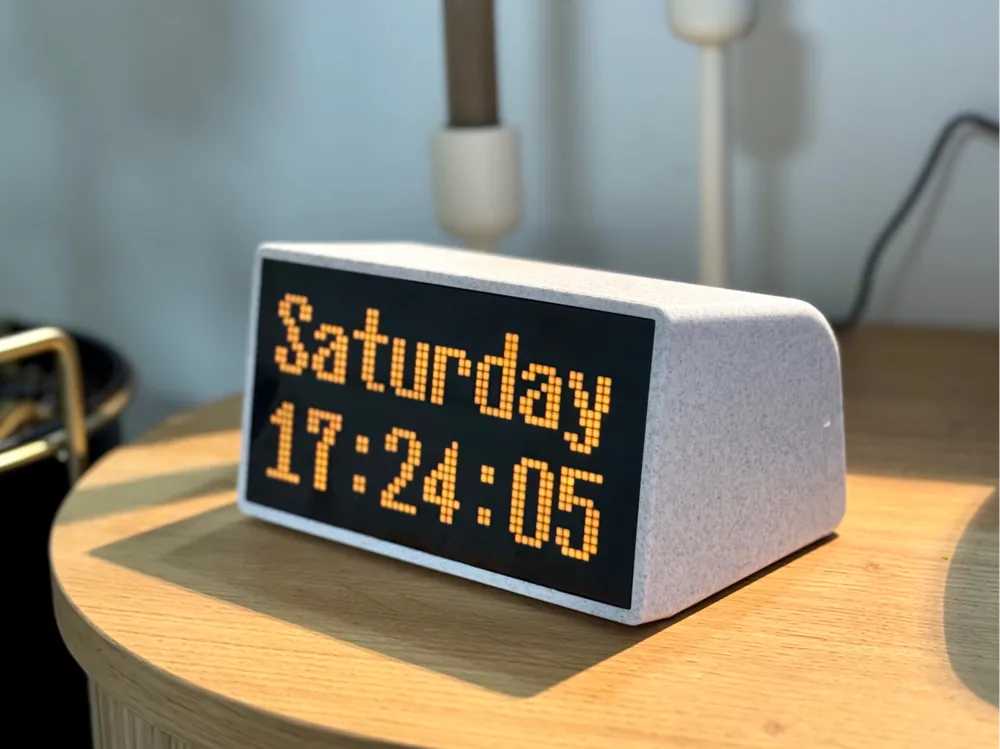
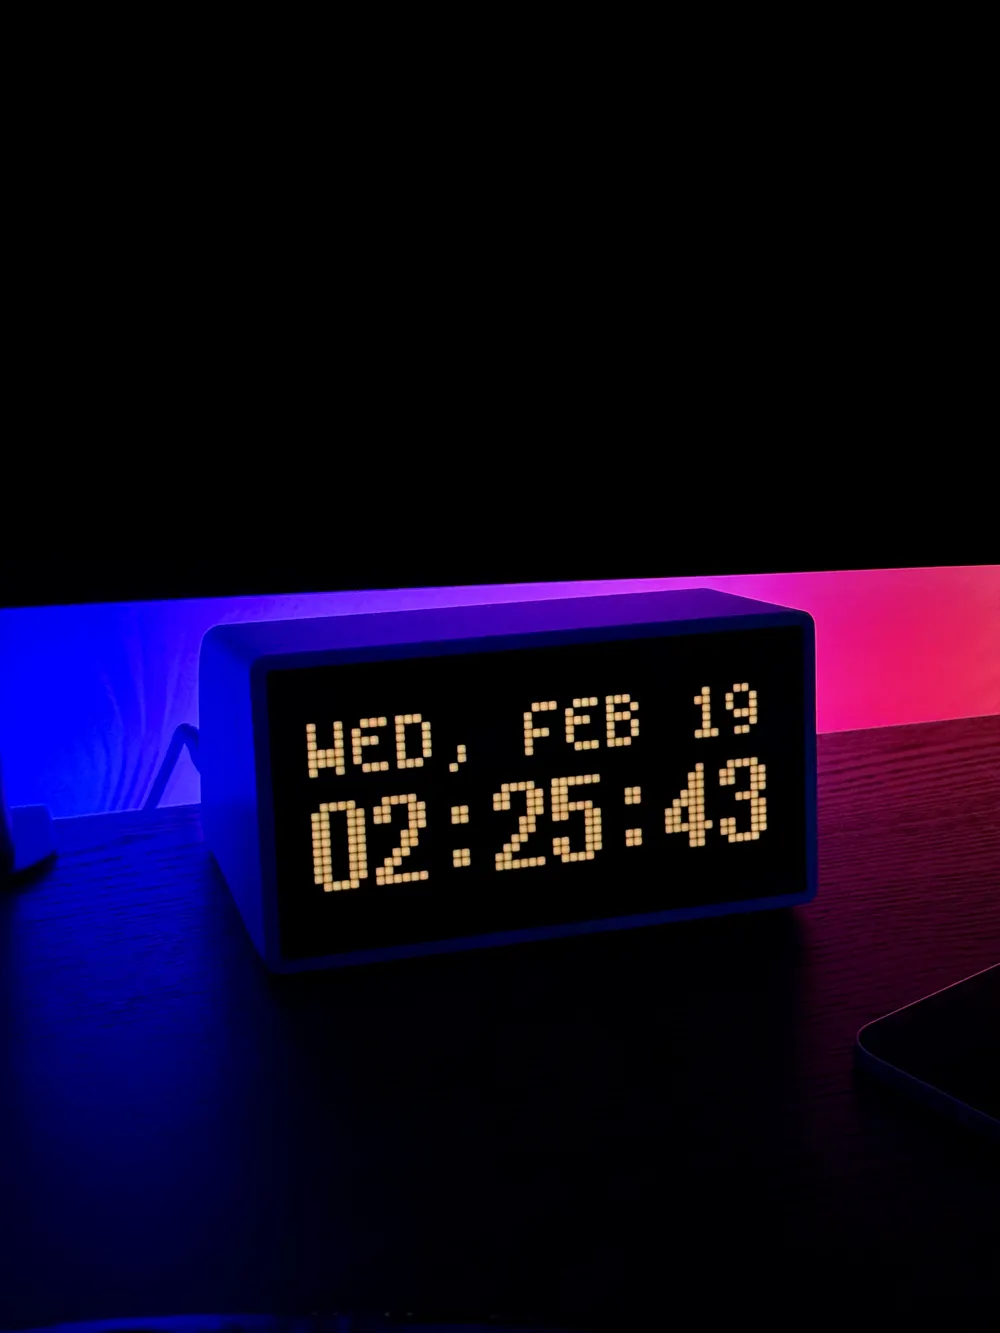
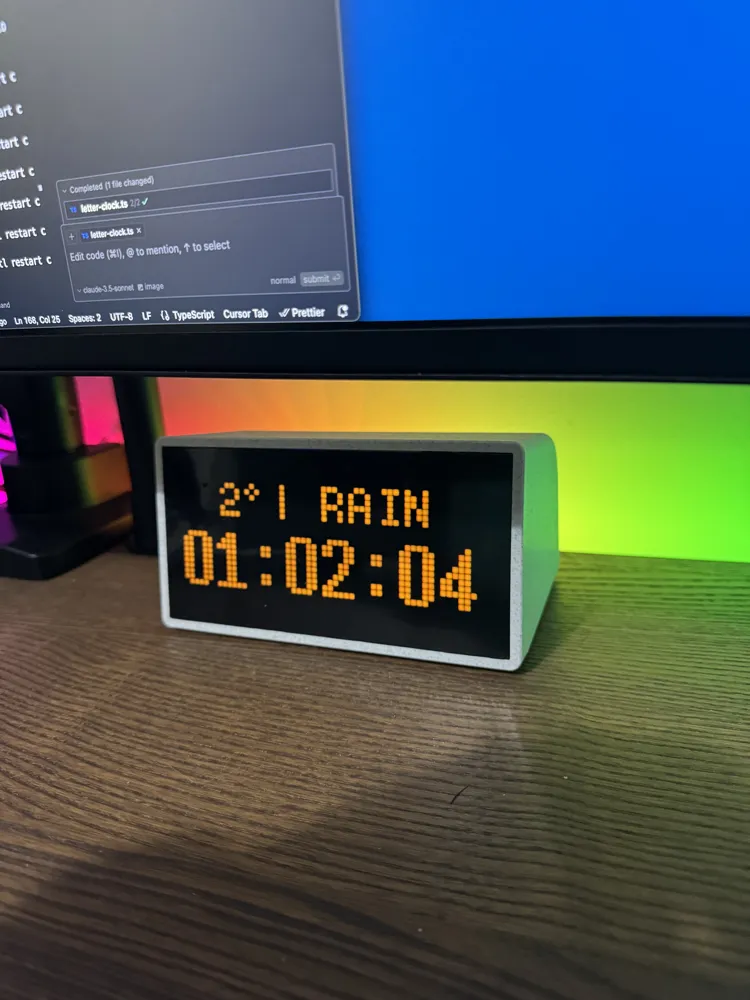

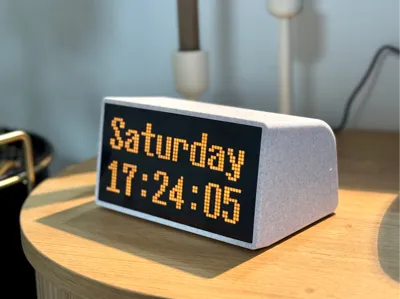
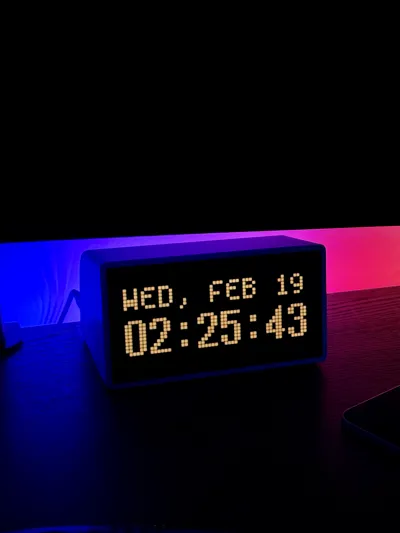
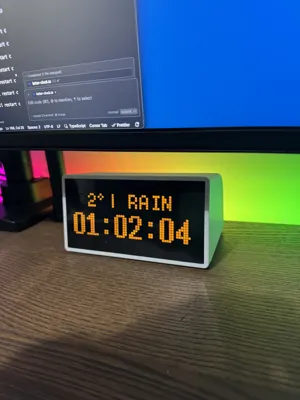
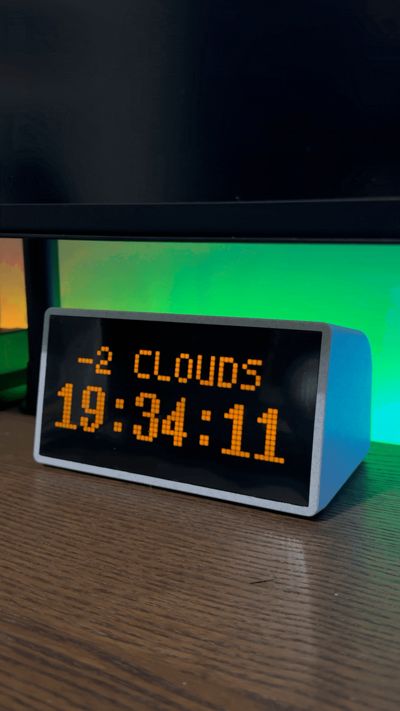
This is my take on a simple LED Matrix clock (or anything else really). I've always loved this kind of LED matrix and have built several different versions of it during the past few years, but this one is small (ish) and minimal.
You can find the code and assembly instructions on my Github: https://github.com/sallar/rpi-matrix-v2
You need:
- Raspberry Pi Zero 2 W
- Adafruit 64x32 RGB LED Matrix - 2.5mm pitch
- Can be replaced by any 64x32 Hub75 2.5mm pitch led matrix, they usually are the same dimensions and work the same way as the Adafruit one. Check Amazon or AliExpress.
- Adafruit RGB Matrix Bonnet for Raspberry Pi
- Tobsun DC 12V/24V to 5V 10A Converter
- USB-C Decoy Fast Charge Trigger with screw terminal
- 5.5mm x 2.1mm Barrel Jack Adapter
- M3x6 Machine Screws (10 pcs)
- M2x4 Machine Screws (4 pcs)
- M3 Heated inserts (4 pcs)
- M2 Heated inserts (4 pcs)
- Black vinyl sticker (50-80% transparency)
- USB-C to USB-C cable
- 40W USB-C Power adapter
Printing notes:
- The main body uses tree supports. I haven't had much of a good luck with bed slingers like A1 Mini to print it, so if you want to print it on an A1/A1 Mini please know what you are doing.
- The diffuser grid needs to be printed using a 0.2 nozzle because the lines are very thin. You need two bottom layers for the diffusion, and the rest in black for the grid itself.
- The diffuser grid can be printed with PLA or PETG. I used Bambu's Matte PLA.
- Please read the instructions on my Github carefully.
License

This user content is licensed under a
Creative Commons Attribution-Noncommercial


Comment & Rating (3)