In case of emergency Snack


Print Profile(5)


Description
Boost Me (for free)
A boost is much appreciated! Thank you!
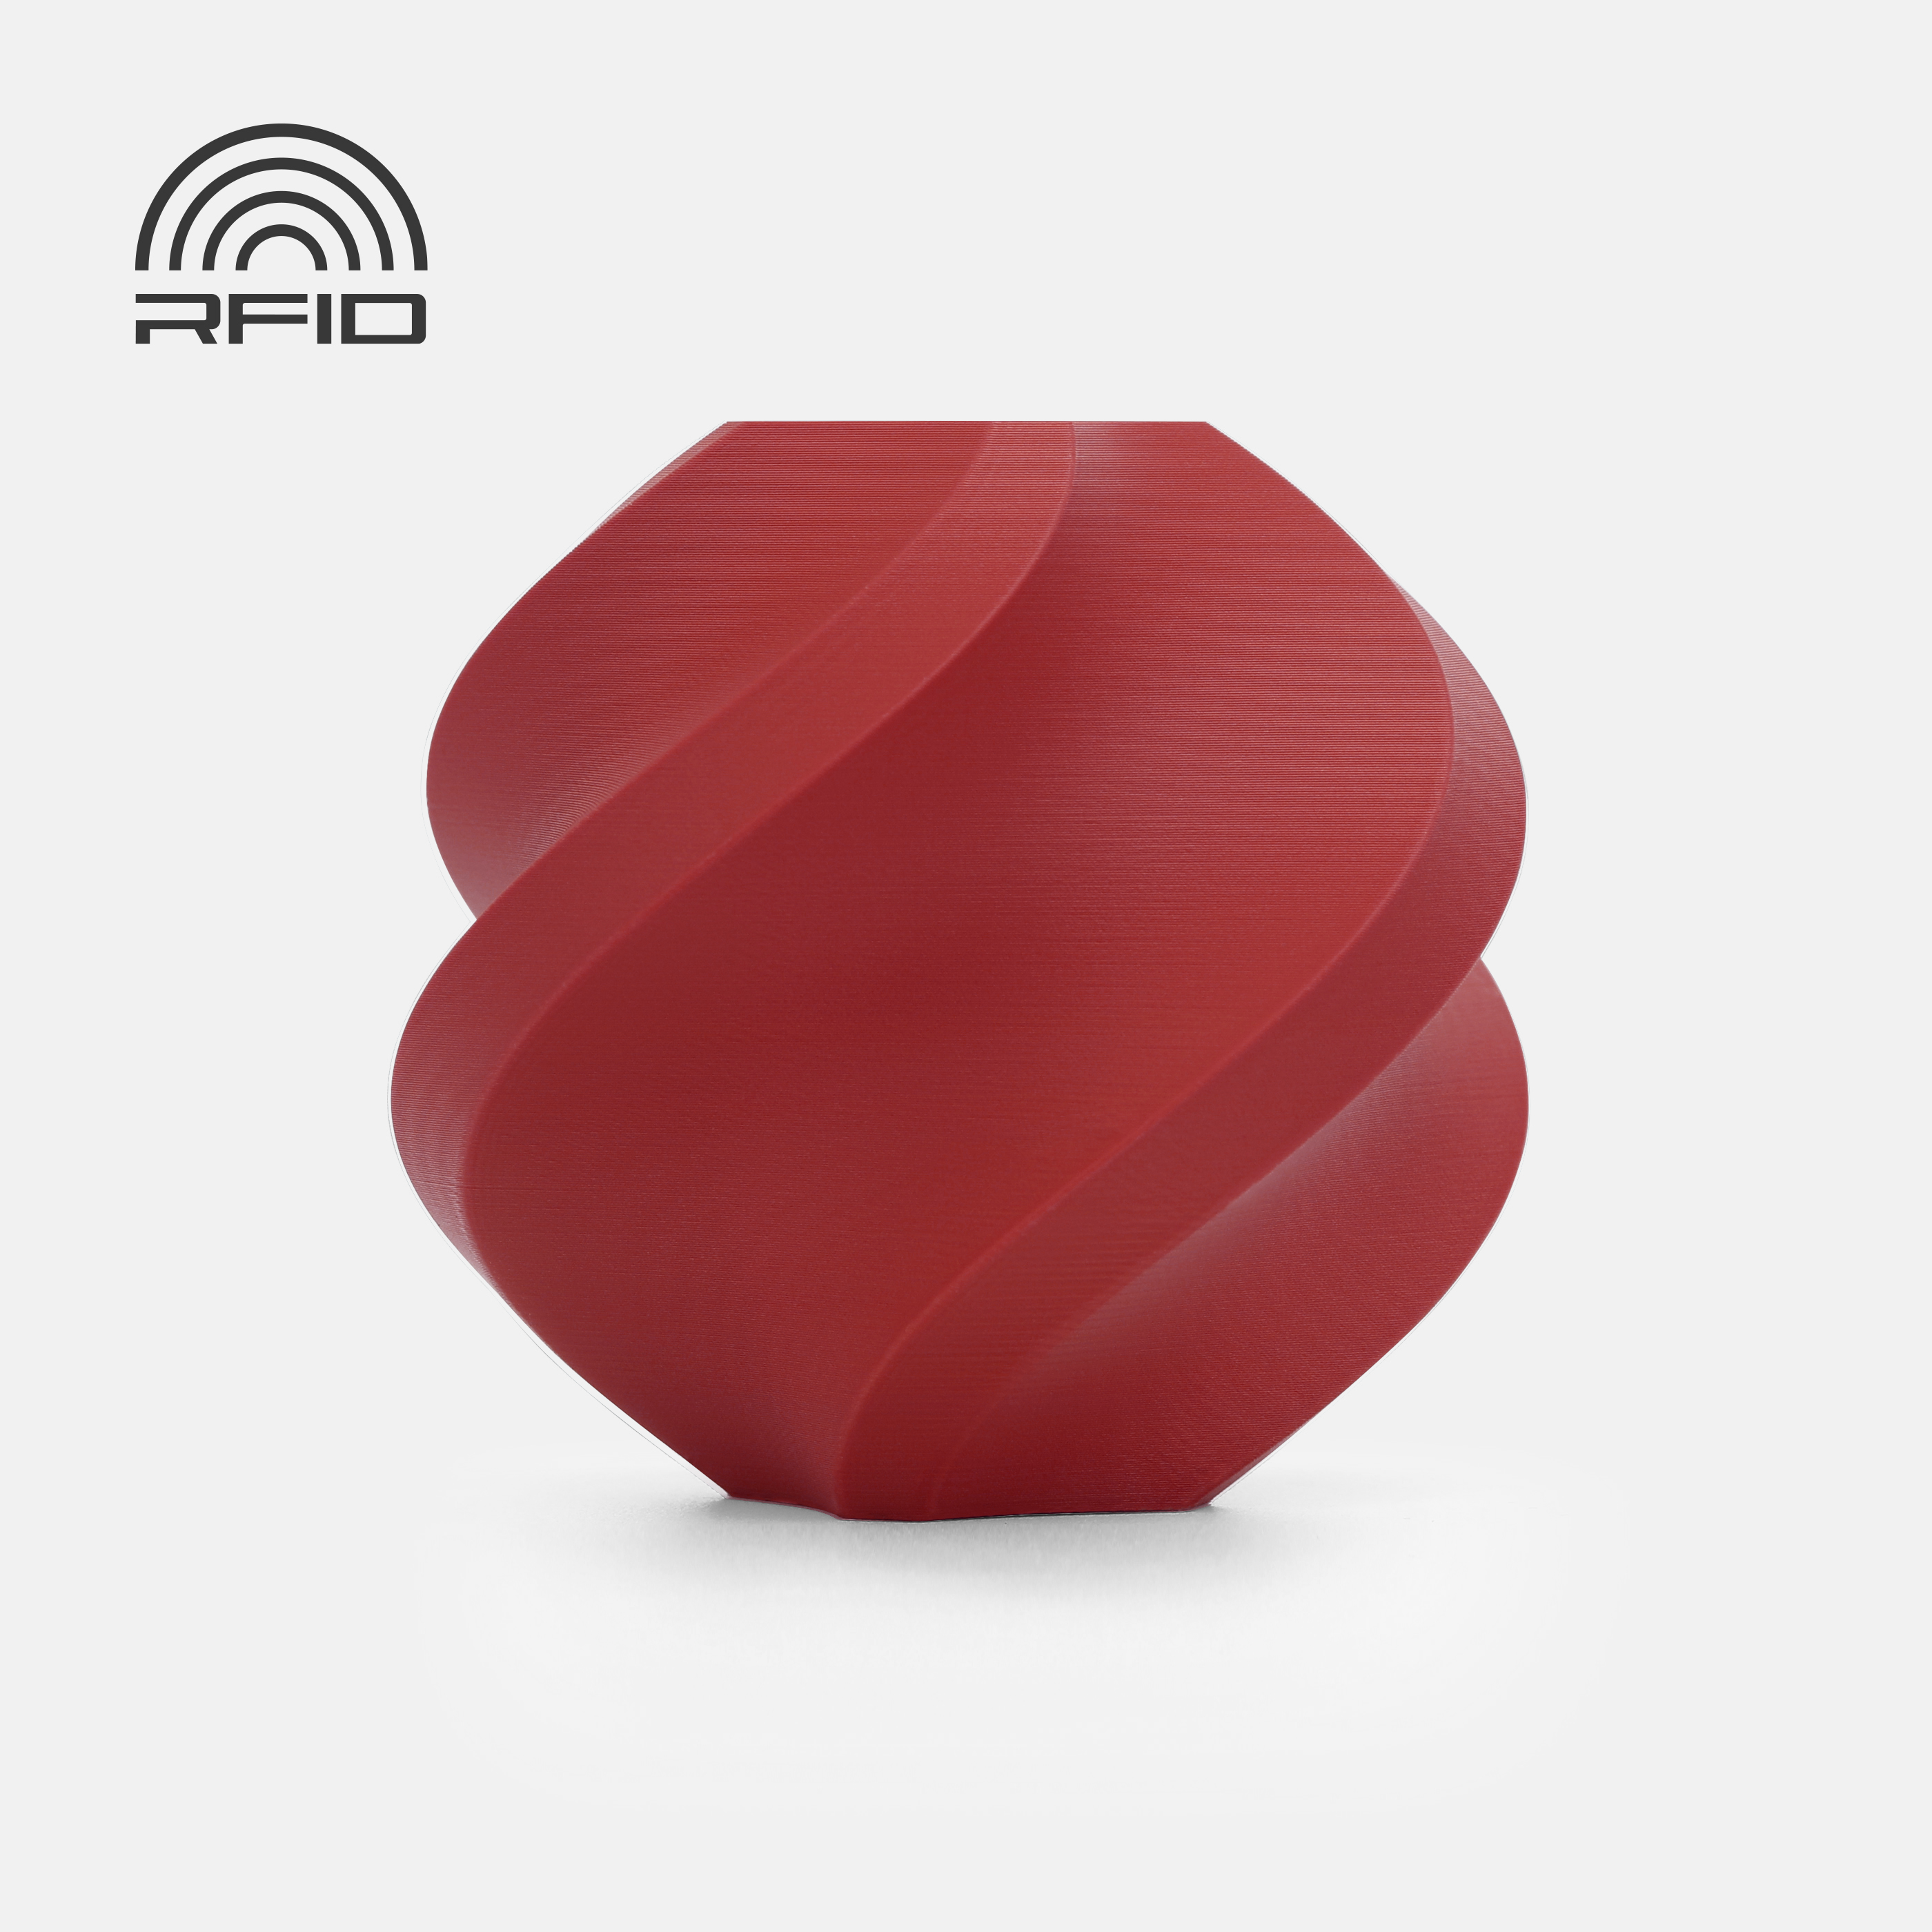
Model
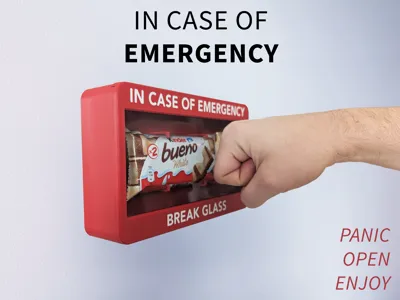
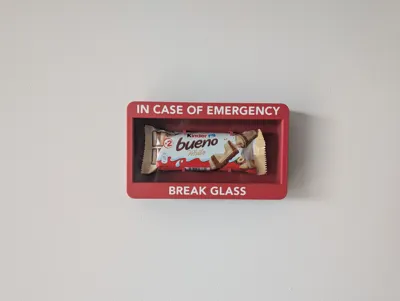
Have you ever been in need of a piece of chocolate to boost your mood? With this emergency snack box you will always have a snack ready if you feel the need. Decide on your own favorite candybar and make sure you never get hangry again.
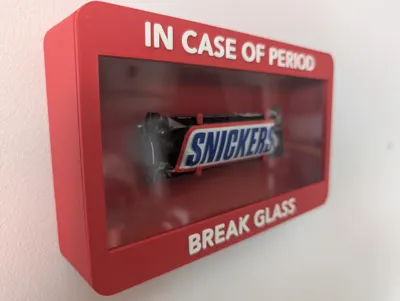
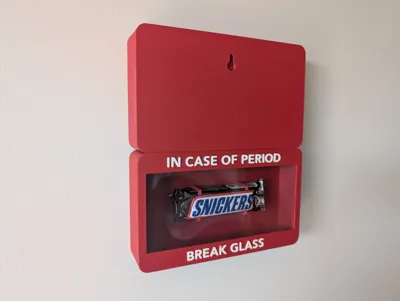
Also the option for ‘ In case of period’, because chocolate is the best medicine (or so my girlfriend says).
The new A1 mini version is a scaled down model. Not all candybars will fit the smaller measurements.
Requirements
The “glass” in this model can be made of acrylic (plexiglass) up to 1mm thick. For my models I used a thin flexible transparent sheet and glued it in place. The 1mm plexiglass will be the better option if you don't want to glue it in place. Size of the plexiglass sheet is 187 x 84 x (max) 1 mm. Also some glue is required for the stopper, see assembly step 4.
I also made a version for up to 2mm of acrylic. You can find this version in the stl files.
Measurements
The exterior is 200 x 120 x 42 mm.
The interior has space for an item with a maximum measurement of 190 x 110 x 28 mm.
Acrylic (plexiglass) is 187 x 84 x (max) 1 mm.
Different size holders:
- small candybar up to 30 mm height.
- larger candybar up to 50 mm height.
Printing
The model is printable in an AMS version and a non AMS version. The letters of the AMS version are embedded into the lid. Printing the non AMS version will require you to glue the letters onto the lid. I suggest sticking a piece of tape on the letters while they're on the buildplate and removing the tape with the letters stuck to the tape. This way you can apply glue to the letters and glue them on the lid while maintaining the right spacing between the letters.
Assembly
Step 1: Remove the printed parts from the buildplate.
Step 2: Cut the plexiglass window to the correct size (187 x 84 x (max) 1 mm).
Step 3: Slide the acrylic (plexiglass) window in the grooves of the lid, use glue if needed.
Step 4: Glue the stopper (the small long piece) onto the lid, on the same side where you slid in the plexiglass.
Do not glue the stopper to the box!
Step 5: Press the holders of your choosing into the 2 holes in the box.
Step 6: Place your favorite candybar into the holders.
Step 7: Slide the lid into the grooves of the box from the top.
Step 8: Hang the emergency snack onto the wall using a screw or double sided tape. Or just place it wherever you want it to be.
Helpful tips
When cutting acrylic, be sure to use a sharp utility blade and make multiple passes along the line where you want to cut. If you're unable to cut all the way through after several passes, you should be able to snap the sheet along the scored line.
Congratulations! You are now the proud owner of the emergency snack box!
Would you rather have something more precious than sweet? Check out my other design: In case of inflation gold
If you have any questions about the model or if you would like a customized version, please feel free to contact me!
License
You shall not share, sub-license, sell, rent, host, transfer, or distribute in any way the digital or 3D printed versions of this object, nor any other derivative work of this object in its digital or physical format (including - but not limited to - remixes of this object, and hosting on other digital platforms). The objects may not be used without permission in any way whatsoever in which you charge money, or collect fees.
Comment & Rating (238)