Monitor Arm 3d printed


Print Profile(5)


Description
Overview
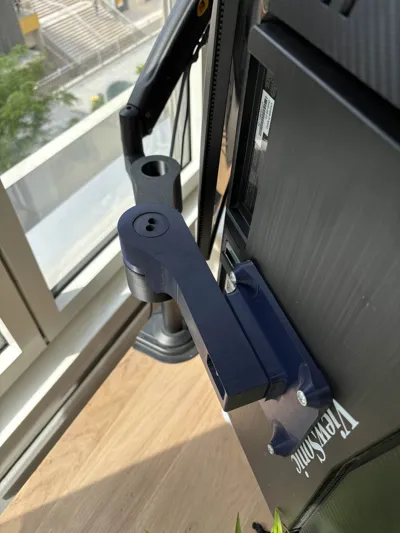
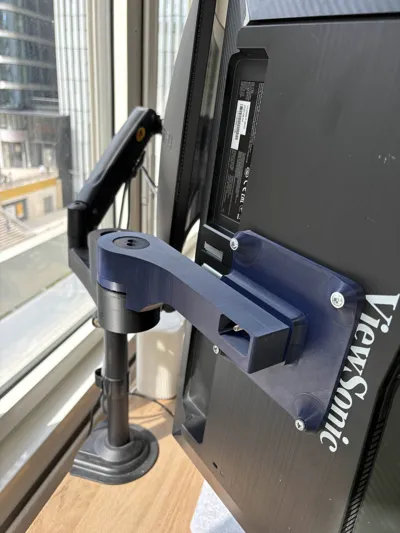
I designed a monitor stand for my secondary screen because I didn’t want to spend €30 on a commercial one. This model is easy to assemble and sturdy enough for everyday use.
Required Materials
- A rigid tube with a diameter of around 35 mm from a classic arm stand like this :
- M5 screws (any length, optional but recommended for rigidity)
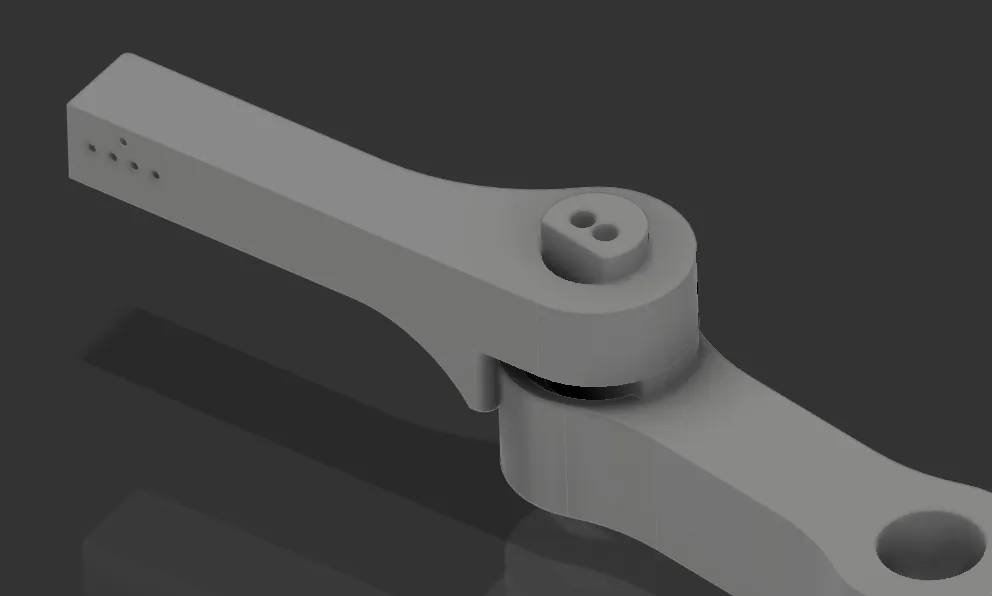
- Five M3×25 mm screws (three are enough in my case) with nuts
- Two M6 screws for the base
- All the printed parts (see the model’s page for the full list)
Assembly Steps
Slide the "Arm 1" part onto the tube.

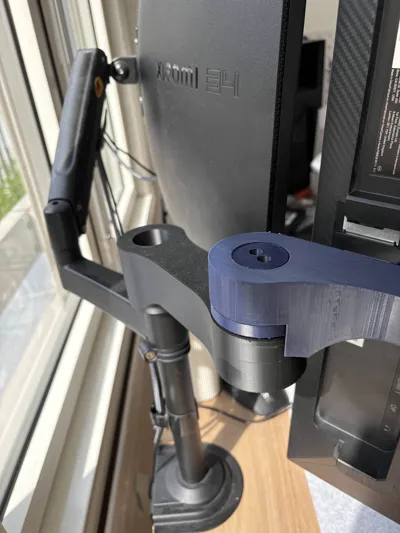
Insert “Pied de liaison Part 1”

- (Optional) Add M5 screws to increase stability using the designated holes.
Attach the "Arm 2" part, which holds the VESA plate.
Secure the 100×100 VESA plate using M3×25 mm screws.


Insert the "Pied de liaison Part 2" to fill the gap in the hinge.

Fix the lower disk with two M6 screws.

Place the "retaining ring" at the top of the tube.

Final Notes
This is a cost-effective, functional, and easy-to-customize monitor stand. I hope you’ll find it useful and enjoy the design!
License
You shall not share, sub-license, sell, rent, host, transfer, or distribute in any way the digital or 3D printed versions of this object, nor any other derivative work of this object in its digital or physical format (including - but not limited to - remixes of this object, and hosting on other digital platforms). The objects may not be used without permission in any way whatsoever in which you charge money, or collect fees.
Comment & Rating (19)