Search models, users, collections, and posts

DIY Button - Cherry MX
IP Report
Print Profile(1)
0.2mm layer, 2 walls, 15% infill
Designer
13 min
1 plate
Open in Bambu Studio
Boost
13
45
0
0
36
12
Released
Bill of Materials
List other parts
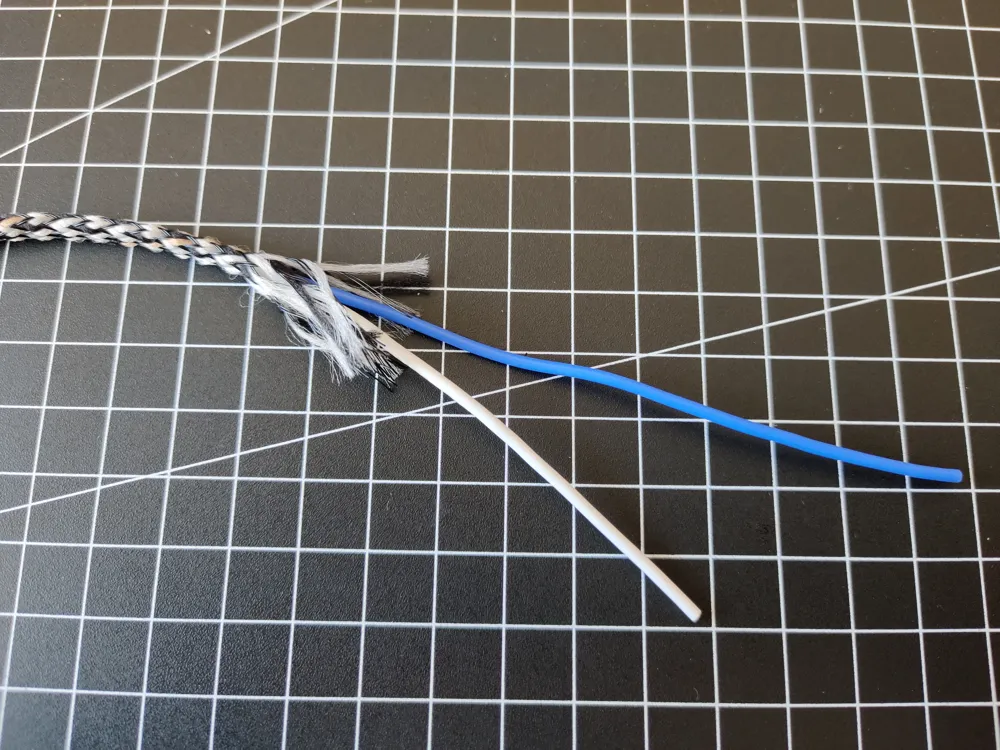
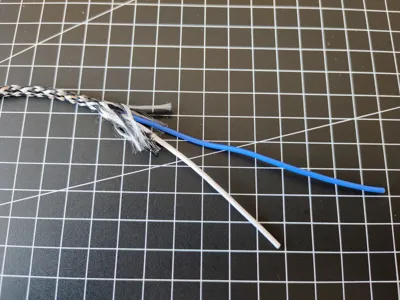
- wires x 2: 2 wires for switch only functionality, 4 if you want the LED
- cable sleeve x 1:
- shrink tubes or insulating tape x 2:
- connector x 1: for the other side of the wire. If you use a normal PC you will probably need dupont connectors
Description
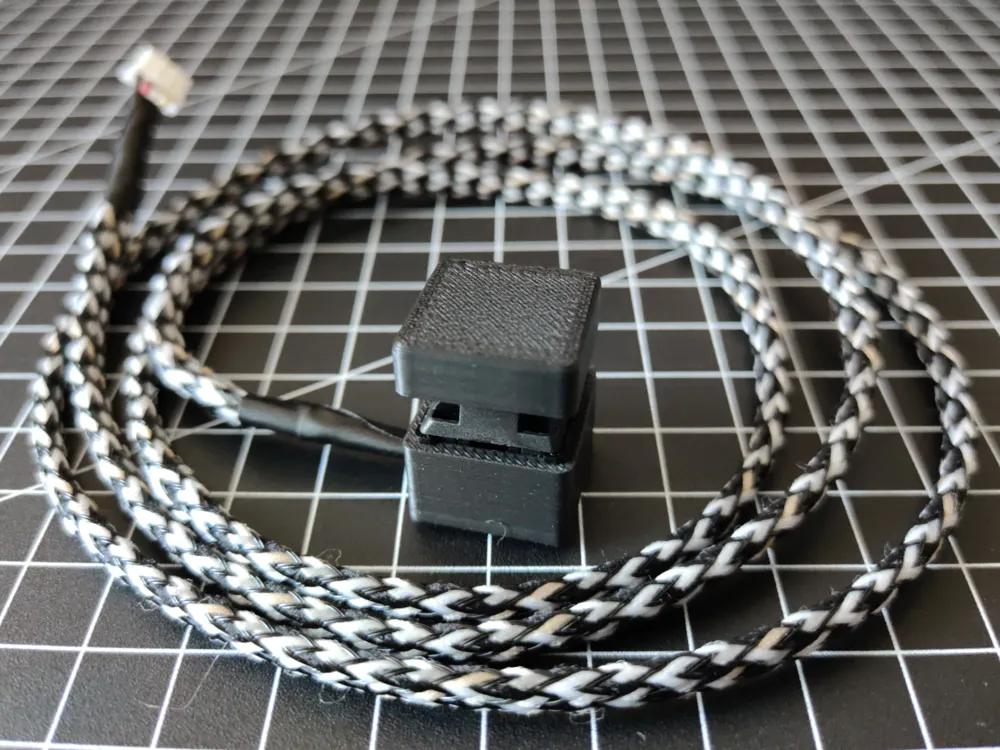
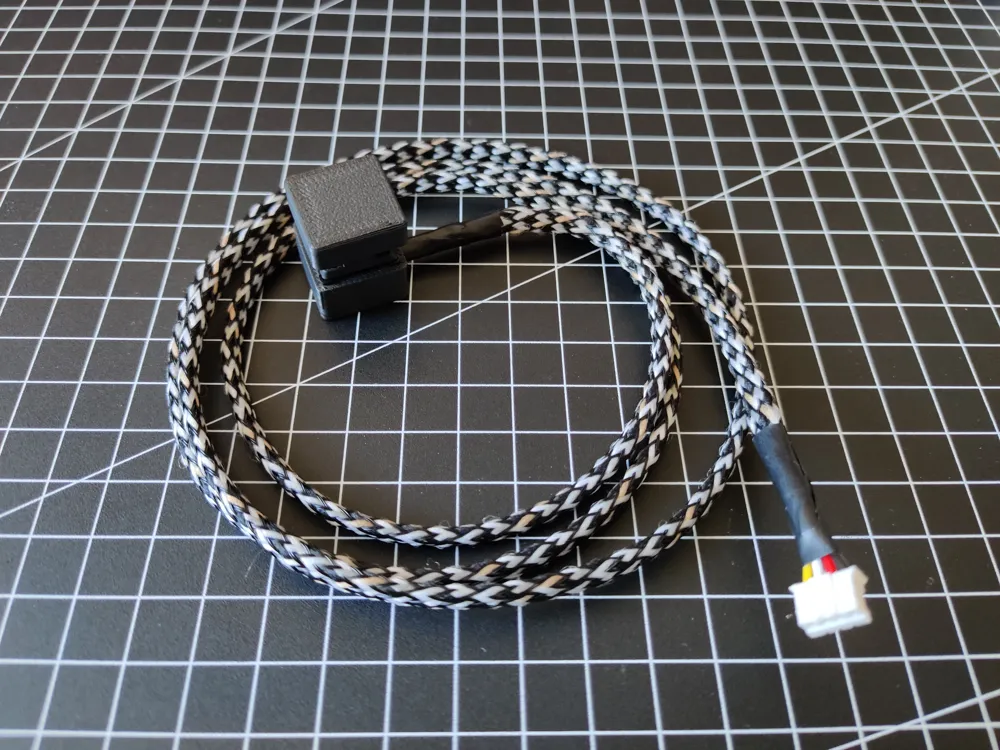
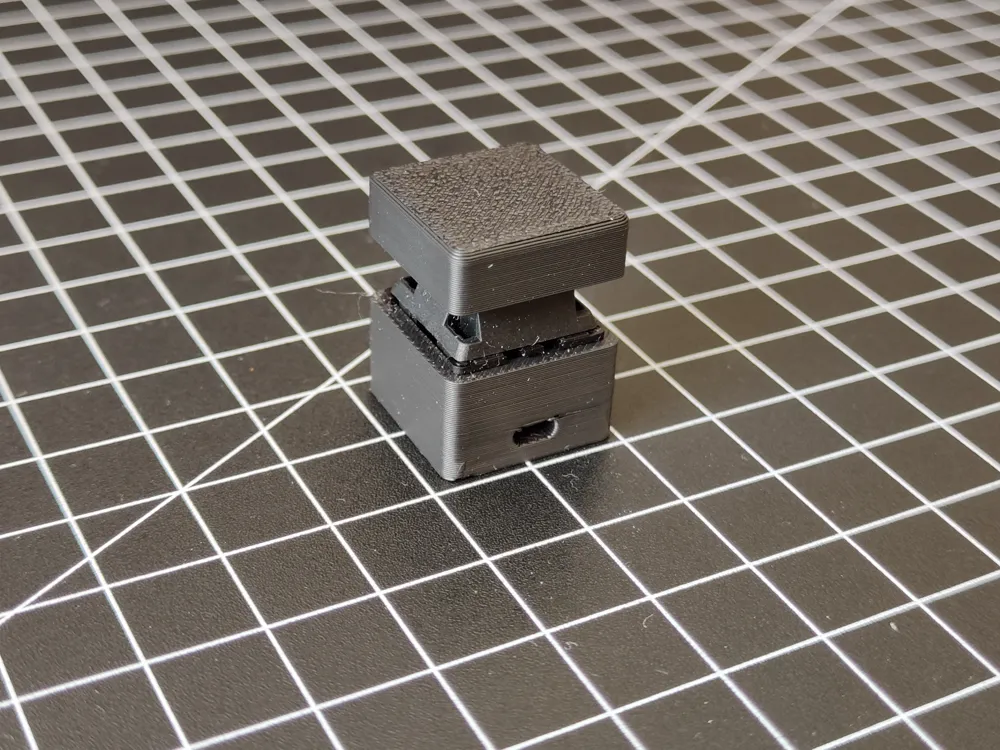
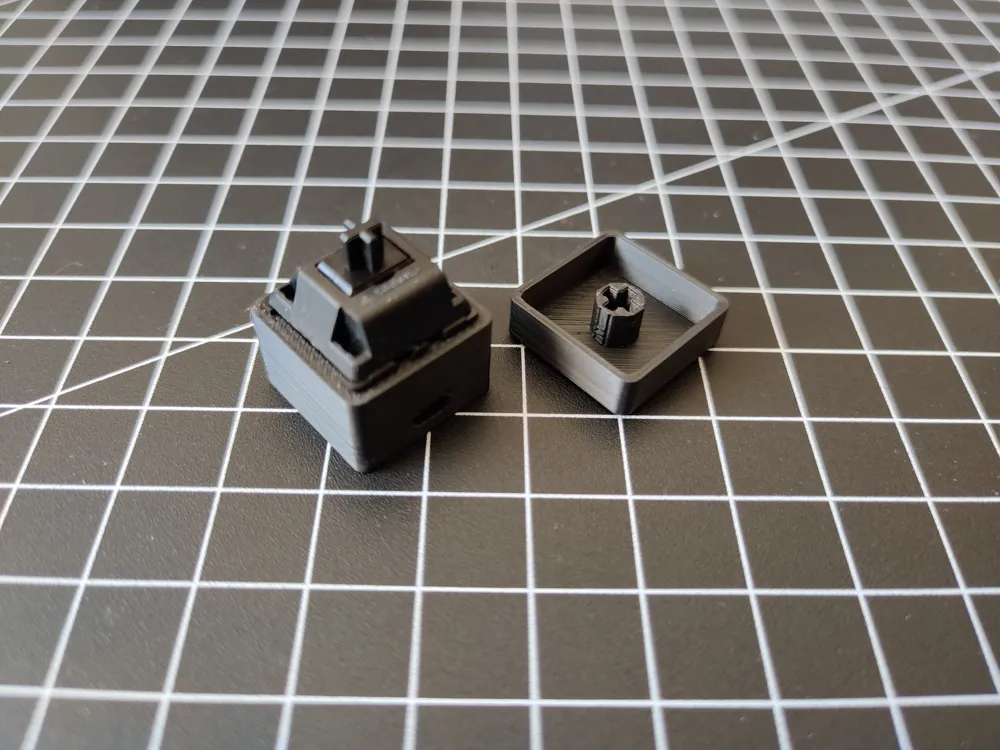
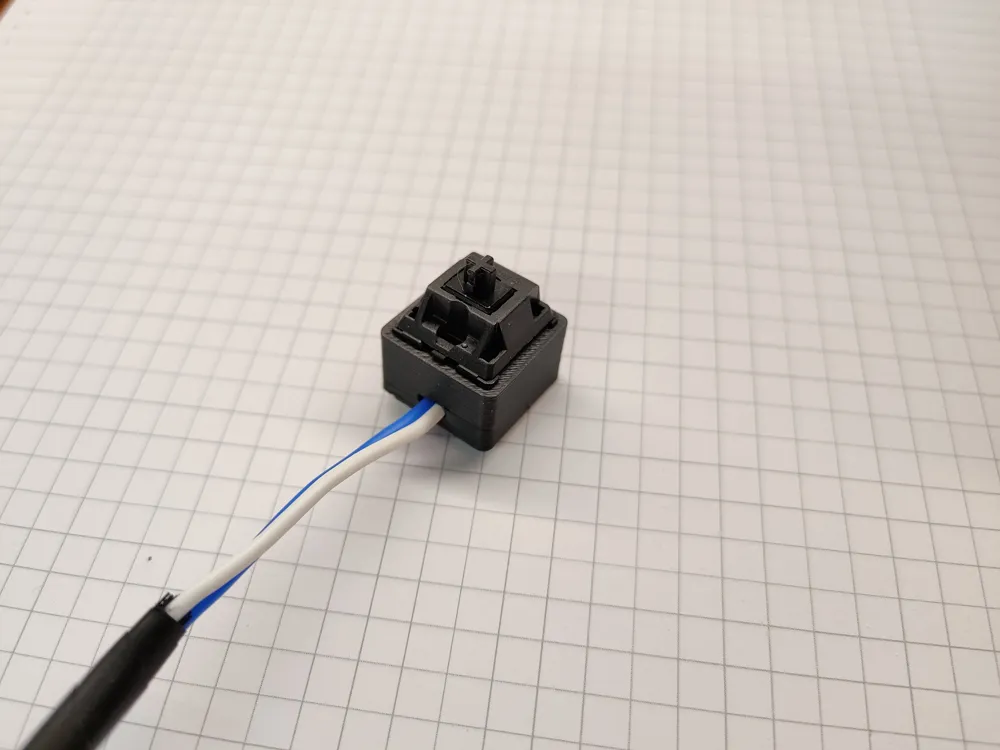
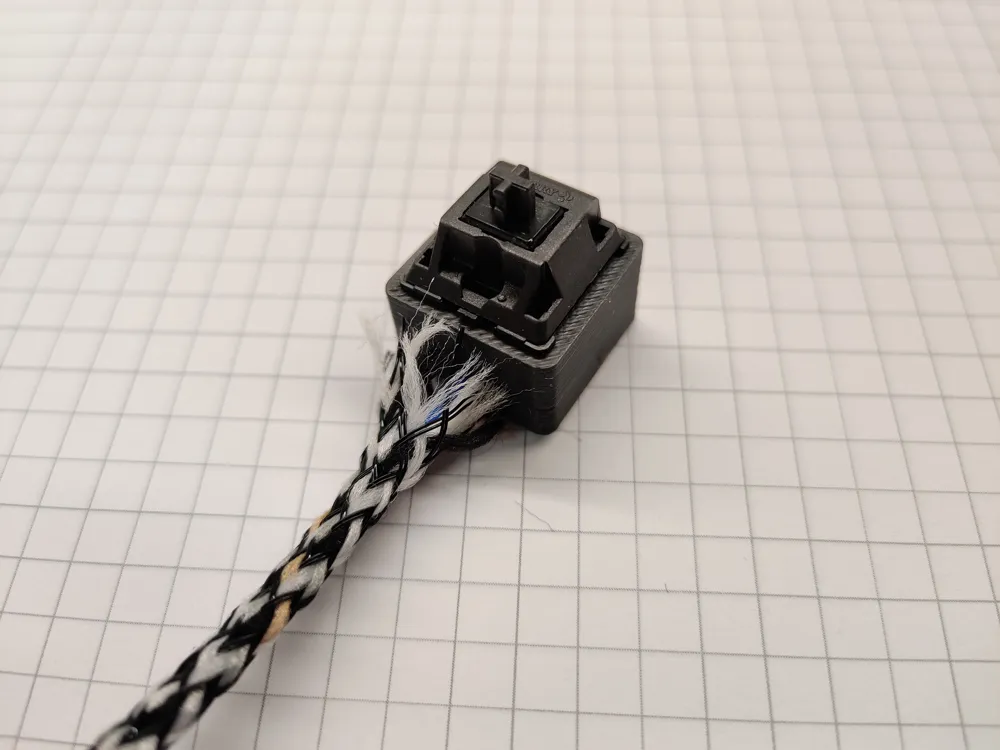
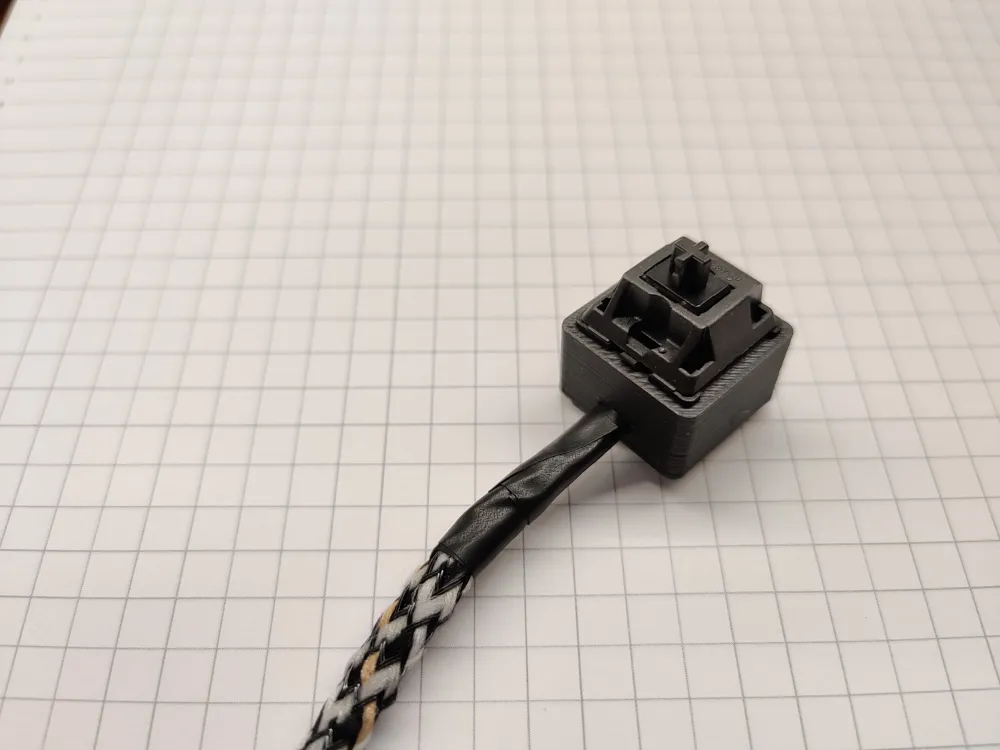
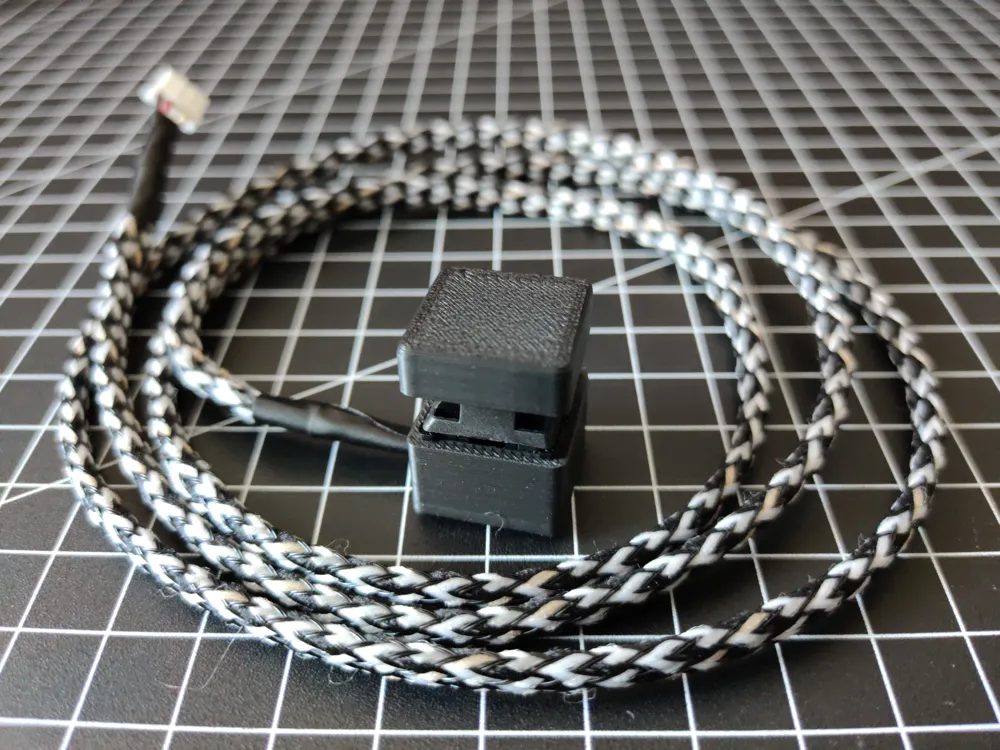
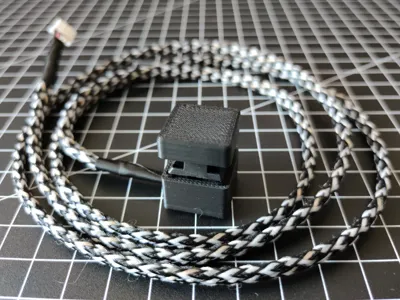
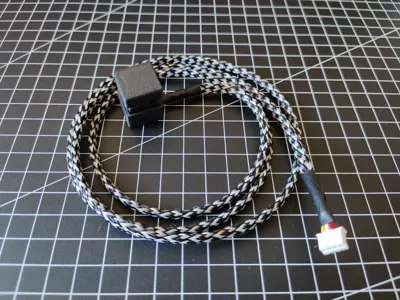
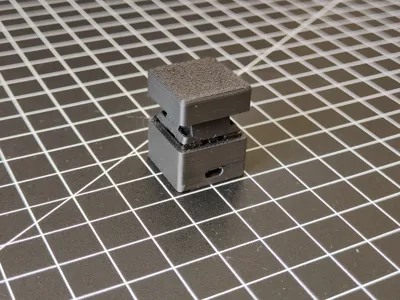
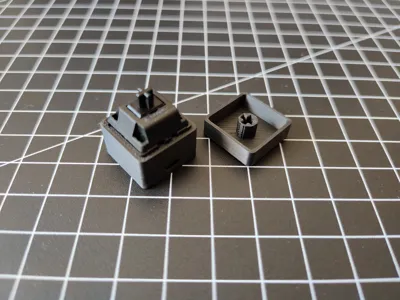
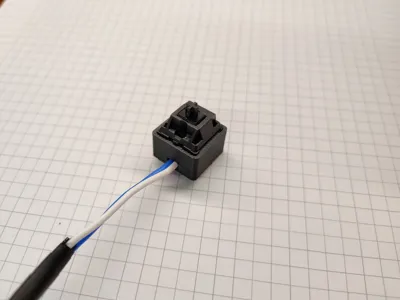
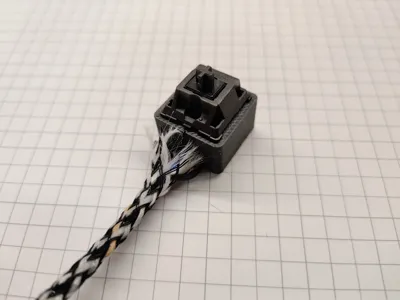
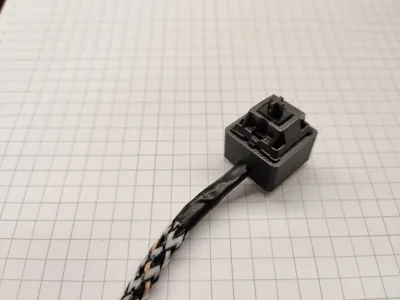
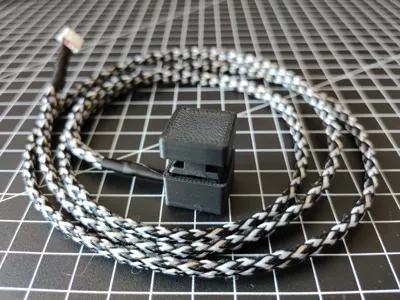
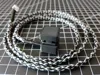
This is a case and keycap combo for cherry MX switches.
I use it as an ON/OFF switch for a mini-pc that is out of reach.
Assembly is quite simple:
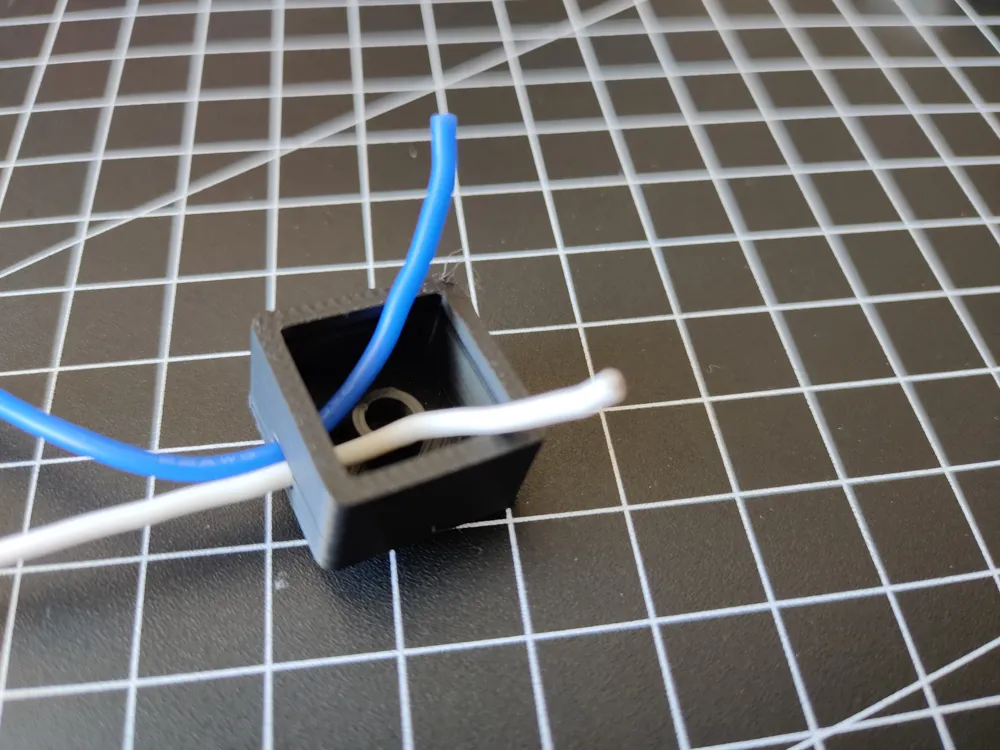
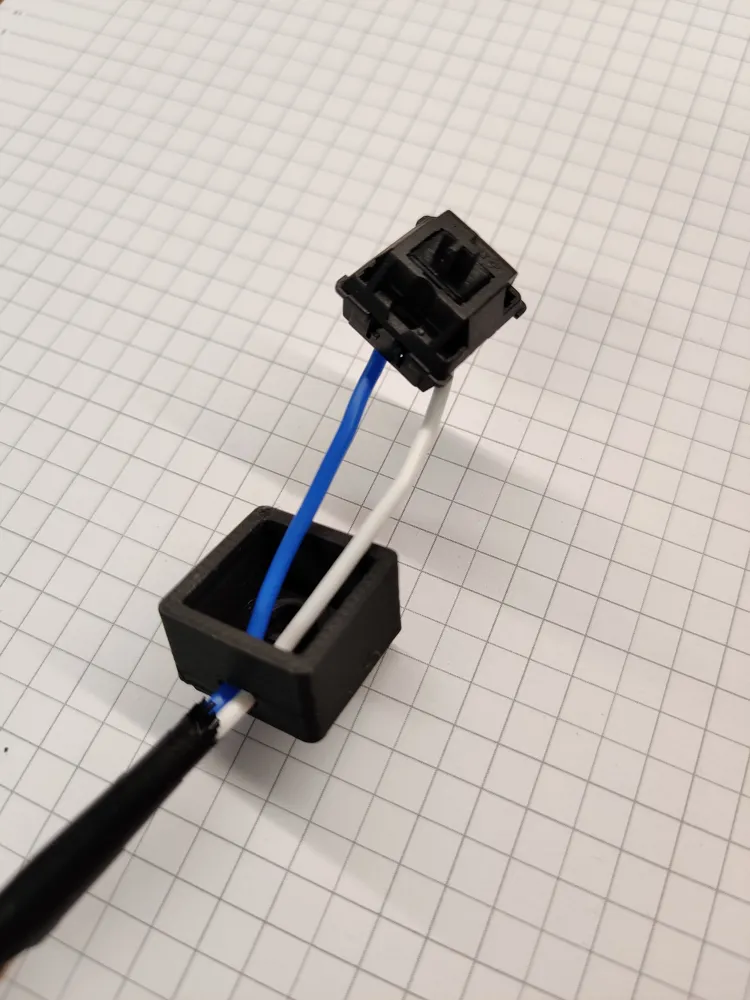
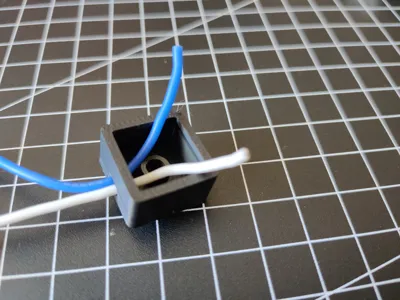
- Pull the wires through the hole.
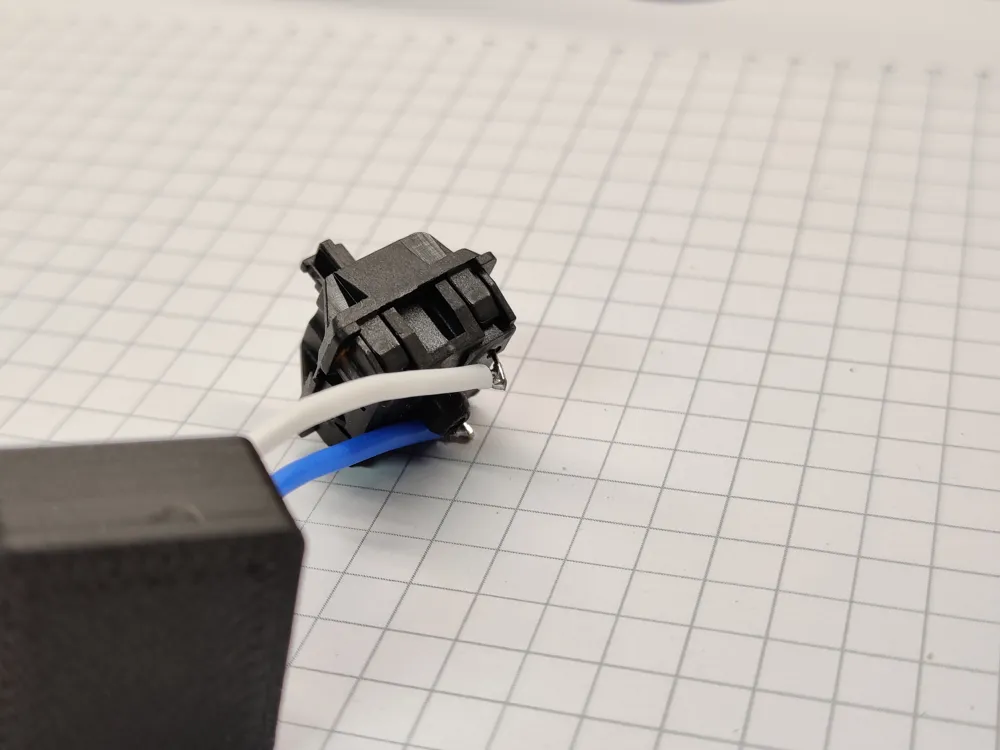
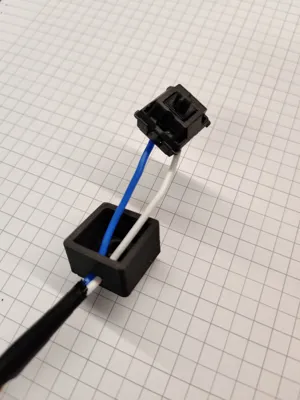
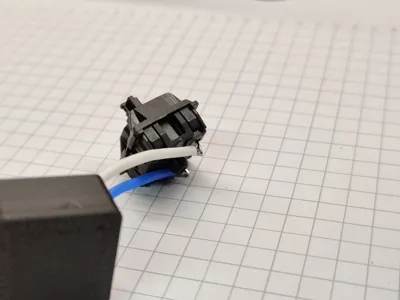
- Solder them to the pins of the switch.
- Push the switch into the case while slightly pulling on the cables. Push the cables into position on the side if the case if necessary.
- You may need to bend the pins slightly depending on the switch. This will probably happen on its own while pushing the switch into the case.
- You can add LED support if you use more and smaller cables than i did.
- For the extra bit of quality you can use a cable sleeve and insulating tape/shrink tubes for the ends.
Depending on the switch you use the keycap may work better if you rotate it 90 degrees. If fitup is an issue i uploaded .step files you can edit. If there is interest I can provide an OnShape link.
License

This user content is licensed under a
Creative Commons Attribution-Noncommercial-Share Alike


Comment & Rating (0)