
Brace Hinge
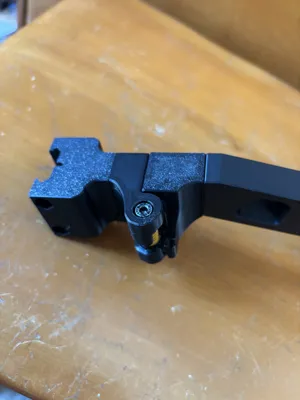
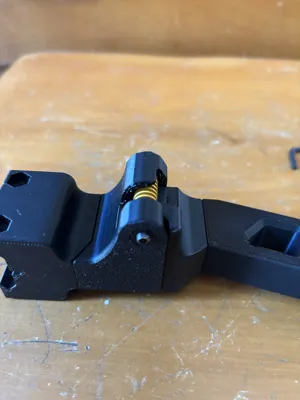
Print Profile(2)


Description
V2 version here

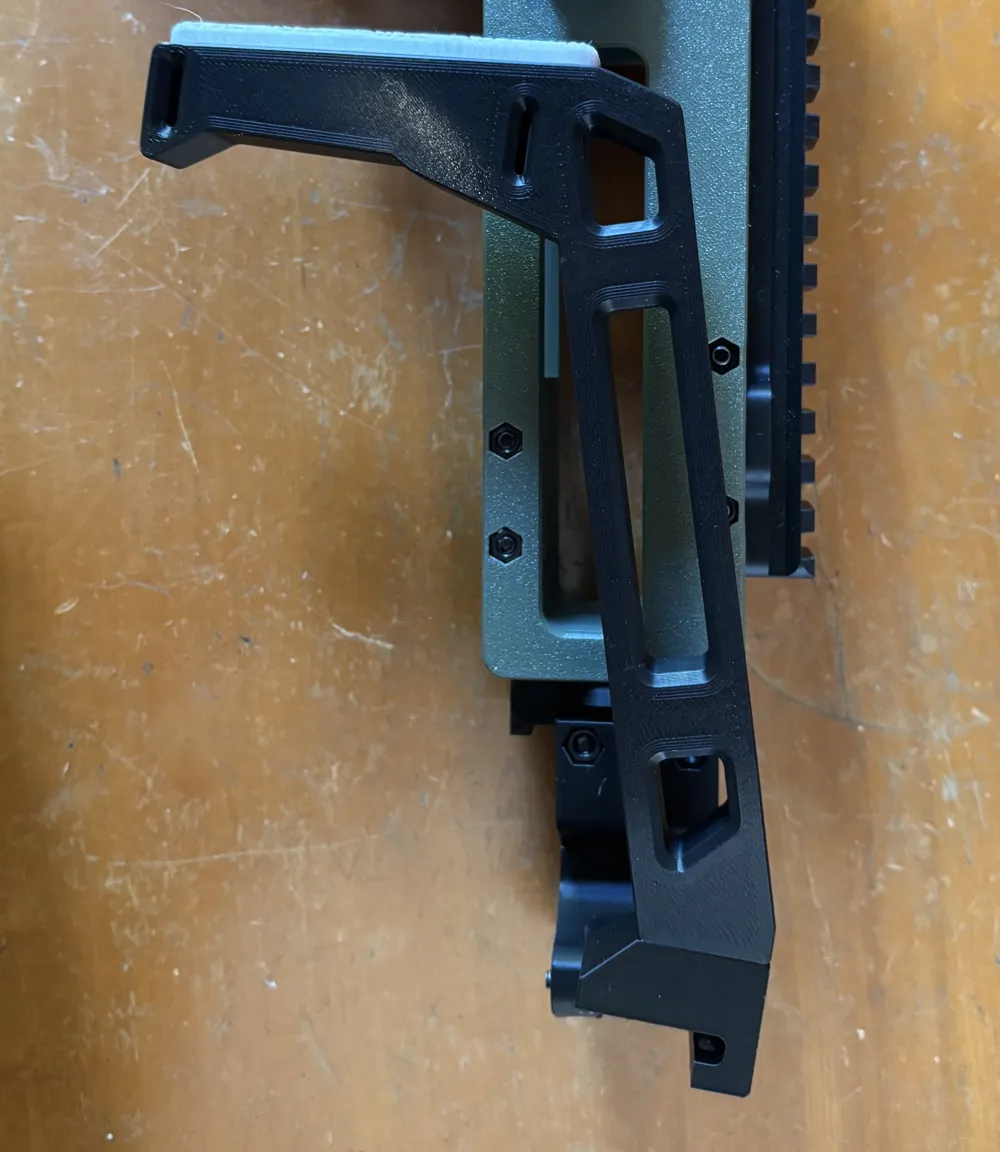
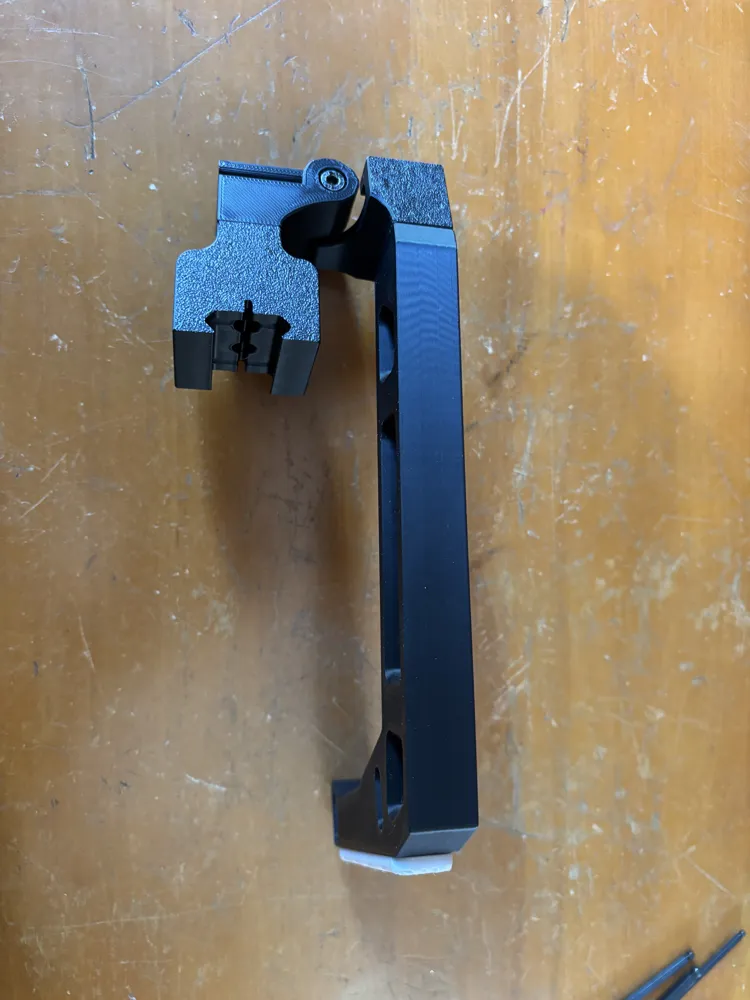
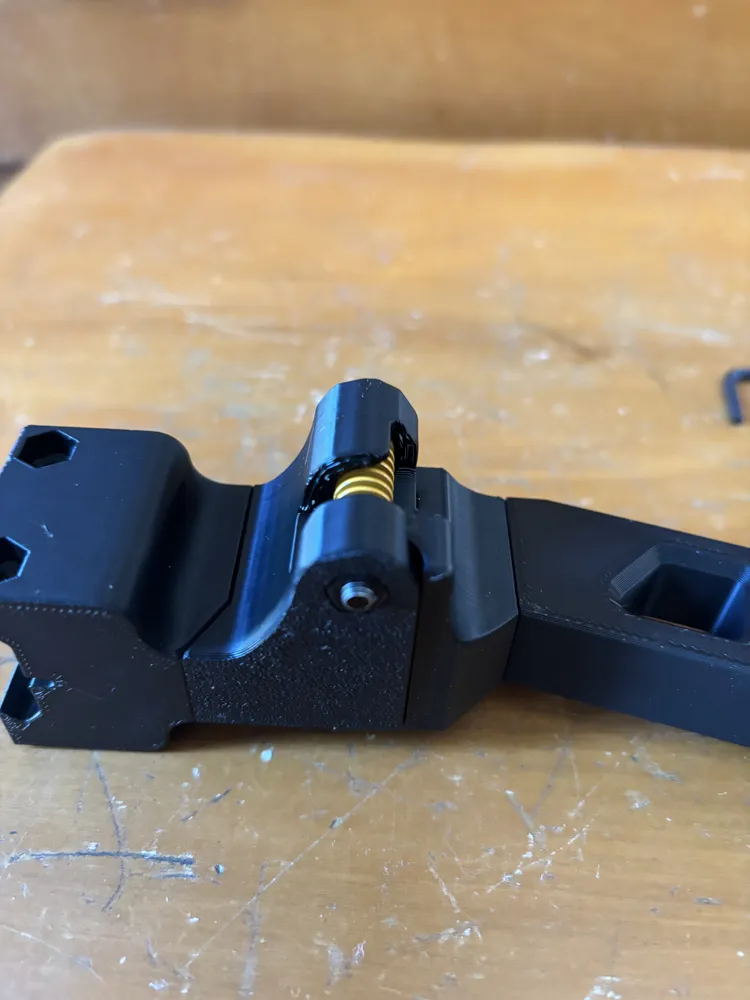
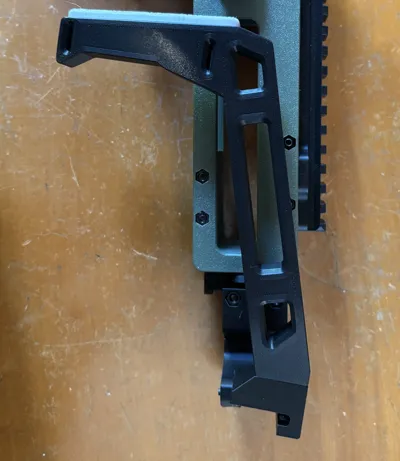
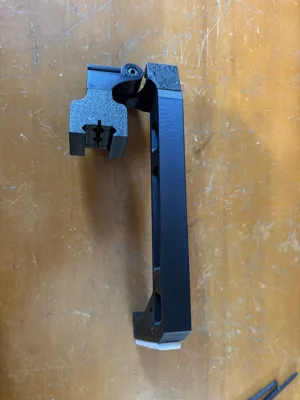
This is an add on for my regular and hex brace, that easily converts them into folding braces. Overall, with the TPU pad and this add-on, the total length is about 9”.
Boost Me (for free)
Ive been working on this for a few weeks, little at a time, trying to make it the best version, before releasing, if you like my work please give me a Boost!
BOM:
2 M3 Brass Heat Stake Inserts
2 M3x8MM Screws (BHCS or SHCS)
1 8MM OD X 20MM Length 3D Printer Die Spring
1 M4x30MM SHCS
1 M4 Hex Nut
Assembly:
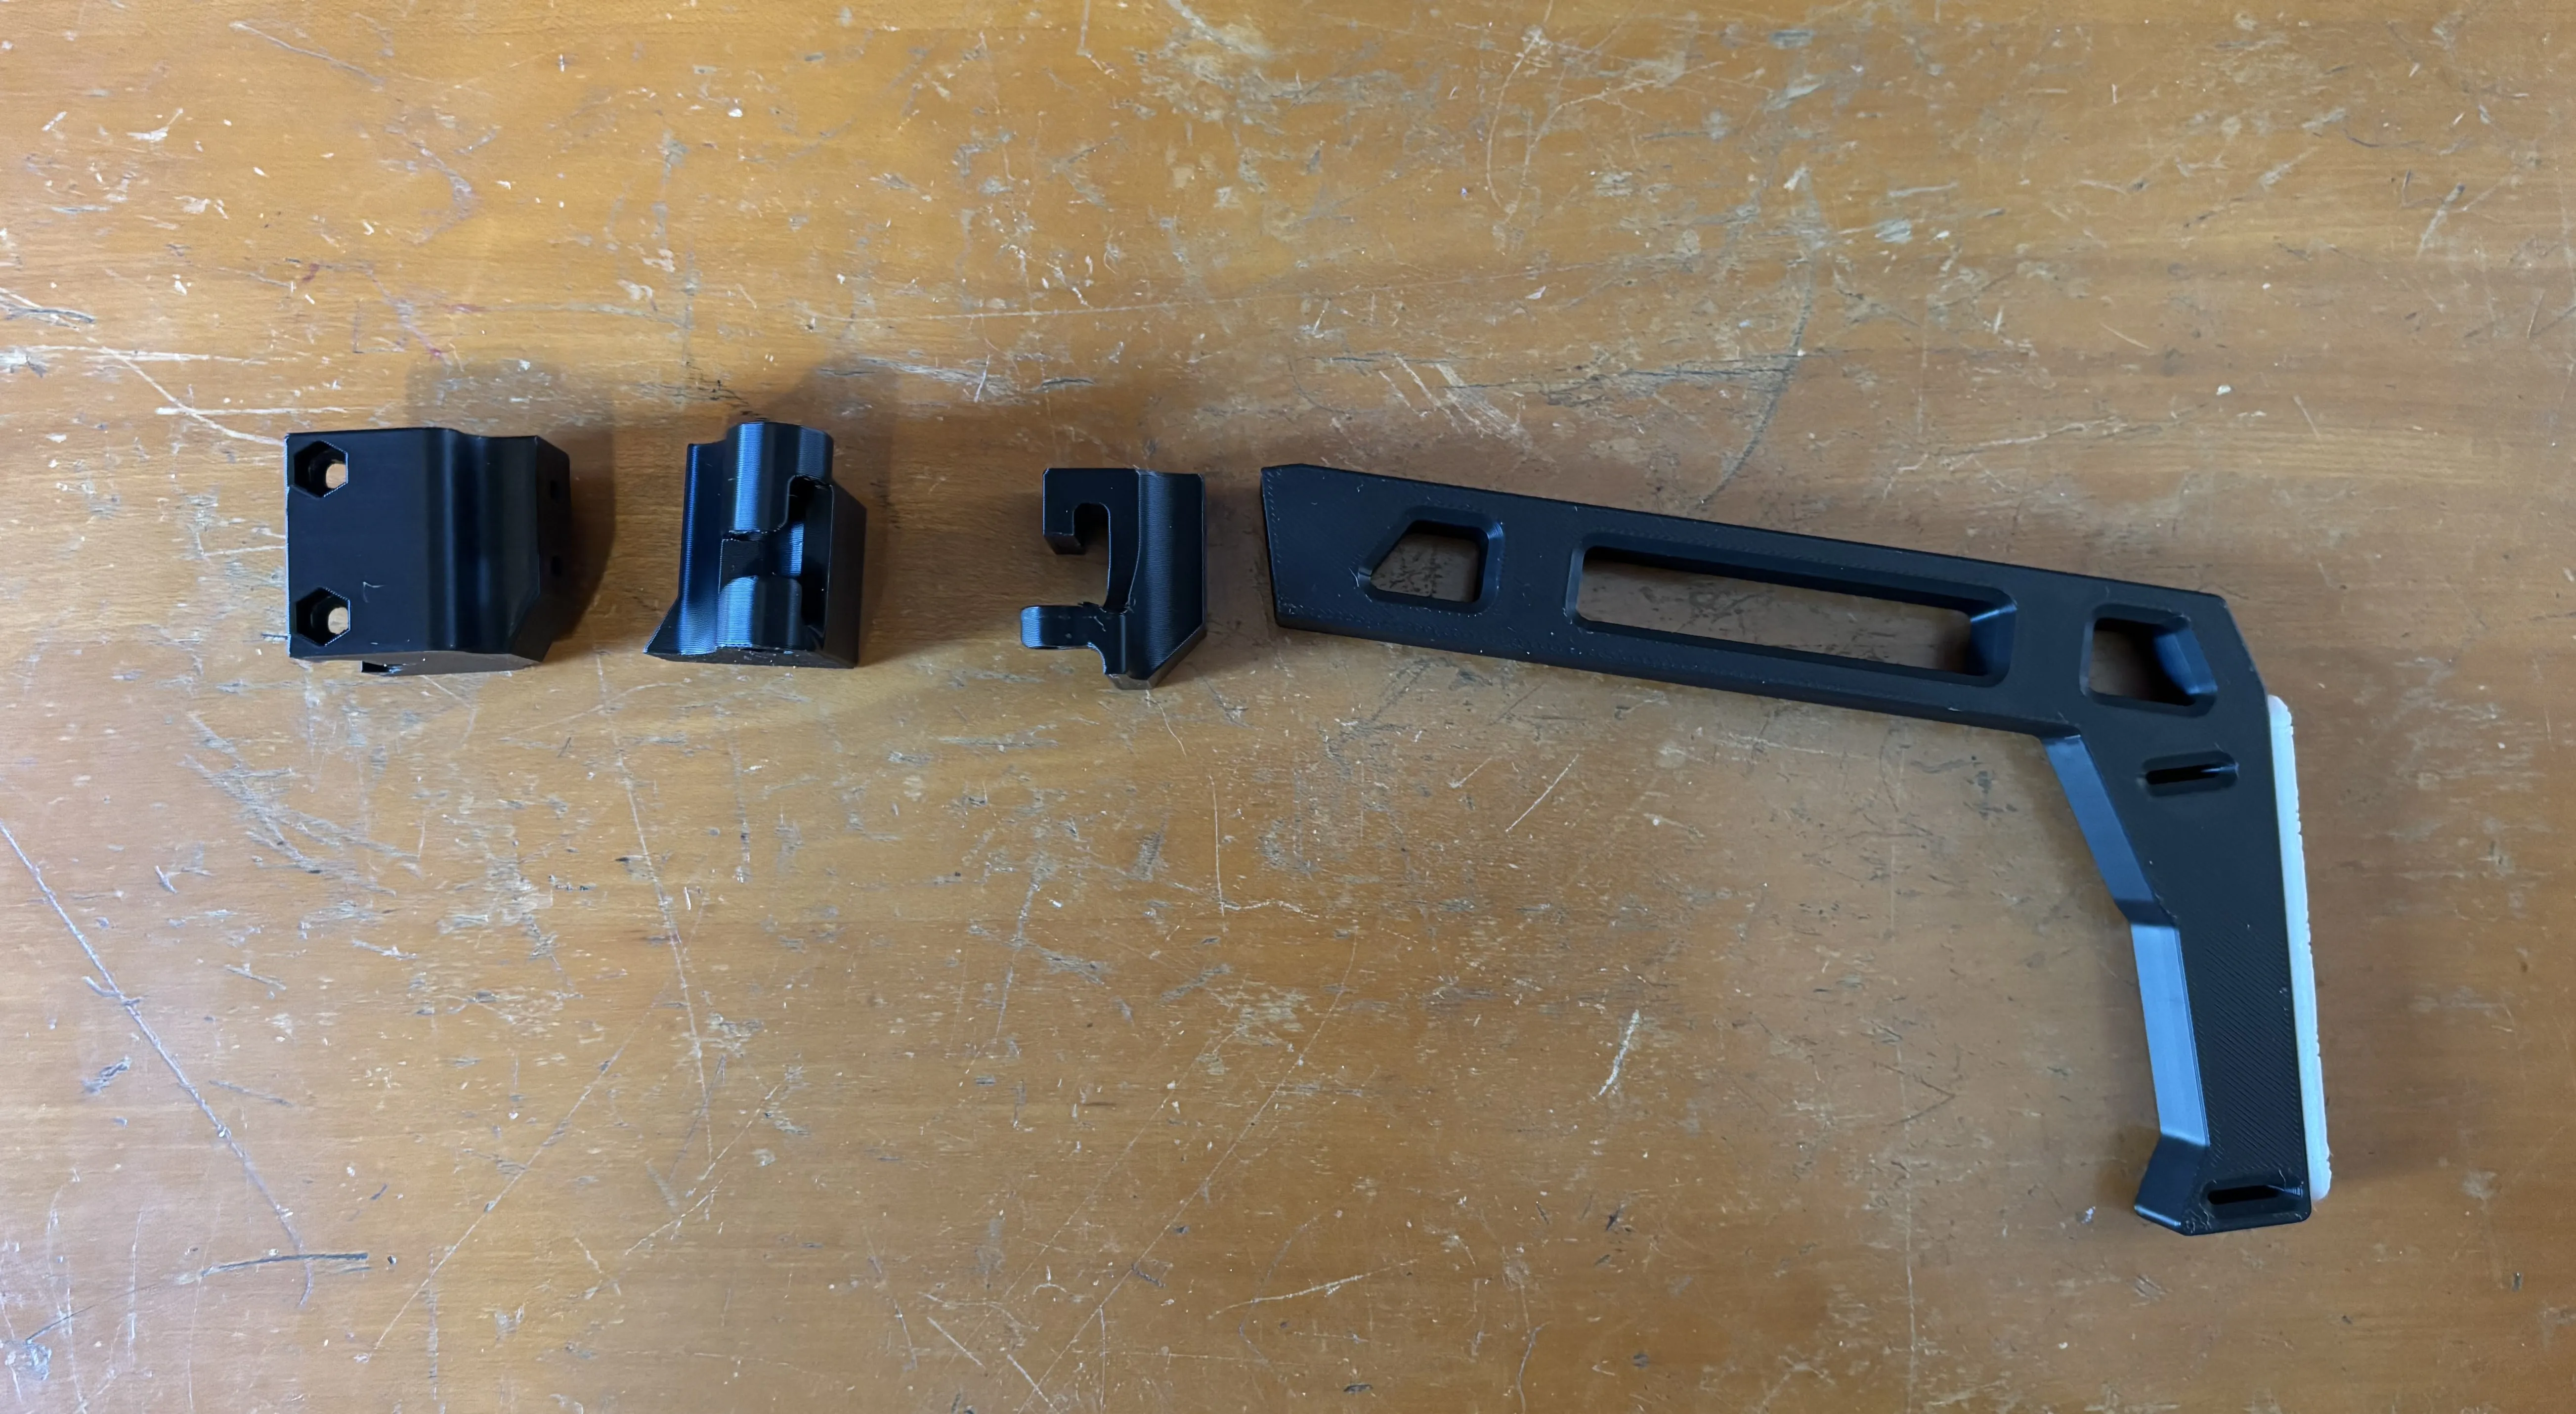
If you've already printed any of my braces, just remove it from your picatinny rail and remove the two M3 screws that hold the two pieces together.
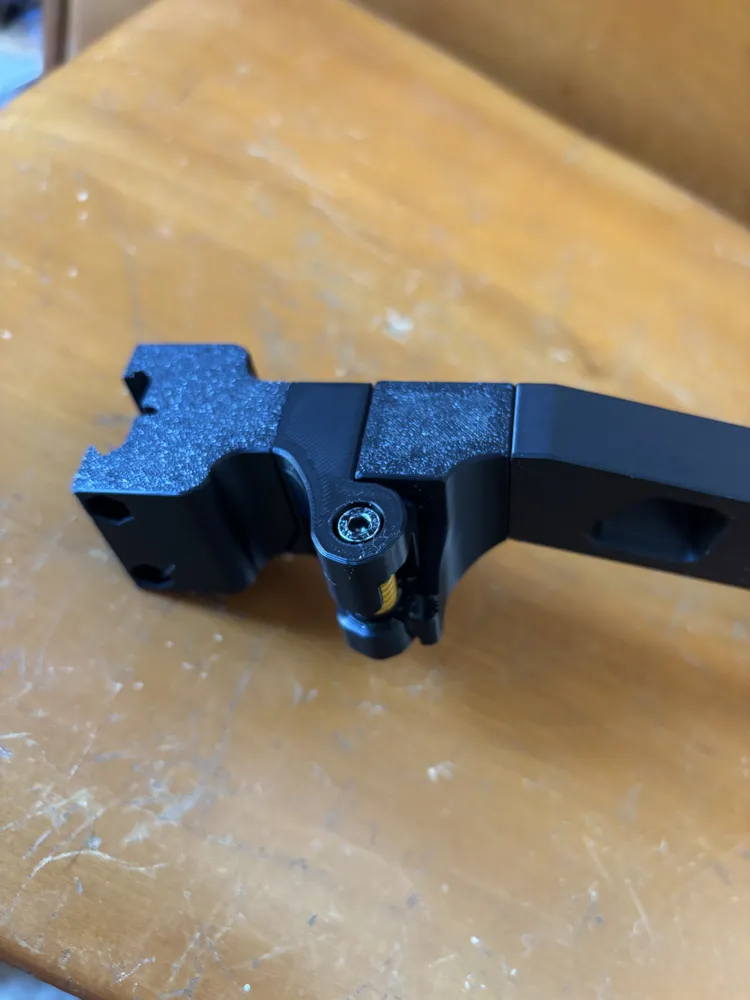
For the hinge, install the two new M3 Brass heat stakes into the two holes on the FRONT HALF, let the heat inserts cool.
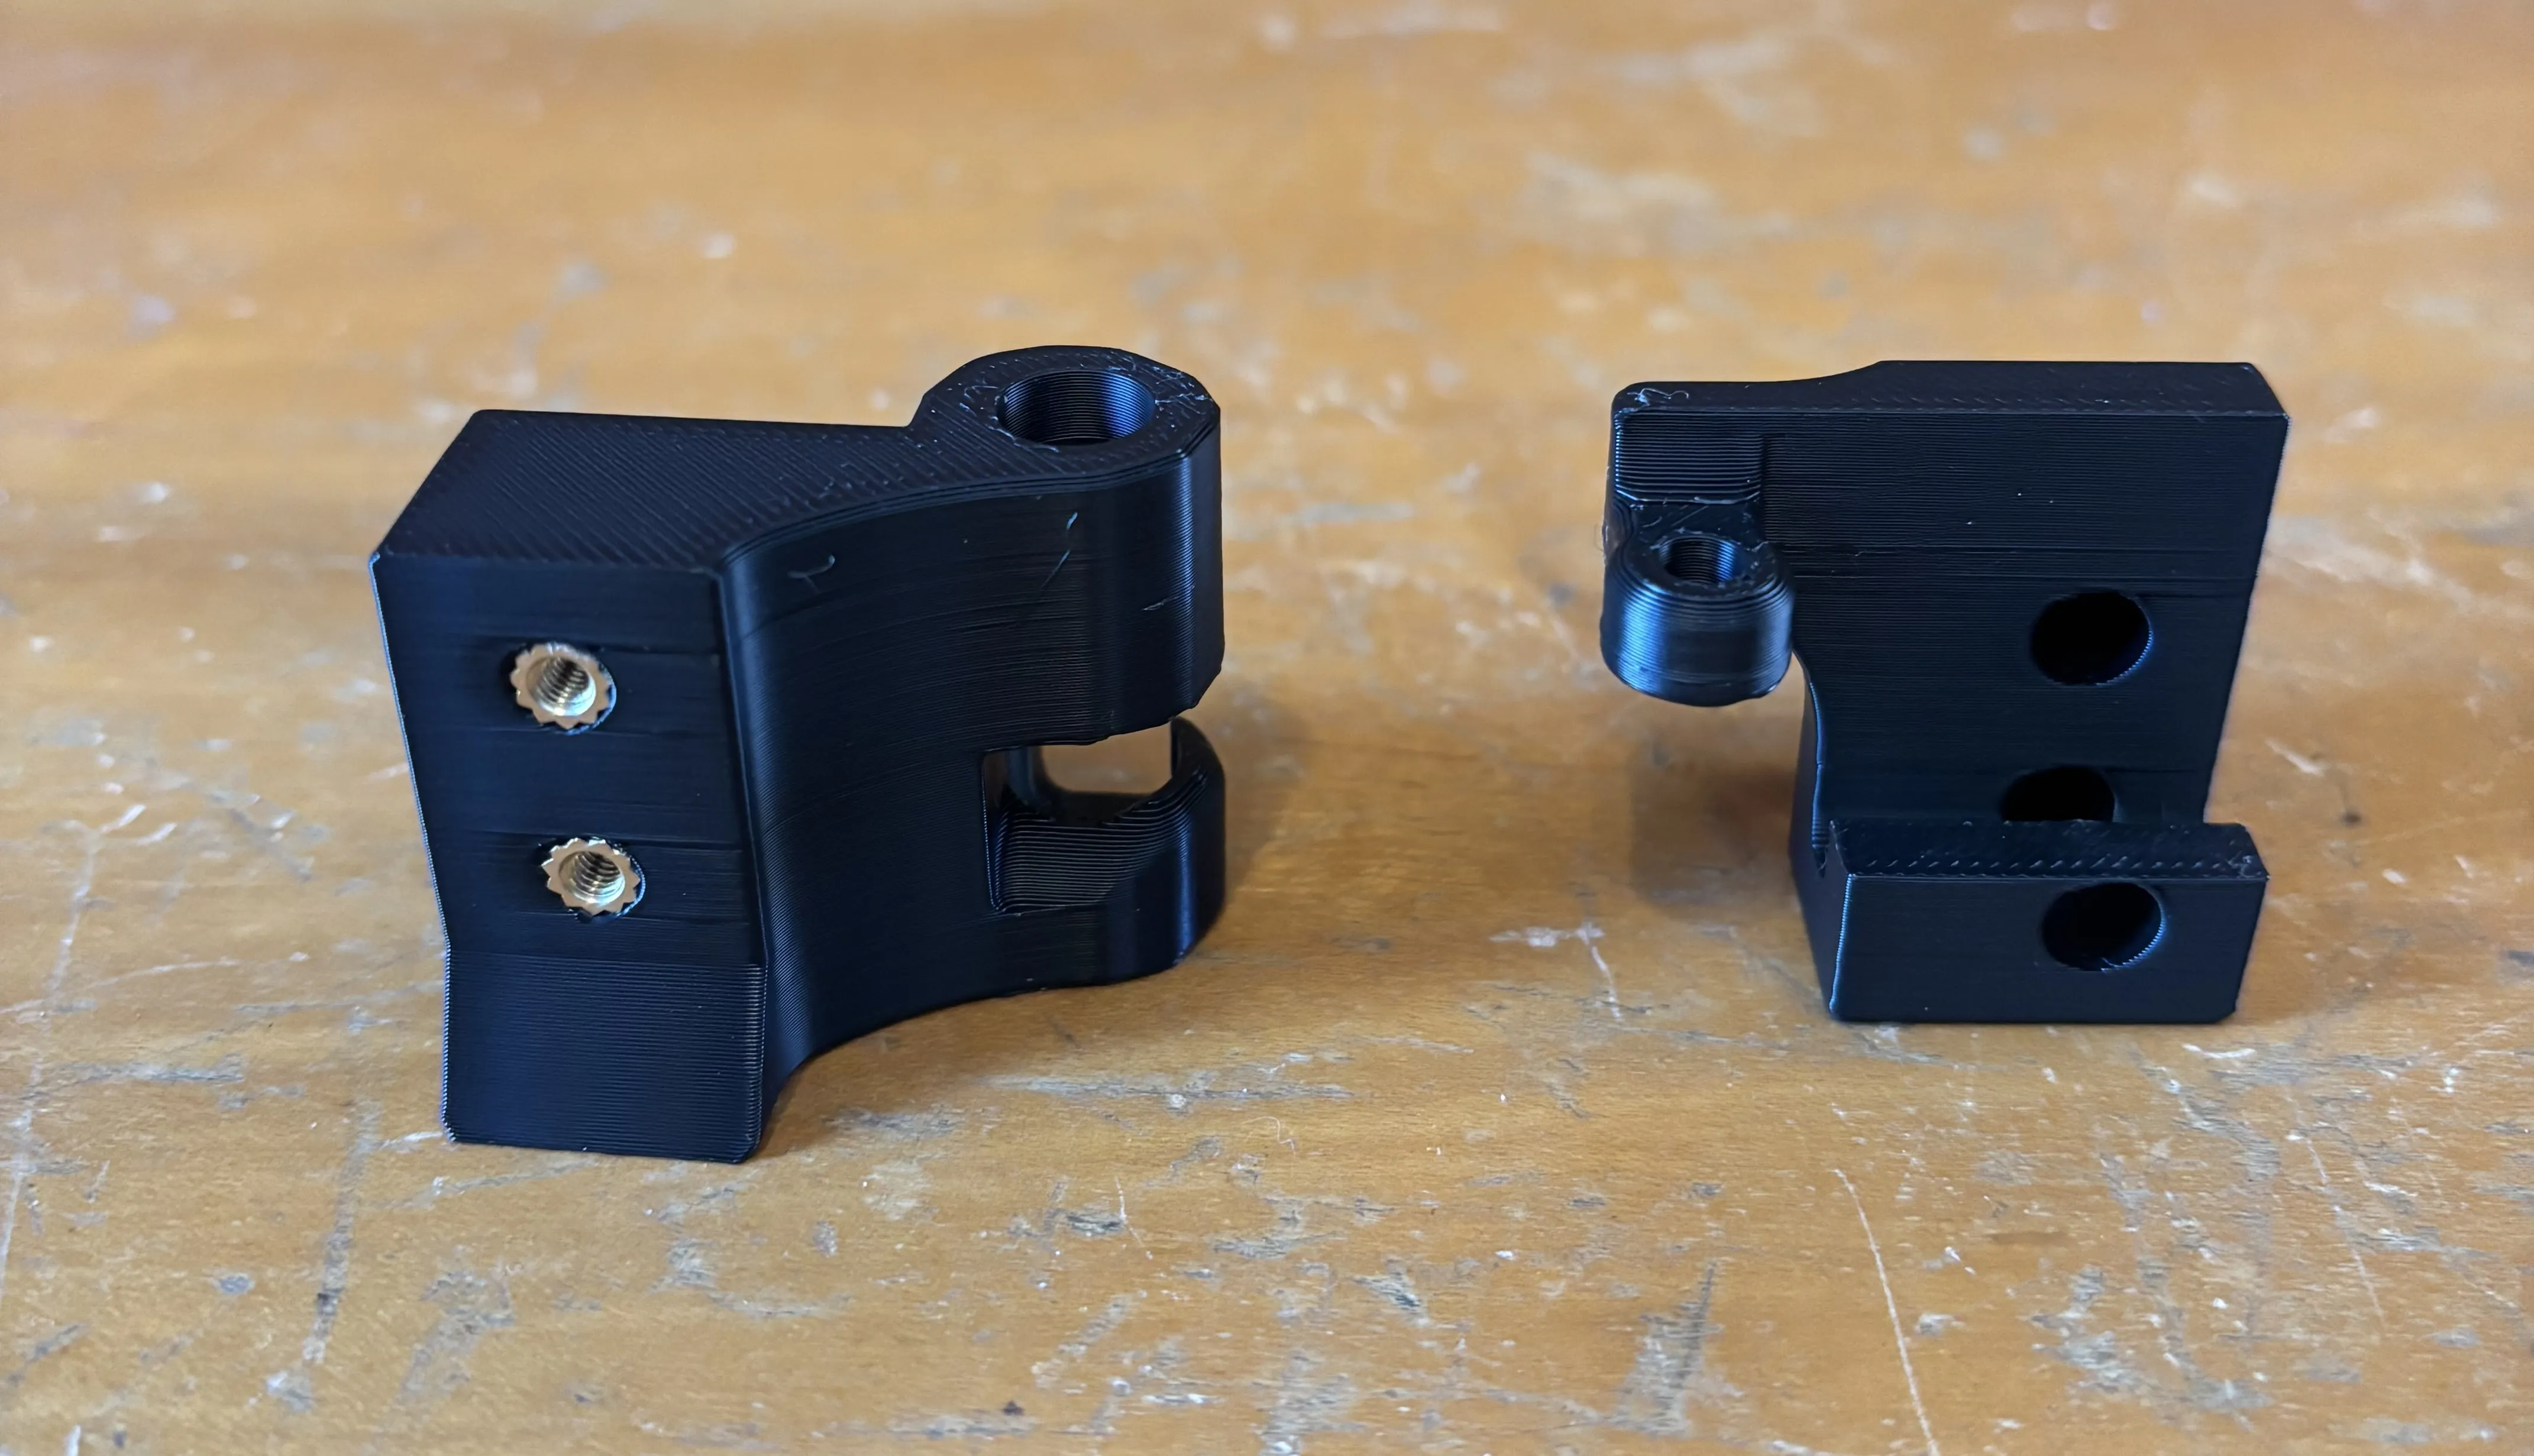
Use the new M3 screws to attach the BACK HALF to the brace.
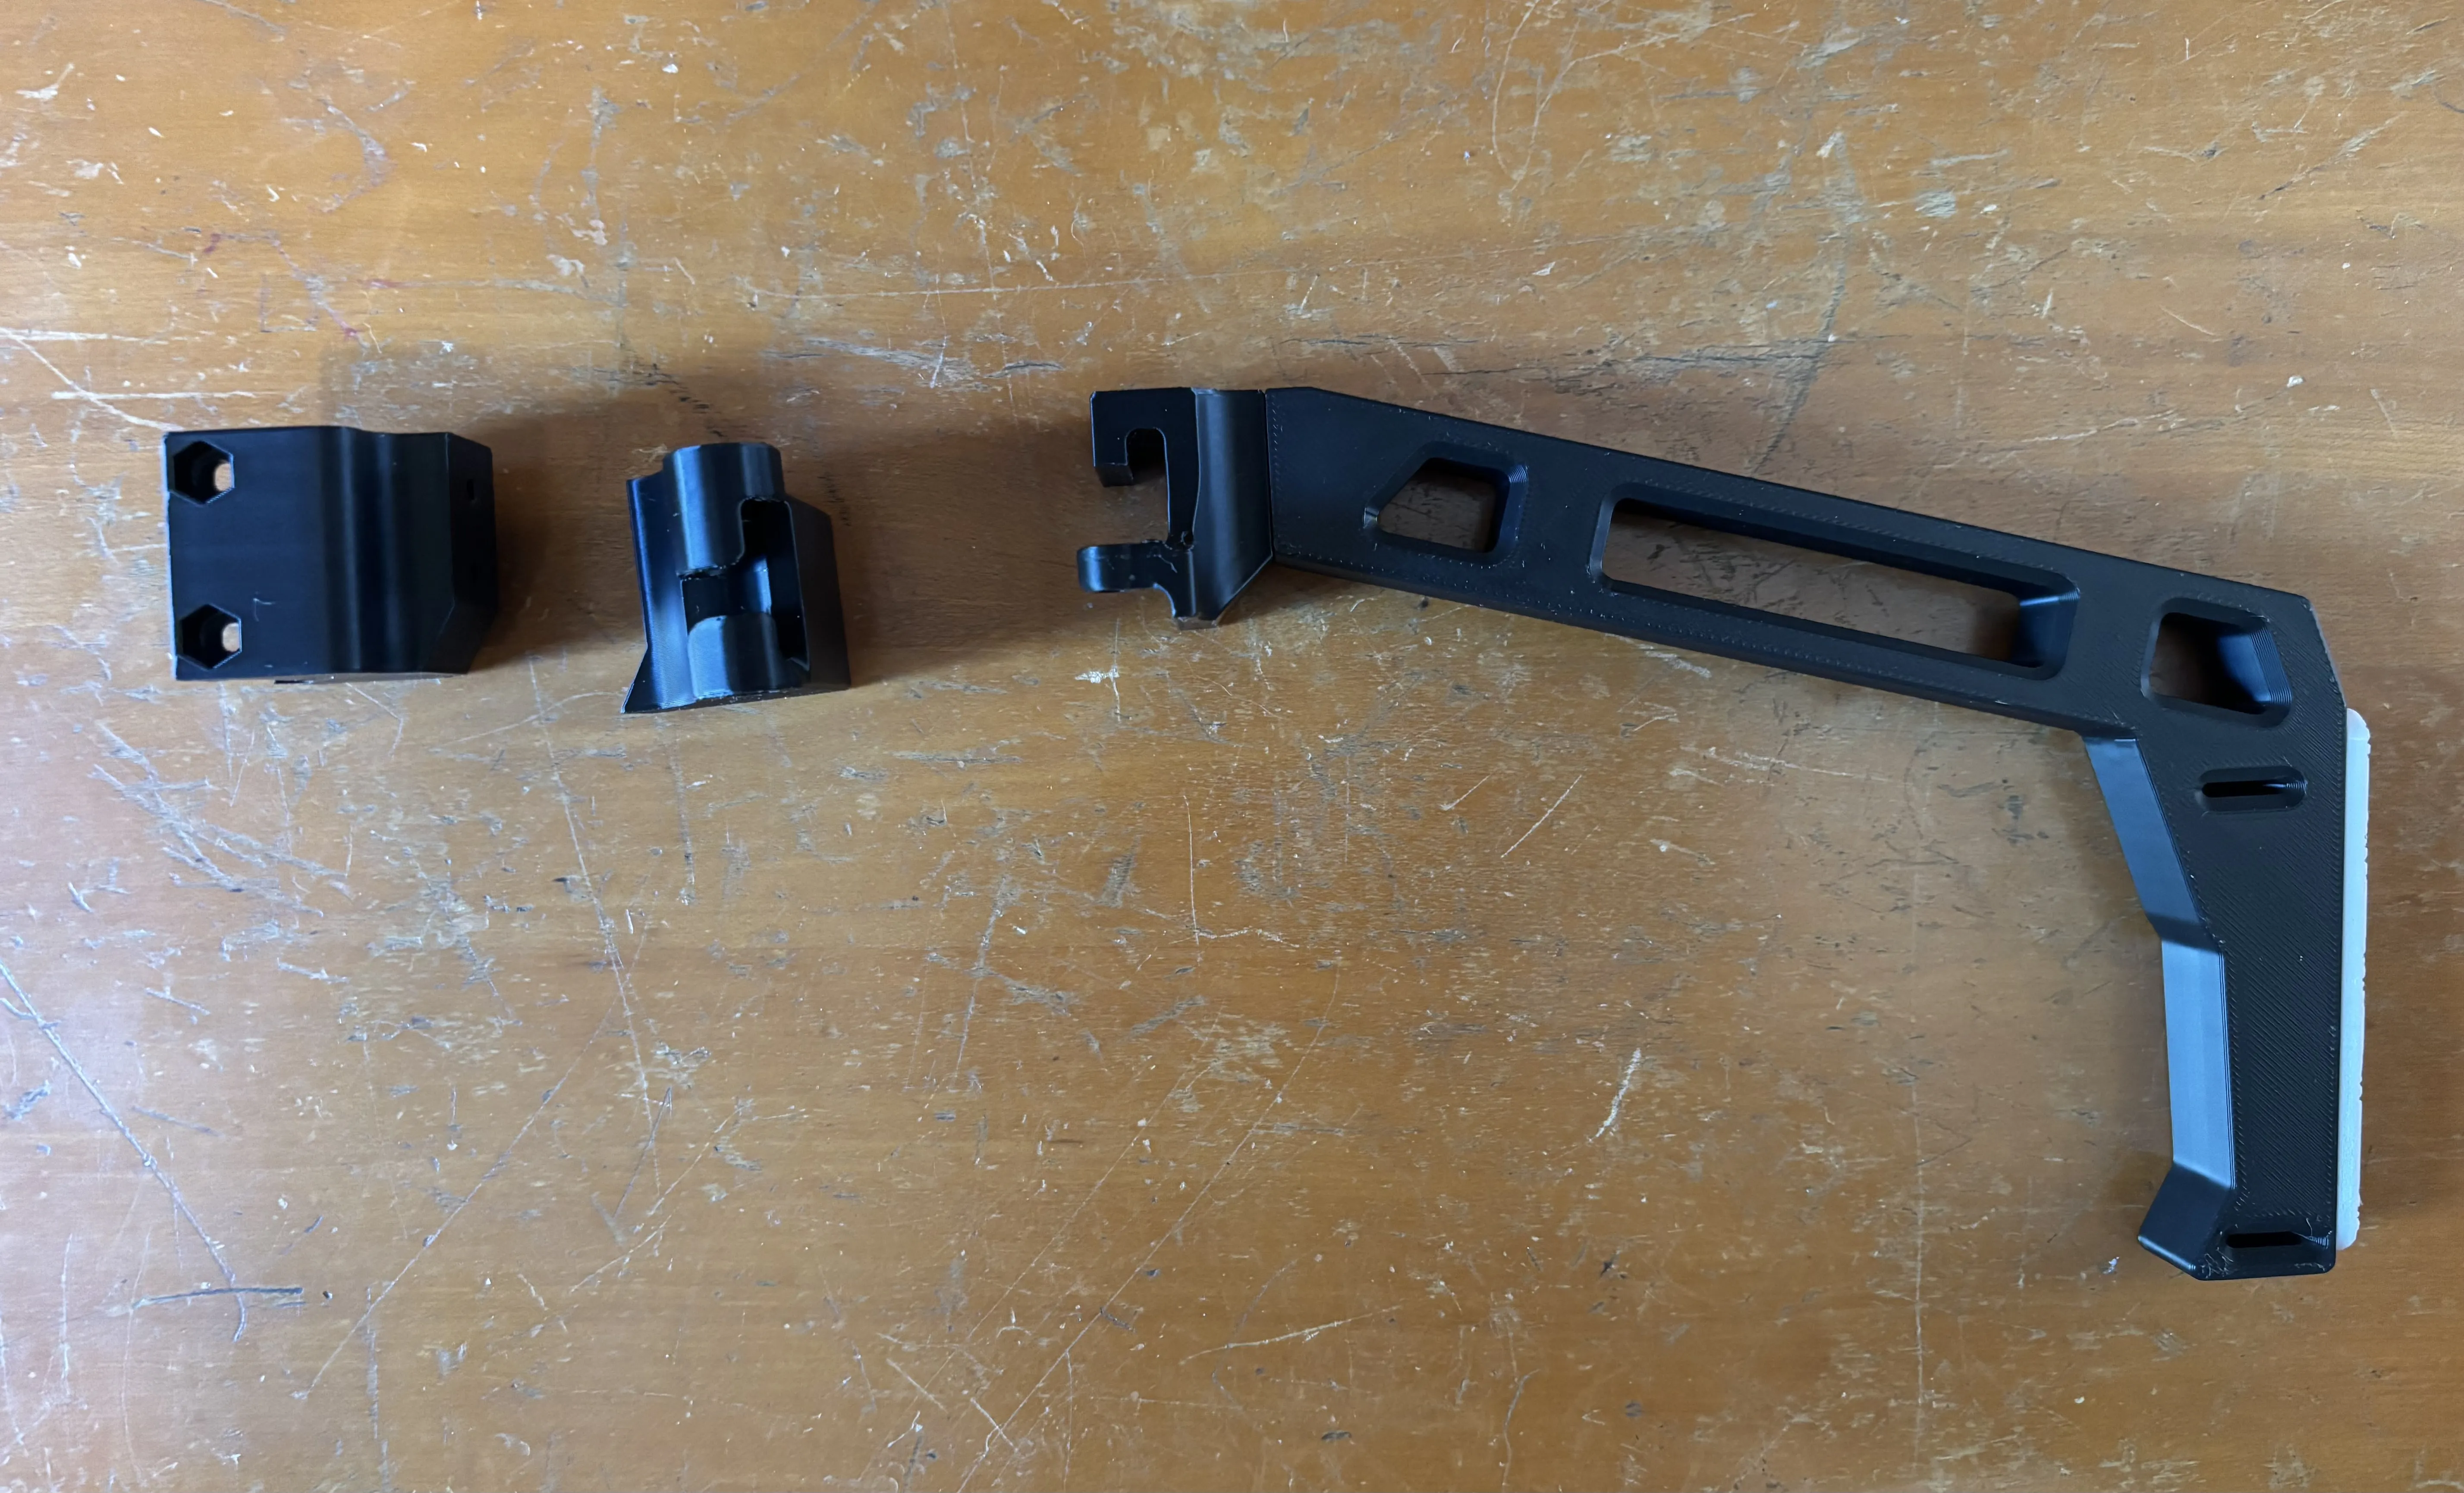
Screw the picatinny mount to the FRONT HALF using the two original M3 screws.
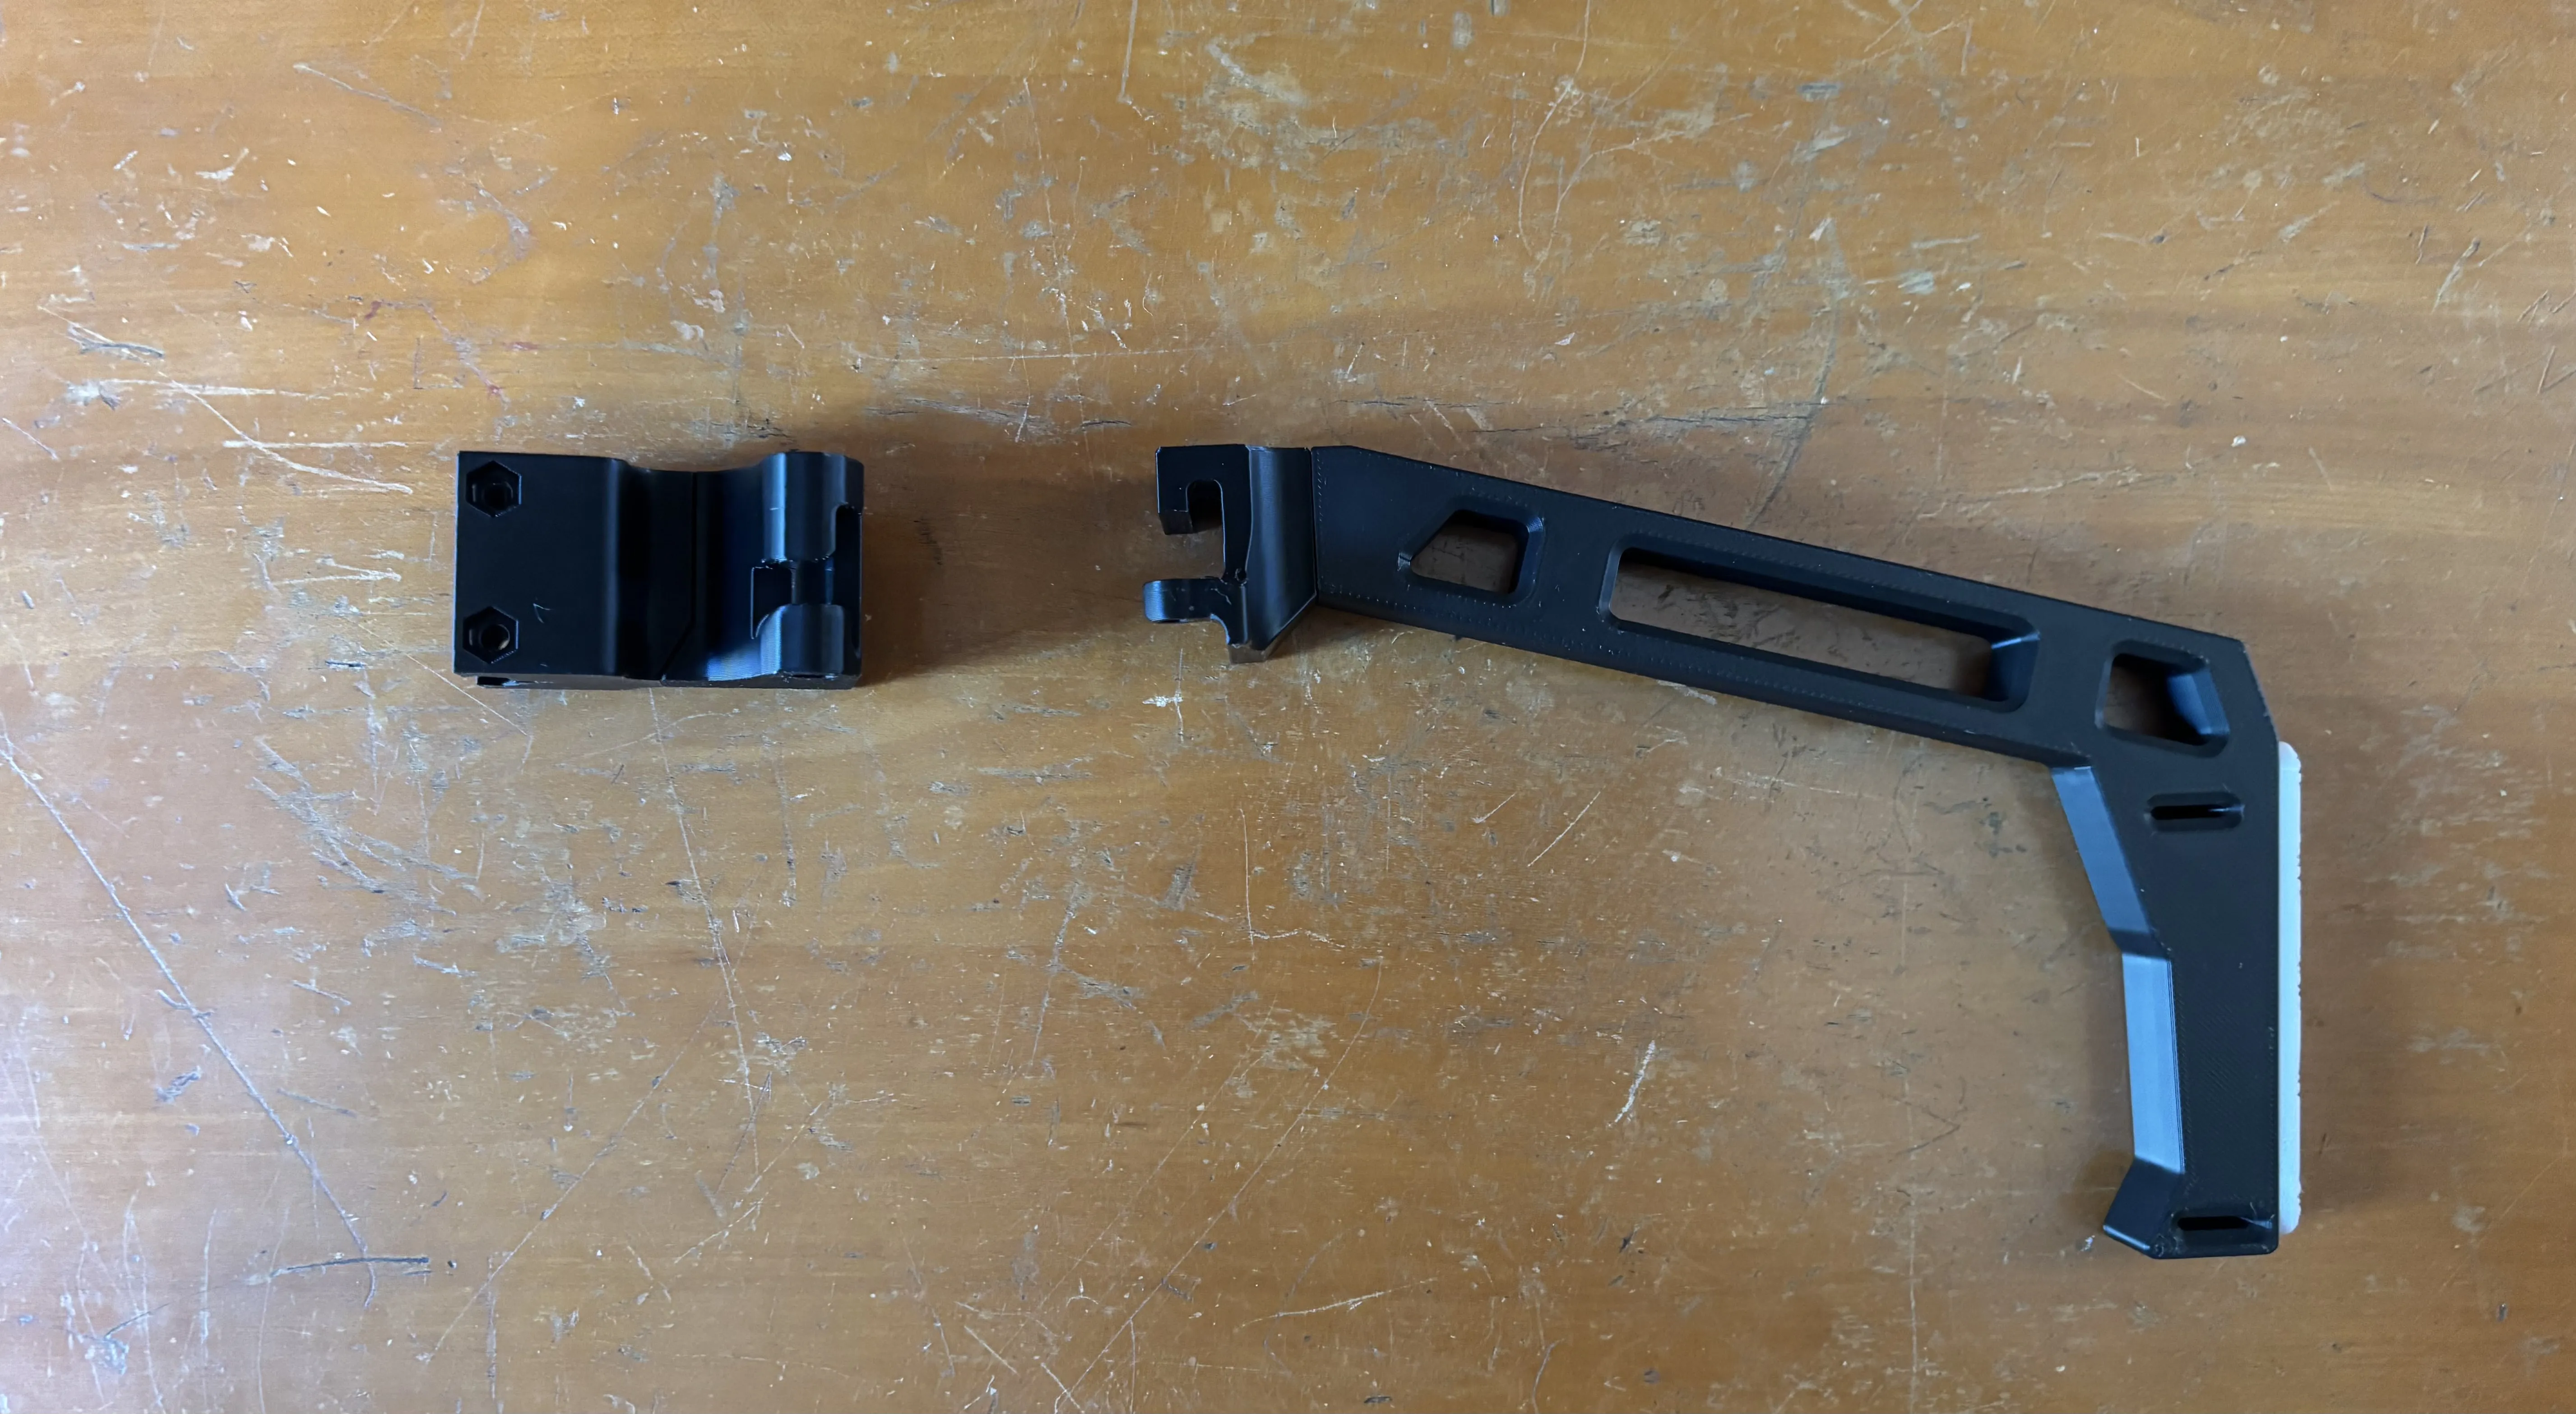
Slide the two pieces together.
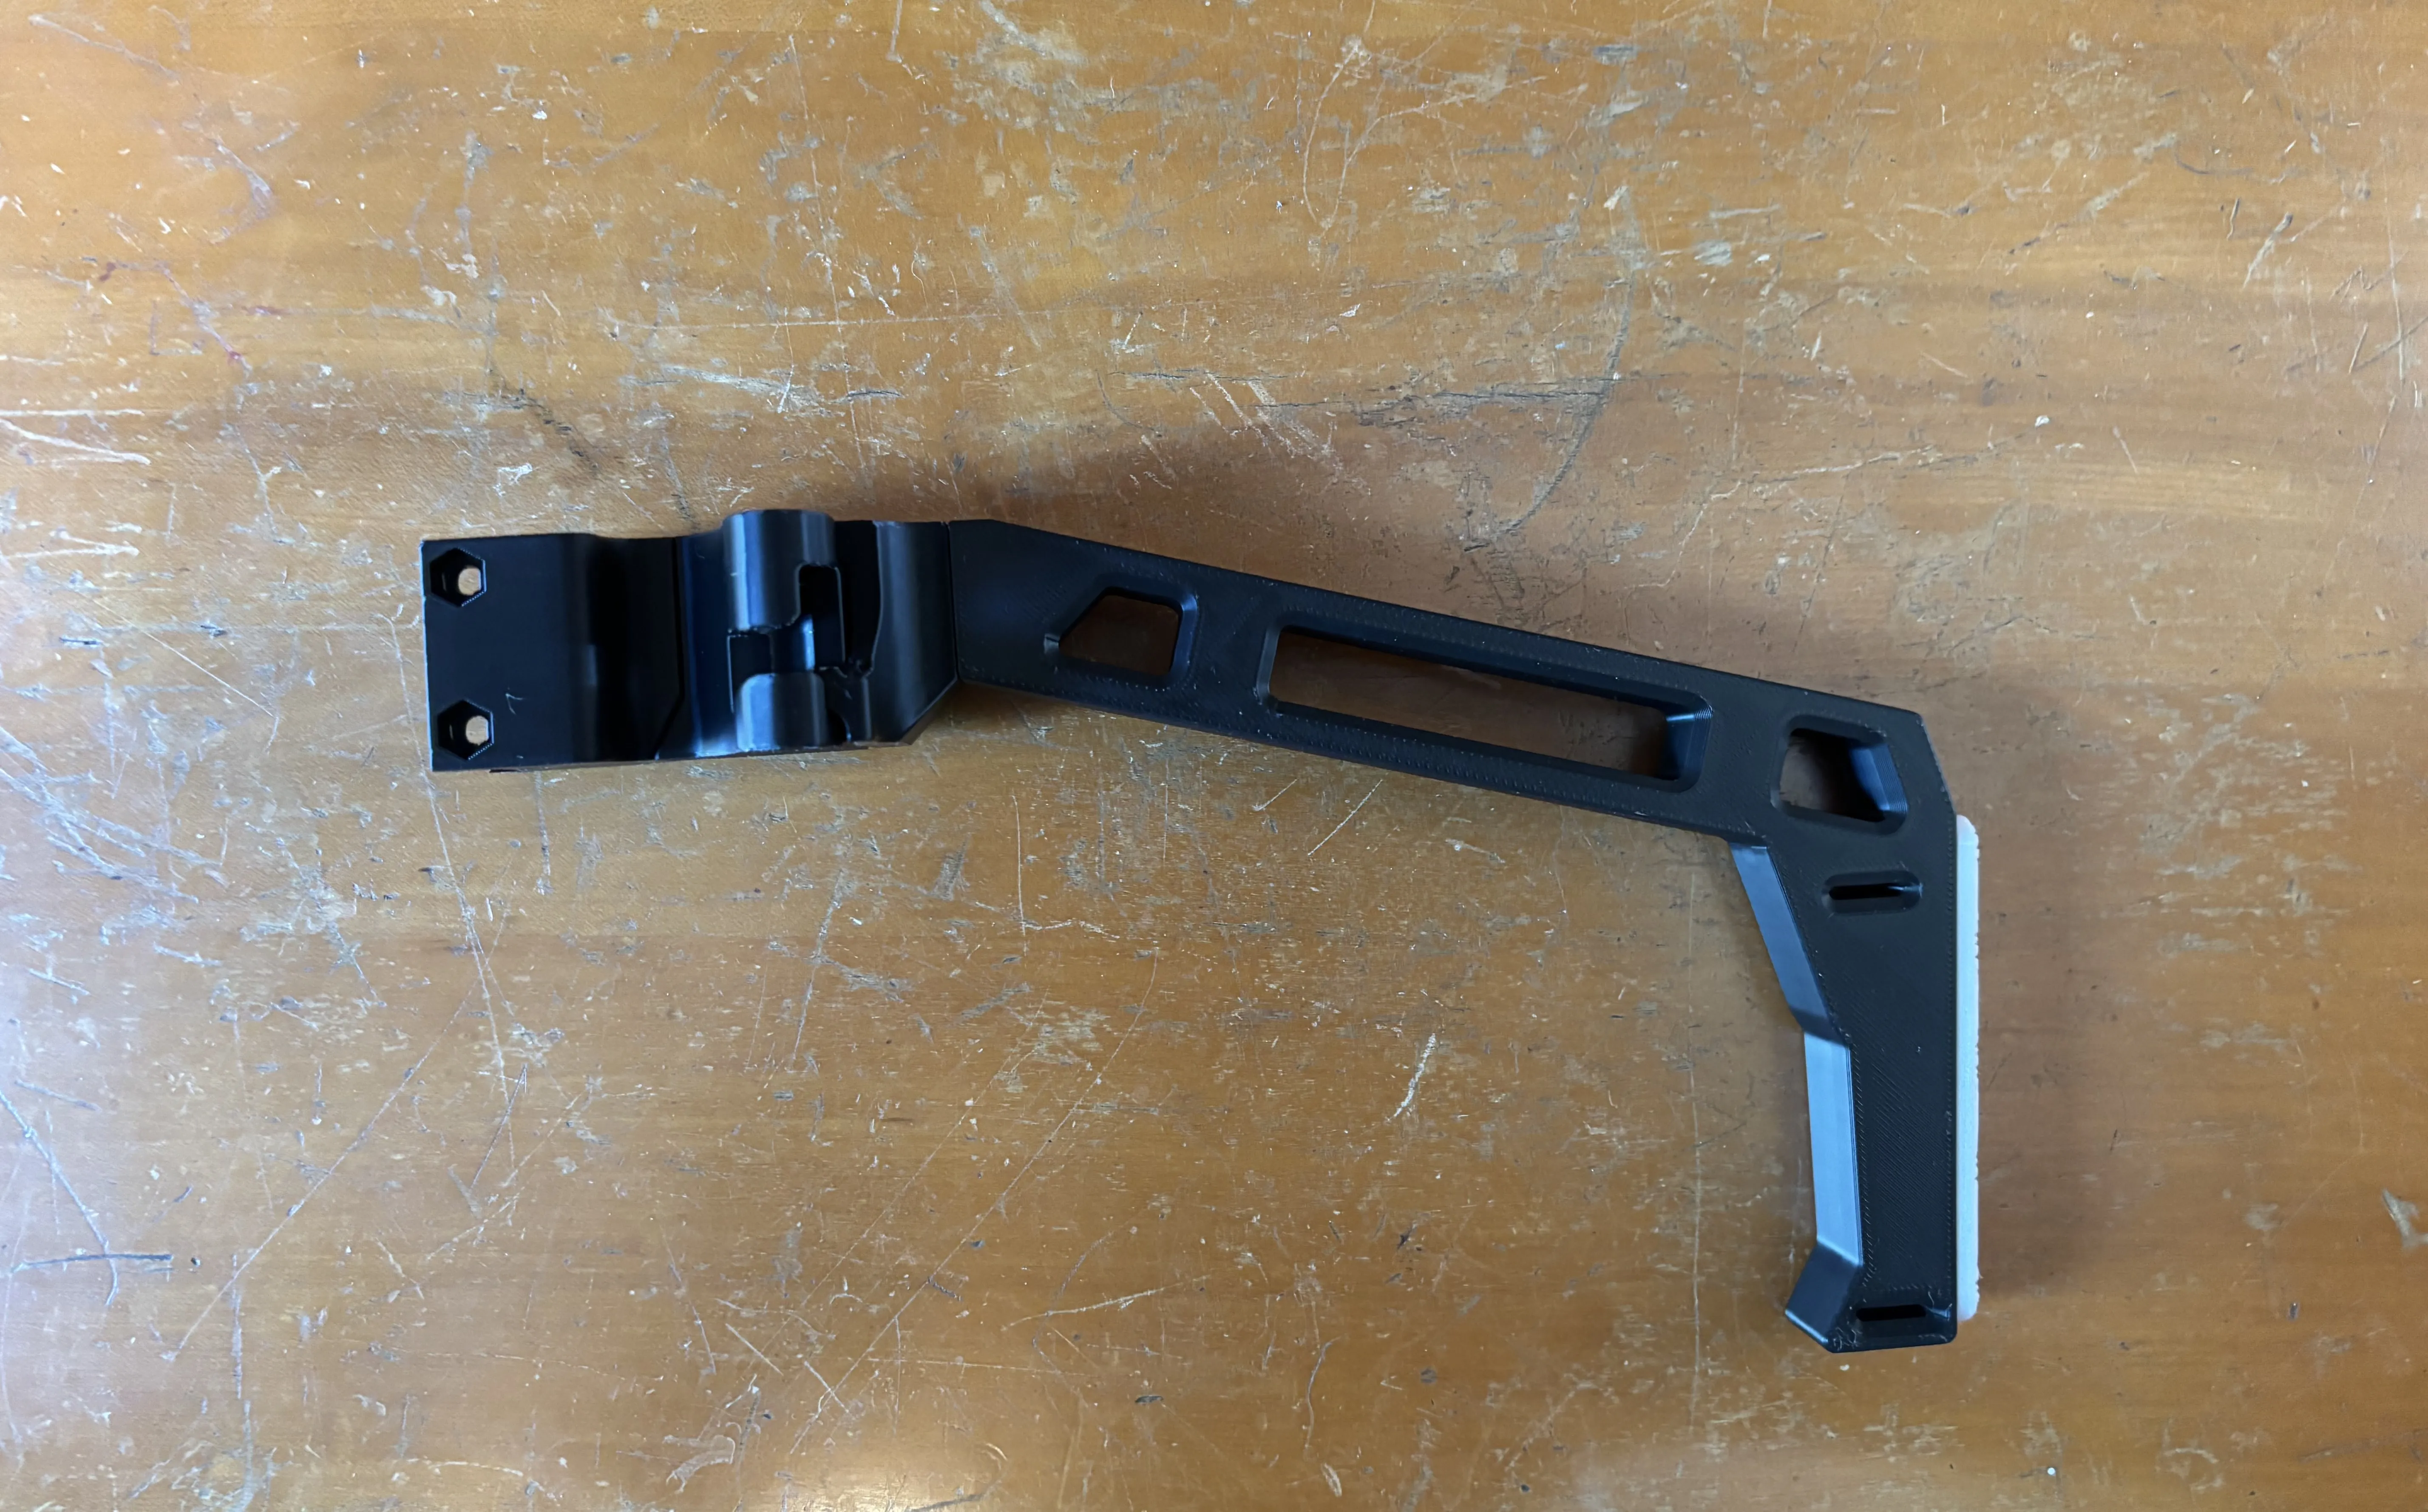
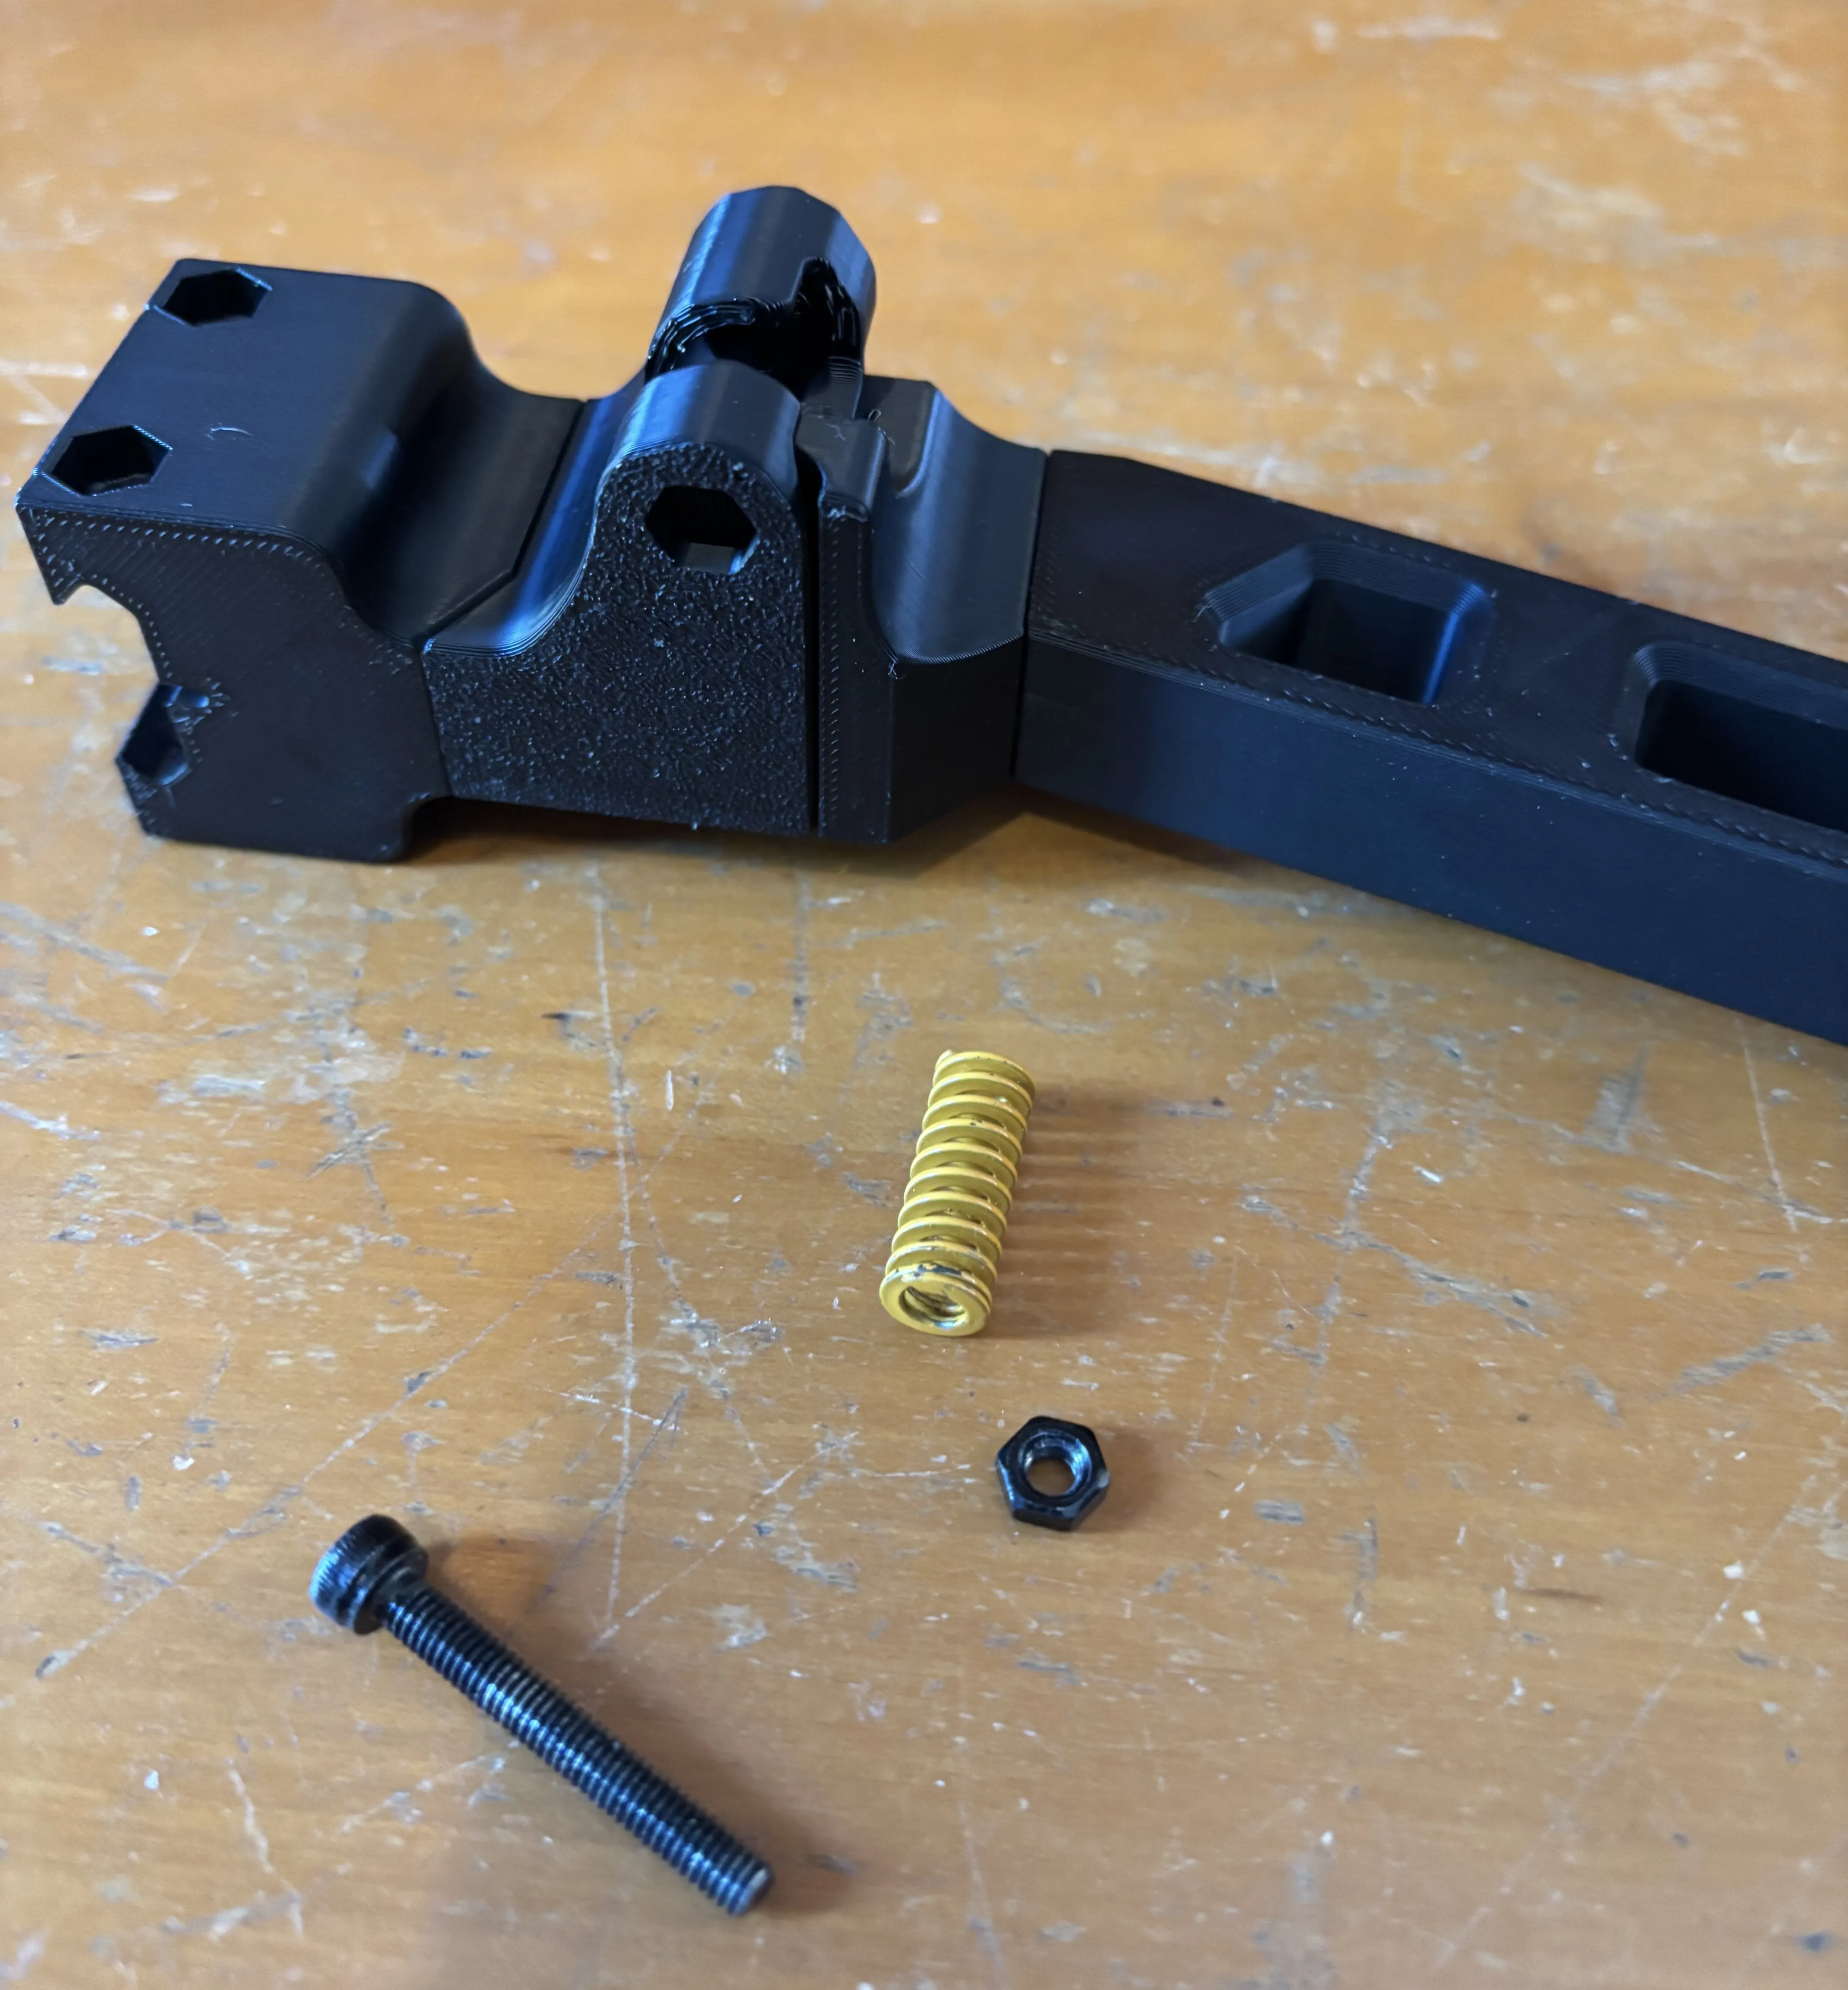
Insert the Die Spring, starting with the top into its slot in the middle of the assembly, (a small flathead or allen key helps)
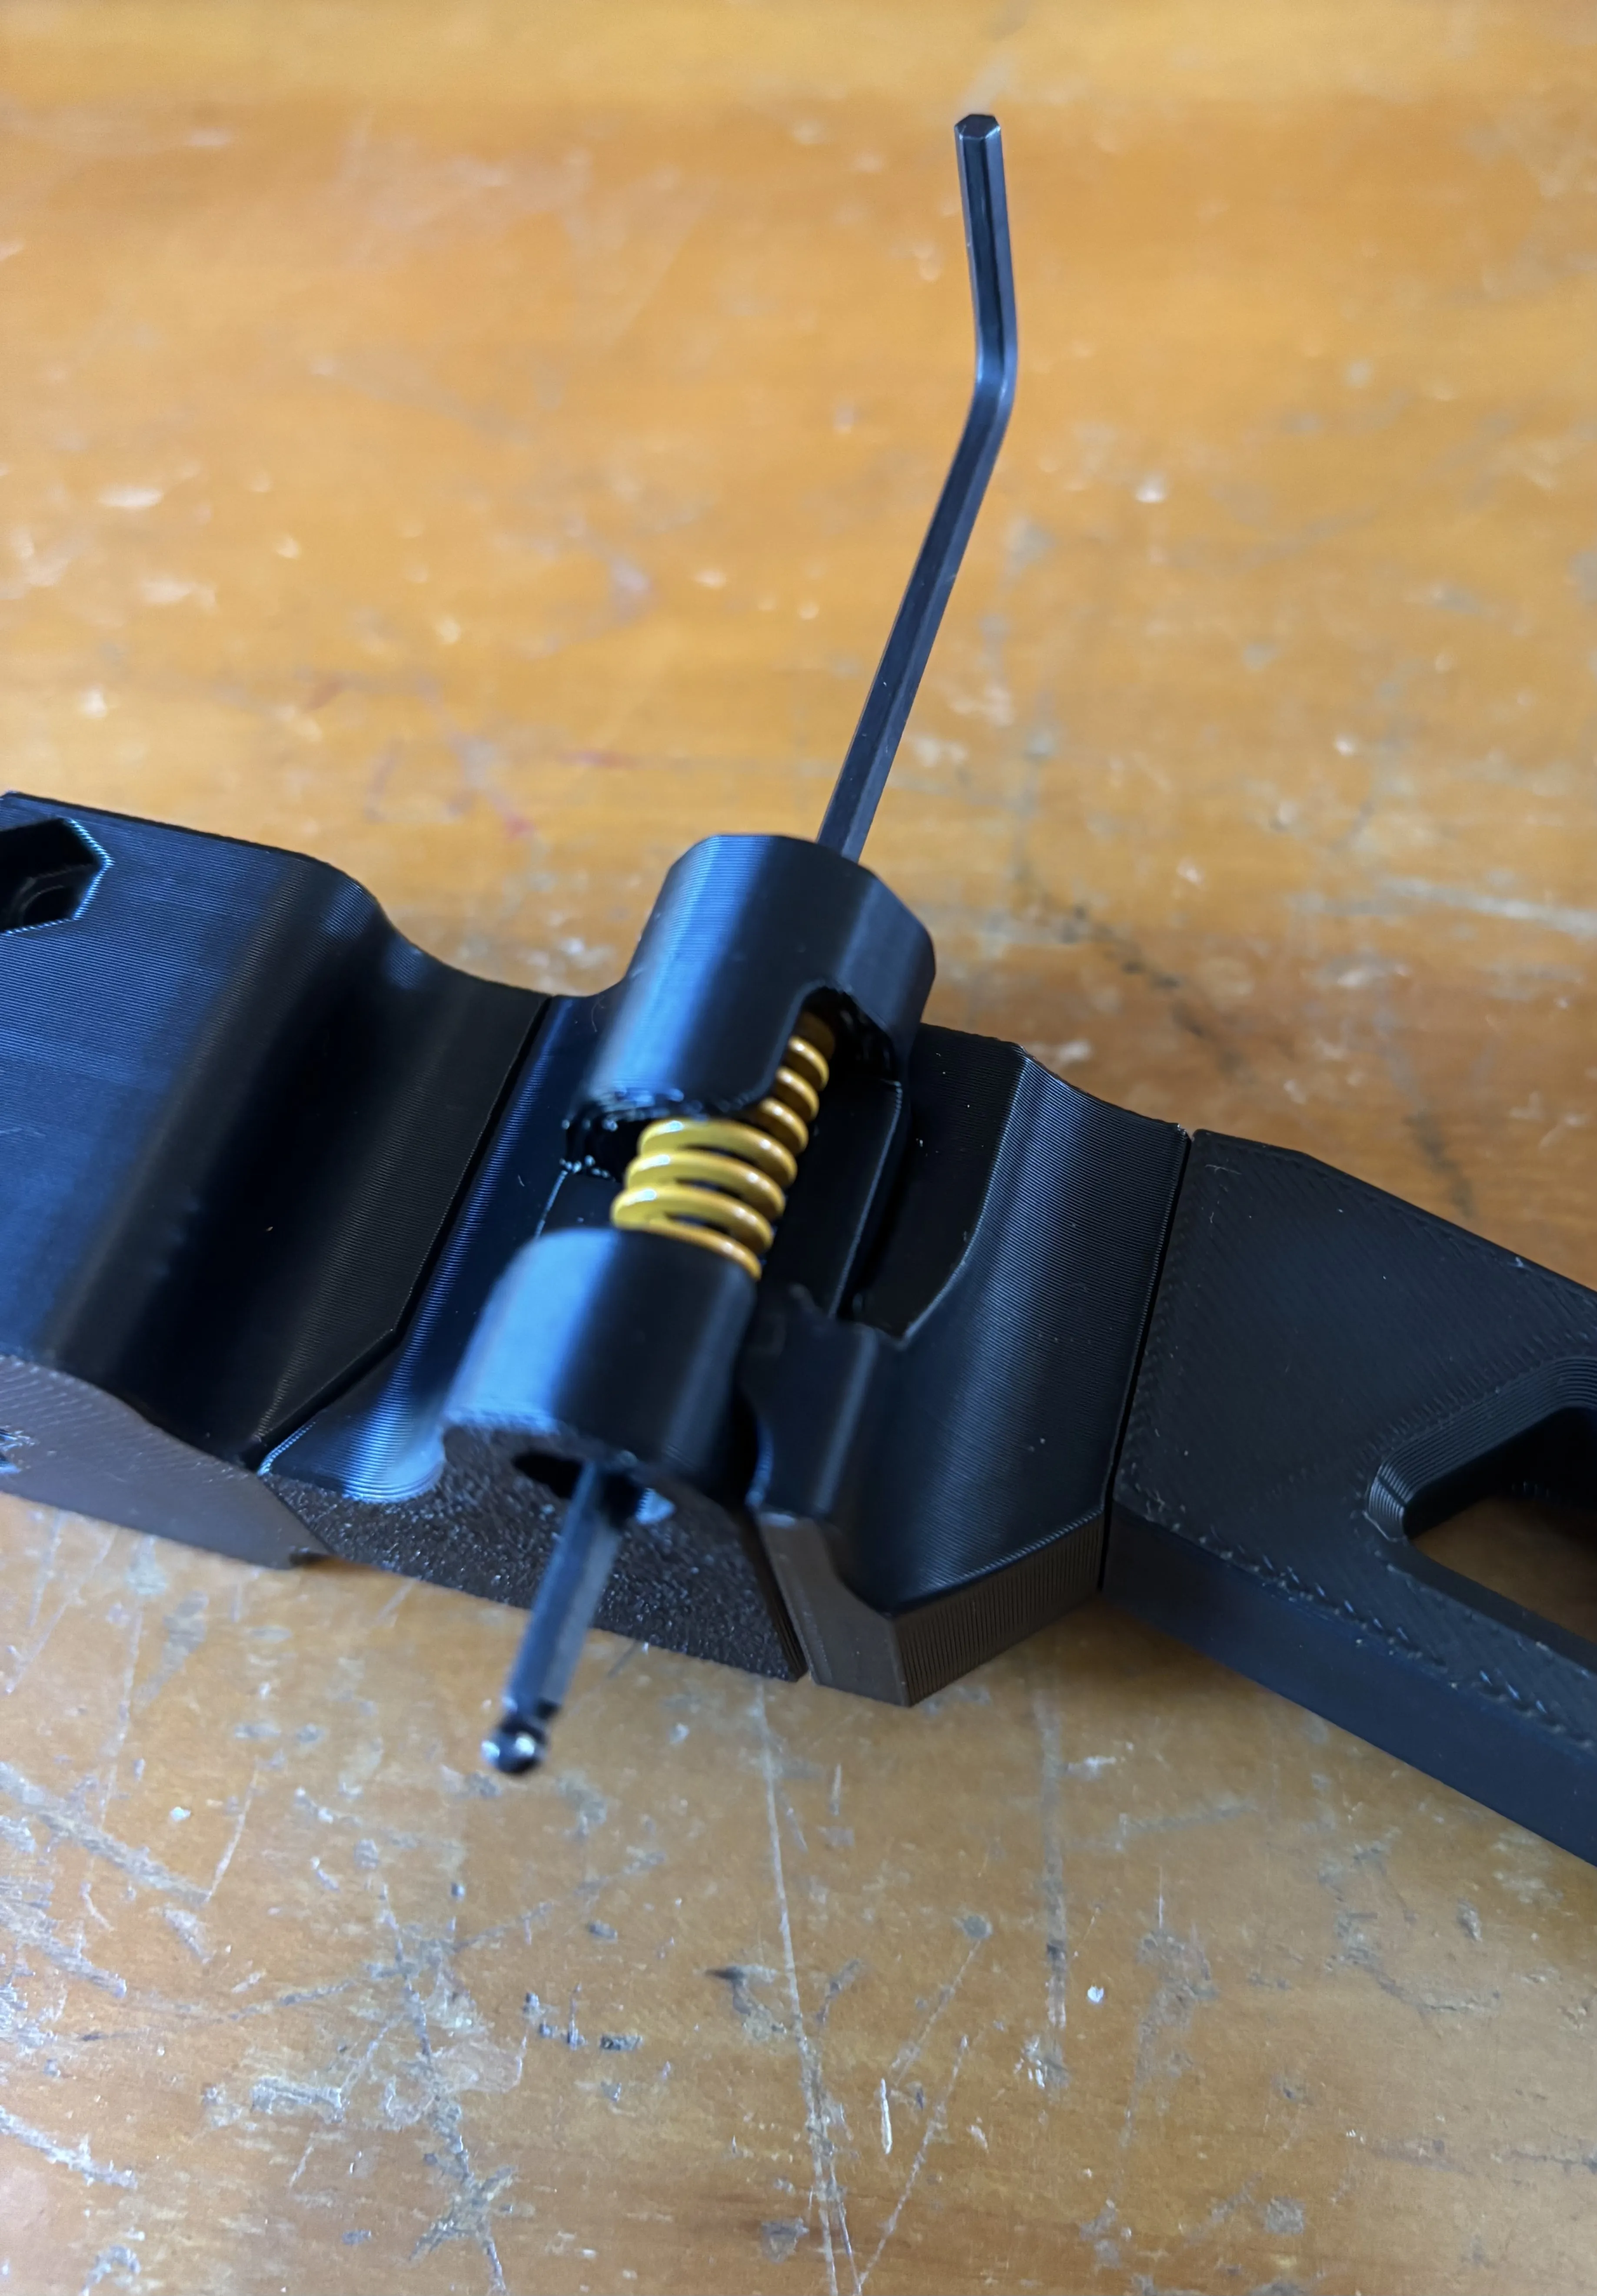
Insert the M4 screw into the top of the assembly, through the middle of the die spring.
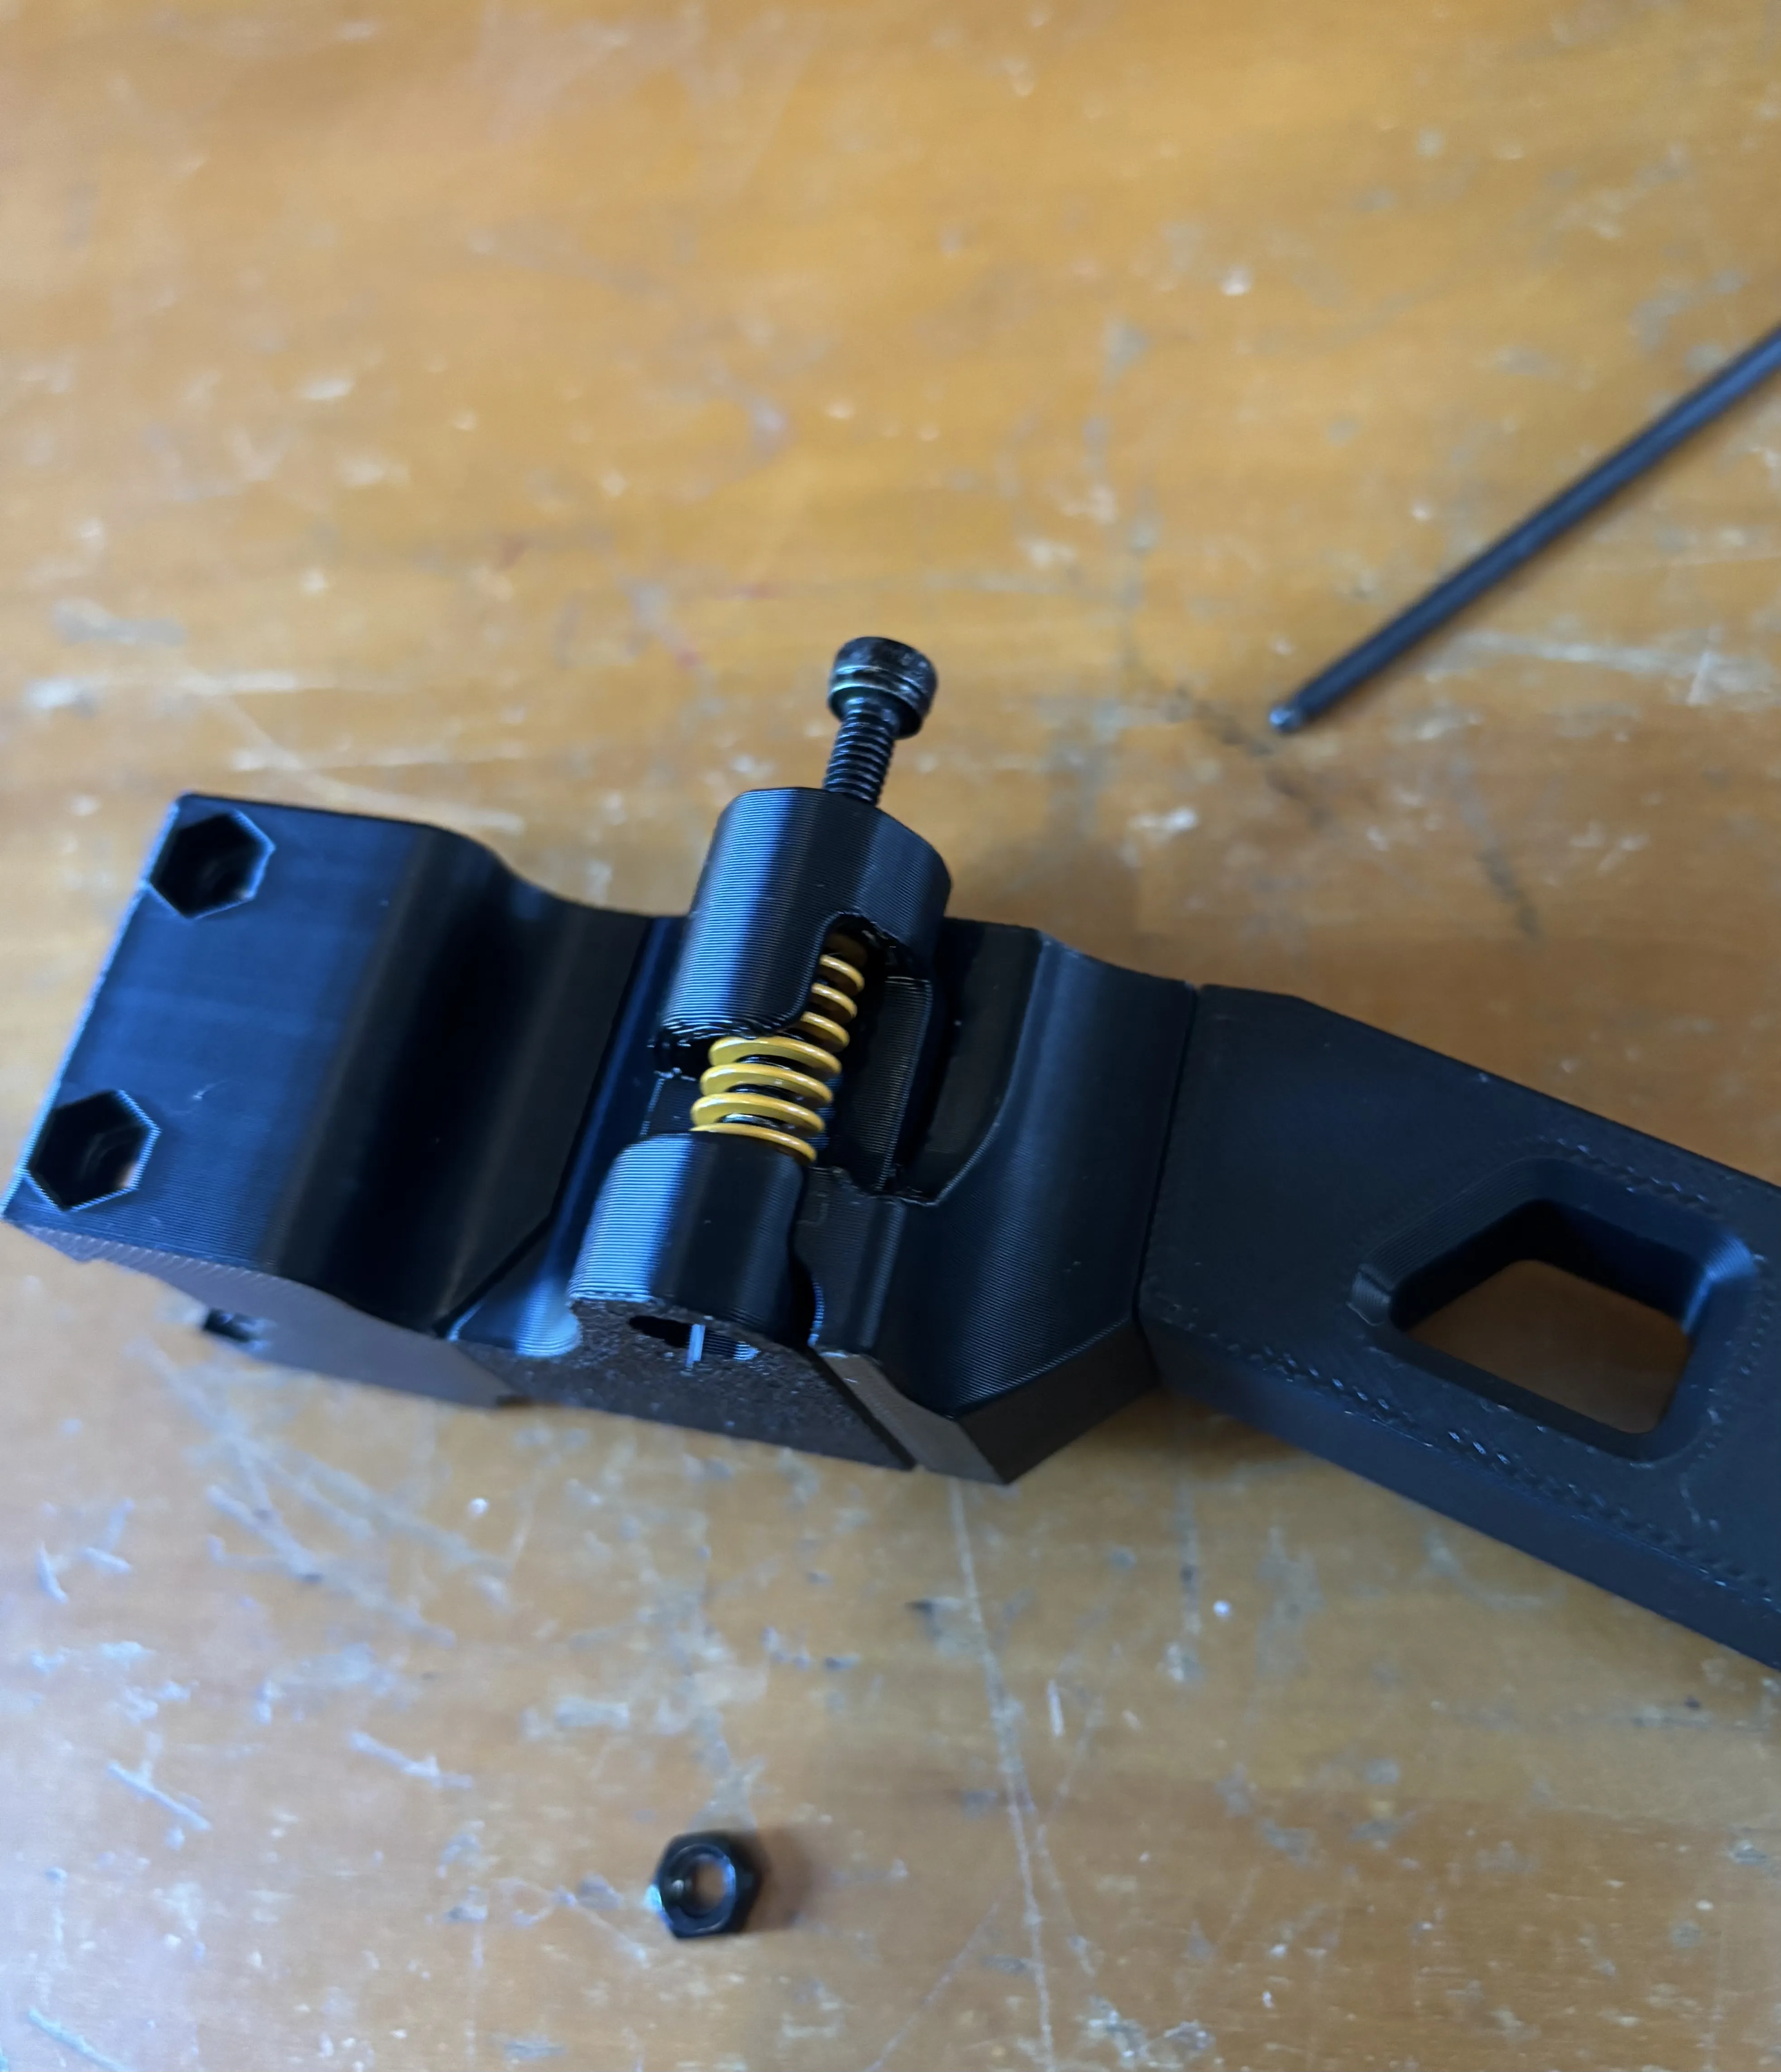
Insert the M4 hex nut in the bottom and tighten the screw.
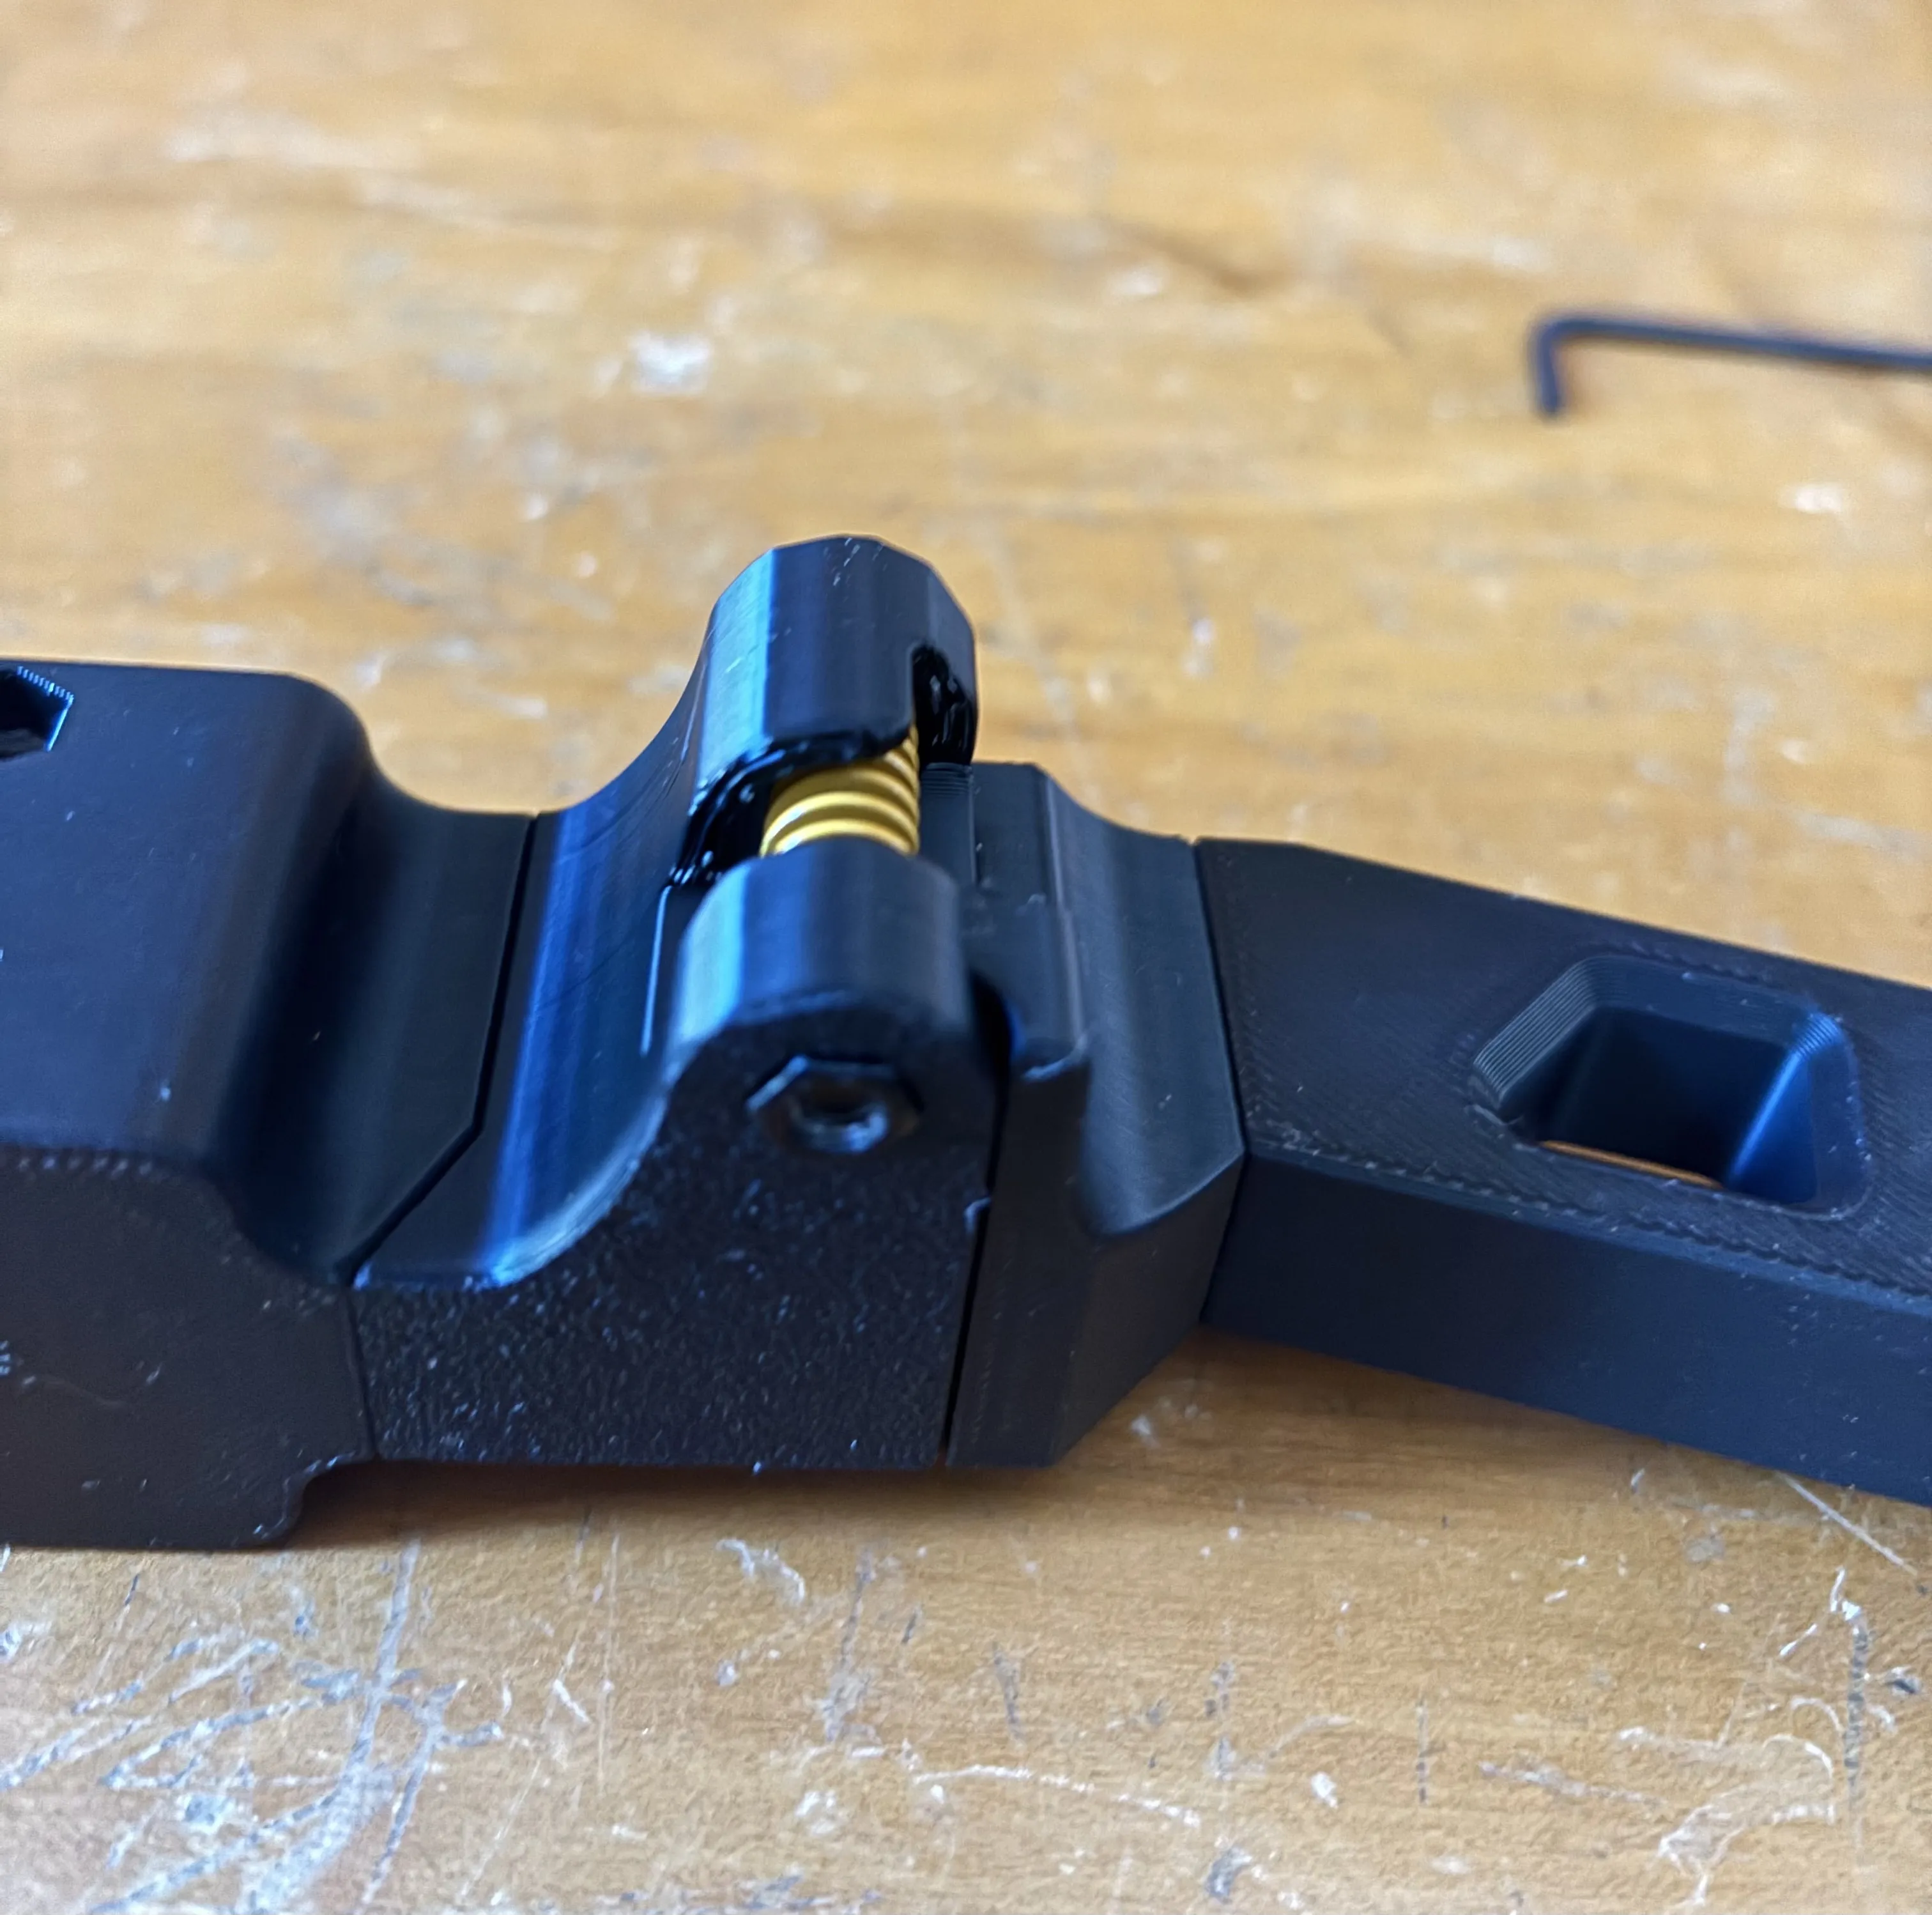
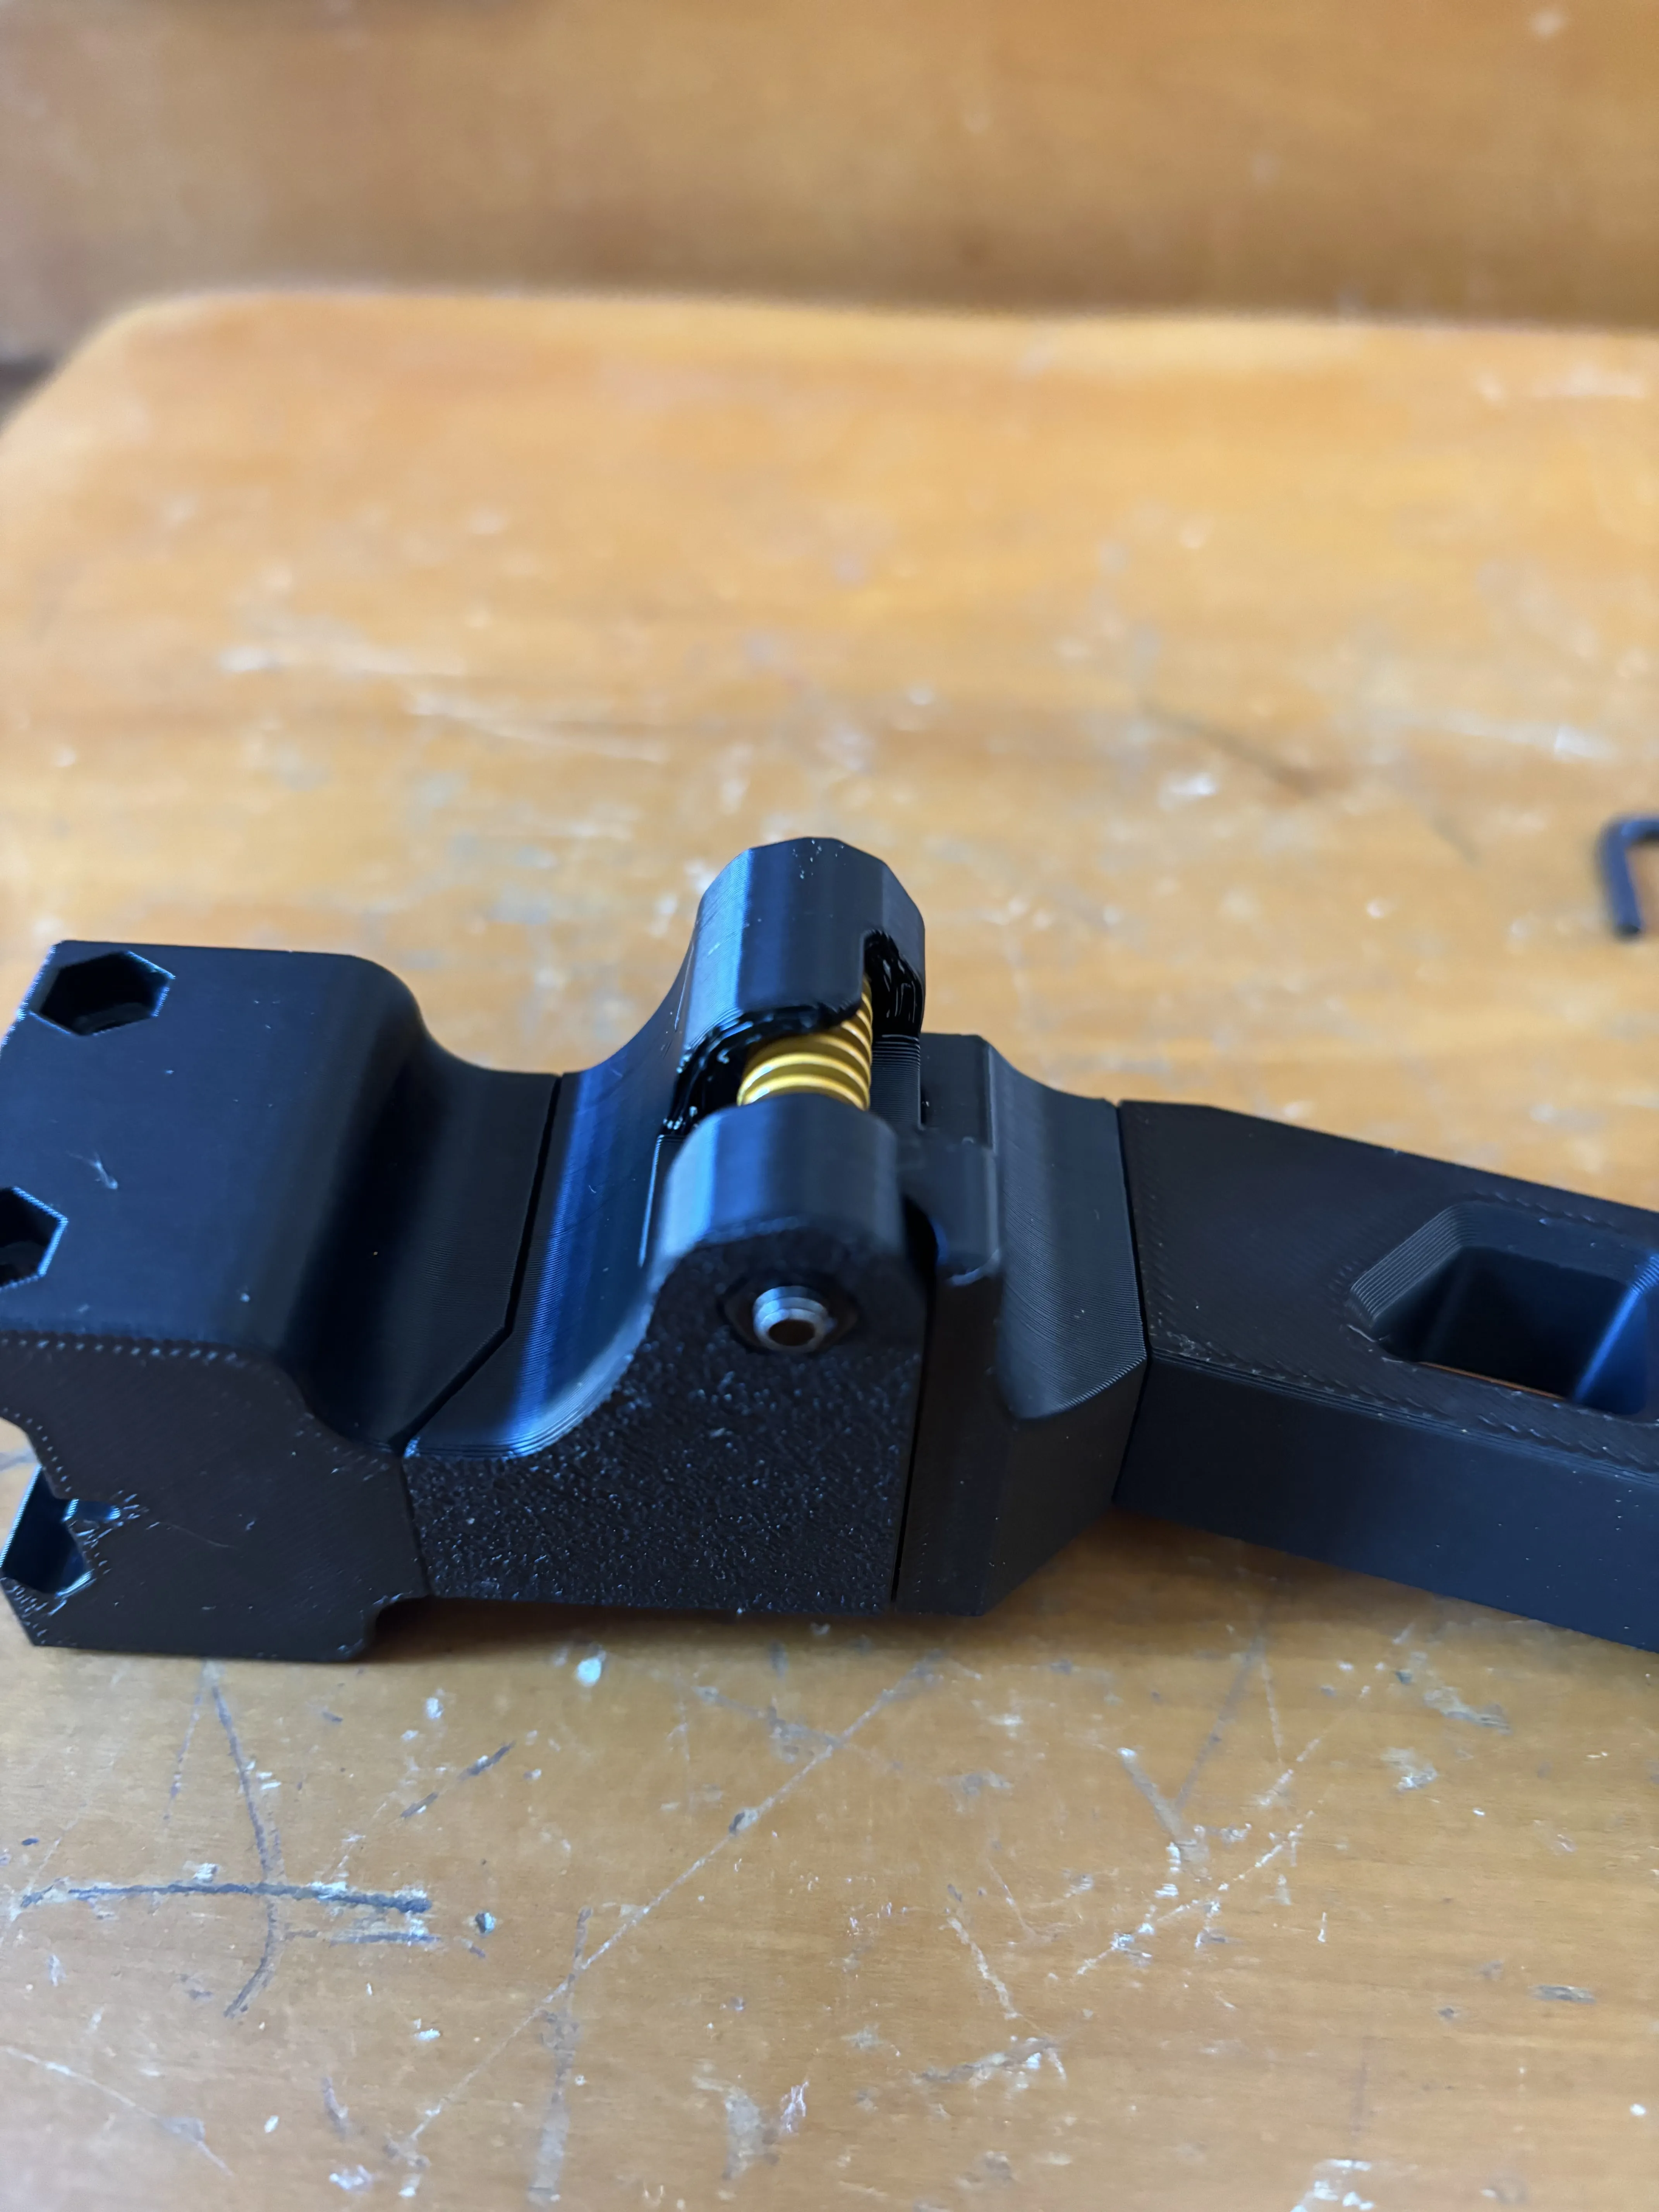
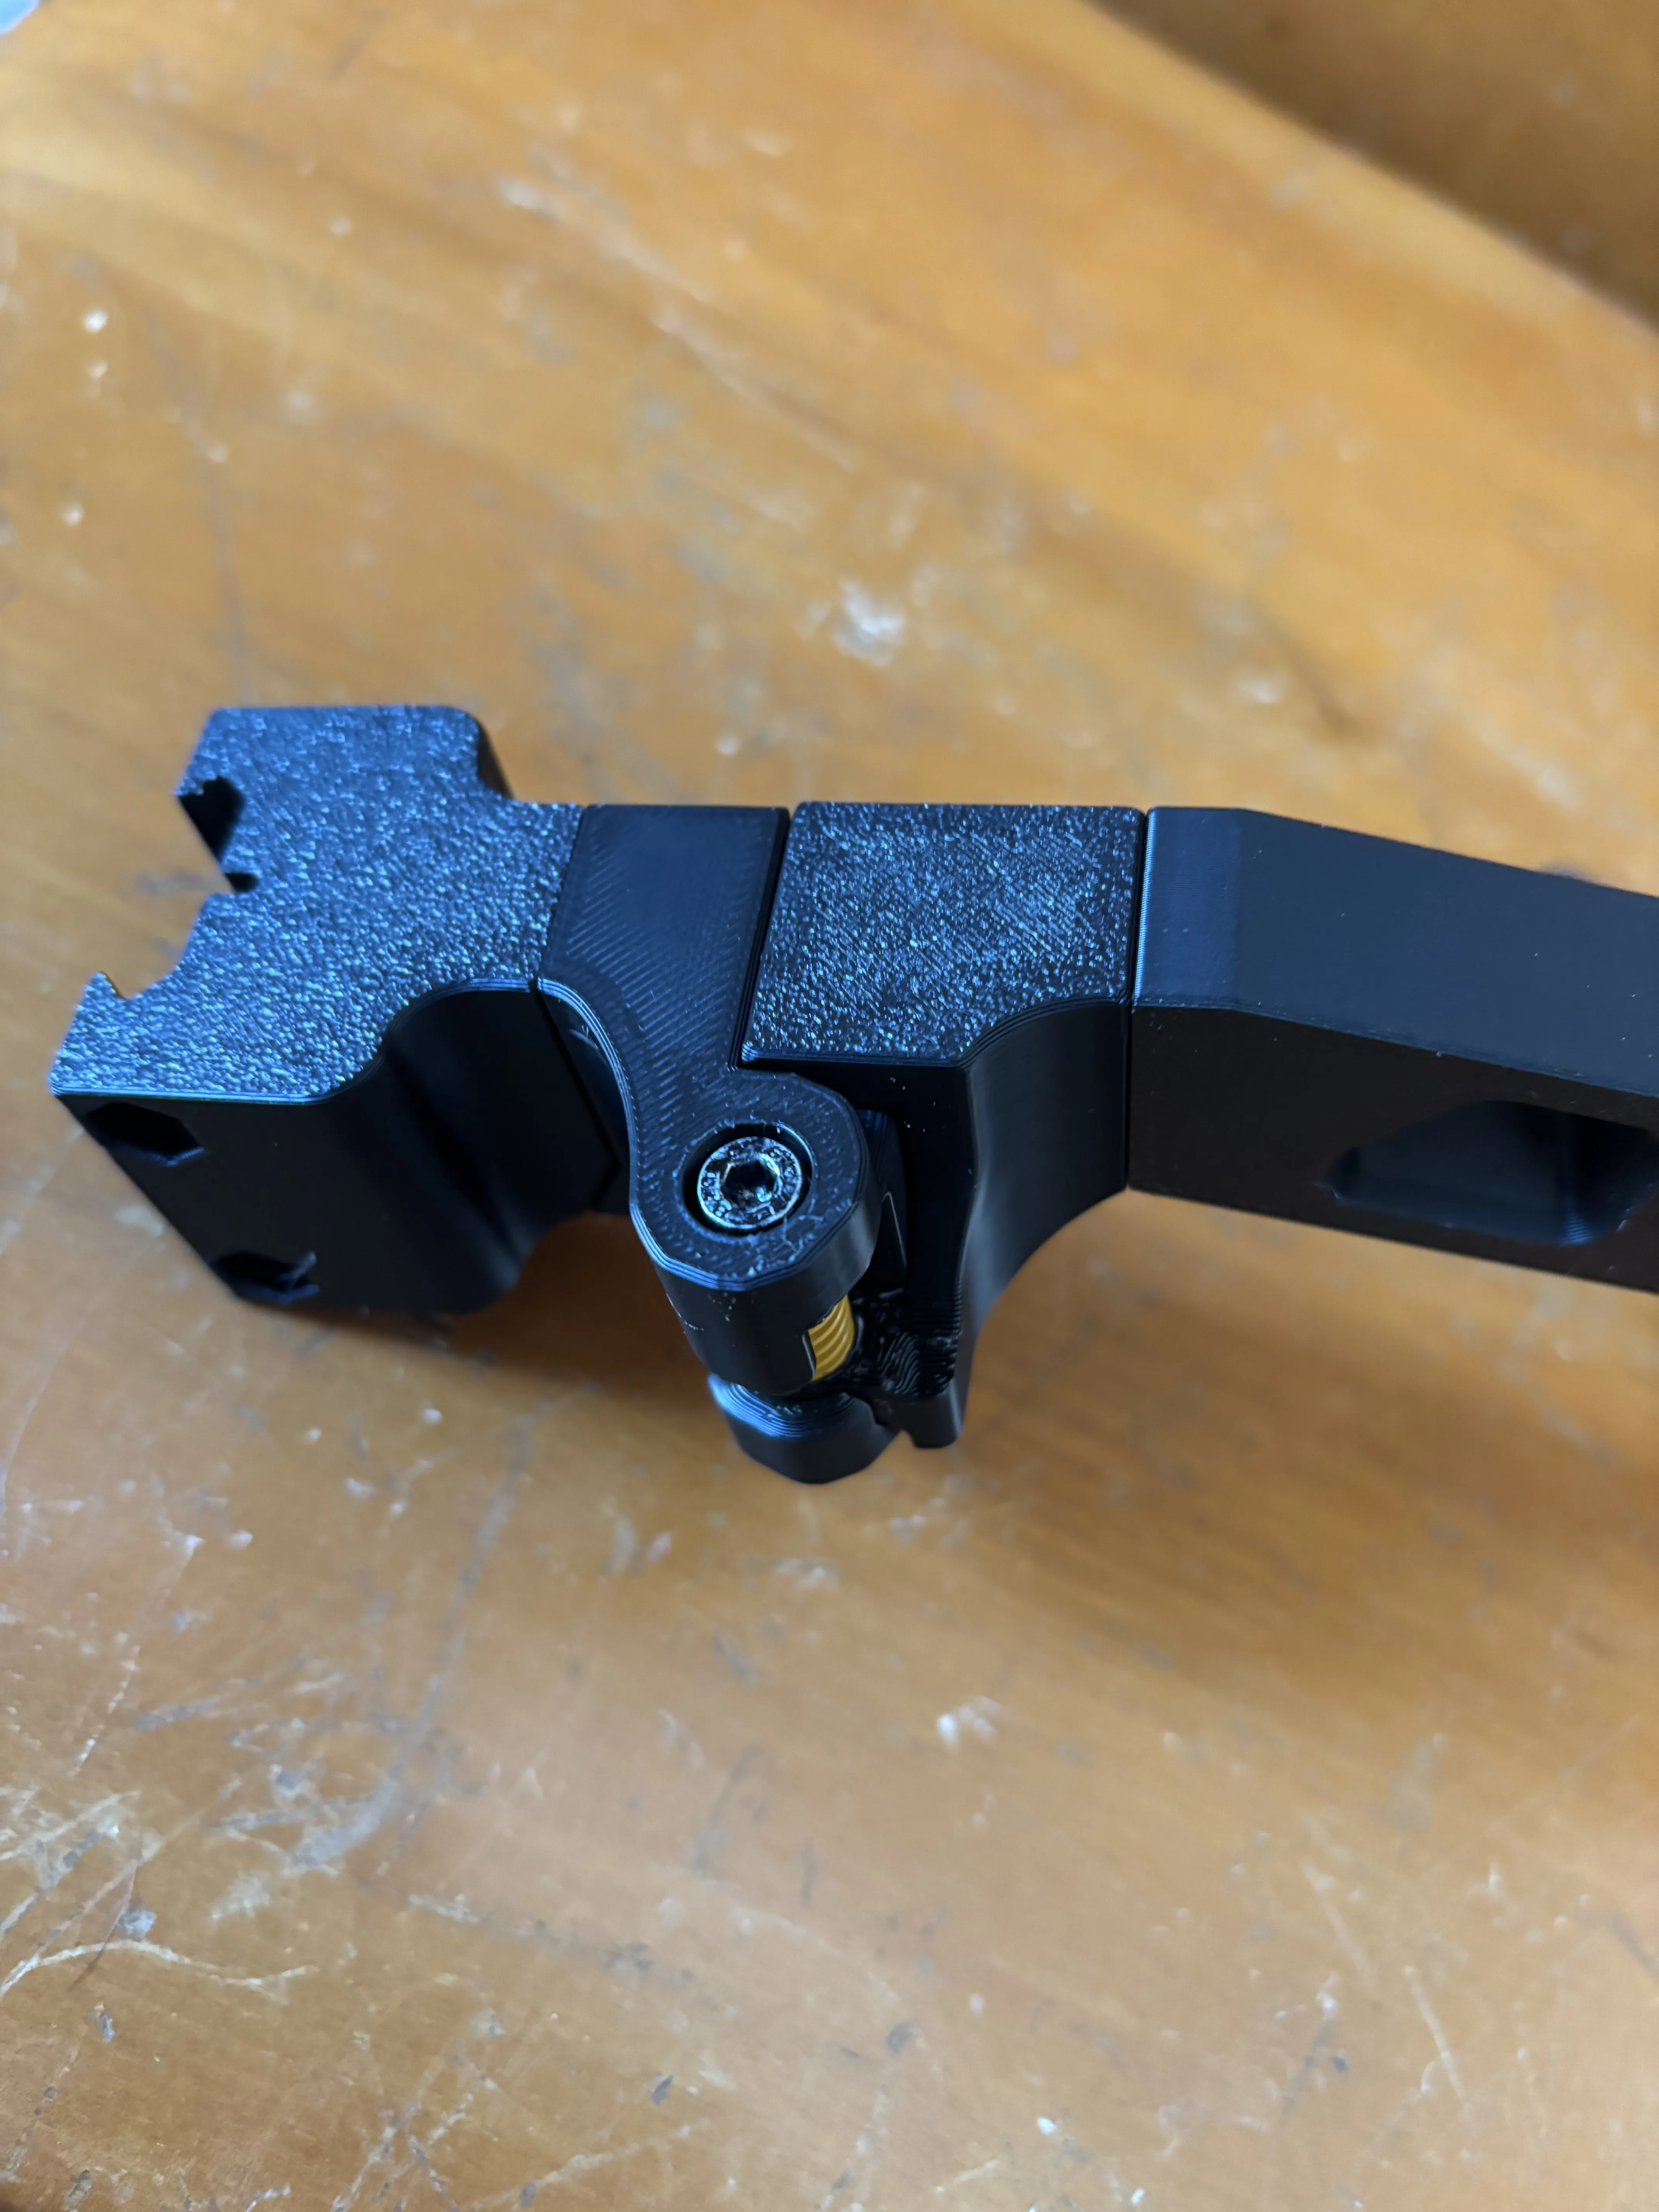
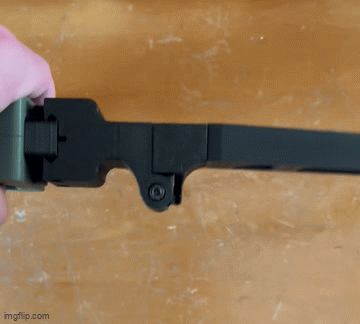
To fold the brace, lift up on the brace while holding the picatinny mount steady, and then rotate clockwise.


To unfold, simply rotate counterclockwise till it snaps back into its locked position.
License

You shall not share, sub-license, sell, rent, host, transfer, or distribute in any way the digital or 3D printed versions of this object, nor any other derivative work of this object in its digital or physical format (including - but not limited to - remixes of this object, and hosting on other digital platforms). The objects may not be used without permission in any way whatsoever in which you charge money, or collect fees.


Comment & Rating (21)