
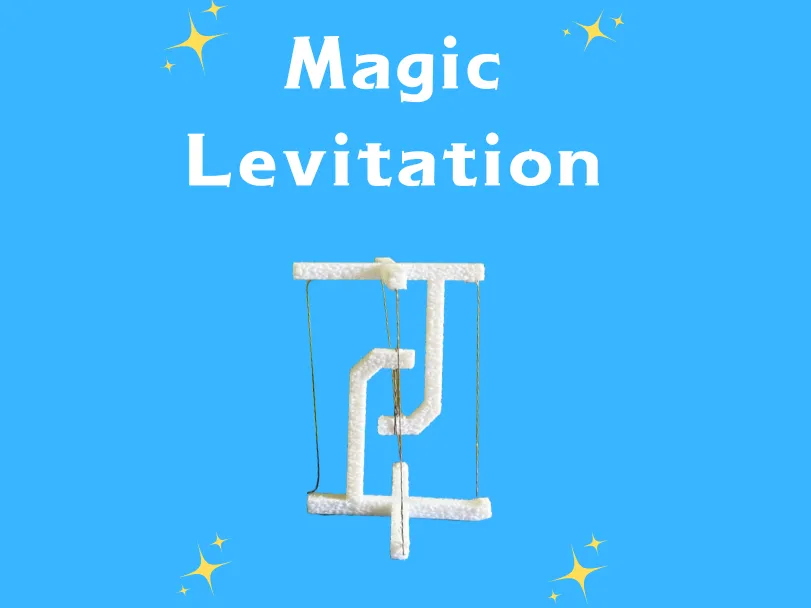
Magic Levitation
Print Profile(1)

Description
🎨 Welcome to my 3D model collection!
Every model you see here is crafted with passion, precision, and a genuine love for creativity.
✨ Many amazing creators and supporters have already given a boost — and thanks to them, I’ve been able to keep making new models and improving my work.
🚀 If you enjoy what you see, consider leaving a boost too: it’s not just support, it’s joining a growing community that believes in creativity and wants to see more unique 3D content! 🙌
🔧 From realistic assets to imaginative designs, fresh creations are always on the way — and your boost helps make it possible.
💬 Got ideas or requests? I’d love to hear from you!
Boost Me (for free)
🚀 Drop a boost and follow to stay updated on new releases.
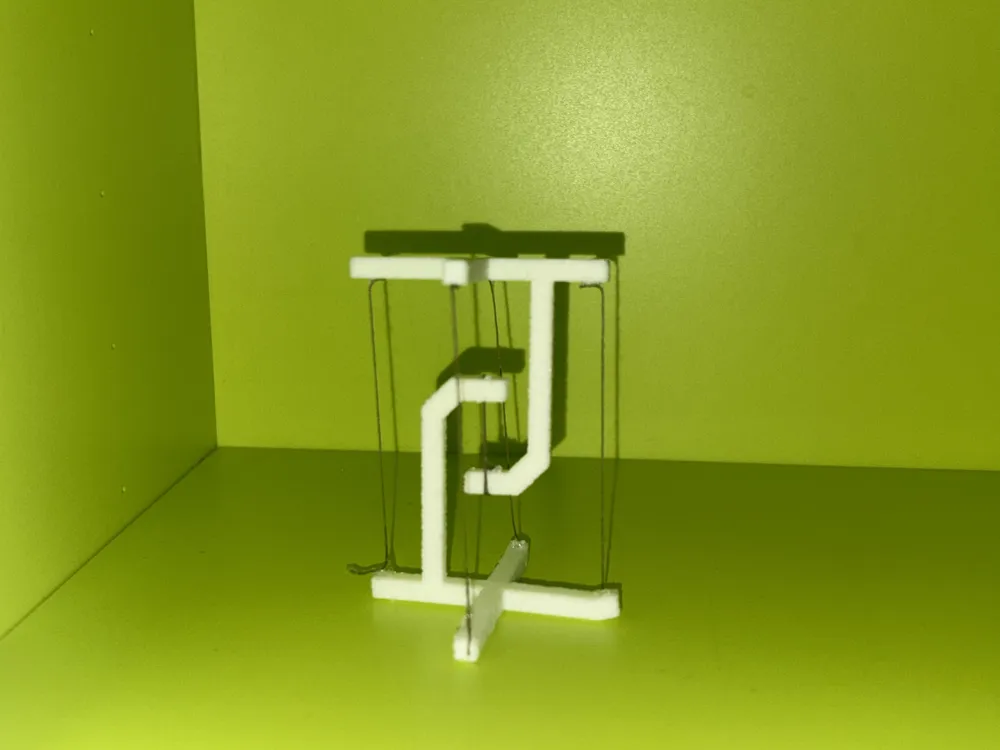
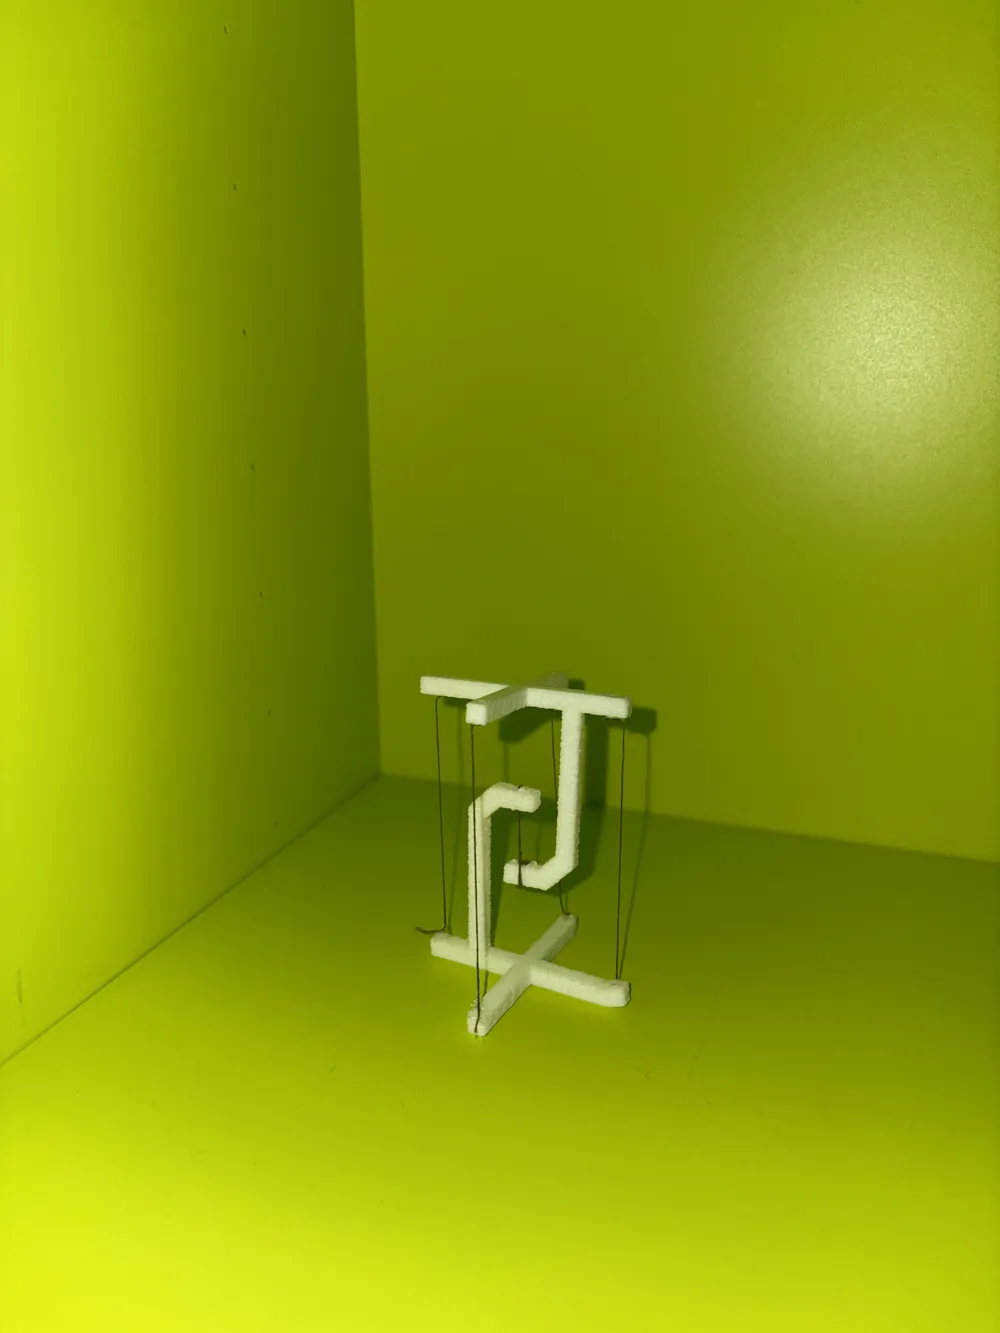
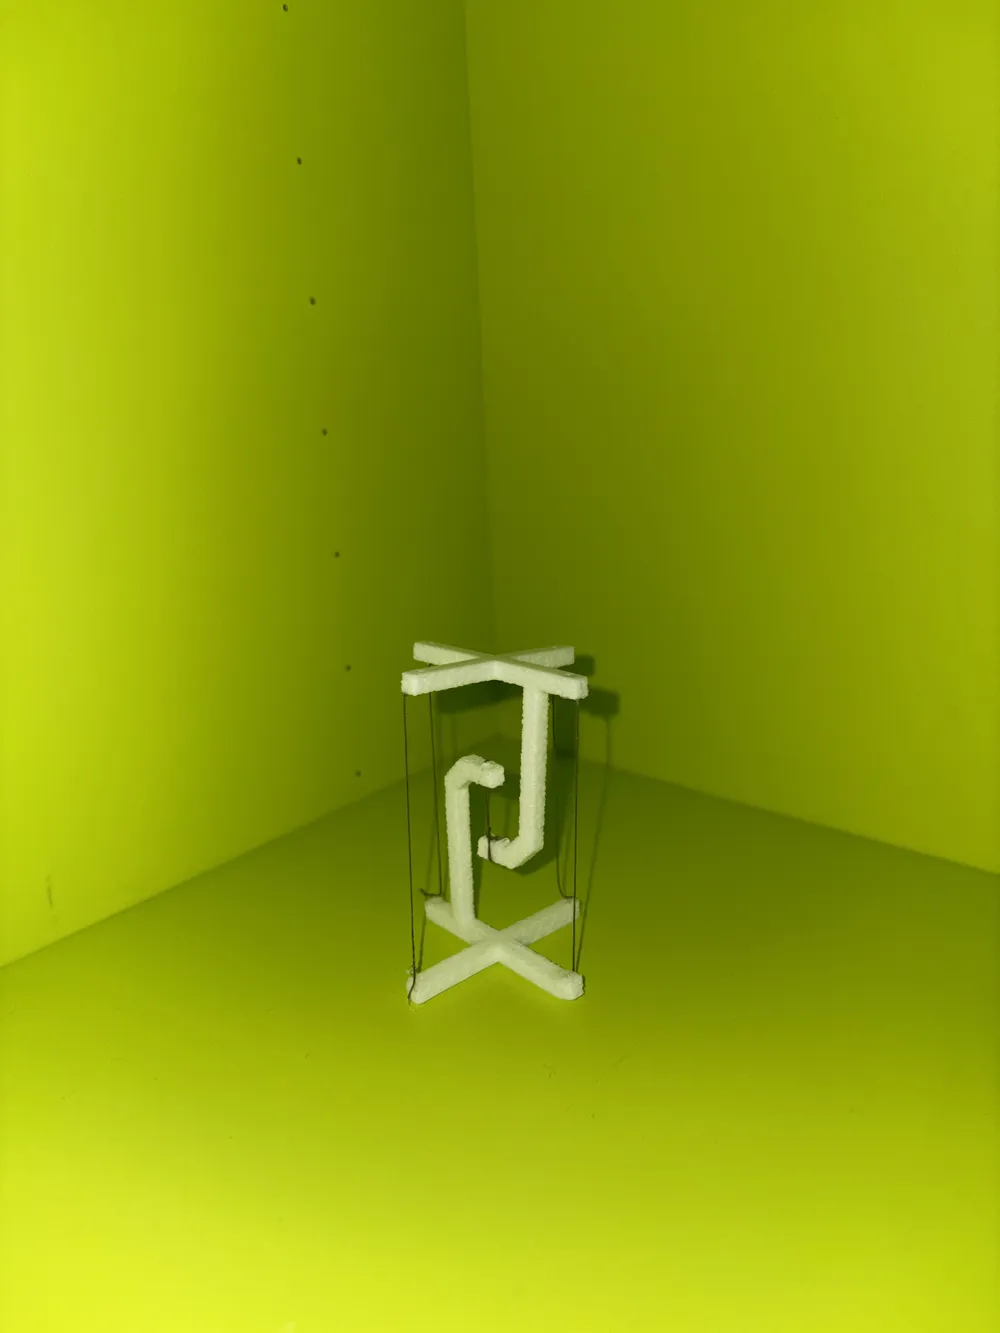
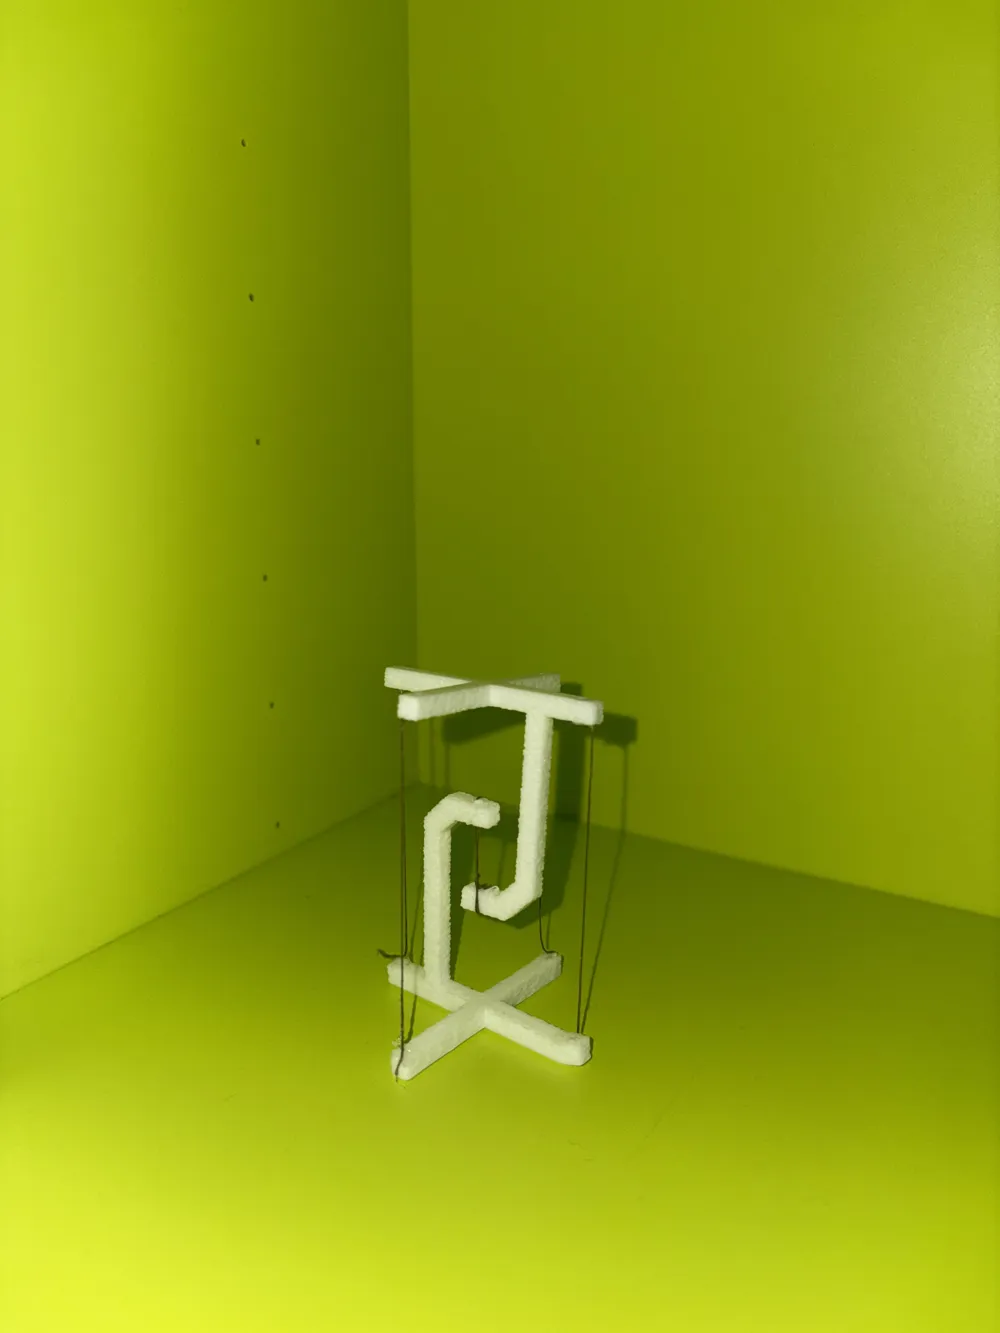
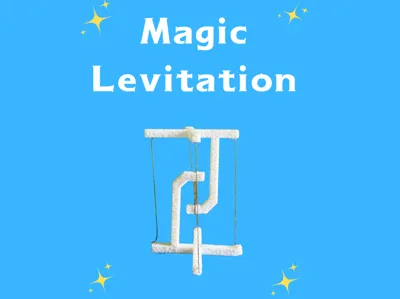
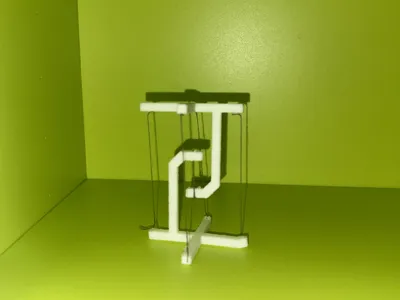
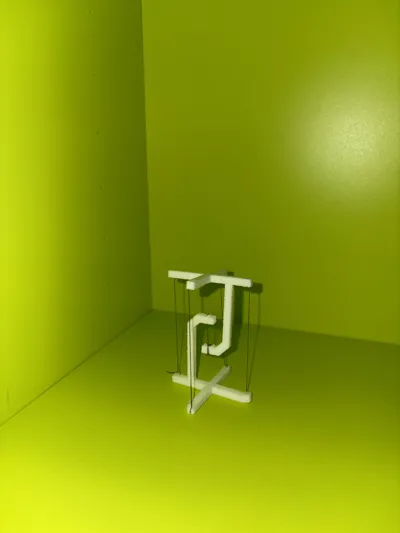
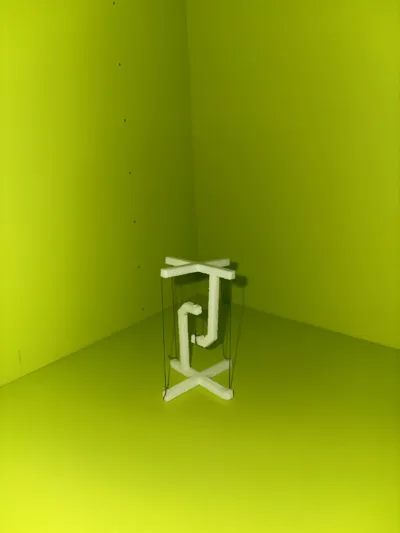
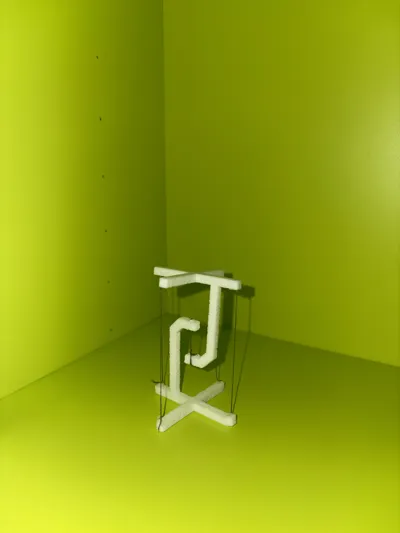
🛠️ Magical Instructions for Assembling the Tensional Levitation Artifact 🔮🧵
To bring this enchanted object to life, you will need precision, patience… and some thread! 🧙♂️👇
✨ Necessary Materials:
- 🟥 2 3D printed supports (the two main “C”-shaped structures)
- 🧵 Strong sewing thread or transparent nylon thread (minimum 4 segments)
- ✂️ Scissors
- 📏 Ruler or tape measure
- 🔧 Tweezers (optional but helpful for knots)
- 🧿 A touch of magical concentration (aka attention to detail!)
🧩 Step-by-Step Assembly:
- Position the two structures: place them facing each other, as if they were mirror images.
- Cut four threads of equal length (approximately 20 cm each to begin; adjust later).
- Connect the upper points: take two threads and securely fasten them between the upper ends of the structures with double knots. Ensure they are taut and of equal length to maintain level ✨.
- Connect the lower points: the other two threads will go from the lower sides of the opposing structures. Here too, tension is crucial: the threads must be taut but not distorting.
- Check the balance: the entire structure should remain suspended thanks to the crossed tension. Adjust the length of the threads if necessary. The central piece will magically appear “floating”! 🪄
- Secure the knots: once satisfied with the effect, tighten all knots permanently and trim the excess thread.
🎩 Congratulations! You have awakened the ancient power of tension. Your artifact is ready to amaze anyone who dares to defy logic. 🌌
License

You shall not share, sub-license, sell, rent, host, transfer, or distribute in any way the digital or 3D printed versions of this object, nor any other derivative work of this object in its digital or physical format (including - but not limited to - remixes of this object, and hosting on other digital platforms). The objects may not be used without permission in any way whatsoever in which you charge money, or collect fees.


Comment & Rating (0)