
X1C/P1s Magnetic Rear Vent Hose Adapter


Print Profile(9)


Bill of Materials


- Black 3 inch vent hose x 1: https://a.co/d/acagw97
- Black 4 inch vent hose x 1: https://a.co/d/ea1HjuN
- Old magnets from Amazon: 10x2mm (10x1.67mm) magnets x 1: https://a.co/d/aY7KSEY
Description
Update 3/30/25
I’ve made changes based upon user suggestions and to make it easier to source reliable hardware. I’ve updated to utilize hardware sourced from Maker Supply.
- Magnets have been replaced with 10x2 magnets from Maker Supply. The quality of these magnets are significantly better compared to the Amazon ones. They measure exactly 10x2 and are stronger. Parts utilizing these new magnets will continue to work with old prints. I’ve created new print profiles for these and renamed the old ones so they are easily identified.
- I’m including M3x10 machine screws from Maker Supply in the BOM. I’m also including the self tapping M3x10 screws from Maker Supply, as these are an alternative solution for those who do not have the necessary tools to tap M3 holes.
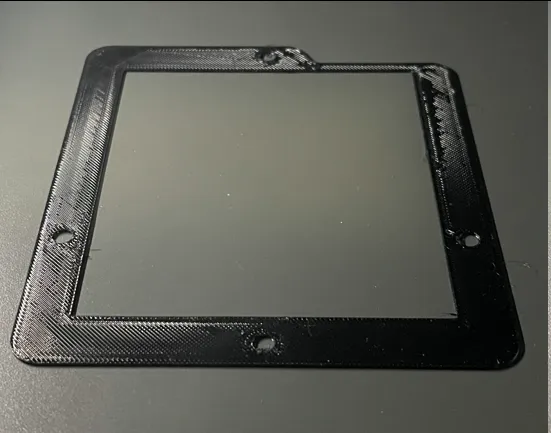
- You can now print gaskets to help further seal up the attachment points. One gasket for in between the base and the printer. One gasket for in between the base and the hose adapter. Thanks to @gc-extreme for providing great examples for me to use!
- Cleaned up the print profiles to include the magnet test fit and removed the standard base without the AMS cutout since it’s not necessary.
- Updated with better installation instructions.
- To help users make their own changes, I’ve uploaded the STEP files of all of the models. Enjoy!
Description
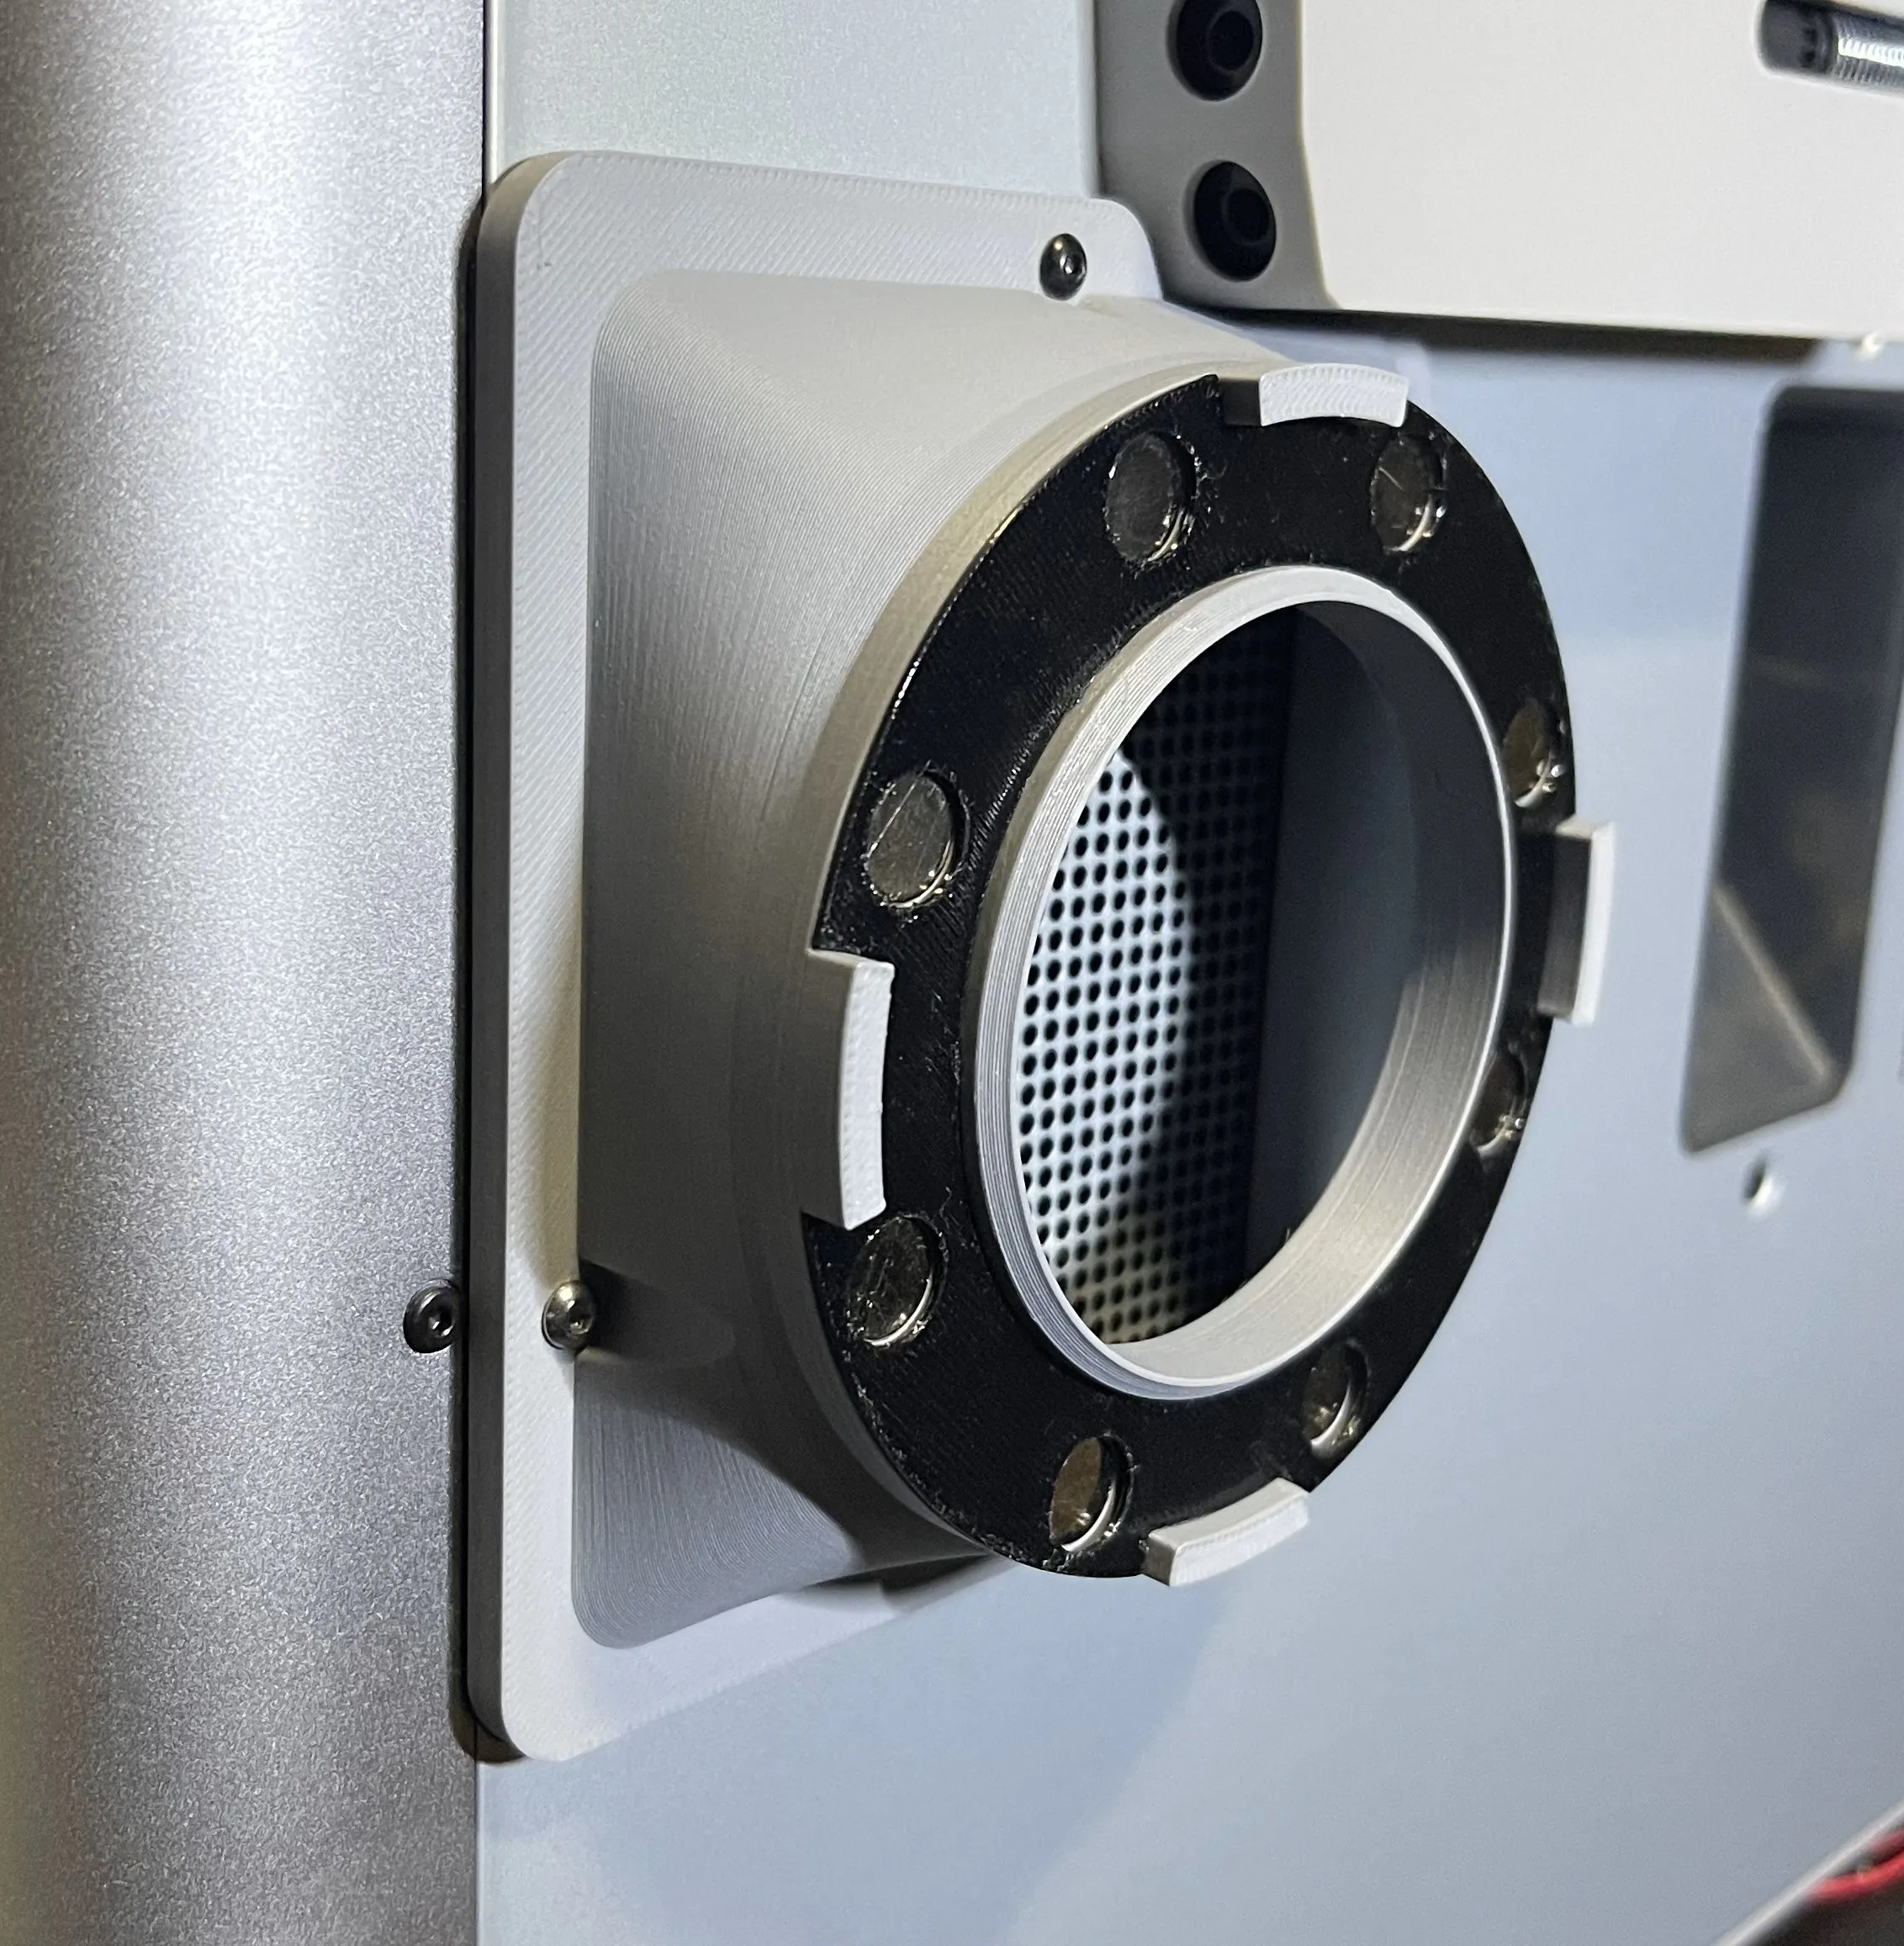
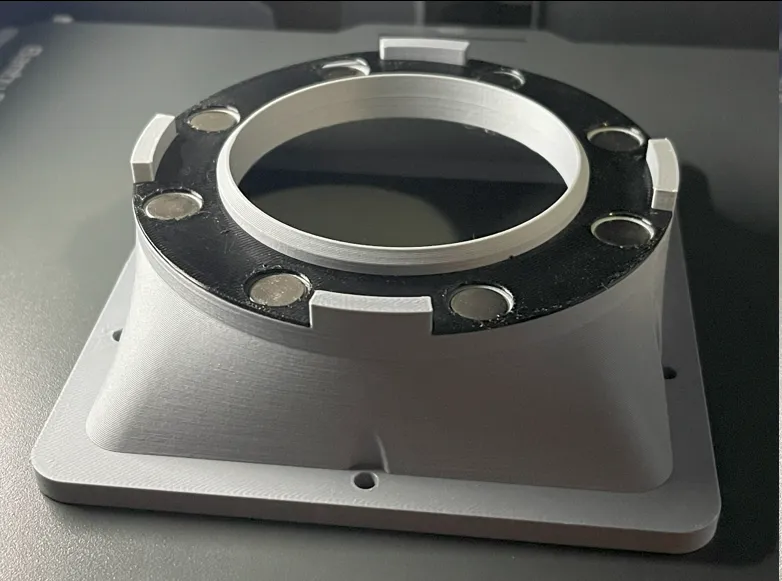
I designed this exhaust vent adapter so that I could attach a 3 inch hose to my X1C in order to vent outside. I wanted to have the base permanently attached to the back of the printer, while the hose could attach/detach via magnets. This gives me the flexibility to easily remove the hose for maintenance or move to another printer/device. The 4 guides are there to provide stability and to help guide the magnets together for a strong attachment. I also wanted to be able to close off the vent hose when not in use, so I created a cover that's also attached with magnets.
There are two sizes of adapters; a 3” and a 4” version.
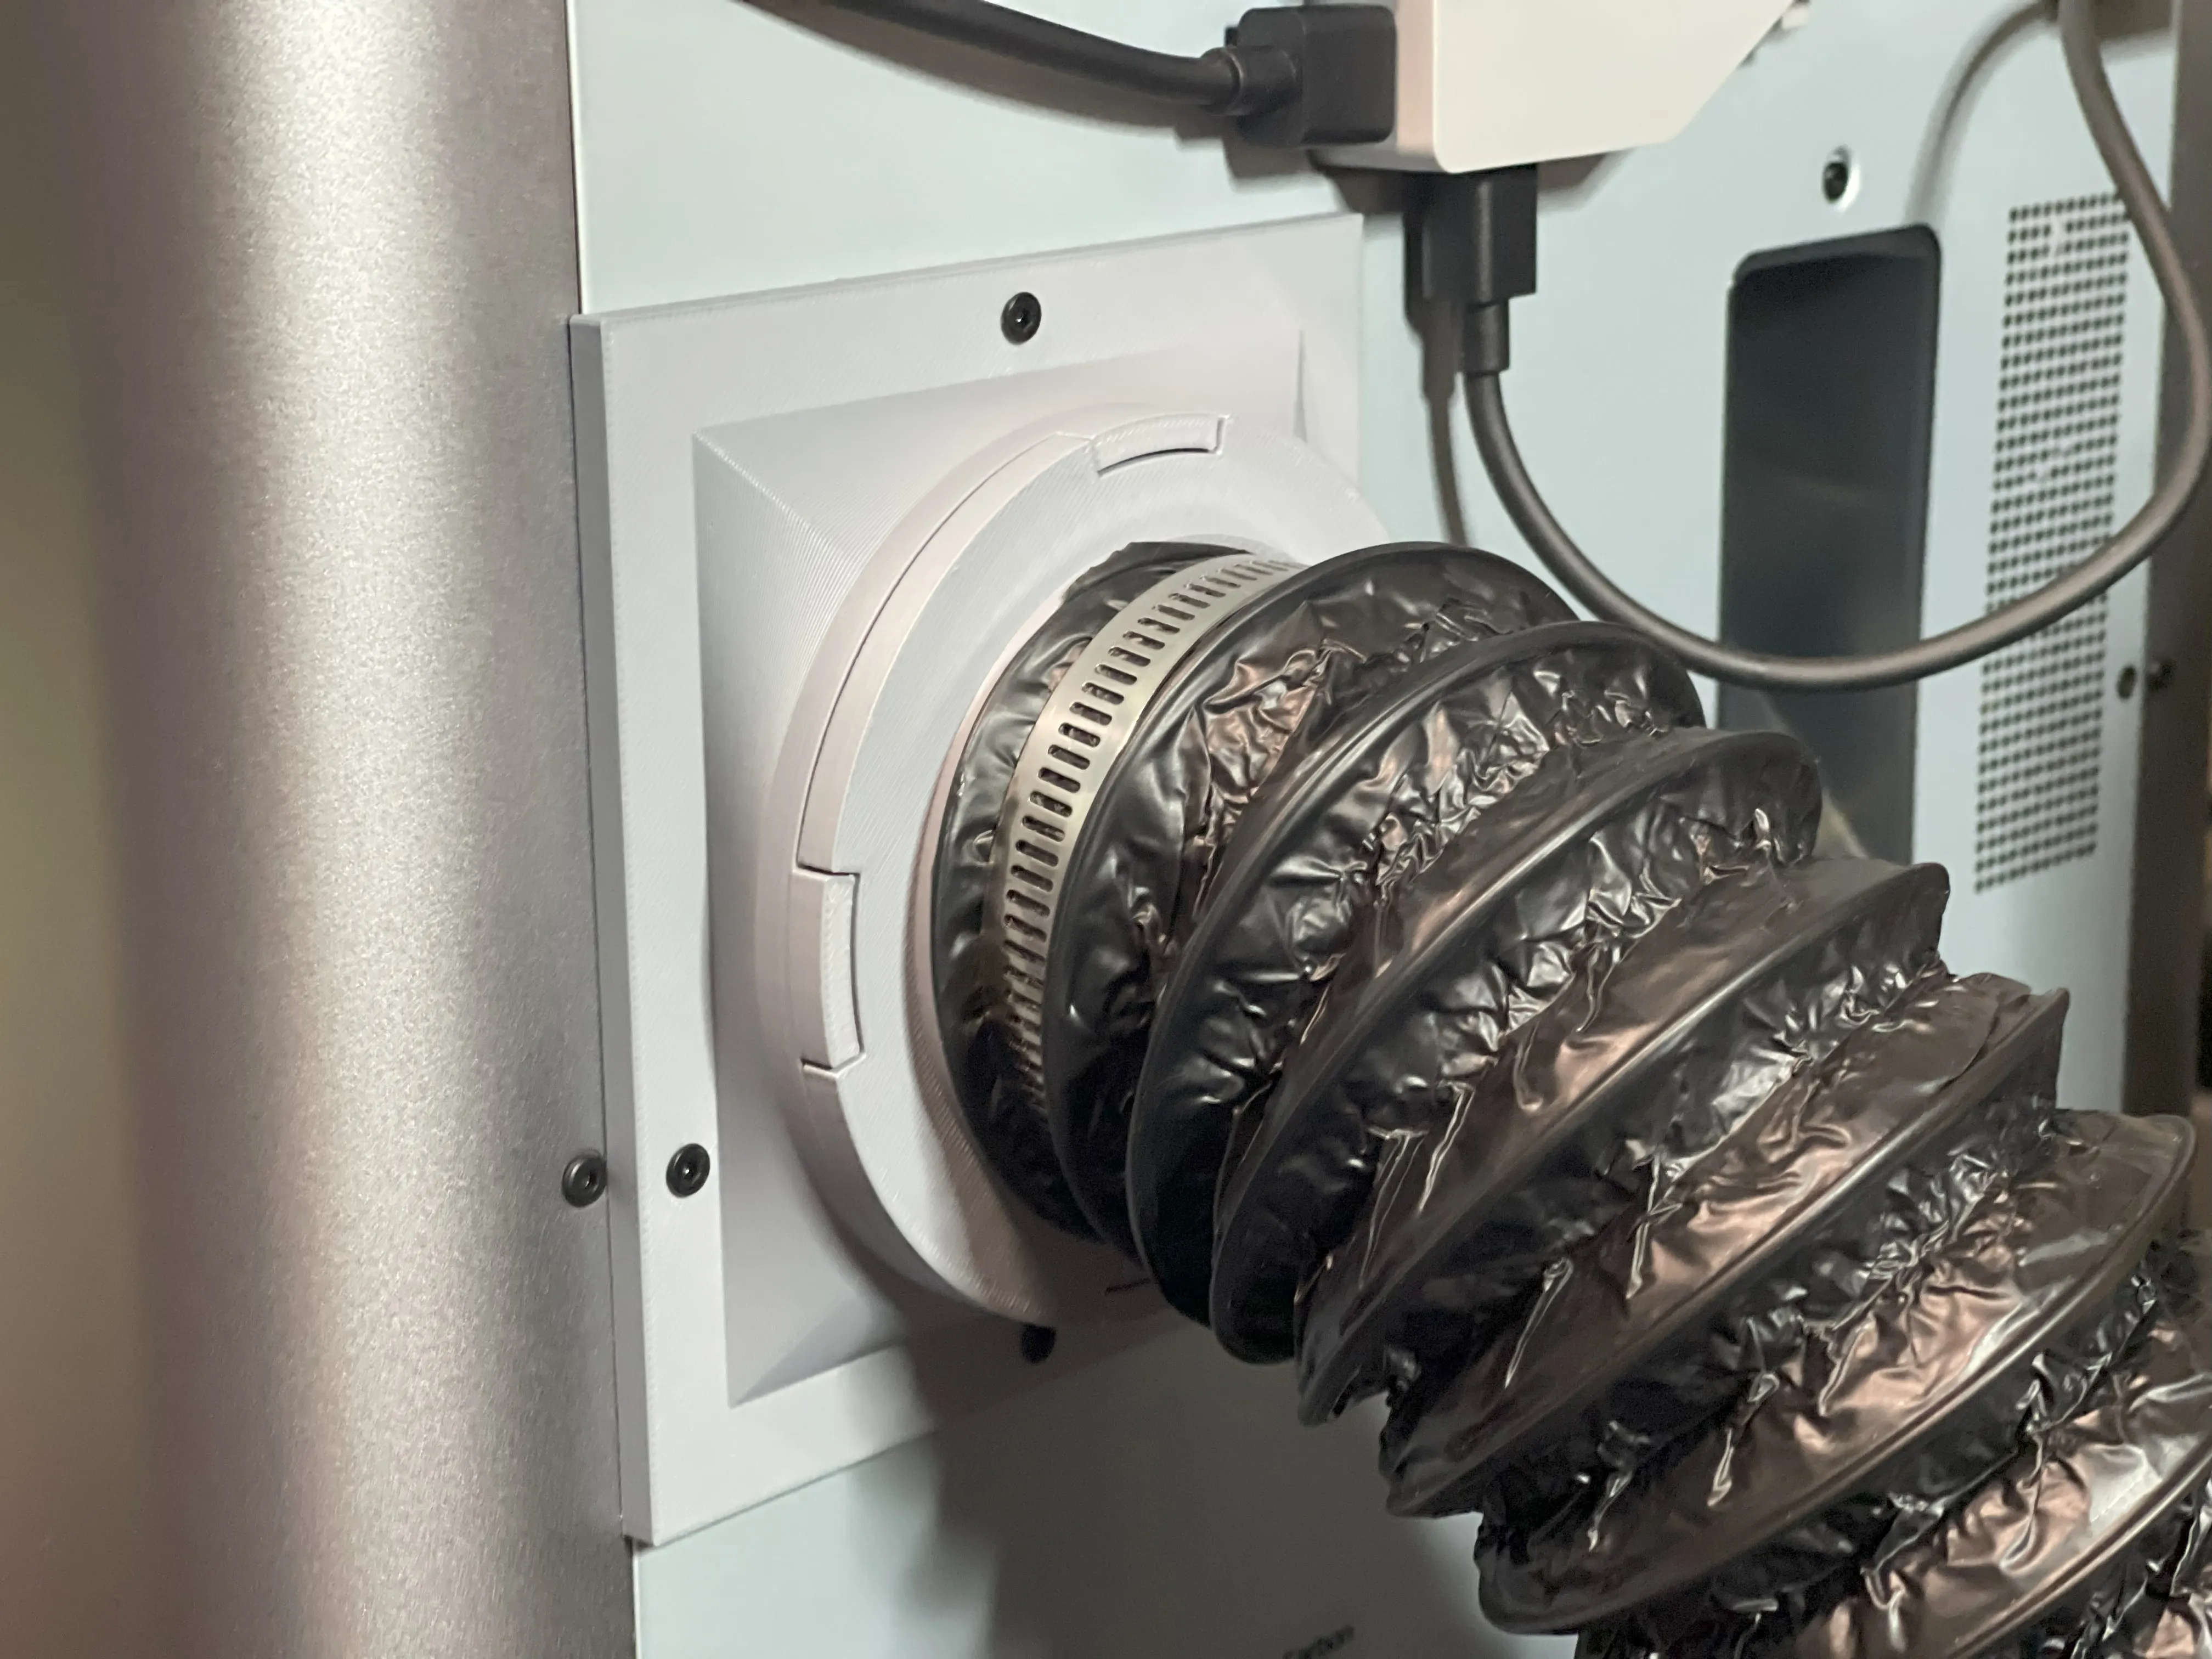
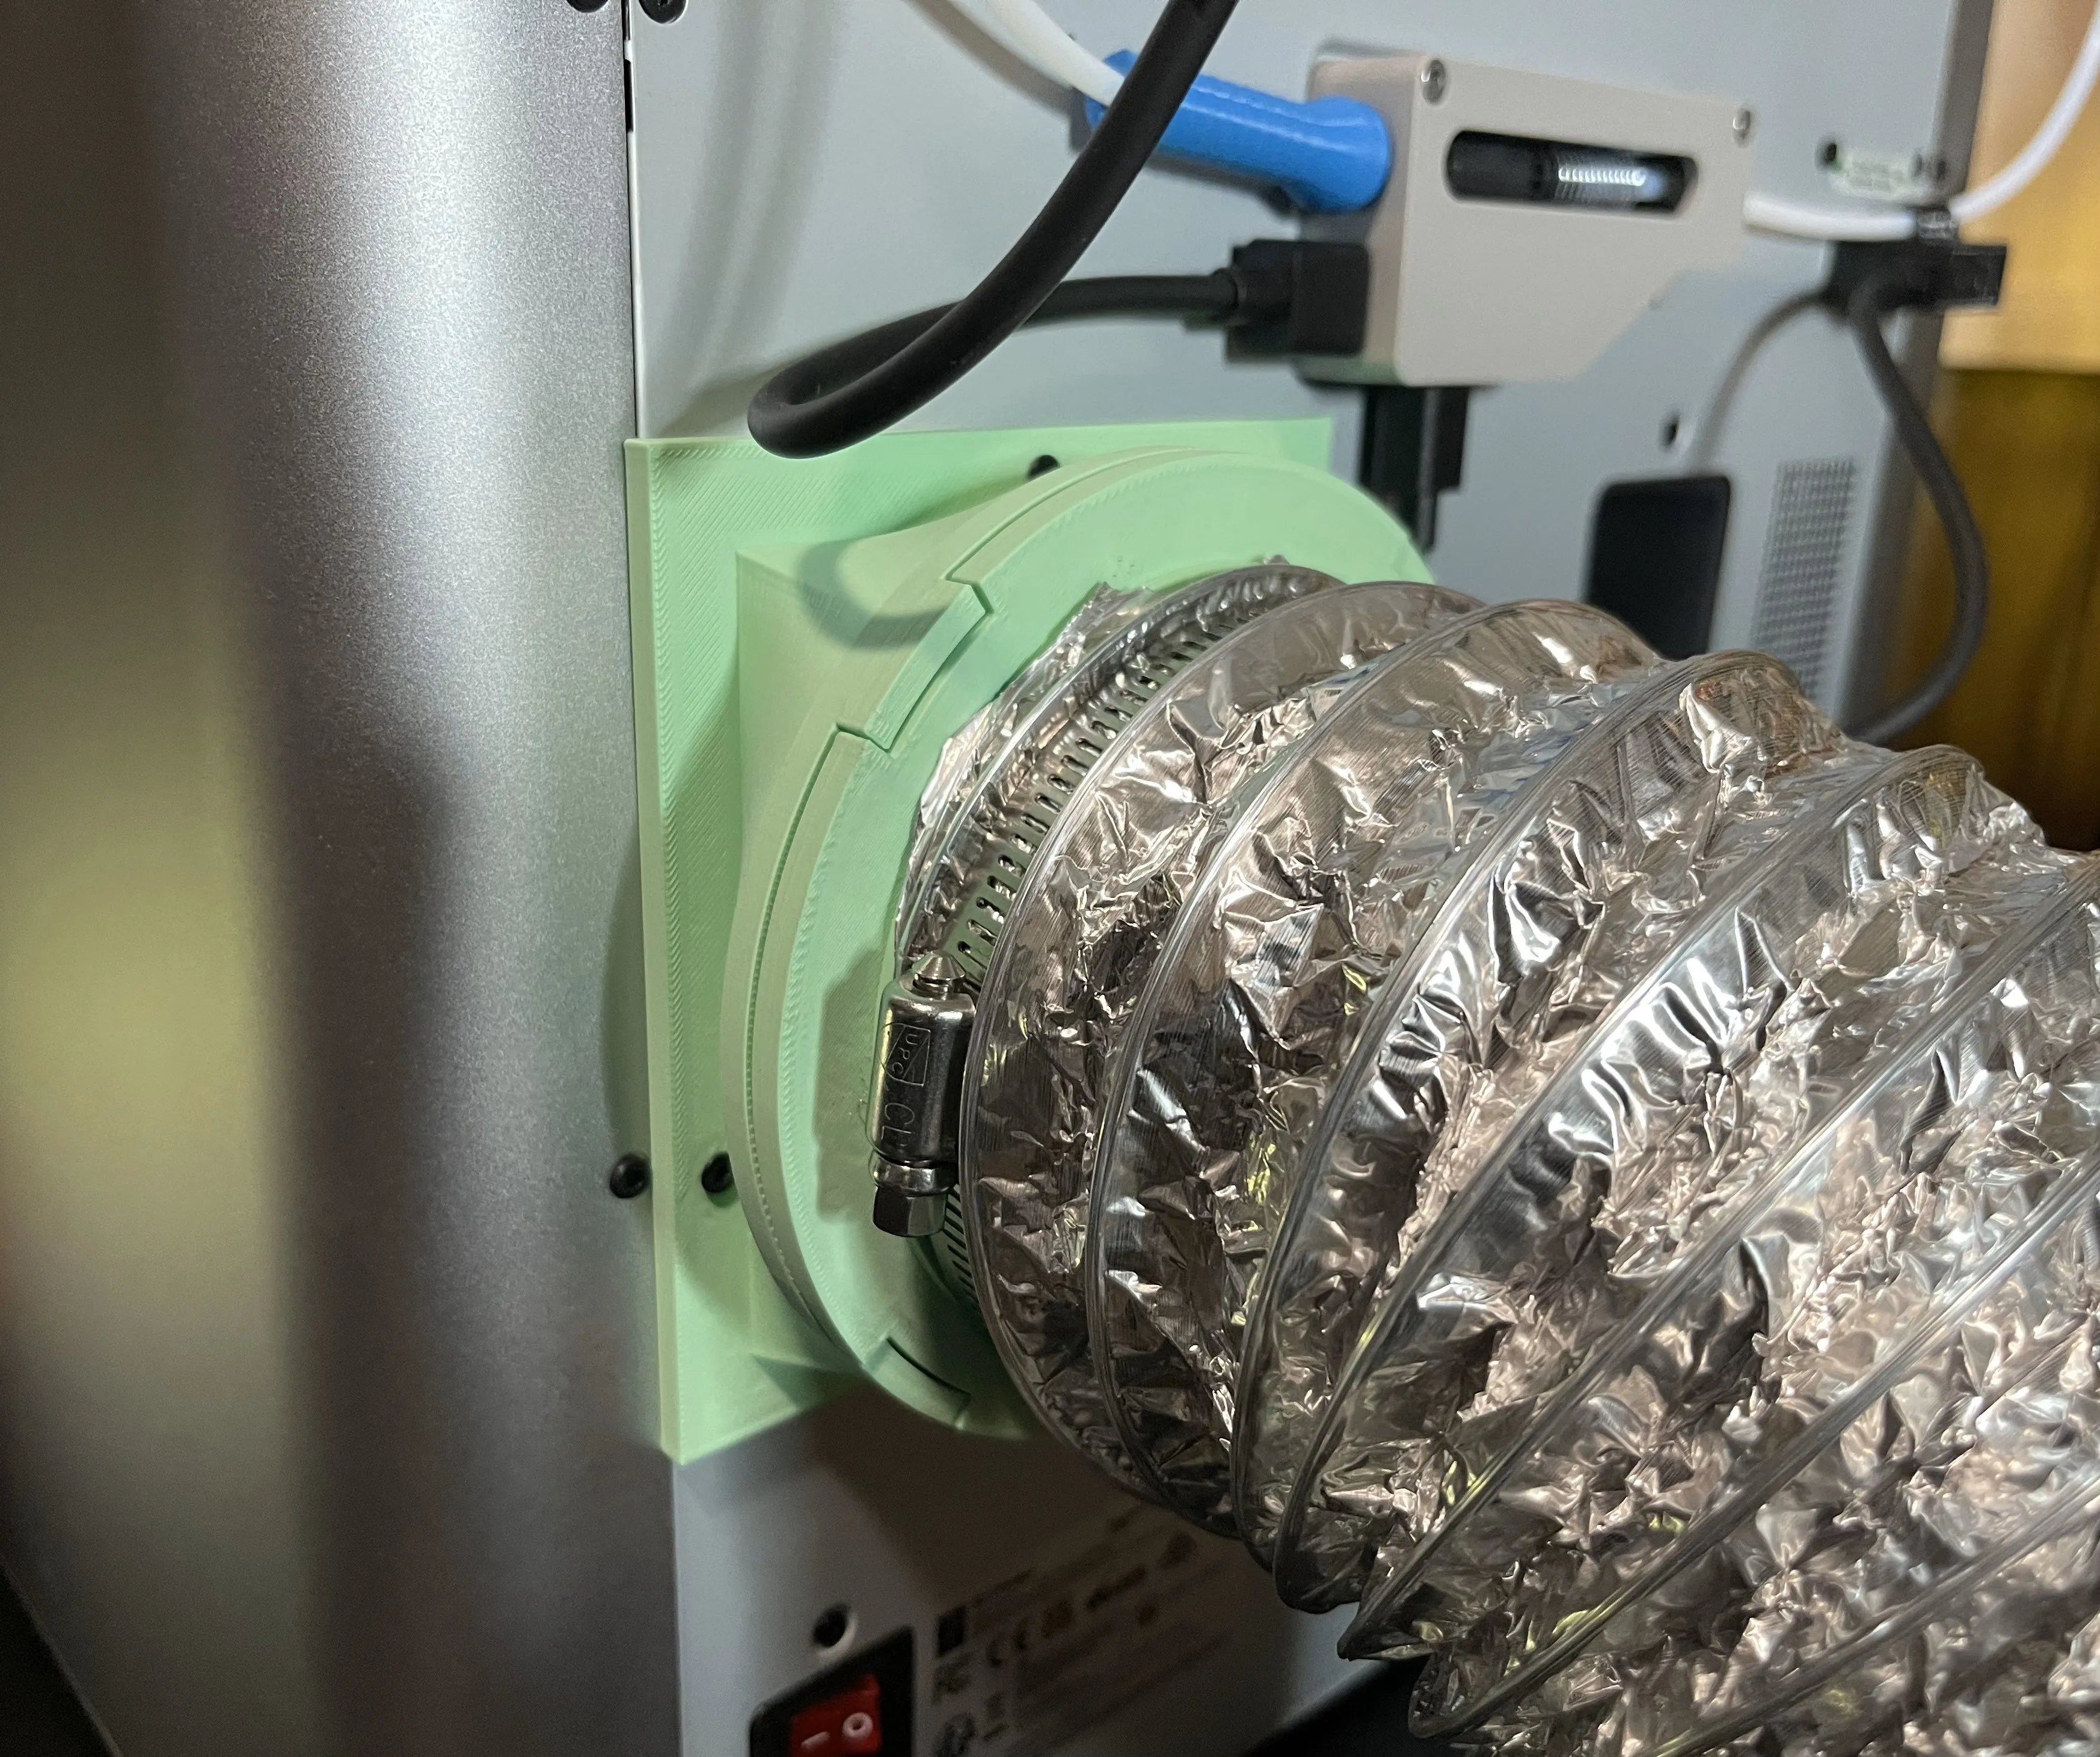
The magnets are spaced so that you can attach the hose in any orientation.
Optionally you can print the gaskets out of TPU in order to add additional sealing of the parts. This is not required, but can improve the results if you are only using the chamber fan to push air through the hose. Pushing air through the hose creates positive pressure inside the hose and if there’s too much restriction, it can potentially lead to small leaks which the gaskets help resolve.
Instructions
1. Magnet fitment
Verify magnet fitment by printing the magnet test fit model.
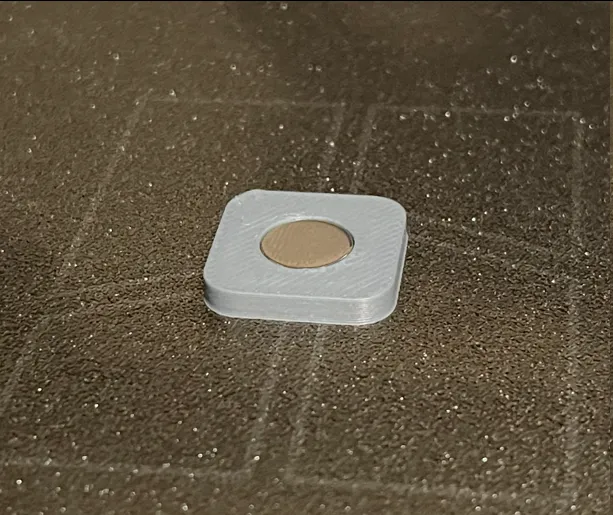
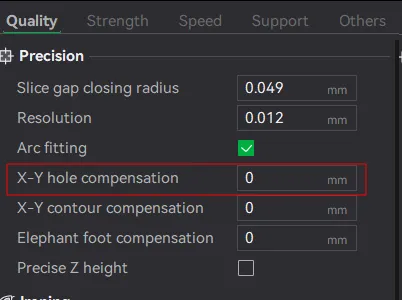
The holes are designed to fit tight so that the magnets can be press fit in. Due to the different tolerances between printers and types of filament used, you may need to make adjustments to fit your needs. You can make these adjustments in Bambu Studio/Orca Slicer by adjusting X-Y hole compensation to adjust to the size you need.
2. Install magnets
- After printing the model, using any necessary compensation, you can press fit or glue the magnets in place. A small arbor press would be ideal, but you can utilize other tools that provide even pressure as you press the magnets into place. I personally just use a small clamp.
- <Clamping magnet into place>
3. Thread screw holes
In order to attach the base to the back of the printer, you will need to thread the blank holes that surround the chamber fan exhaust. The left screw does not need threaded, as we will use the existing screw.
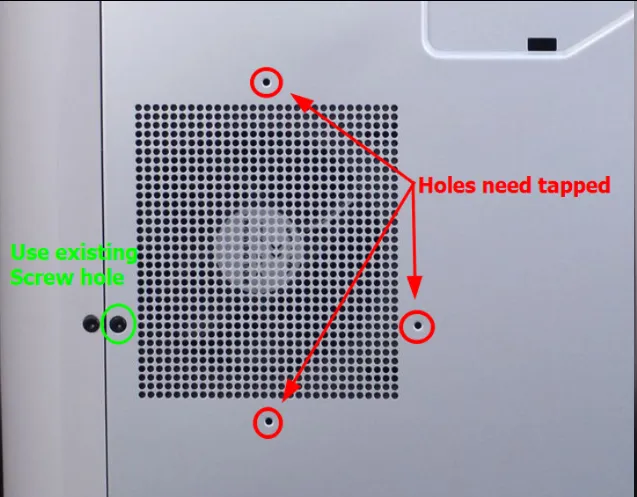
- You have two viable options for making your threads
- Tapping your own M3 holes
- Using self tapping M3 screws to cut new threads.
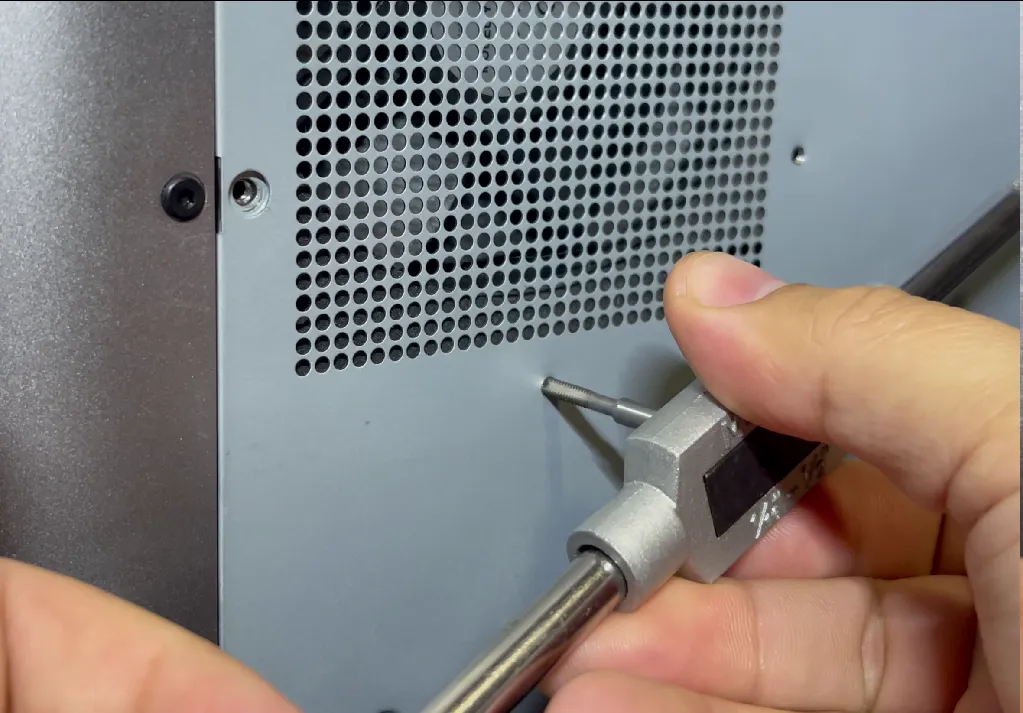
If you have an M3 tap, you can just cut your threads using it and use standard M3x10 machine screws. M3x8 can work, but I find M3x10 is a bit easier to install.
If you are unable to tap your own holes, I found that you can also use self tapping M3x10 screws to cut the threads. All you really need to do is firmly press the screw into the hole while attempting to thread it. Once the screw properly bites into the metal, you can keep threading the screw until it fully cuts its own threads.
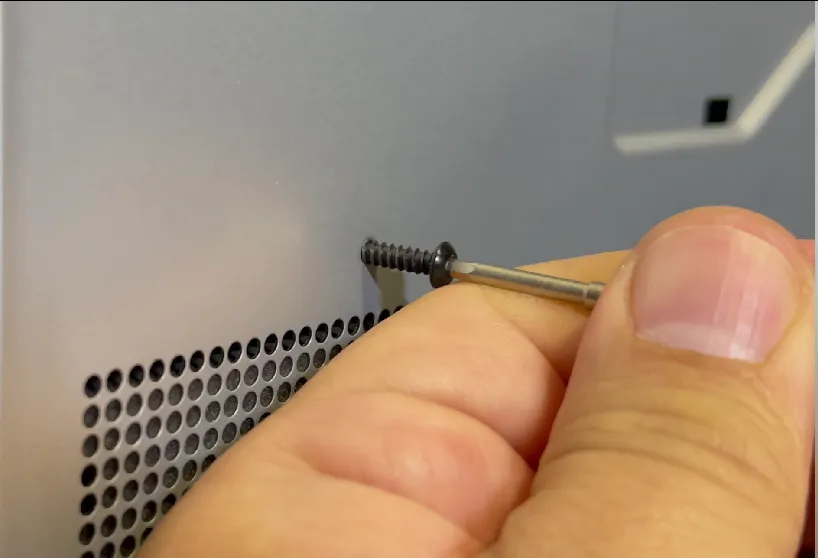
- Once threads are cut, you can mount the base.
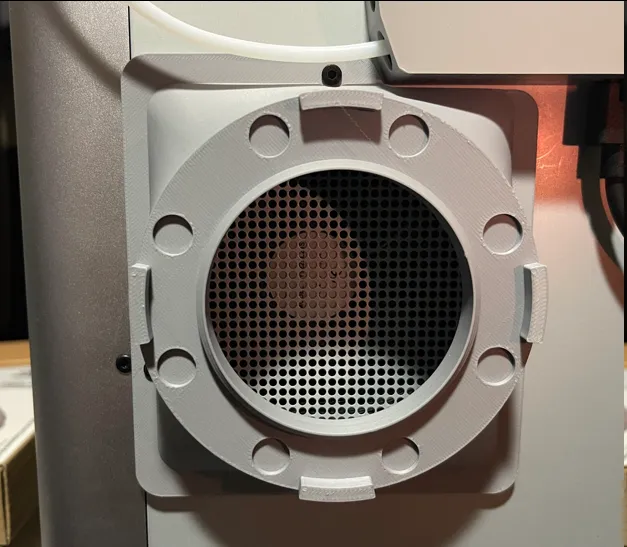
4. Attaching hose adapter to base
Once the base is installed, you can now connect the hose adapter to the base. The alignment guides and magnets make it easy to attach and remove.
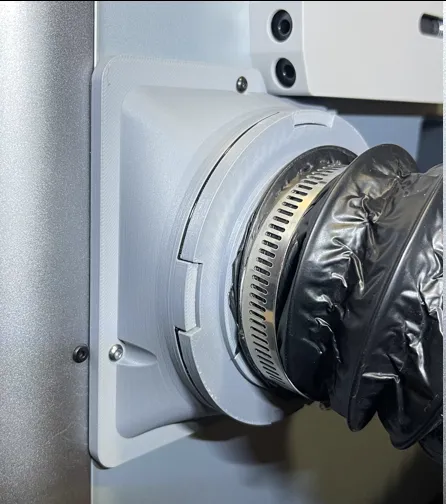
5. Optional
As an optional print, you can make TPU gaskets to improve the sealing of the parts.
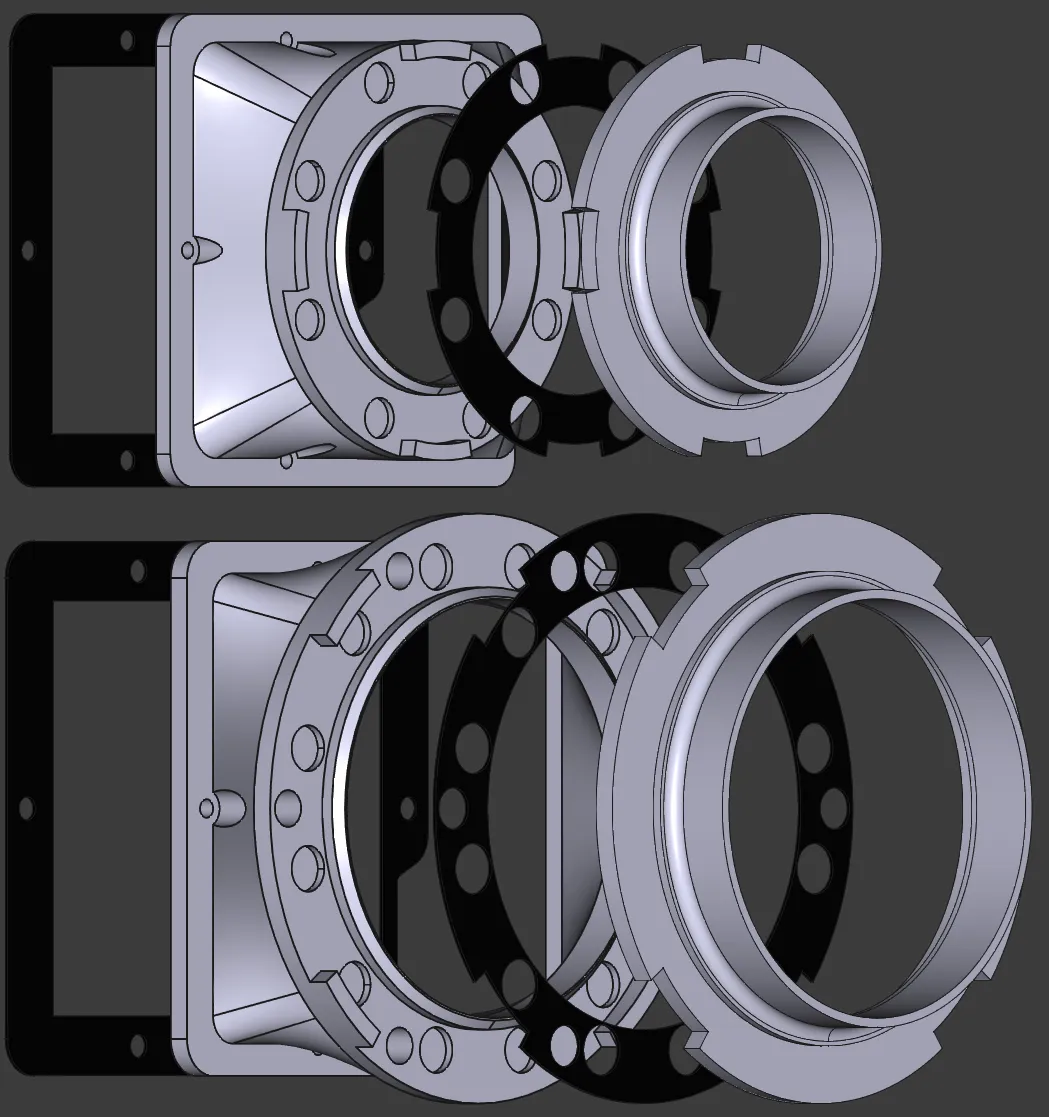
Attaching the gasket between the base and printer requires you to keep it aligned with the screw holes as you mount the base.
The adapter gasket can just sit on the base or can be lightly super glued in place if you are looking for a more permanent attachment method.
License



Comment & Rating (722)