


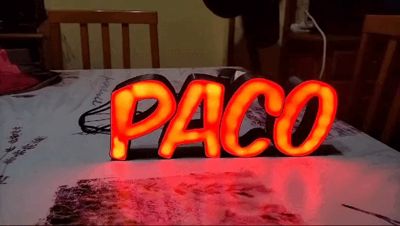
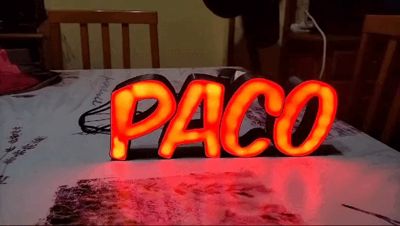
LIGHTBOX "PACO"
Print Profile(1)

Description
Boost Me (for free)
Your support enables me to continue uploading models, thank you!
SPANISH
Sign featuring the name Paco. Prepared for the insertion of an LED strip, although it can also be created without one.
It includes an 8mm diameter aperture for routing the LED strip cable or for integrating these CONNECTORS: https://amzn.eu/d/3Dg7BhN
3-meter RGB LED STRIP with REMOTE CONTROL and POWER SUPPLY: https://amzn.eu/d/f4CBzgG
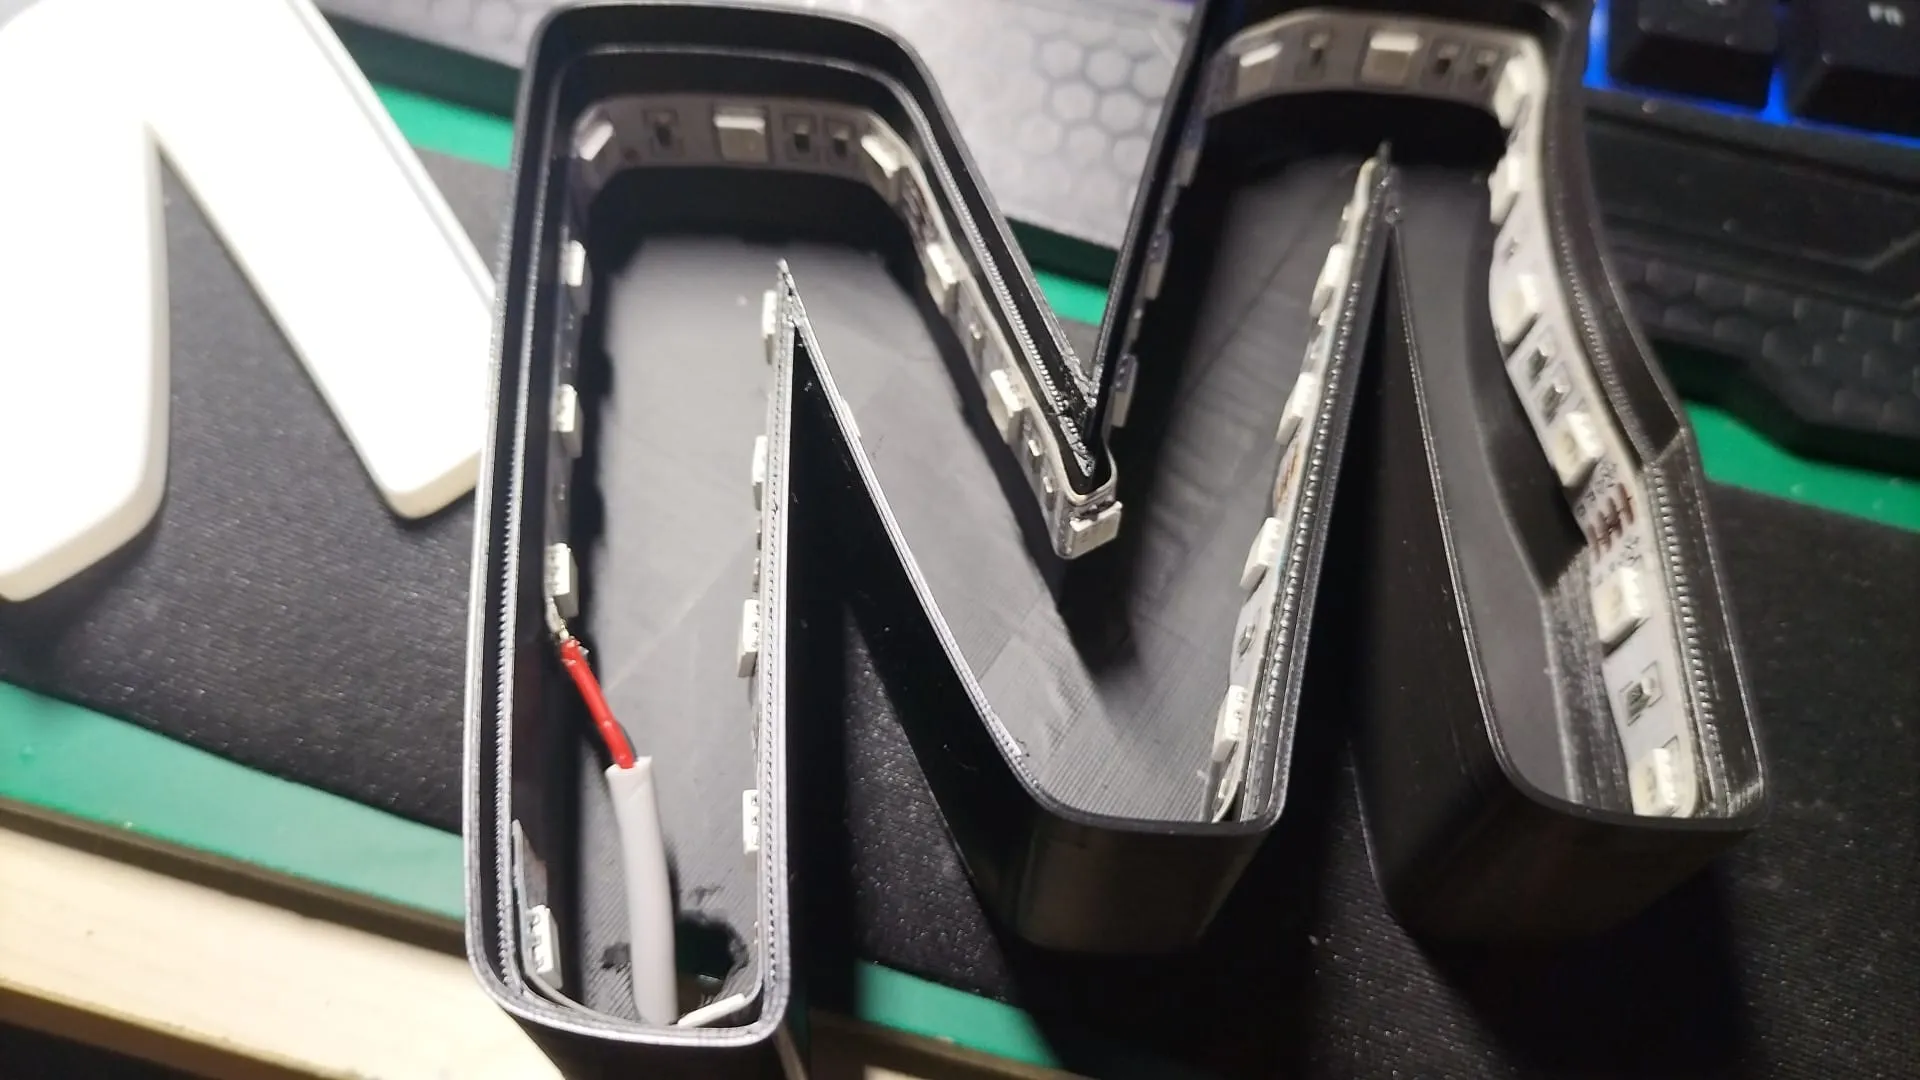
Adhere the letter casings together and position the LED strip along the letter perimeters. The design incorporates openings to facilitate strip threading throughout all letters. Once fully enveloped, trim any excess strip using the designated cut mark. Sever the power connector from the strip controller and solder the red (+) and black (−) wires to the connector.
Boost Me (for free)
Your encouragement helps me to keep uploading models, thank you!!!
ENGLISH
Sign with Paco's name. Ready to insert an LED strip, although it can also be made without it. It comes with a hole to remove the 8mm diameter LED strip cable or to insert these CONNECTORS: https://amzn.eu/d/3Dg7BhN
RGB LED STRIP WITH REMOTE CONTROL AND POWER SUPPLY 3meters: https://amzn.eu/d/f4CBzgG
Glue the letter boxes together and place the LED strip around the letter walls. The design has openings to pass the strip through all the letters. Once covered, trim the excess strip along the indicated cut mark. Cut the power connector from the strip controller and solder the red + and black - wires to the connector.
License



Comment & Rating (0)