
Manual Fan V2.0
Print Profile(8)



Description
On May 8, 2025, I uploaded the latest configuration with a reduced gear ratio. It now operates without lubricant, boasts enhanced component durability, and exhibits reduced noise!! If previous attempts were unsuccessful, please print the latest configuration! If you have already printed other versions, printing only the two rotating gears is sufficient for operation. Furthermore, I have included tolerance-compensating gears on the second plate; if freewheeling occurs, print from the second plate. The assembly process remains unchanged!

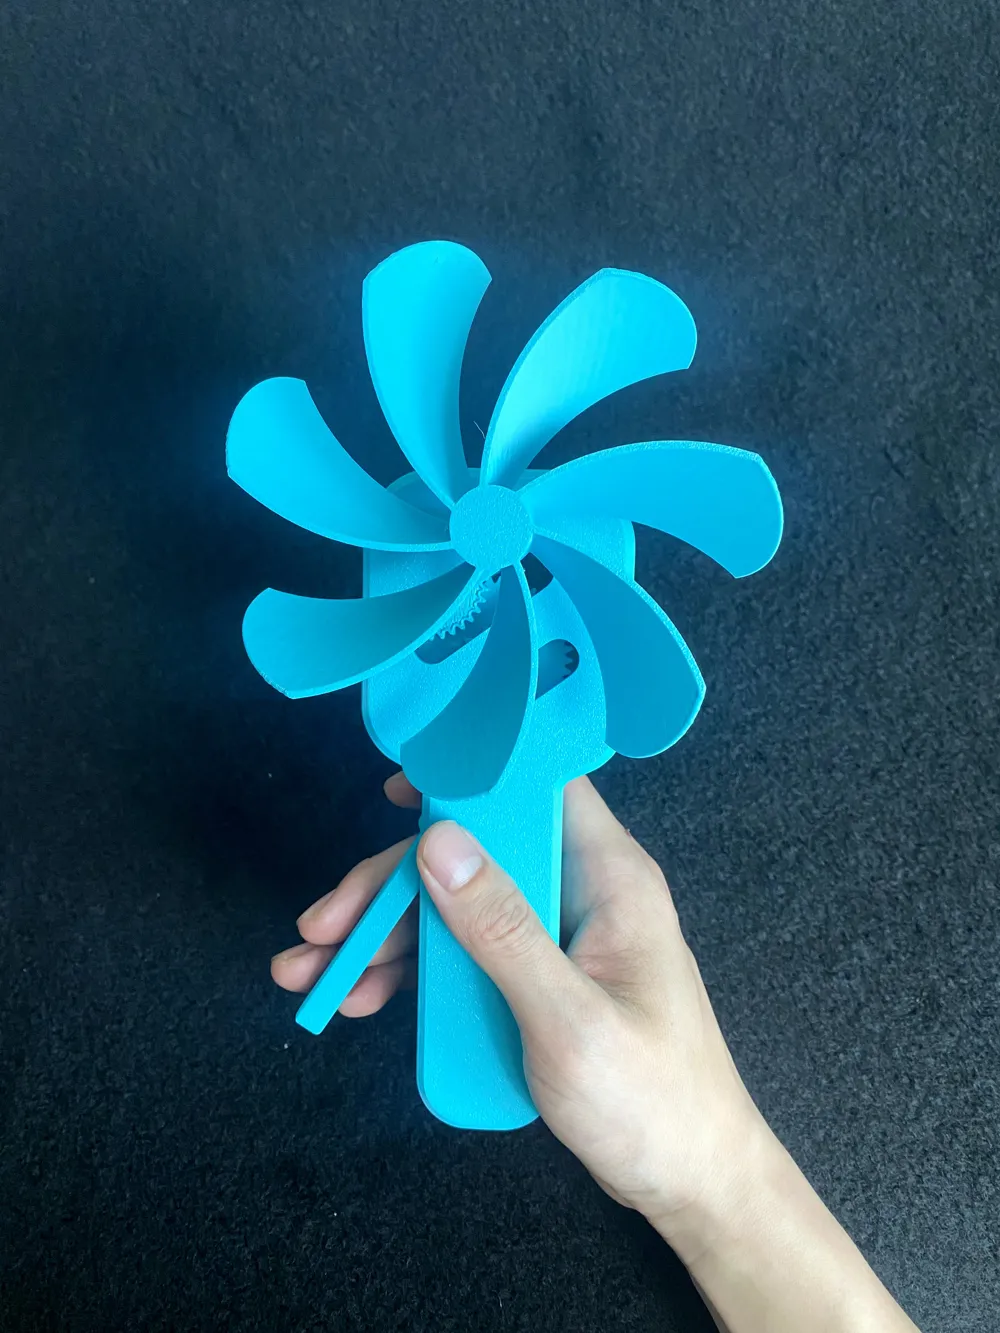
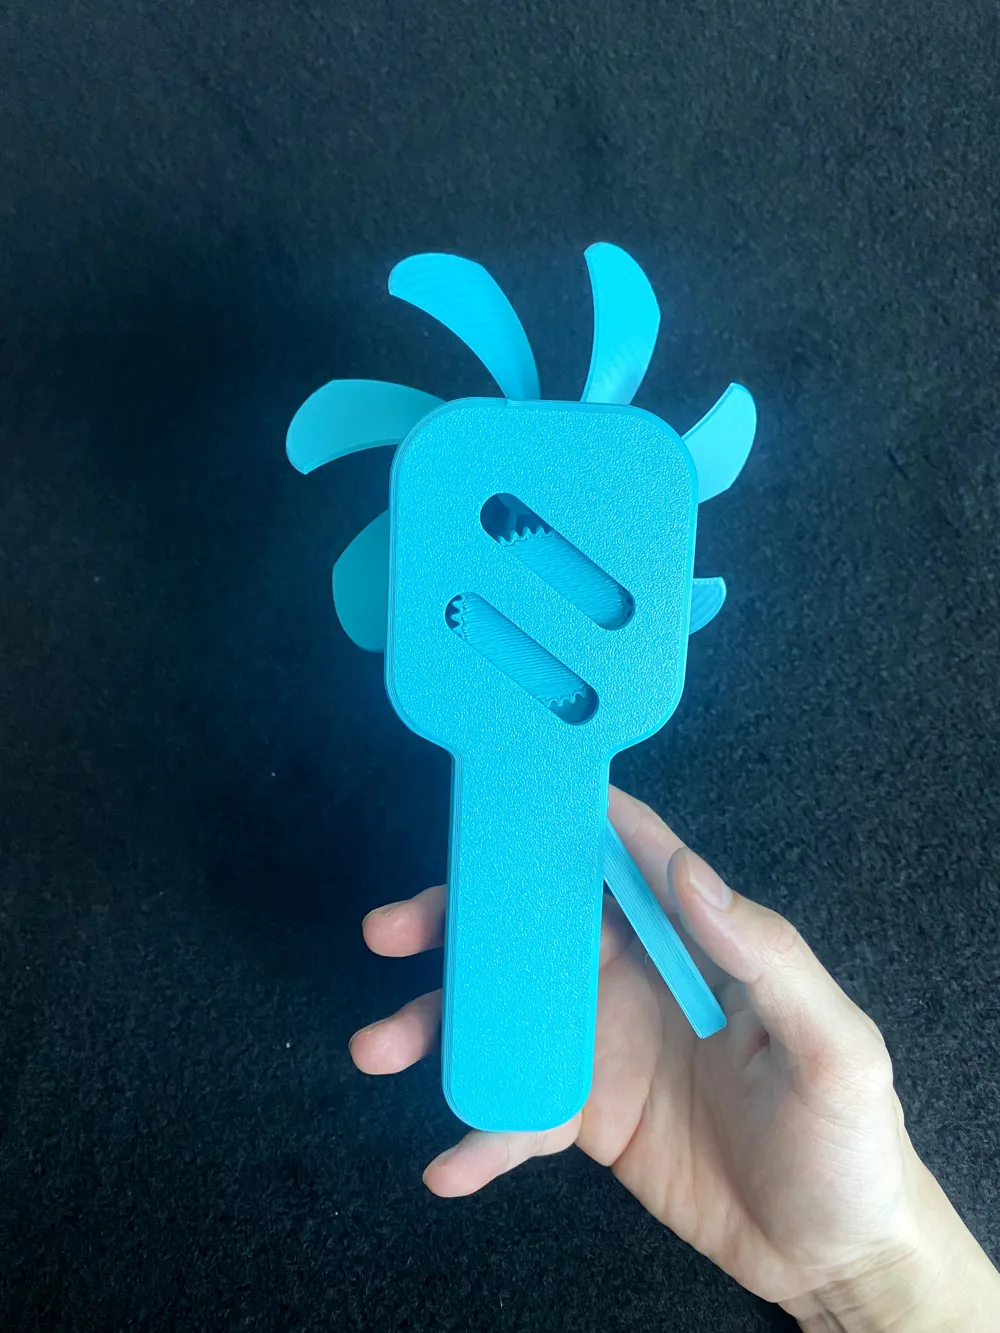
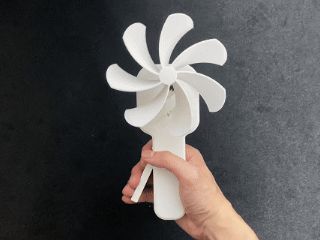
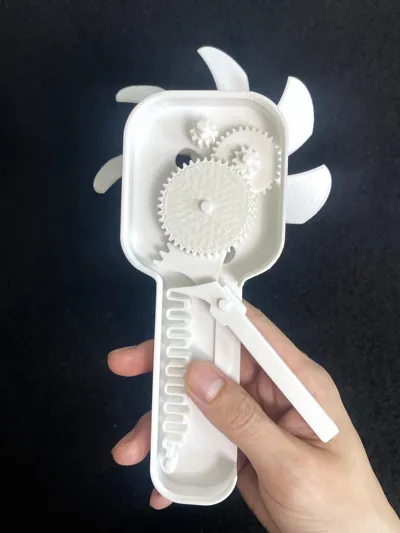
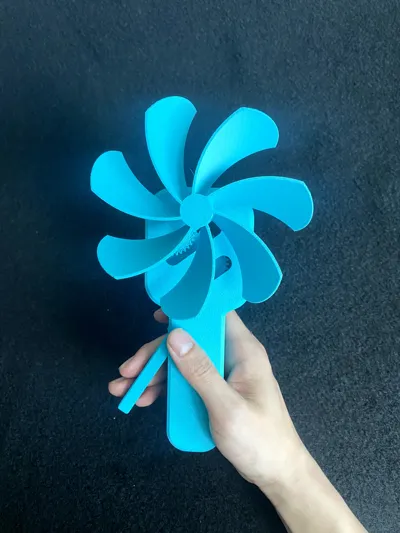
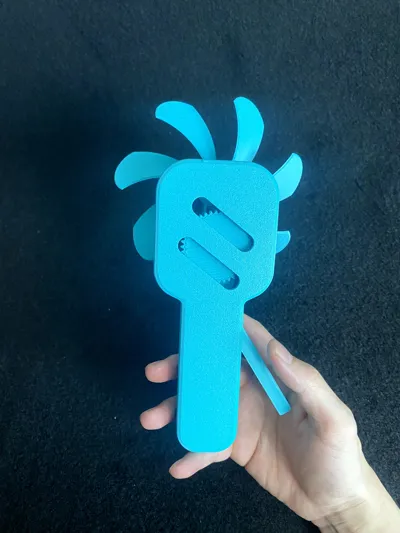
This fan significantly improves upon many issues present in the previous 1.0 version, dramatically increasing the assembly success rate, and requiring only lubricant and pliers for assembly! PETG printing is recommended
Improvements over the 1.0 version:
1, Now supports printing with an A1 mini.
2, Gears no longer require adhesive, and their dimensions have been optimized for smoother operation and reduced jamming.
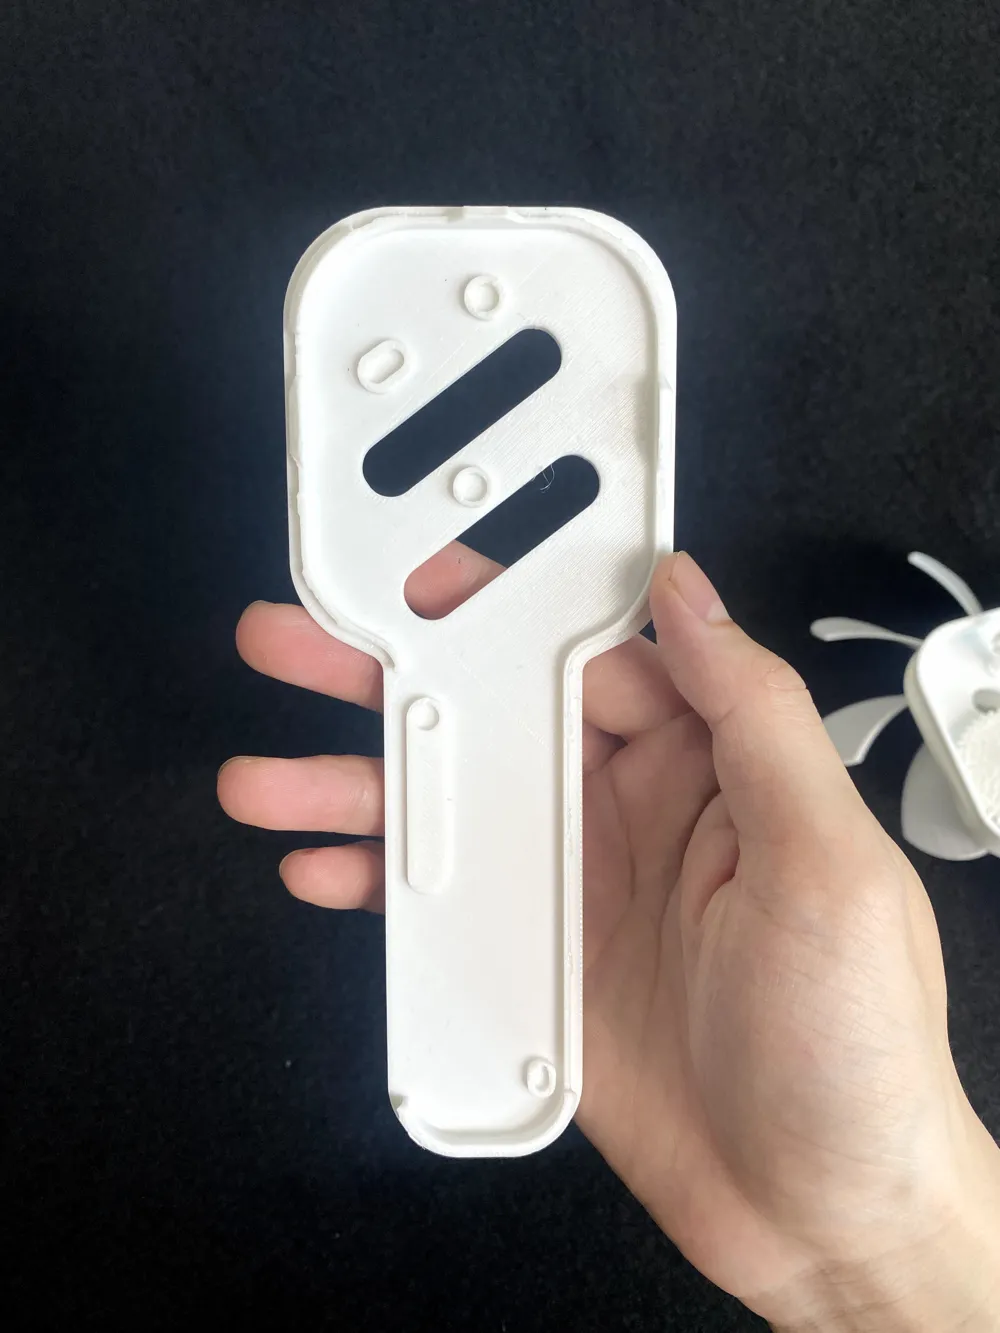
3, Reinforced casing latches and increased thickness prevent cracking and breakage, though more force is now required for installation.
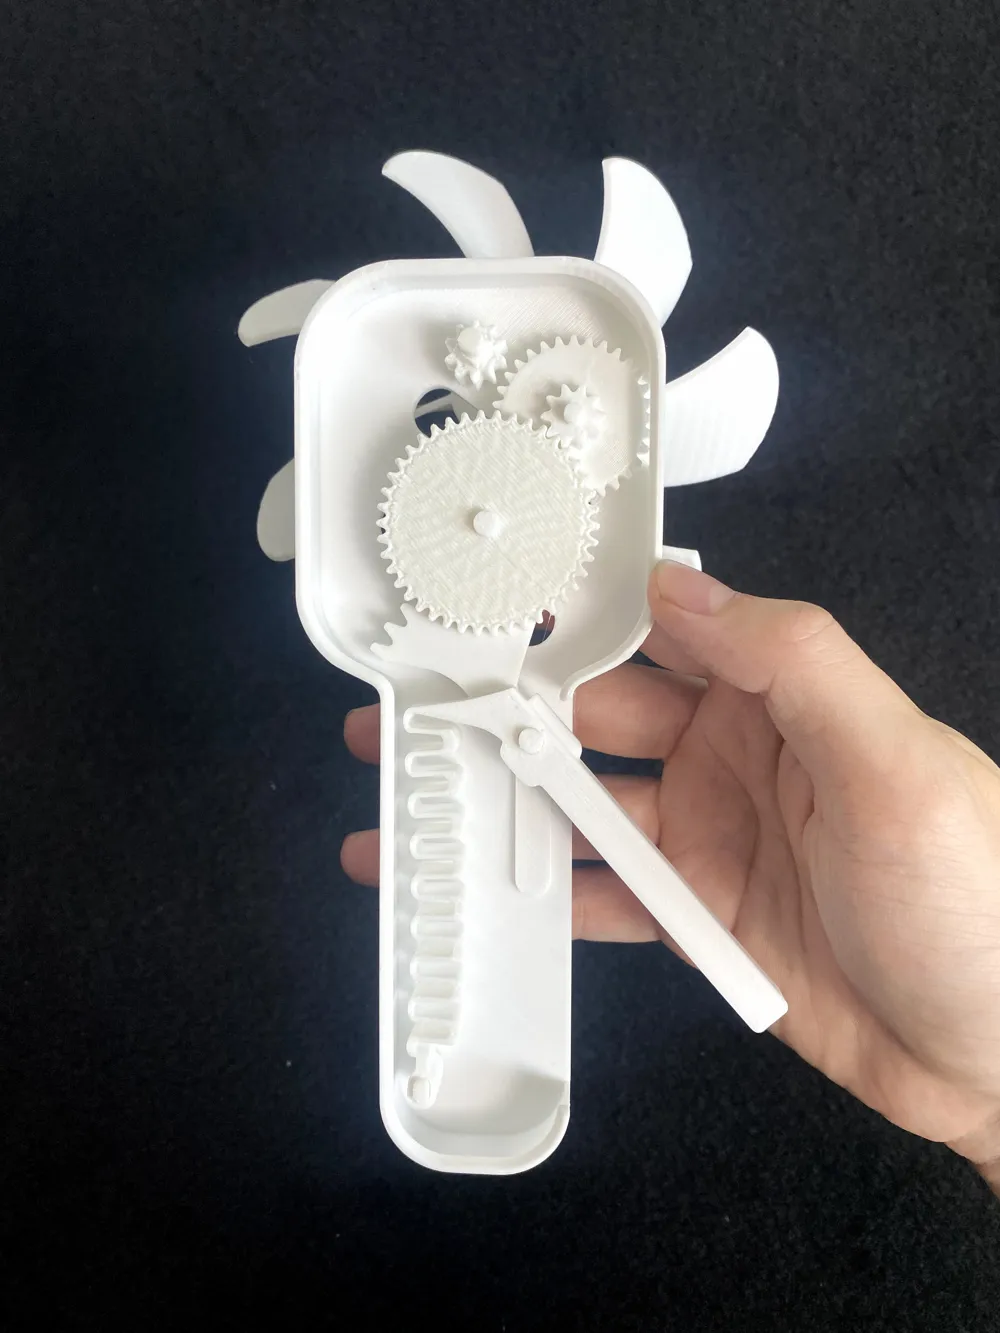
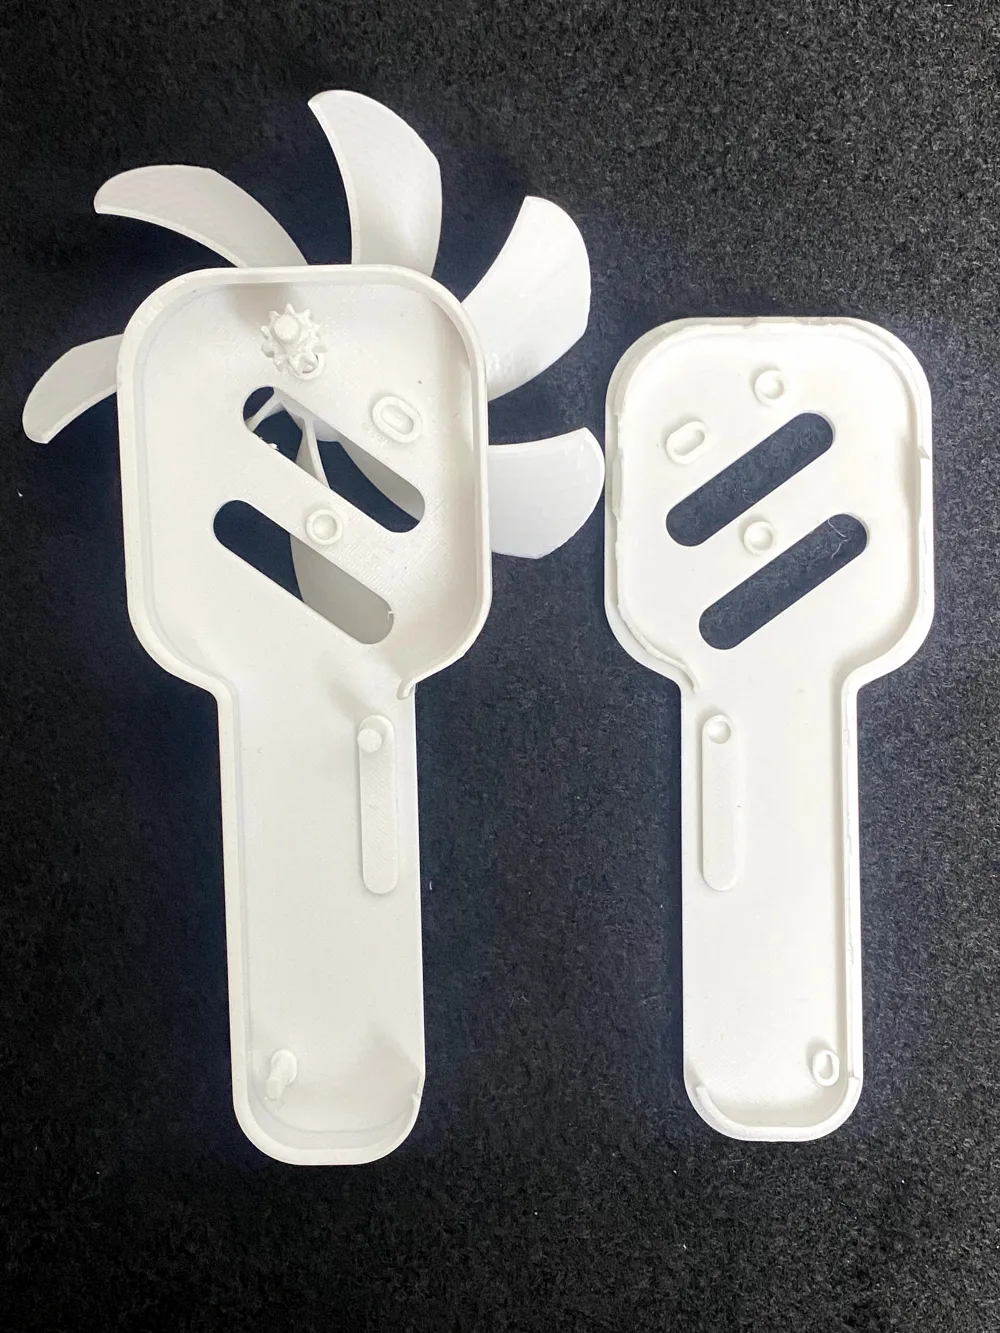
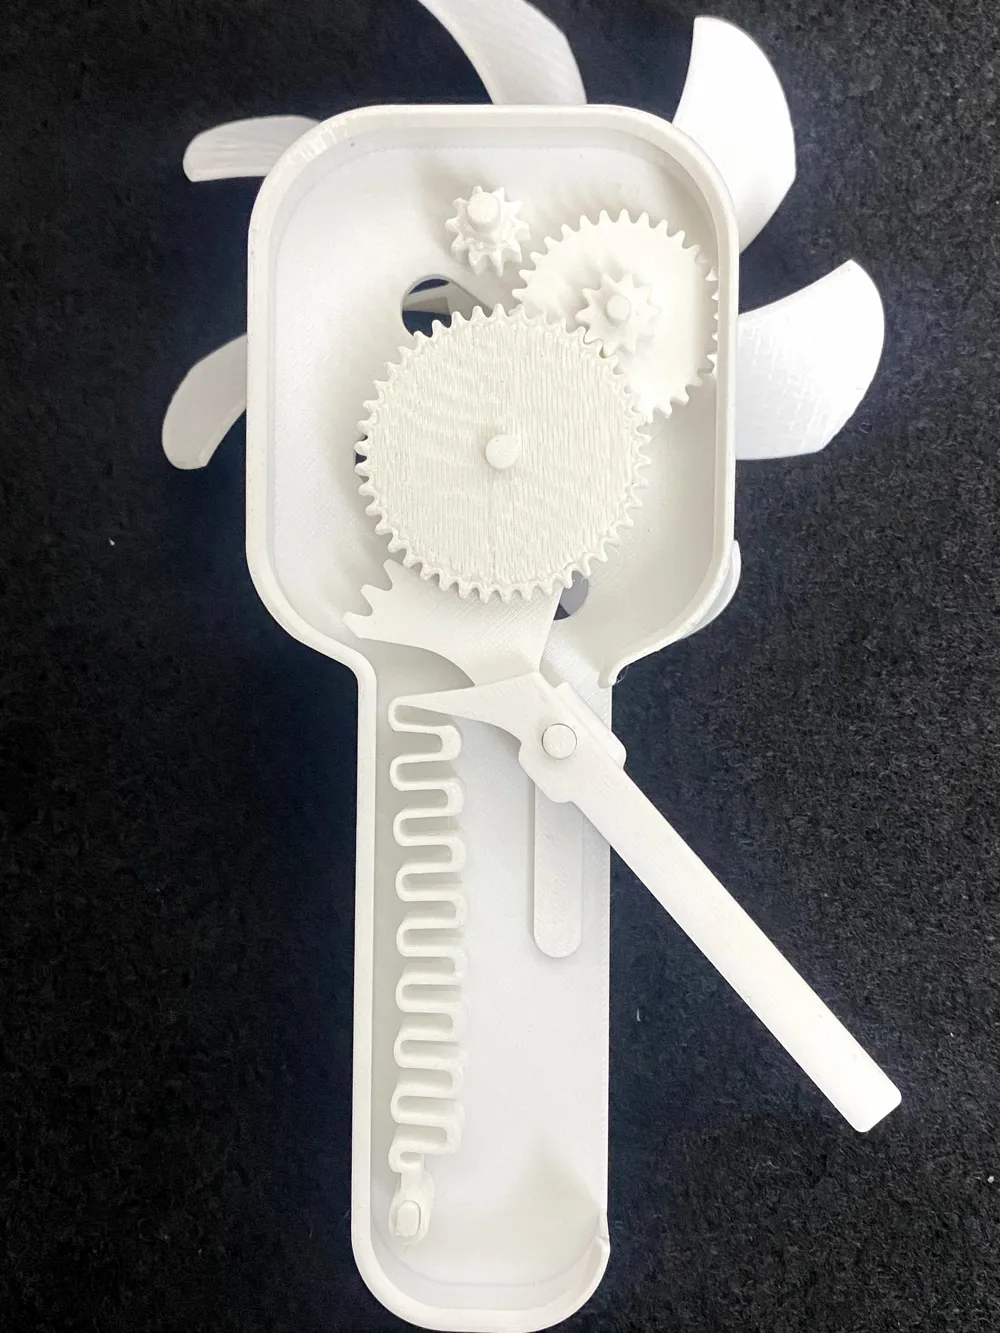
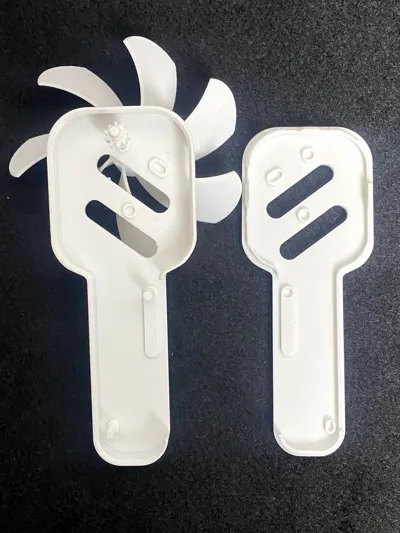
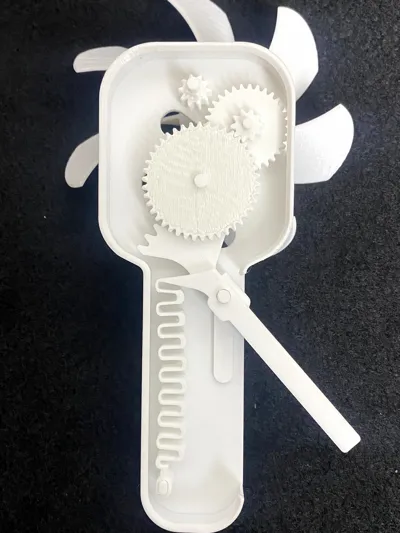
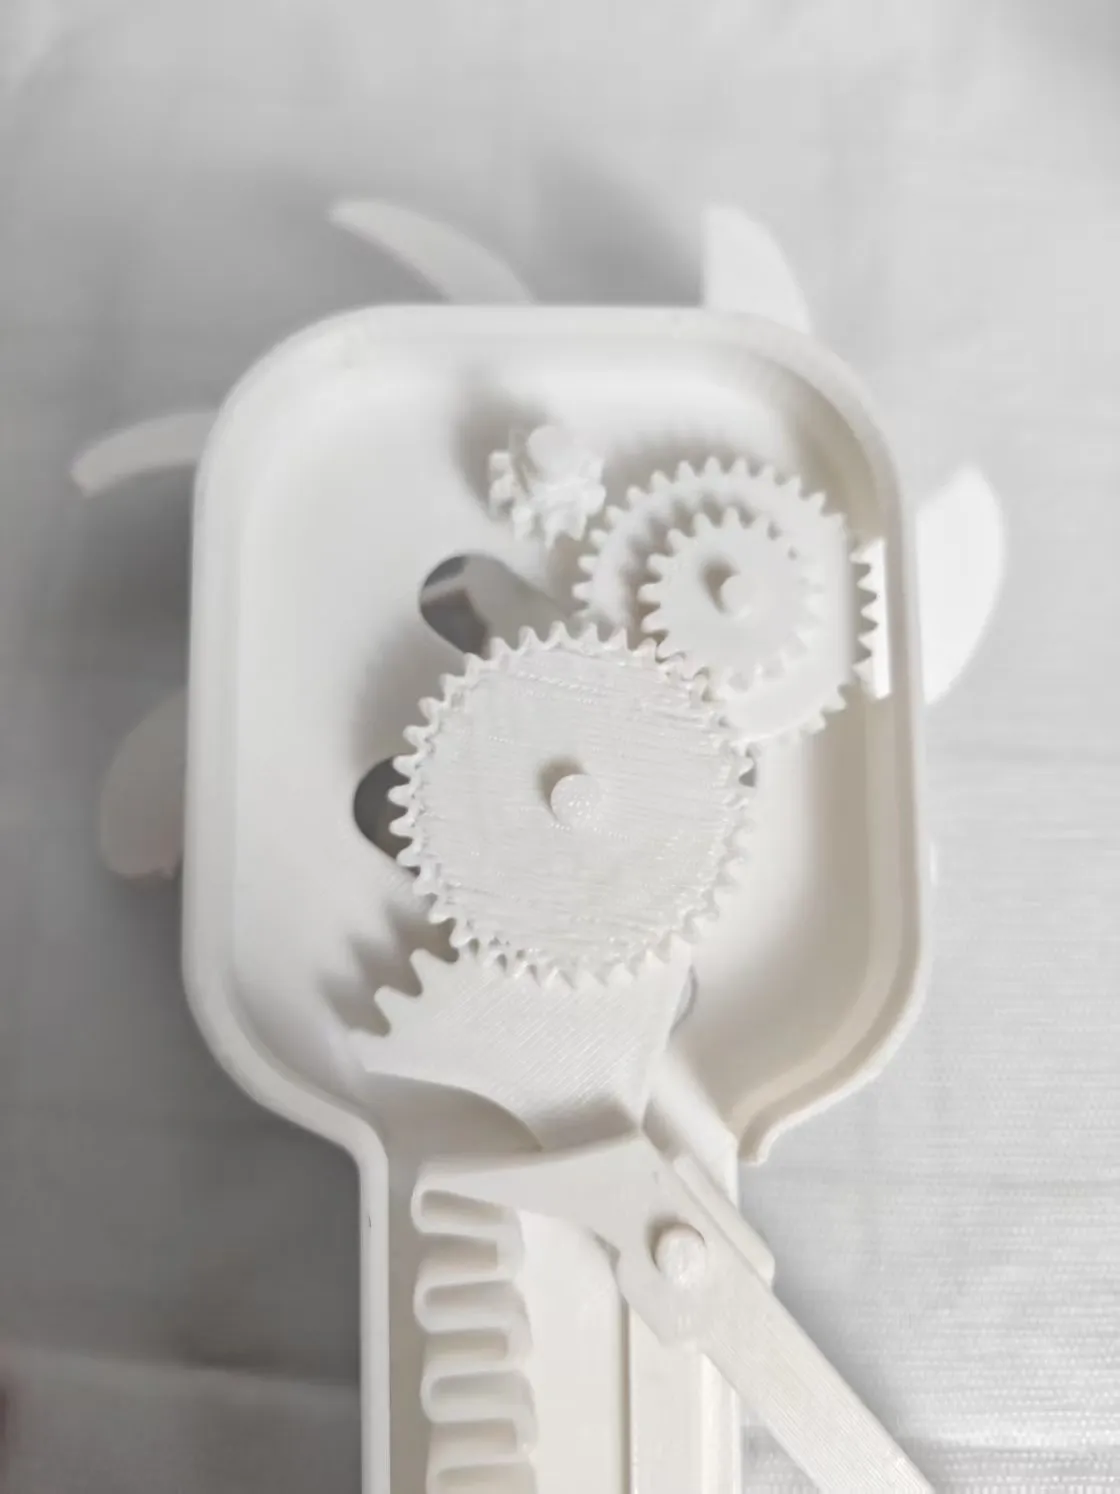
4, Notches added to the casing allow observation of gear operation.
5, Reduced casing size enhances airflow.
6, Extended spring length, printed with 100% infill.
7, Carefully review the assembly instructions to significantly improve the probability of successful fan operation!
Assembly Instructions:
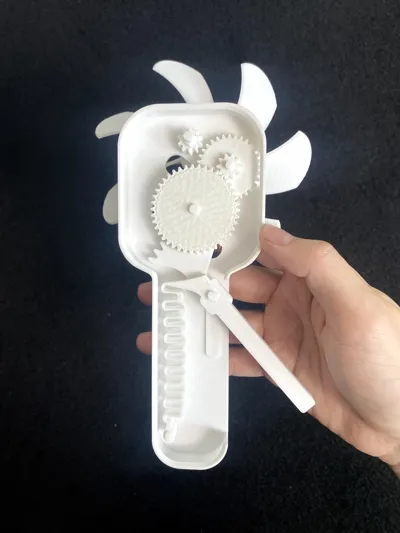
1, Carefully remove support structures from the gears using pliers.
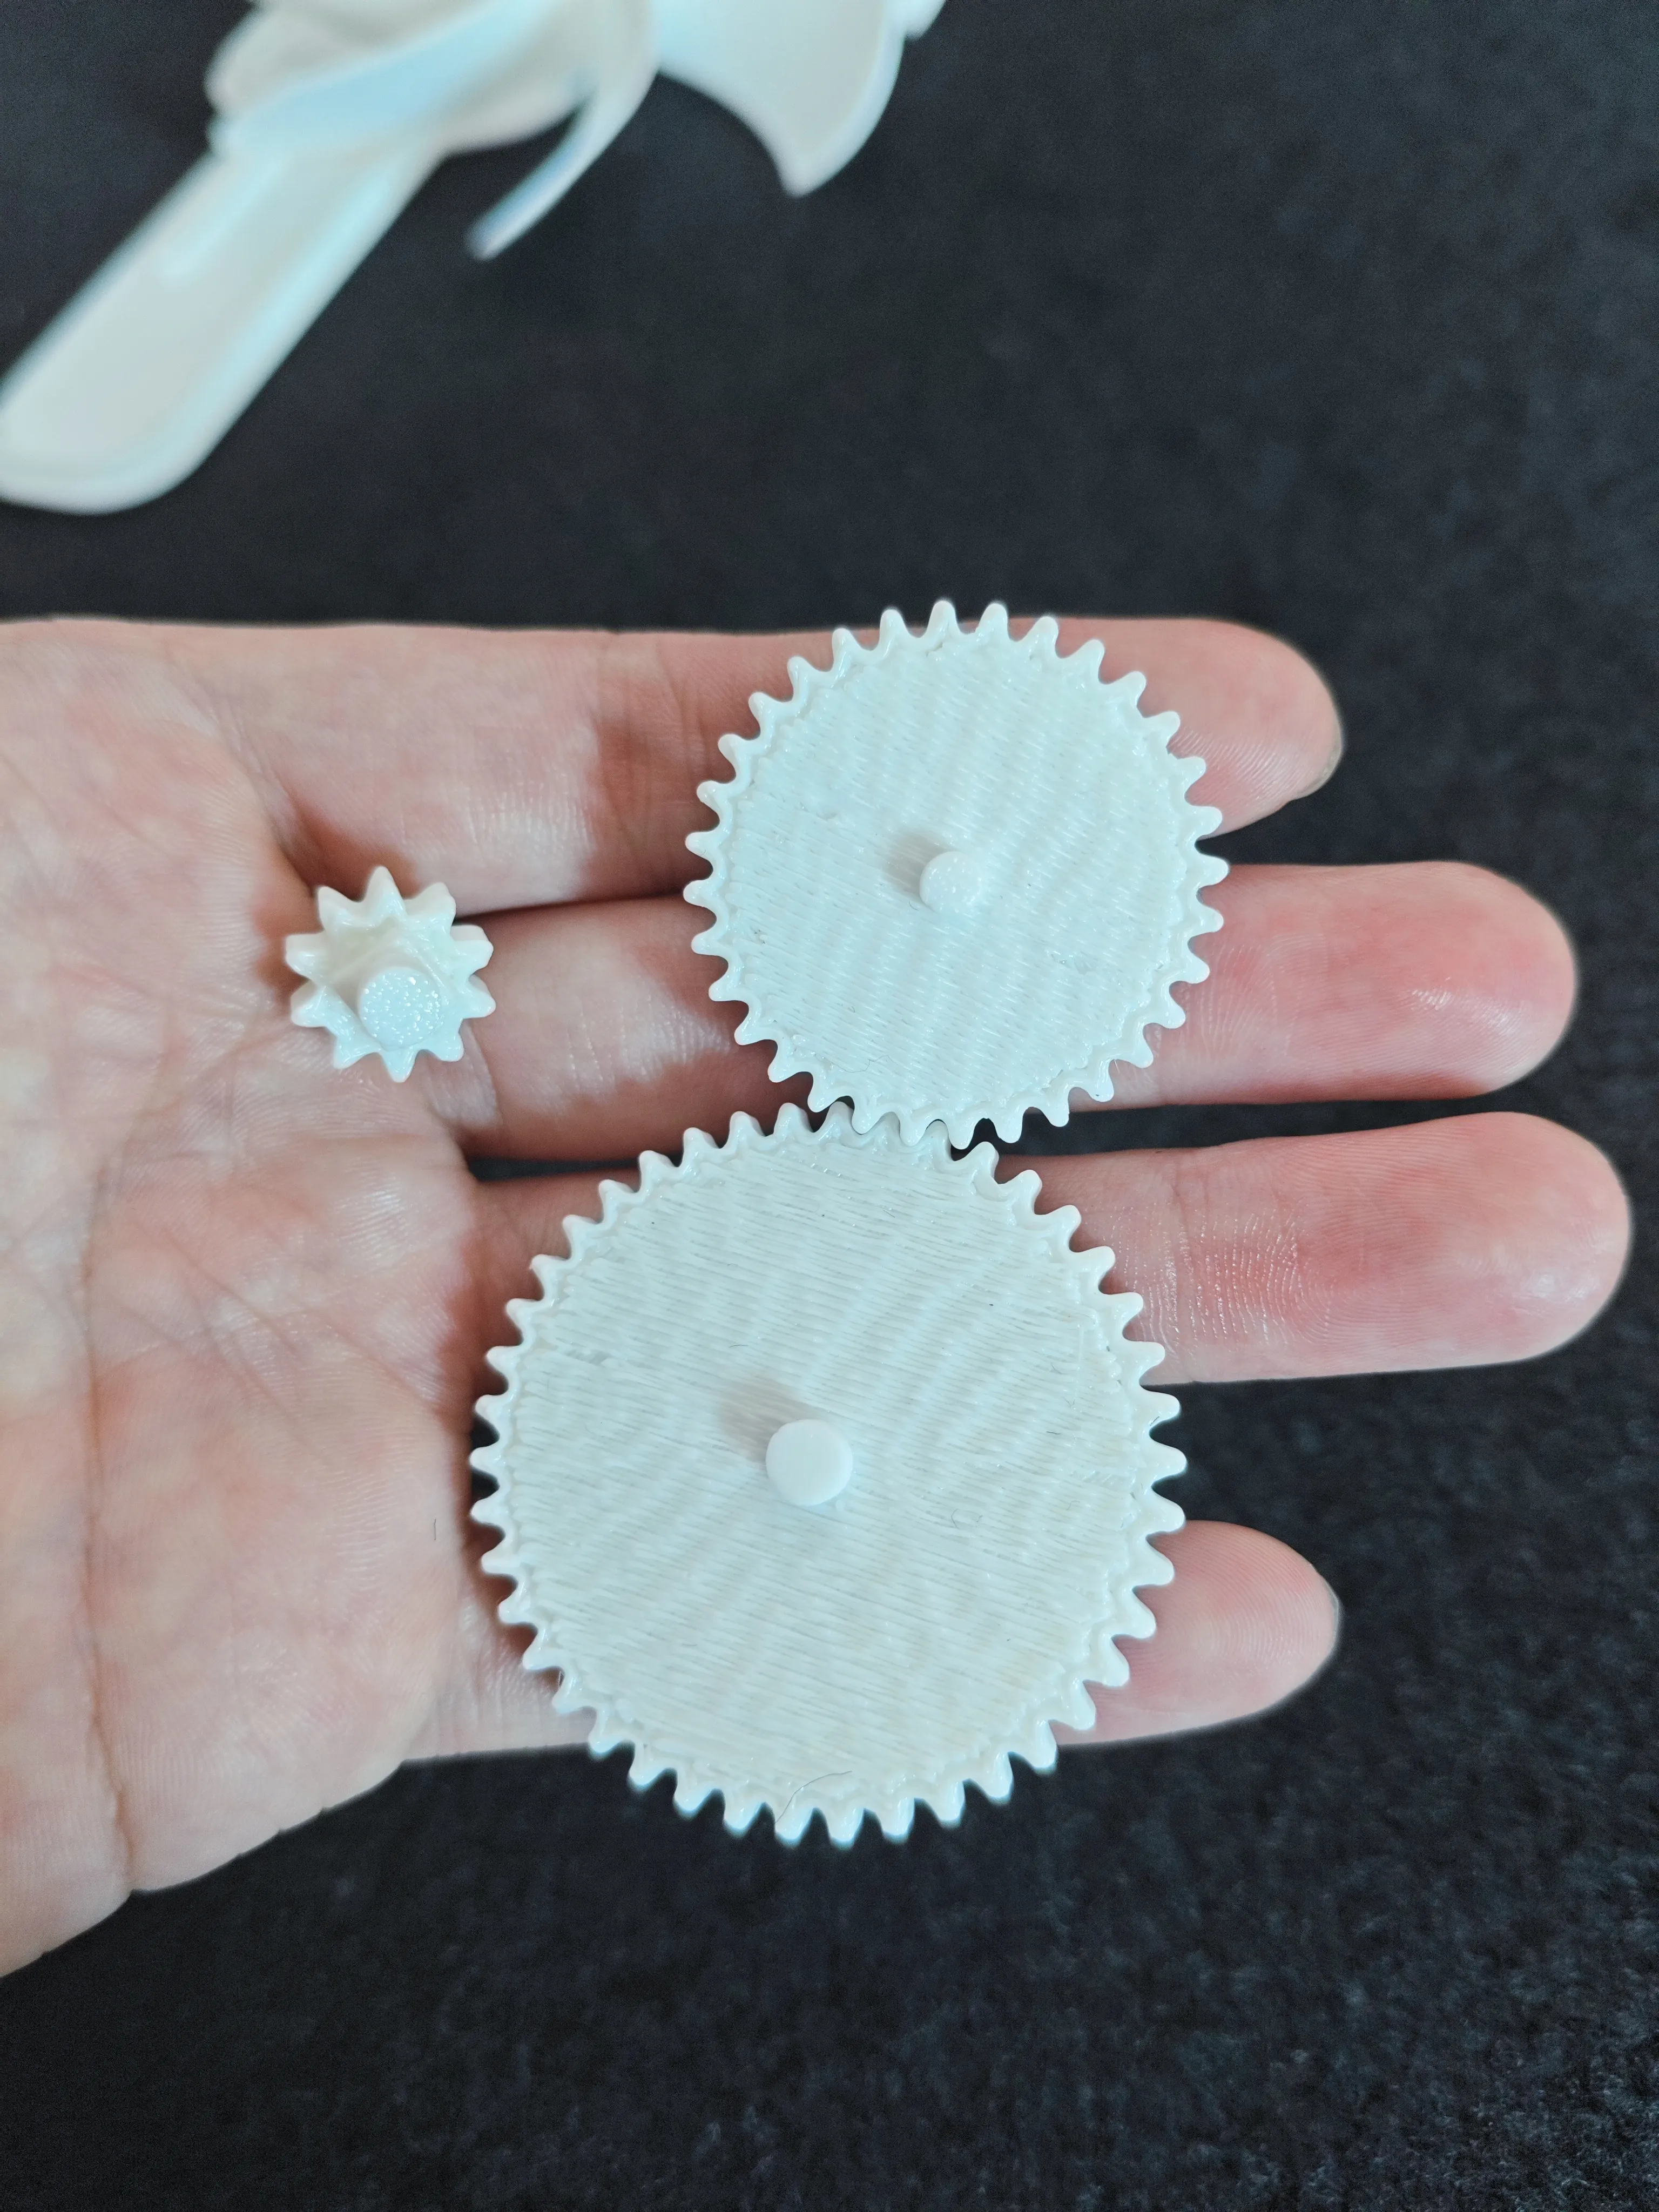
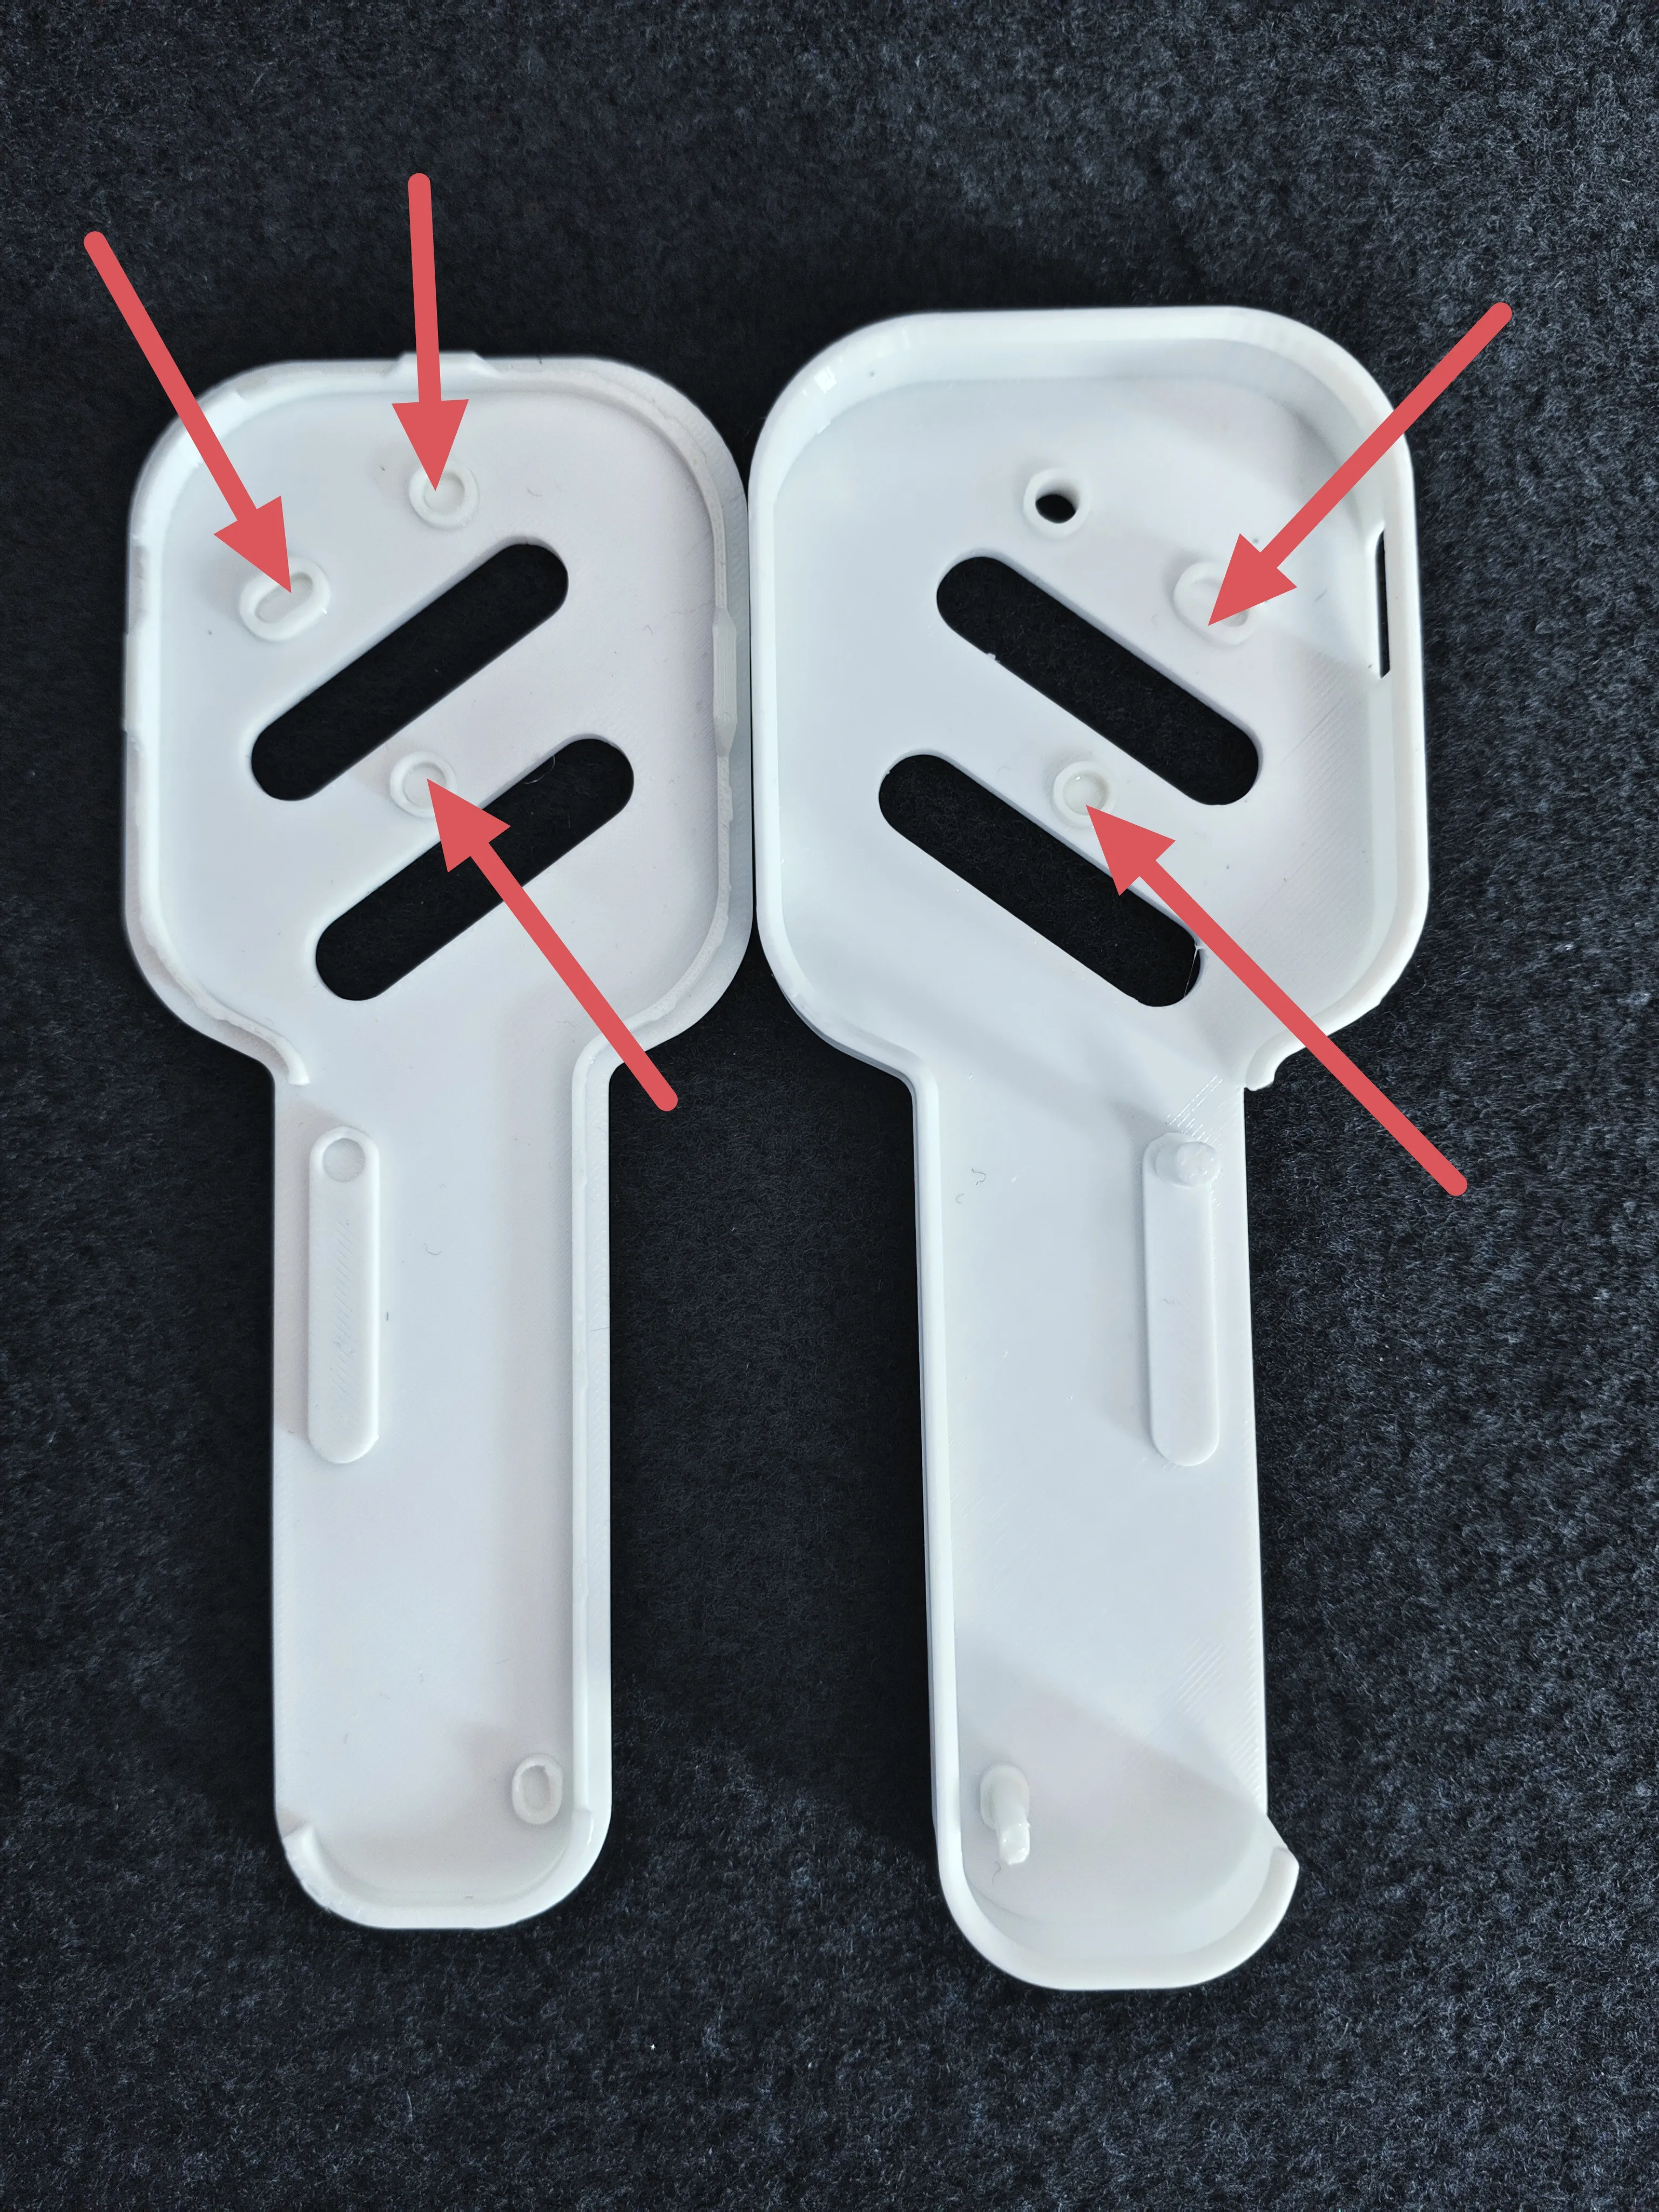
2, Thoroughly clear filament stringing from the holes, ensuring no residue remains
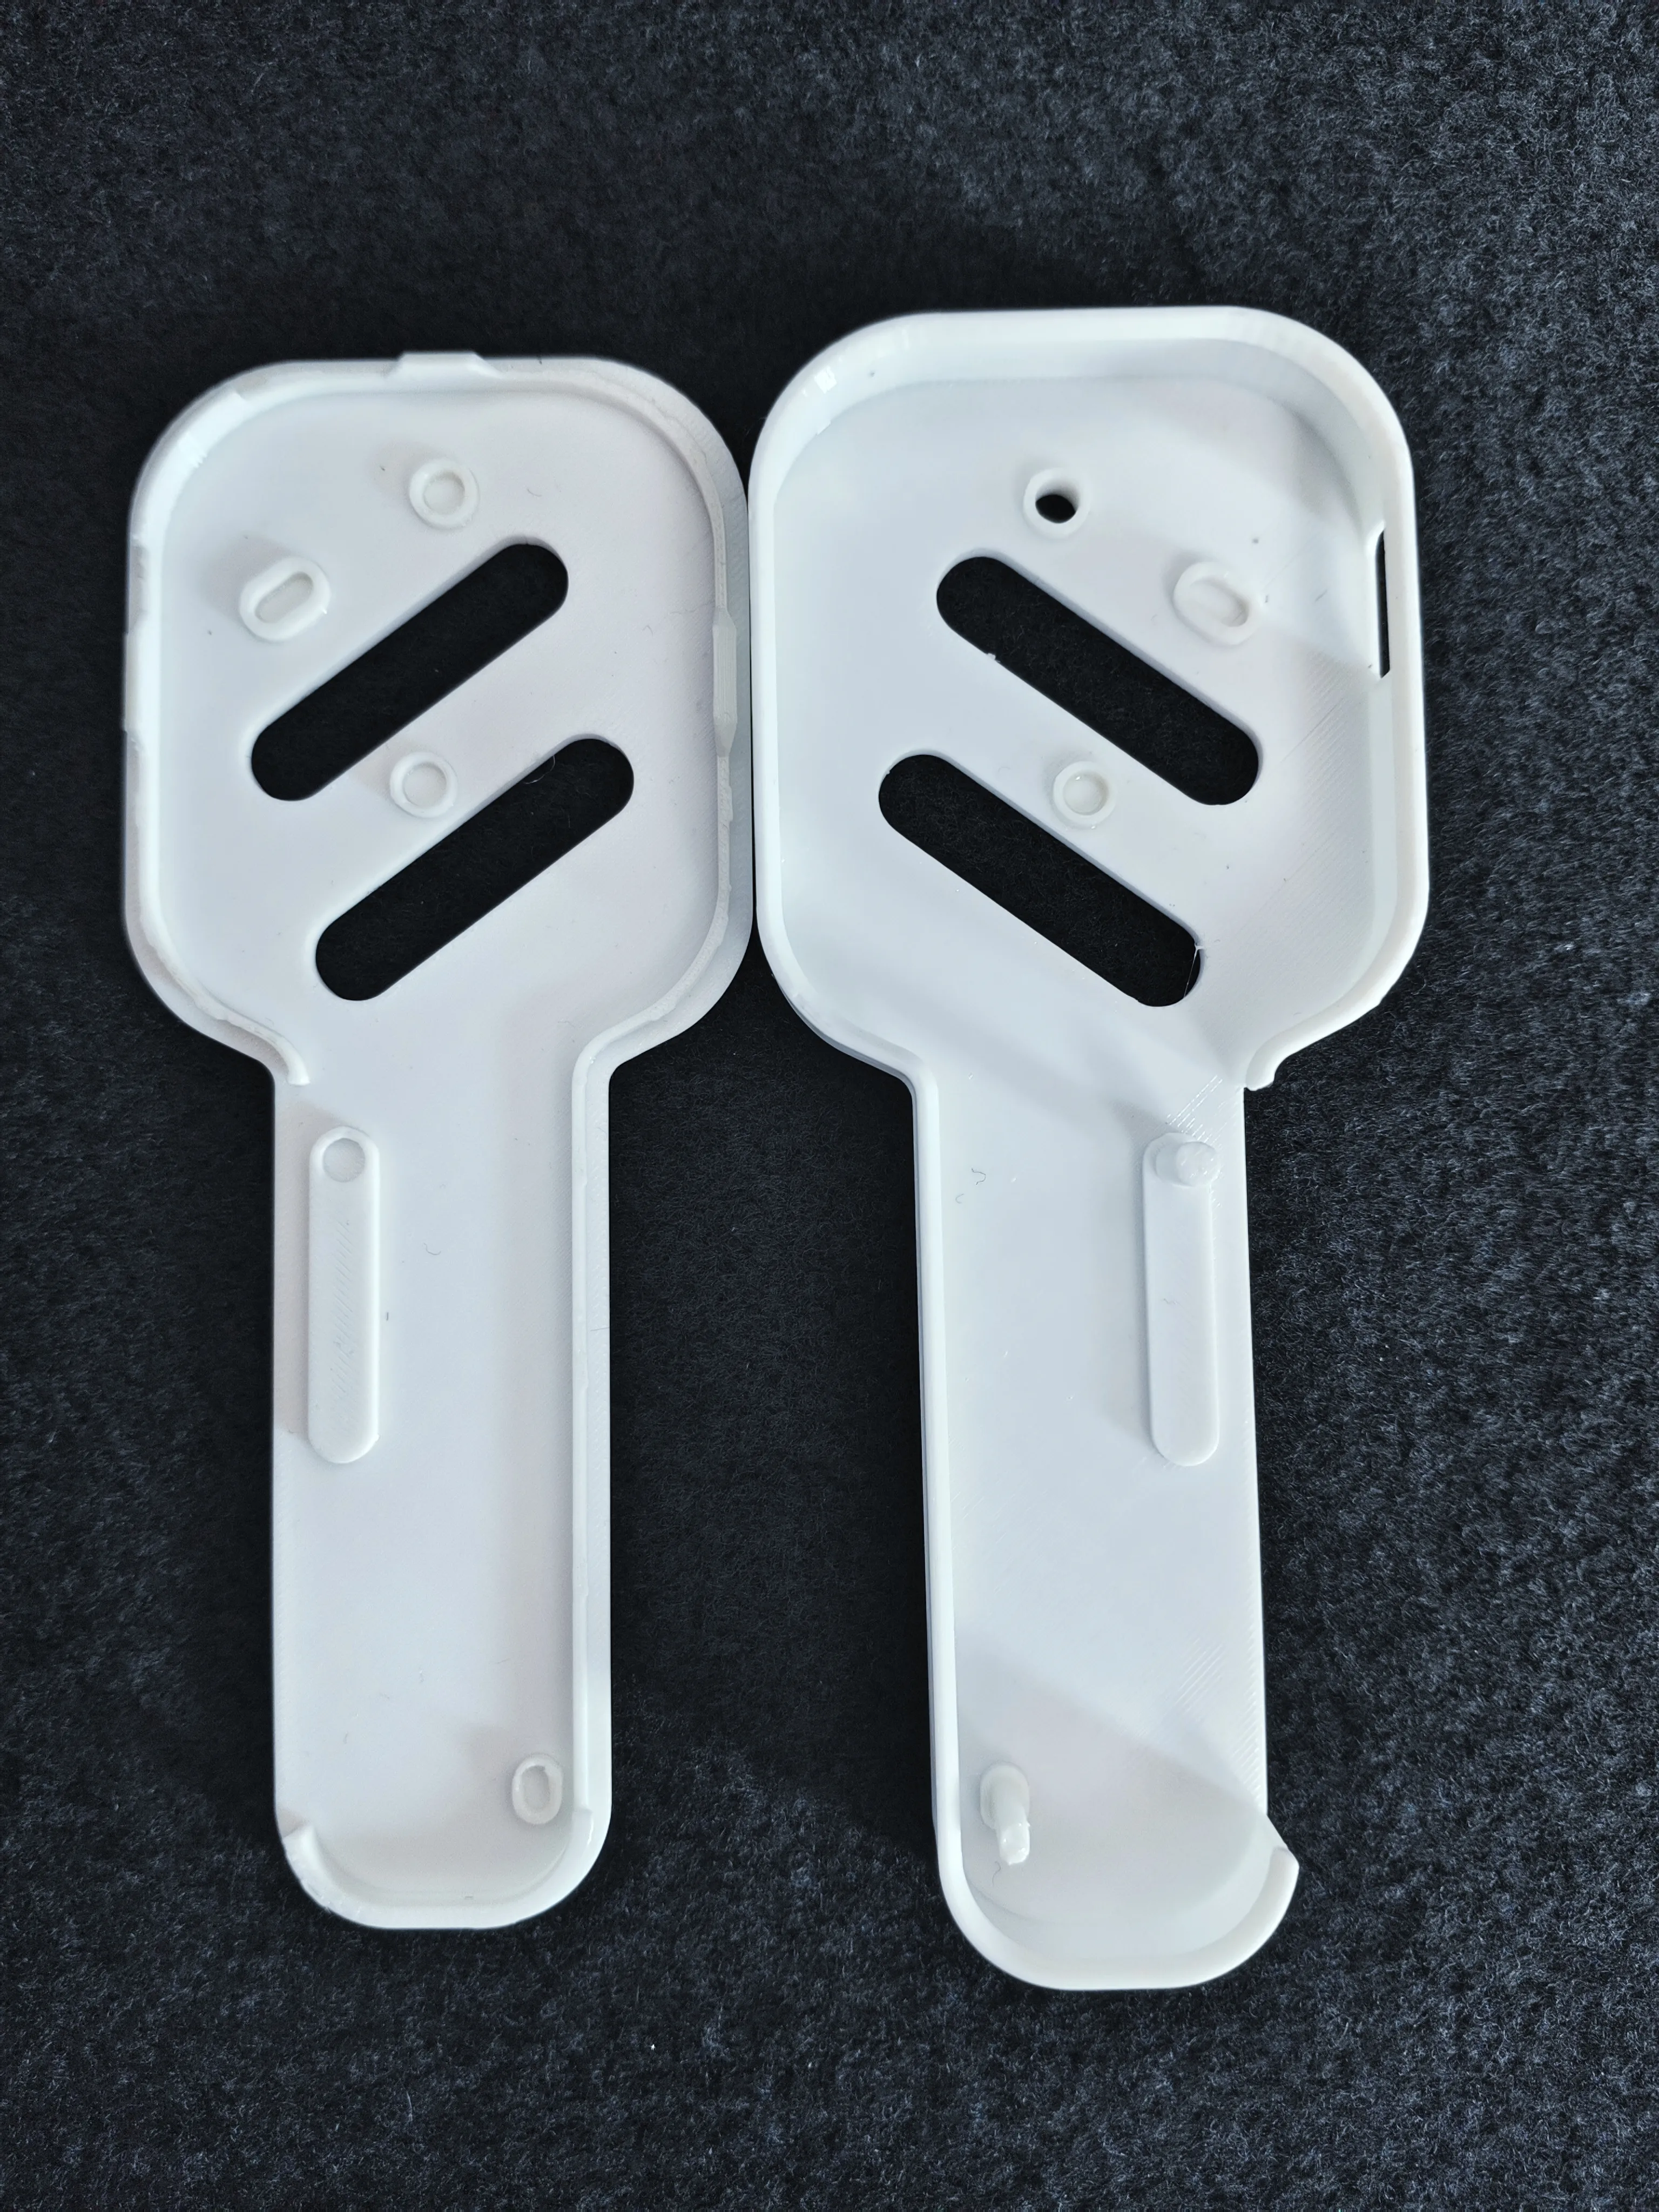
3, Apply lubricant to these locations (a crucial step; otherwise, rotation will be impossible)!
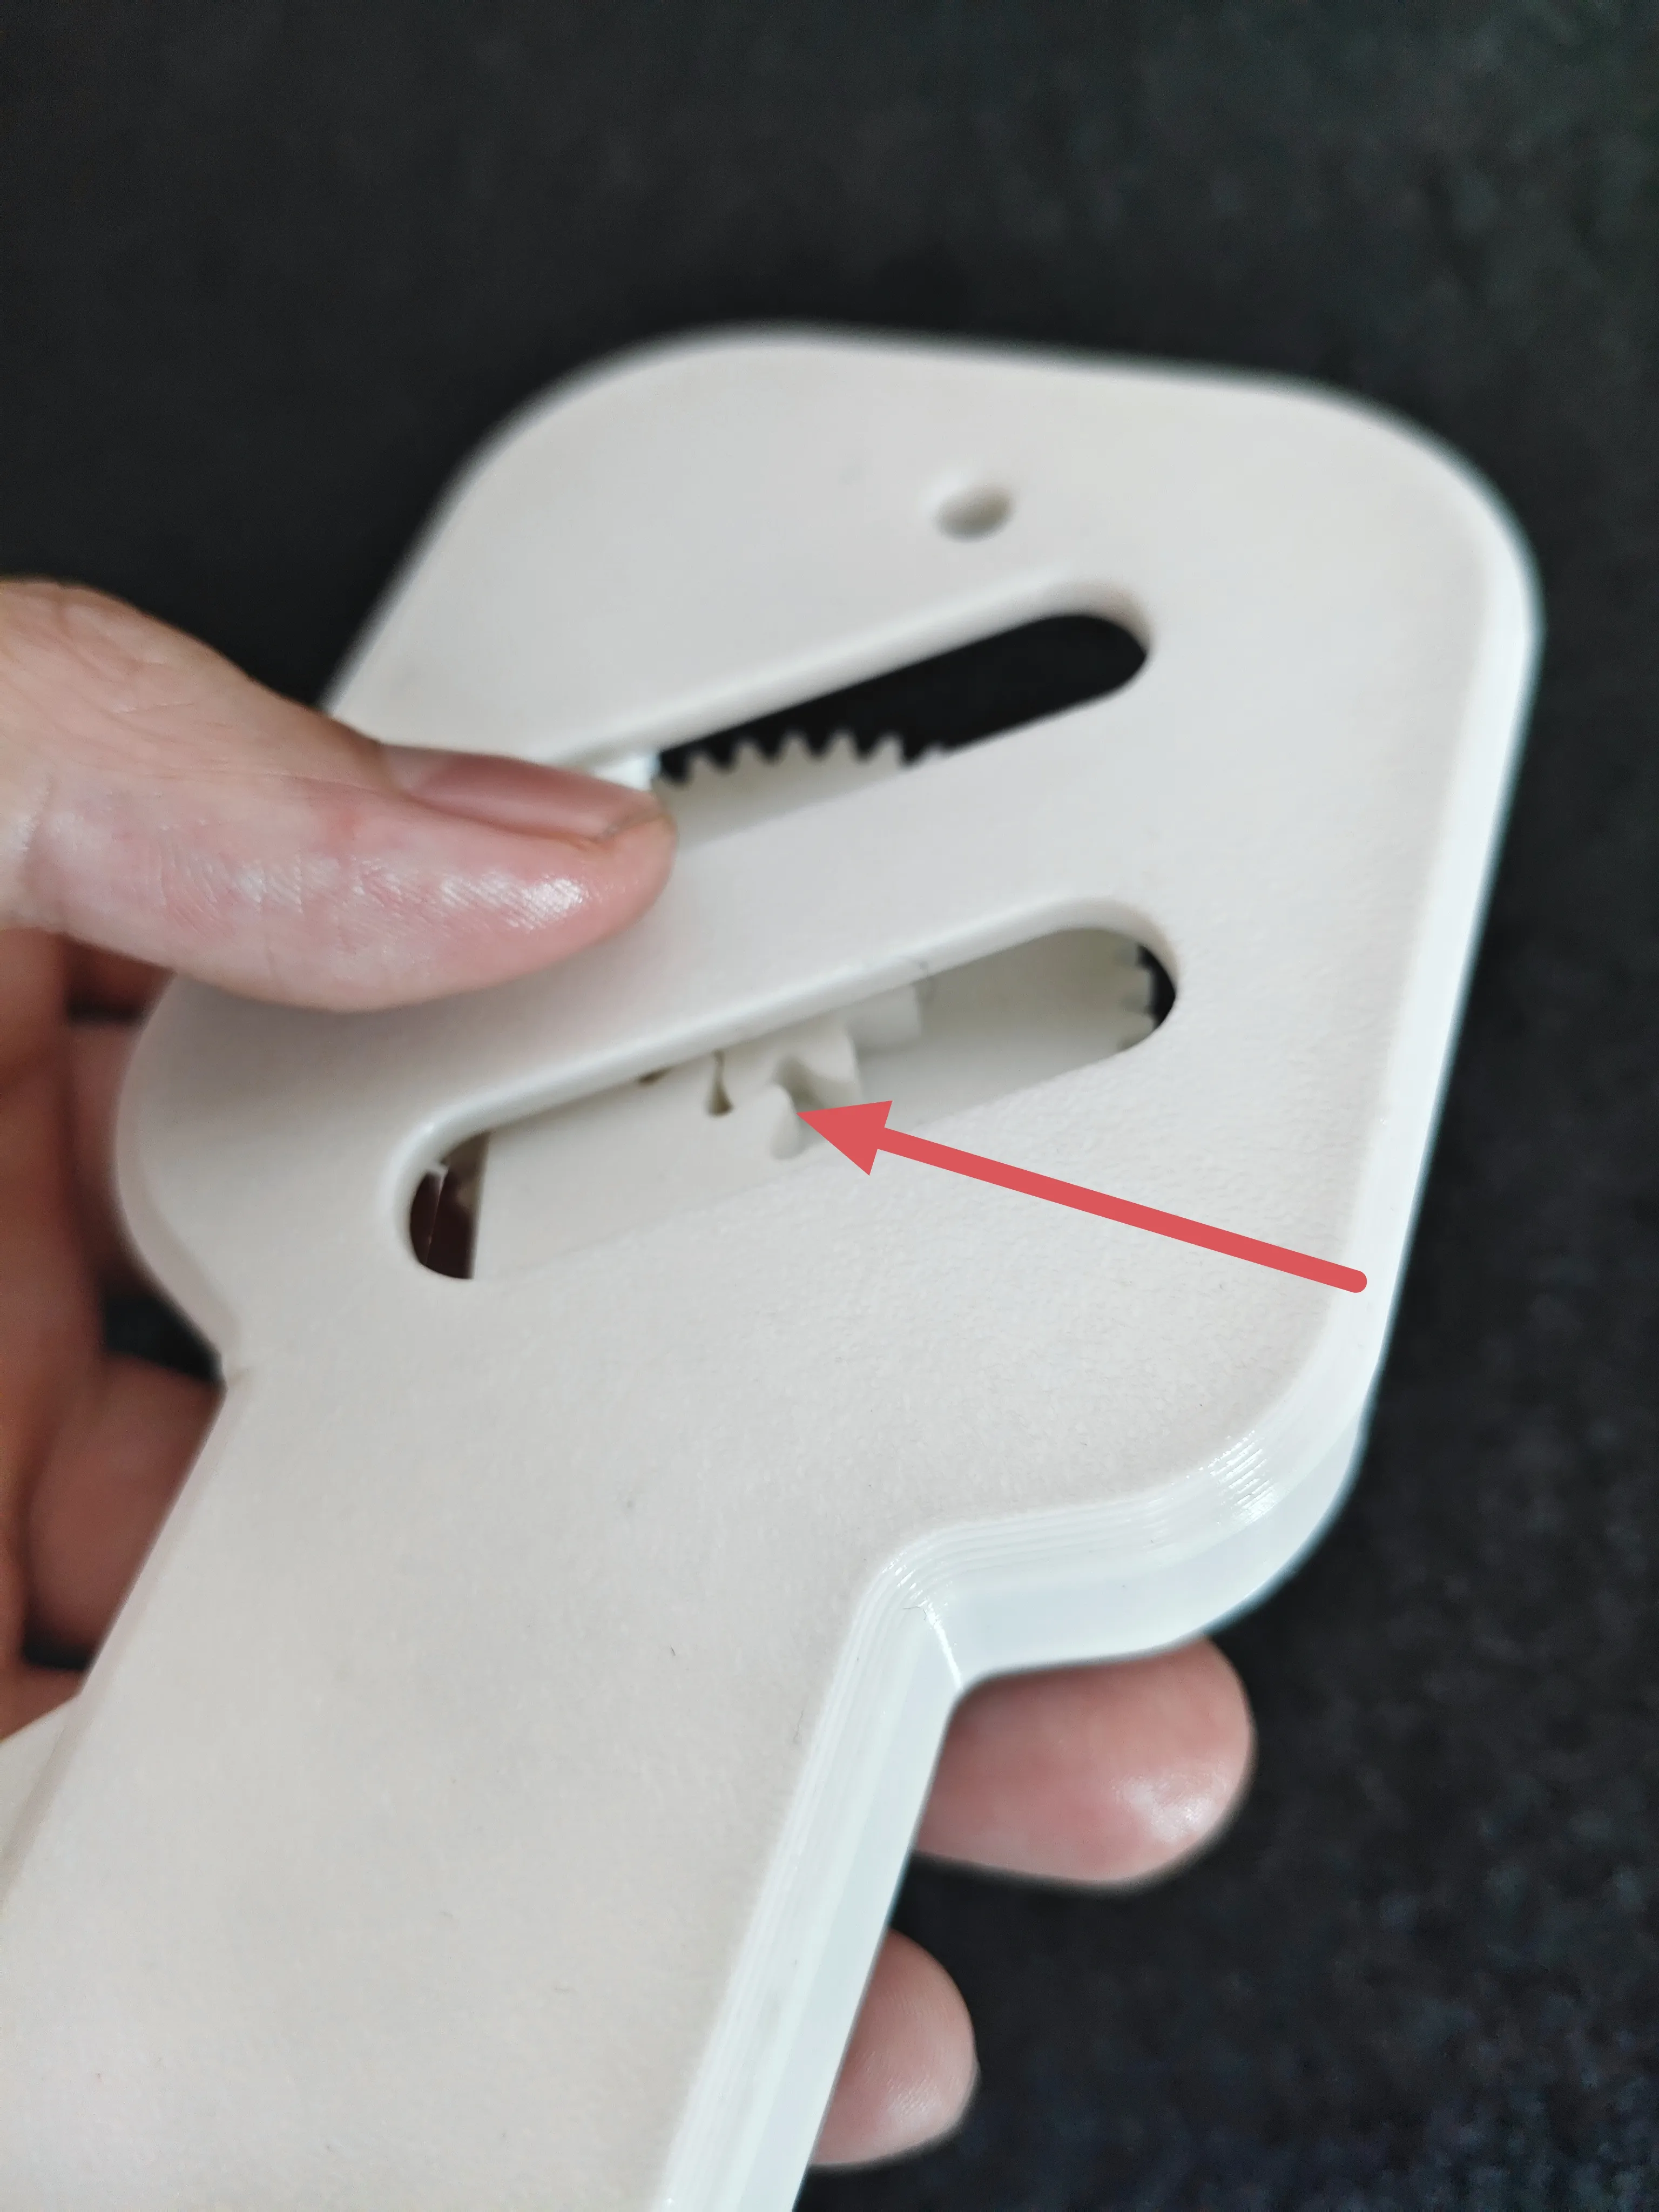
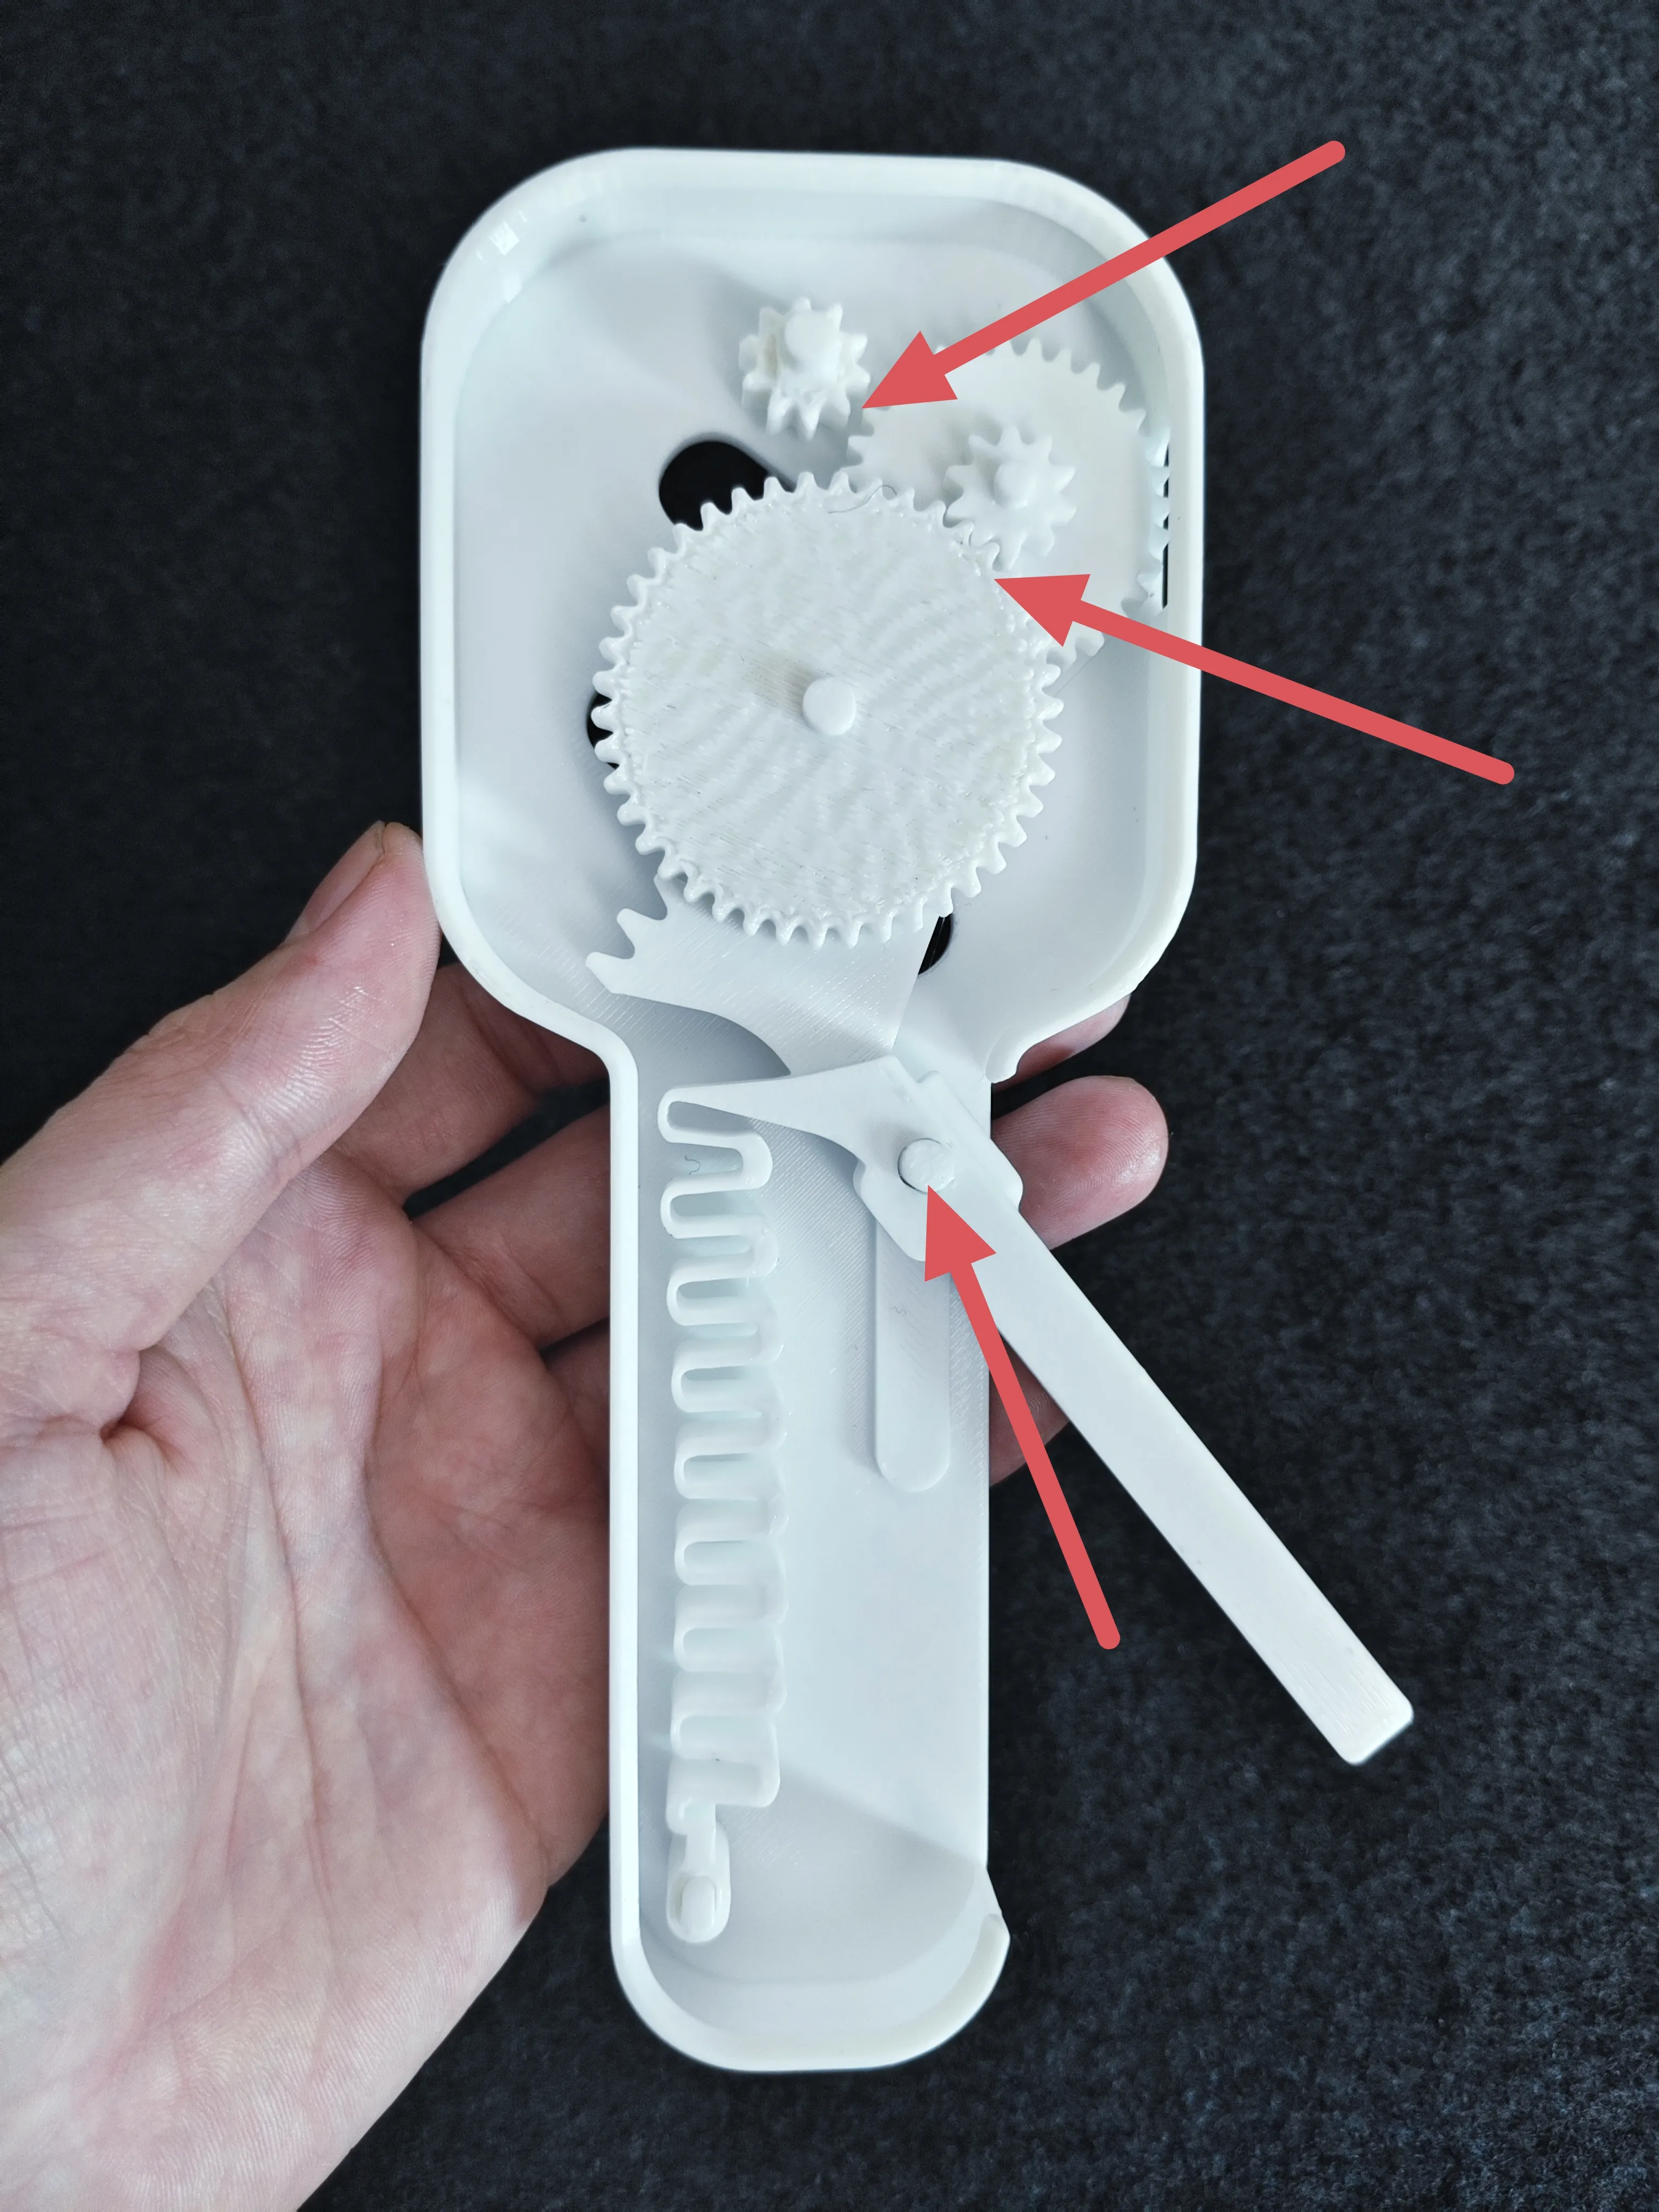
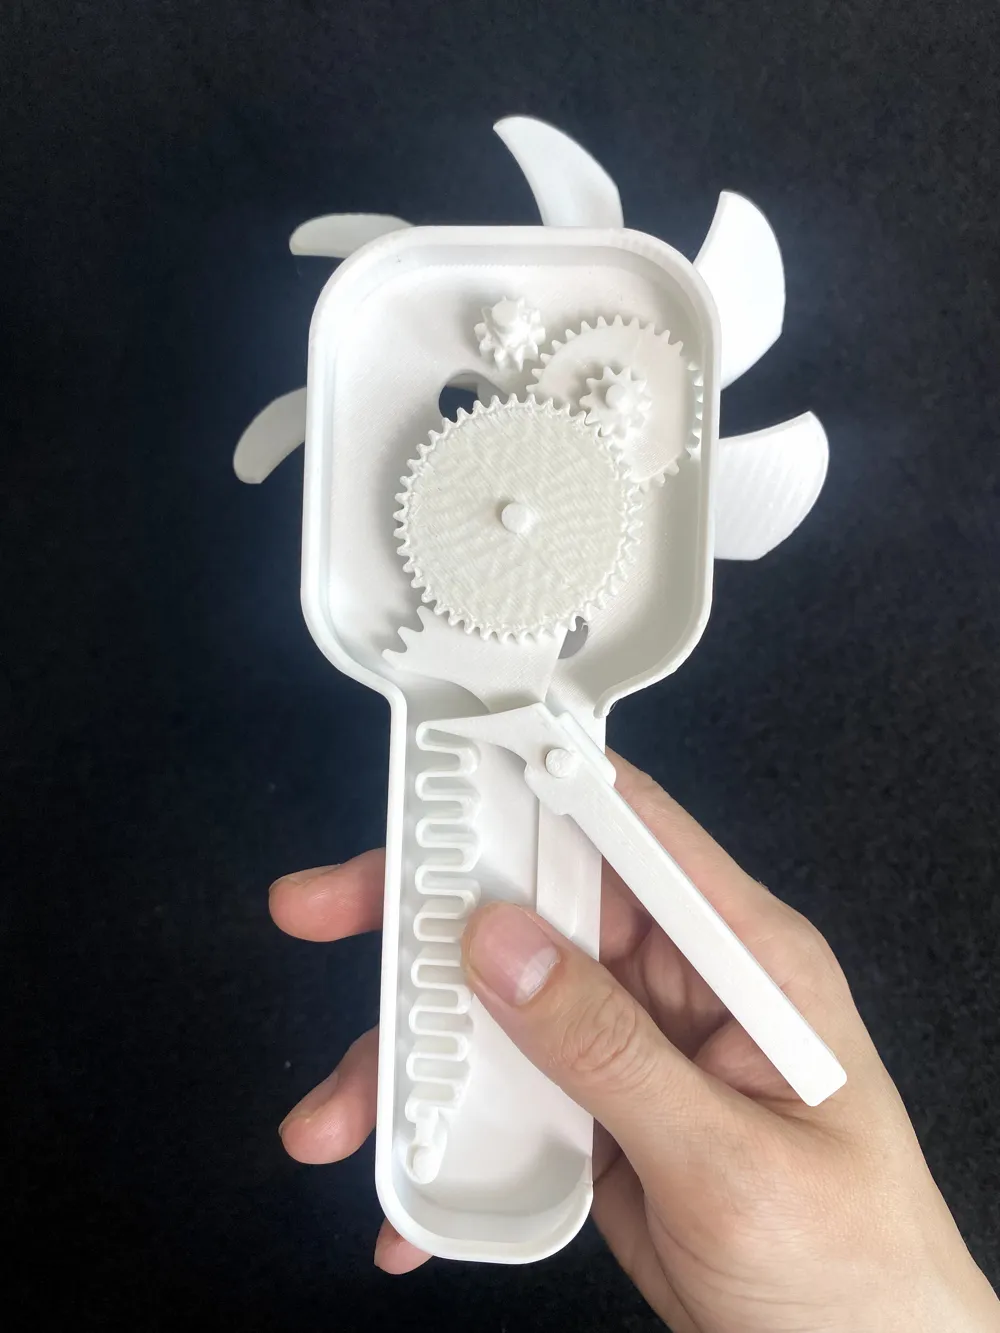
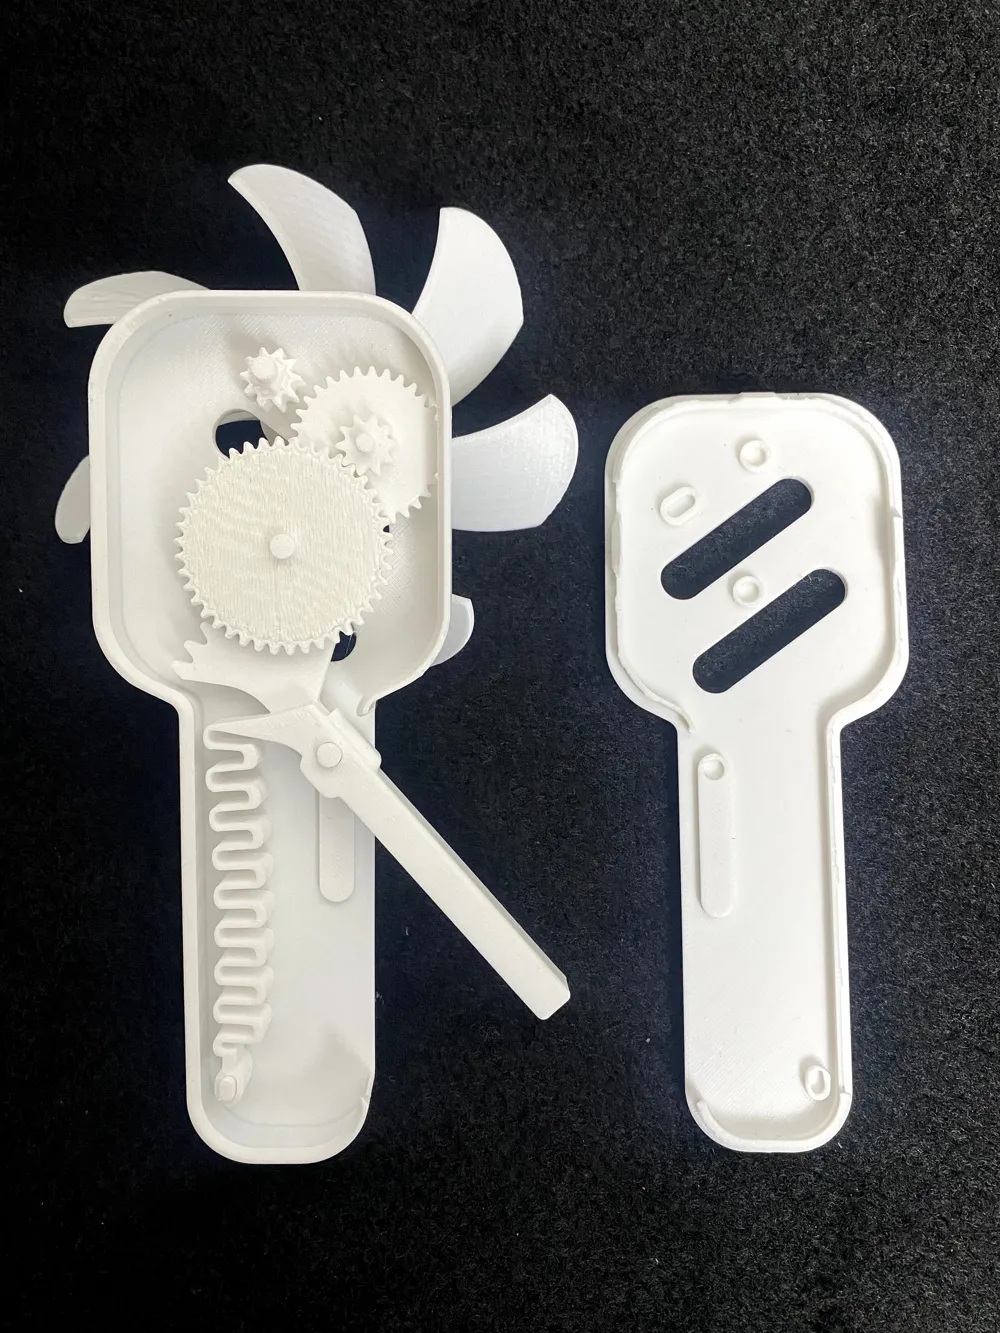
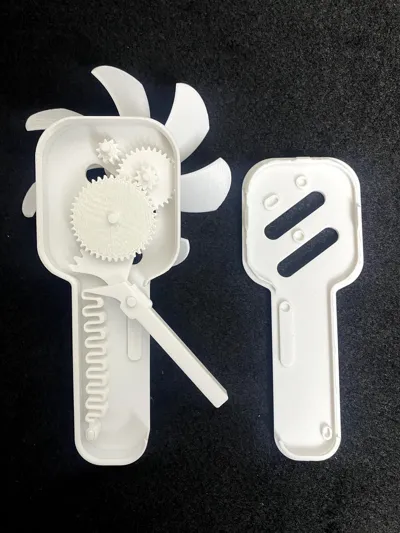
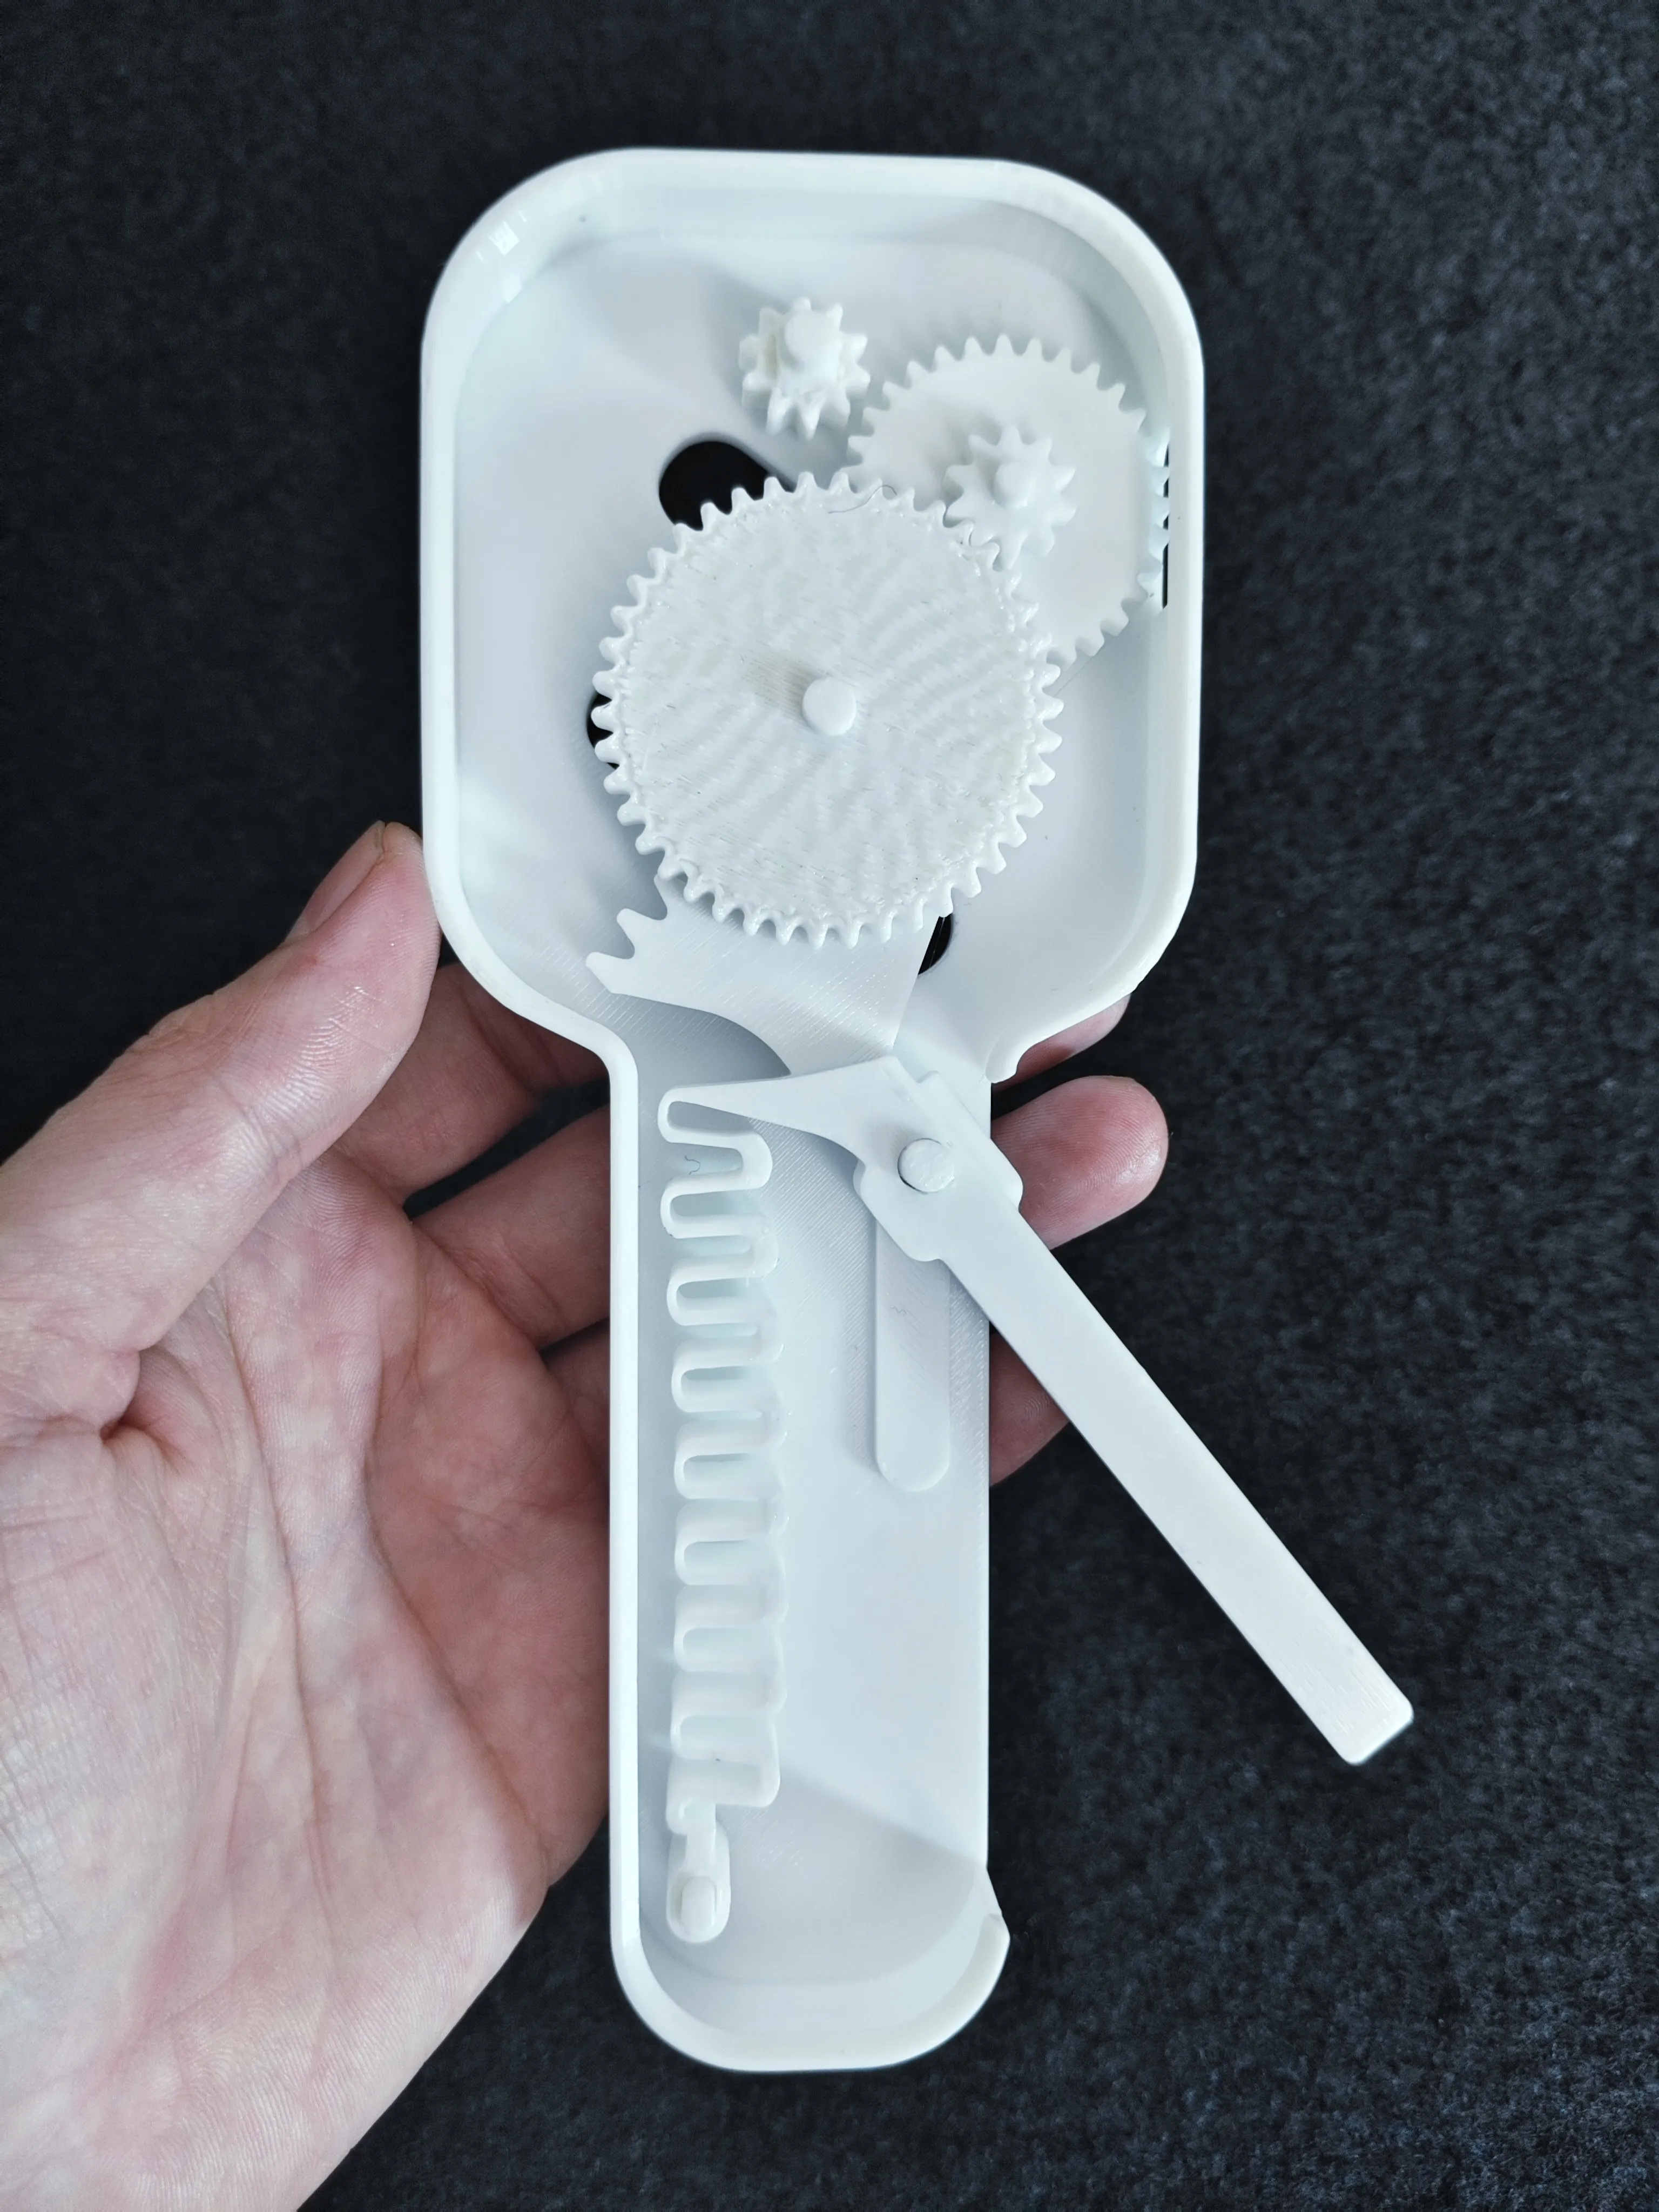
4, Assemble the gears and spring as shown.
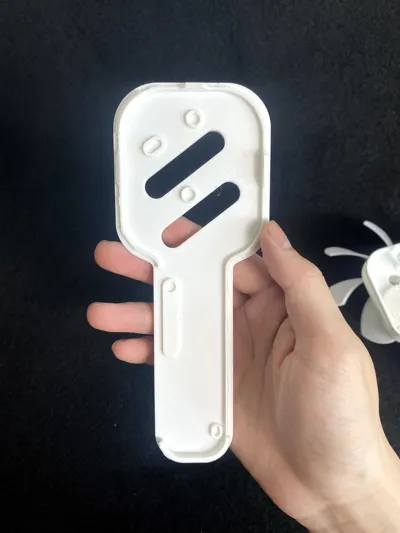
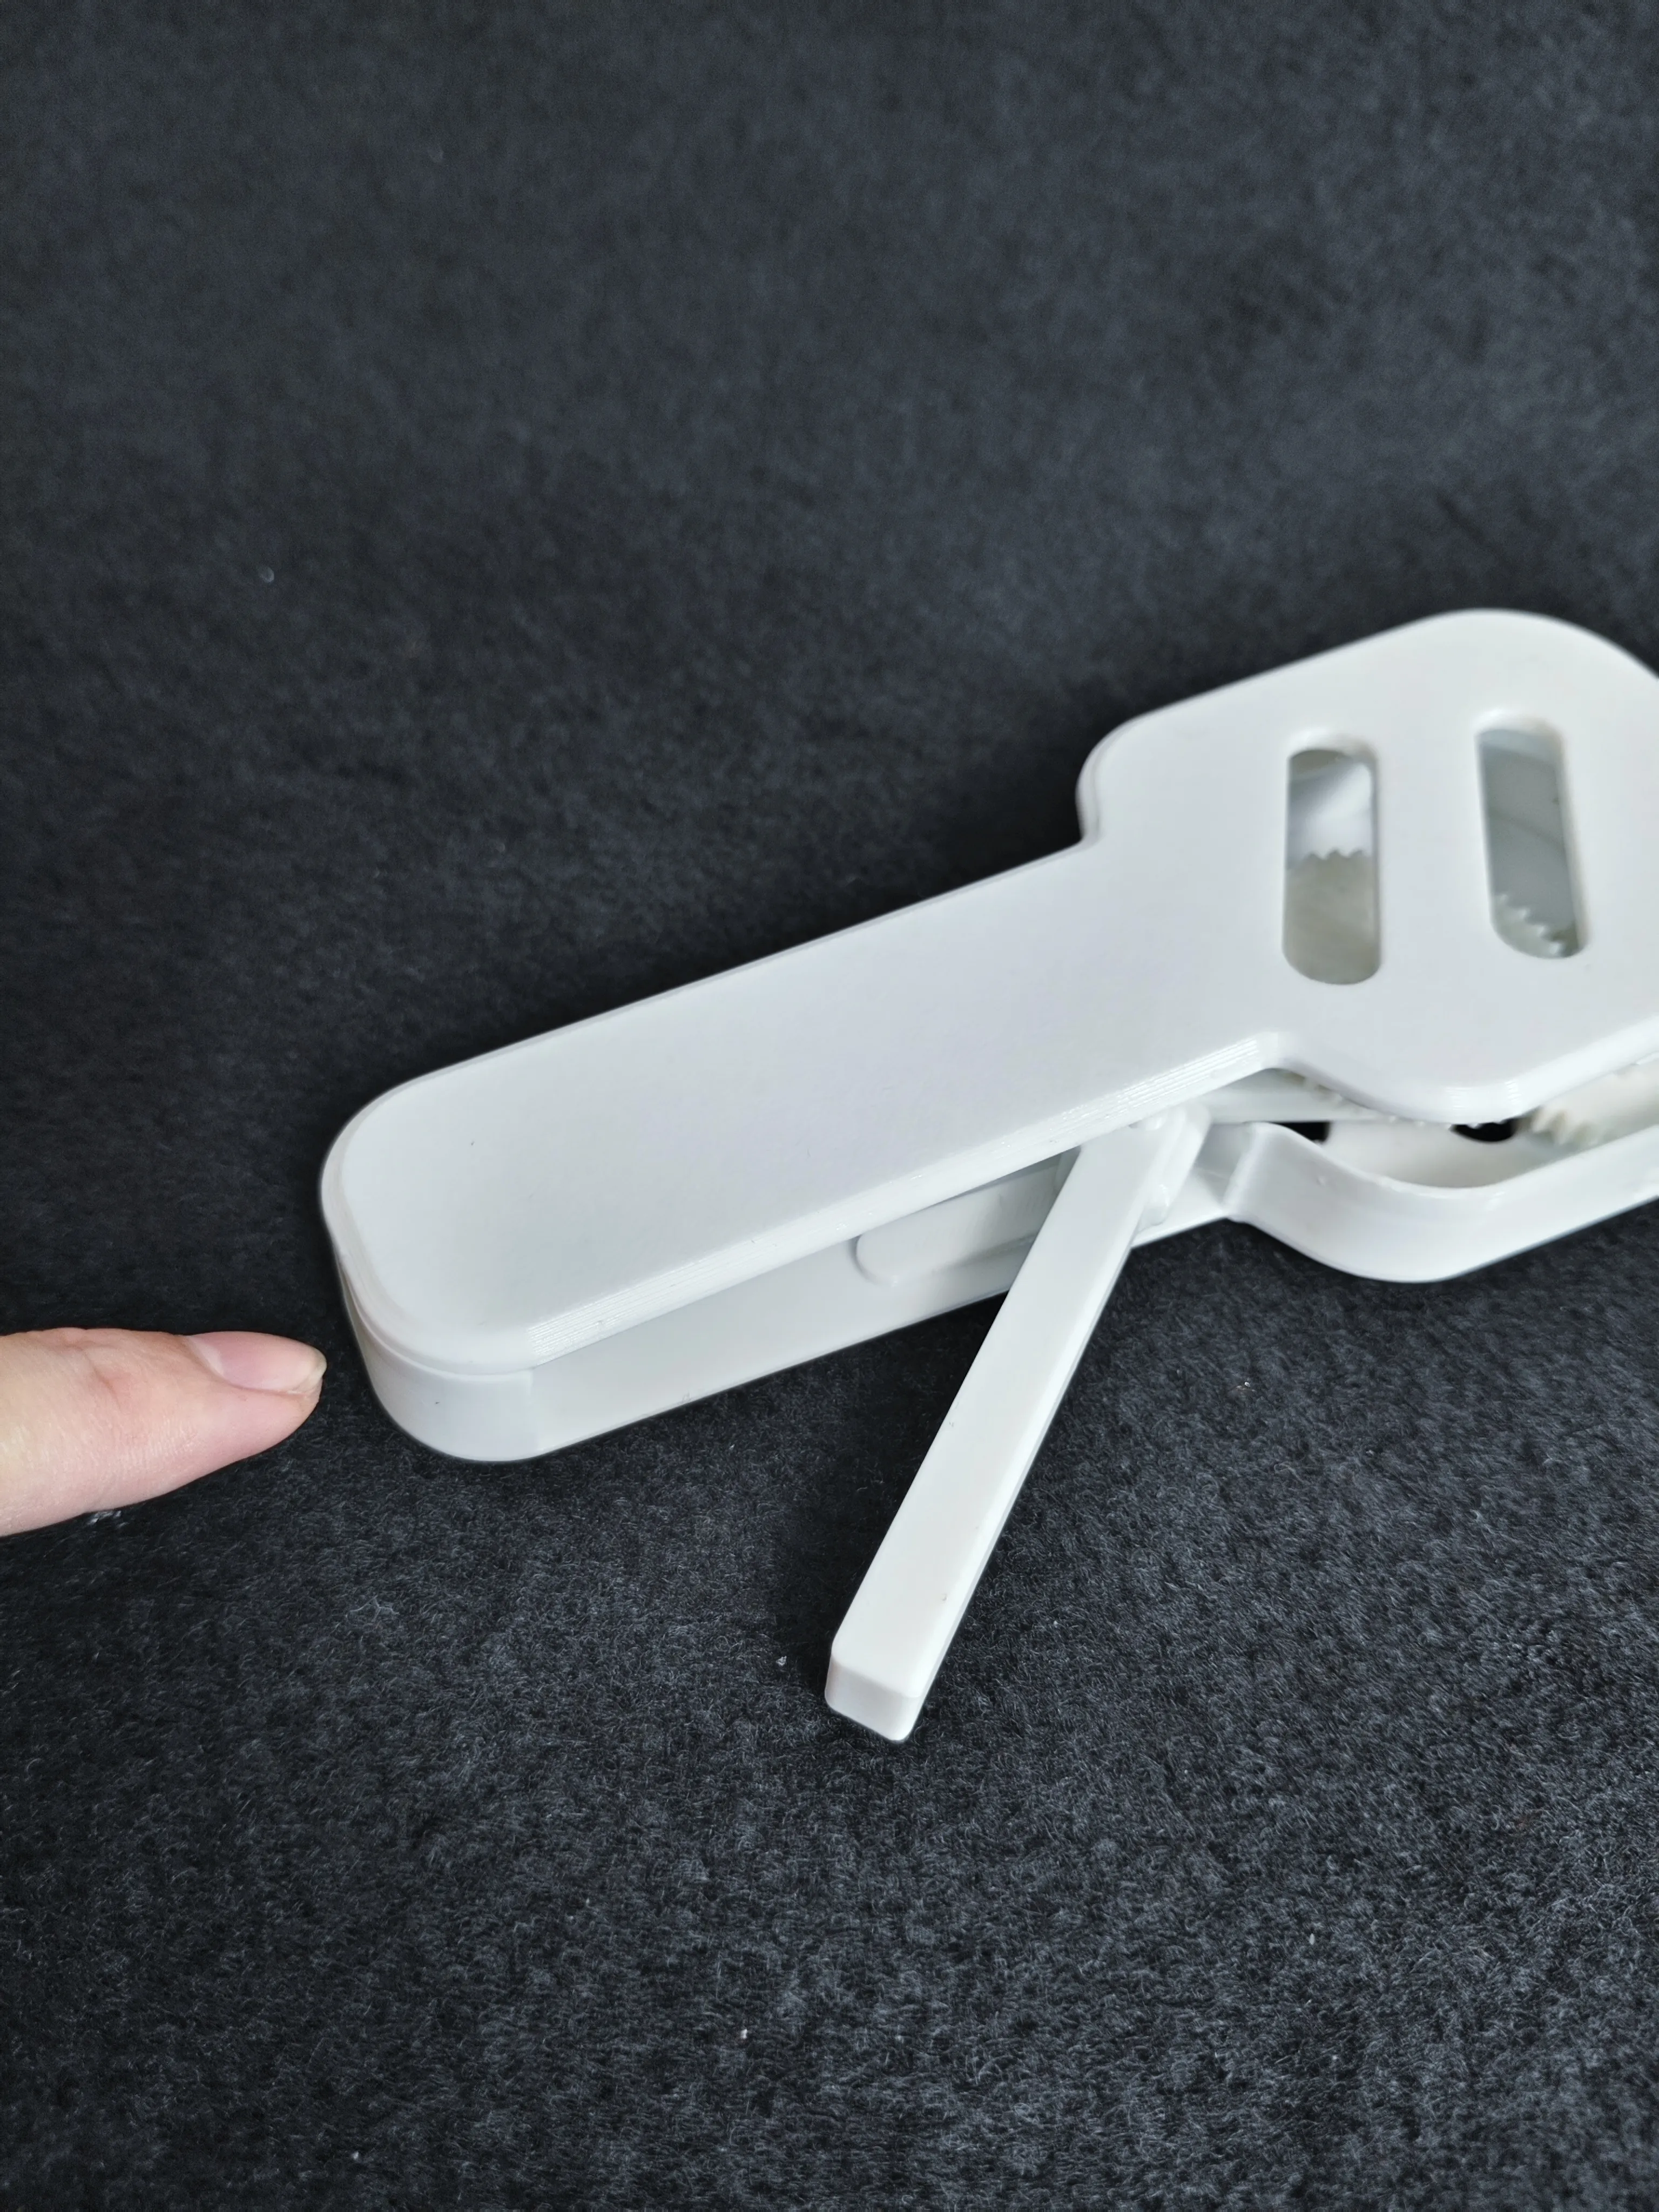
5, Install the rear cover, then firmly press the top cover into place (ensure alignment with the holes)!
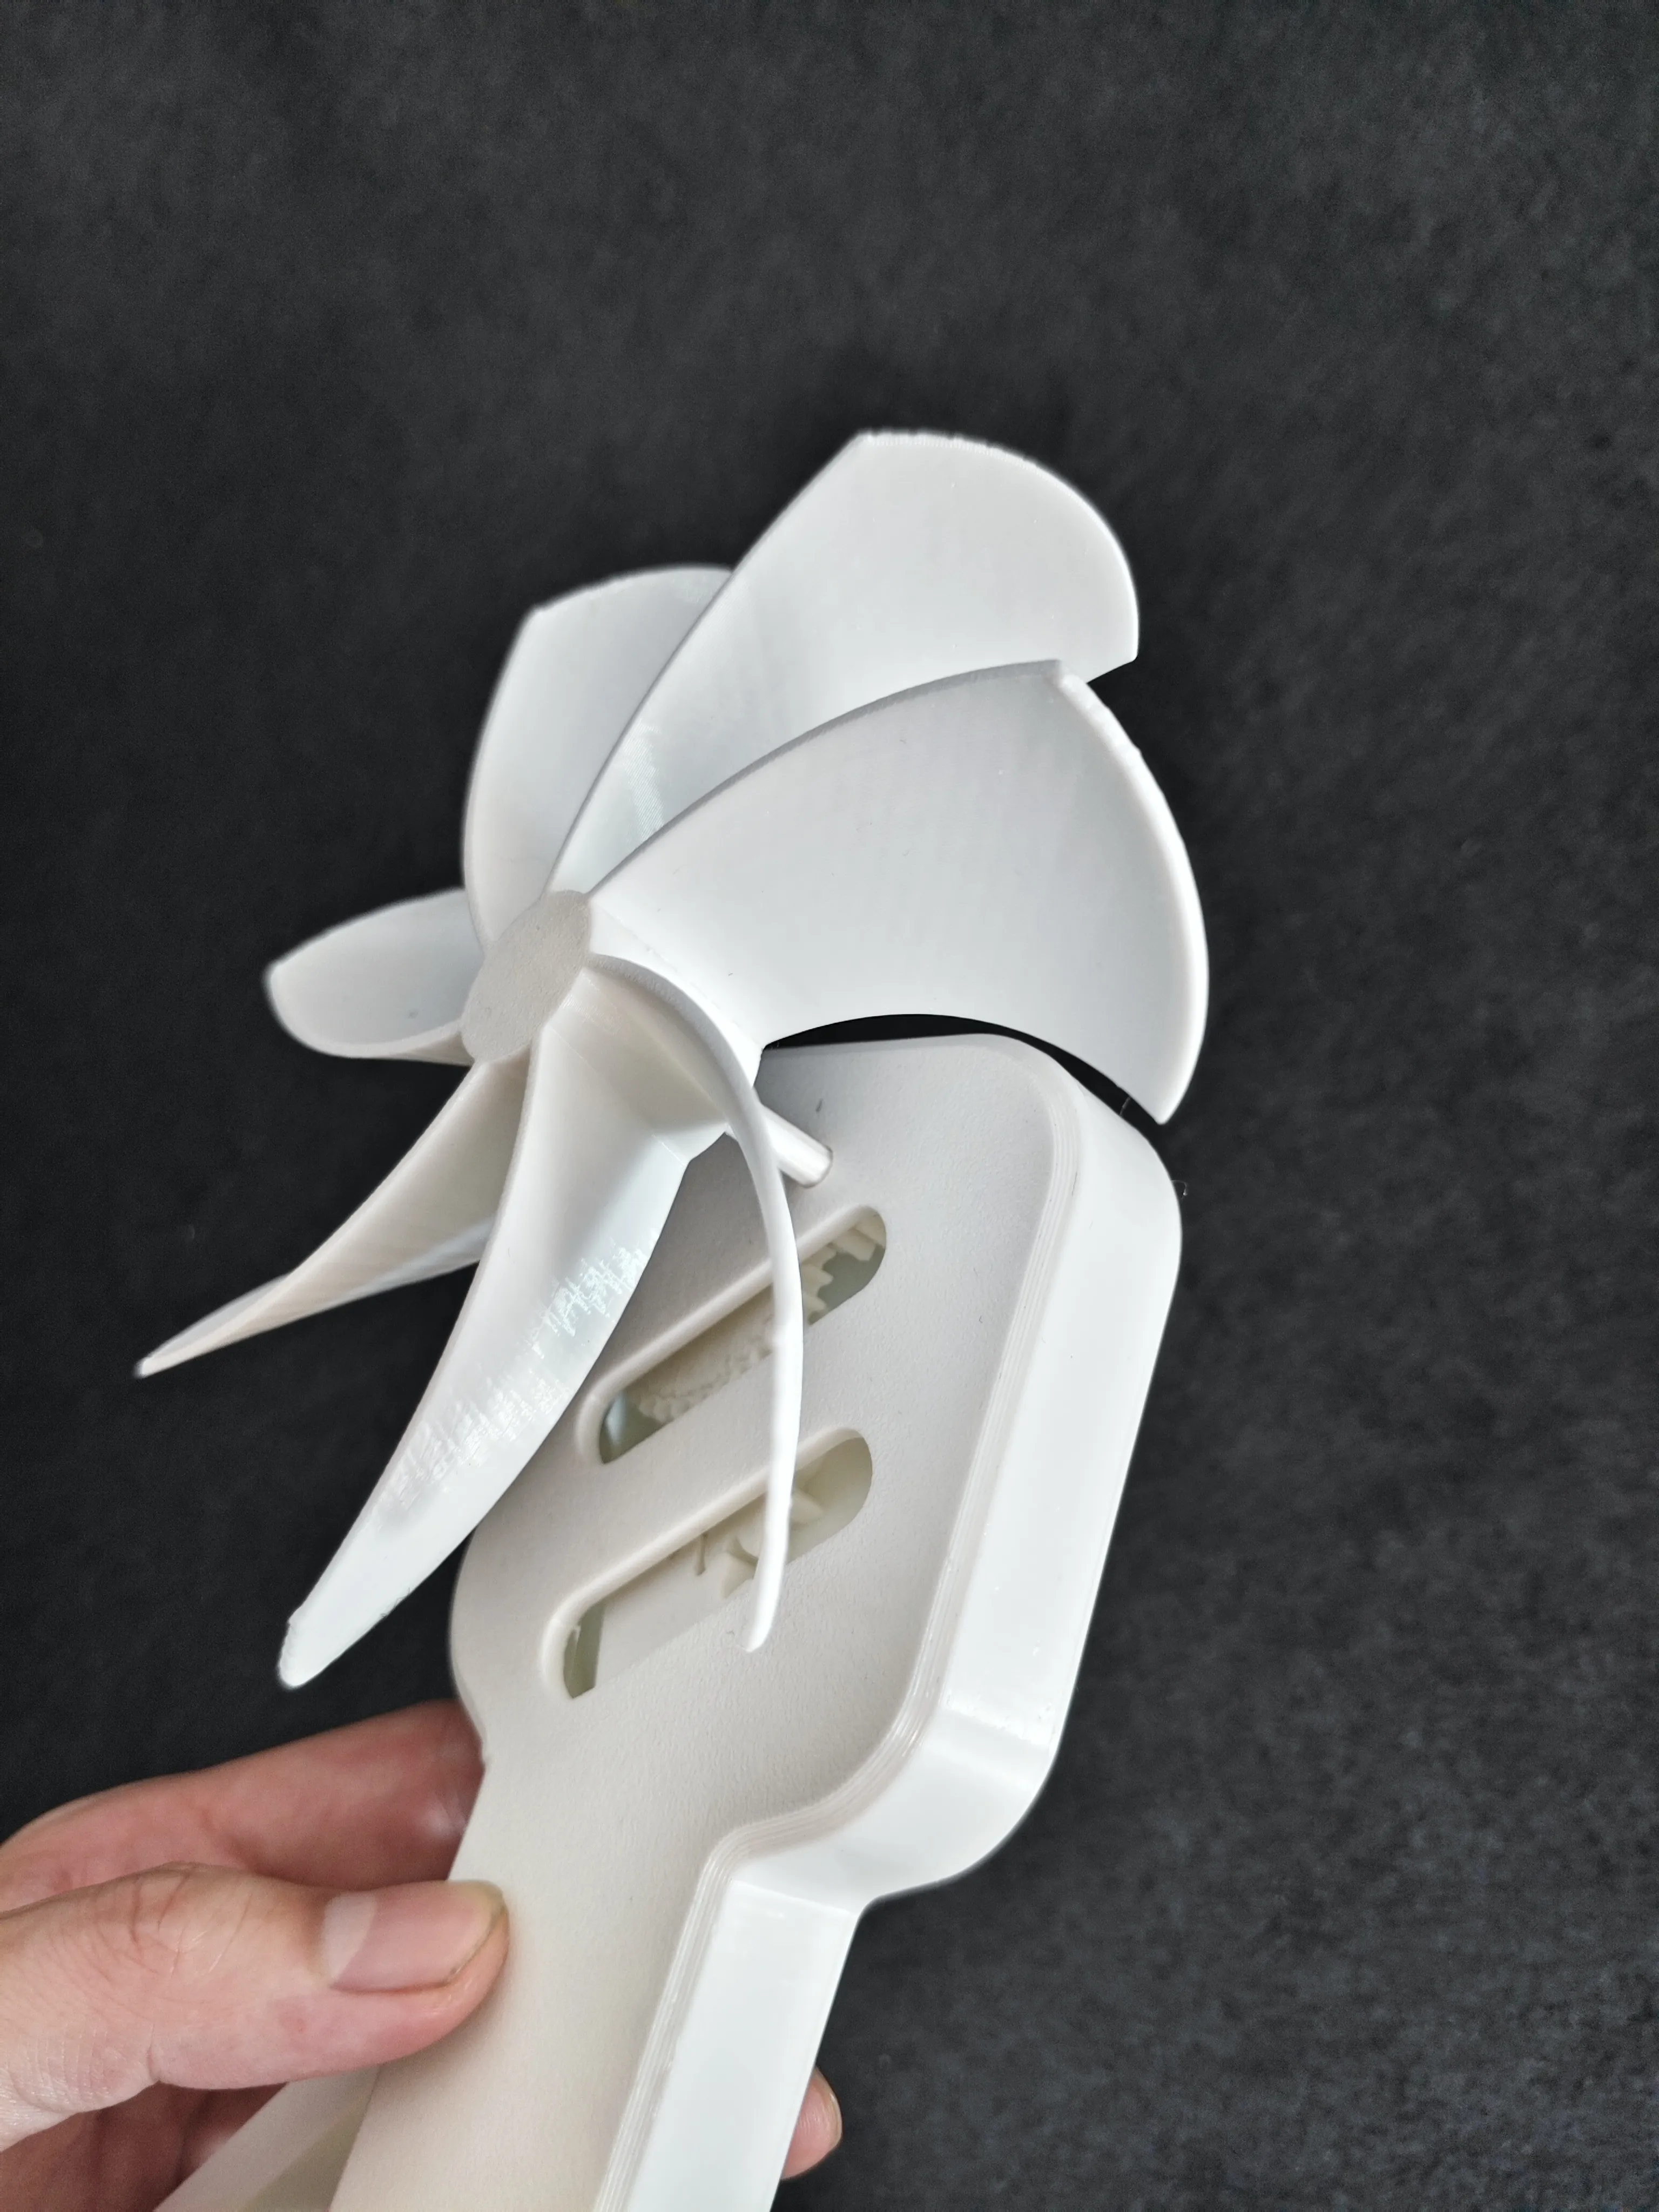
6, Install the fan blades
Note:
1, Manually rotate the fan blades clockwise for the first rotation to aid in starting.
2, If the assembly remains jammed or the lever fails to spring back after pressing, disassemble the casing, reapply lubricant, and rotate multiple times to distribute the lubricant evenly, increasing the chance of success!
3, While PLA operation is feasible, PETG printing is strongly recommended for increased spring durability.
Boost Me (for free)
A BOOST would be greatly appreciated if printing is successful, thank you
License

You shall not share, sub-license, sell, rent, host, transfer, or distribute in any way the digital or 3D printed versions of this object, nor any other derivative work of this object in its digital or physical format (including - but not limited to - remixes of this object, and hosting on other digital platforms). The objects may not be used without permission in any way whatsoever in which you charge money, or collect fees.


Comment & Rating (1553)