
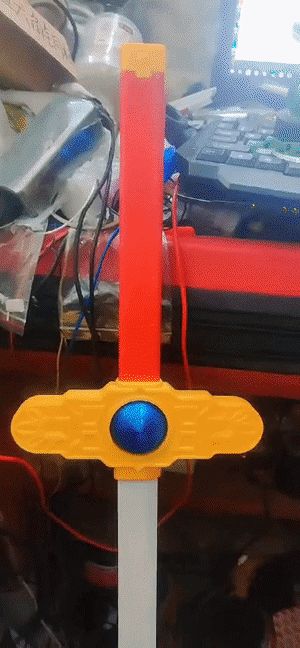
Nine Dragon Pearl - Wind God Sword
Print Profile(1)

Description
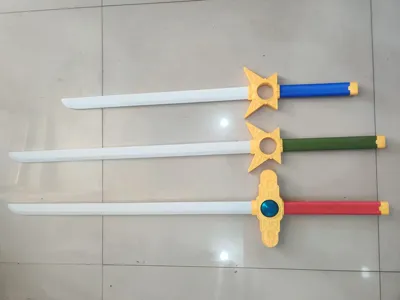
Nine Dragon Pearl Series(Portal):
Thor's Sword,Thor's Pearl Non-Luminous Version
Dragon God Sword,Dragon God Pearl
Boost Me (for free)
If you like this model, please boost and support me, thank you
Color separated and split into parts, 3 walls, 5 top/bottom layers, 20% infill
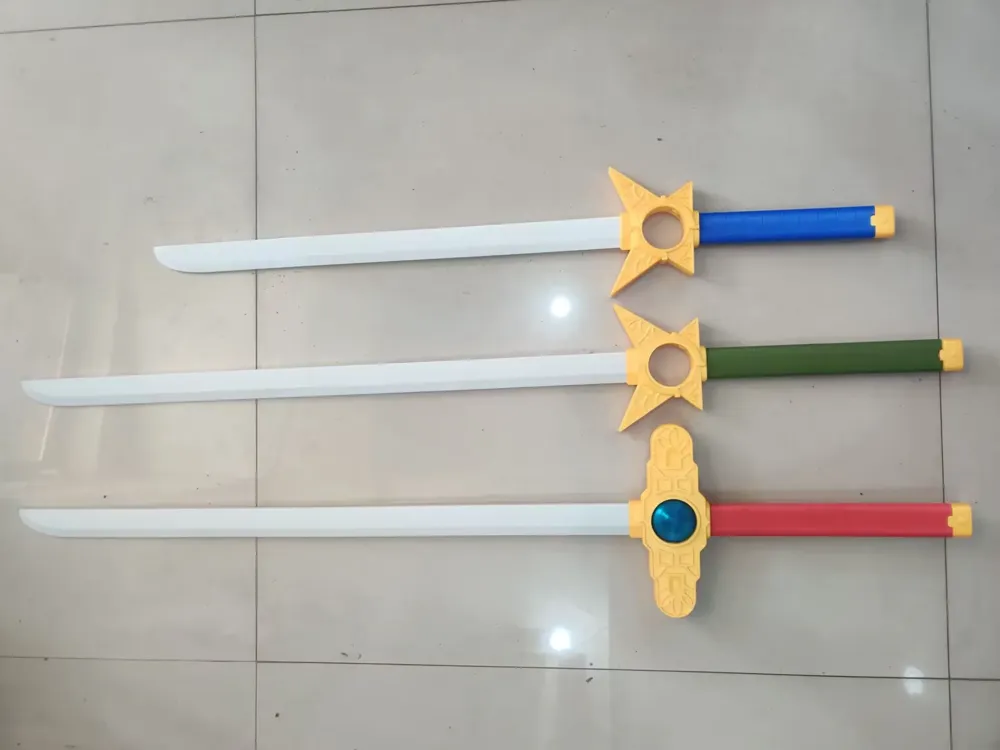
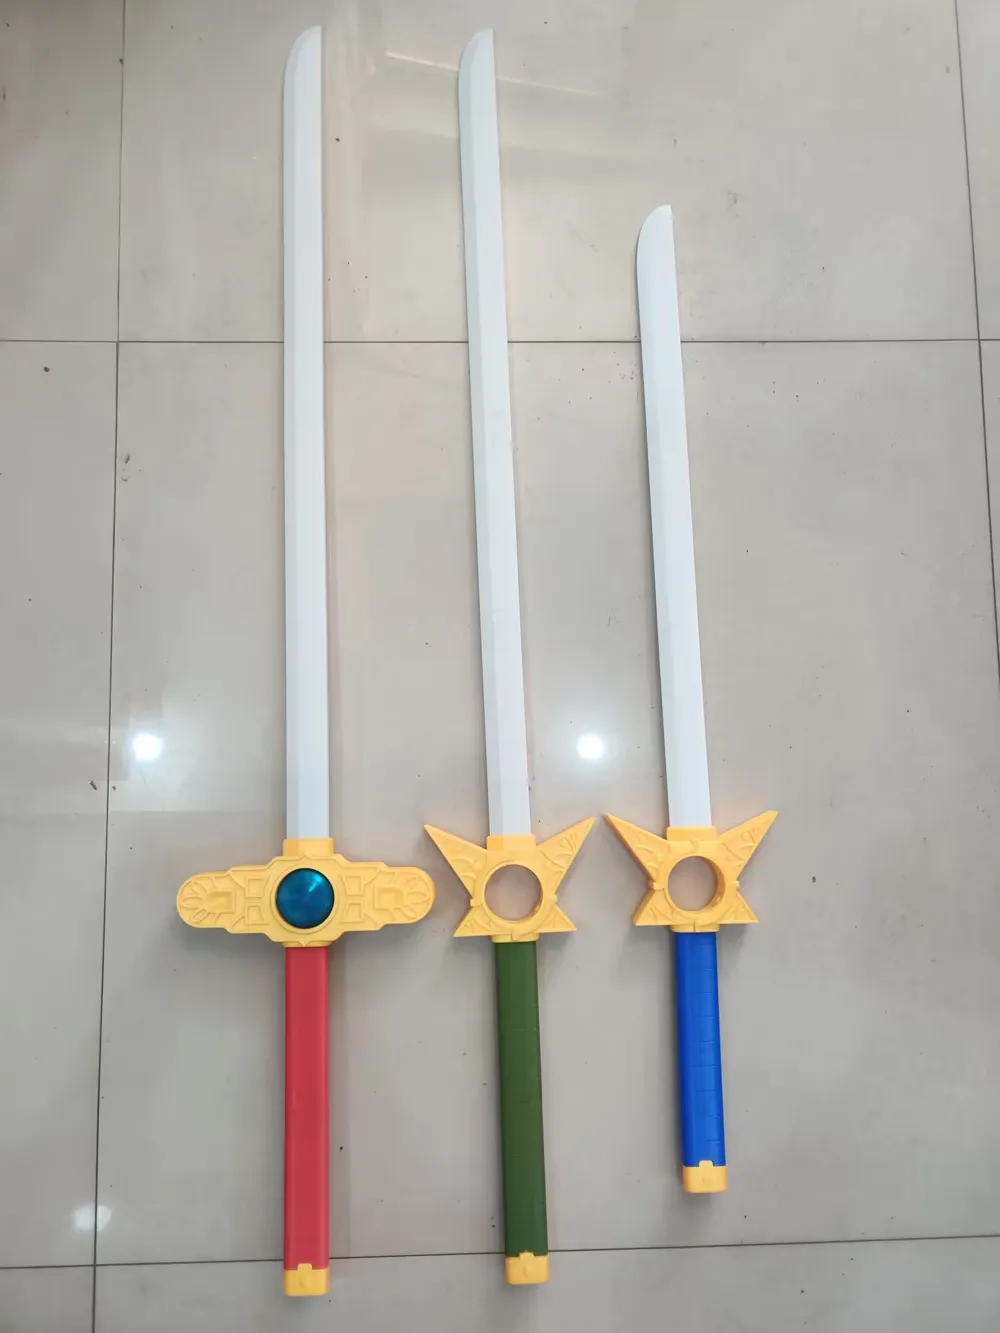
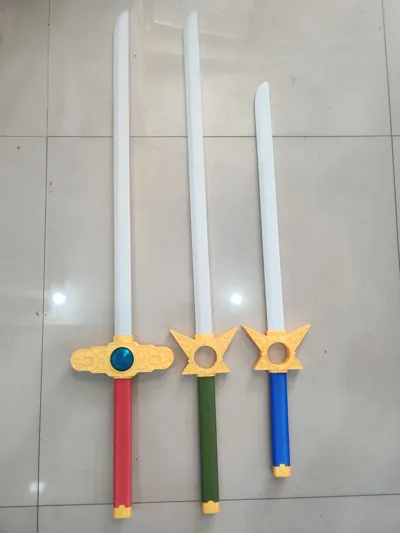
Print plates 1, 4, 5, 6 for a short sword, weight 350 grams
Print plates 1, 2, 3, 4 for a long sword, weight 405 grams
The homepage has comparison photos of the long and short swords
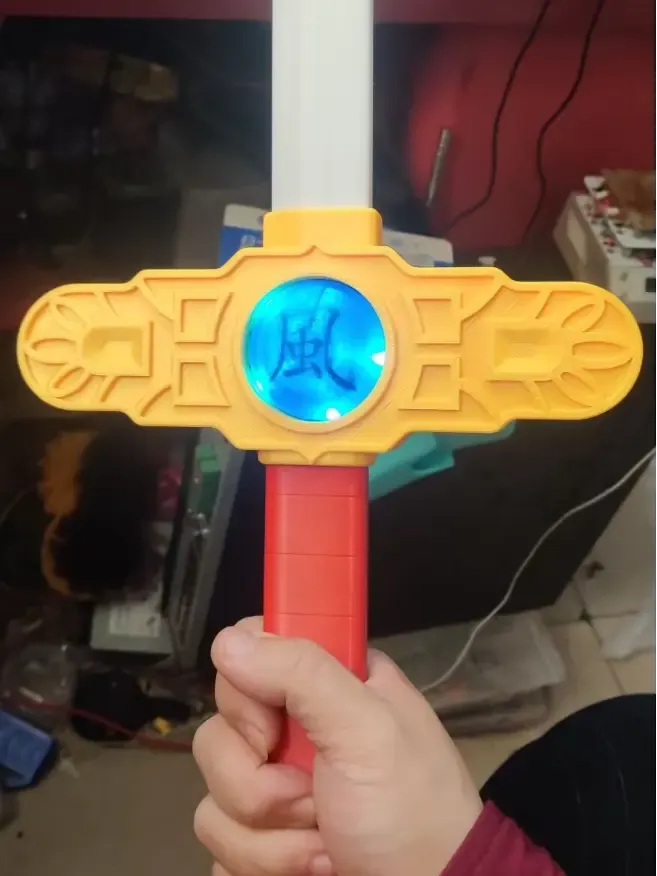
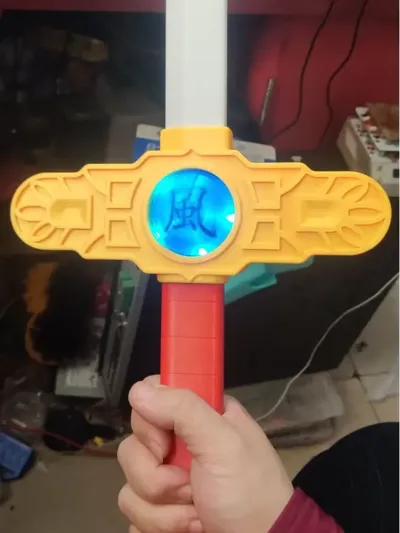
Some friends might have found the Wind God Sword first, so I want to re-explain the modeling process. On a dark and windy night, I suddenly stumbled upon The Legend of the Sword Hero and awakened childhood sealed memories. Who doesn't dream of becoming a big villain boss? So first, there must be a Wind God Sword with interchangeable luminous pearls

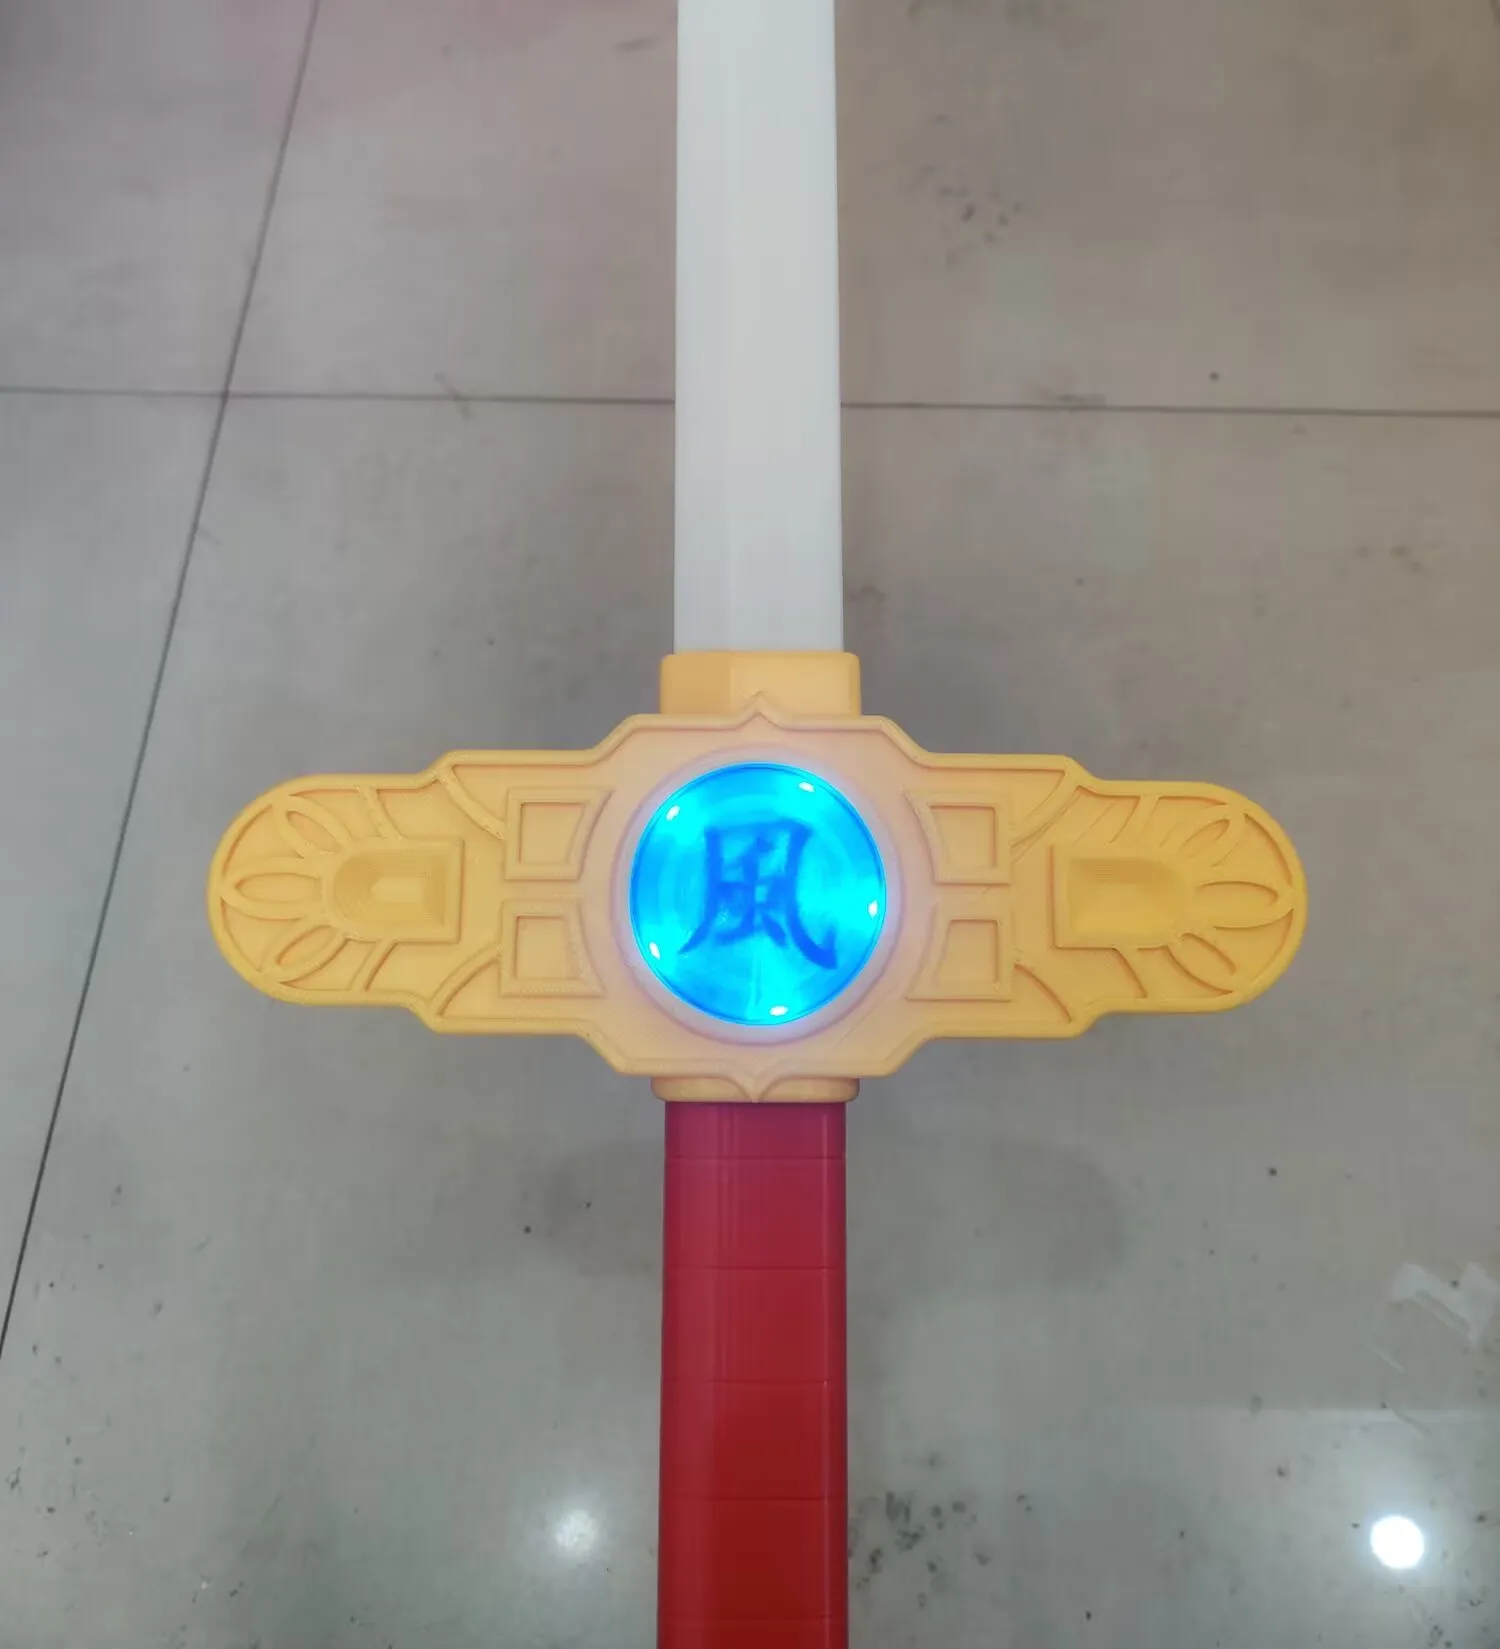
Nine Dragon Pearl - Wind God Sword (Wind God Sword with interchangeable luminous pearls)
Short Sword Hardware:
1.2*15*15mm spring*2,
1*10*25mm spring*1,
M3*8mm double-pass hex nut*6,
400mm M3 threaded rod*1,
170mm M3 threaded rod*1 (160mm also works),
190mm M3 threaded rod*3 (If the short sword handle is not reinforced with hardware, you can buy only 1)
Long Sword Hardware:
1.2*15*15mm spring*2,
1*10*25mm spring*1,
M3*8mm double-pass hex nut*6,
400mm M3 threaded rod*1,
350mm M3 threaded rod*1 (340mm also works),
250mm M3 threaded rod*3
Hardware is used to strengthen the model, optional, but highly recommended!!!
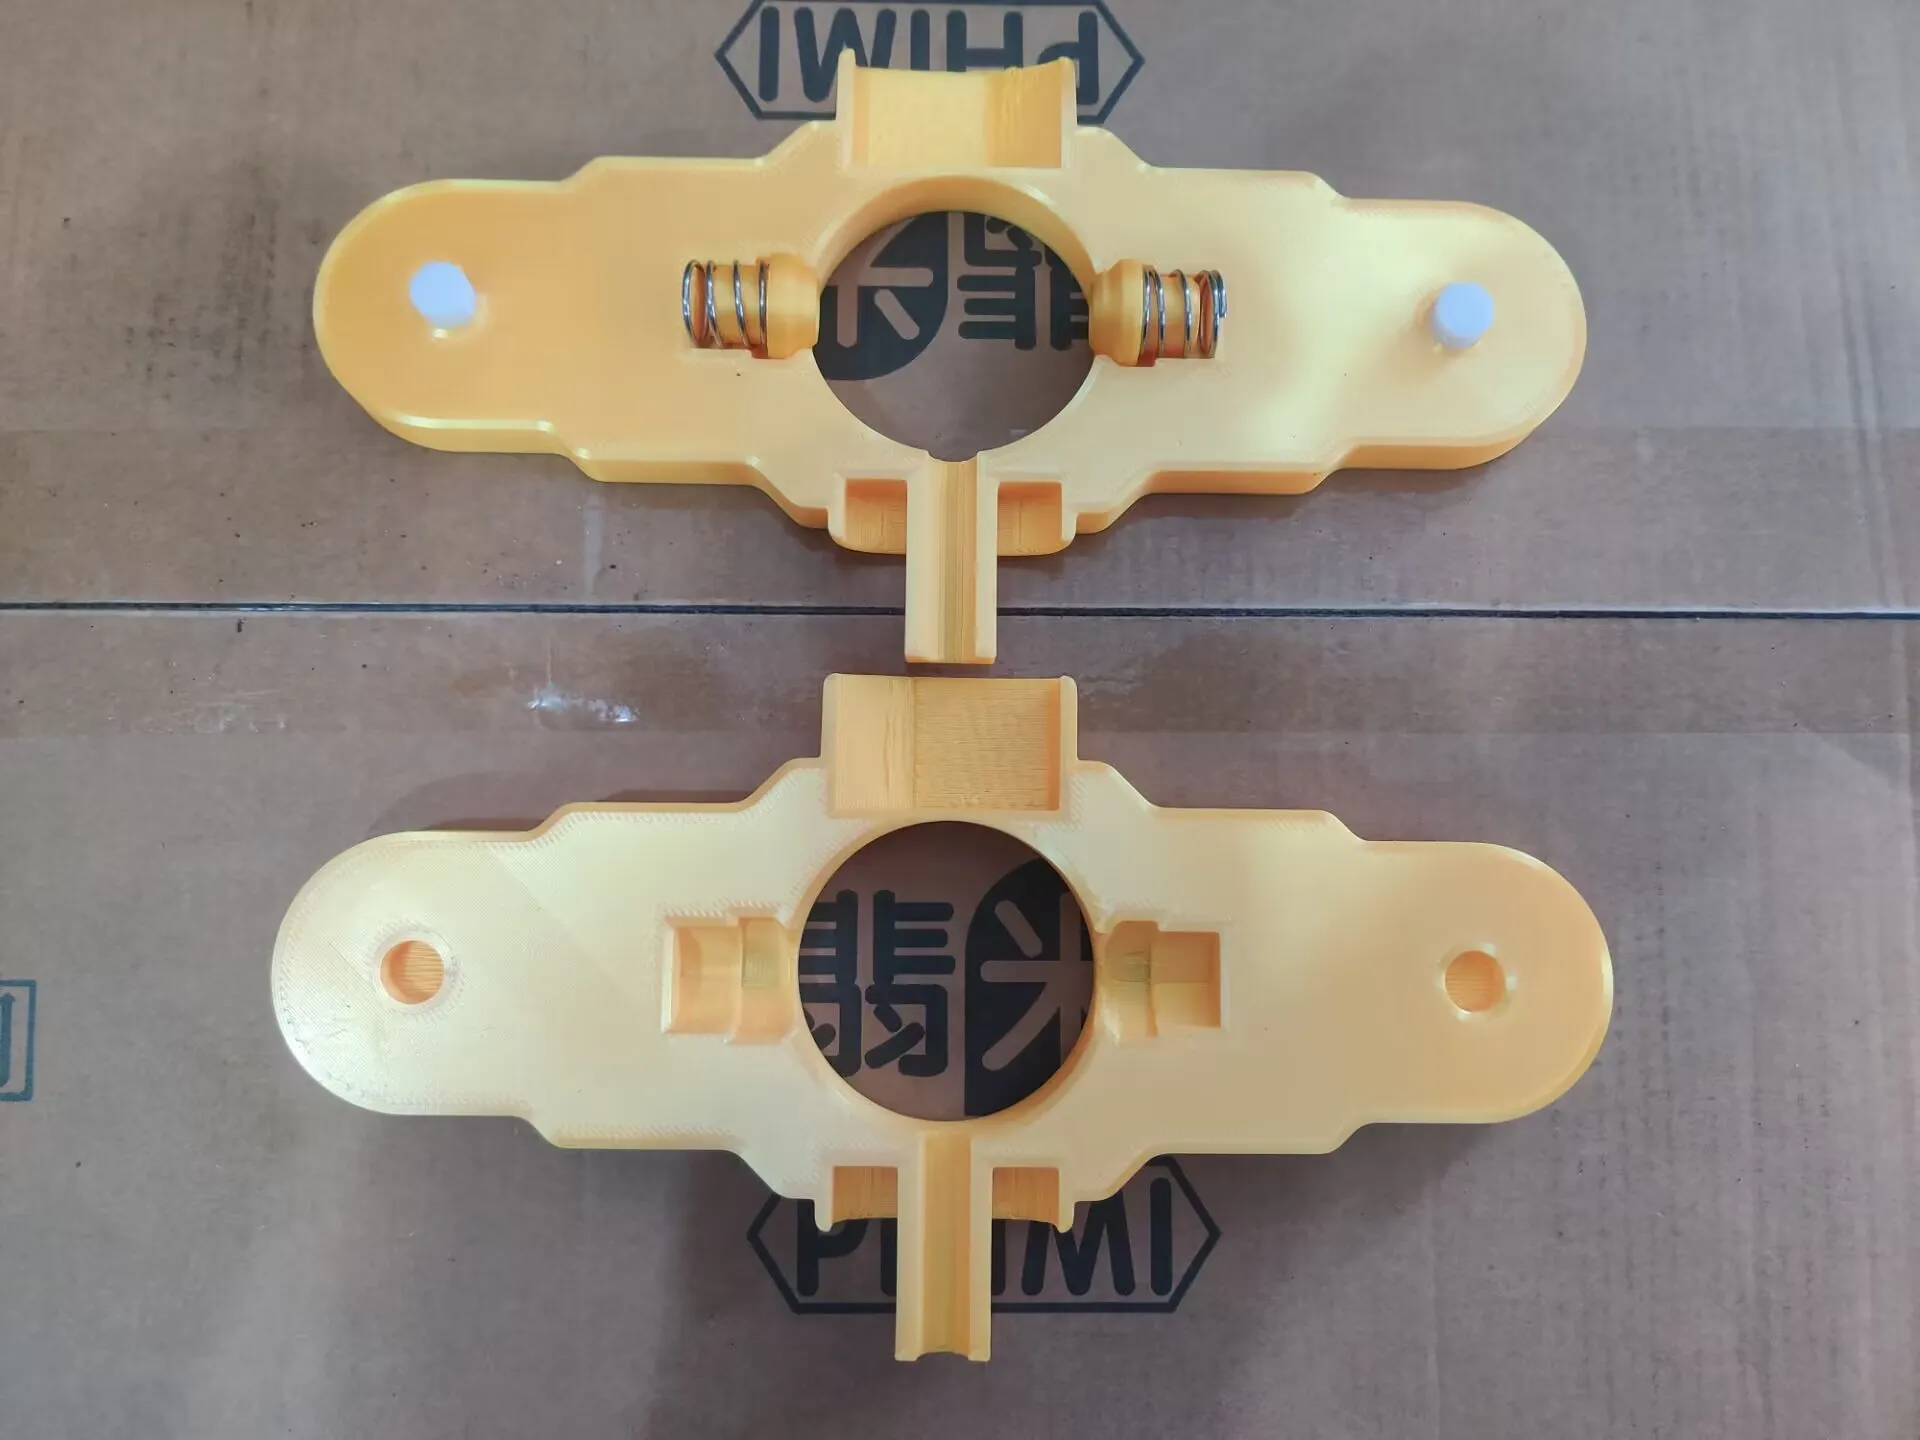
I. Guard Assembly
Model: Guard, Guard locator, Buckle
Hardware: 2 1.2*15*15mm springs
Glue the guard into the locator and the buckle with the spring, then glue the two guard pieces together, be careful not to glue the spring buckle!!!
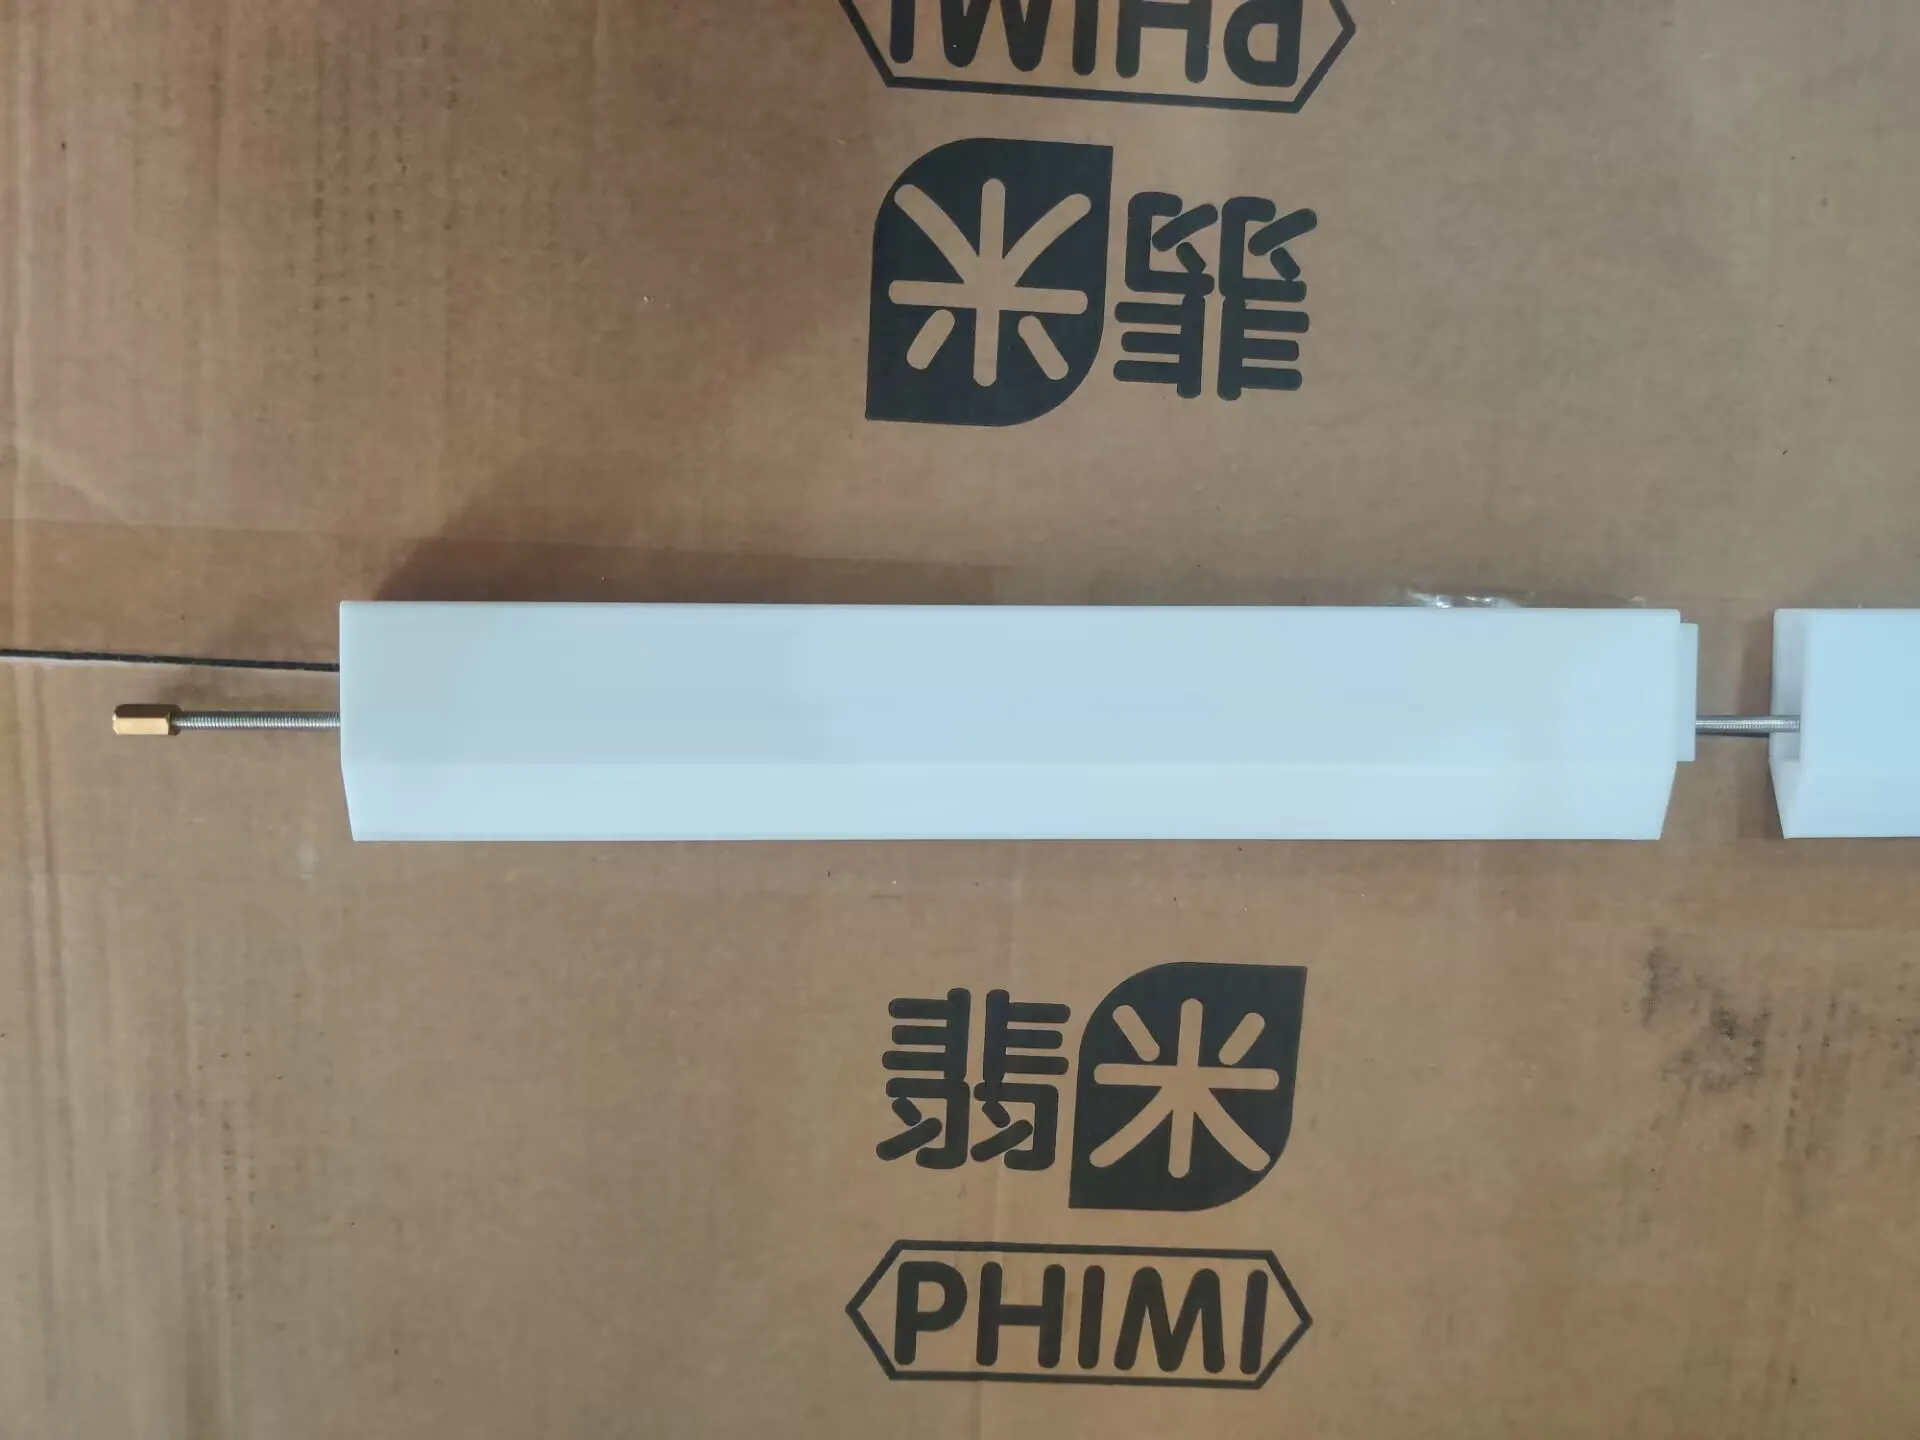
II. Blade Assembly (Example 60CM blade) (For a 78CM blade, use a 350mm long second threaded rod)
Model: Blade universal 1, Blade universal 2, Blade universal 1 locator 12, 60CM blade
Hardware: 400mm M3 threaded rod, 170mm M3 threaded rod (160mm also works), 2 M3*8mm double-pass hex nuts
Screw a nut onto the end of the 400mm threaded rod and insert it into Blade universal 2, ensuring the nut is fully seated in the hex slot. Then apply glue to the bottom of Blade universal 1 and also insert it onto the threaded rod, tighten with a nut. Then glue Blade universal 1 locator 12 to the nut and groove. Continue by screwing on the 170mm threaded rod, apply glue, and insert the 60CM blade
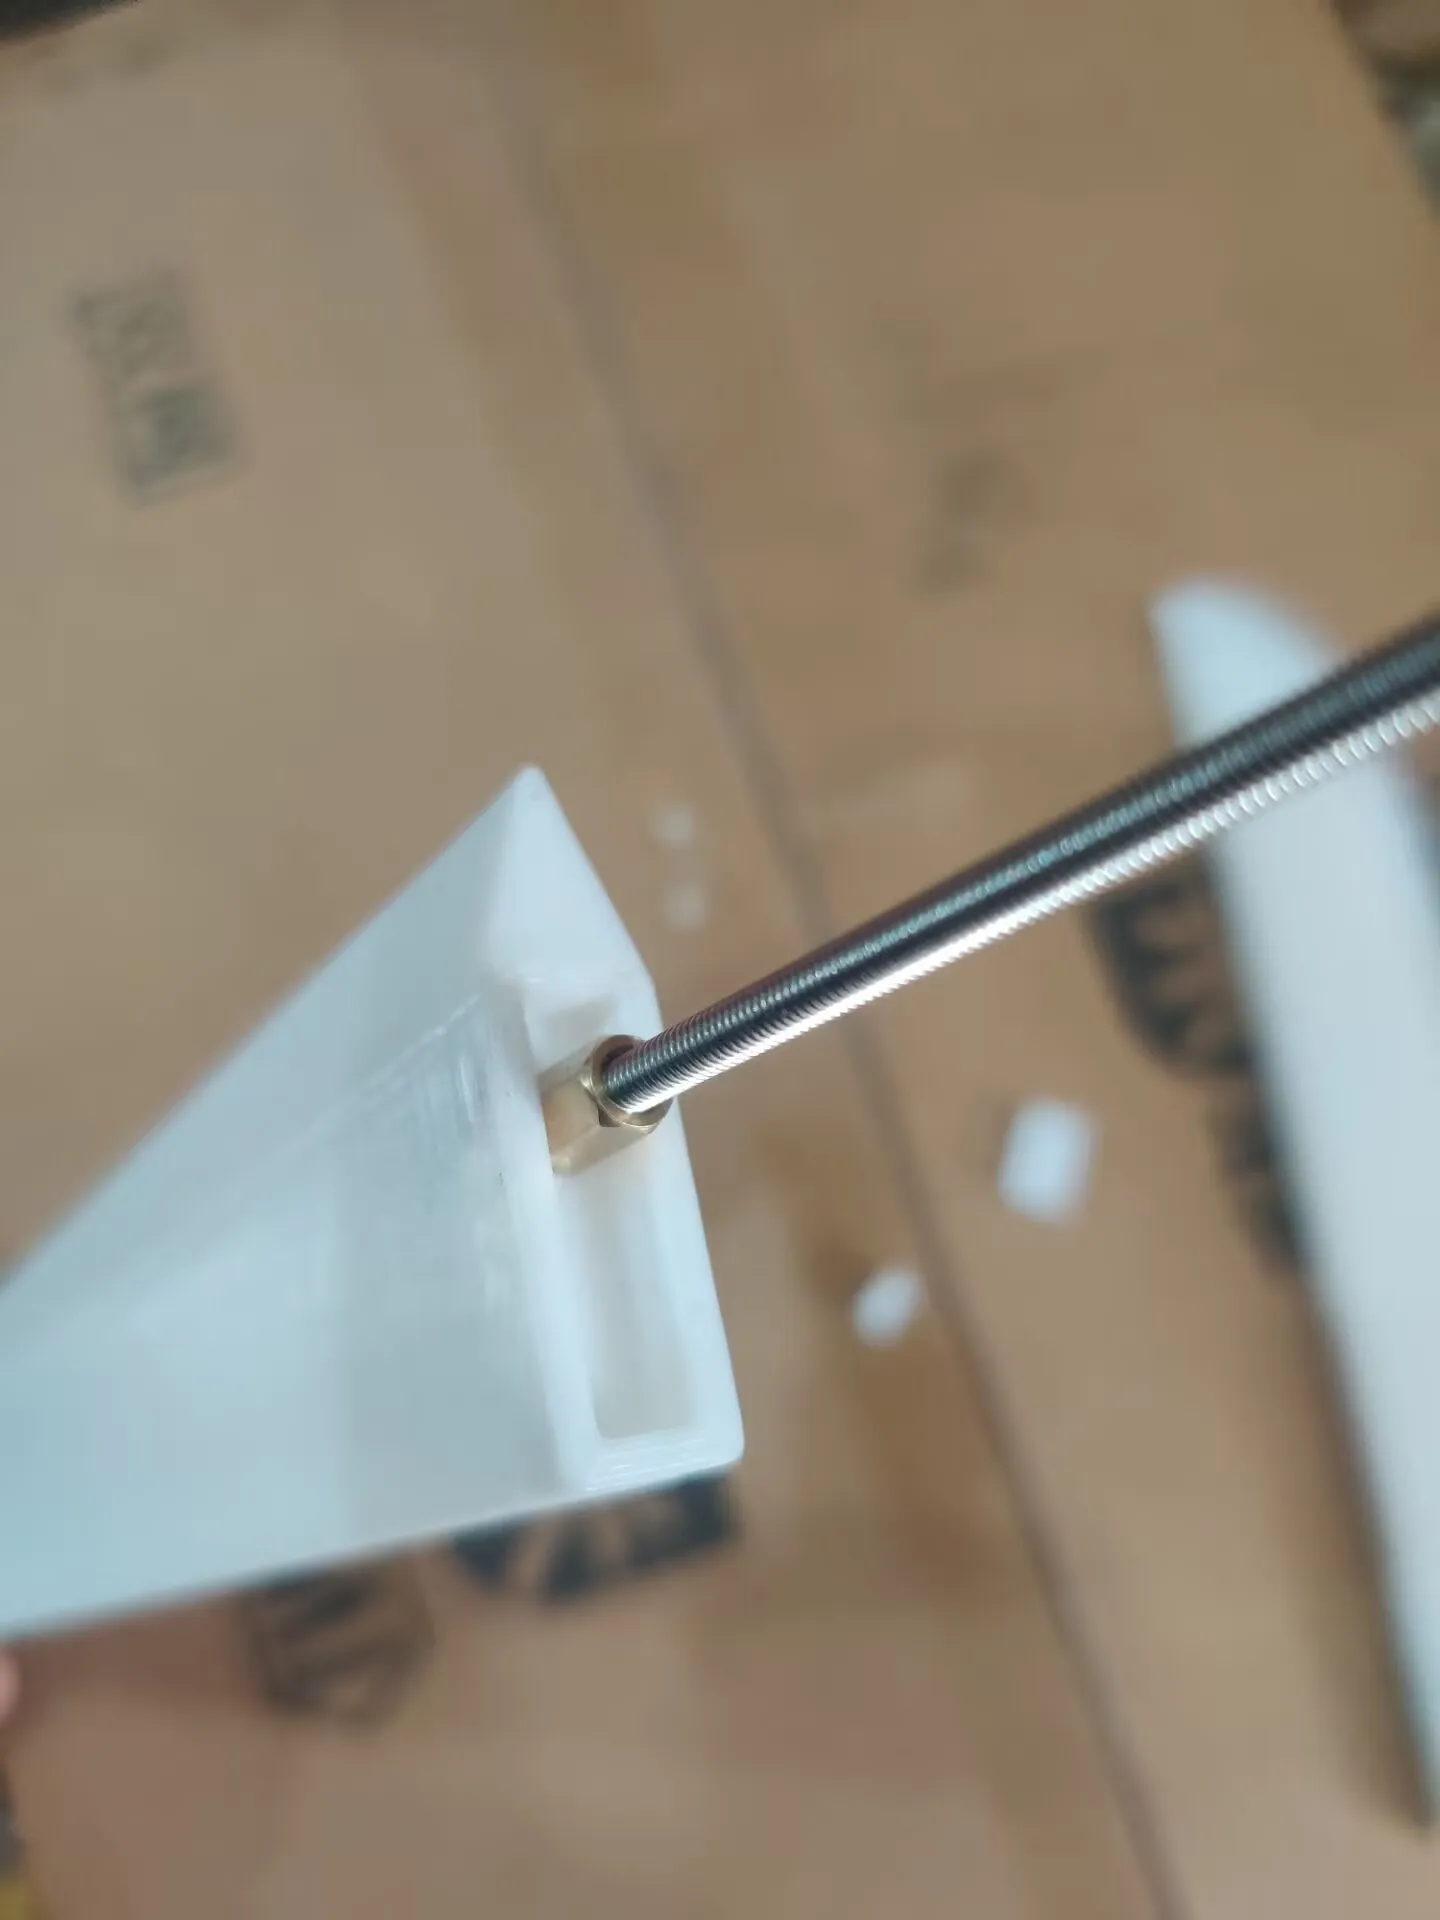
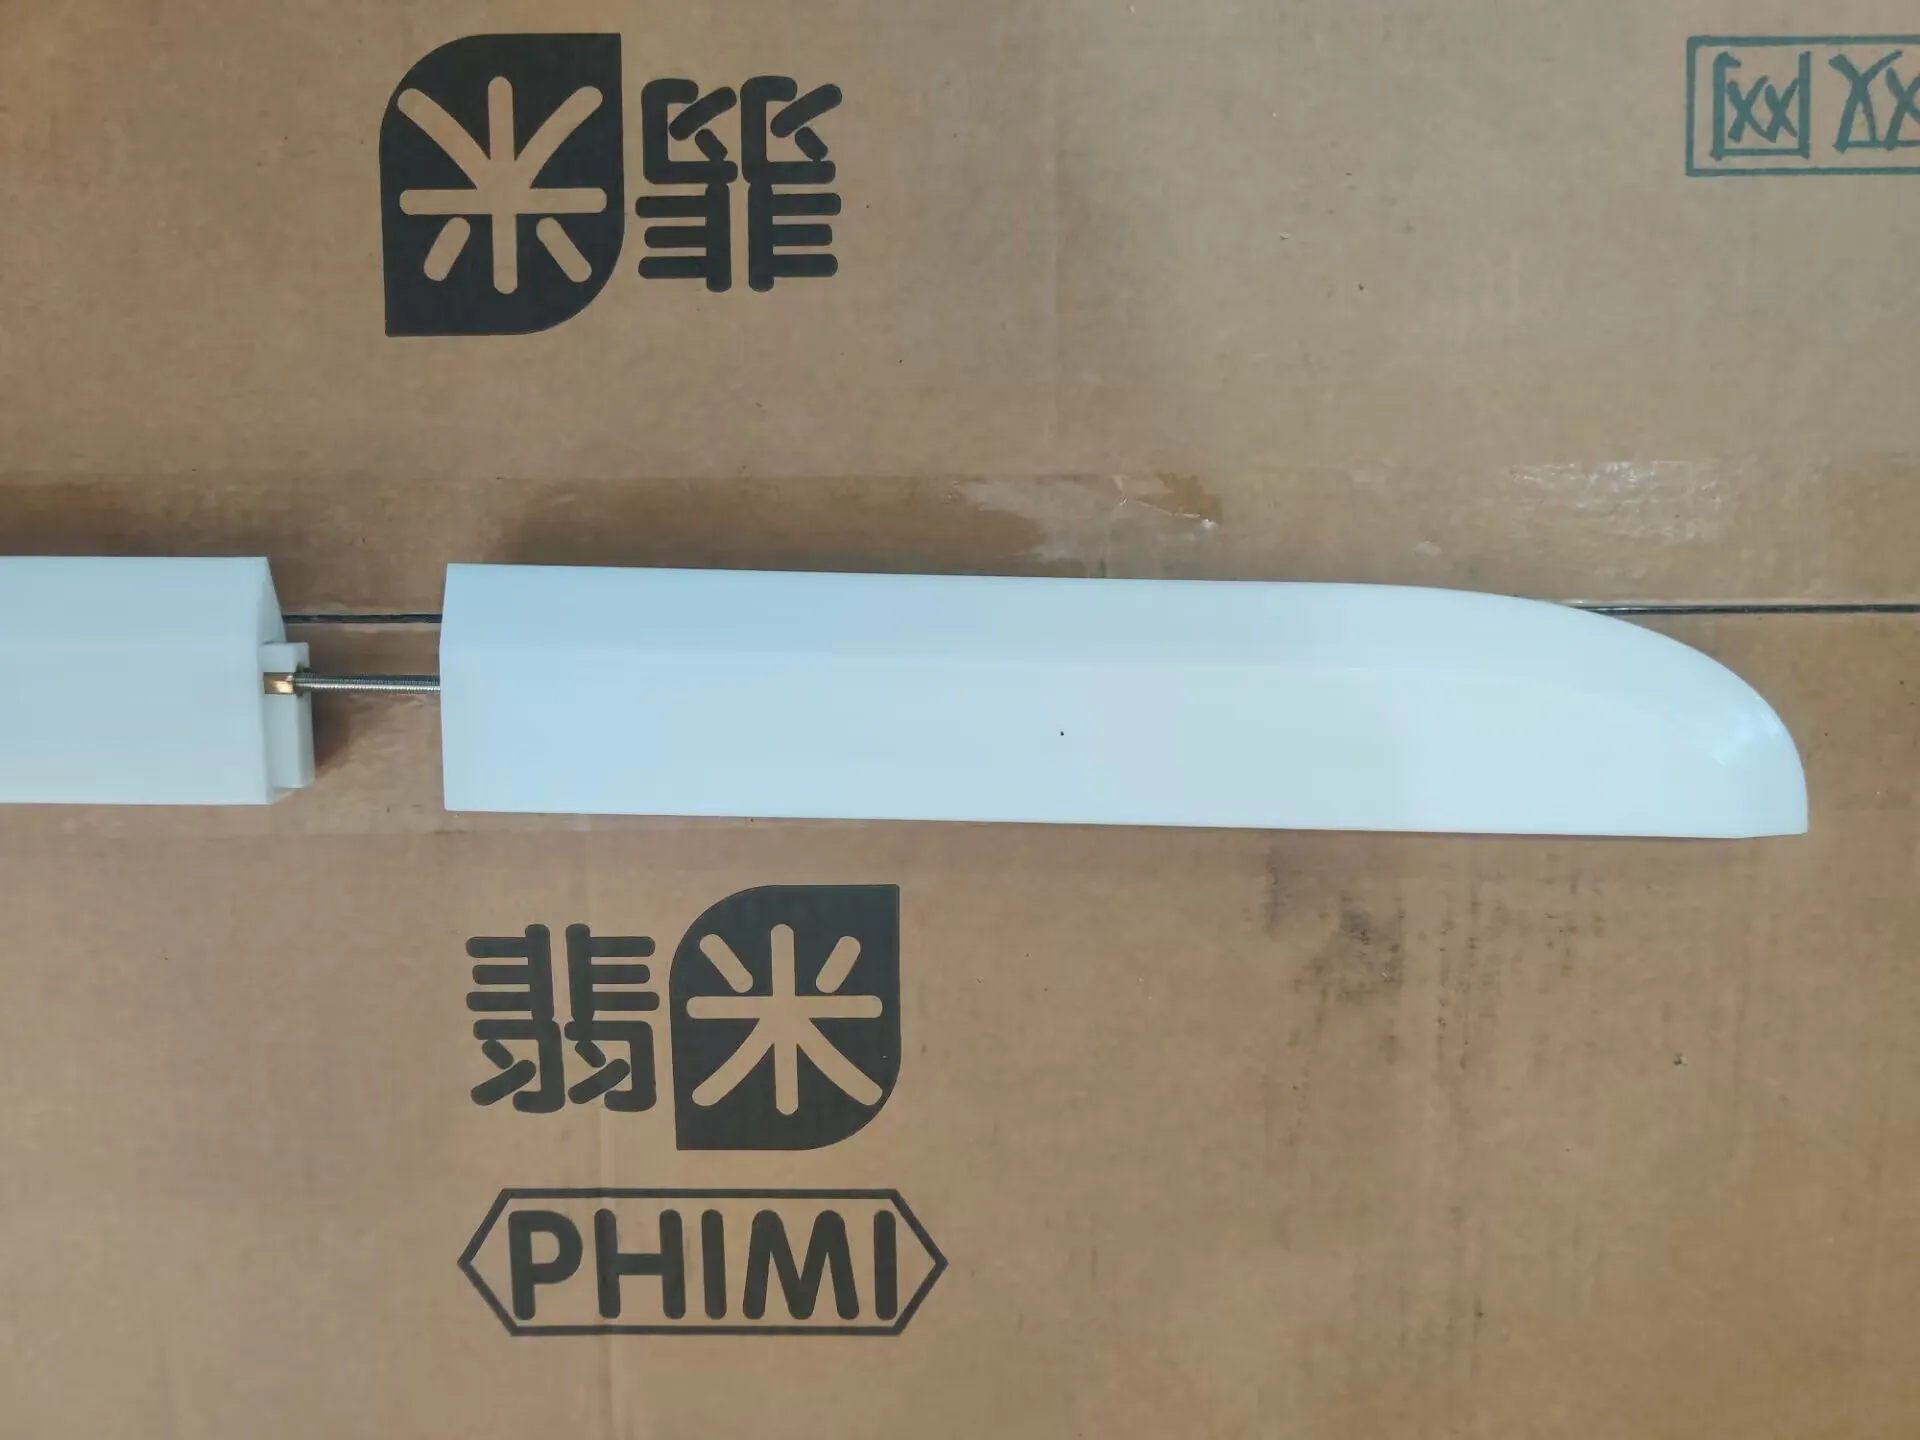
III. Hilt Assembly (Example 22CM hilt) (Forgot to take photos of the Wind God Sword assembly, using Thor's Sword images instead)
Model: 22CM hilt
Hardware: 2 190mm M3 threaded rods, 4 M3*8mm double-pass hex nuts
The steps are similar to the blade. Screw the threaded rod into the hilt, then tighten with the remaining nuts (For a 28CM hilt, add glue at the joint)
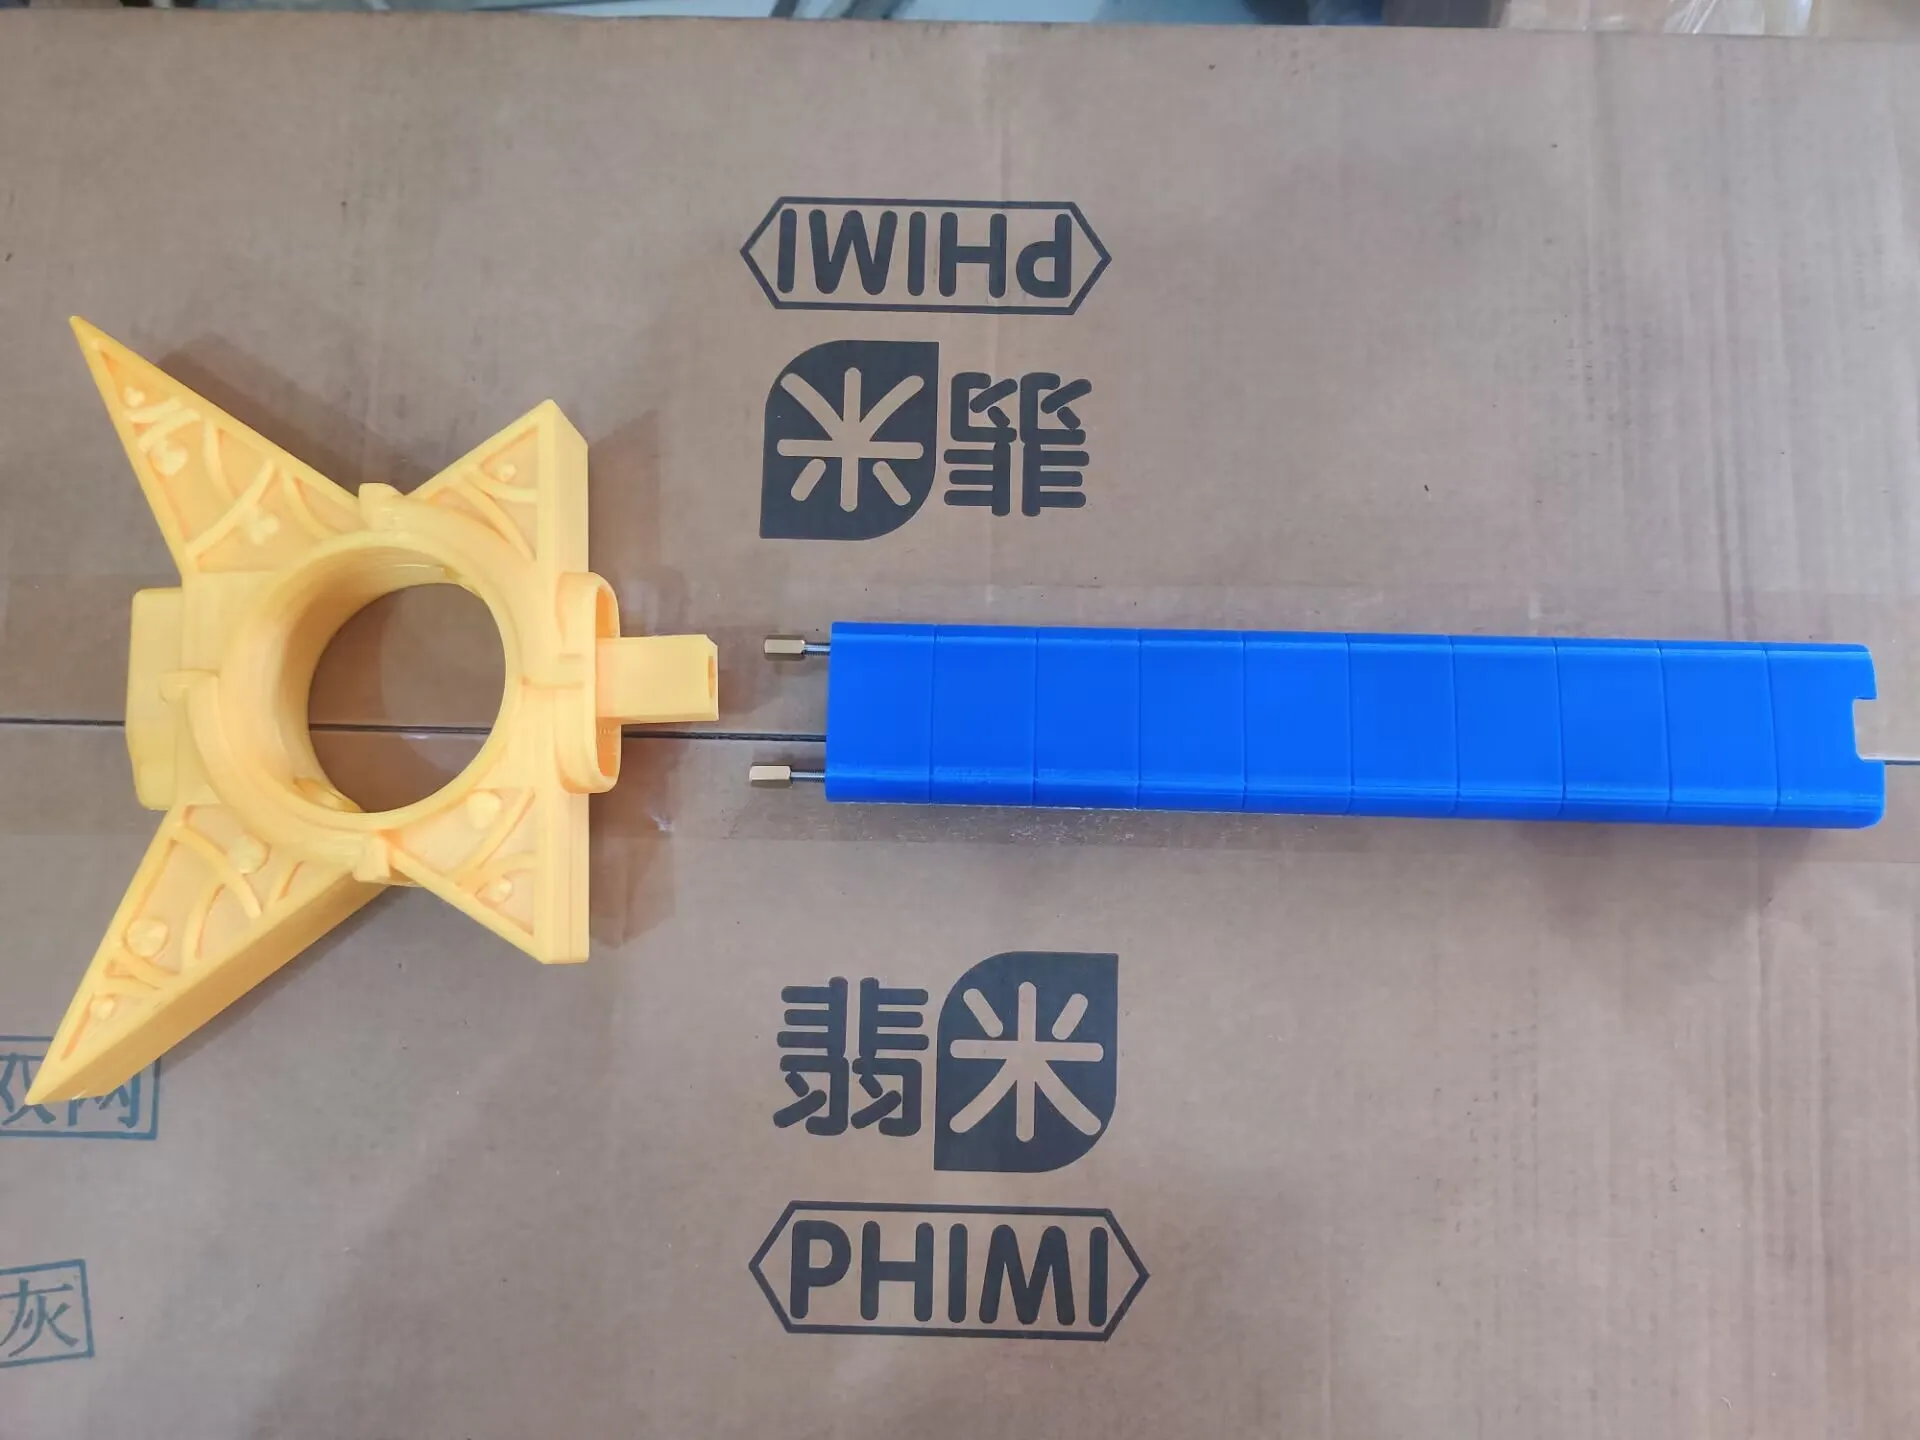
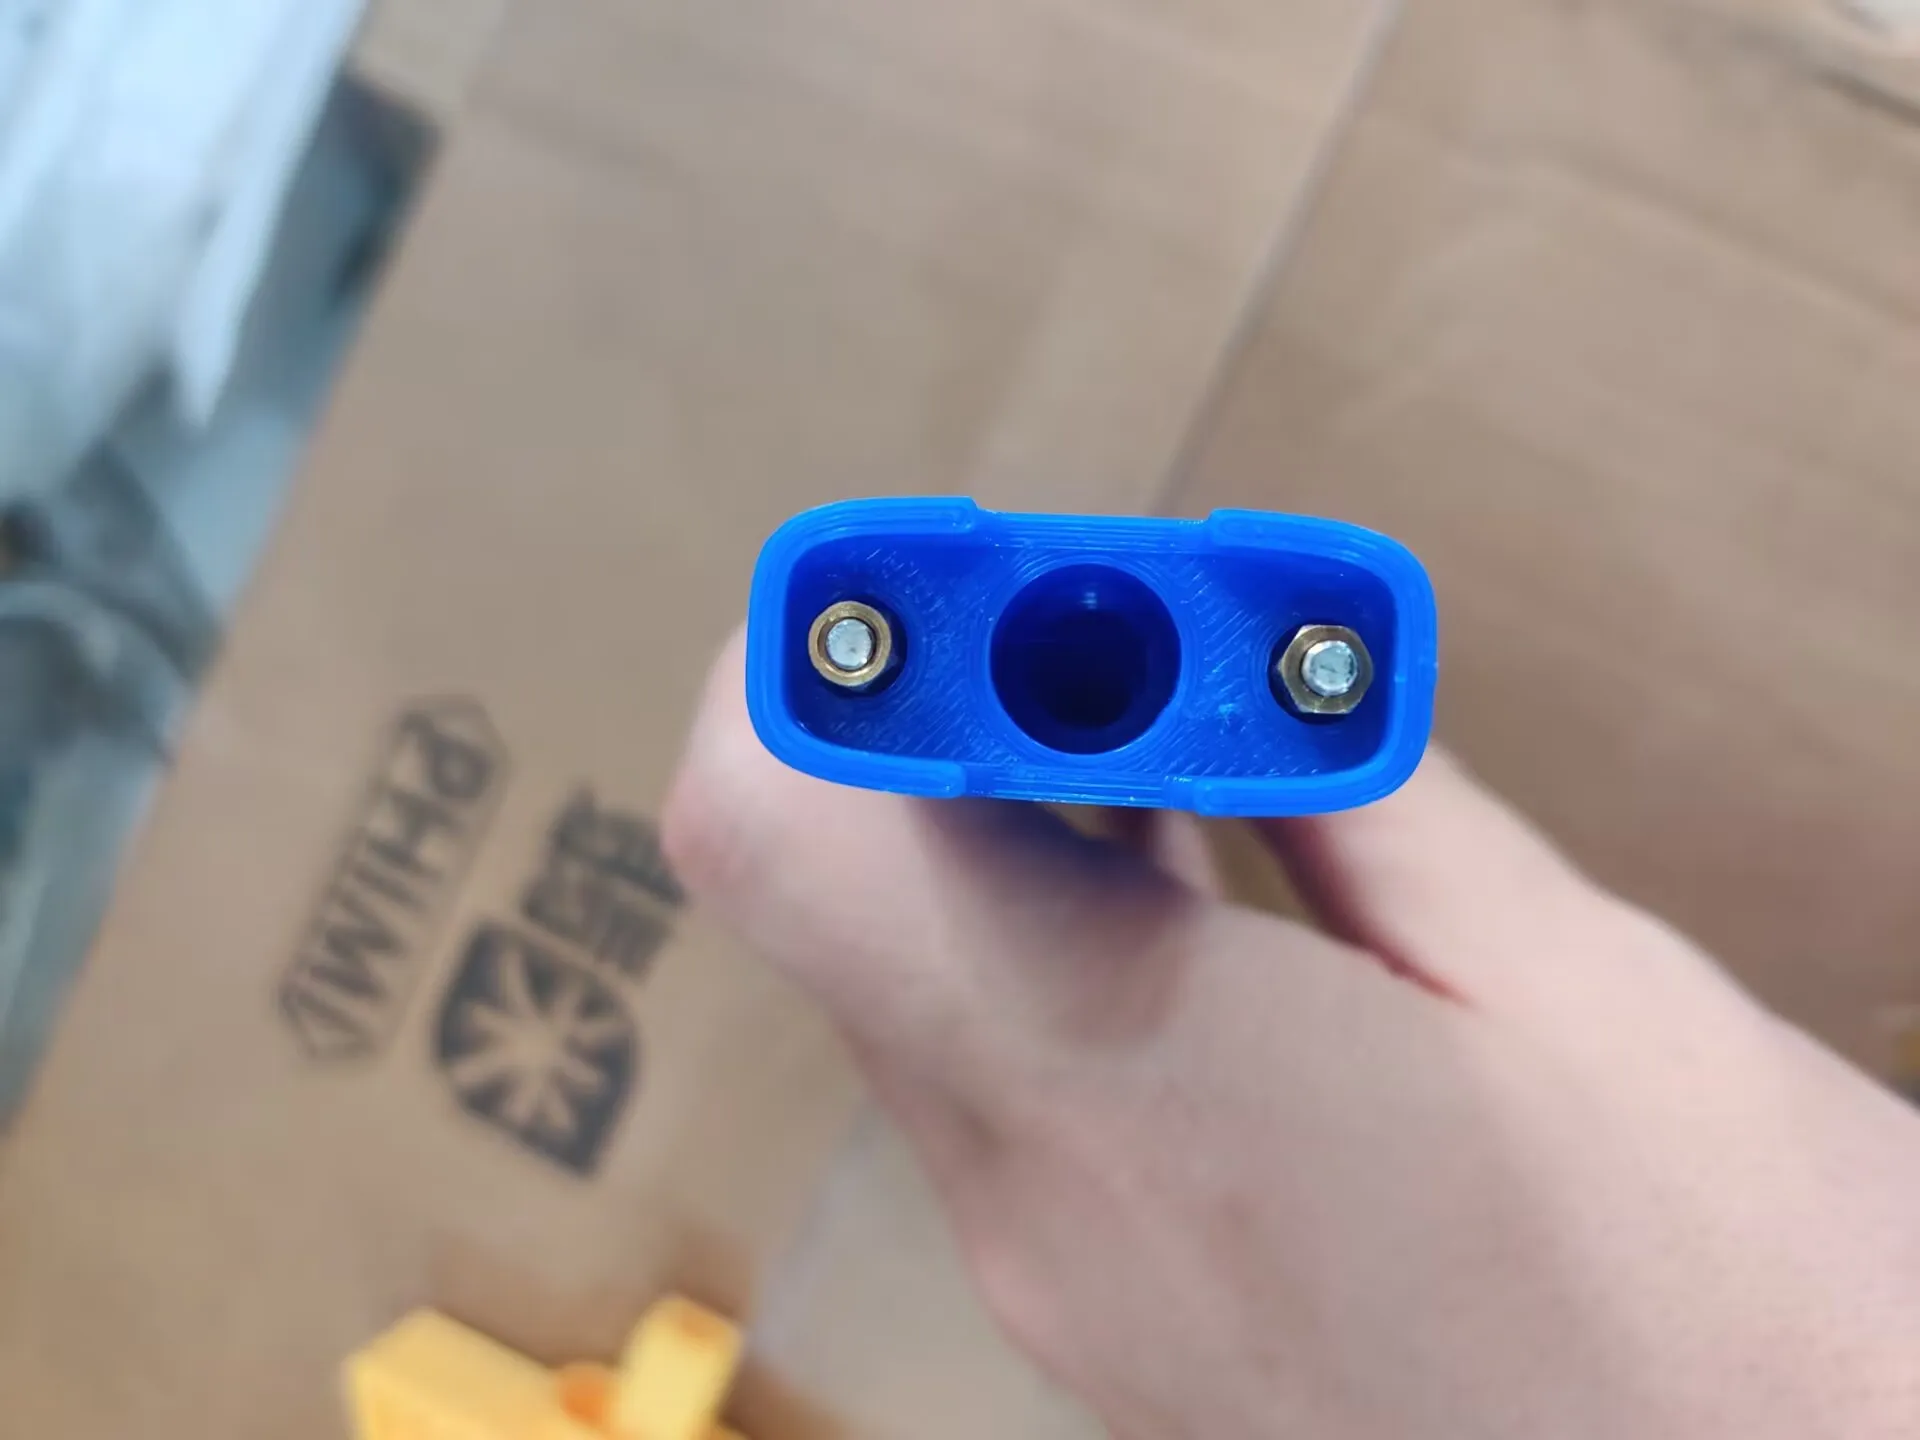
IV. Overall Assembly
Glue the blade, guard, and hilt together (more glue is recommended)
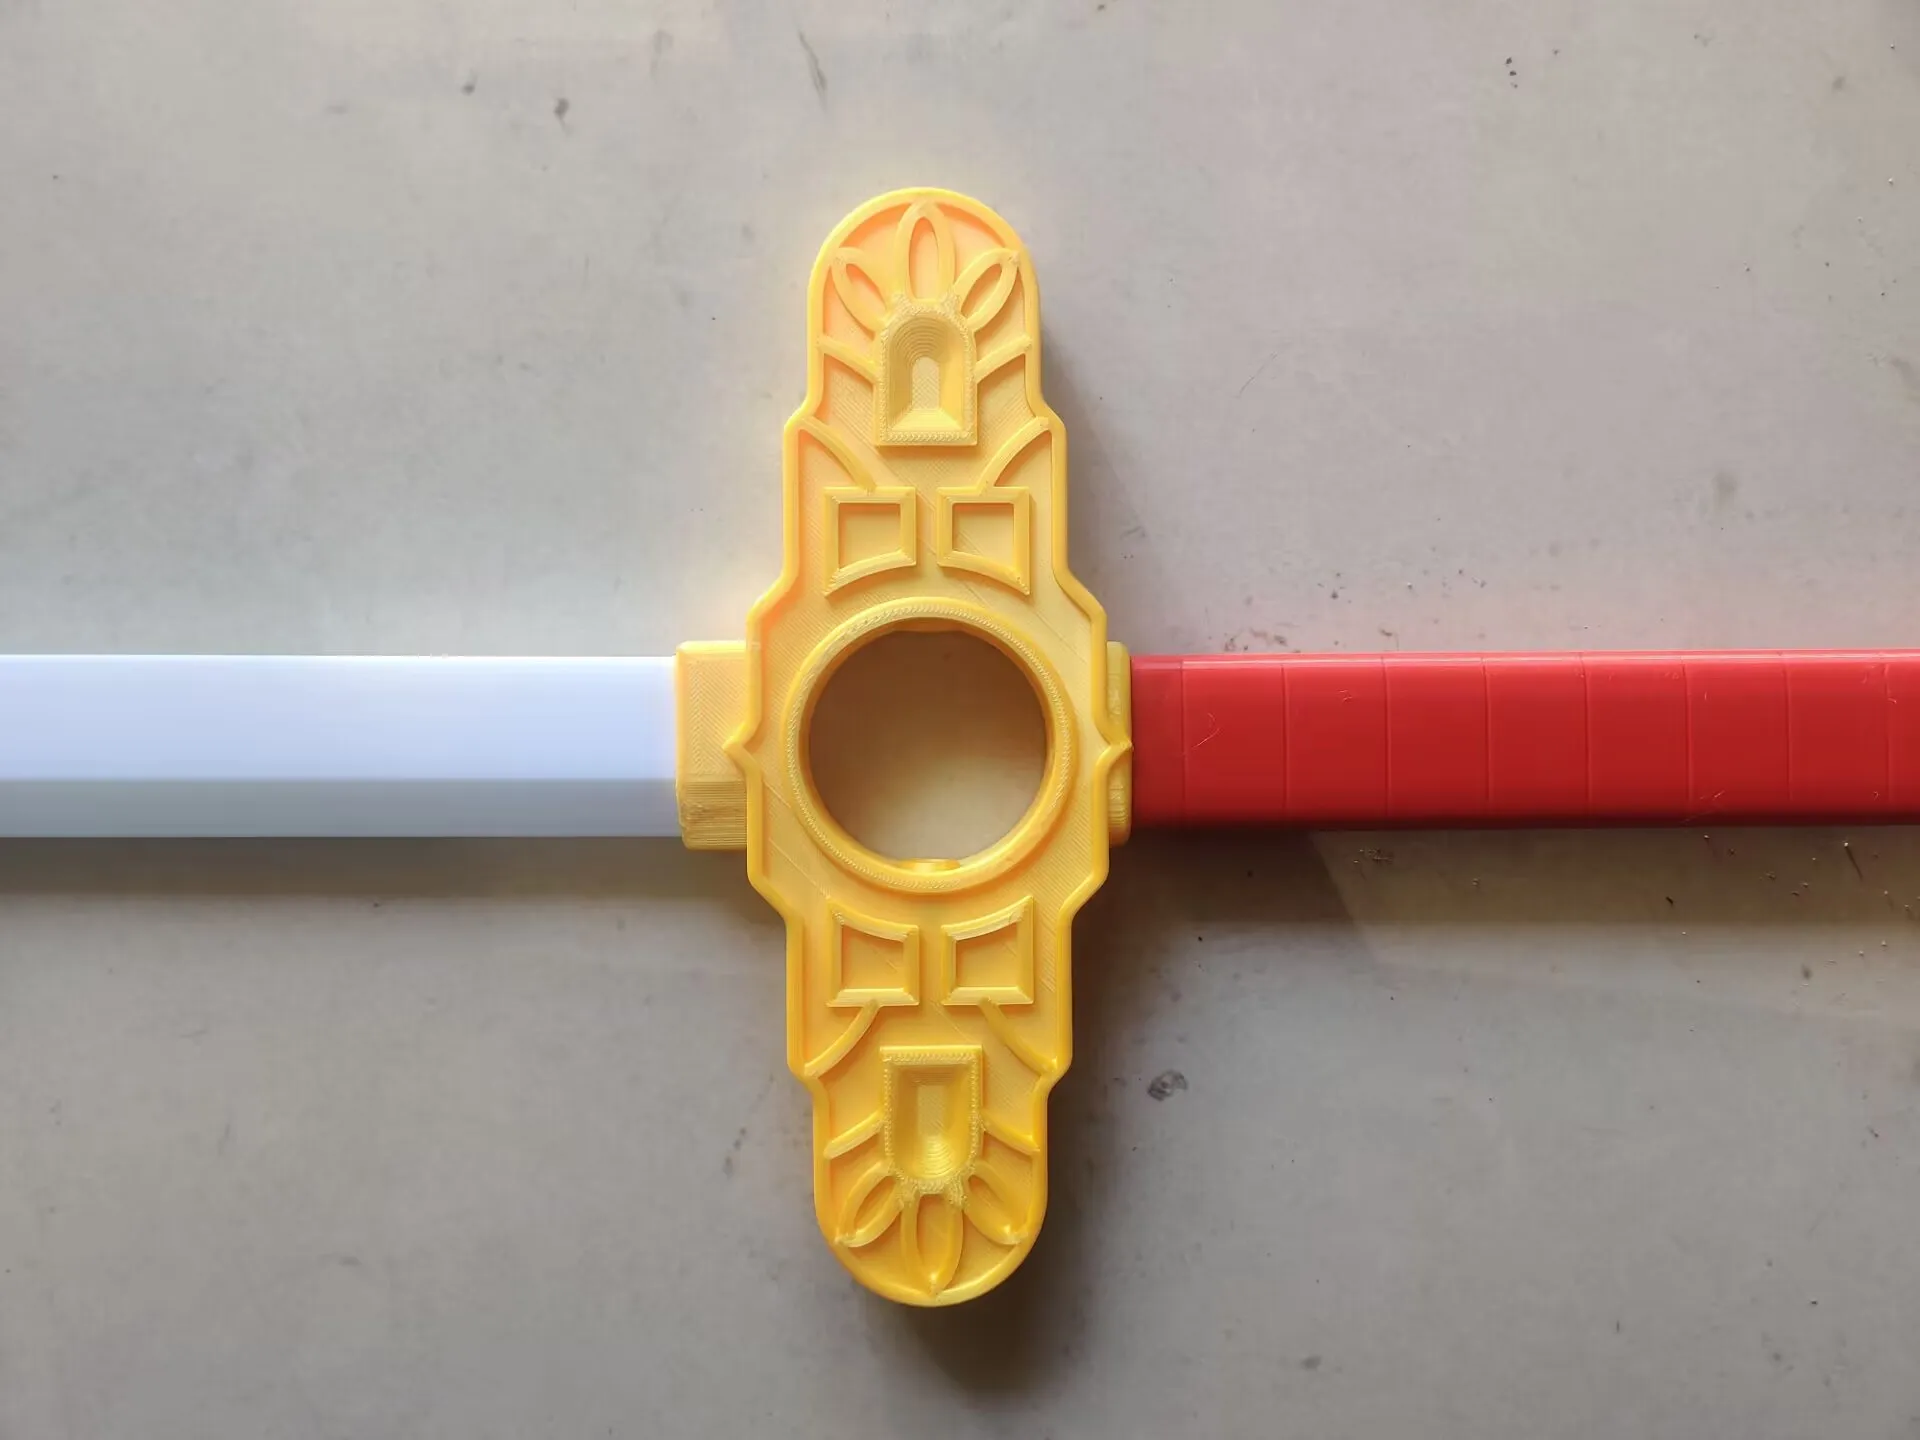
V. Switch Assembly
Model: Hilt 3, Hilt 4
Hardware: 1 1*10*25mm spring, 1 190mm M3 threaded rod
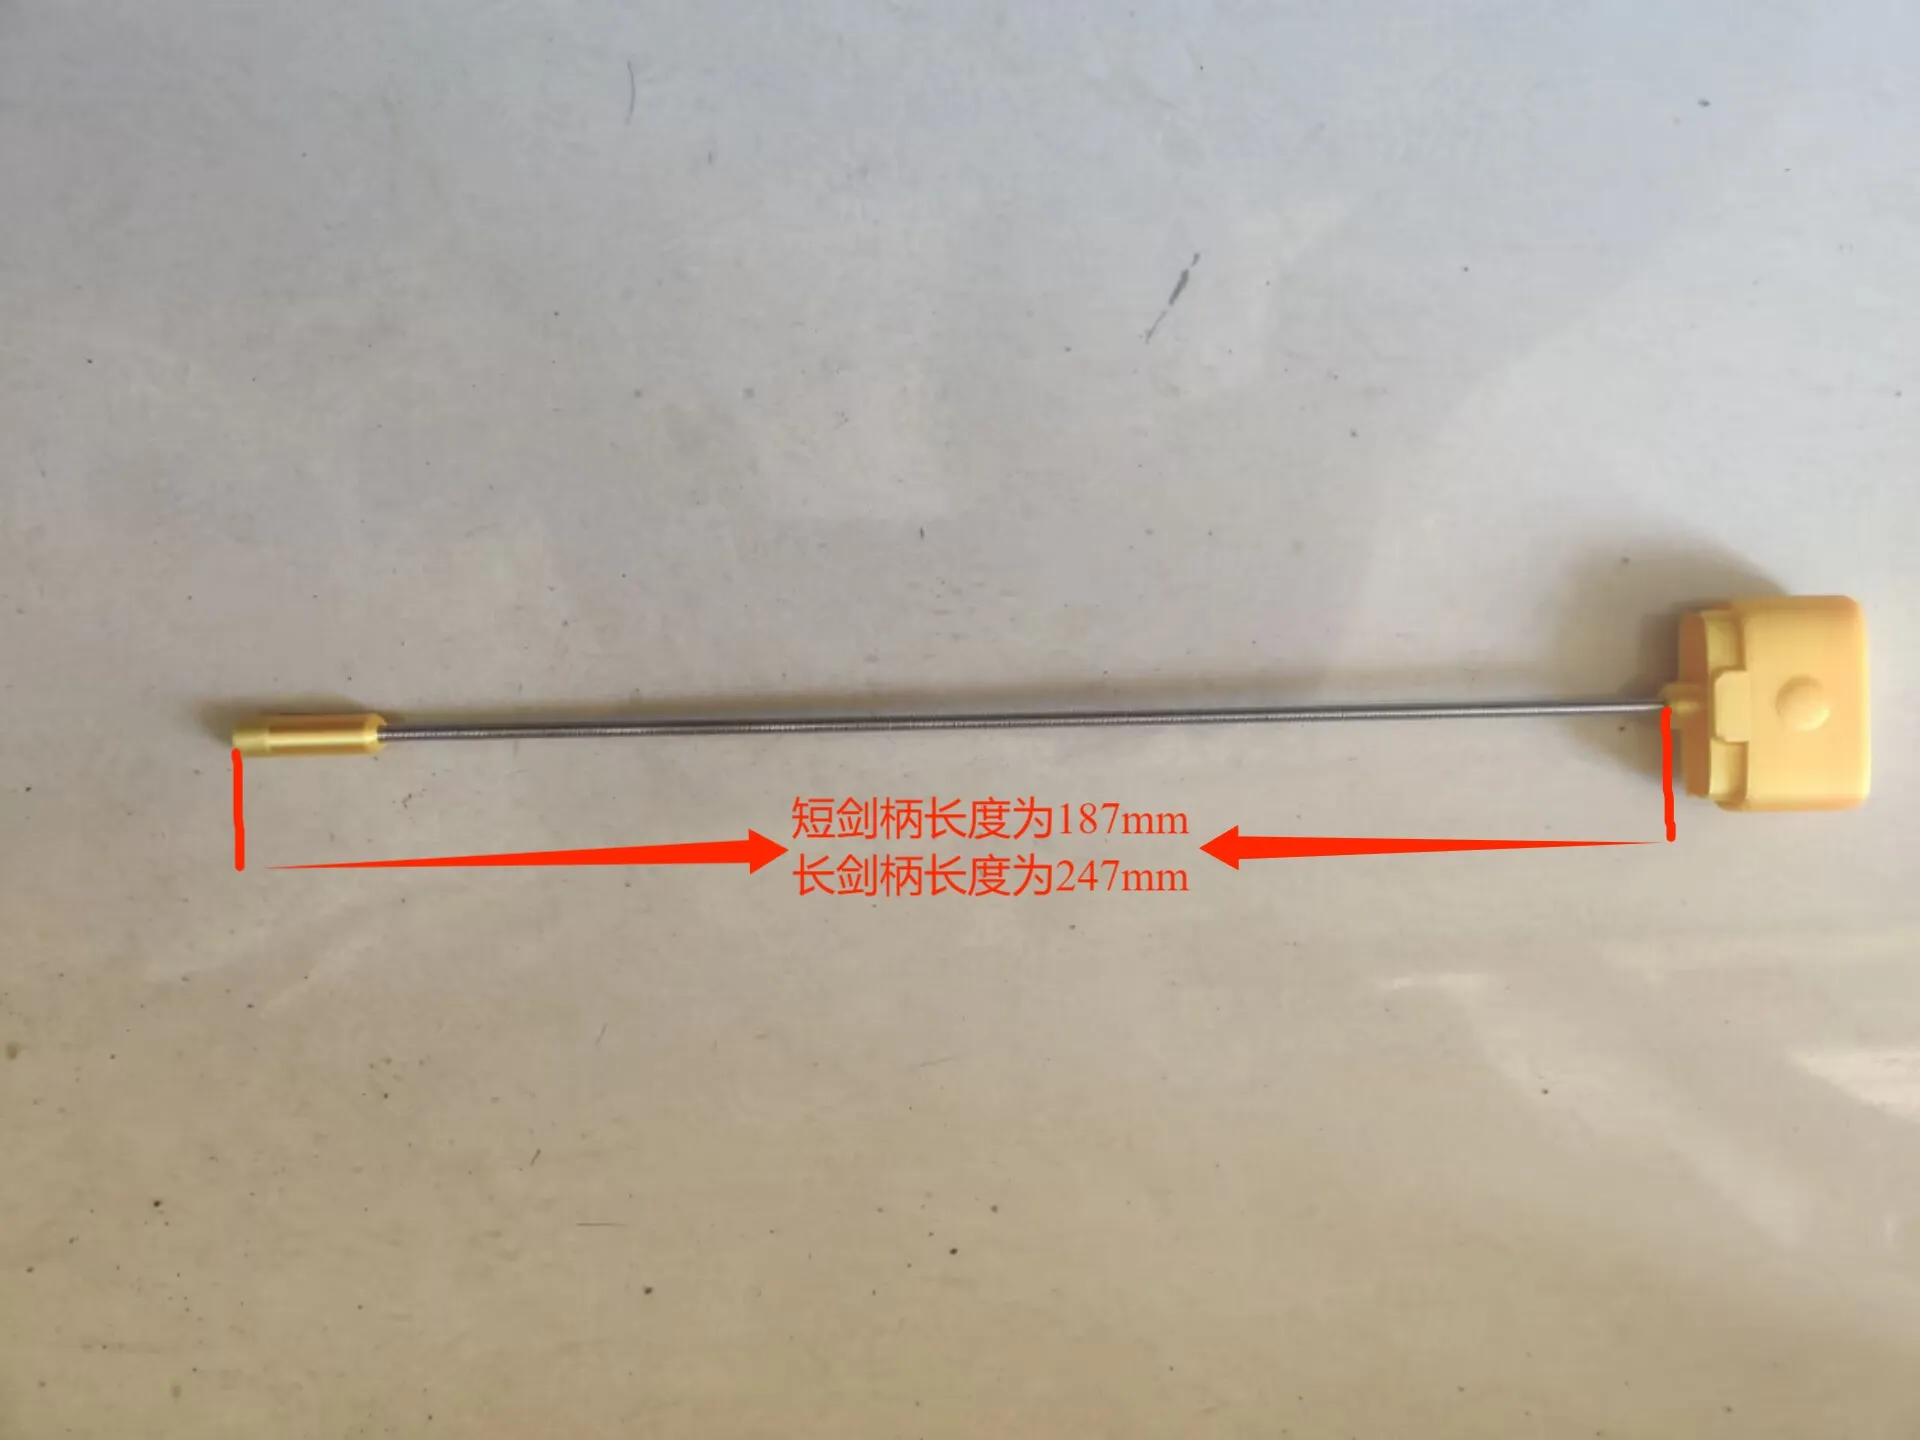
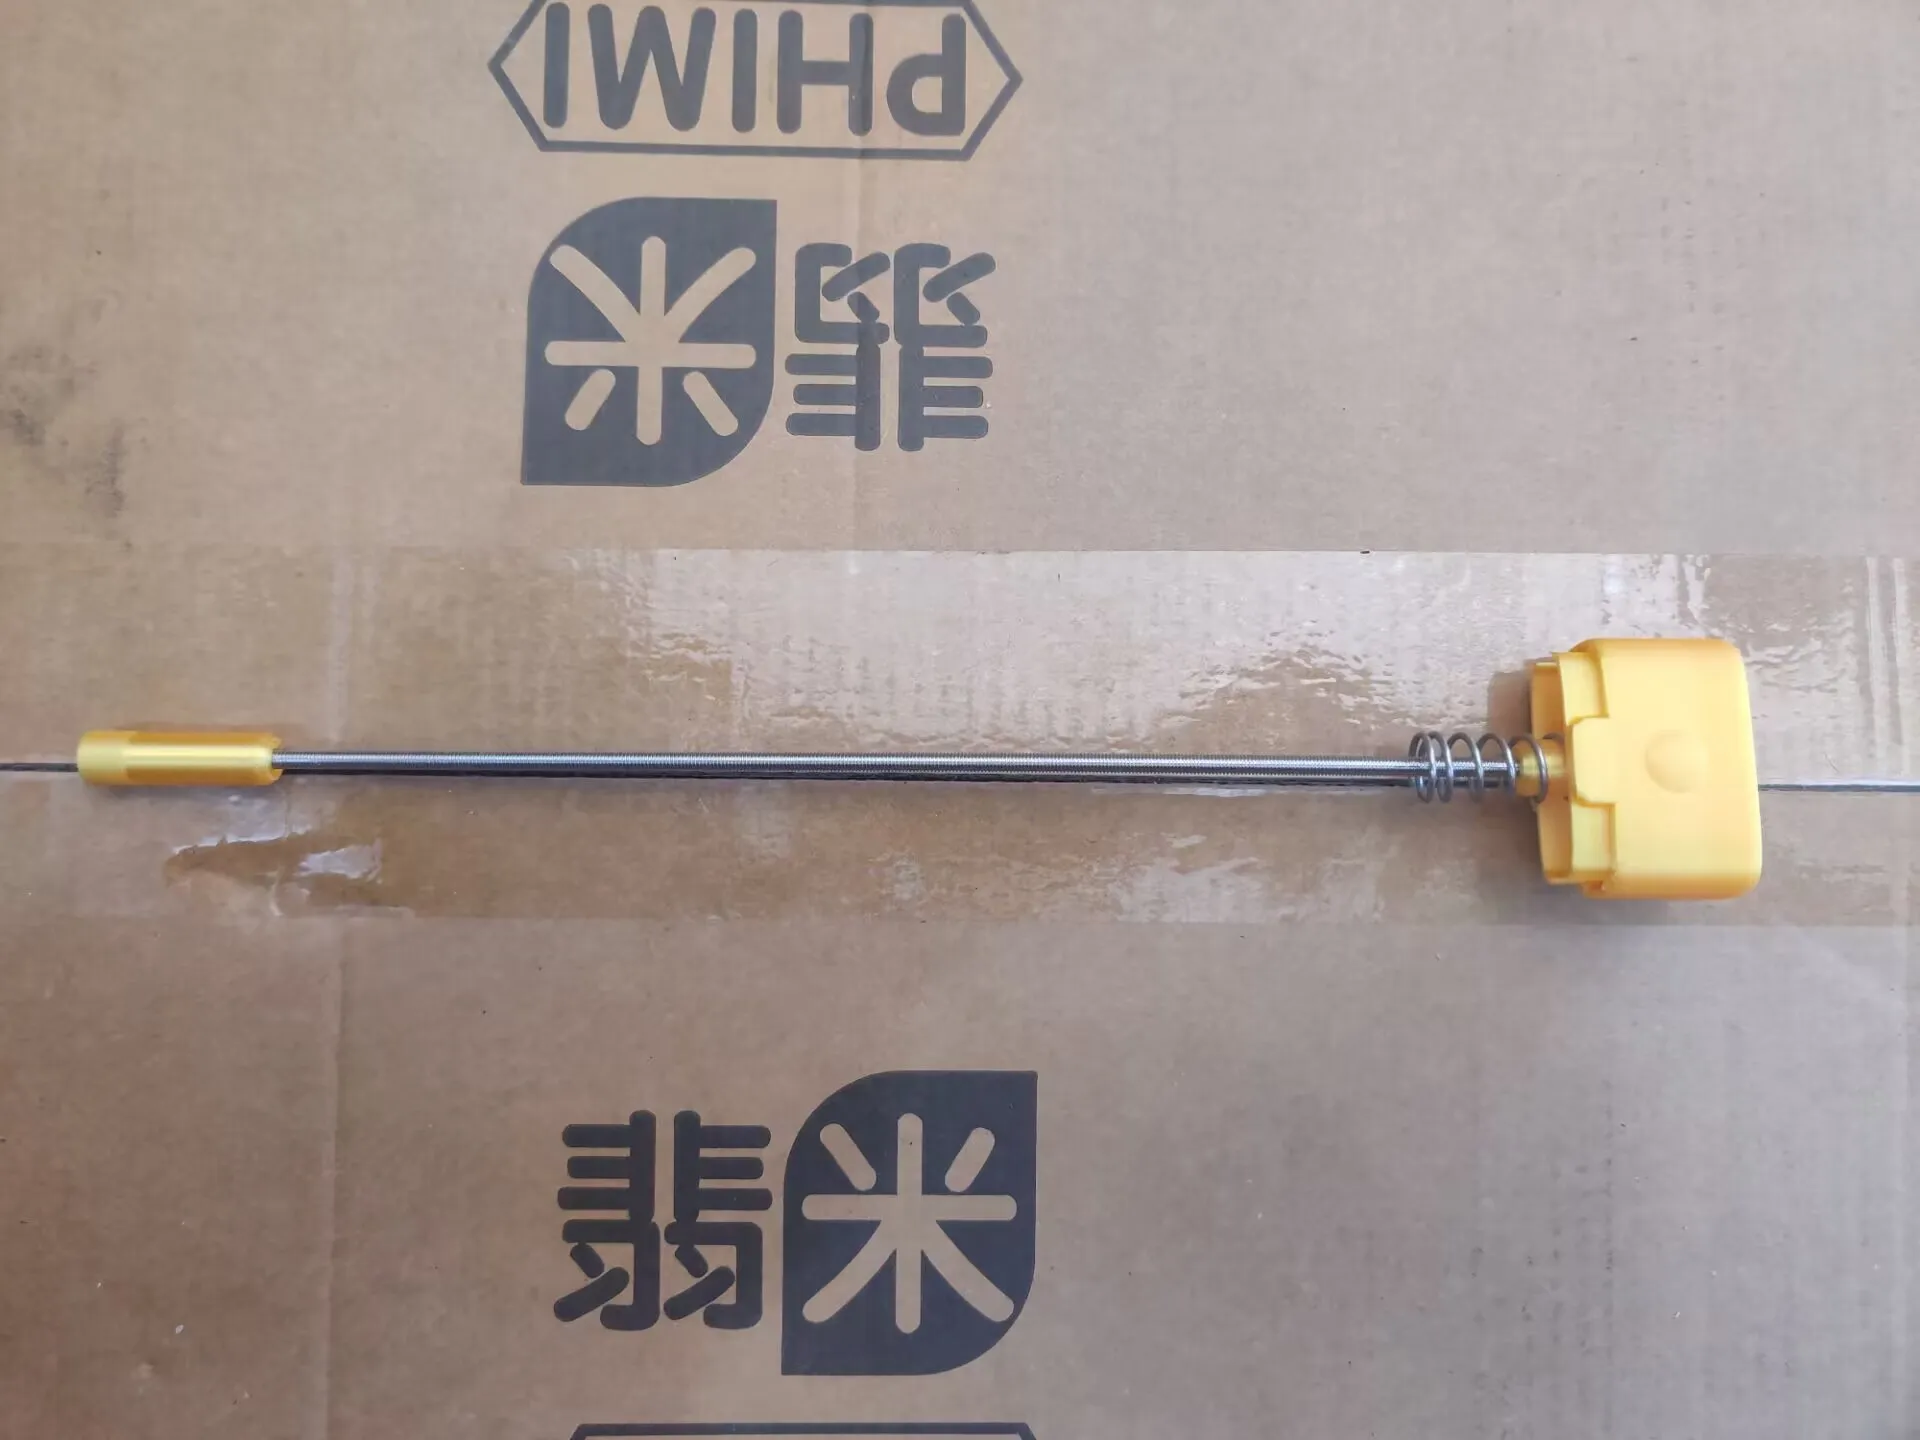
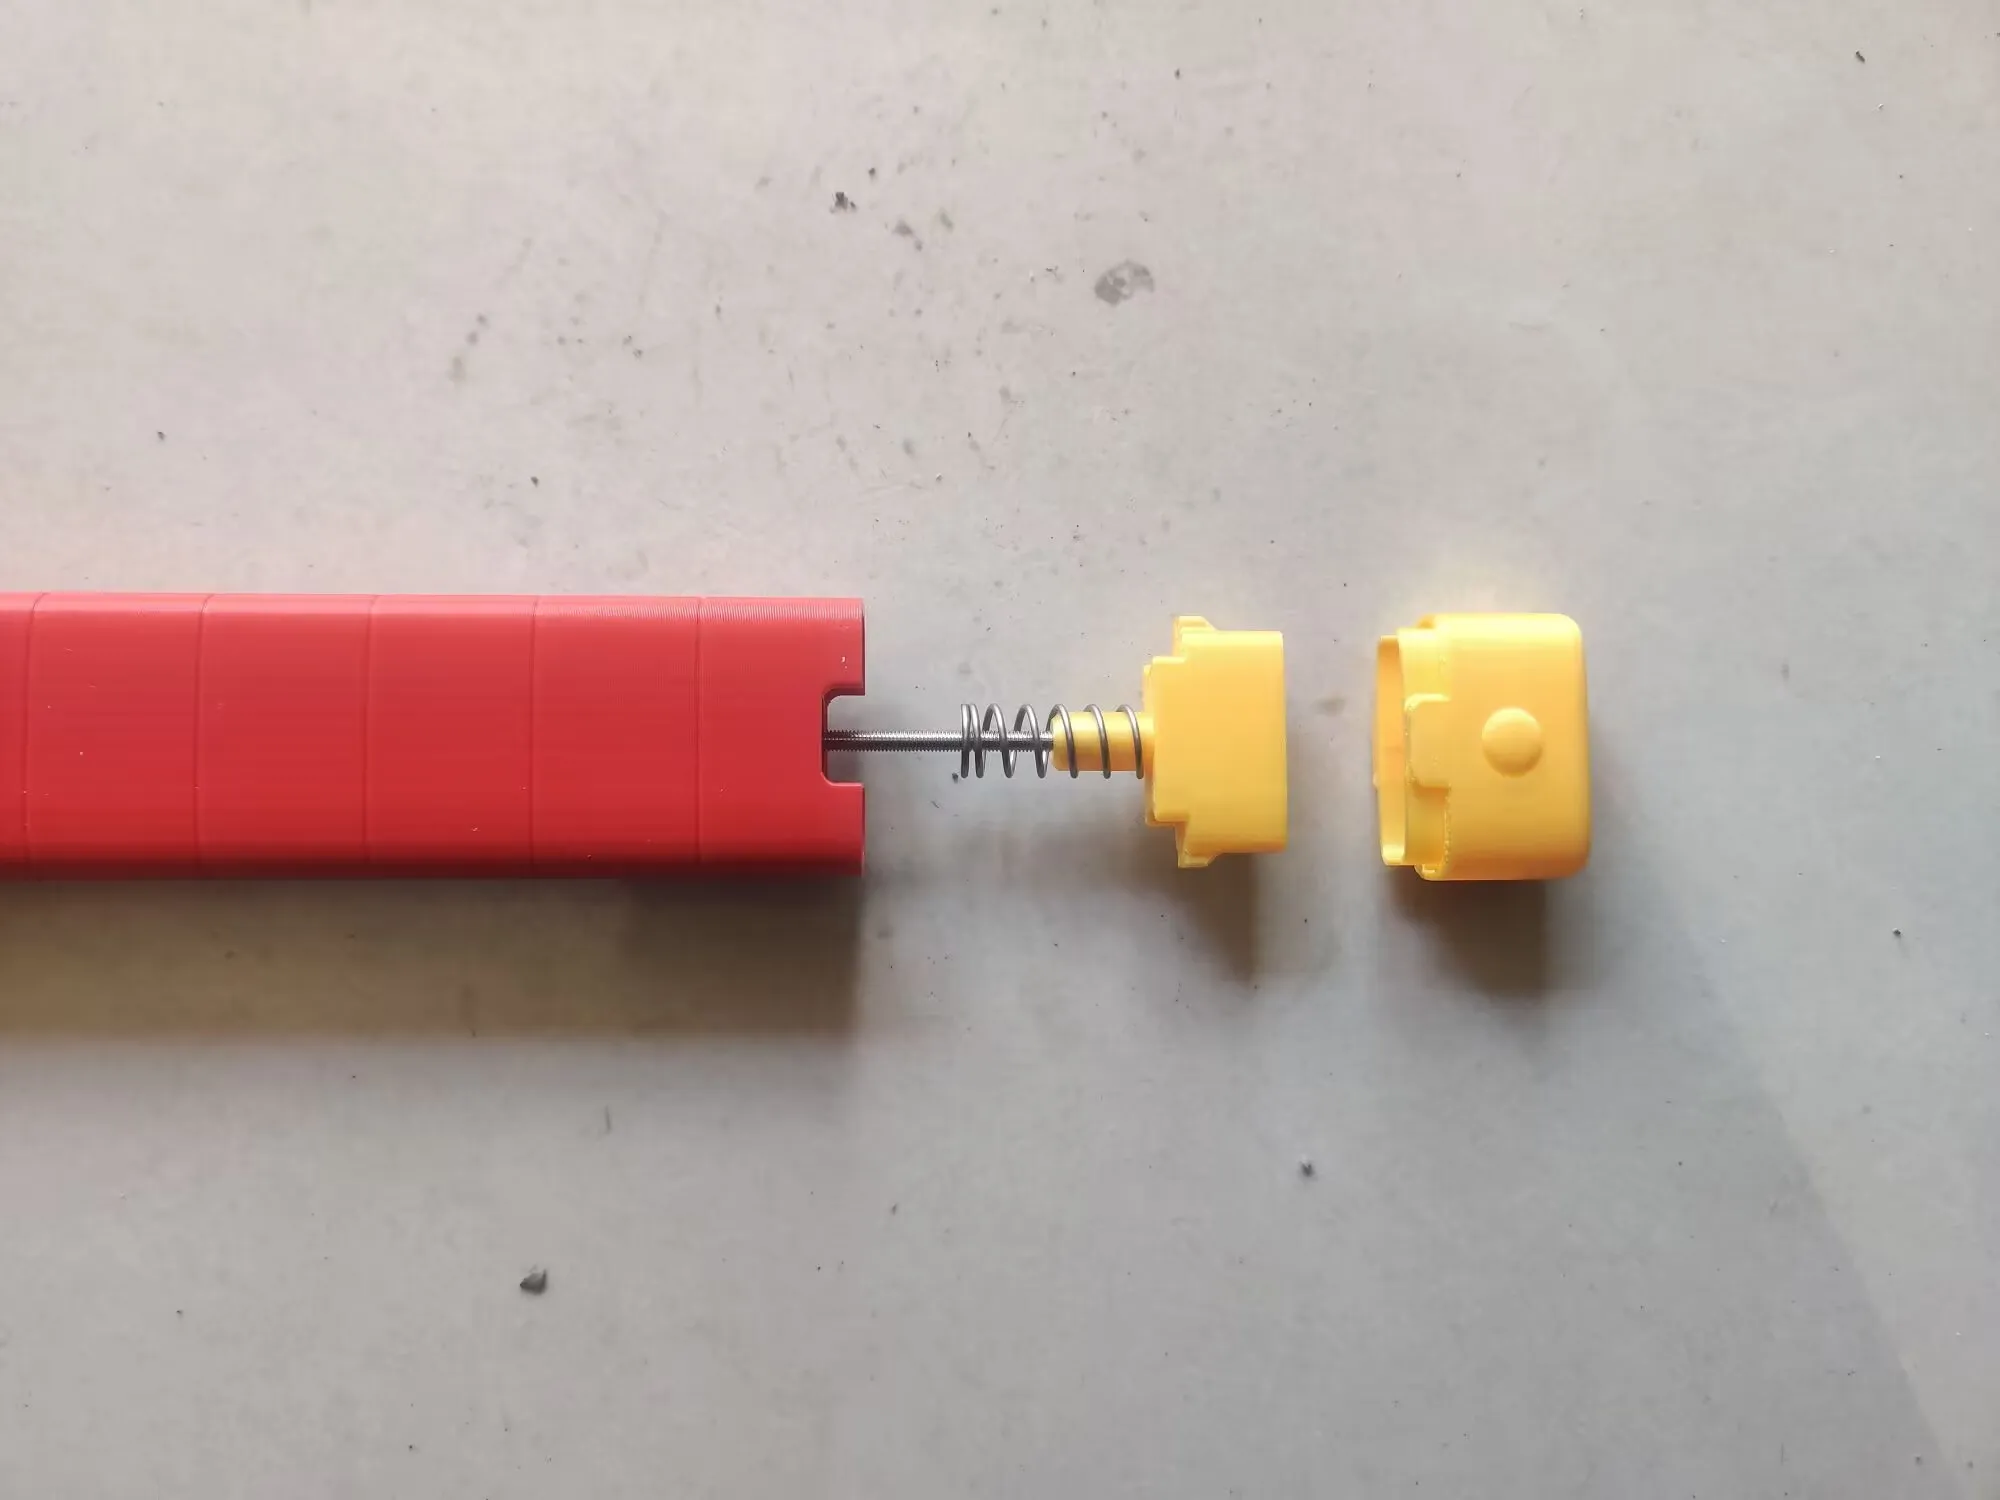
Insert two 3*6 neodymium magnets into the 3-6 magnet model, place them onto the threaded rod, then insert into Hilt 4. Adjust the length as shown in the figure, then glue securely (Because magnets on Taobao have inconsistent magnetic force, you can adjust the length appropriately based on the magnetic force; lengthen for weaker magnetism, shorten for stronger magnetism). Finally, install the spring and Hilt 3, test to ensure the Wind God Pearl can light up, then glue securely
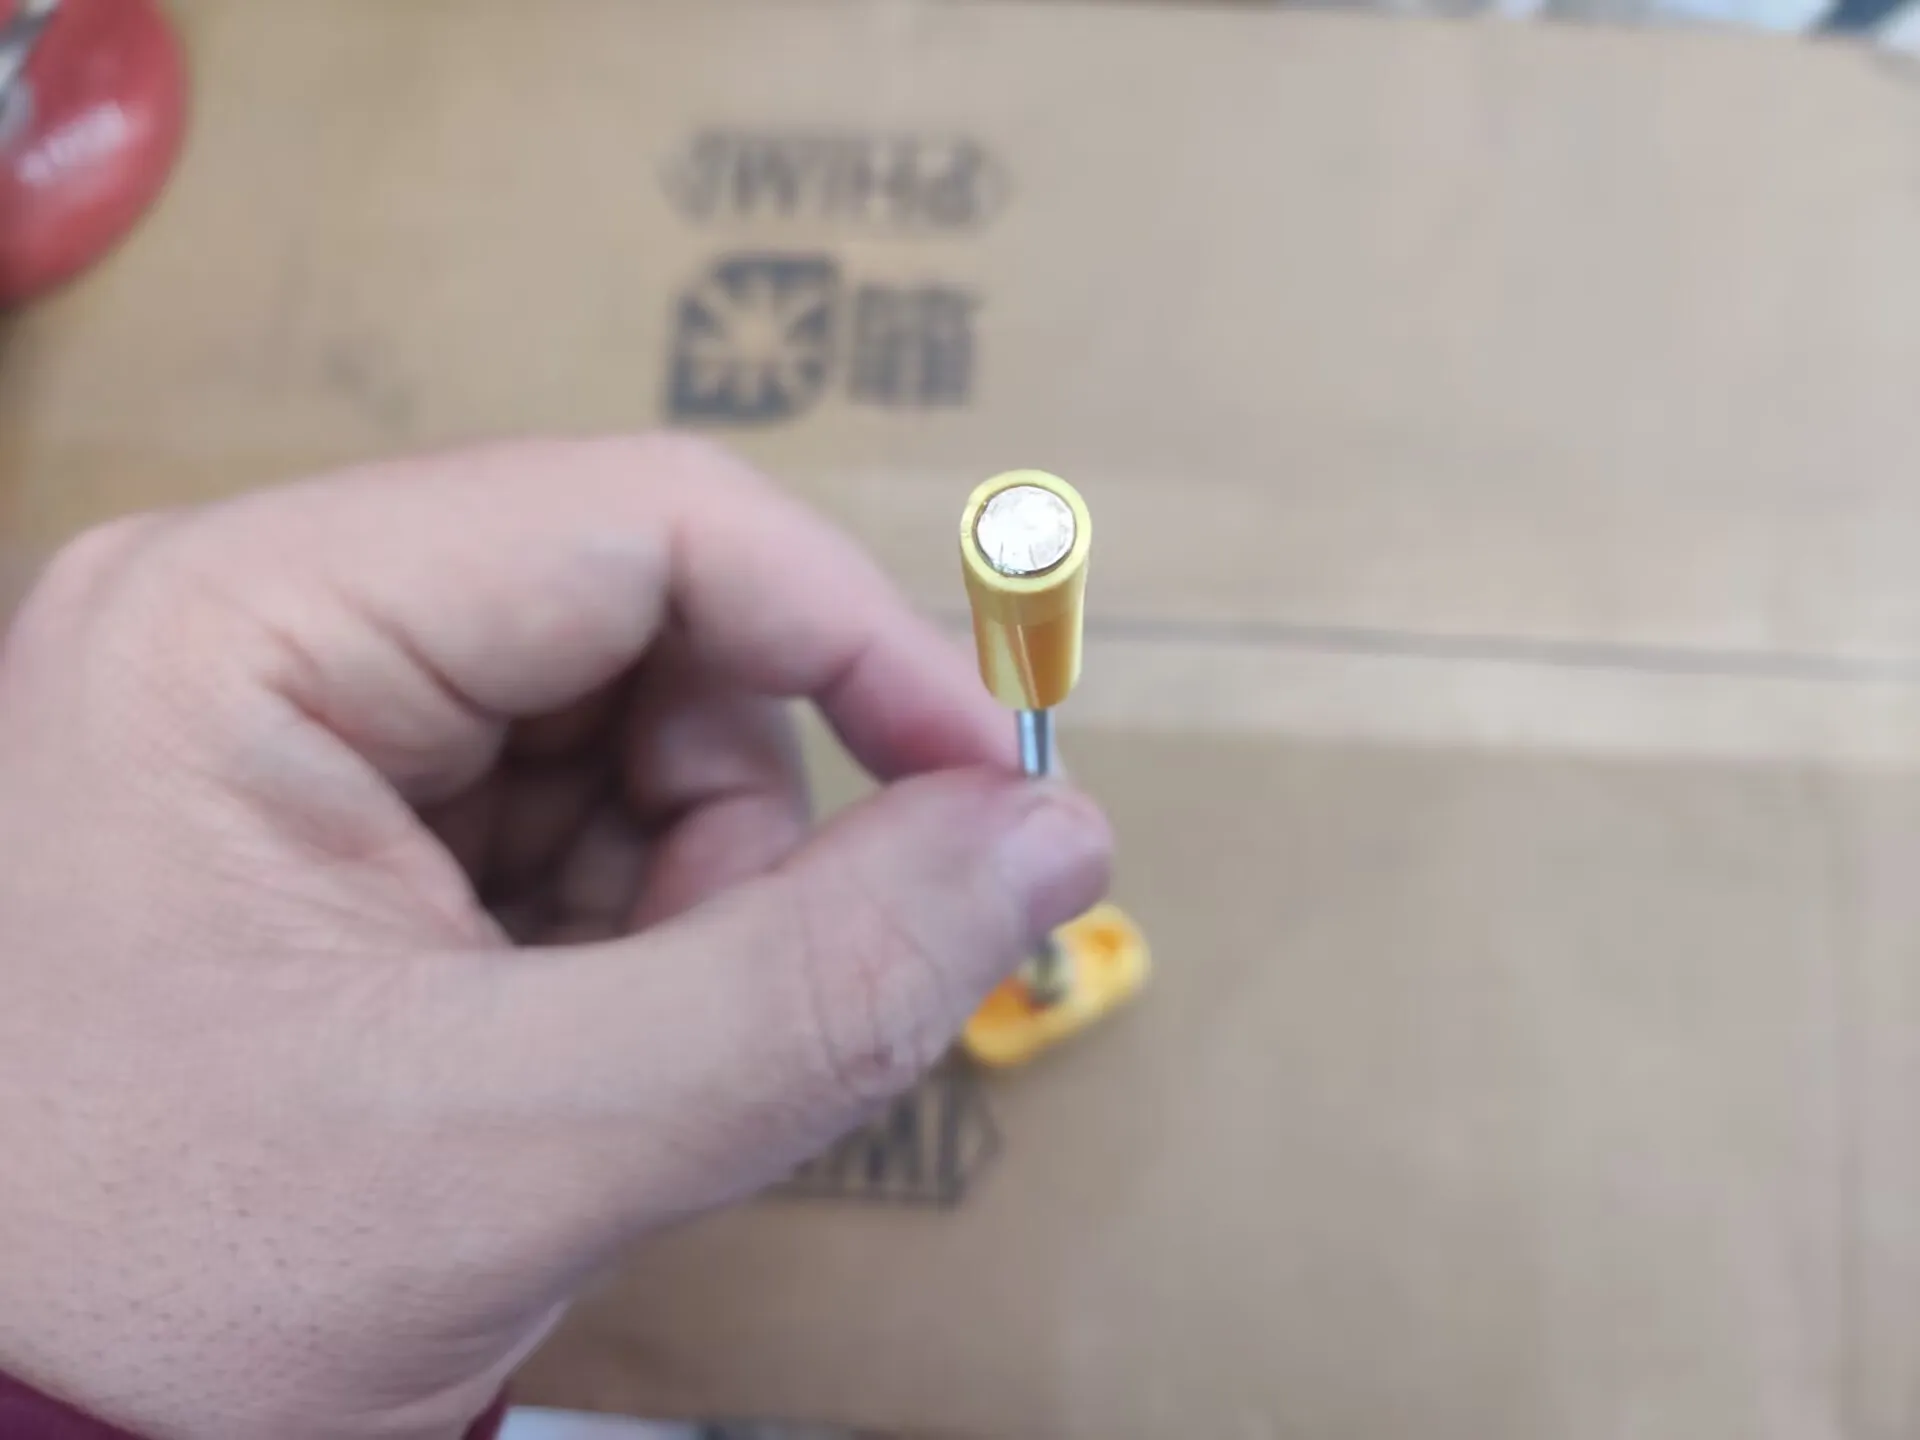
License

You shall not share, sub-license, sell, rent, host, transfer, or distribute in any way the digital or 3D printed versions of this object, nor any other derivative work of this object in its digital or physical format (including - but not limited to - remixes of this object, and hosting on other digital platforms). The objects may not be used without permission in any way whatsoever in which you charge money, or collect fees.


Comment & Rating (1)