
Modular room
Print Profile(2)


Description
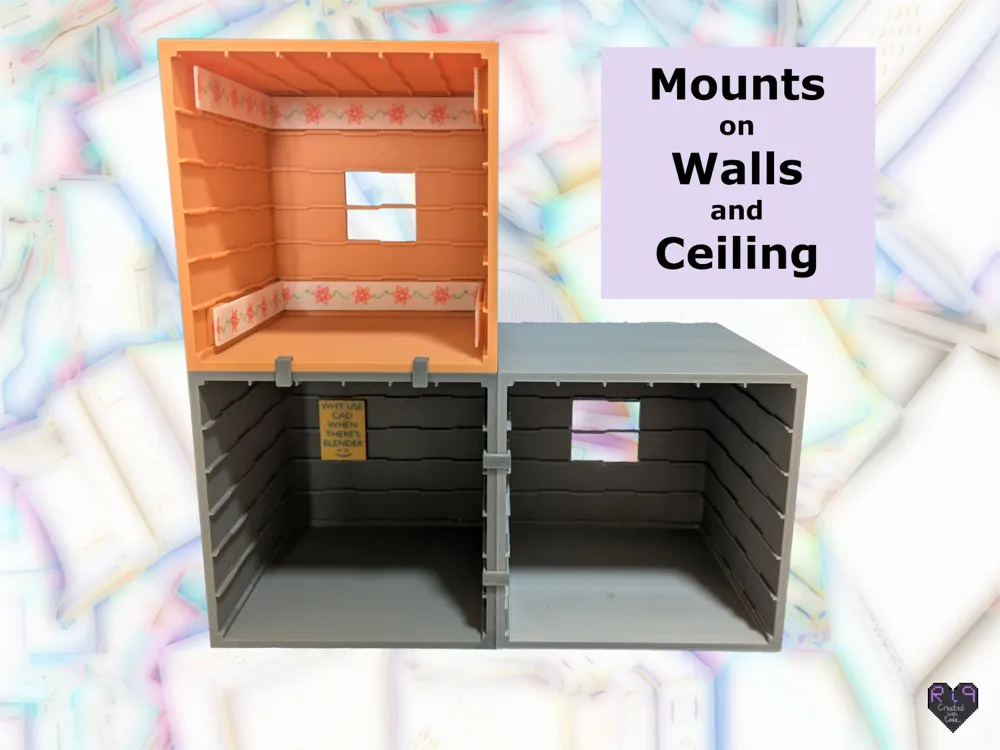
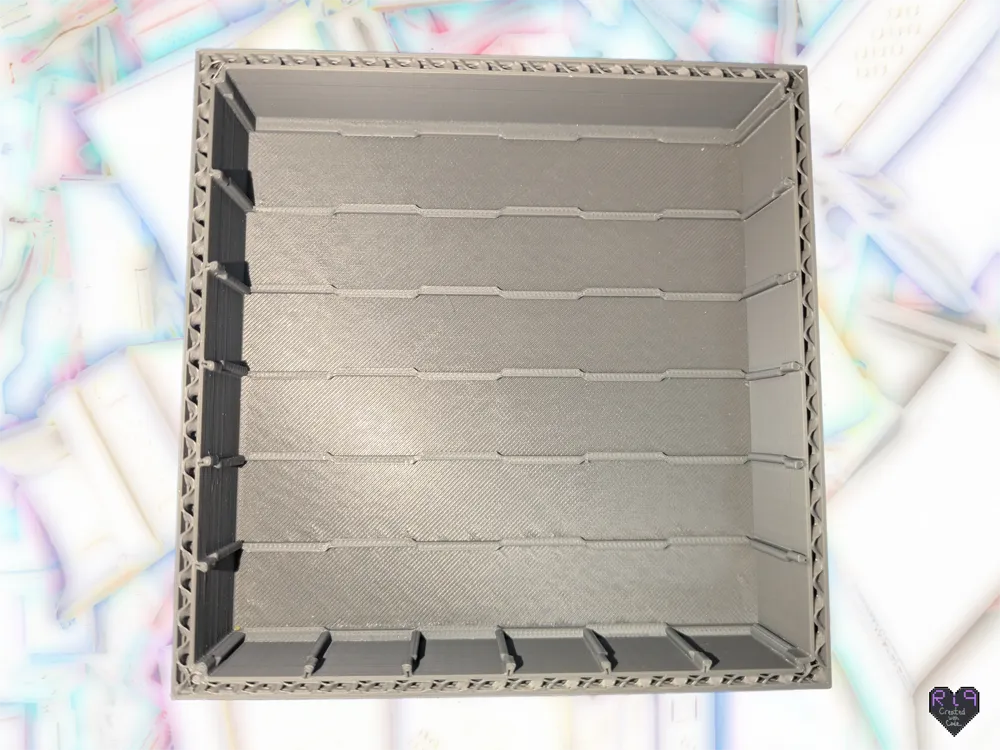
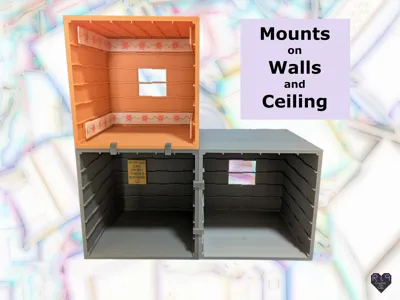
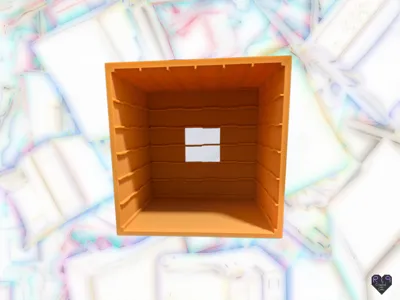
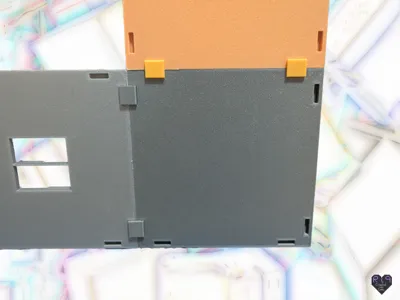
This is a modular room that can be used for dollhouses, photography, miniature or small object displays or dioramas. It has a sliding mount system on the walls and ceiling so that objects can be attached and moved easily.
I developed this because I couldn't find anything else that met my needs. I wanted something that needed minimal assembly or materials (no magnets!), and I found that Skadis-like systems didn't work at this scale.
SIZE
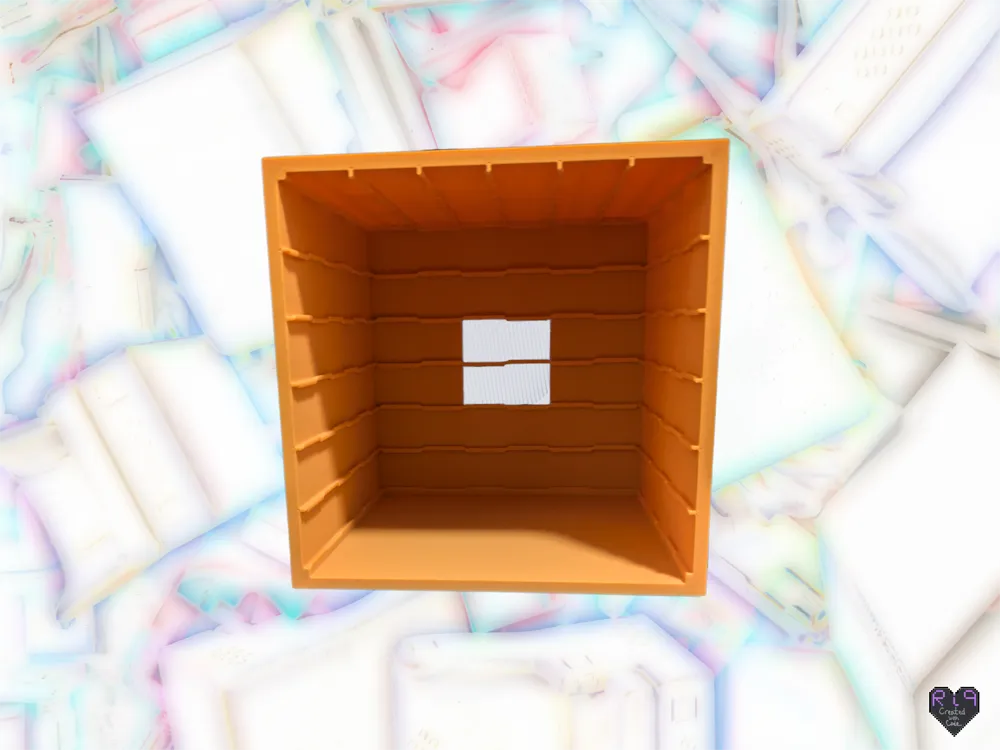
Inside: 11.8 X 11.8 X 11.8cm
Walls: 0.4 cm
Outside: 12.6 X 12.6 X 12.2cm
WALL AND CEILING MOUNT SYSTEM
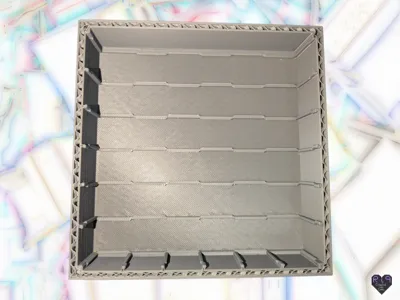
The system is a slide system. The inside has larger and smaller squares arranged in a checkered pattern. Objects attached to a slider can be inserted in the larger squares (ports) and moved to overlap with smaller squares (anchors) where they will be held in place.
PARTS FOR WALLS AND CEILING - I have made several models compatible with this room. Here's the links:
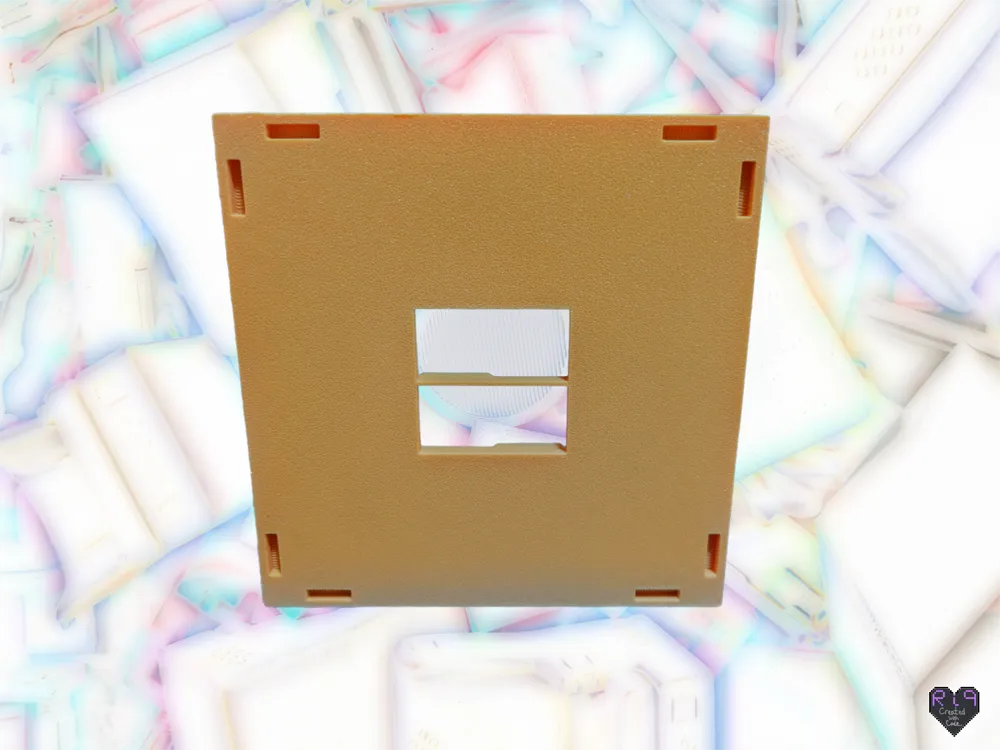
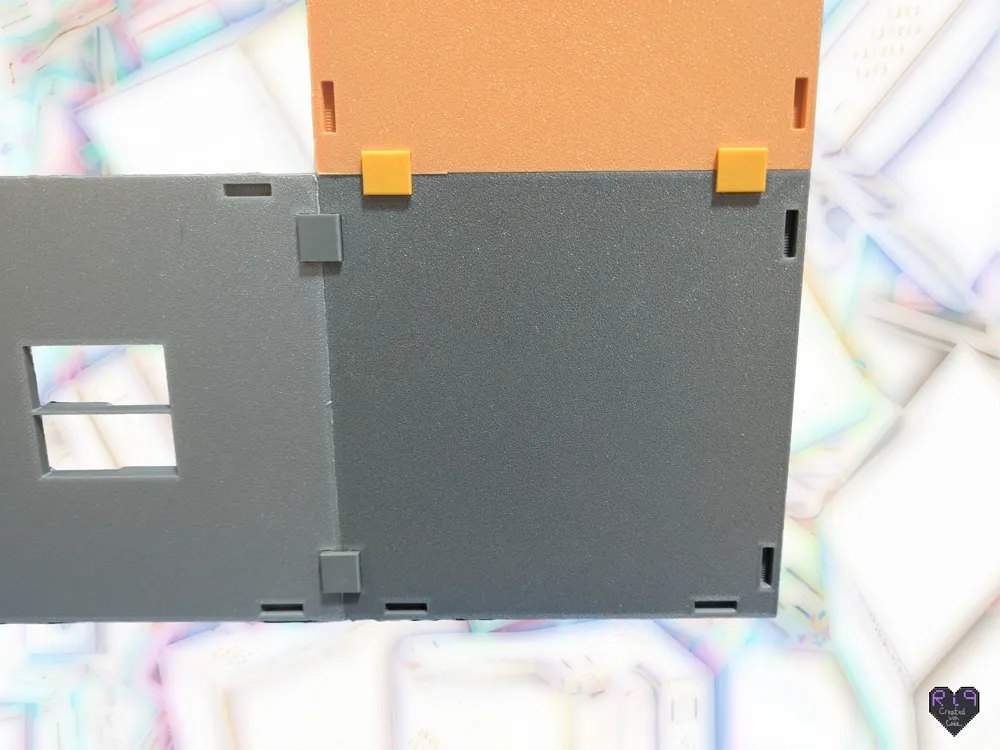
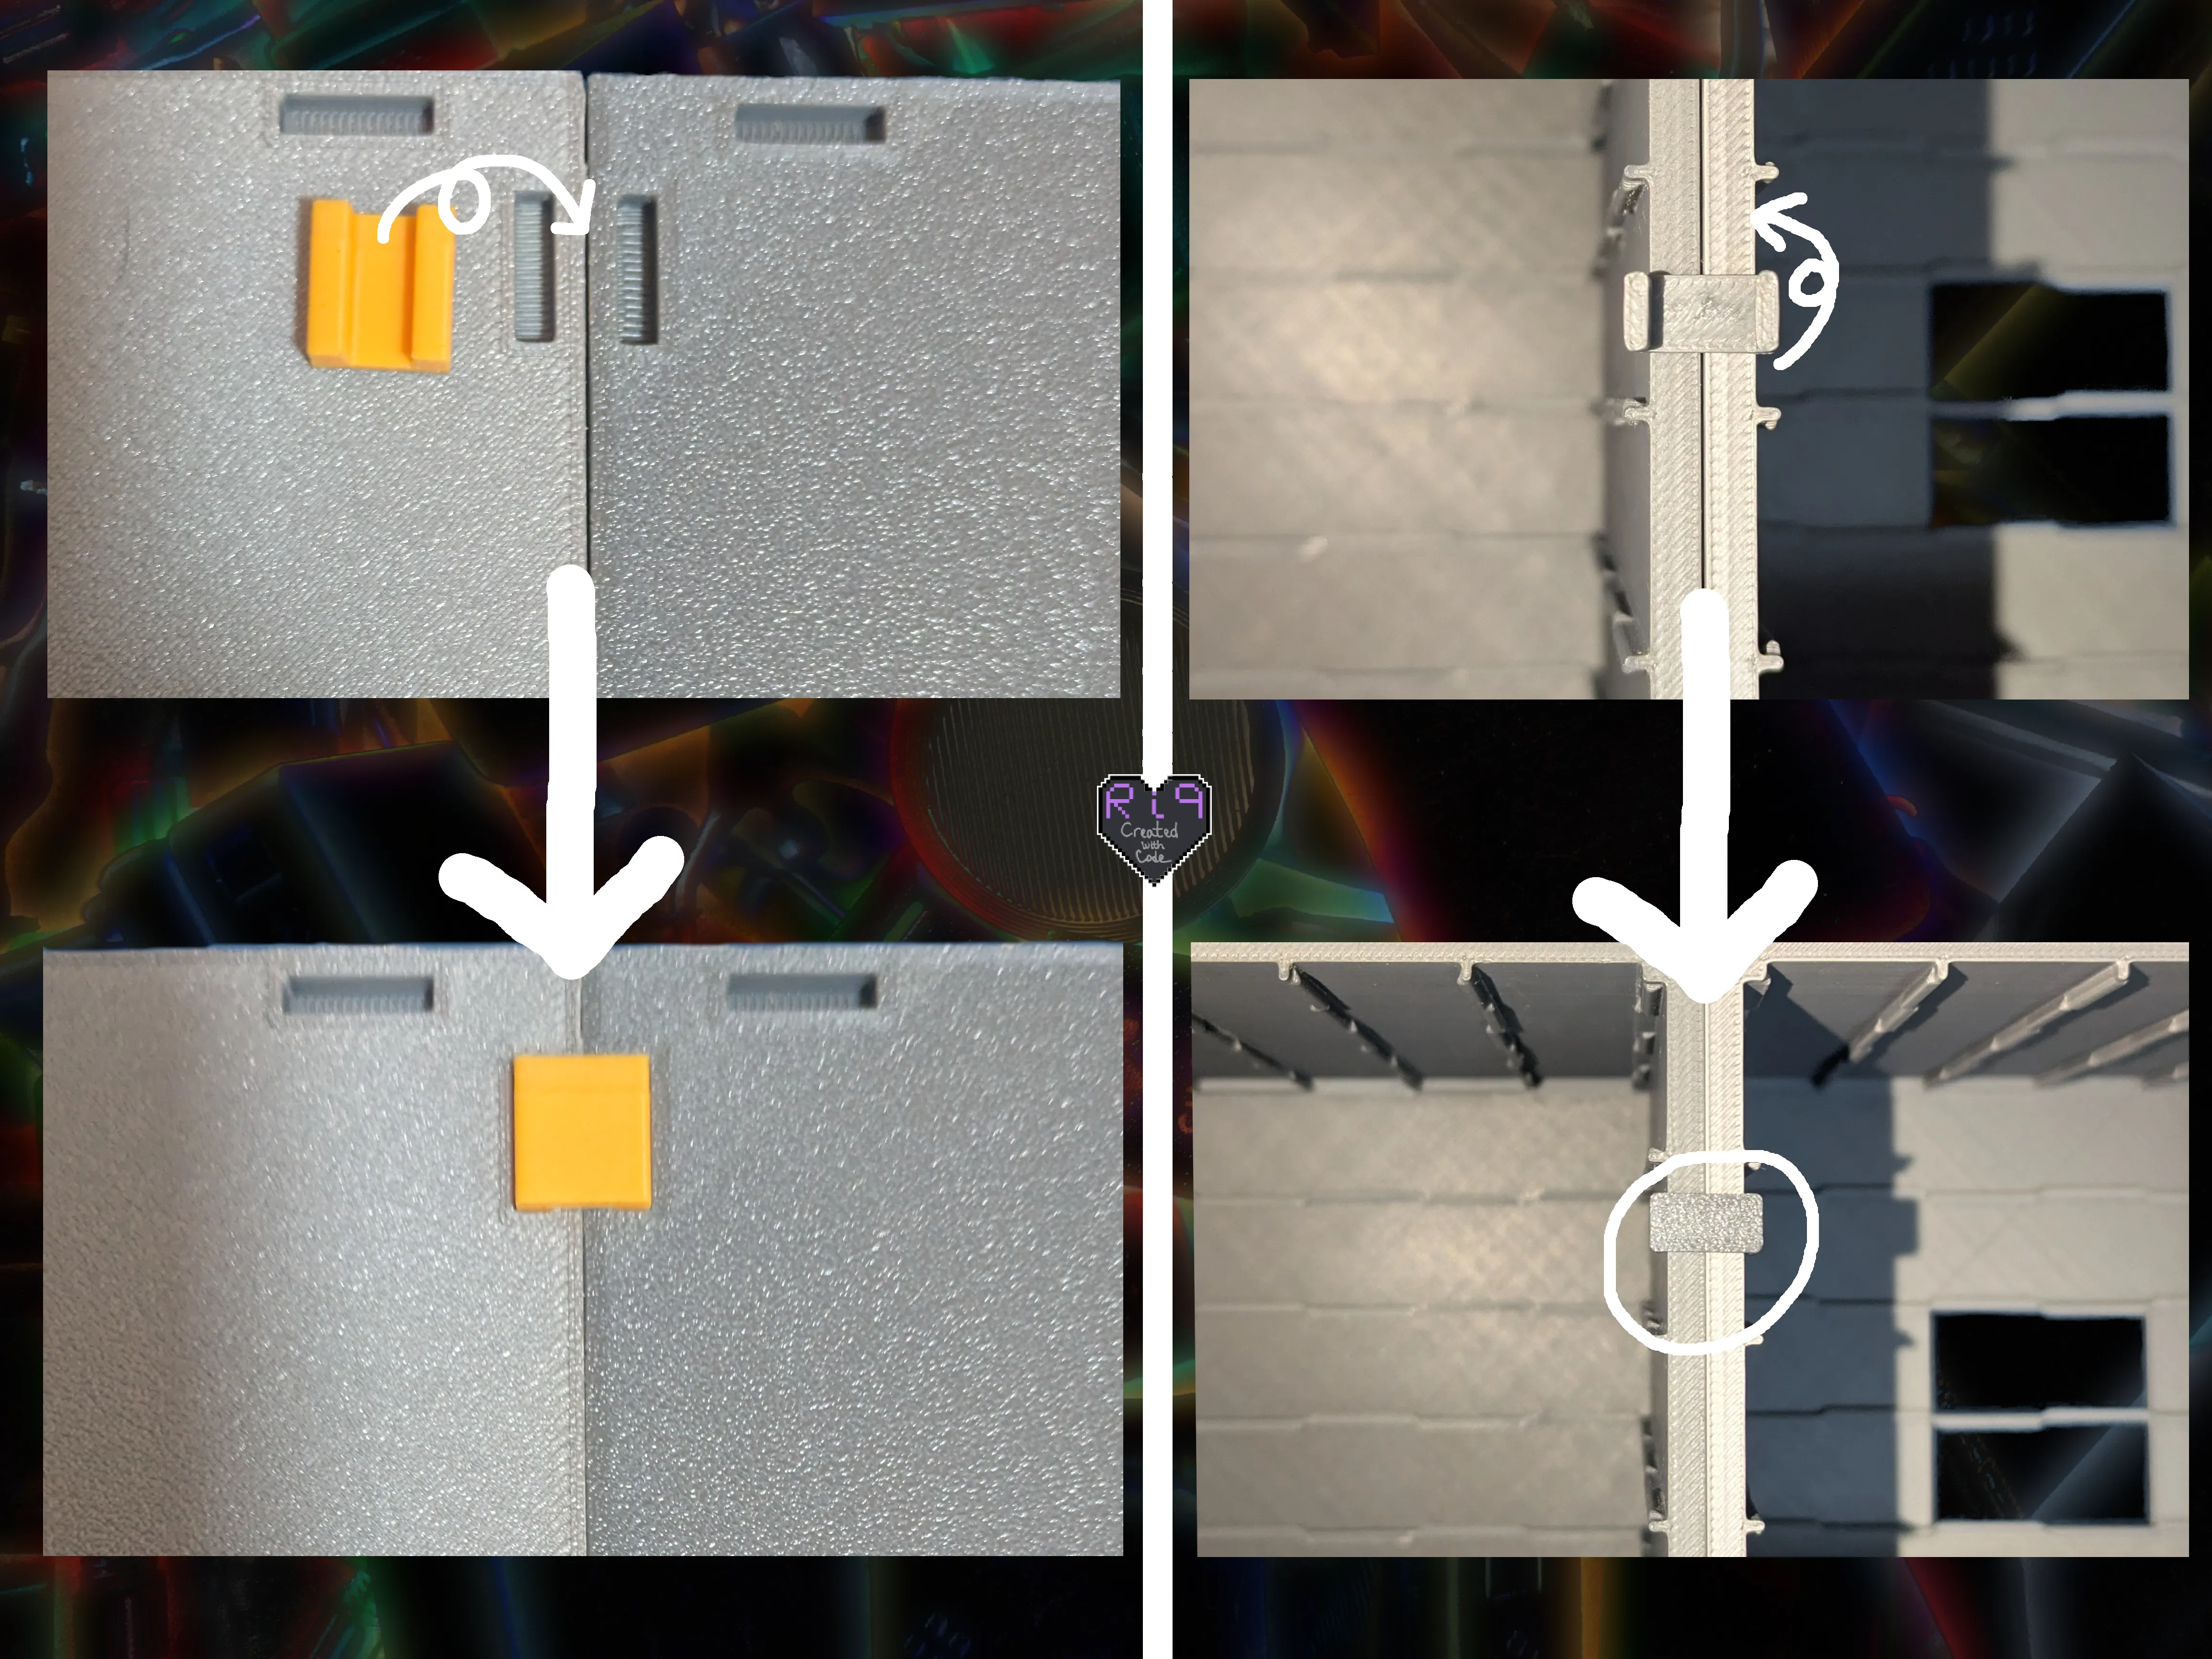
MODULAR ATTACHMENT MECHANISM
ADDITIONAL MODELS COMPATIBLE WITH ROOM:
PRINTING NOTES
Tested on X1C and A1 mini: an easy print every time!
I print this using 2 walls and 3 top layers, but for higher quality, you can add more. There might be a slight layer shift toward the bottom, if so, a 3rd wall should smooth it. 4-5 top layers might improve the finish on the back panel if it appears rough.
This print has a large area in contact with the build plate, so you need good adhesion:
- make sure the build plate is clean
- if your printer has an aux fan and you change the filament settings, turn the fan OFF
- the brim should also help
I find that line infill, rather than grid or gyroid, aligns better with the 4mm thin walls of the panels.
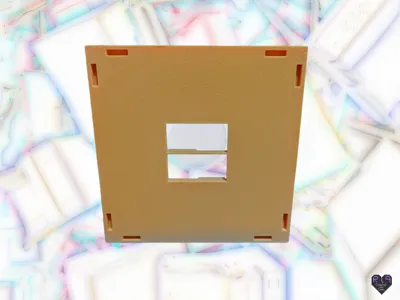
Finally, the back connectors are printed in an orientation that maximizes their strength. They also have a brim to ensure the small first layer doesn't pull from the build plate.
Boost Me (for free)
License

You shall not share, sub-license, sell, rent, host, transfer, or distribute in any way the digital or 3D printed versions of this object, nor any other derivative work of this object in its digital or physical format (including - but not limited to - remixes of this object, and hosting on other digital platforms). The objects may not be used without permission in any way whatsoever in which you charge money, or collect fees.


Comment & Rating (2)