
Bambu Buffer Mount
Print Profile(1)
Description

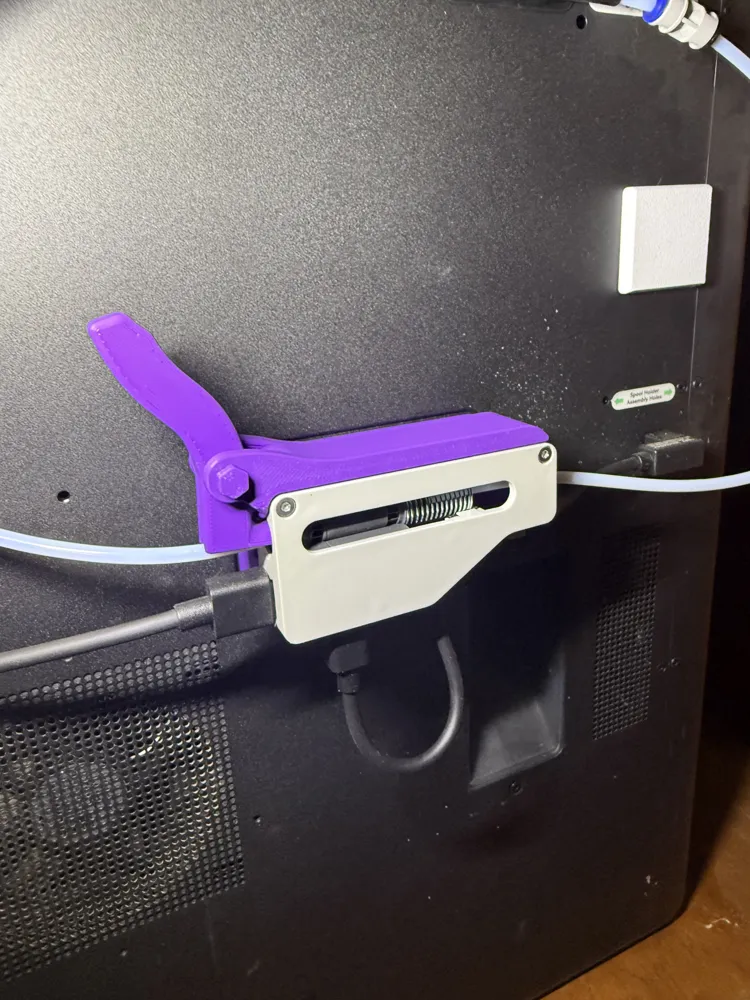
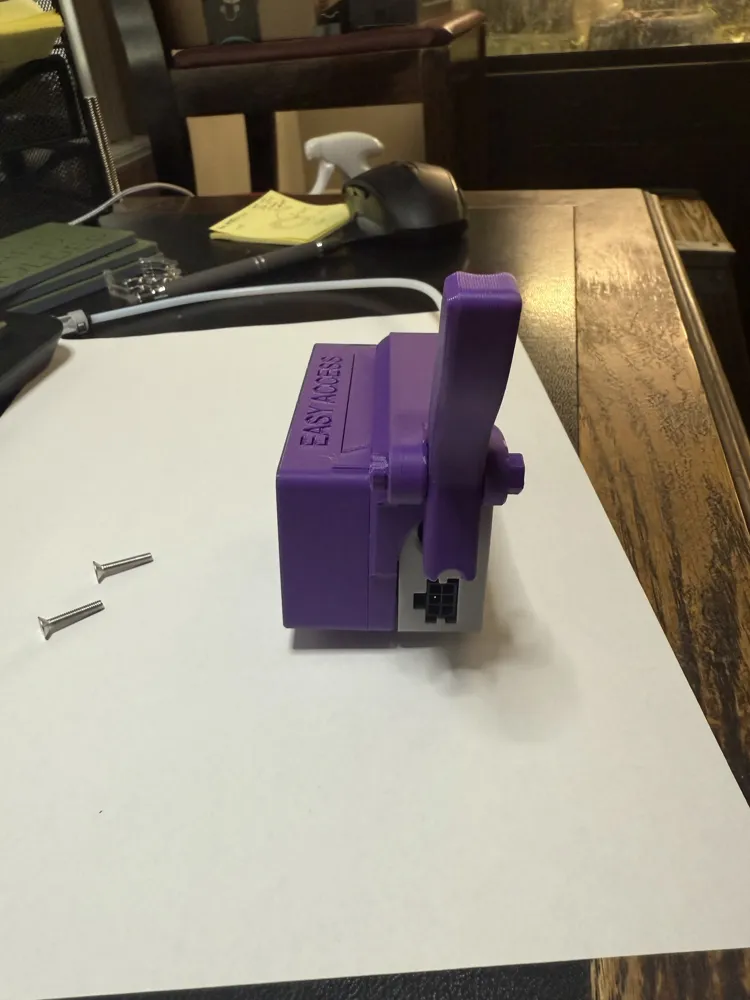
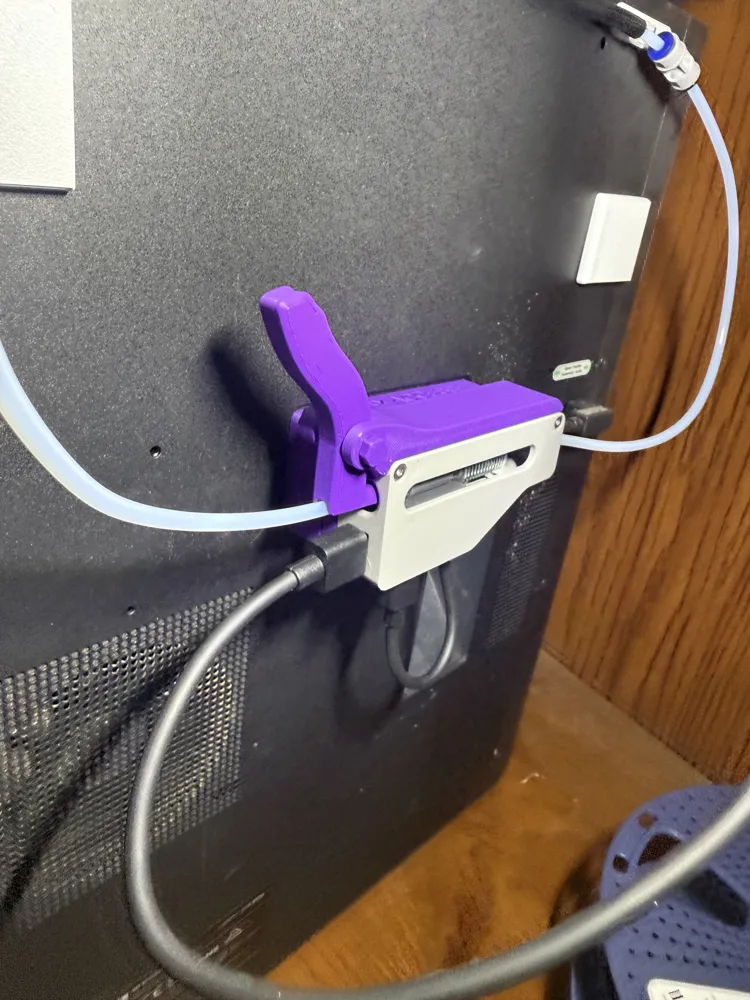
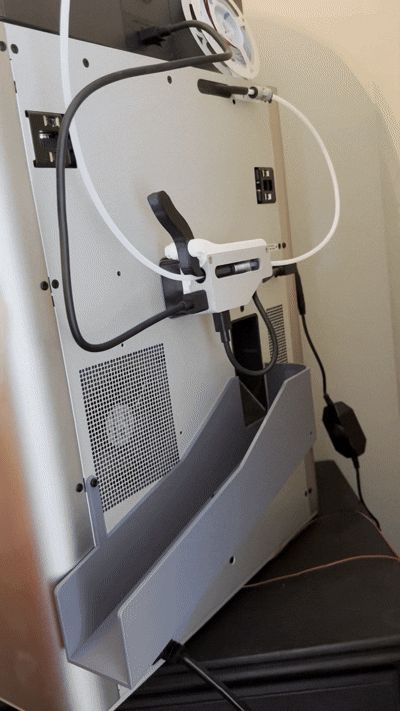
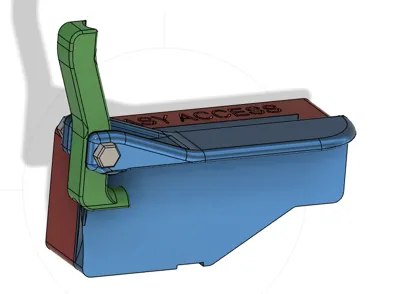
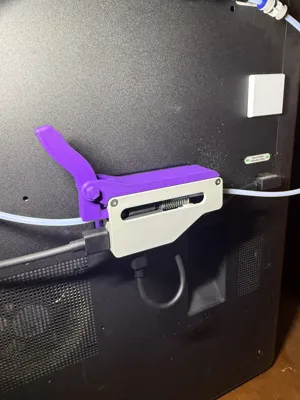
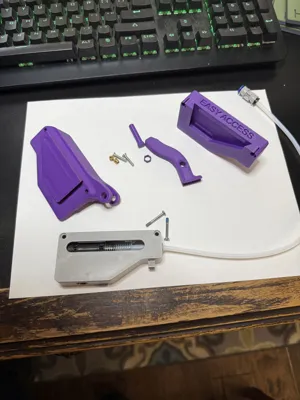
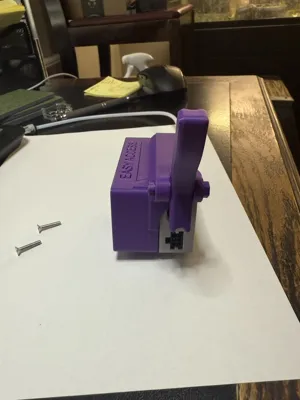
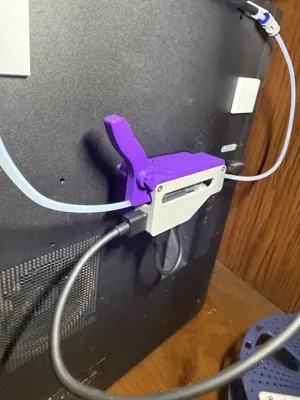
Now you can throw away those release tools. Like everyone else, I got tired of fussing with the buffer connections and wanted to build a 2 piece mount that stepped the buffer away from the back a little. I modeled it in Fusion and only after printing a couple of them, I had the bright idea of modifying it so that the PTFE tube is easily removed. It's nothing extremely fancy, but pretty darn handy. The addition of these parts do not make the buffer stick out any farther than the plug on the power cord. (Plug plus cable diameter, assuming you're no smashing the plug into the wall behind the printer.)
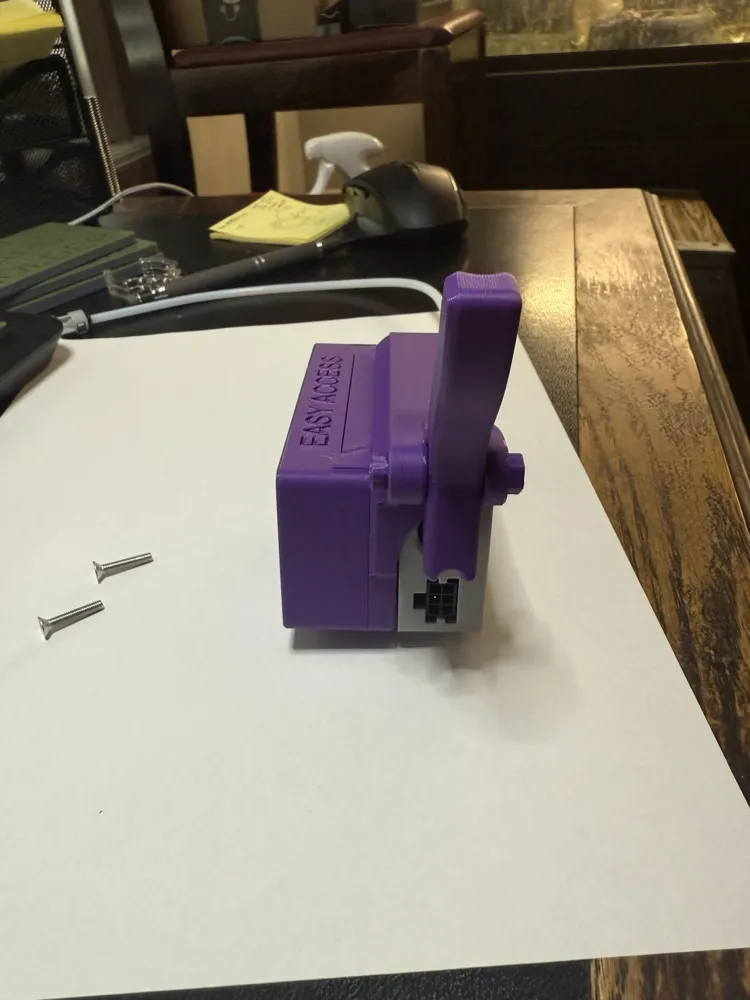
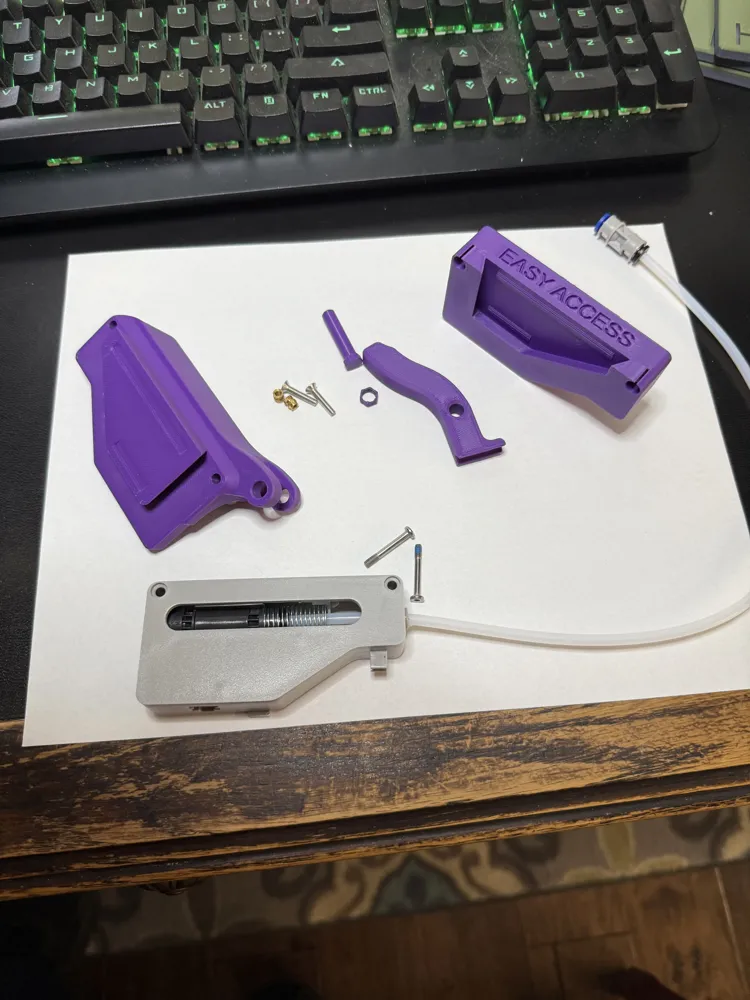
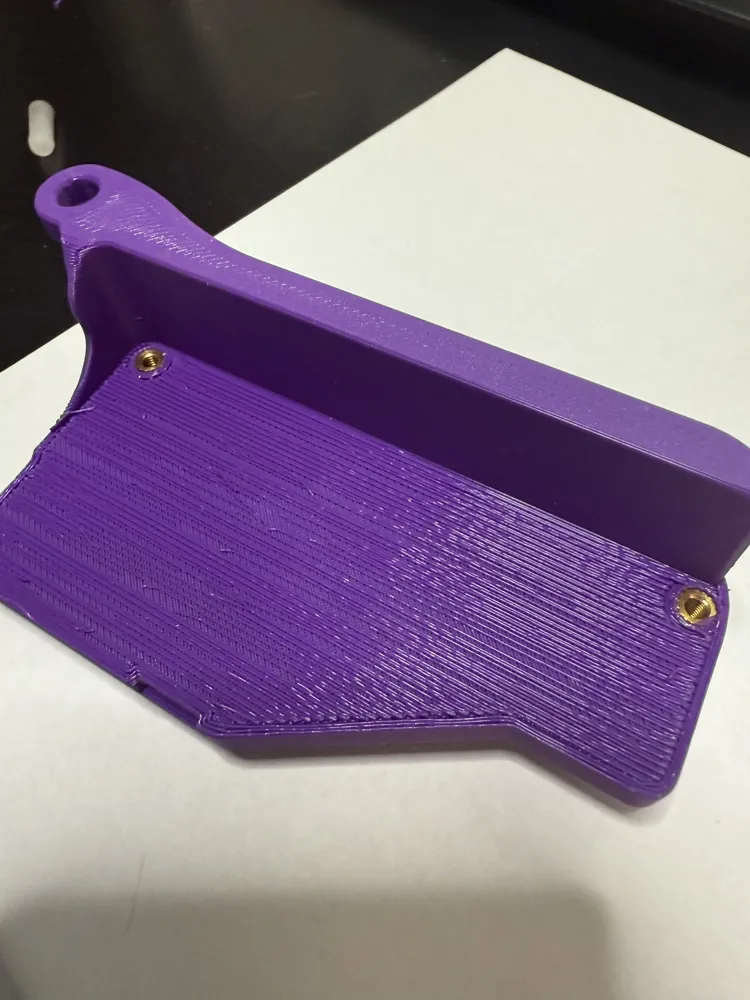
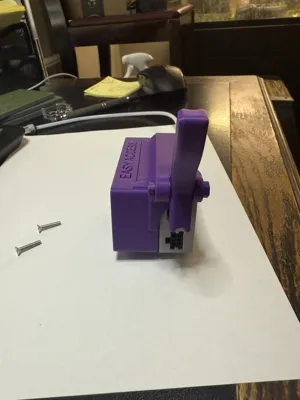
You will need two 3mm heat set inserts 5mm long and two, 3mm x 16mm flat head screws.
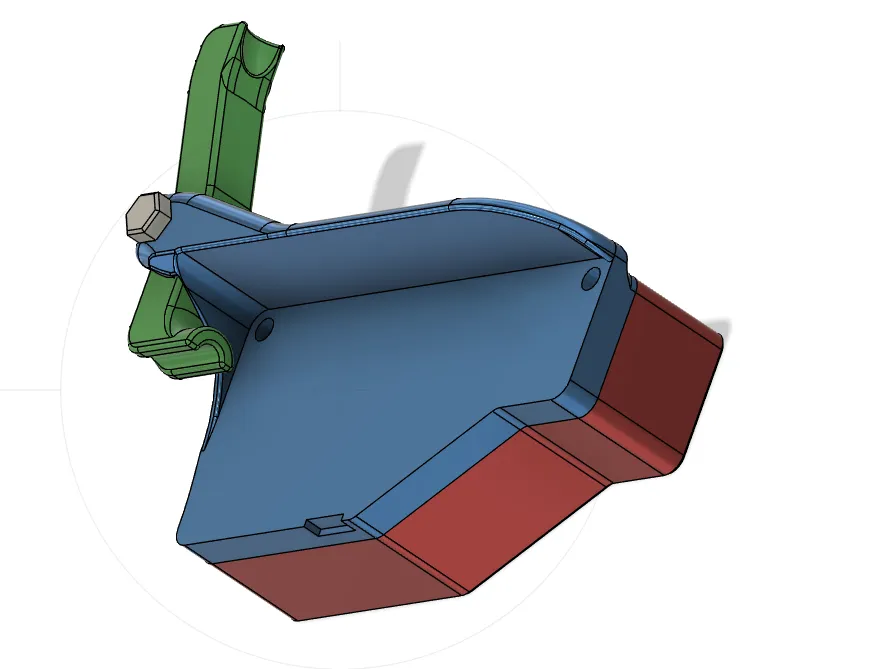
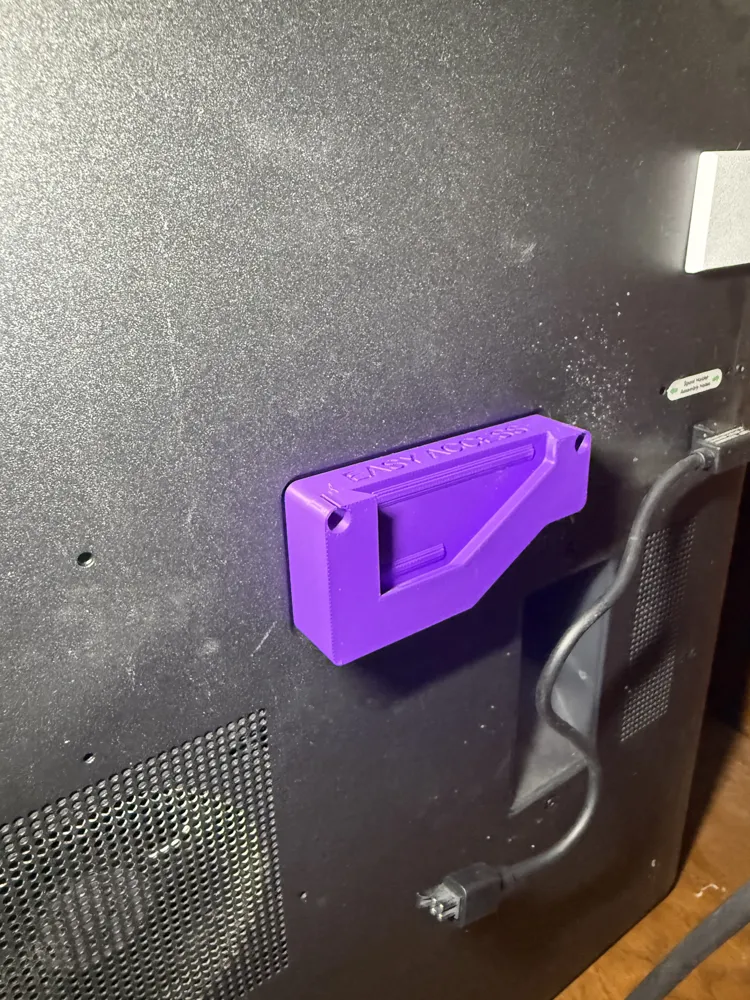
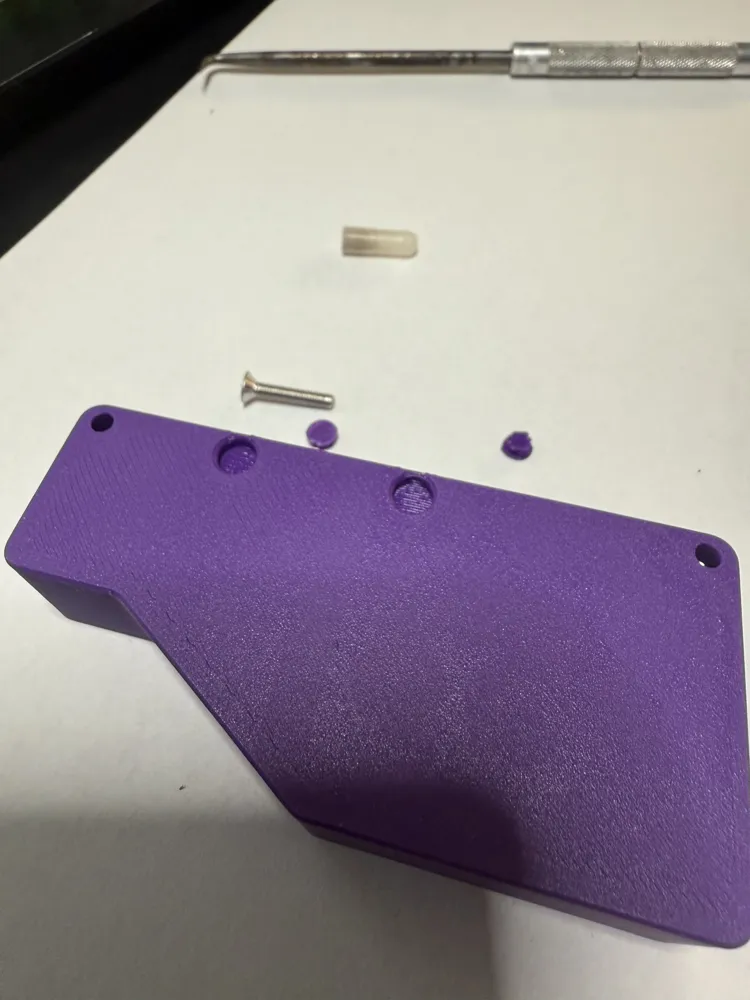
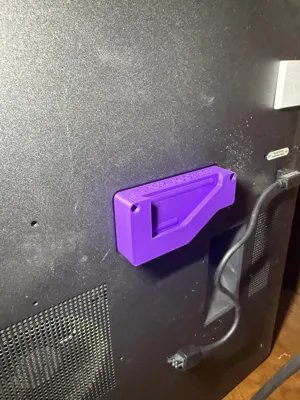
The 3mm Flathead screws will be used to mount the base bracket to the back of the printer
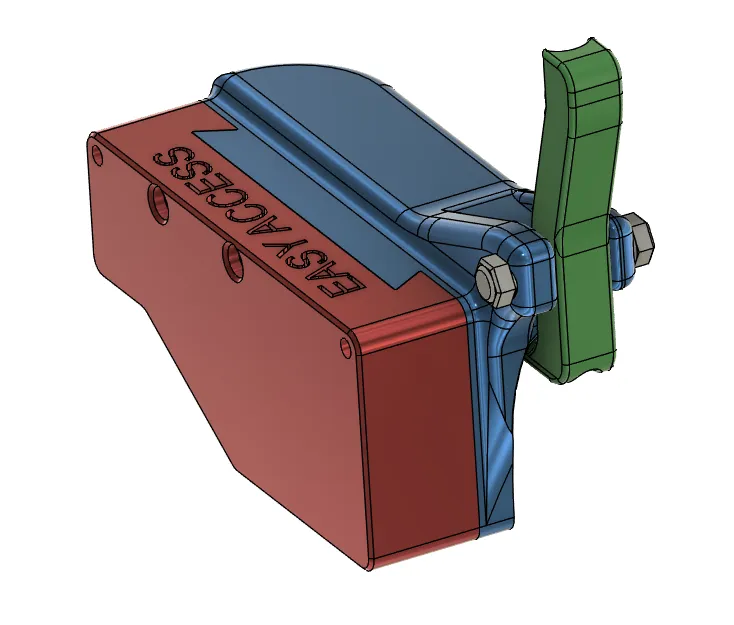
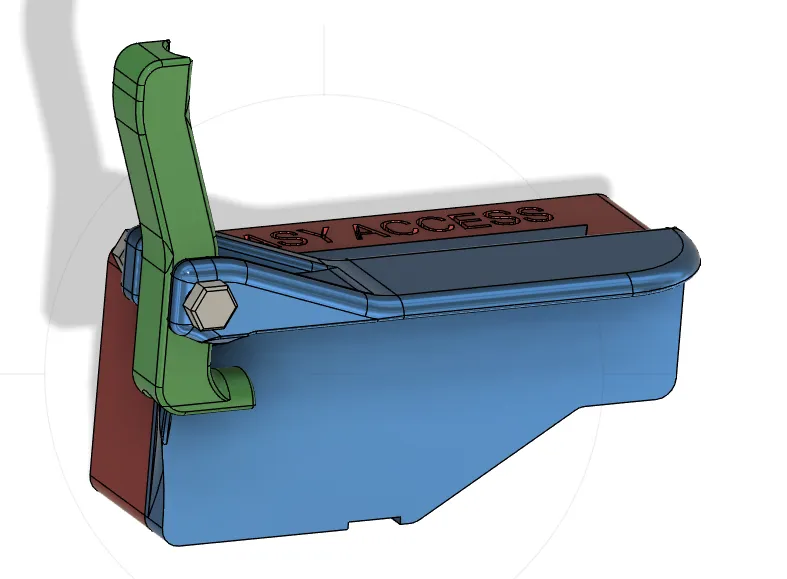
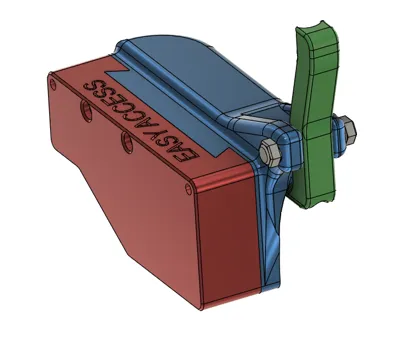
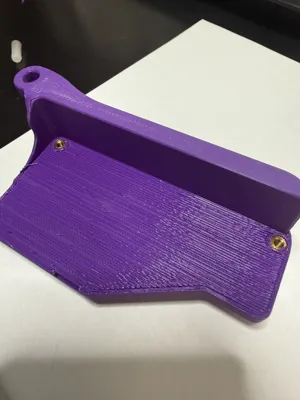
The 3mm inserts will be imbedded into the attachment bracket. You then use the original screws to mount the buffer to the attachment bracket. The attachment bracket snaps into the base bracket.
I very lightly sanded the pivot pin until I got the movement I wanted, but this isn't necessary. I also sanded the support roughness off of the bracket where the lever fits in. Ended up with a nice snug but free moving fit. The parts all fit together without sanding, it's just a smoother action when sanded.
There is a small nut that is part of the print. It simply slips on to the end of the pin and then fuse the nut and pin together with some heat.
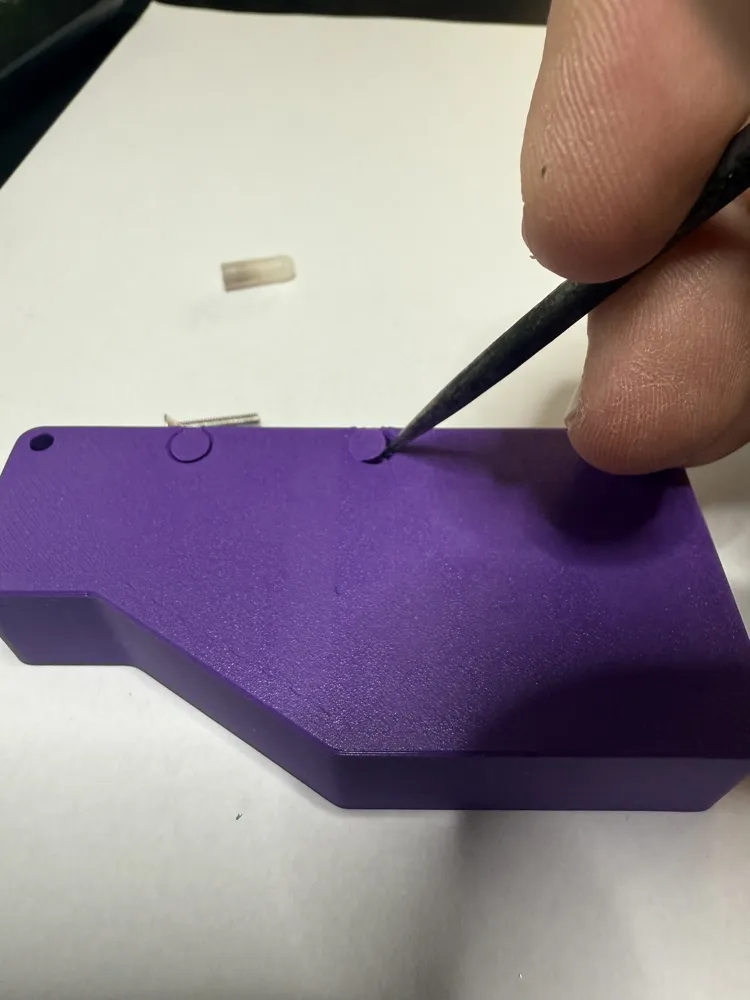
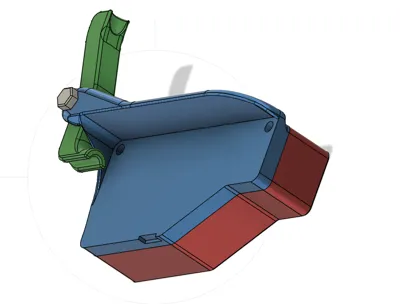
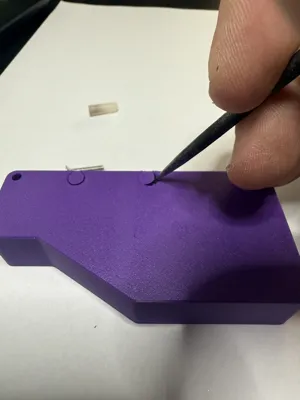
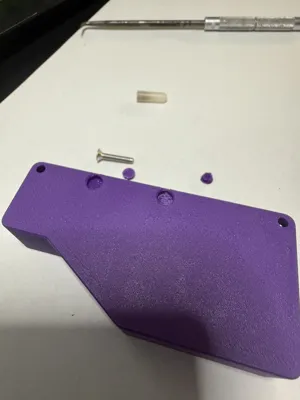
***Don't forget to remove the 2 support plugs from the back of the base bracket. The holes fit around a couple of screws on the back of the printer.
I hope this makes someone's life a little easier
License



Comment & Rating (3)