
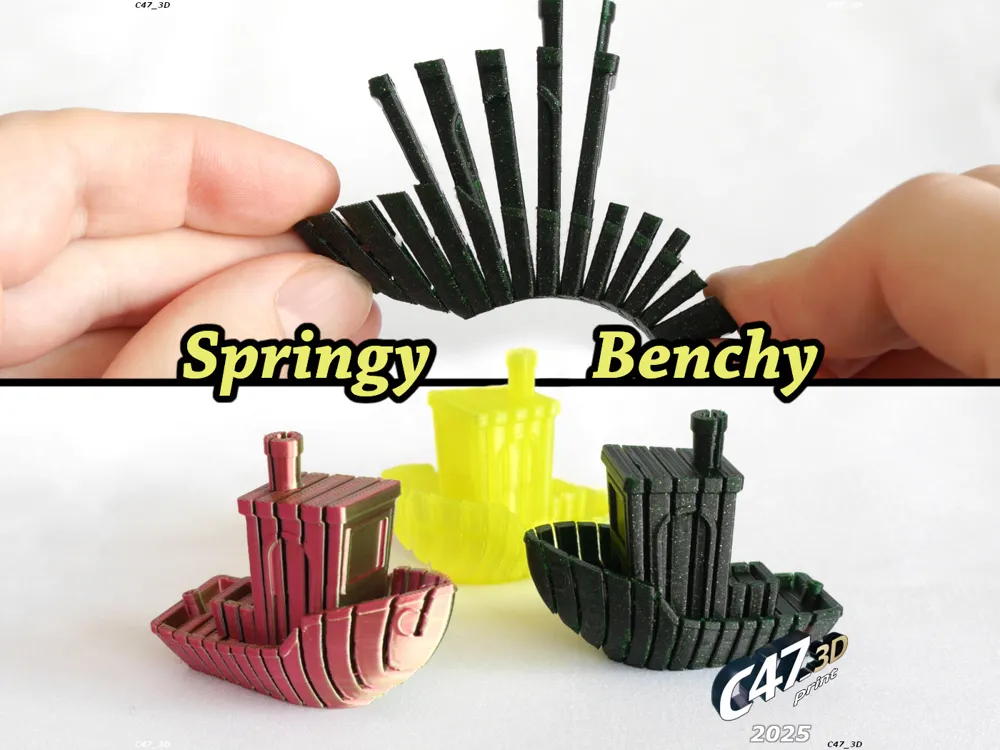
Springy Benchy
Print Profile(1)

Description
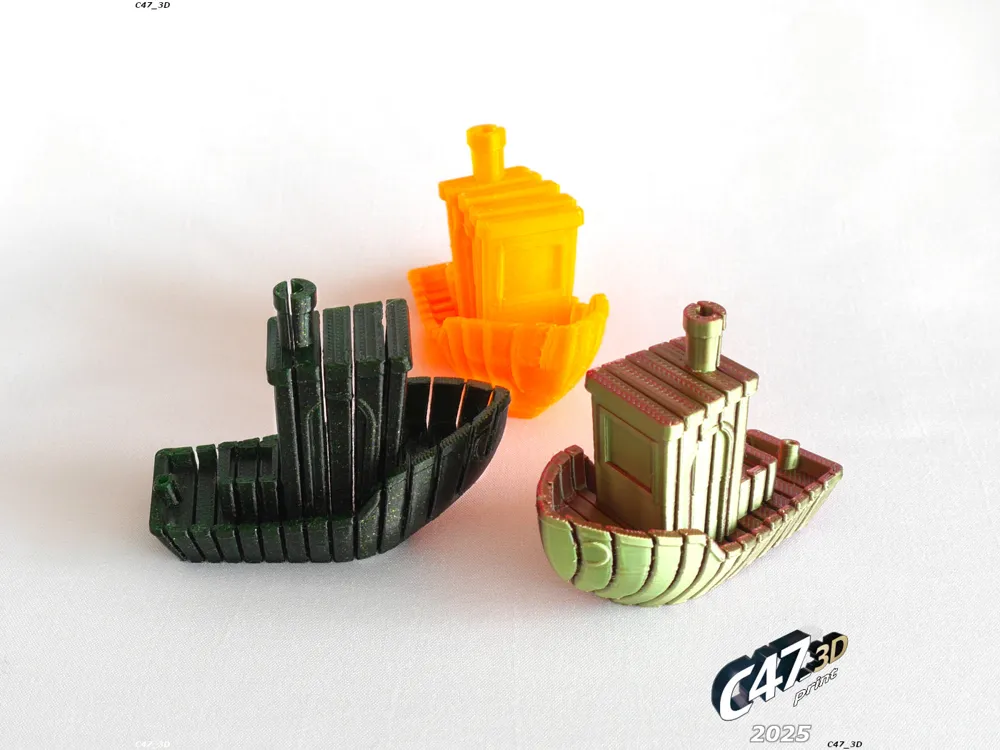
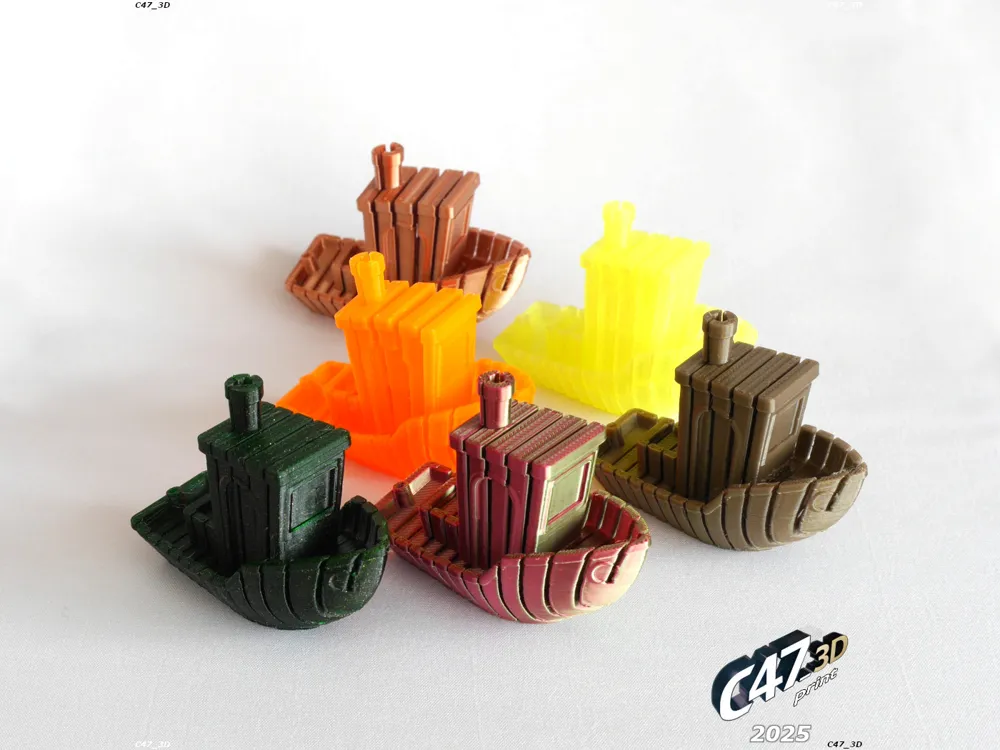
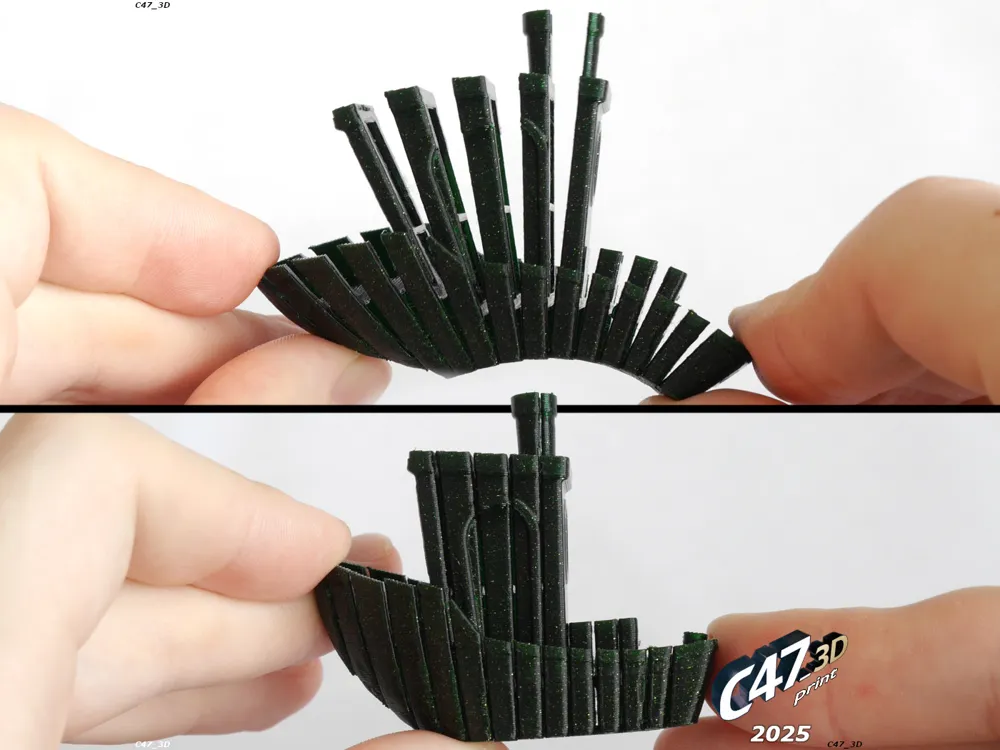
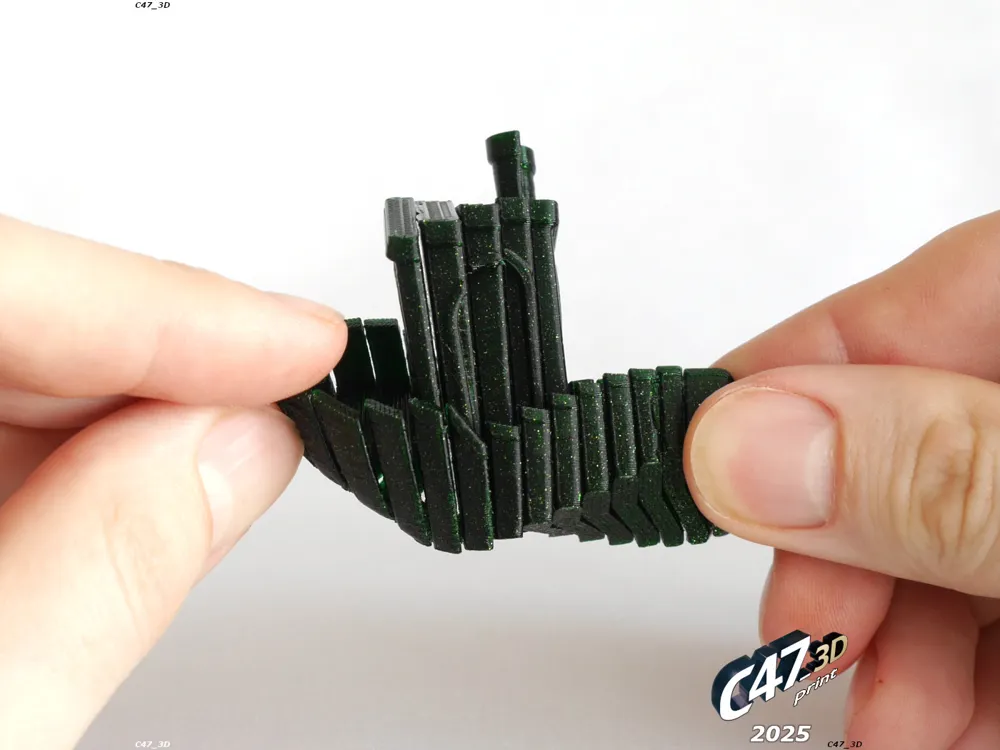
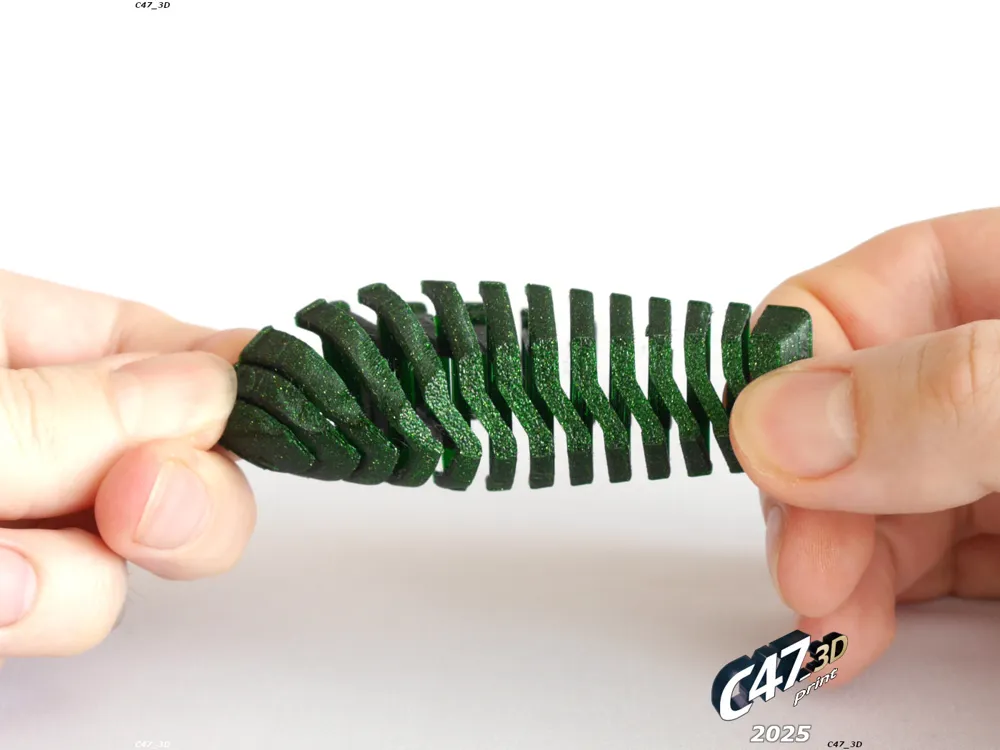
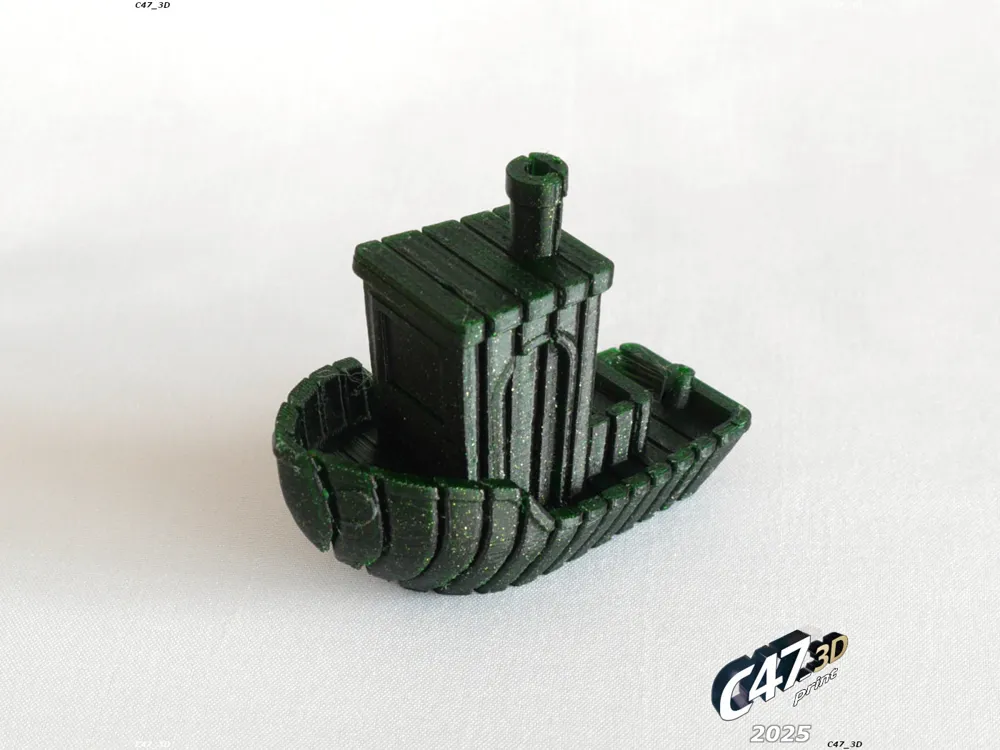
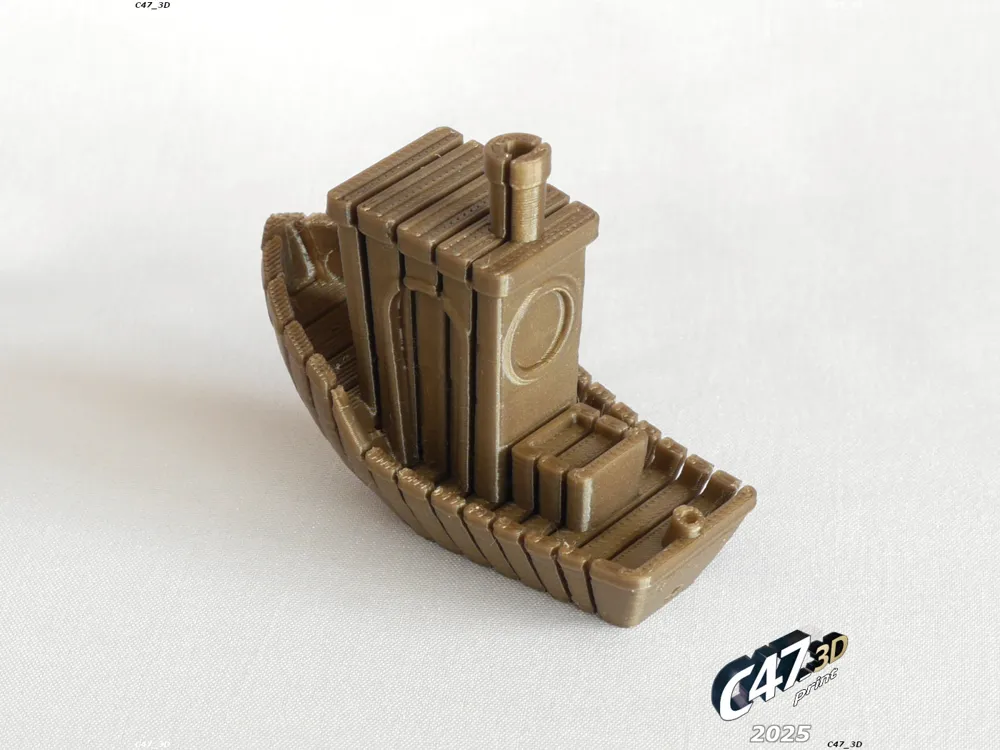
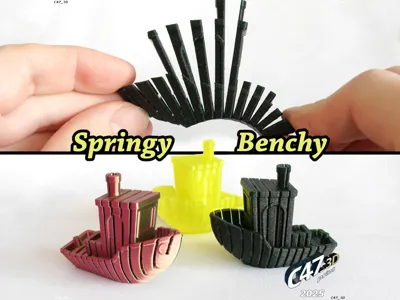
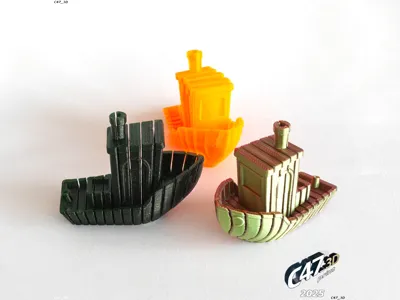
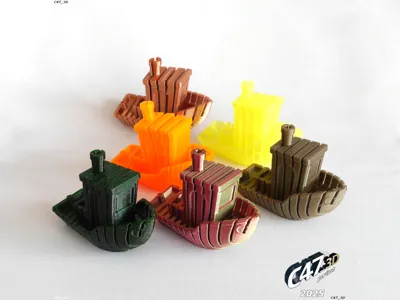
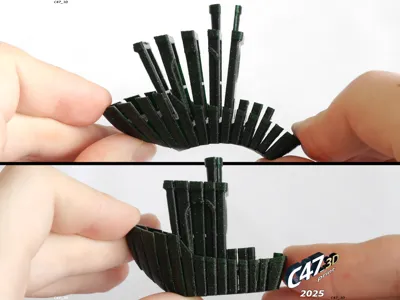
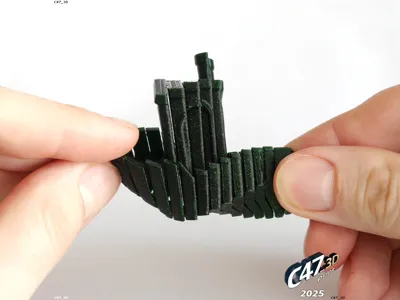
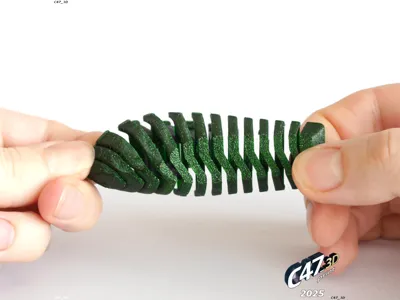
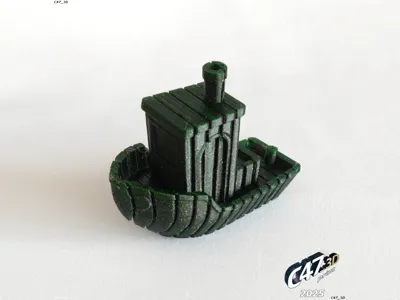
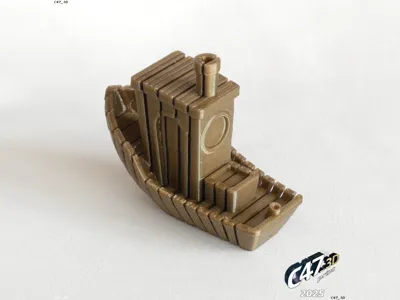
3D Benchy in springy version
Have fun with this elastic model of well known 3D Benchy
Video: https://www.instagram.com/p/DIO1yf9N0V9/
Based on an idea and solutions from my Springy Bunny
https://makerworld.com/en/models/1226783-springy-bunny
---
Remix of a model:
https://makerworld.com/en/models/1272656-original-3dbenchy-public-domain-cad-step-file#profileId-1332443
Mine is marked as ‘Original’ - as said in 3DBenchy Contest description
Changes compared to original #3DBenchy model:
- Made a spring out of a model
- Filled holes (for a model to be printable after cutting a spring)
- Removed bottom text (to improve bed adhesion): CT3D.xyz
- Simplified mesh (for a cleaner cuts, prints should look the same in original size)
---
Printing tips
Printed with 0.16mm layer height
7% gyroid infill
2 walls
Supports needed
Use custom / painted supports and set them in the places under 3 cutouts in front
Use a dry filament with a good self-adhesion. In other way sometimes the coils may brake
More elastic filaments are recommended (like PETG) but I printed it with few different PLA and it's fine (but some are more stiff than others)
May be harder to print than typical models
You will need a good bed adhesion and a good cooling
You may be needed to separate spring coils from each other after a print. Usually just with your nails, in some cases with a thin knife (scalpel)
It mostly depends on you seam settings and filament stringing
You can use an outer brim to help with adhesion and stability
If you will have some problems with a print you can greatly increase print stability by using SpringyBenchy_Spring-joiner model
Set it in the same place as base model and merge both together
After a print you will need to cut connections between spring coils with a knife
---
License

You shall not share, sub-license, sell, rent, host, transfer, or distribute in any way the digital or 3D printed versions of this object, nor any other derivative work of this object in its digital or physical format (including - but not limited to - remixes of this object, and hosting on other digital platforms). The objects may not be used without permission in any way whatsoever in which you charge money, or collect fees.


Comment & Rating (6)