
Combo Magnet Tool with Nozzle Brush (1 Color)
Print Profile(1)

Bill of Materials


Description
Boost Me (for free)
If you find this useful, I would appreciate a boost! Even if you don't have a boost to give, don't forget to rate it and share a pic!
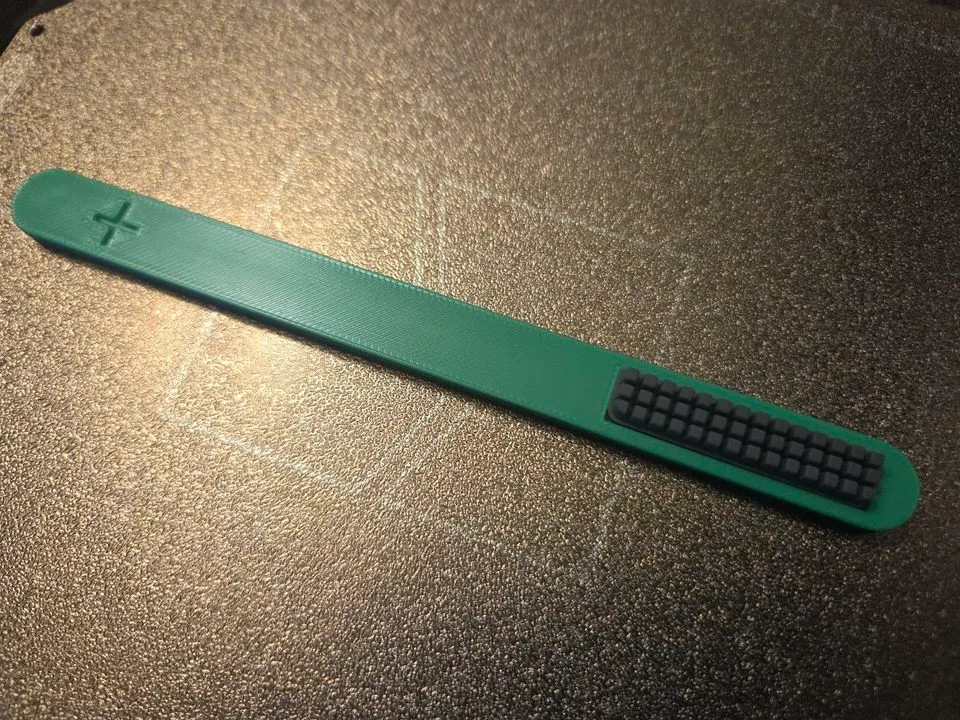
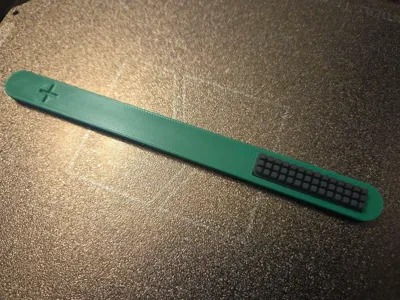
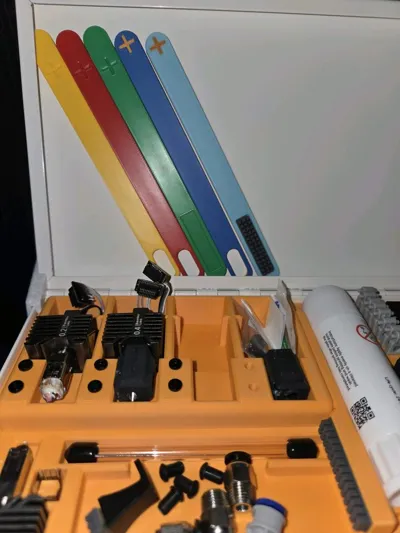
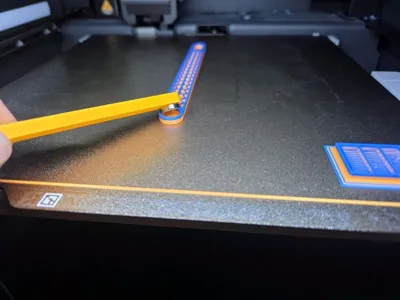
Momma says that your printer is ornery because it's got bits of filament stuck to the nozzle but no nozzle brush! But…why have a separate nozzle brush and magnet insertion tool, when you can have both in one?! So I took what I thought was the best damn magnet insertion tool and made it even better by adding a spot to stick a nozzle brush to the other end!
If you're embedding magnets into your print mid-print, you know it can be a pain to make sure you have the right polarity. Marking your magnets with a sharpie works sometimes, until you accidentally wipe it off with your finger! Using some of the existing magnet tools works ok, but alot of times are difficult to fit into the area where you're inserting a magnet due to the height of the tool, plus you gotta keep 2 of them around, one for positive, another for negative, and some you even have to have multiple tools for various magnet sizes.
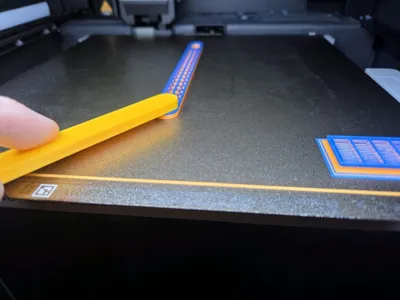
The Combo Magnet Insertion and Nozzle Brush Tool takes care of all those concerns!
- Can work to insert virtually any size magnet
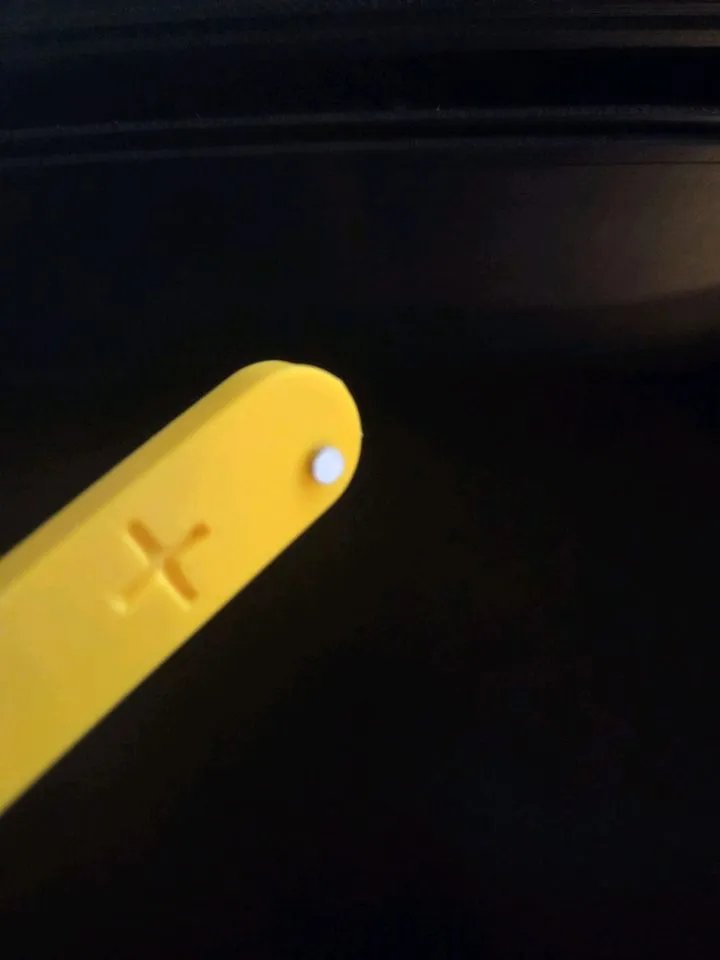
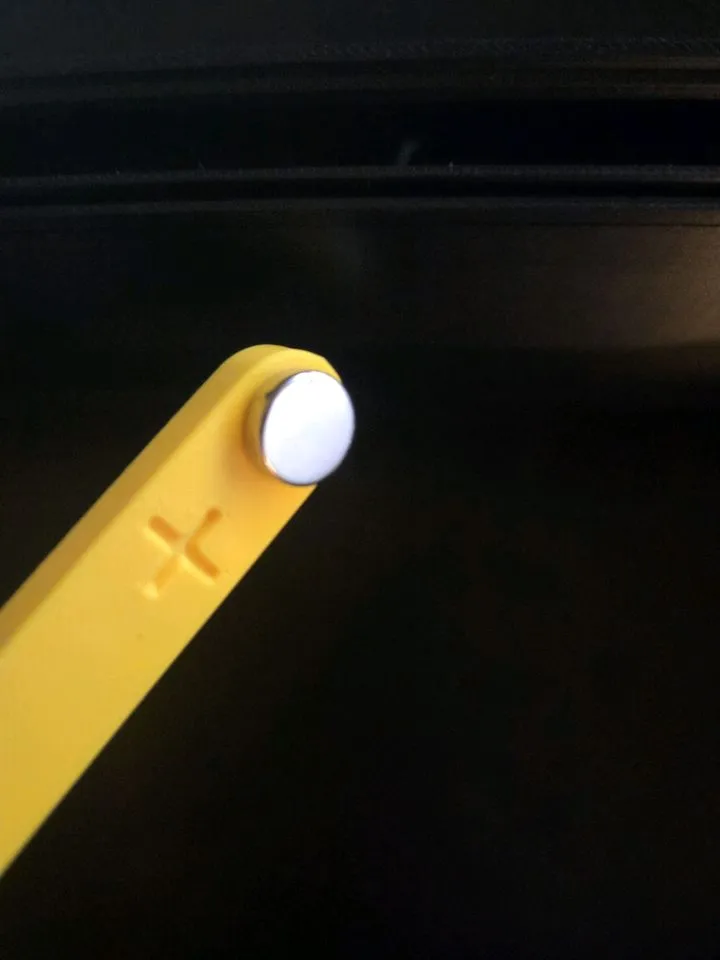
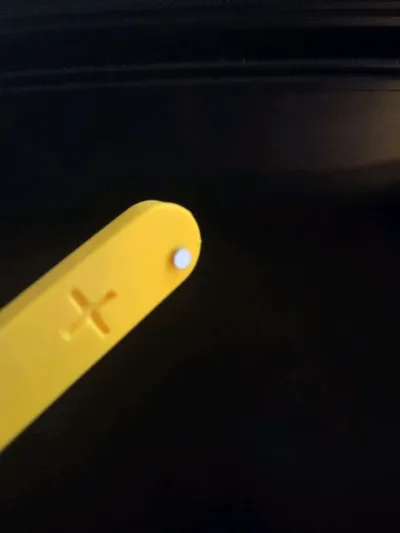
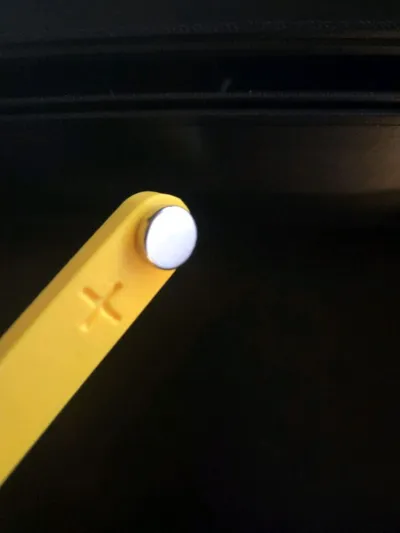
- One side is + and the other is -, so only one tool needed
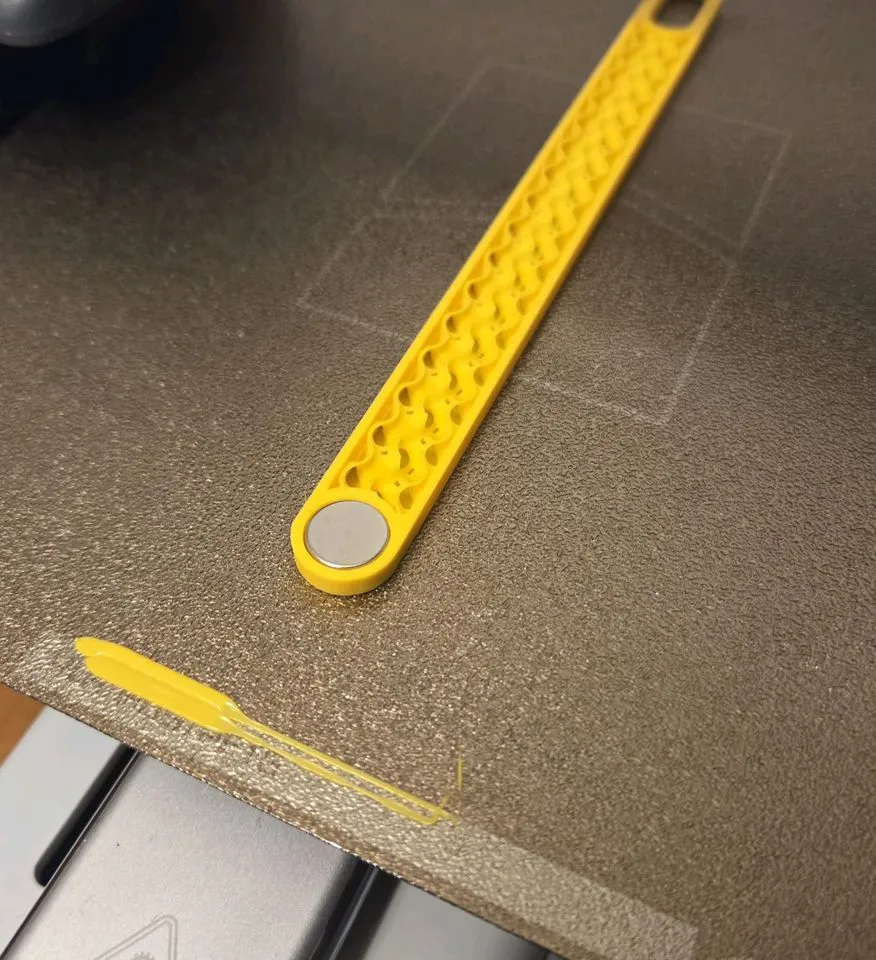
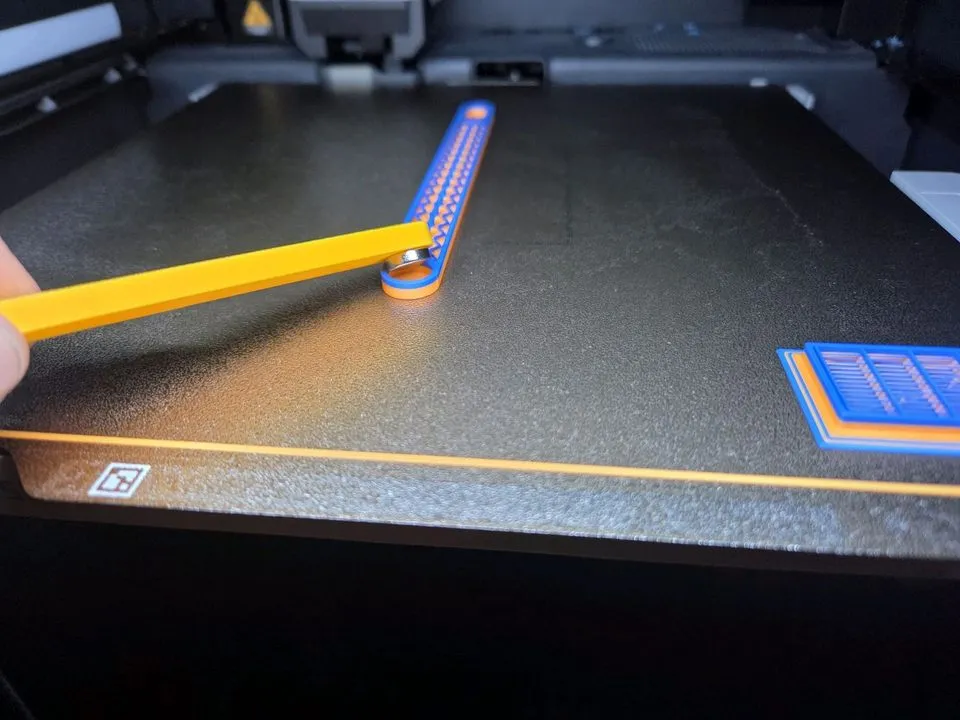
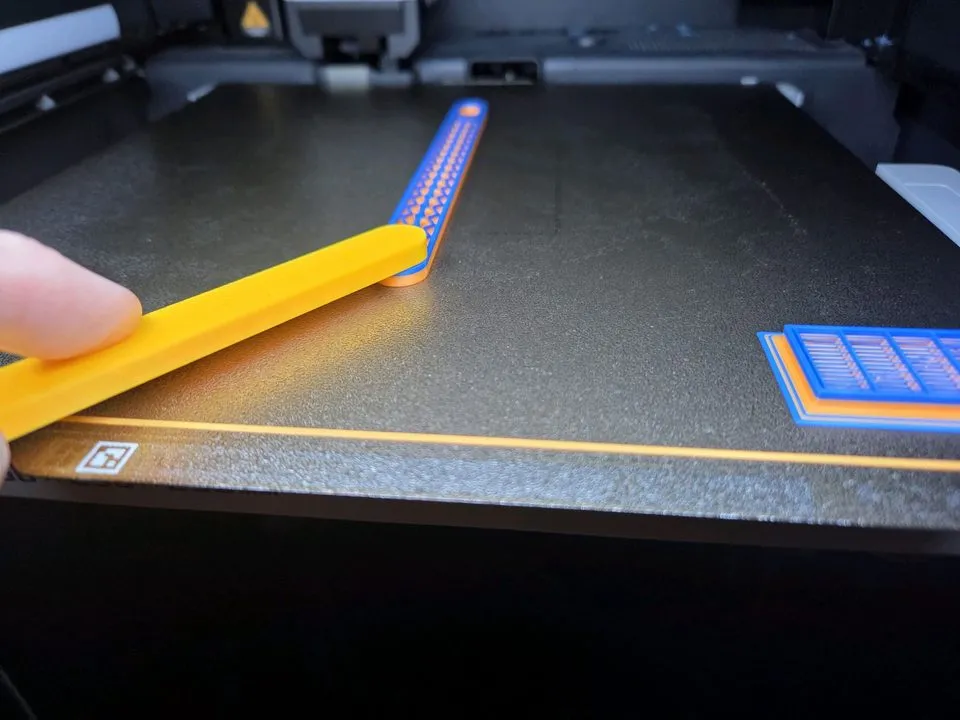
- Slim design only requires one 10x3mm magnet, and allows you to insert a magnet in tight spaces
- Long handle gives you a firm grip, and allows you to reach the back of the chamber easily
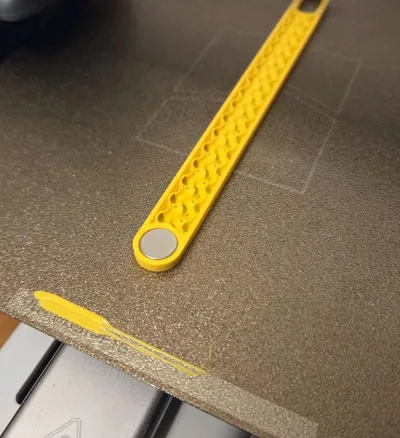
- This print has a pause automatically inserted, so when it pauses, insert the magnet, and resume printing. The end of the tool with the magnet is intentionally positioned near the front of the plate so if you don't have a UMIT™ already, you can use your hands or another tool to insert your magnet.
- Stick (or use a little CA glue if you want) the heatbed nozzle wiper from an A1 in the recessed area on the opposite end as the magnet.
Other versions:
With nozzle brush
- Got an AMS? Sweet! check out the 2-Color version that can be done using the AMS
- 2-color version that can be done with a simple pause (includes filament change half way through the print)
Without nozzle brush
- 2-color version that can be done using the AMS
- 2-color version that can be done with a simple pause (includes filament change half way through the print)
- 2-Color prints too long for you? You can opt to use the 1-color version and rely on the “+” and “-” debossed symbols only
License

You shall not share, sub-license, sell, rent, host, transfer, or distribute in any way the digital or 3D printed versions of this object, nor any other derivative work of this object in its digital or physical format (including - but not limited to - remixes of this object, and hosting on other digital platforms). The objects may not be used without permission in any way whatsoever in which you charge money, or collect fees.


Comment & Rating (1)