Search models, users, collections, and posts

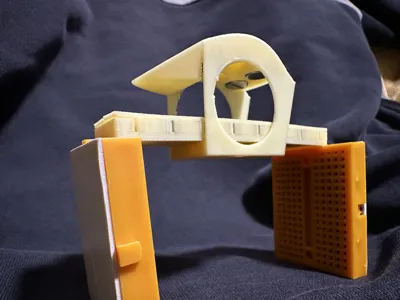
Maglev train model
IP Report
Print Profile(1)

0.2mm layer, 2 walls, 15% infill
Designer
2.1 h
2 plates
Open in Bambu Studio
Boost
16
31
0
1
24
8
Released
Bill of Materials
Maker's Supply Kits and Parts
Select all

Description
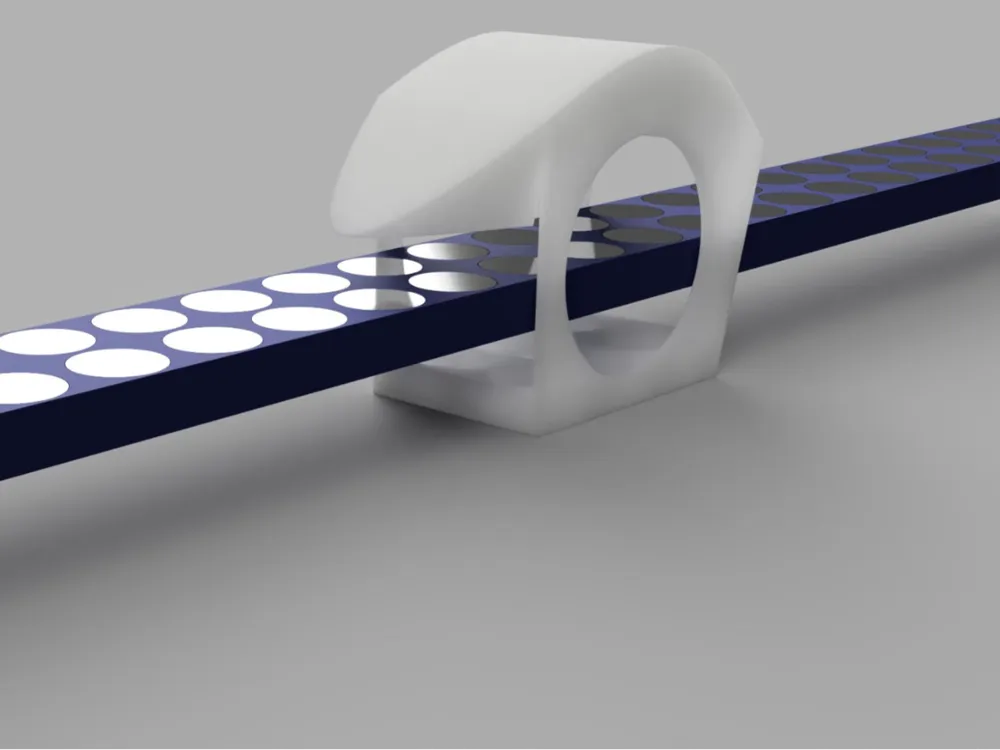
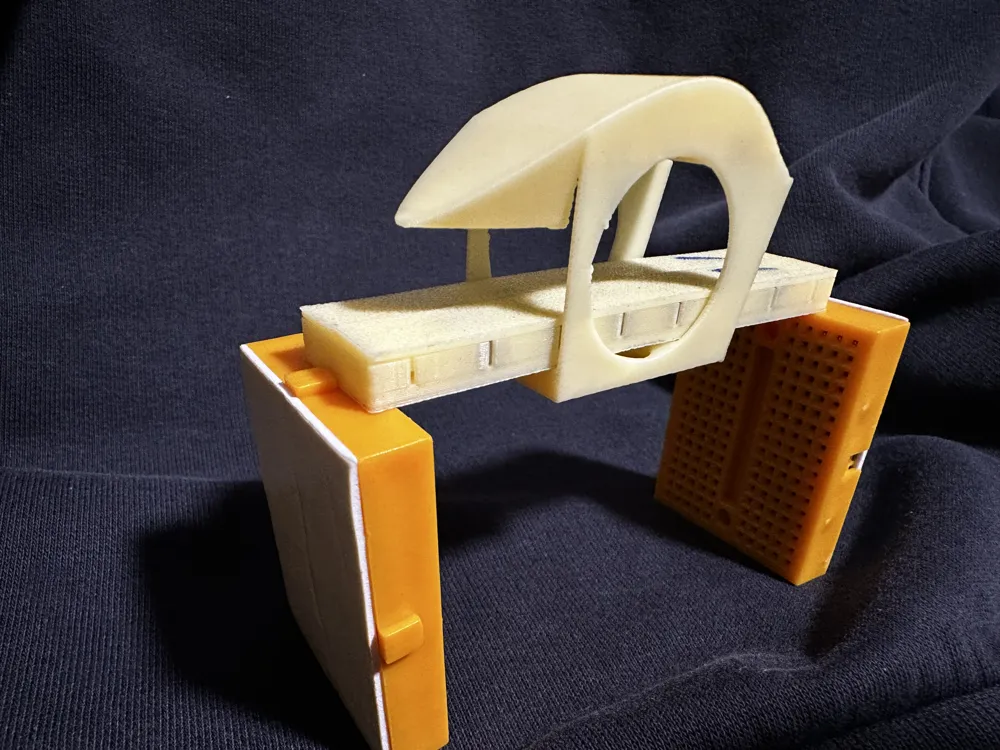
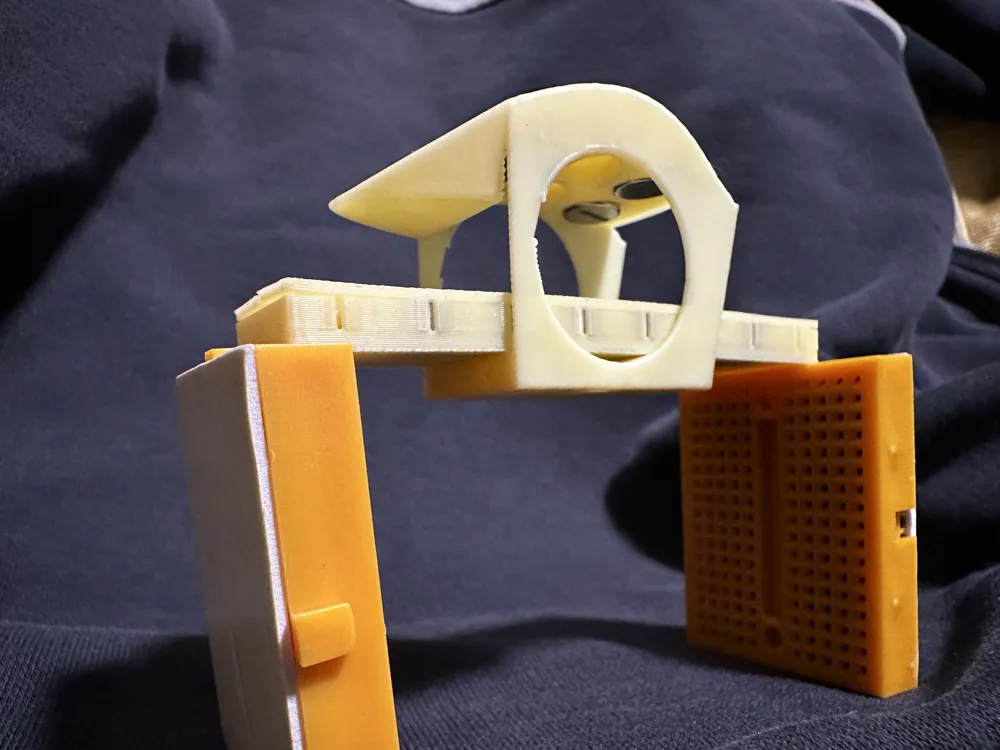
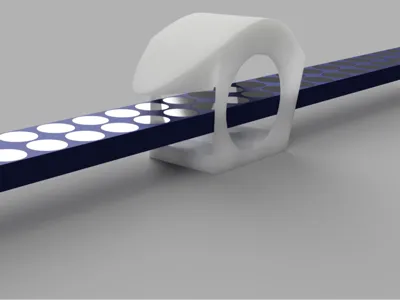
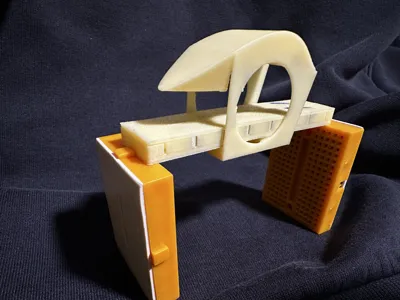
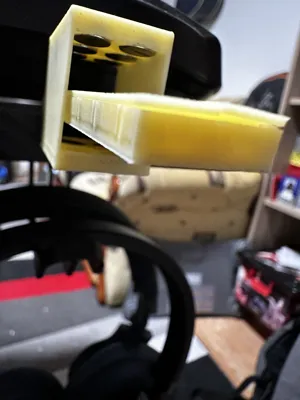
MagLev train: Fast and frictionless travel of the future!
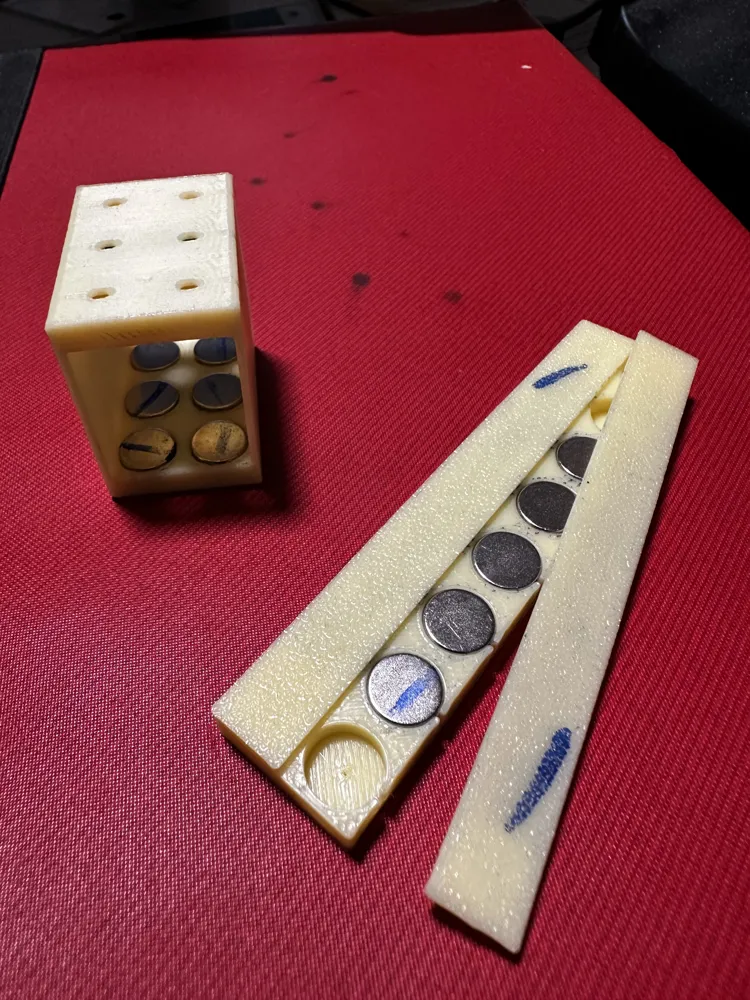
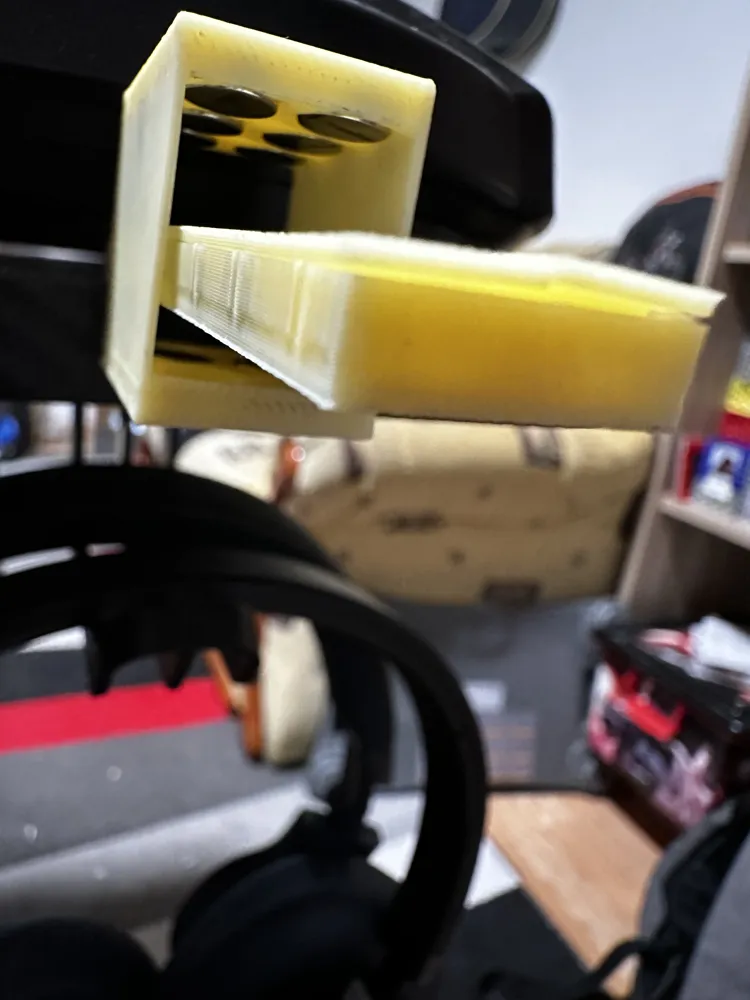
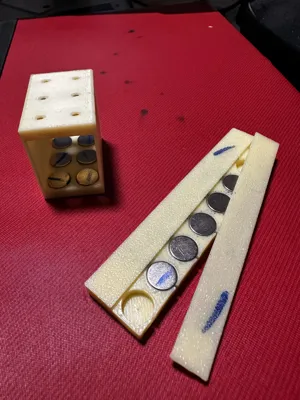
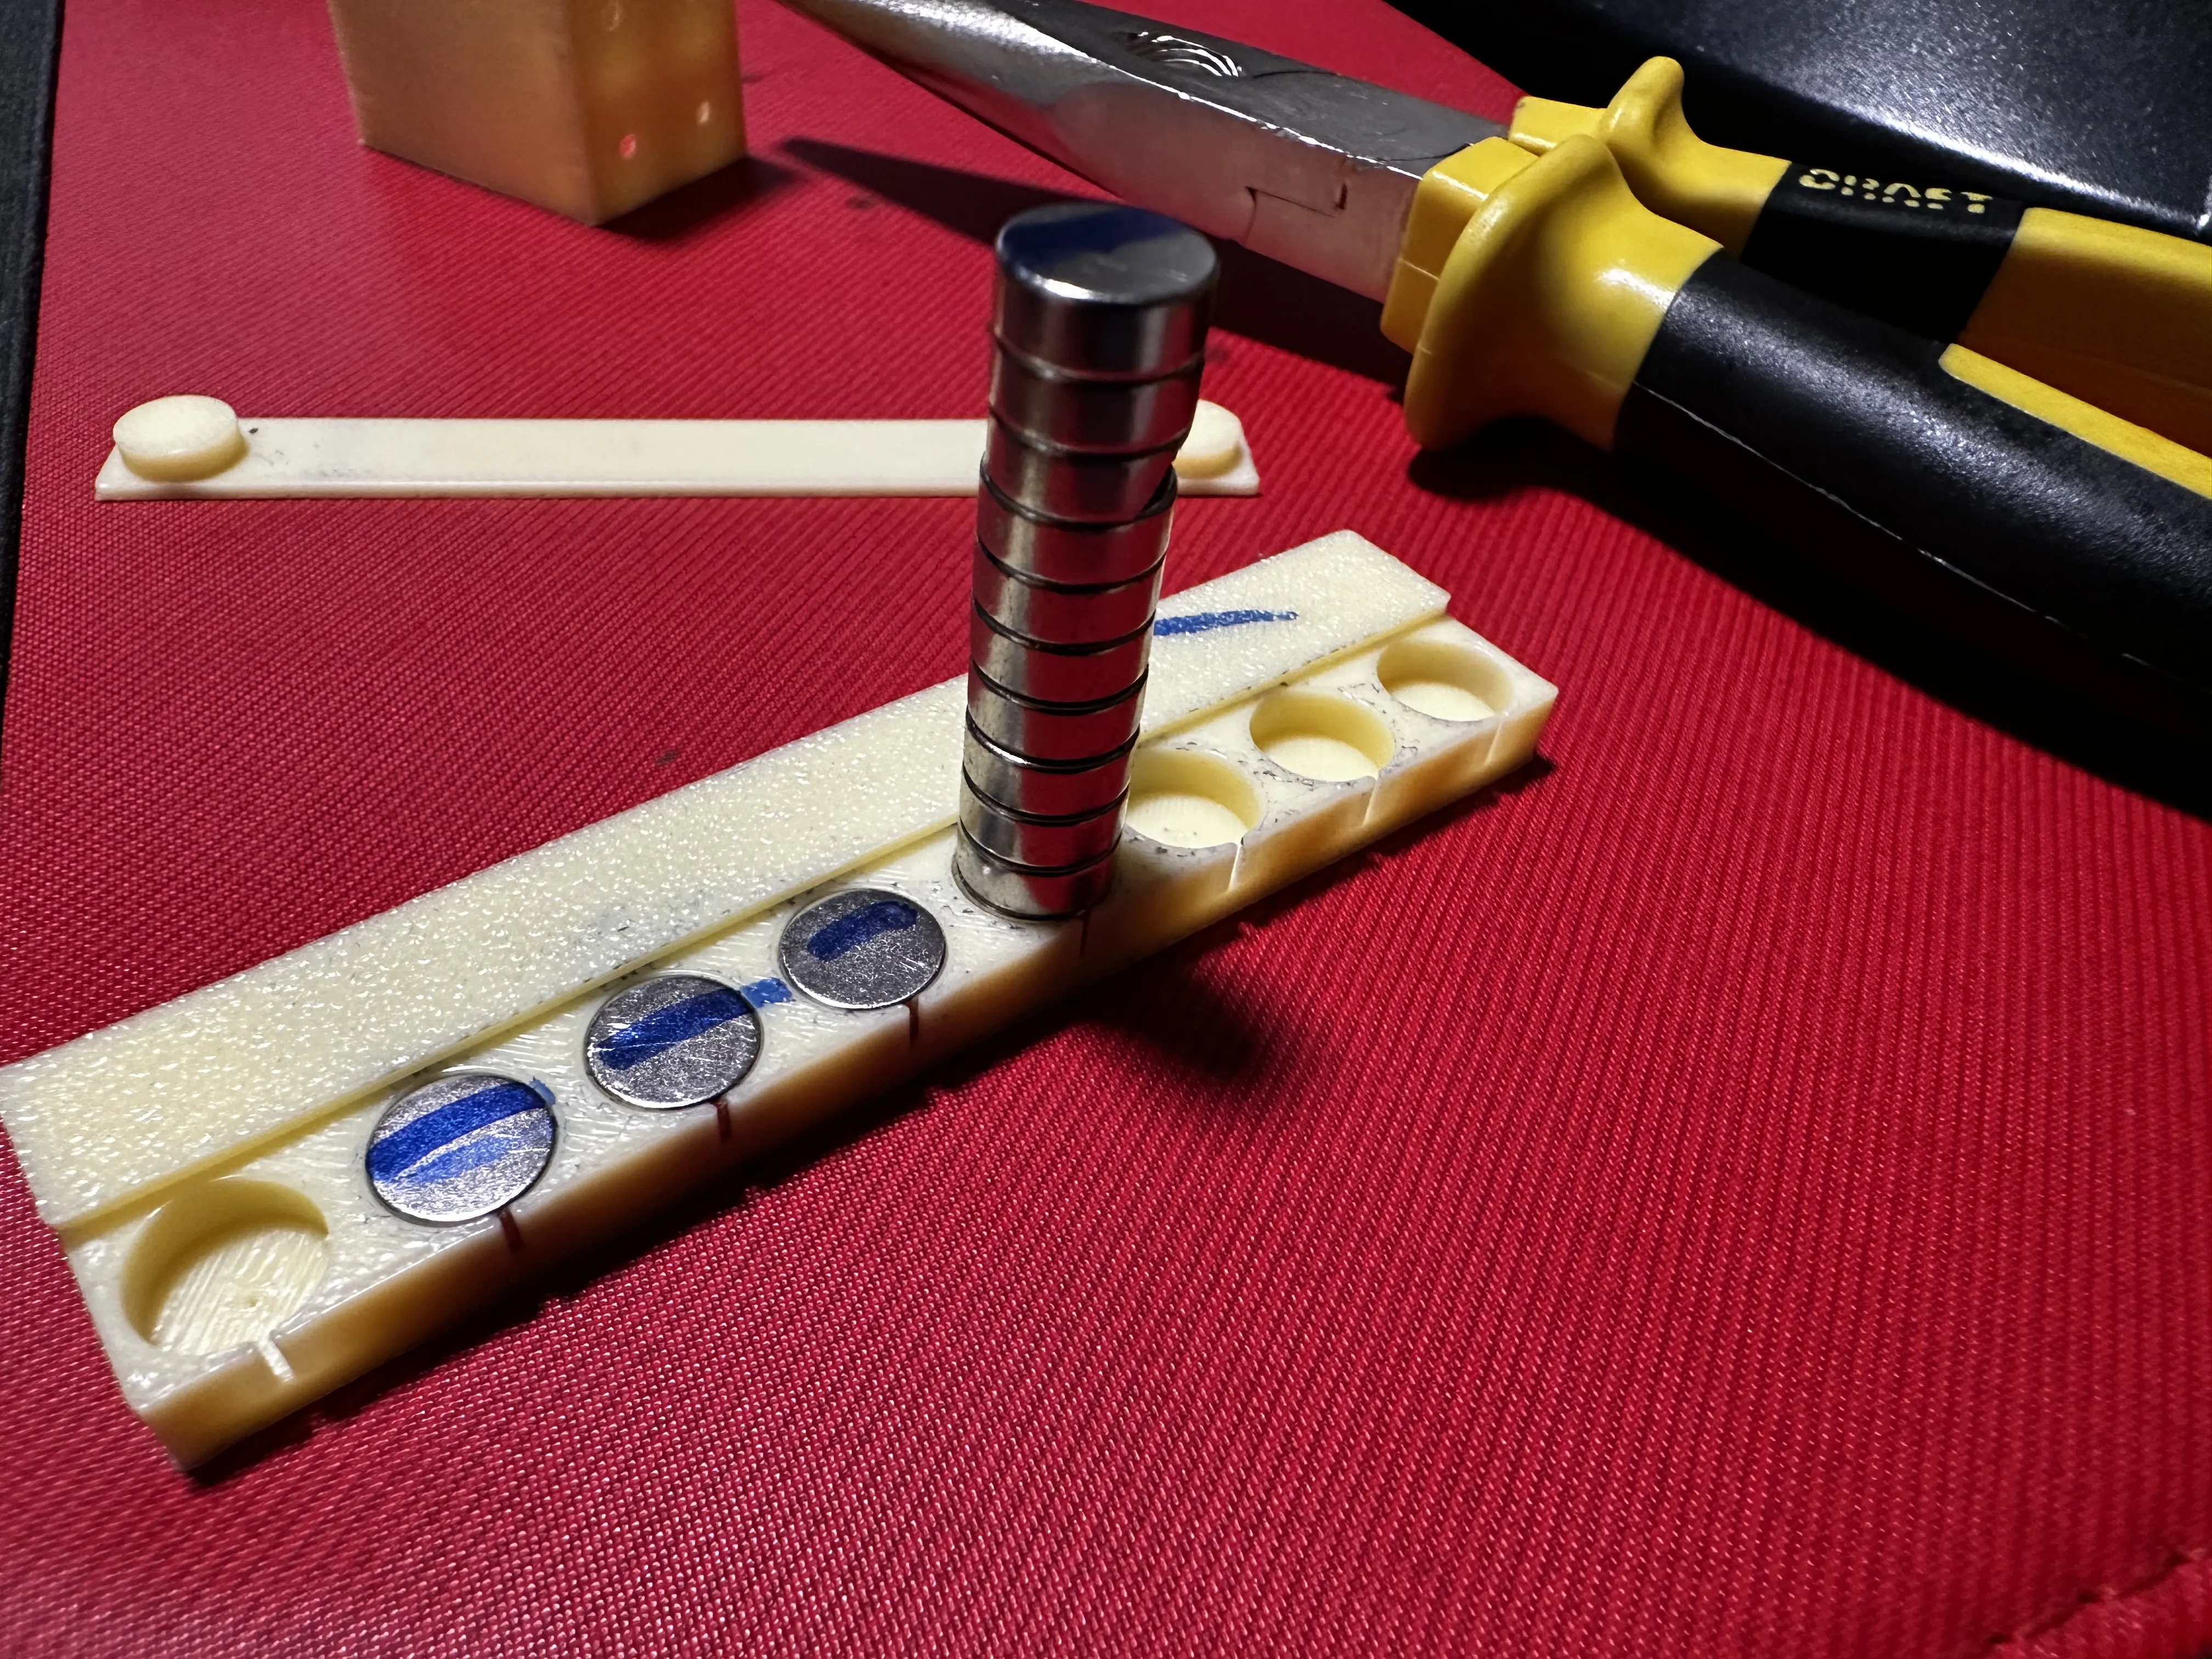
Use 8x3mm magnets for both the rail and the train, pay attention to polarity.
Adding magnets to the bottom of the train or glueing in the magnets is optional.
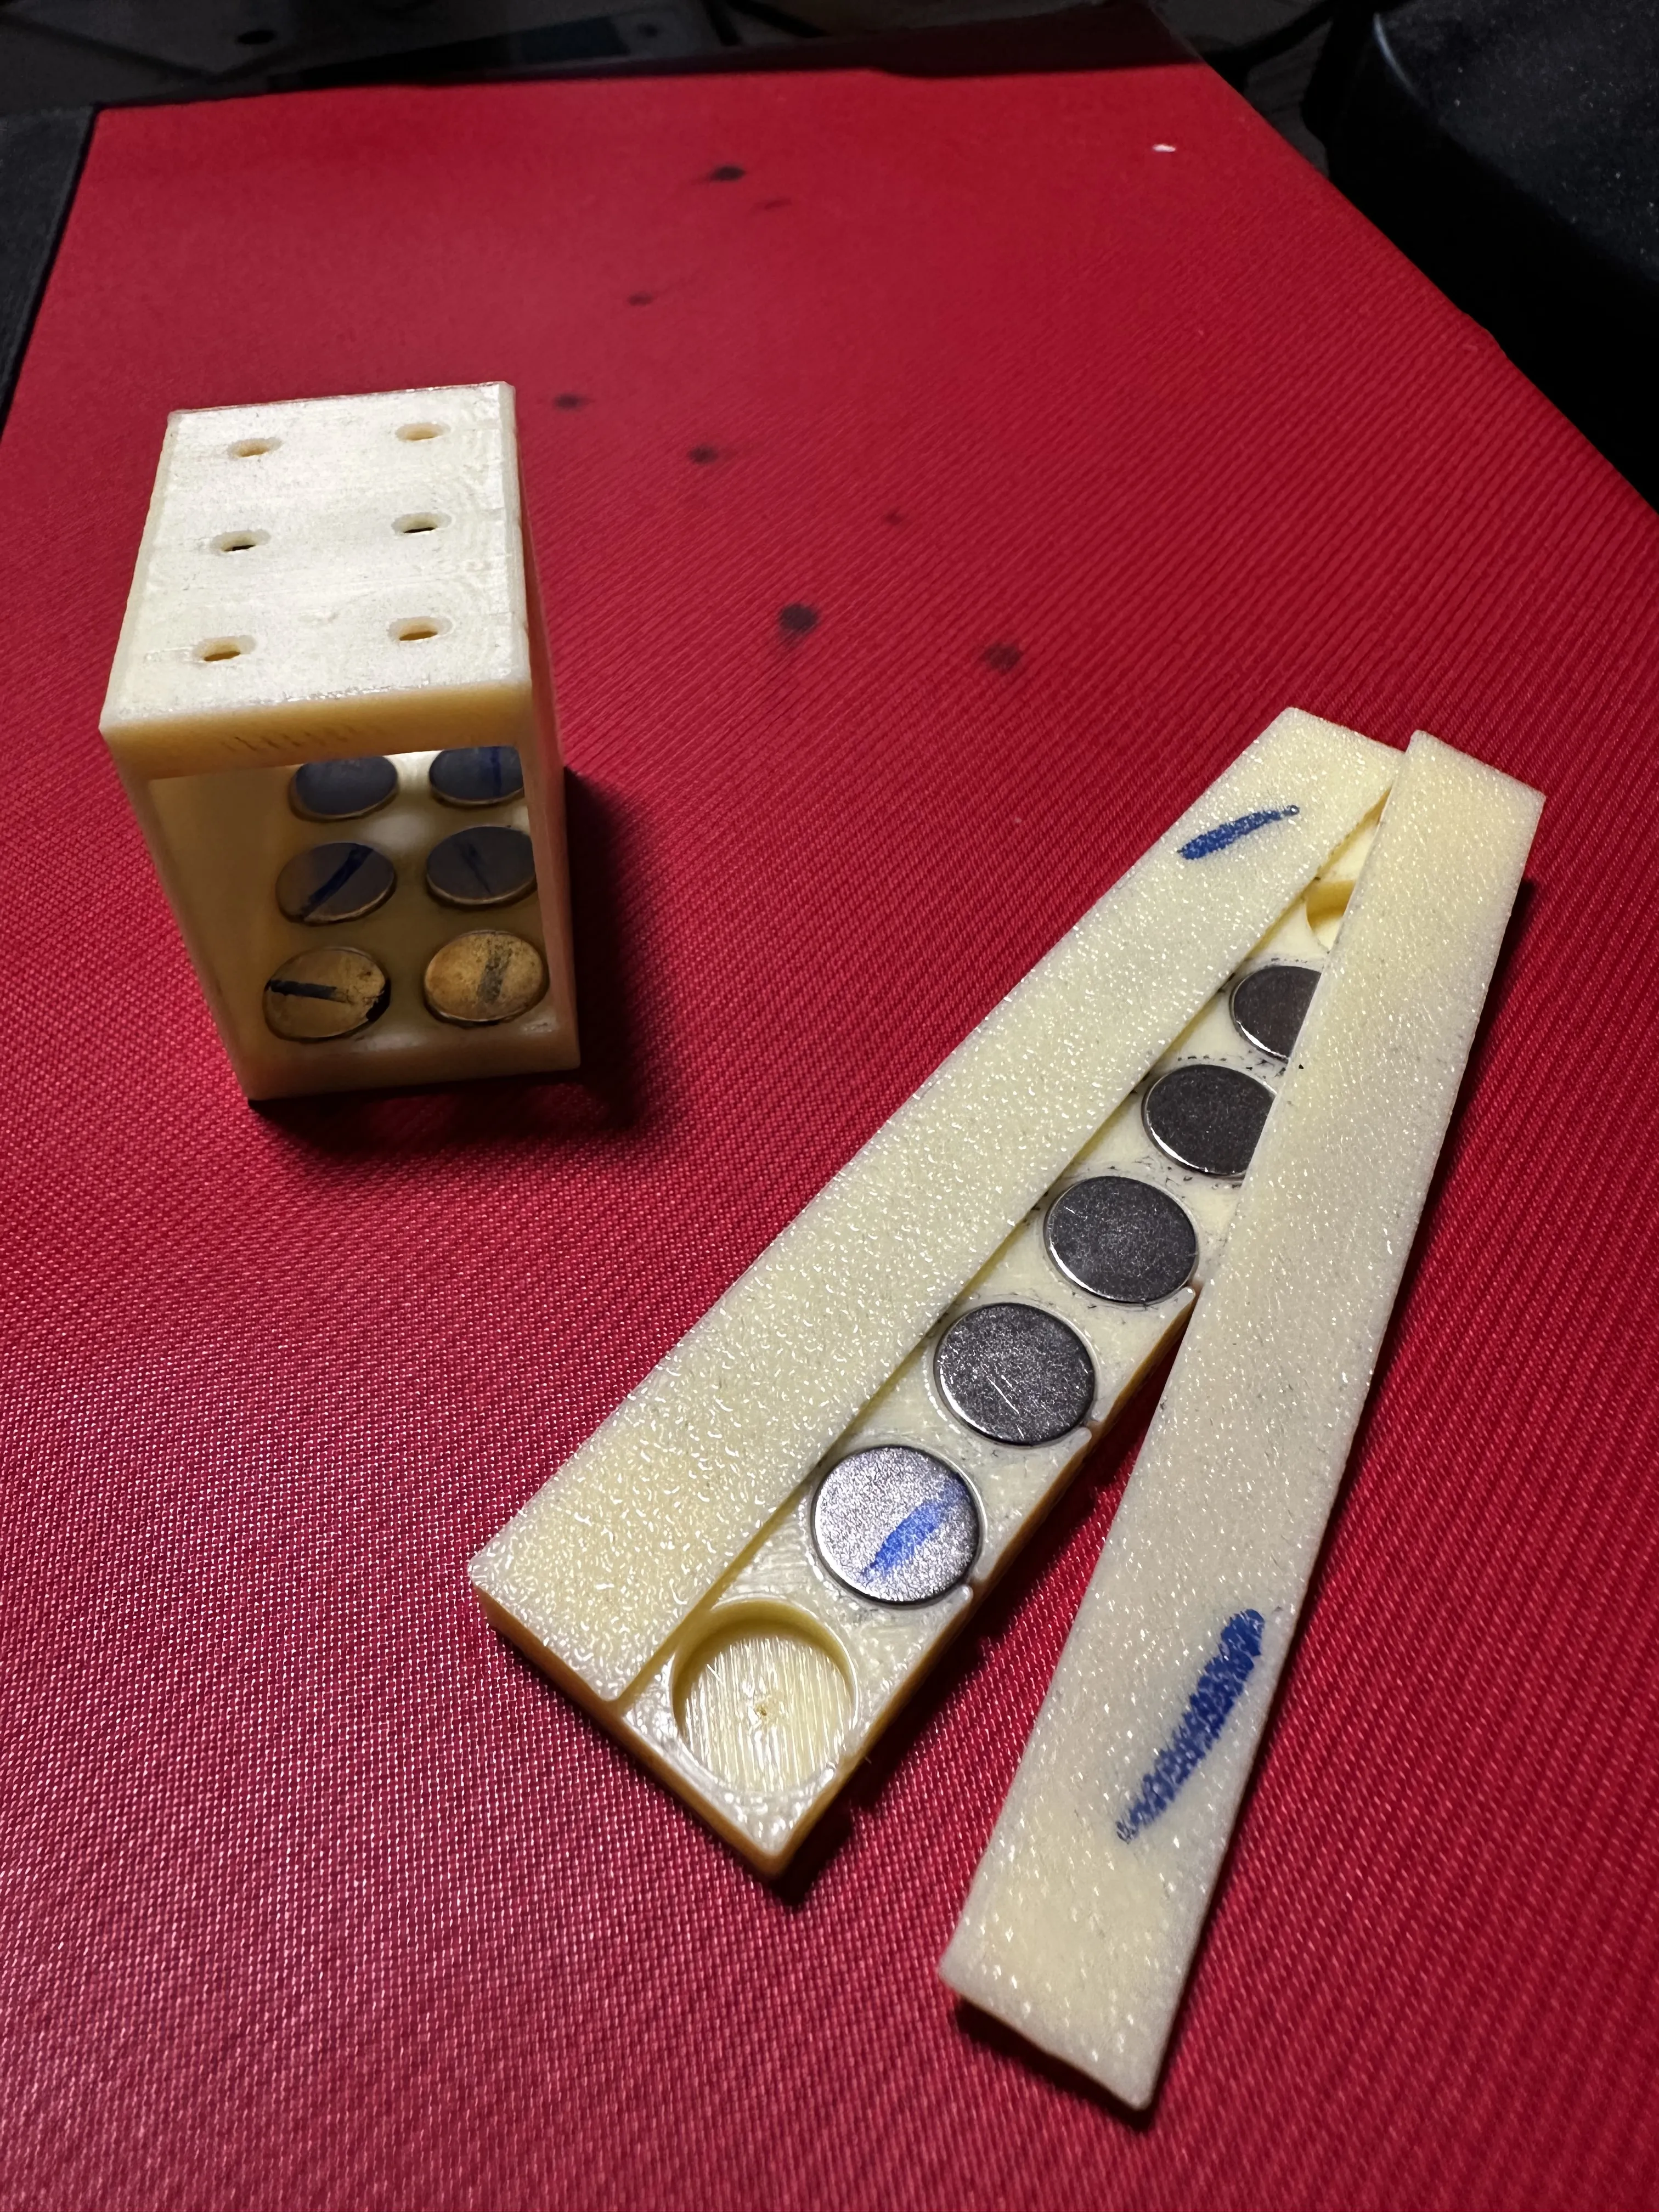
Click in strips are included to cover the magnets. They may be useful if you want to avoid the magnets popping out without glueing them.
To assemble:
NOTE: It is useful to mark the polarity, otherwise it can easily screw up the setup.
- Add magnets to the rail. To avoid mixing up polarity, do it in one go, always pushing in the lowest magnet, and sliding the magnet tower to the next hole
- Add magnets to the ceiling of the train. The same polarity should point outward, like in the rail (so the same pole of the magnets will face each other). I found it is quite easy to do by using pliers, and pushing in the magnets one by one (again: if you marked the polarity of the magnets, it will make it much easier in the case some of them rotates!). Pushing in the magnets is enough, but if you want to be sure, you can use hot glue or superglue.
- Adding magnets to the bottom of the train is optional, but if you add them, be aware having them in the same position as in its ceiling (and in this case, the OTHER pole will face outwards).
License

This user content is licensed under a
Creative Commons Attribution-Noncommercial-Share Alike


Comment & Rating (0)