
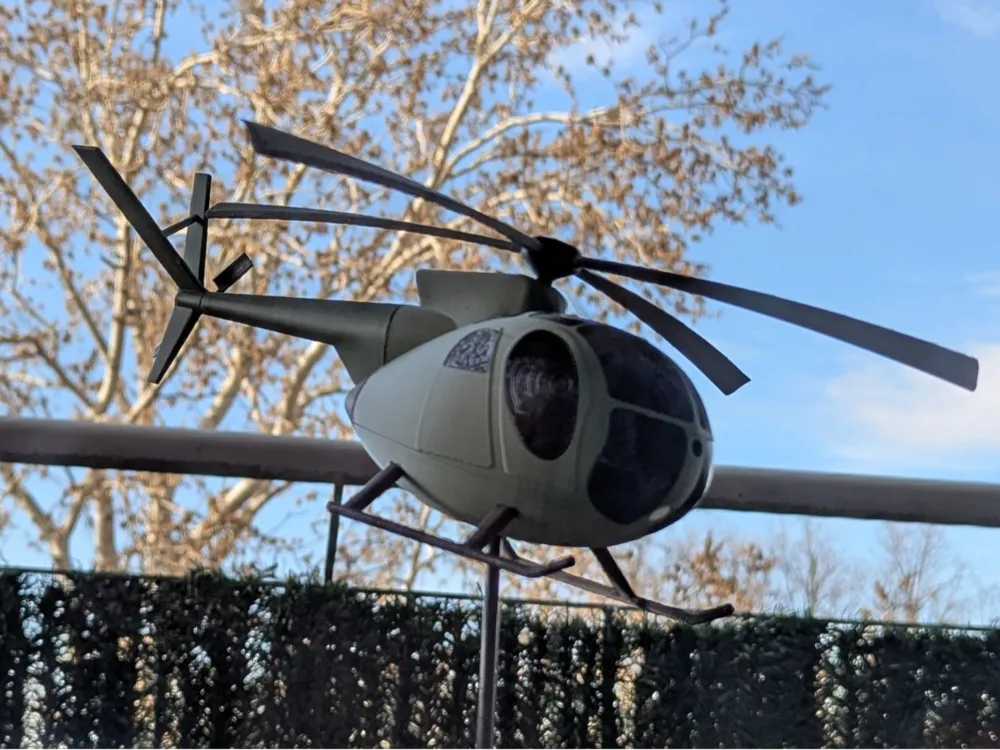
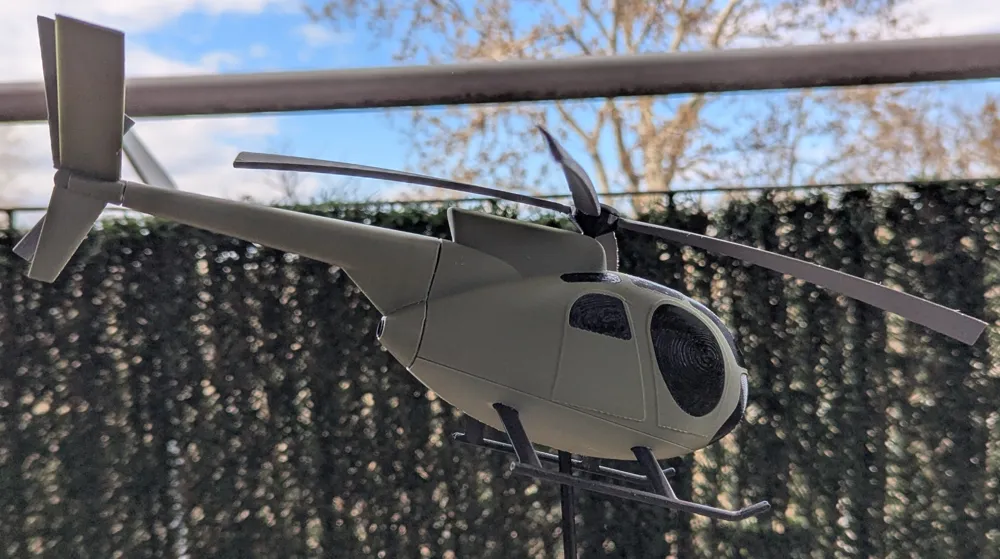
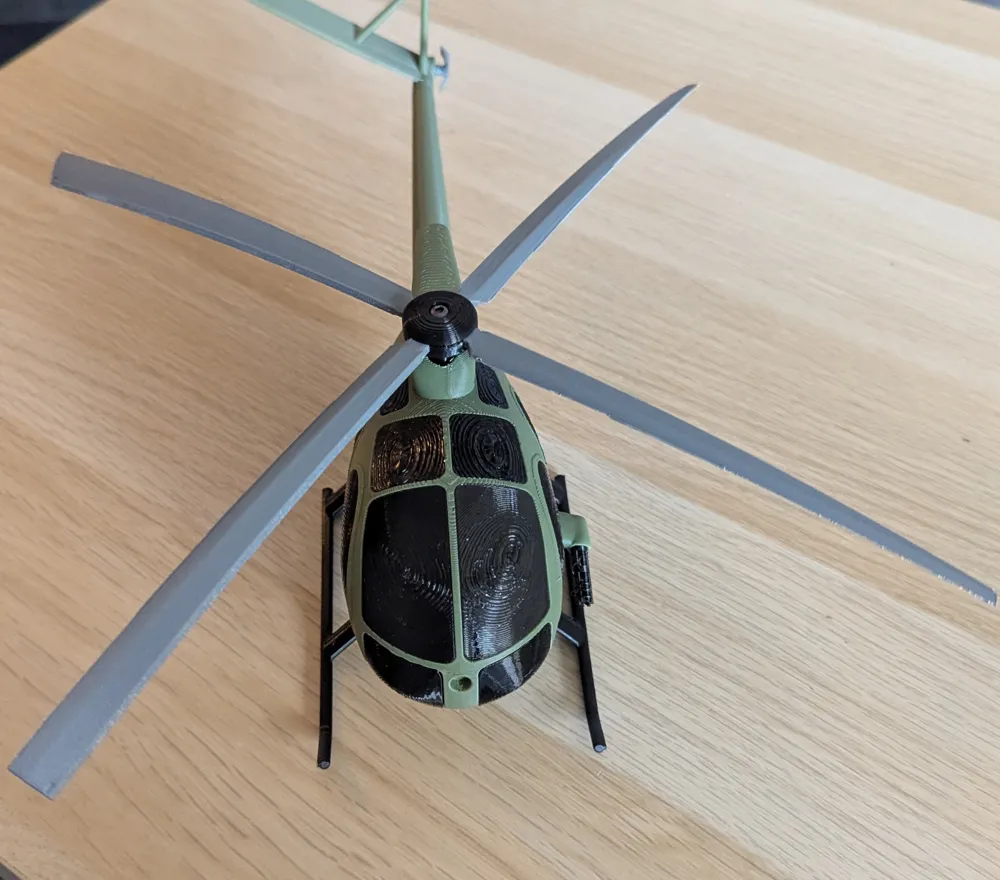
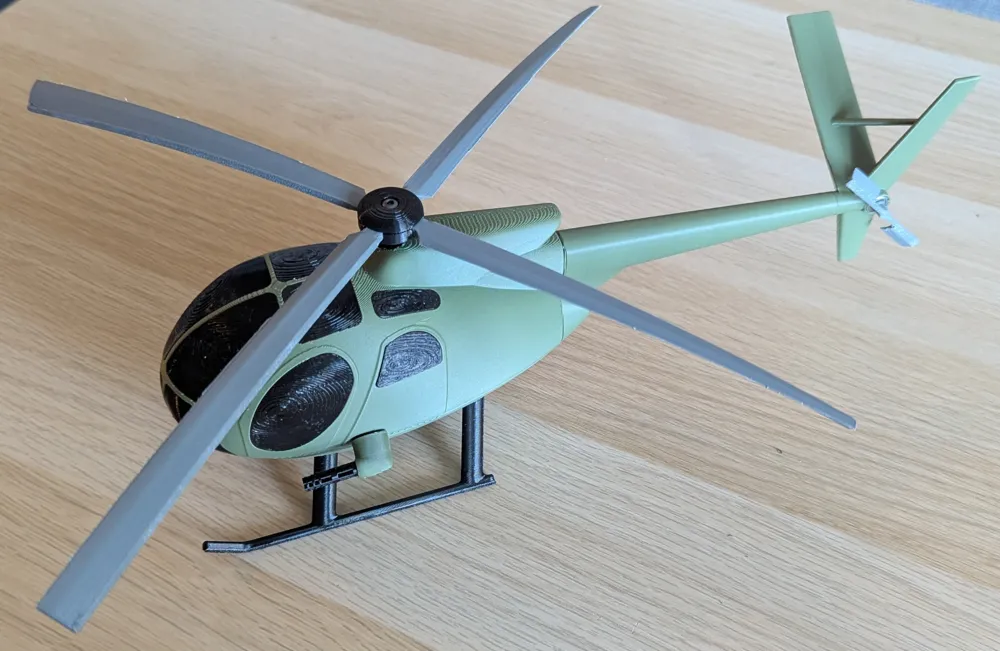
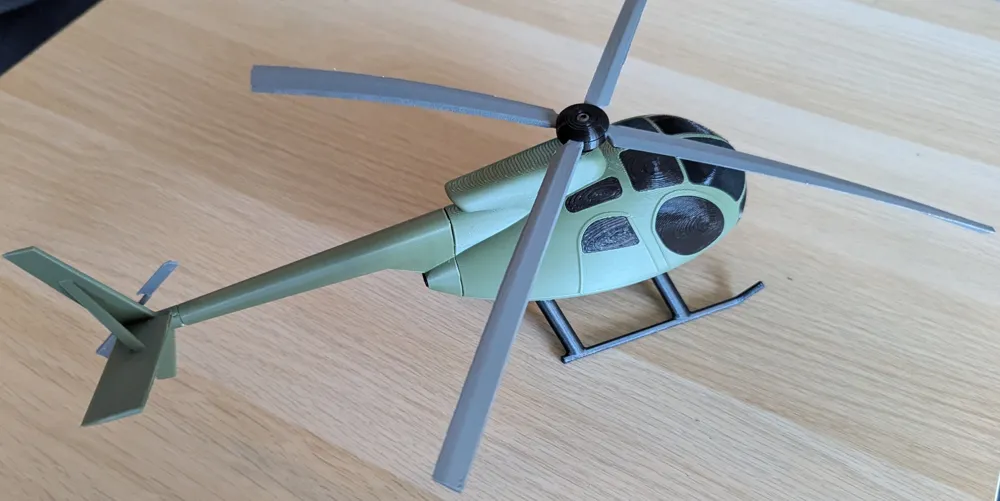
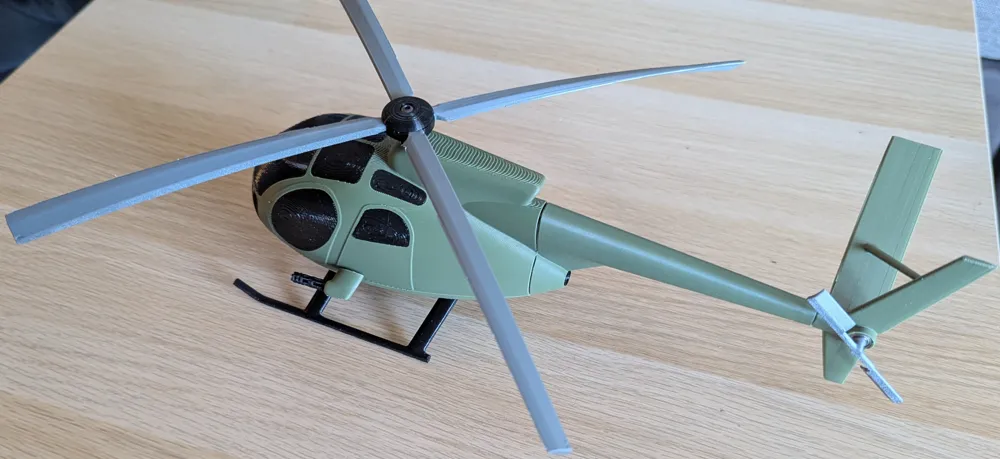
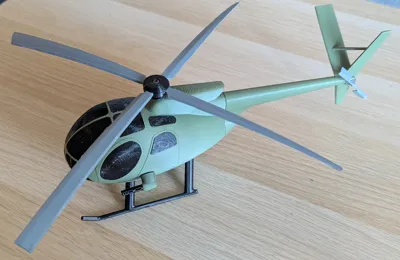
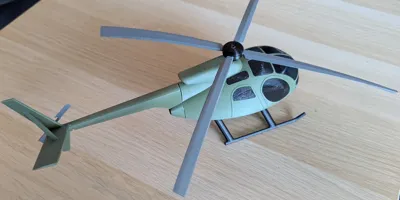
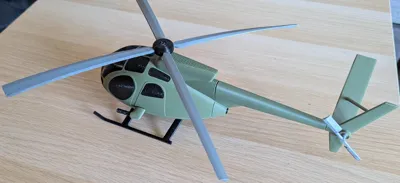
OH-6 Cayuse Helicopter "LOACH"

Print Profile(3)


Bill of Materials

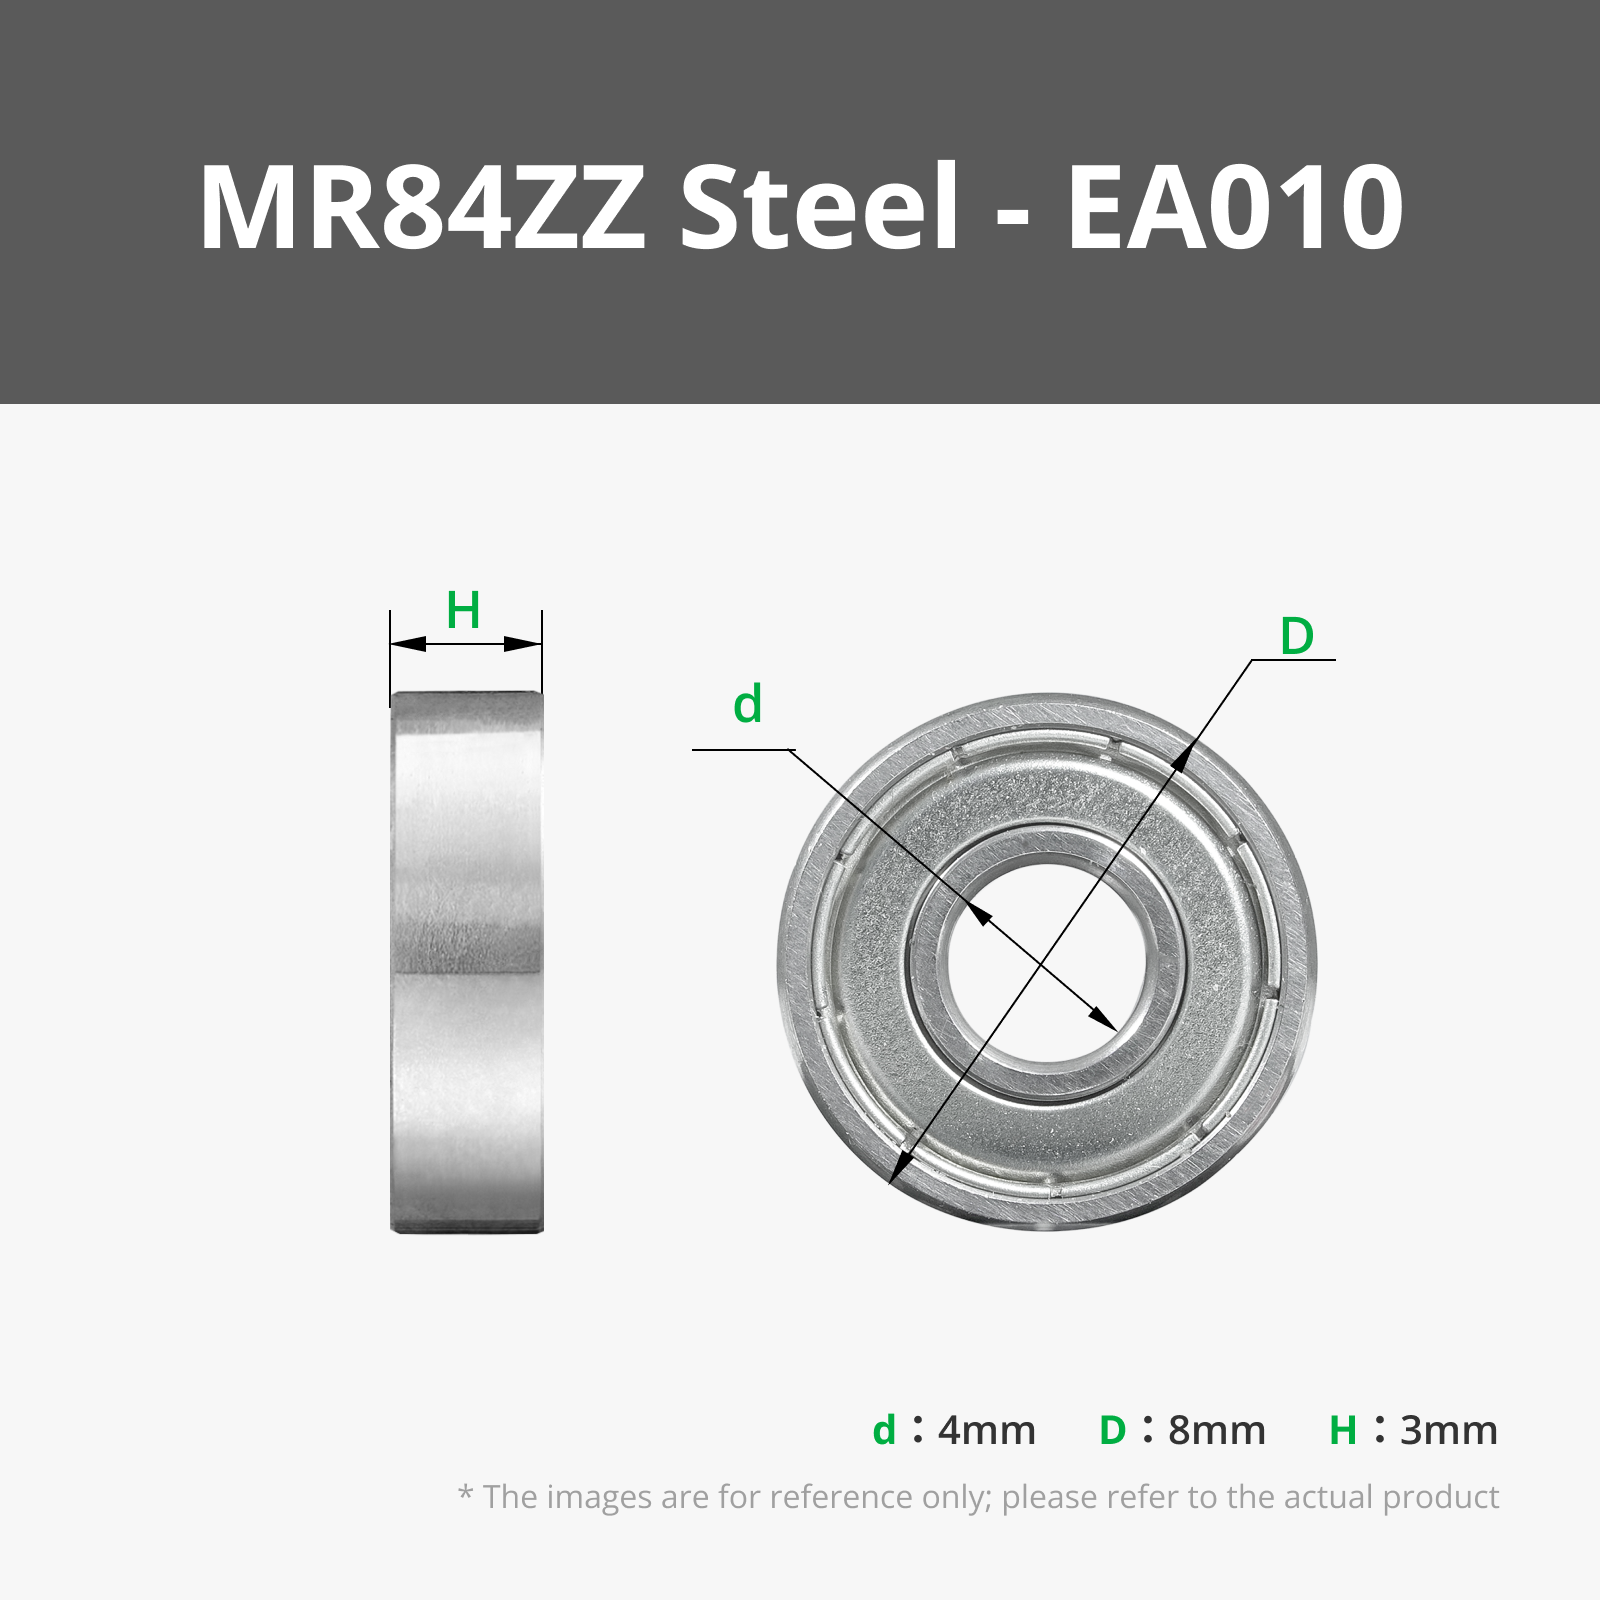


- Bearing x 1: 685ZZ 11x5x5mm
Description
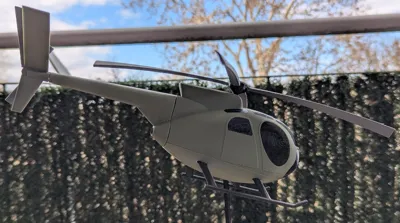
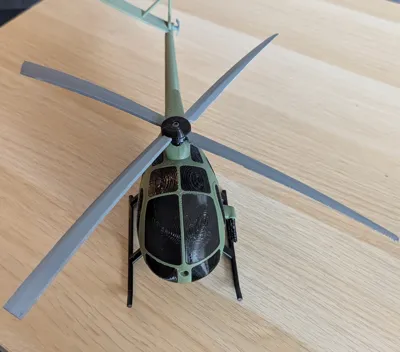
The legendary Vietnam War era scout helicopter for your garden as a wind spinner or for your desk as display model.
It can be printed without AMS.
The lenght of the model is around 26cm (~10inch).
BEFORE YOU START PRINTIG, READ THE ASSEMBLY GUIDE FOR SOME TIPS
UPDATE:
18/Apr-2025 I added a print profile with a counter-clockwise rotating main rotor blades. Now the main rotor spins the same direction, just on the real helicopter. It is printed in spiral vase mode
You will need some additional hardware to assemble it:
5X M3x10 mm Button Head Machine Screws
2X MR84ZZ 8x4x3 mm Bearings
You need these only if you are planning to use the helicpoter as wind spinner:
1X 685ZZ 11x5x5 mm Bearing
5mm diameter rod
Printing Guidelines:
You can use my presets for printing in the uploaded printing profile:
3 walls
3 top/bottom layers
8% Giroid infill
Supports, manually painted at some places
These are filaments what I used:
Green and Gray: Spectrum Matte PETG
Black: Gembird PETG
White: Gembirg PLA
Plate 1:
All the parts need to be printed. The windows marked (L)eft and (R)ight respectively for easier assembly
Plate 2:
Contains all the fuselage and tail parts of the helicopter.
For a display model, you don't need to print the parts called “bearing holder” and “stick adapter”.
The idea behind the part called “stick adapter” is to put it between the 5mm rod and the 685ZZ bearing, so the model sits tightly on the rod and does not wiggle.
Plate 3:
Landing light, nothing special, use white filament.
Later it has to be glued to the lower hole of the part called “upper fuselage”.
Plate 4:
Print the tail rotor only, if you want a display model!
Tail rotor and “easy to print” main rotor blades.
Print all parts only if you want the wind spinner with easy to print blades.
These were the first main rotor blades what I designed for the model.
Plate 5:
Parts for the minigun.
Print them separately in their respective color if you want your helicopter with a minigun. It has to be glued to the fuselage later.
Plate 6:
Parts list for the non-printed parts. You can try to print the bearings, if you want a static model with non-rotating rotor blades. I did not spend too much time to adjust their tolerances. This plate is really just a part list, you can find the parts name and size in the “Objets” view.
Plate 7:
It is a different type of main rotor blade, printed in spiral vase mode. The idea behind it, is to make it as light as possible so the wind can spin it easier.
Print 4 of them slowly, and be prepared for some failed prints.
Plate 8:
Main rotor blades for the desktop model. These blades don't have the twist which is needed for the wind spinner model.
Assembly Guide:
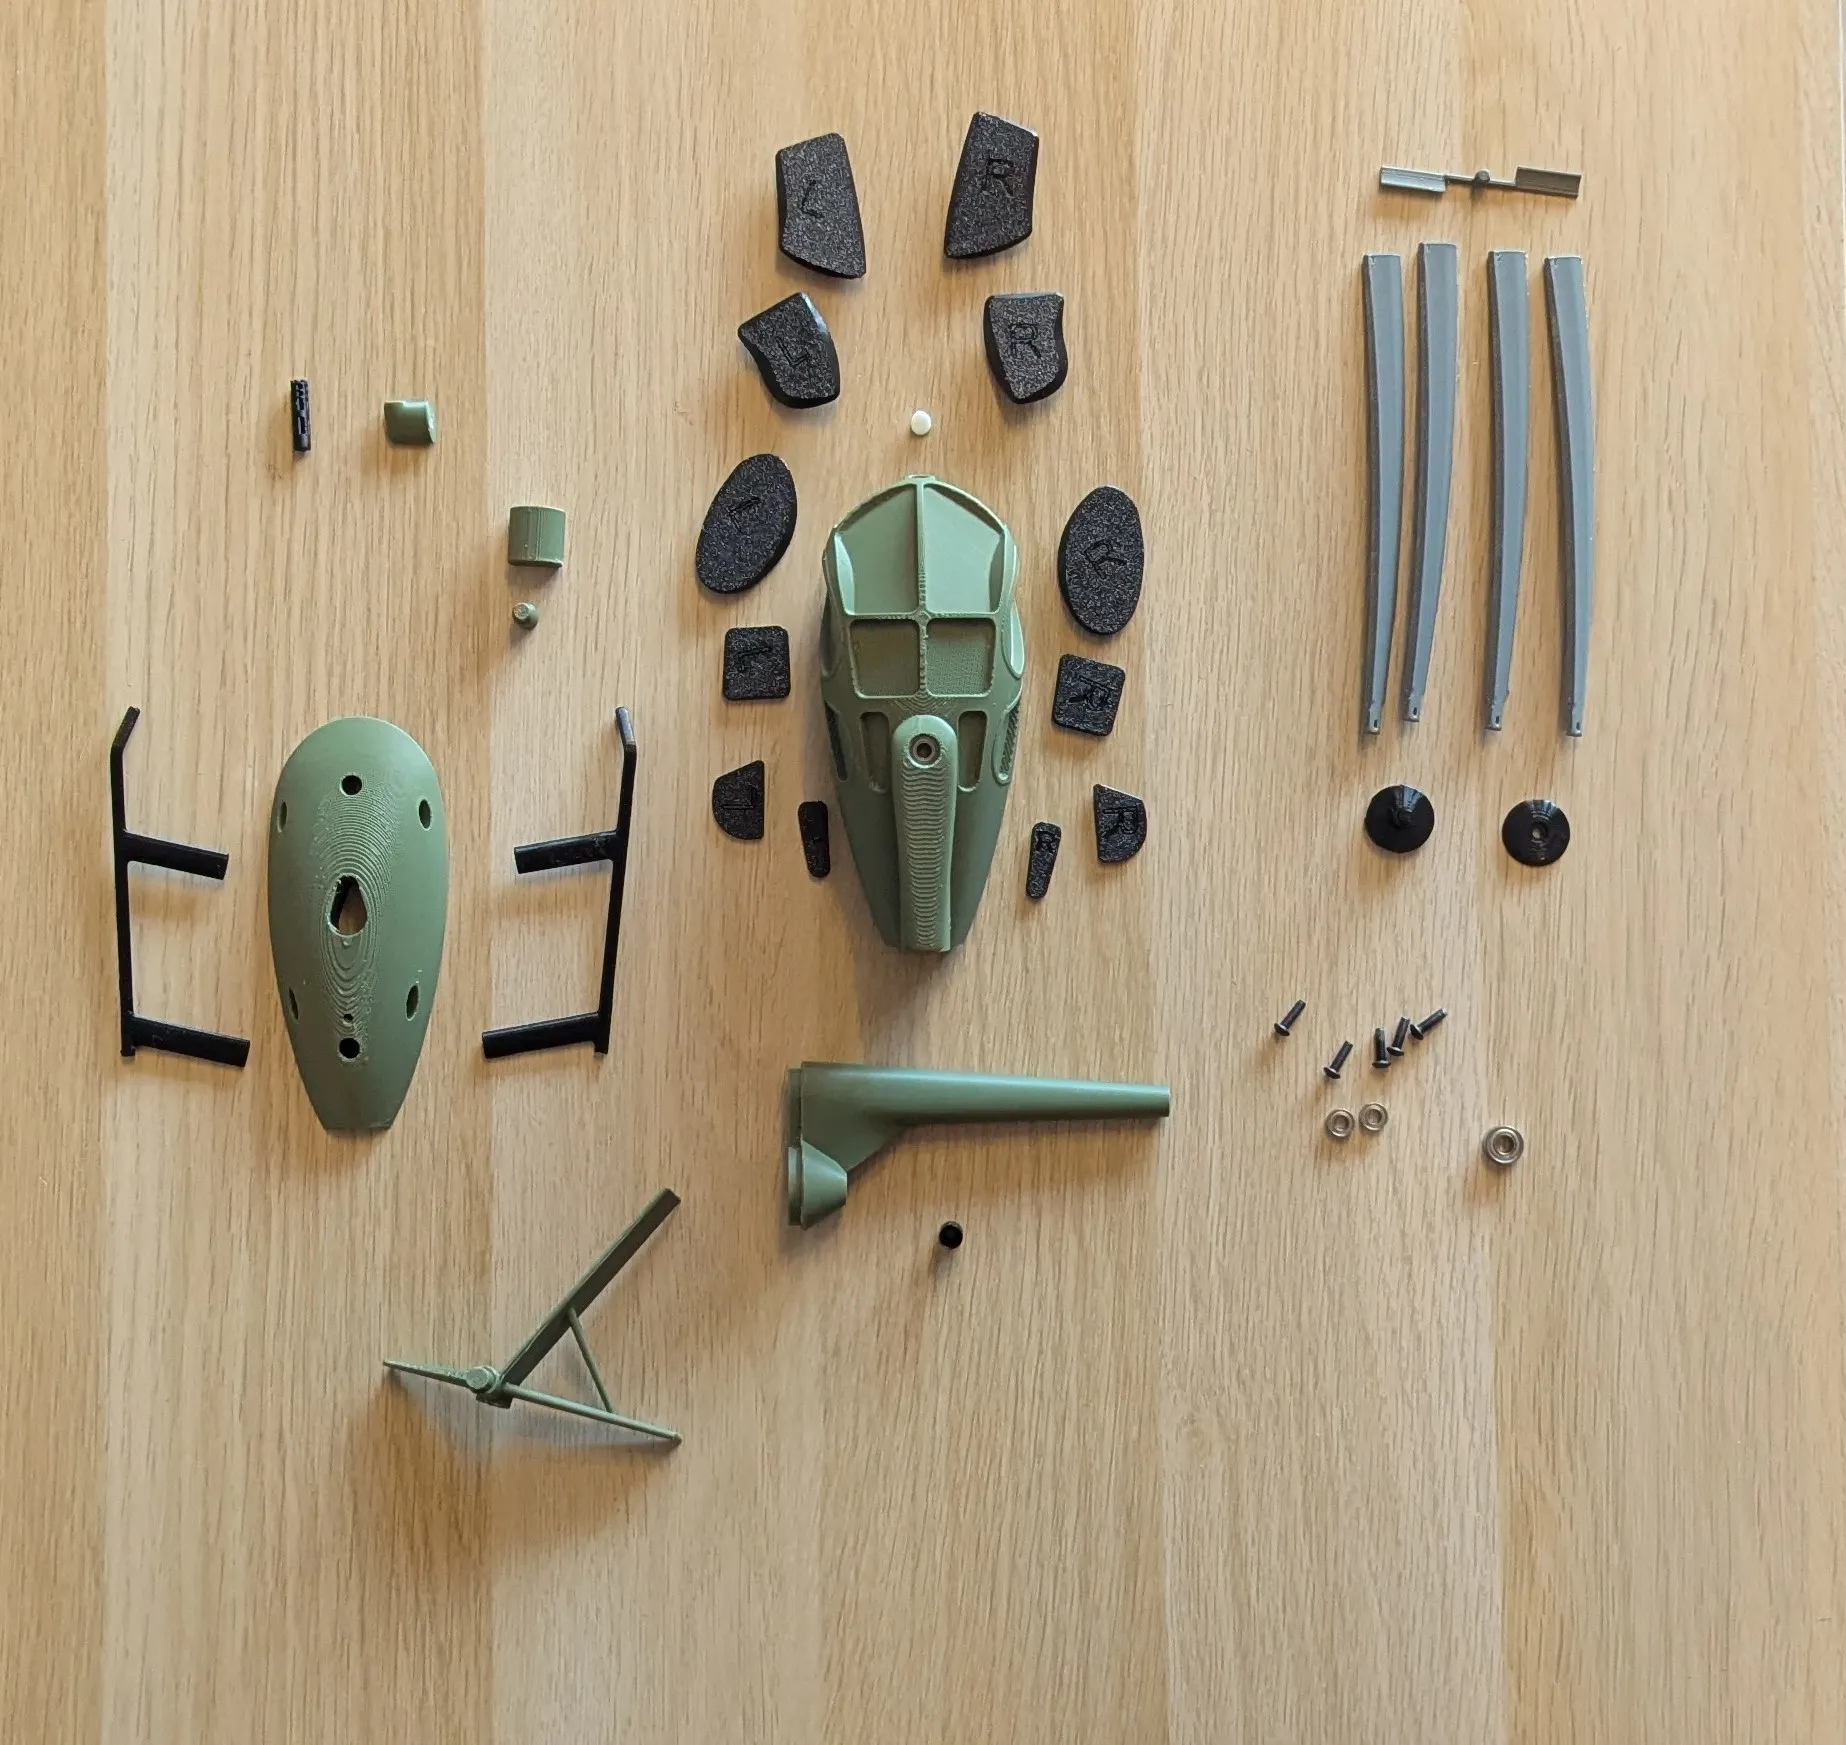
Before you start, run the screws through their holes a couple of times so they can cut their theads. The holes have a tight tolerances.
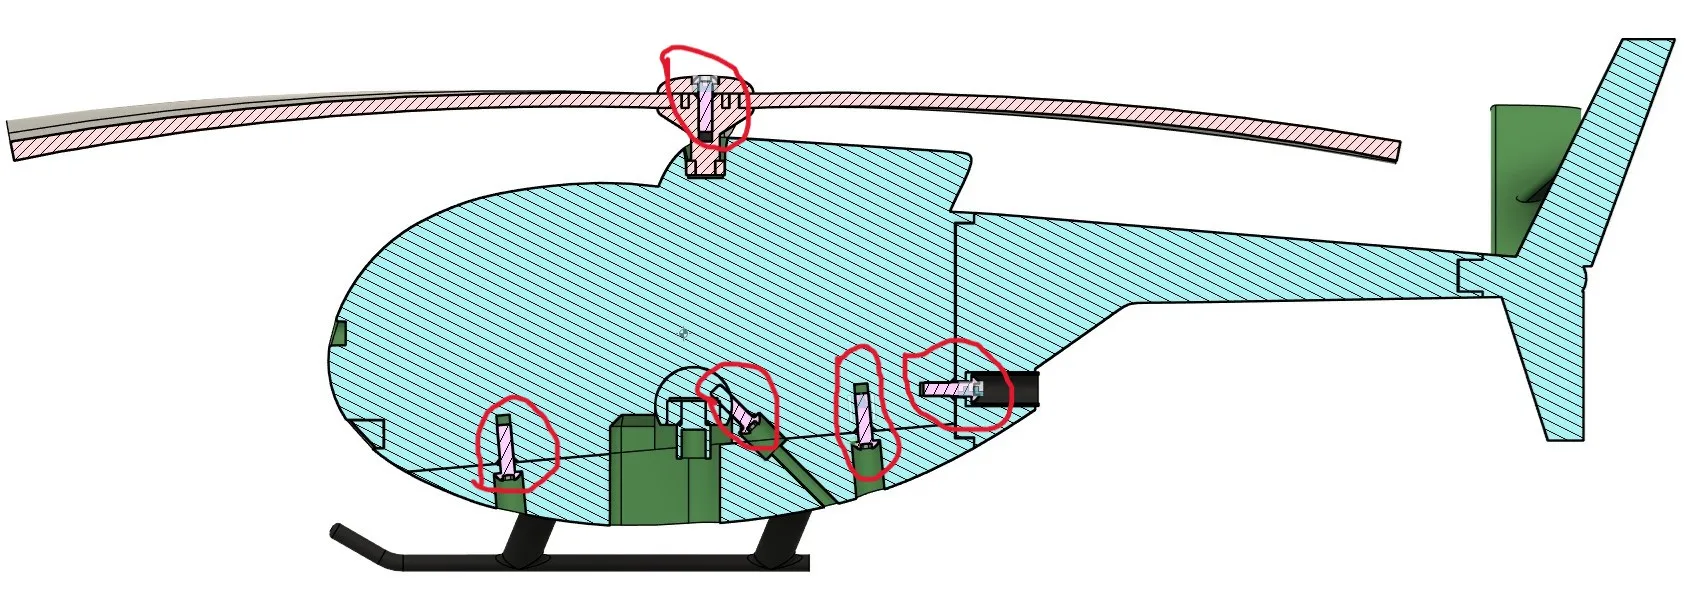
The landing skids and windows have to be glued to their place.
The tail has to be glued to the tail boom.
The main rotor hub and the tail rotor have tight tolerance, they have to be pressed to the bearings (MR84ZZ) first, before putting them to their final place.
Install the 685ZZ bearing to the “bearing holder” and put it in to the fuselage. Also install the diagonal screw, but DON'T TORQUE it! The bearing holder has to move freely for the balancing.
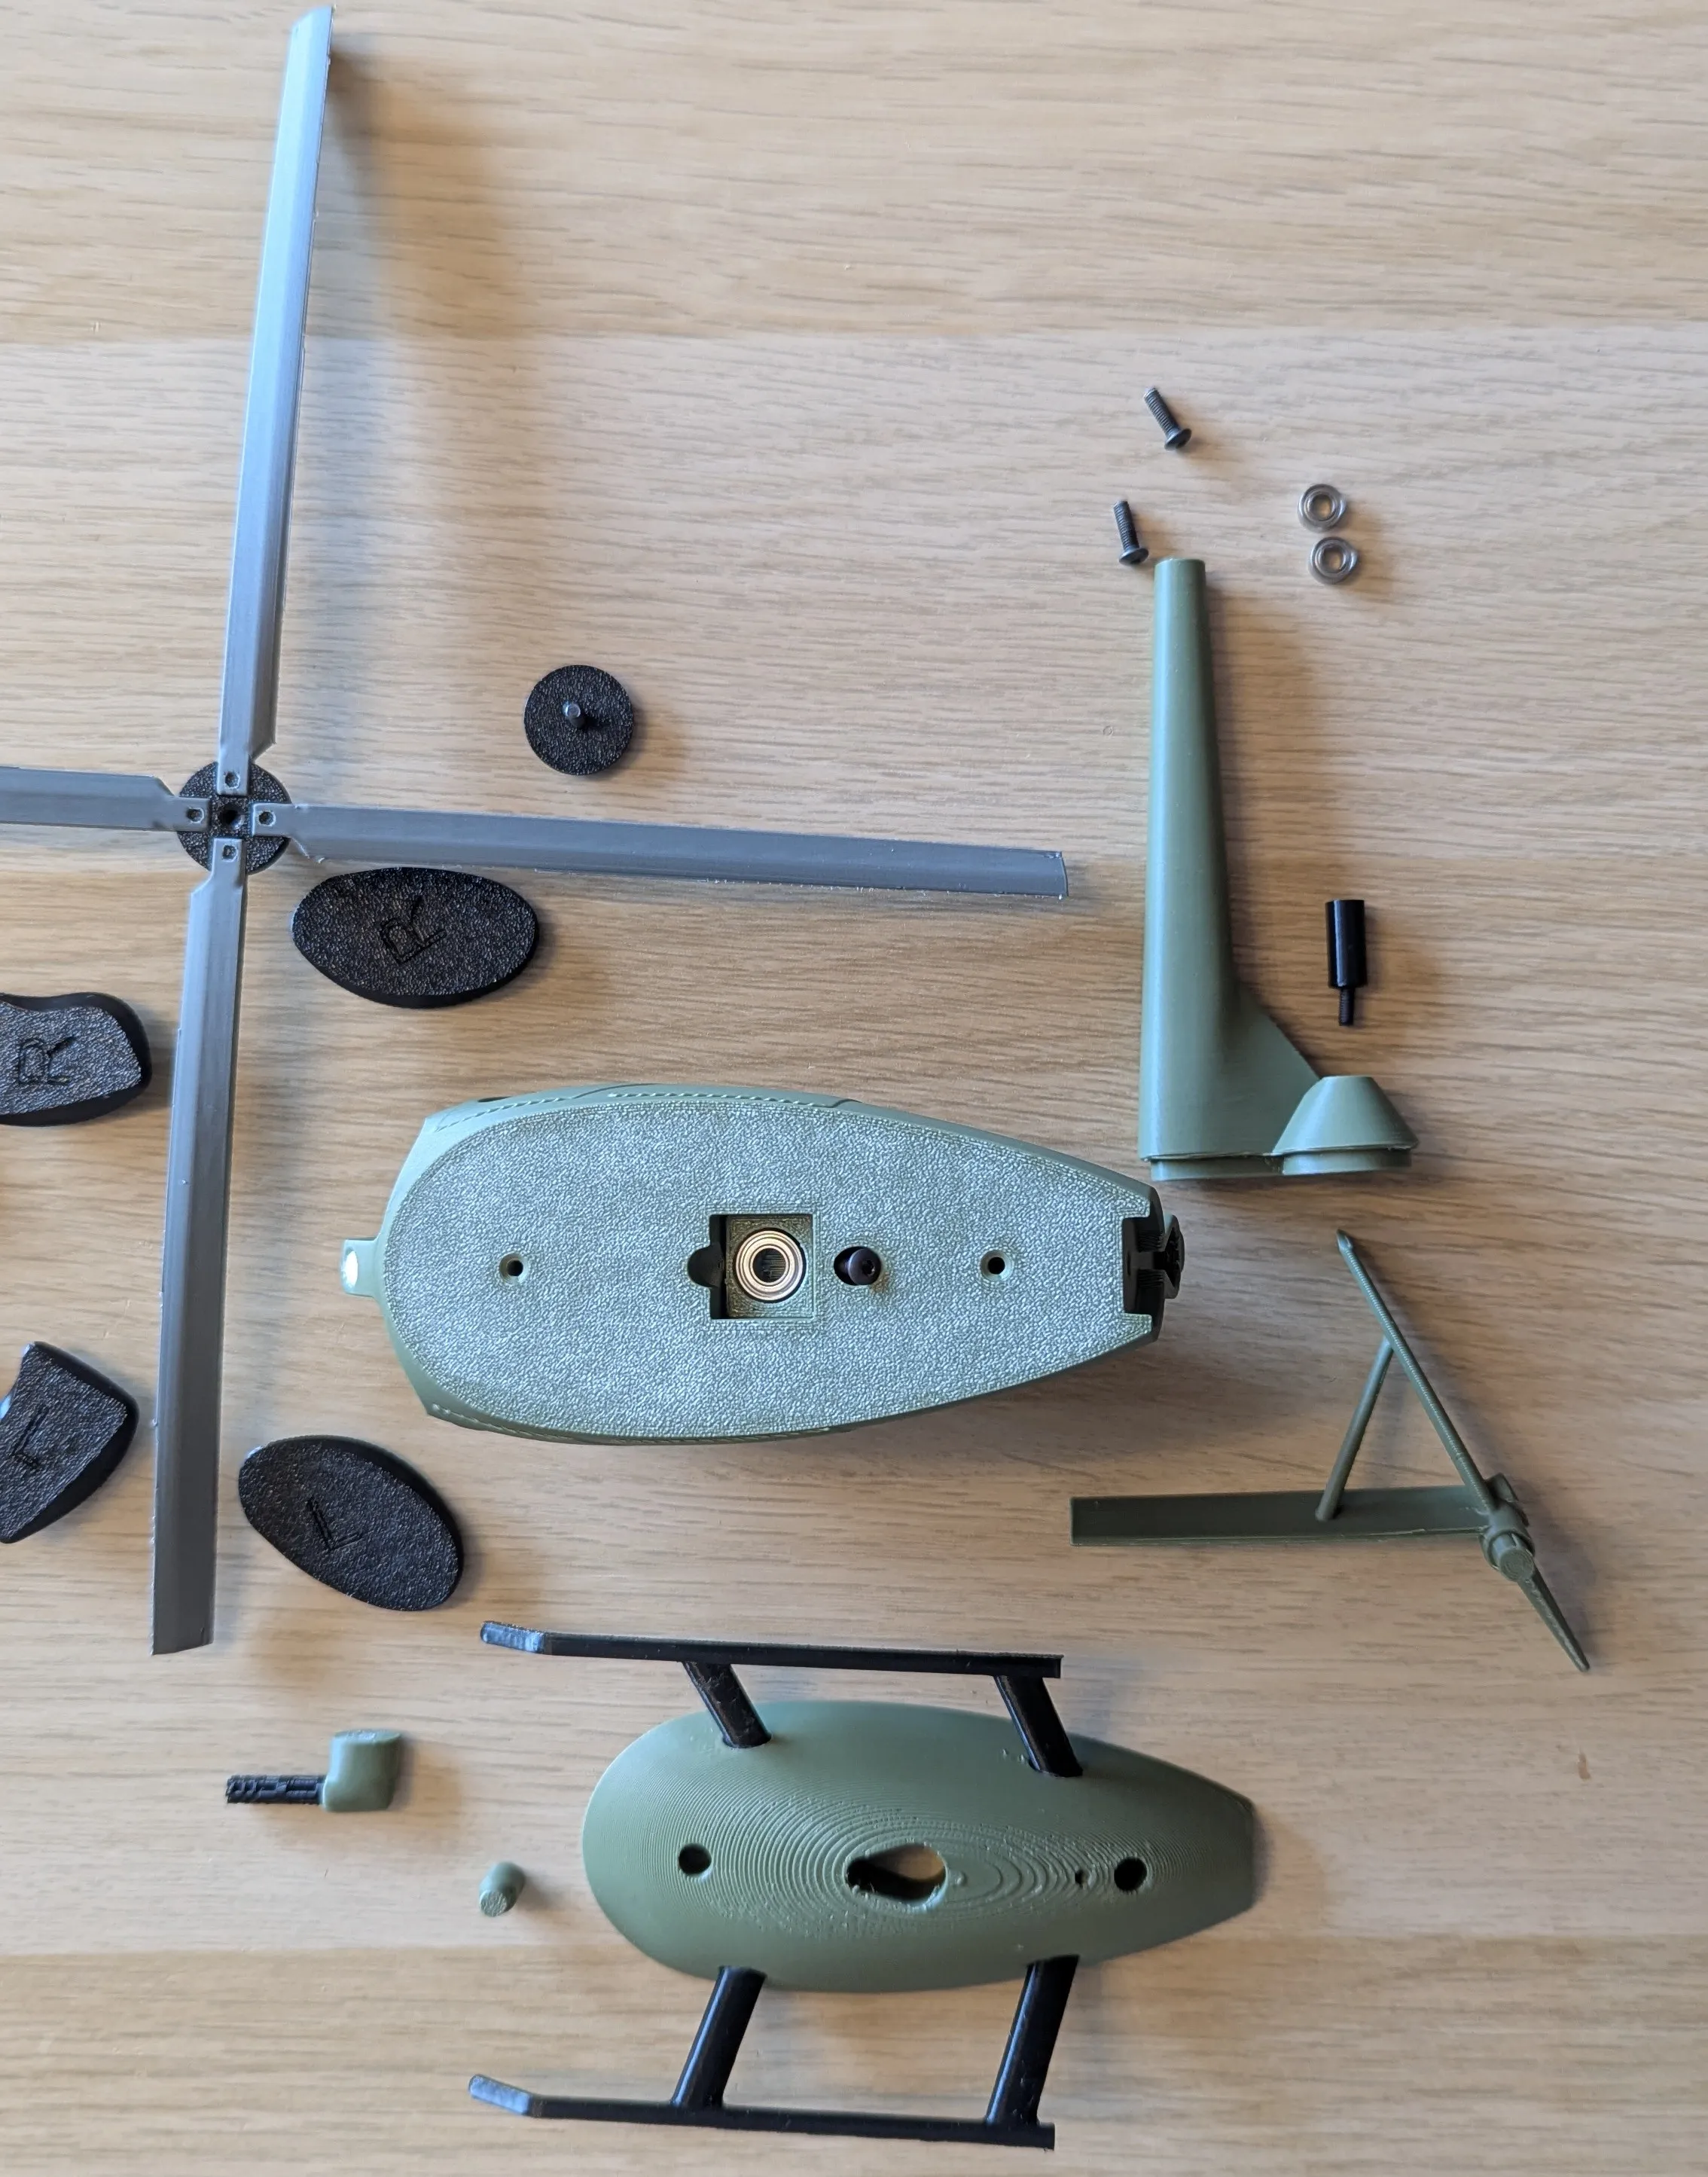
The part called “exhaust” has to go into the tail boom with a screw, and then has to be screwed to the fuselage.
The lower fuselage has to be screwed to the upper fuselage. You can use glue if you want.
The main rotor hub cap has to be screwed to the hub with the rotorblades installed to the hub.
This part is if you want your helicopter sit outside as a wind spinner:
When the model is complete it is time to put it on the 5mm rod.
If you printed the model with my presets, it will be tail heavy.
To adjust the balance, you have 2 options:
-Print the windows with more infill to make them heavier or print the tail with less infill to make it lighter (this also puts the helicopter to a less “agressive” angle)
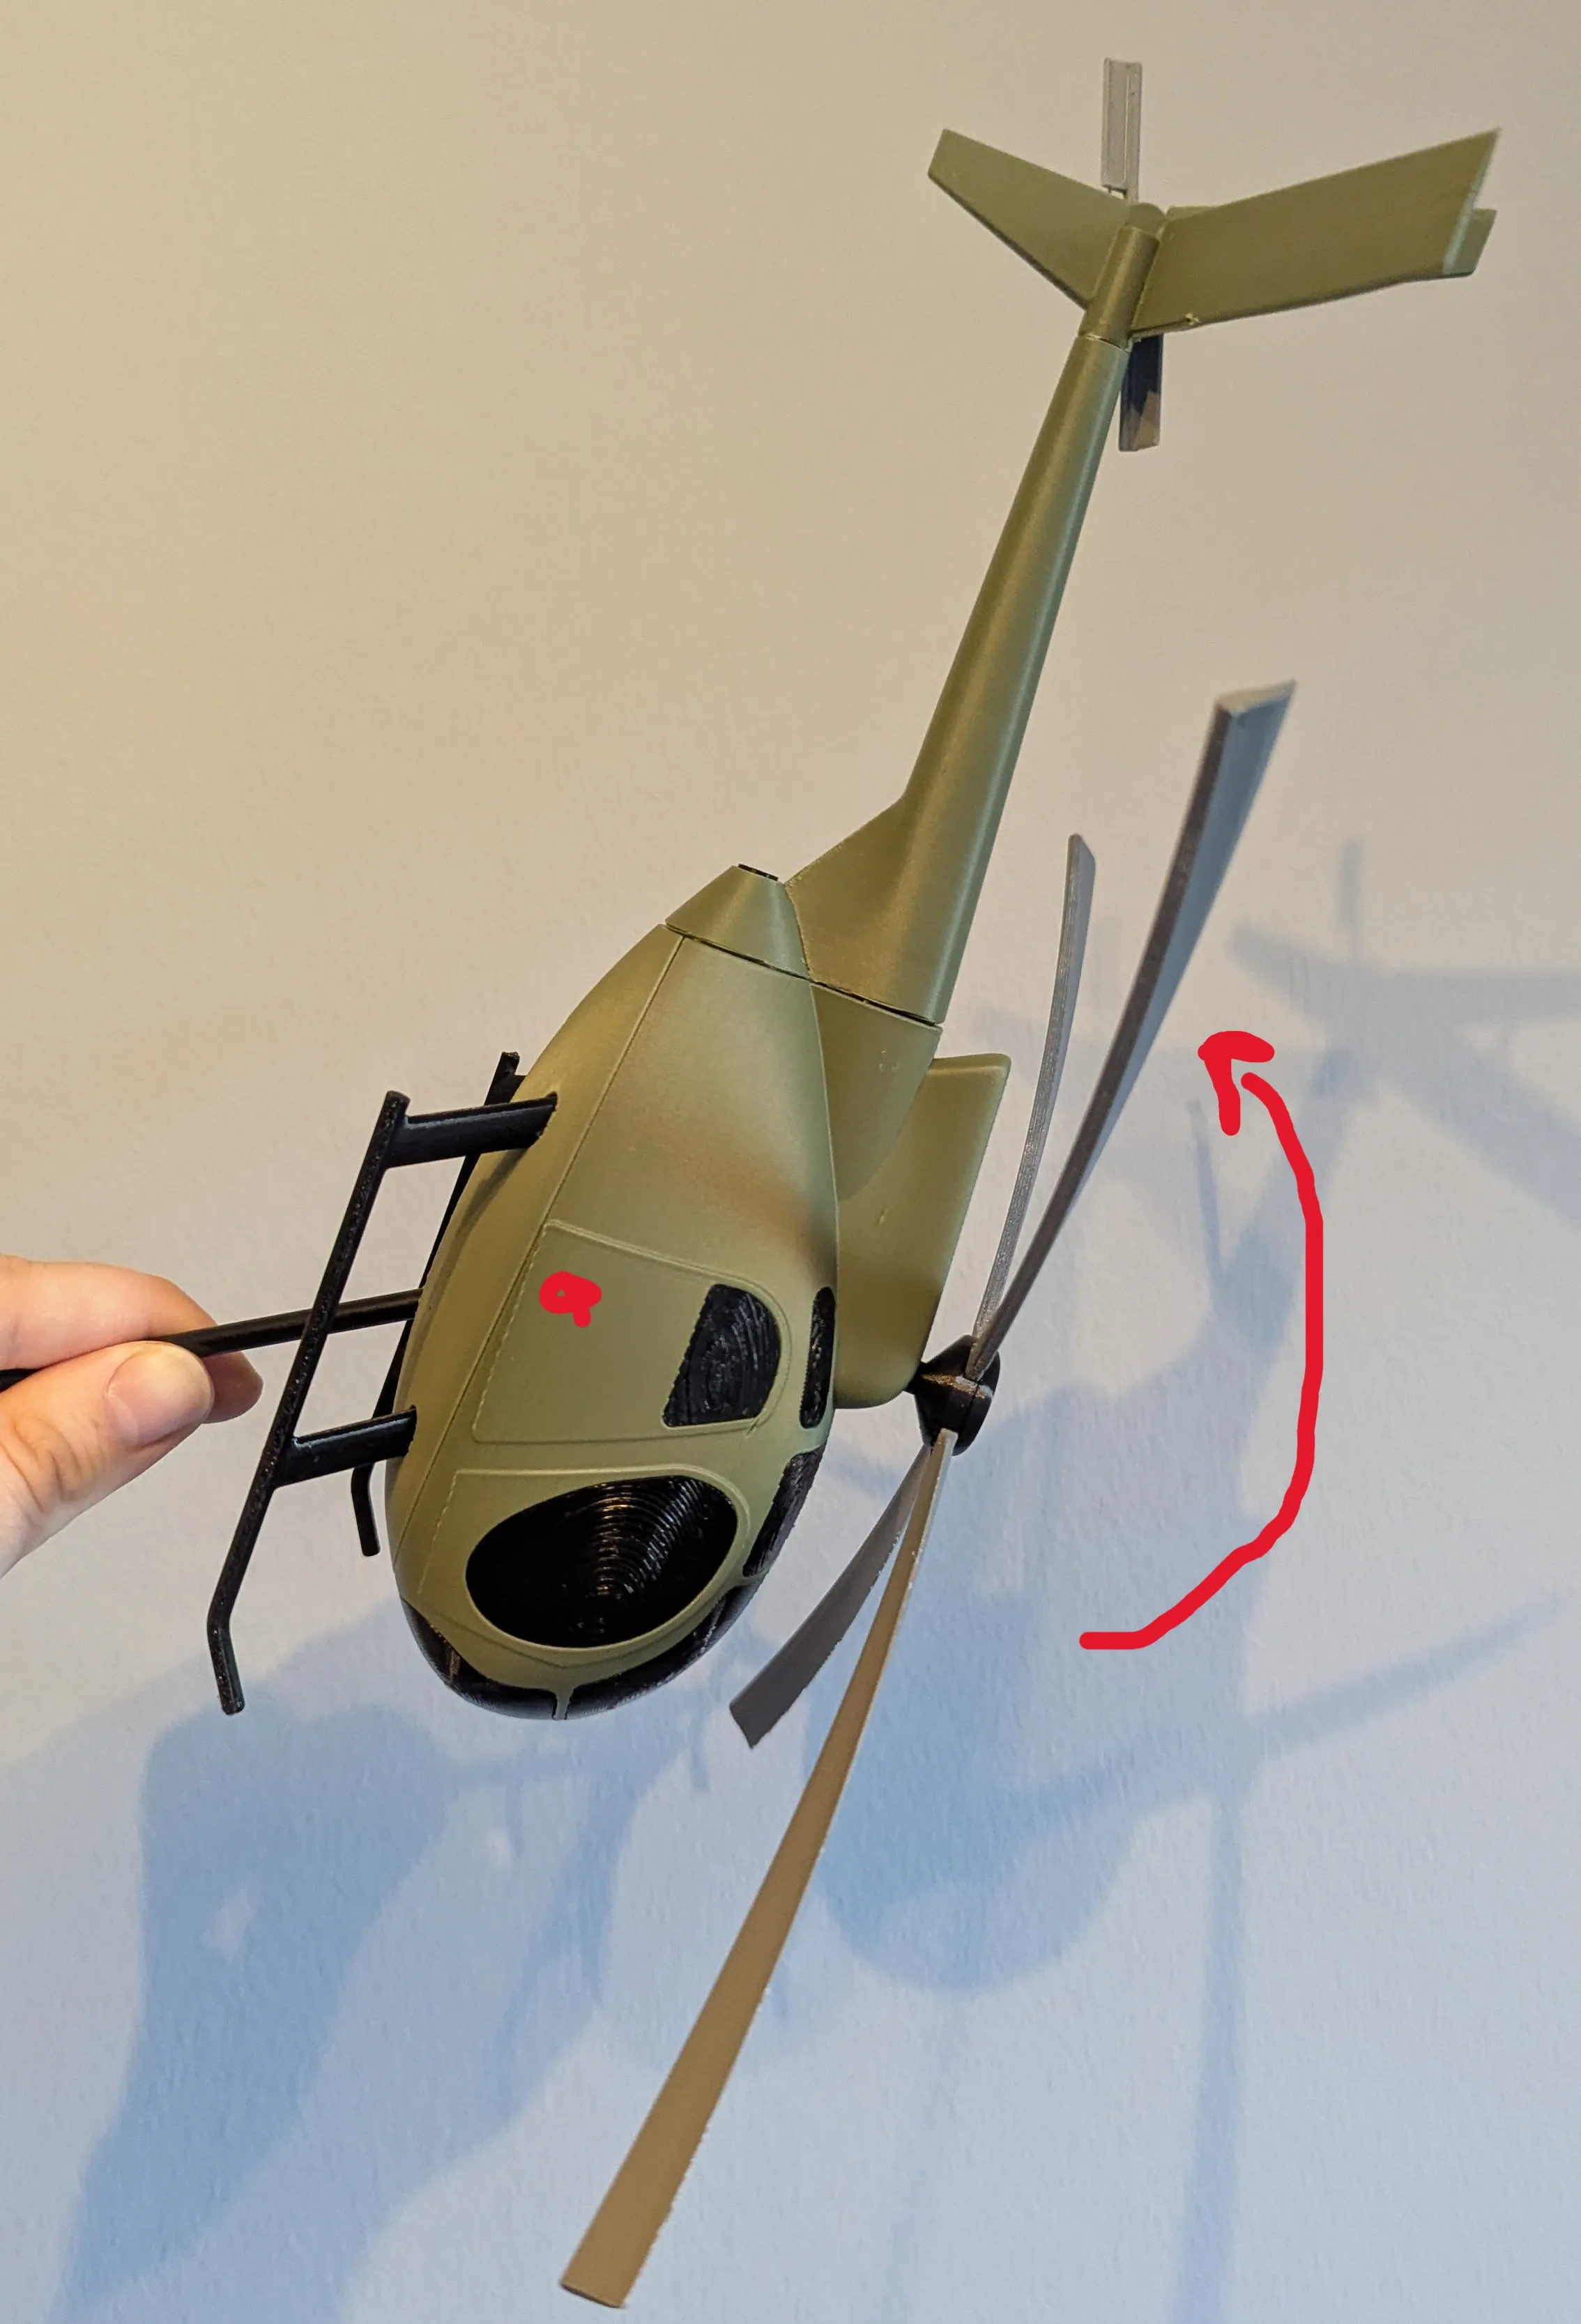
-Or you just twist the model around the bearing holder as it is shown on the picture:
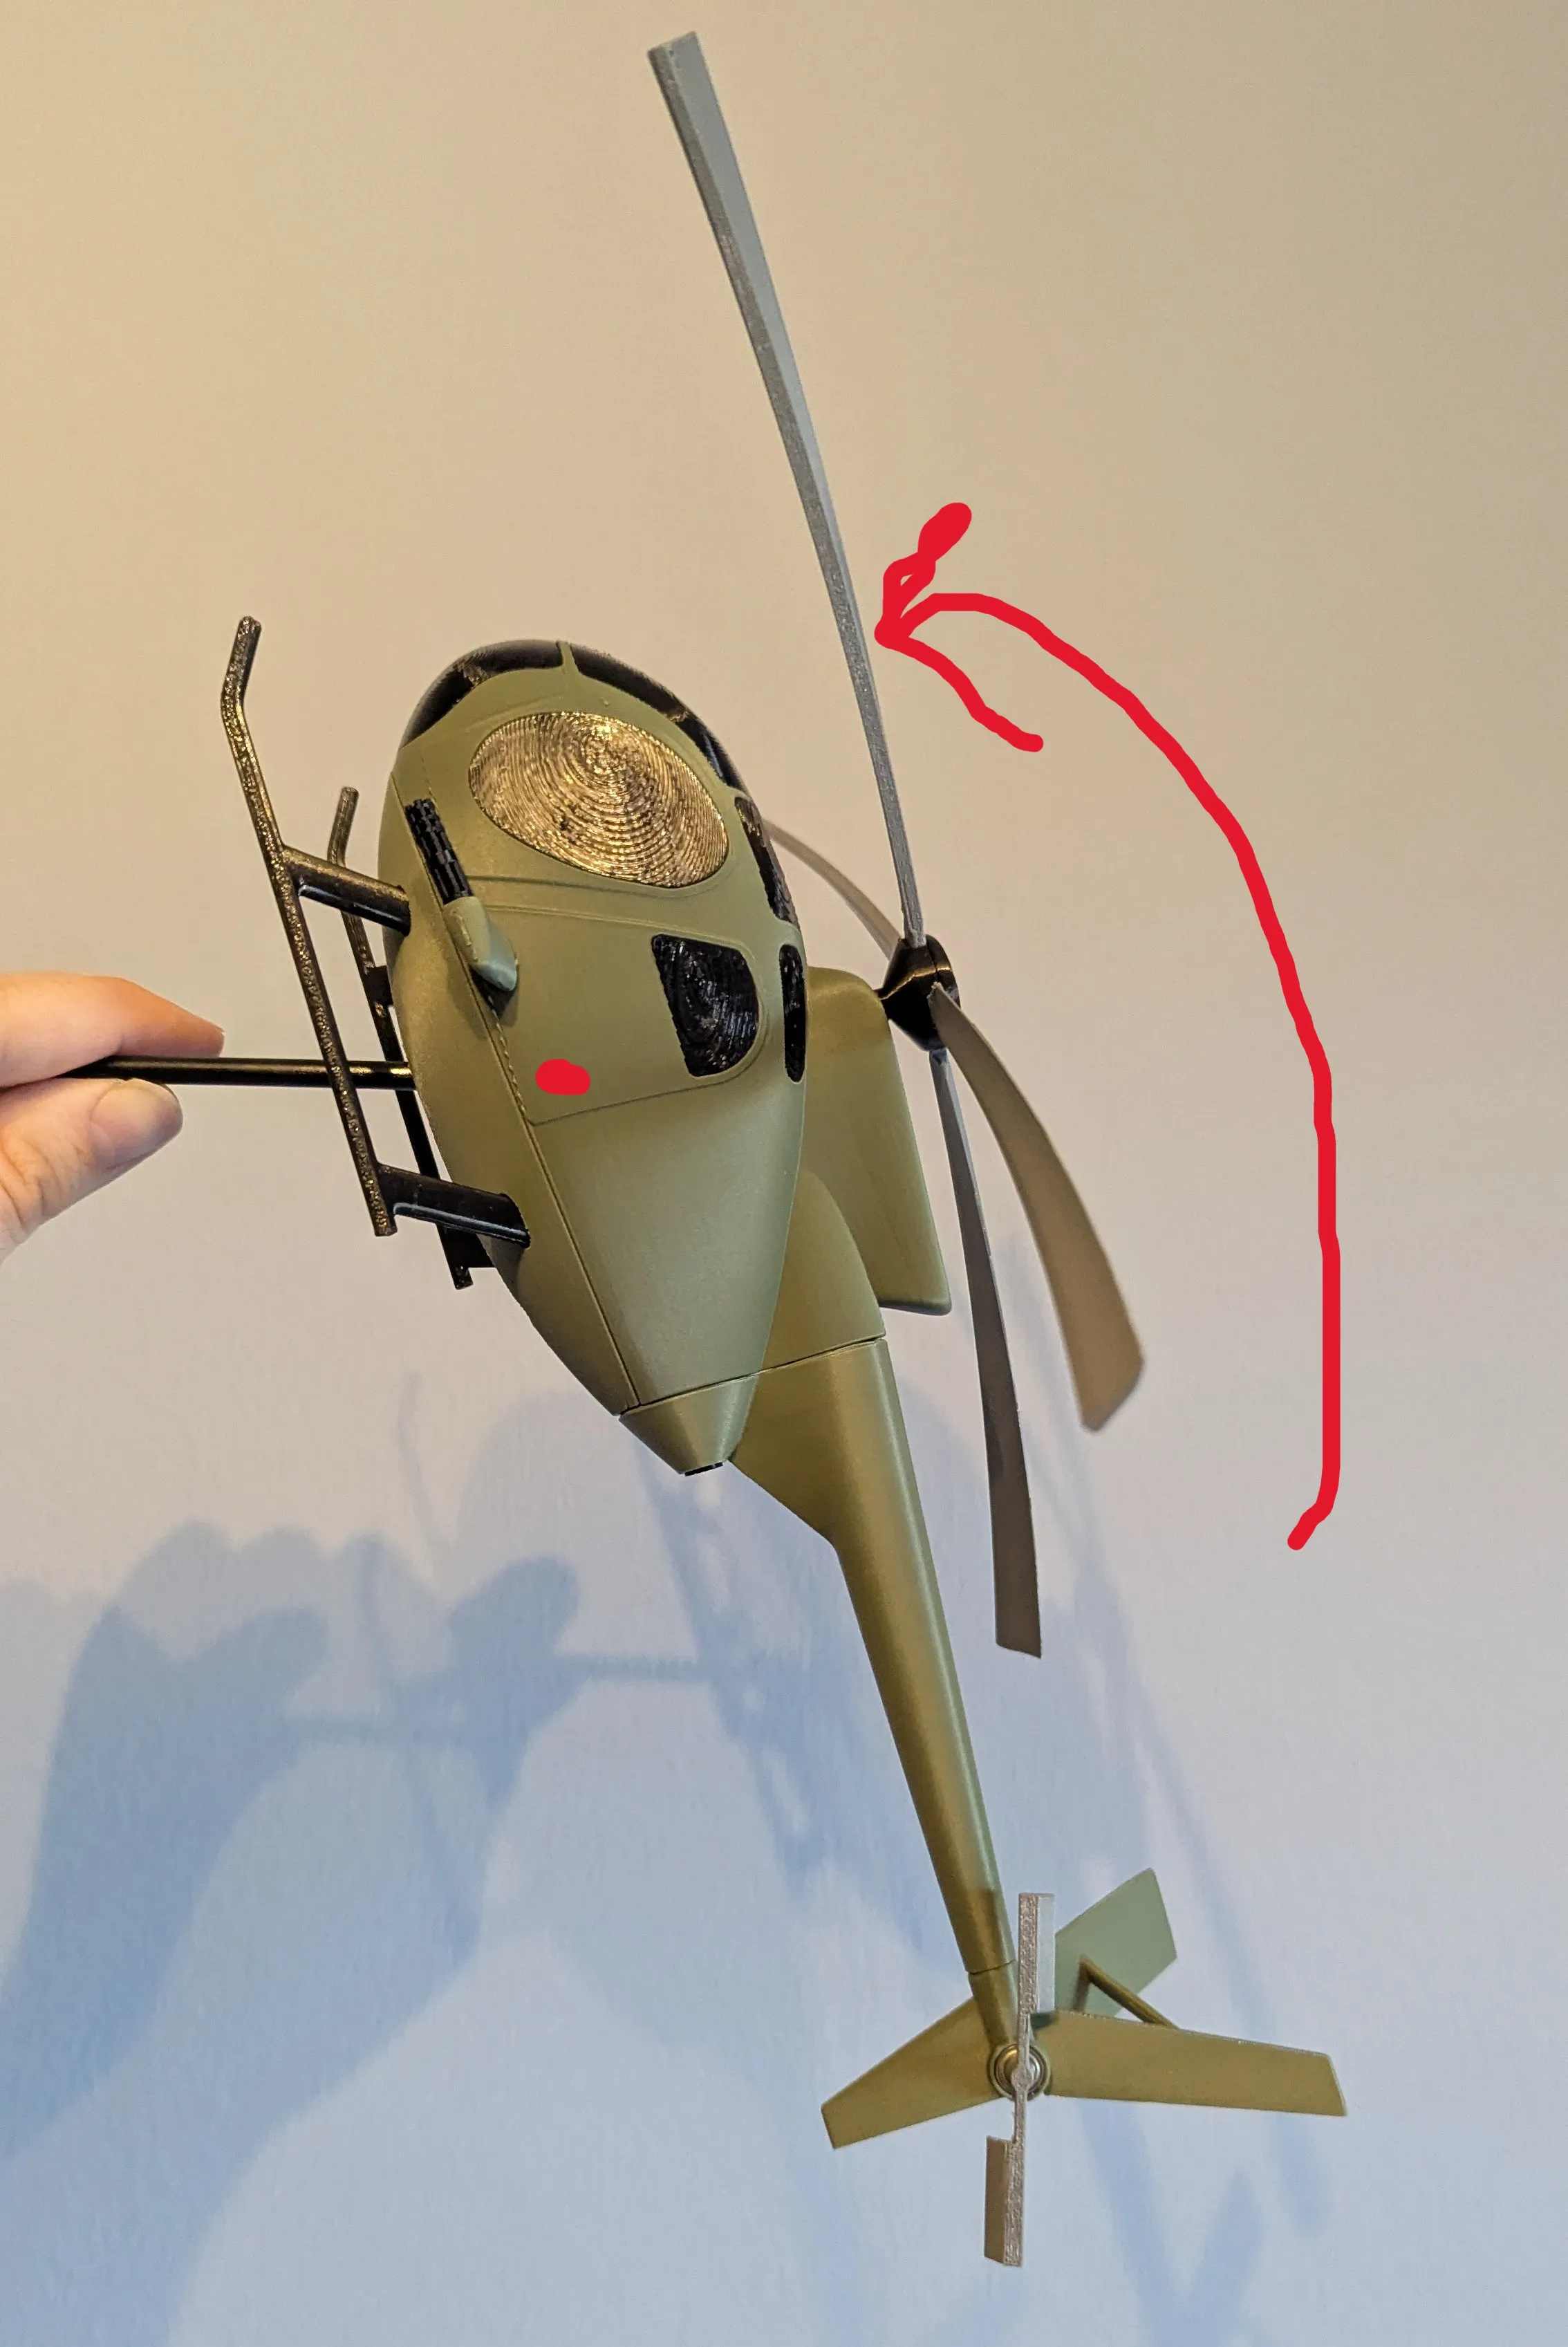
Now it is nose heavy, twist it back a bit:
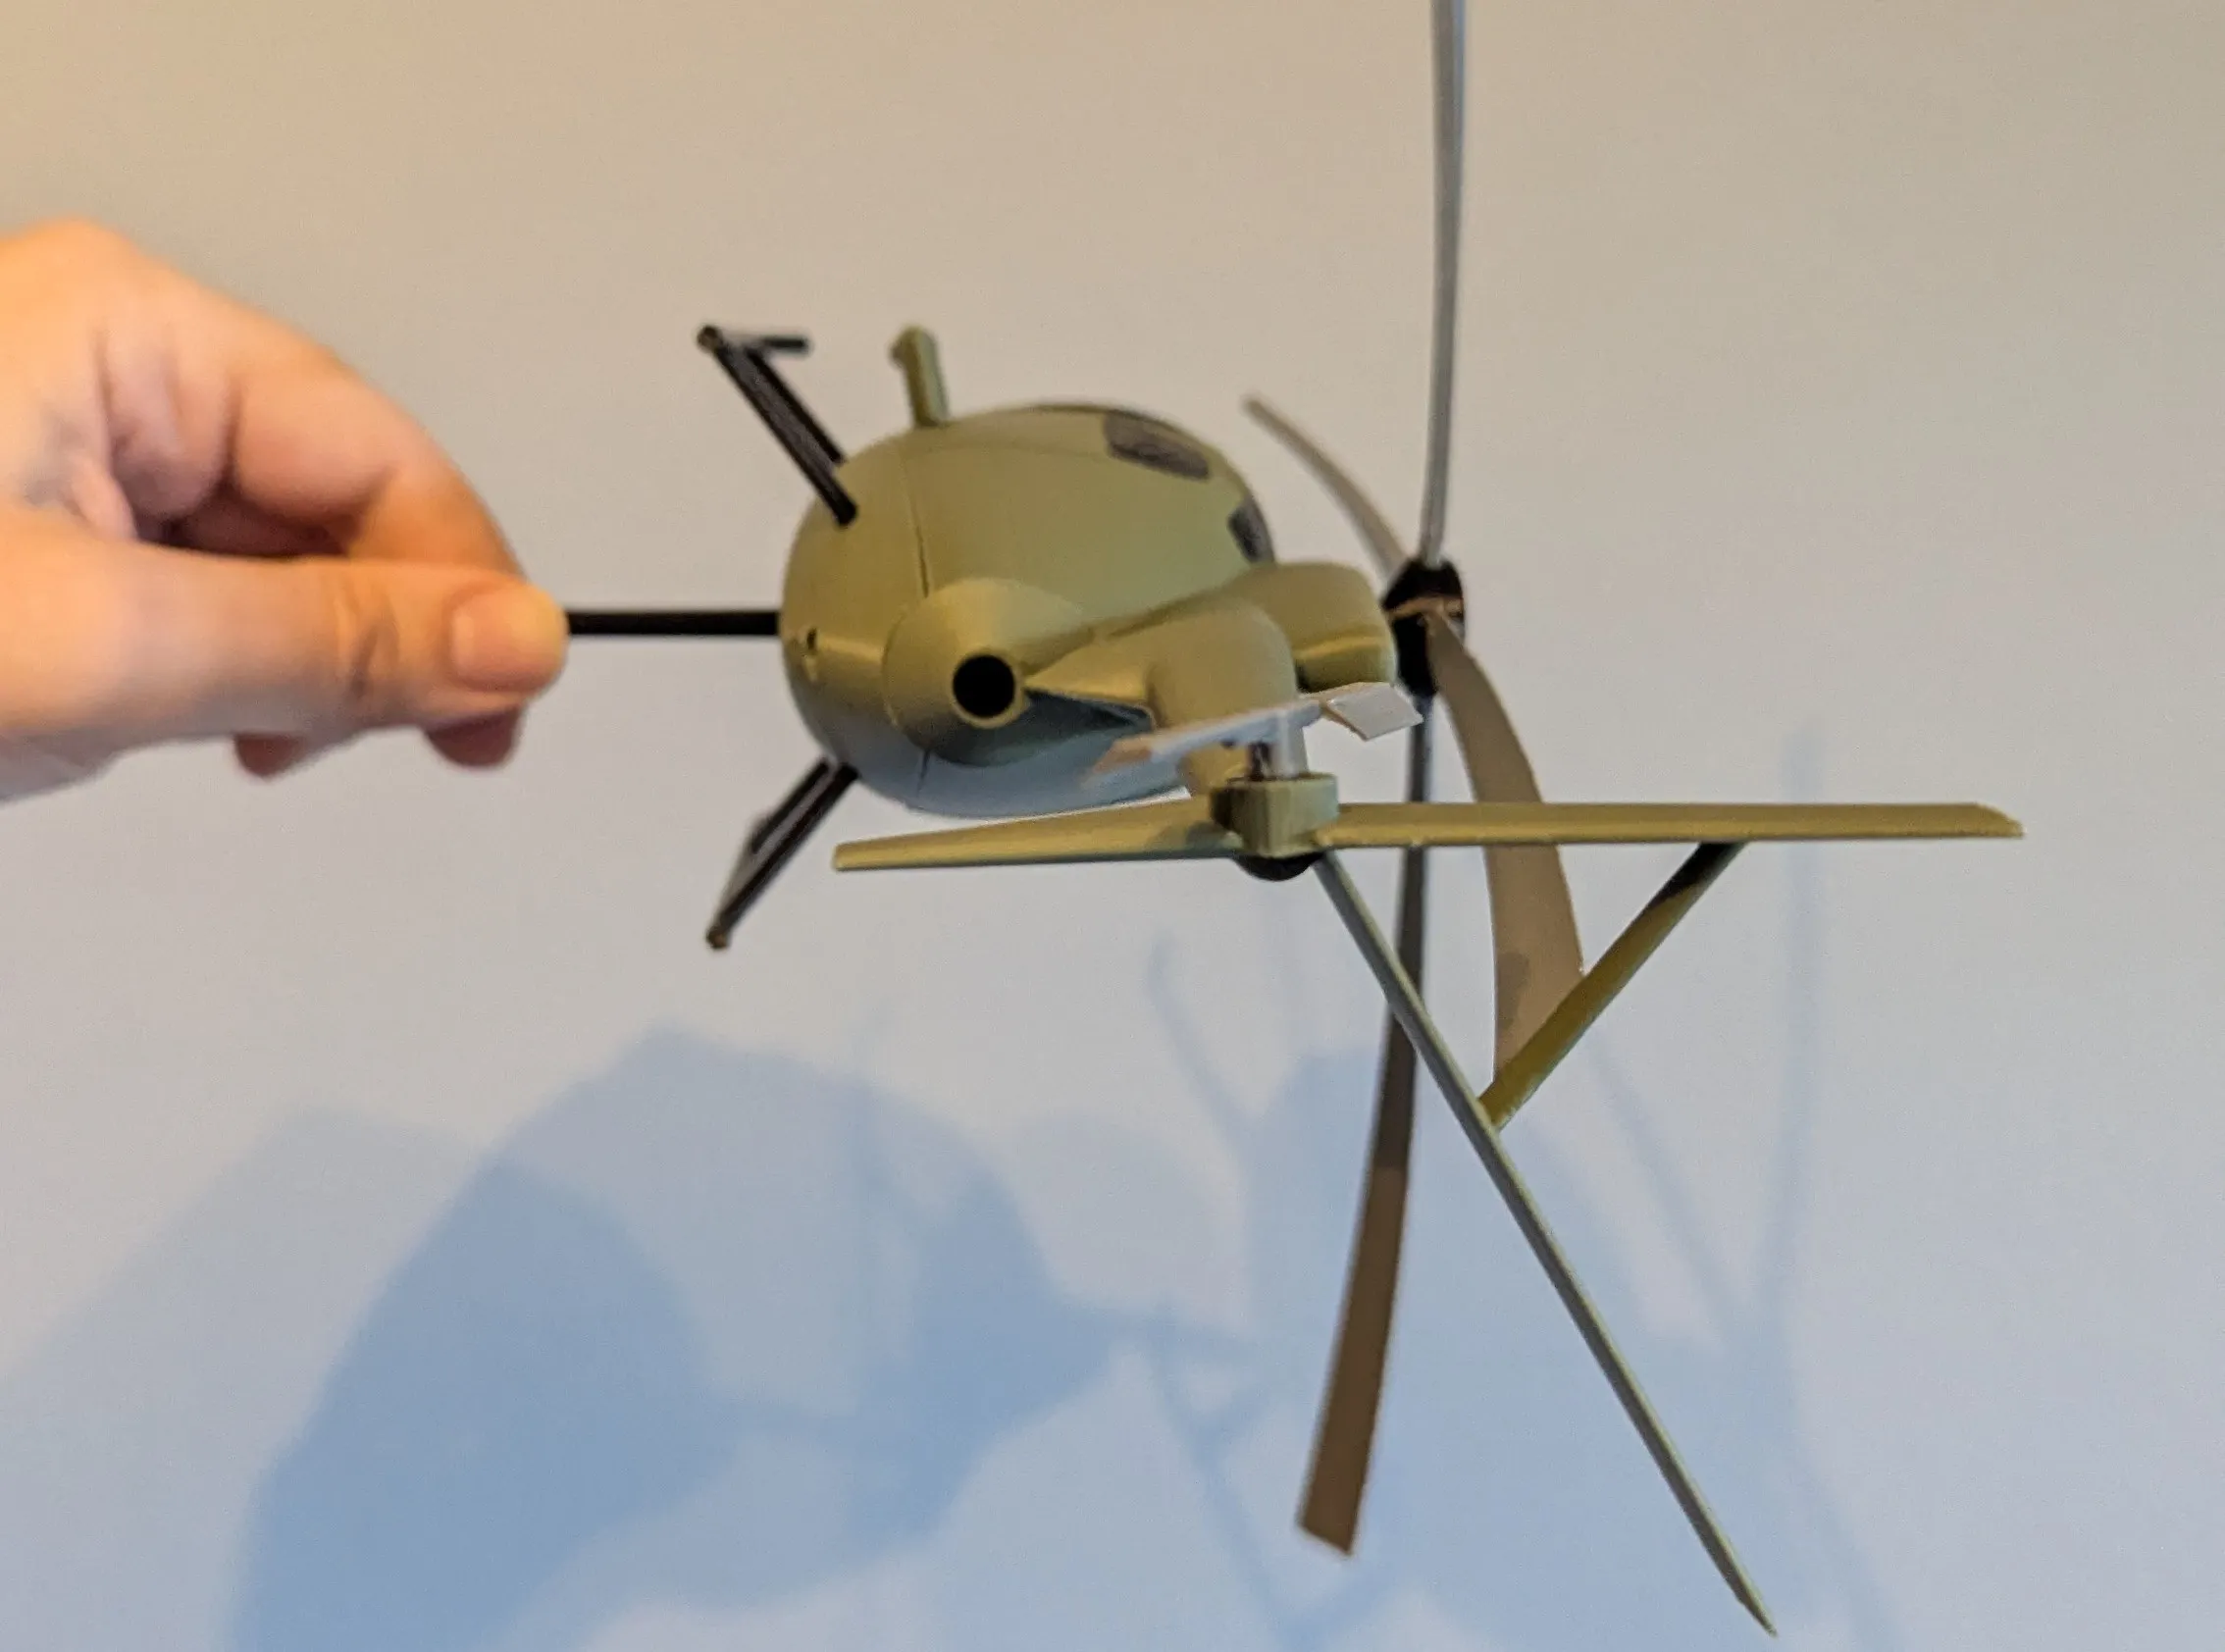
Now the balance is good:
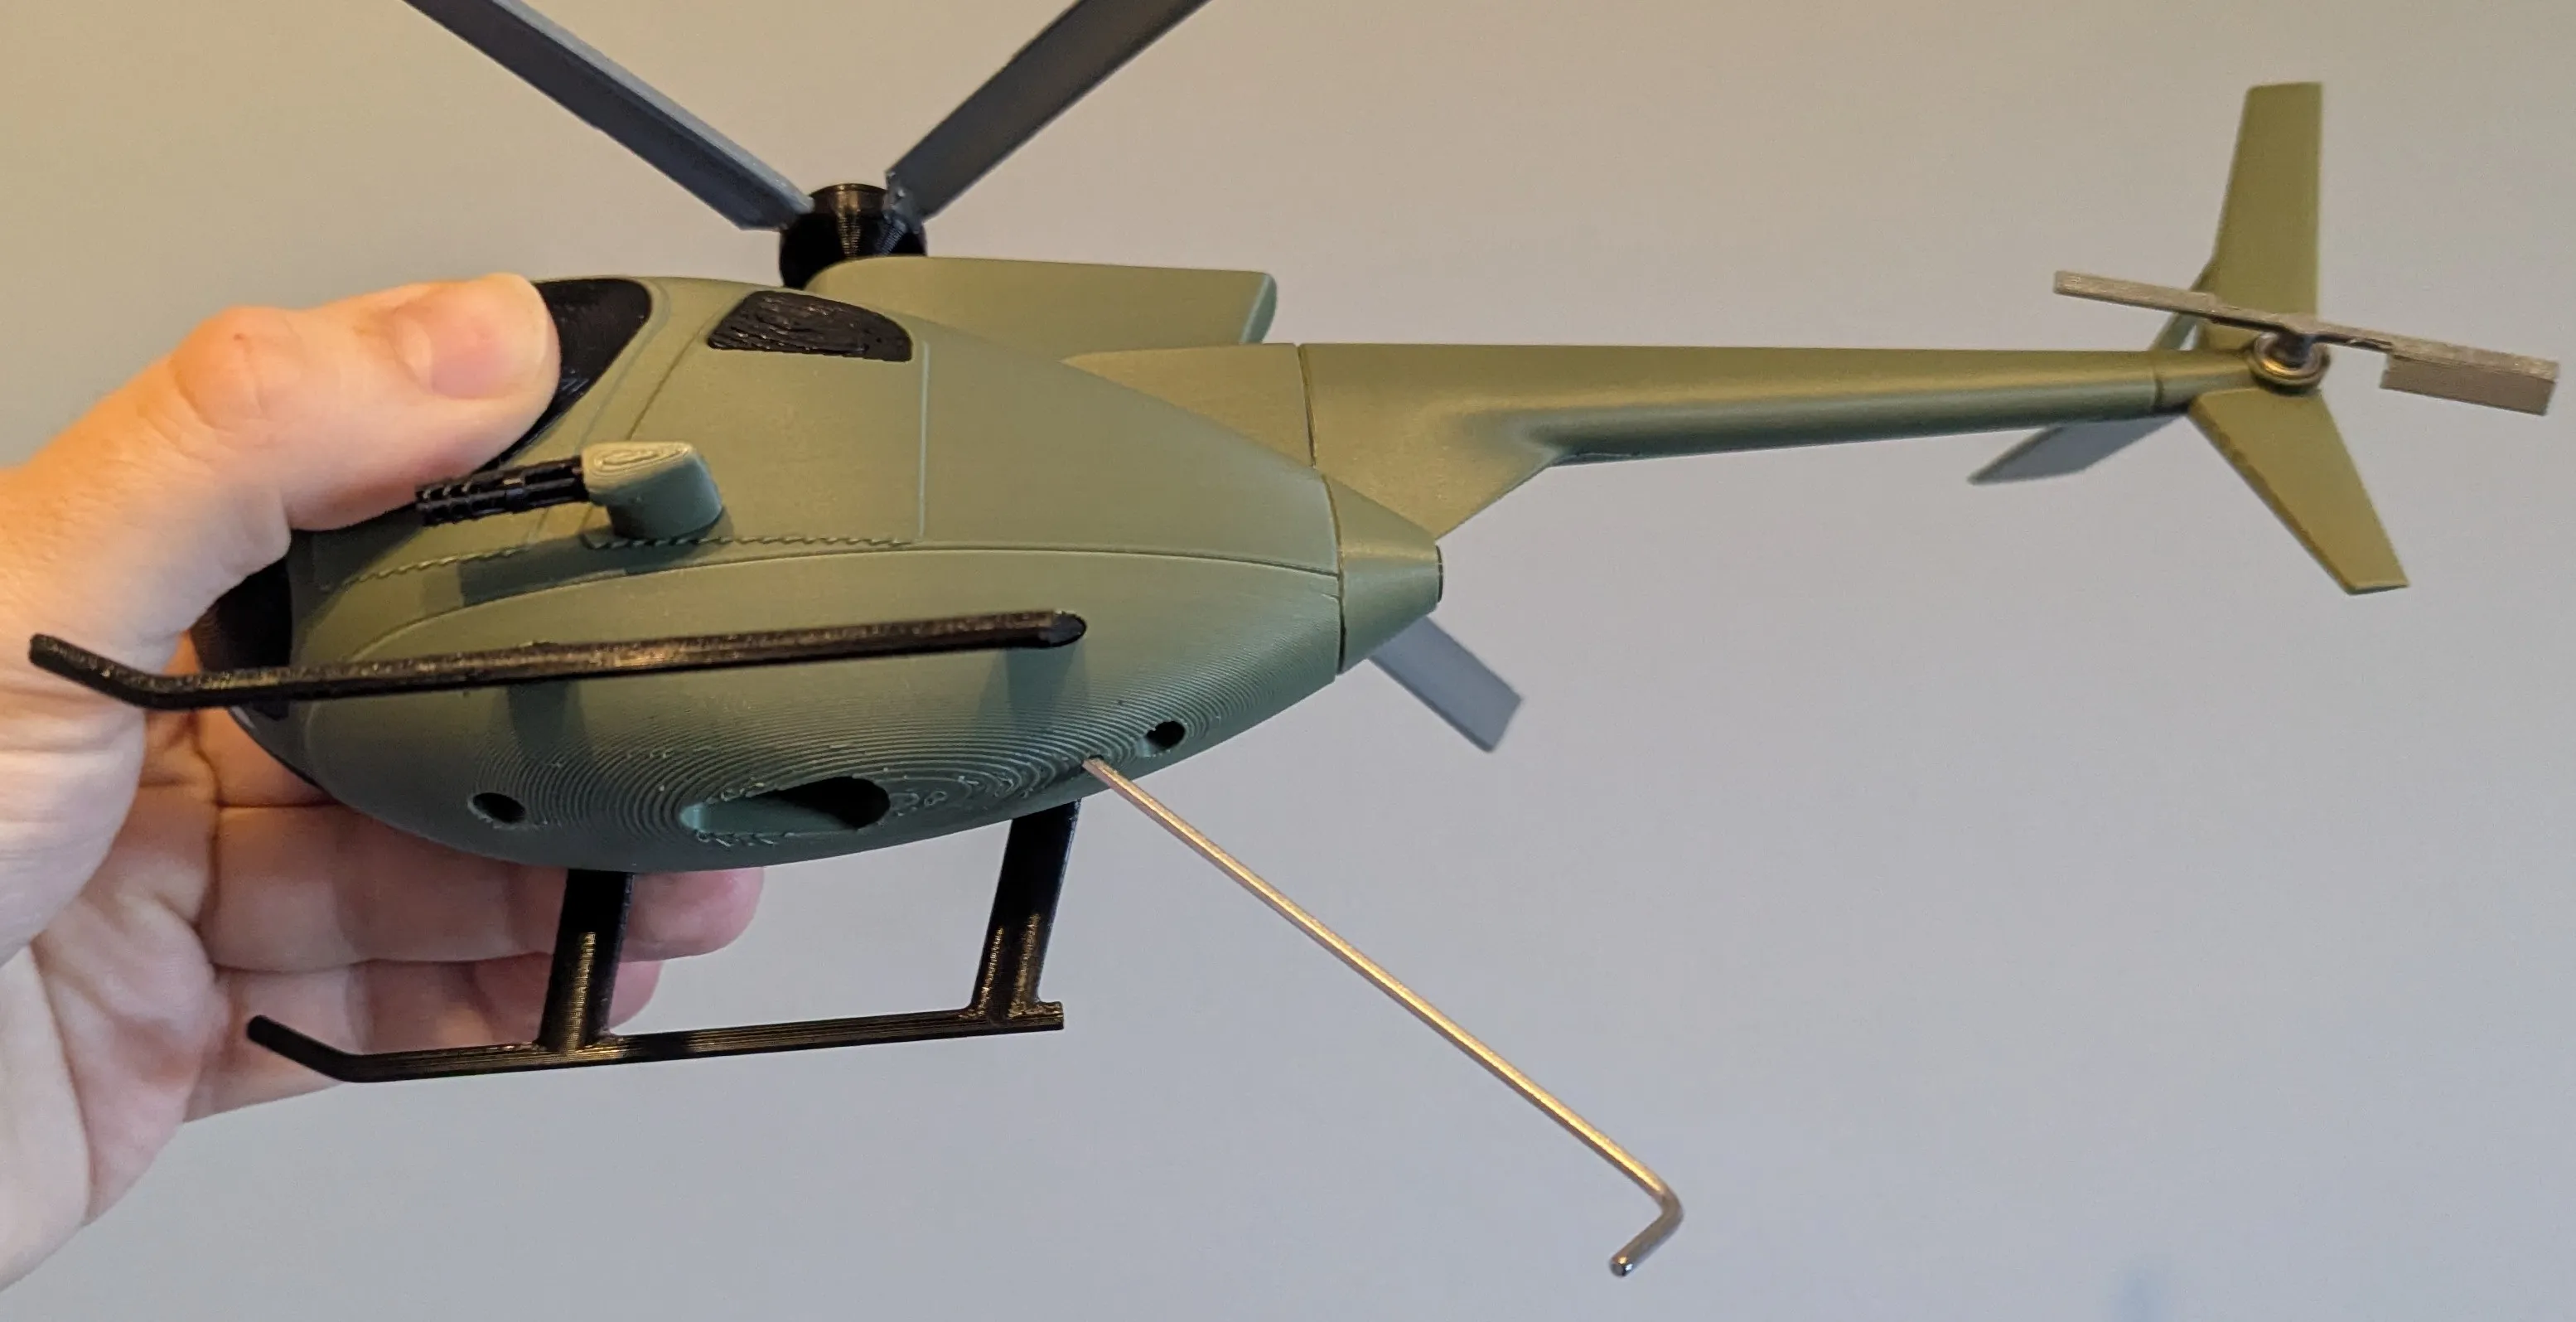
You can fix the helicopter in this position by torqueing the screw at the bearing holder through the small hole at the bottom:
Now it is ready to scout your garden and keep the VC soldiers away!
There are differences between the assembly pictures and the parts in the print profile. Some parts needed adjustment at the final assembly. If you have any questions just ask, and I will try to answer them.
If you have problems printing the fuselage and tail parts, try to print them 1 by 1. With the filaments what I used it worked better this way.
I did not find a good printable model for my needs of this helicopter, so I made one. I used a grabcad suface model as a template, it can be found here: https://grabcad.com/library/oh-6-md-500-helicopter-1
License

You shall not share, sub-license, sell, rent, host, transfer, or distribute in any way the digital or 3D printed versions of this object, nor any other derivative work of this object in its digital or physical format (including - but not limited to - remixes of this object, and hosting on other digital platforms). The objects may not be used without permission in any way whatsoever in which you charge money, or collect fees.


Comment & Rating (9)