5KG Filament Drybox / Feeder
5KG Filament Drybox / Feeder


Print Profile(1)

Description
Overview
I wanted to be able to use 5kg spools (even the largest ones I could find from Polymaker and California Filament - see bottom of page for dimensions) to get bulk savings on basic filament, and honestly just stop having to swap filaments as much overall. In addition, I wanted to keep these spools dry - especially because I'm going to need to buy a large food dehydrator or something to fit them in if I need to really dry them out. There weren't many great solutions out there that didn't cost too much, so I figured I'd come up with my own. After looking for hours and hours for the perfect container…. The 35 liter box I found near the start of my search truly had the most perfect dimensions I could find, so it was impossible to pass up - everything else was too big or small.
Helpful Tips:
- Don't expect to be able to pull apart the roller wheel holders once snapped together without breaking them! They are a really tight fit in my experience.
- You may not need the box corner braces at all if you're willing to glue the box into position. Heck, you may only need the walls of the box without the base in this case. I just wanted to cause the least damage to my container for future use, and opted for braces.
- Make sure you pick your position for the filament guide wisely! You want the path of least resistance for your filament! It takes more force to rotate such a large spool, so you want to mitigate friction wherever possible. I plan to change mine eventually so it lines up better with my extruder.
Additional Parts Required:
- 35 Litre XL Really Useful Box. I got mine from The Container Store.
- Silica Gel Beads. I found that 1 Quart of Dry & Dry fit about perfect.
- (x4) 608 Bearings (I used Bones Reds, just because I had an extra set on hand).
- (x2) Standard pencils that will be cut to size (or something similar/printed out)
- Drill Bit to make hole in box for filament to pass through.
- Glue to attach the bearings to the wheels if they are loose and don't press-fit (I used some hot glue). This prevents the wheel ends from scraping.
Optional Parts:
- Hygrometer. Highly recommended so you can track humidity levels in the box. If you get a 2-pack like I did, you'll have a spare you can use with a bulk filament storage box.
- Tape to hold the hygrometer up against the plastic. Or a better solution.
- Some kind of PTFE fitting / pass through setup if you want to go that route.
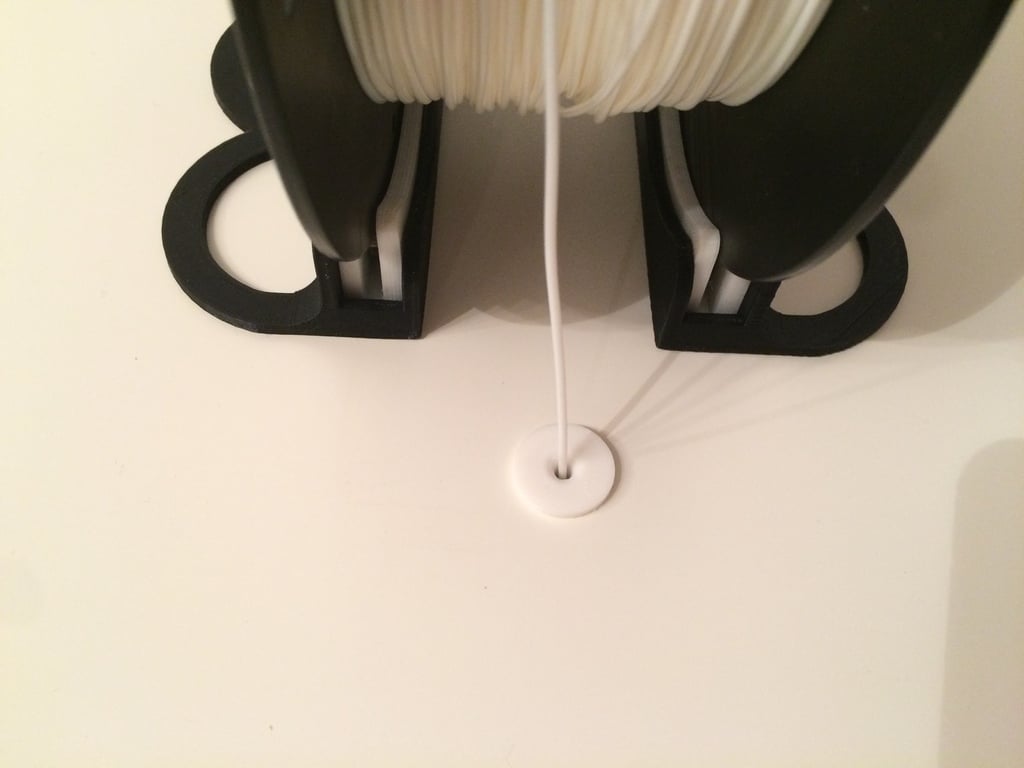
- Not part of the drybox… But if you have your filament passing downward to a horizontal, Ender-3 style bowden extruder, I HIGHLY recommend using something like this to help guide the filament. I am.
Instructions (the way I did it):
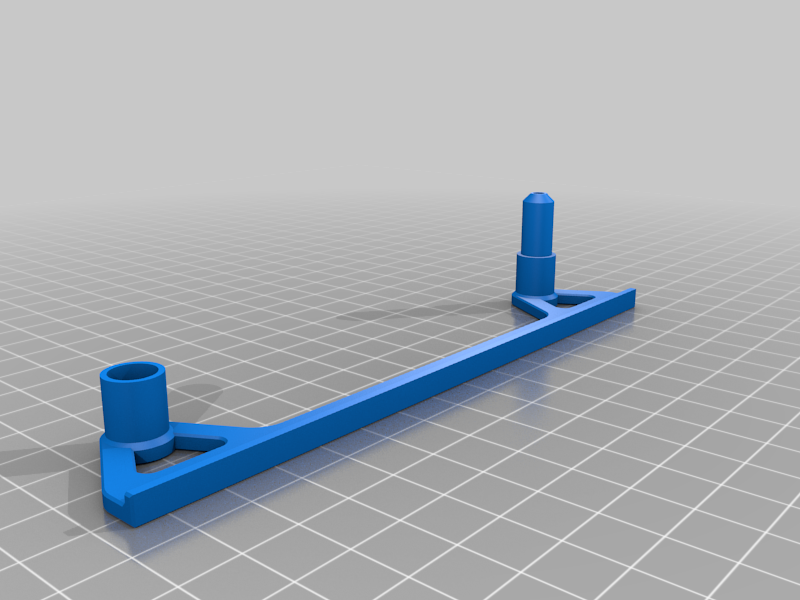
- Print the parts out (you'll need x4 roller wheels/roller wheel holders). PLA is fine, with whatever settings you regularly use. I think I did 0.2mm layers and 20% infill (where infill is applicable). Orient the filament guide tube with the larger end against the print bed.
- Put the 4 bearings inside the 4 roller wheels. If they fit loose, apply some glue.
- Put the 2 of the roller wheels (now with bearings) onto 2 of the holders, snapping them together fully to make one half of the roller mechanism.
- Repeat step 3 with the other 2 wheels and holders to make the other half, completing the rollers.
- Place the box and 2 braces inside of the the container as shown below. The braces should hold the box in place flat against the bottom of the container (use caution, as the box has thin walls).
- Cut 2 pencils to size such that they fit in the box as shown below.
- Place the 2 rollers inside the box as shown below.
- Determine where you want to place the filament guide, then drill through the box and top of your enclosure (for me, IKEA Lack tabletop). Remove any sharp bits leftover.
- Place filament guide in the hole fully, so that it sticks out slightly into the enclosure below.
- Slowly pour silica gel beads into the container, in the cavities outside of the printed box. Wear a mask for this, and take caution as there will likely be some dust. Distribute it, using care not to spill them into the box or filament guide.
- Optional - Put hygrometer somewhere you can view it from outside, and affix it. (I'm just using basic painter's taper for now).
- Feed filament end through guide, place spool on rollers (they can move side-to-side to accommodate different spool sizes), and close lid.


Please Note:
- My box failed the print for a few reasons related to my printer/setup. I didn't reprint it though, and just opted to super glue some parts where the layers were separated in the walls.
- If my right roller looks weird, it's because my first prototype wasn't sized right, so I reused it after cutting and solder-welding some of the parts together to get the size to match the other correctly-sized one. I was running low on filament as I put this together (other than the 5kg spool I couldn't yet use).
- Yes, the filament guide should be taller. See photo and “Planned Upgrades” below
- The braces could be more minimal, but I just wanted the simplest working solution.
- The pencils were a happy accident. I didn't know exactly how the rollers would need to be positioned when I printed the box. Ideally the box would be modified so that pencils aren't needed.
- This was as I was just beginning with parametric CAD, so the only thing I have available for editing directly in FreeCAD is the filament guide.

Planned Upgrades Not Yet Accounted For:
- Making the filament guide taller, so that it does a better job blocking the silica gel beads (when I made it, I originally thought that I was going to use less beads than I did).
- Setting up something like this for mounting the hygrometer more permanently.
- Implementing a solution to allow for better air sealing (box is not airtight).
Spool Dimensions
Polymaker 5kg spool (I'm currently using this):

California Filament 5kg spool I plan to use (they sent me this…likely identical):