
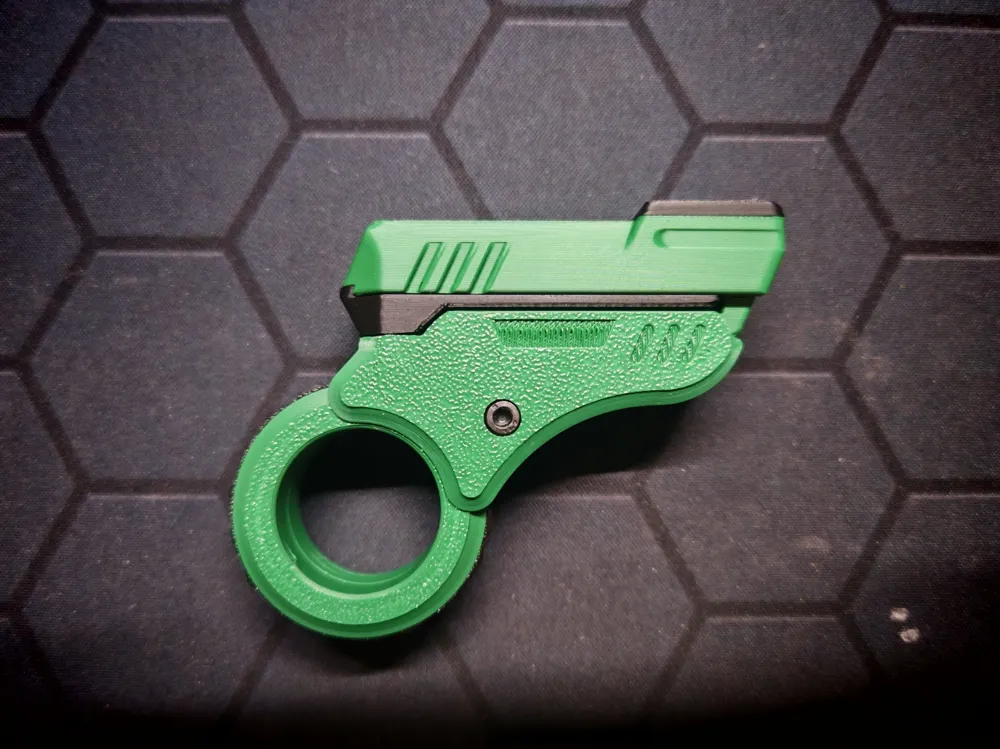
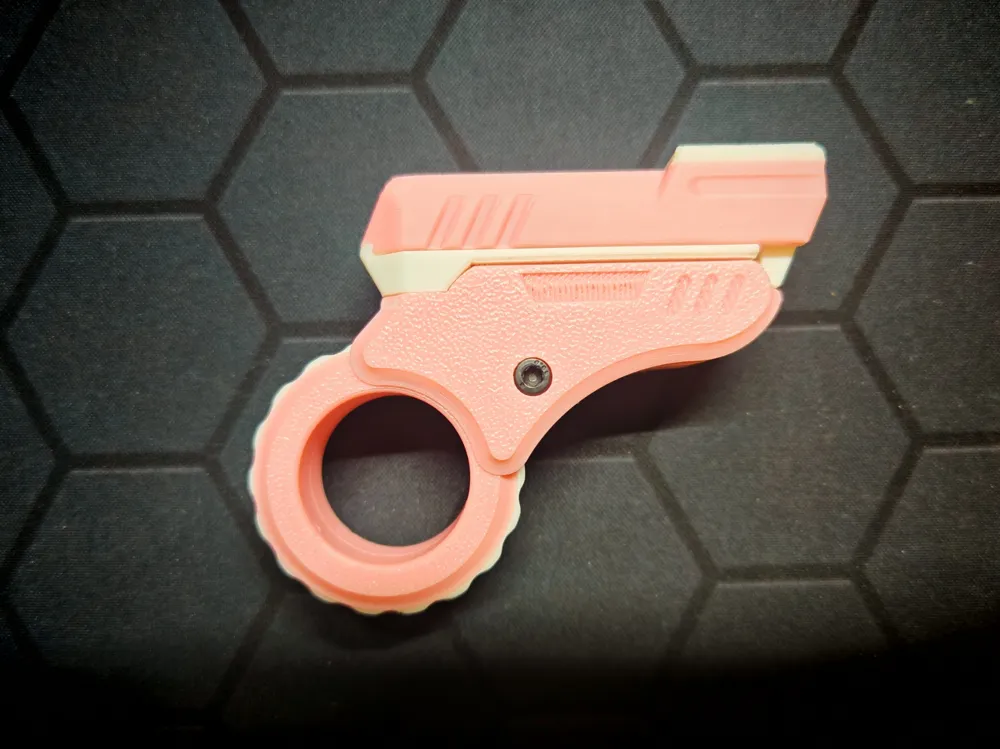
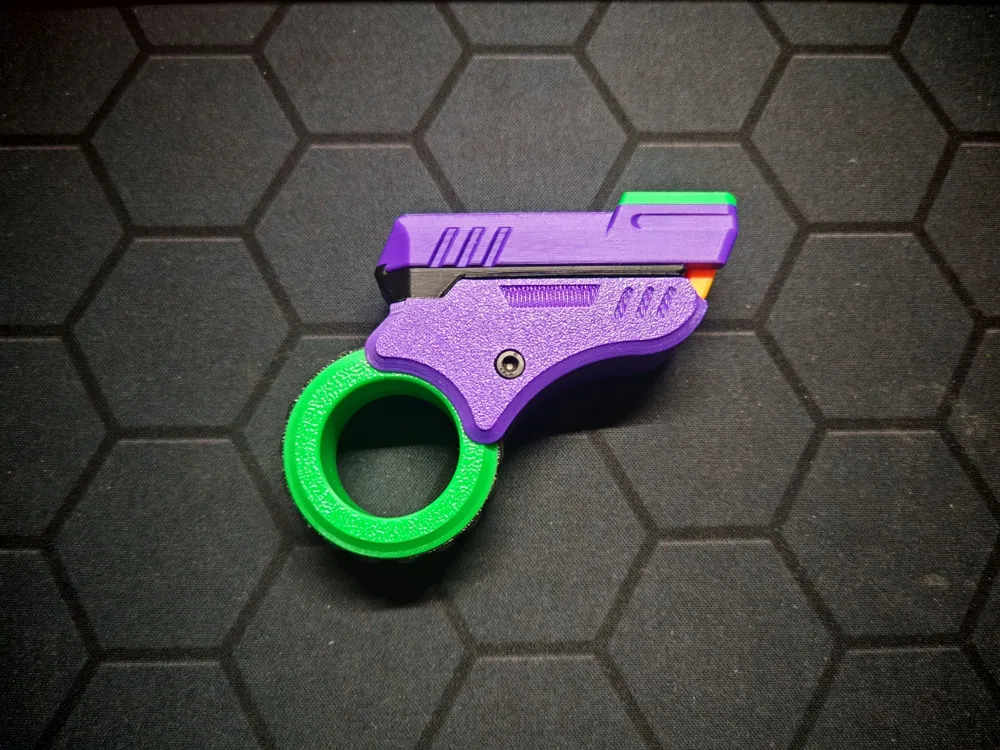
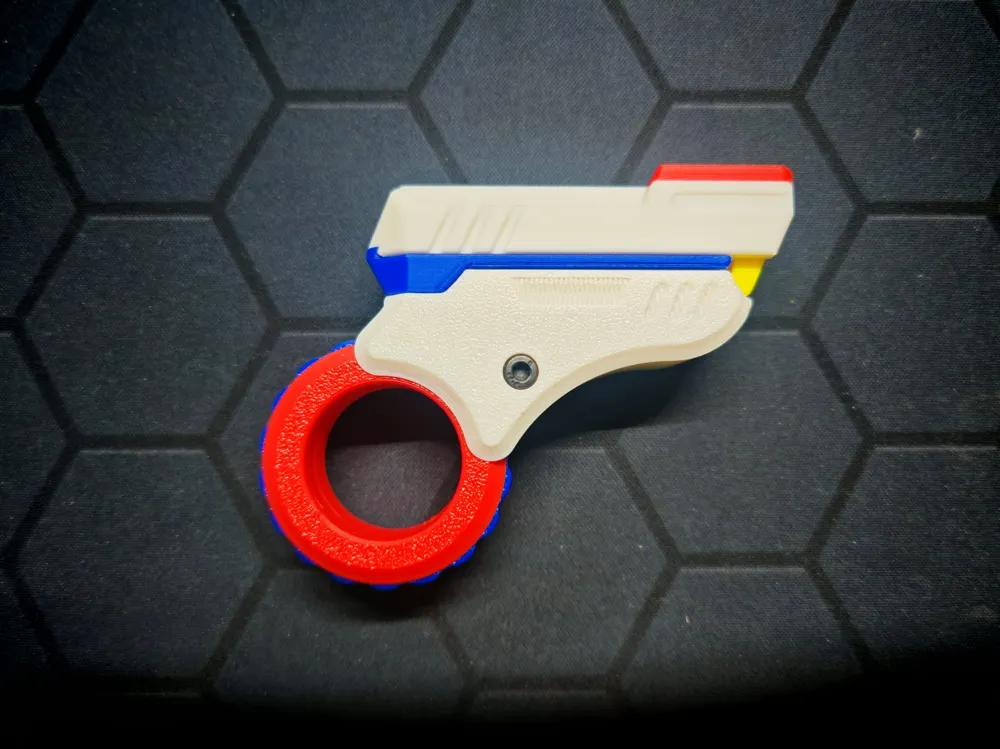
Fidget EDC




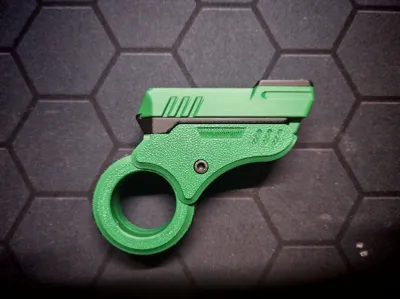
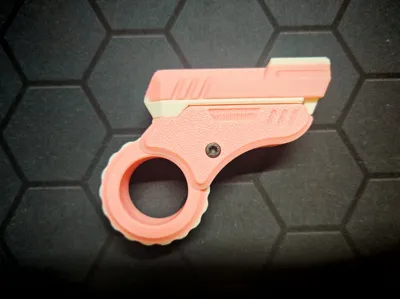
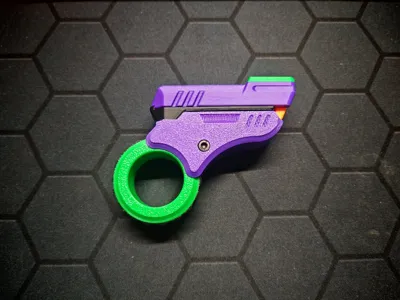
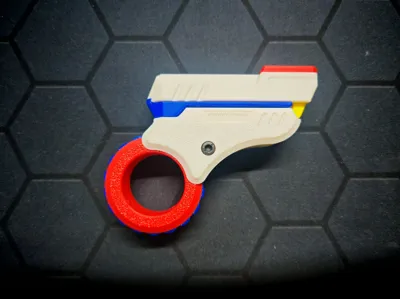
Print Profile(1)

Bill of Materials


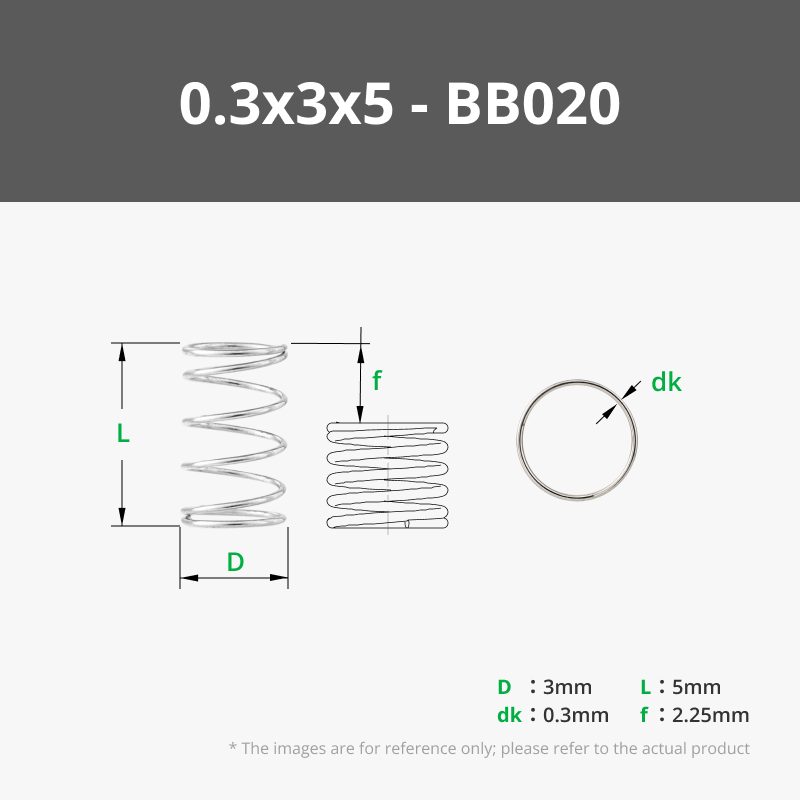




- 0.3x3x18mm 压簧 x 1:
Description
Required Parts:
3mm diameter, 16mm length cup head screw
3mm nut
0.3mm wire diameter, 3mm diameter, 18mm length spring
0.3mm wire diameter, 3mm diameter, 5mm length spring (Not required for FullPrint version)
3mm diameter ball (Not required for FullPrint version)
Magnet Configuration:
Option One: Five 5mm diameter, 3mm thick magnets
Four 5mm diameter, 2mm thick magnets
Recommended print plates: 01, 02, 03, 04, 07, 08
Option Two: One 6mm diameter, 5mm thick magnet
Four 6mm diameter, 3mm thick magnets
Four 5mm diameter, 2mm thick magnets
Recommended print plates: 03, 04, 05, 06, 07, 08
Boost Me (for free)
Updates:
20250725 v4.1:
- Optimized the ratchet for the FullPrint version, enhancing the sense of gradation.
20250622 v4:
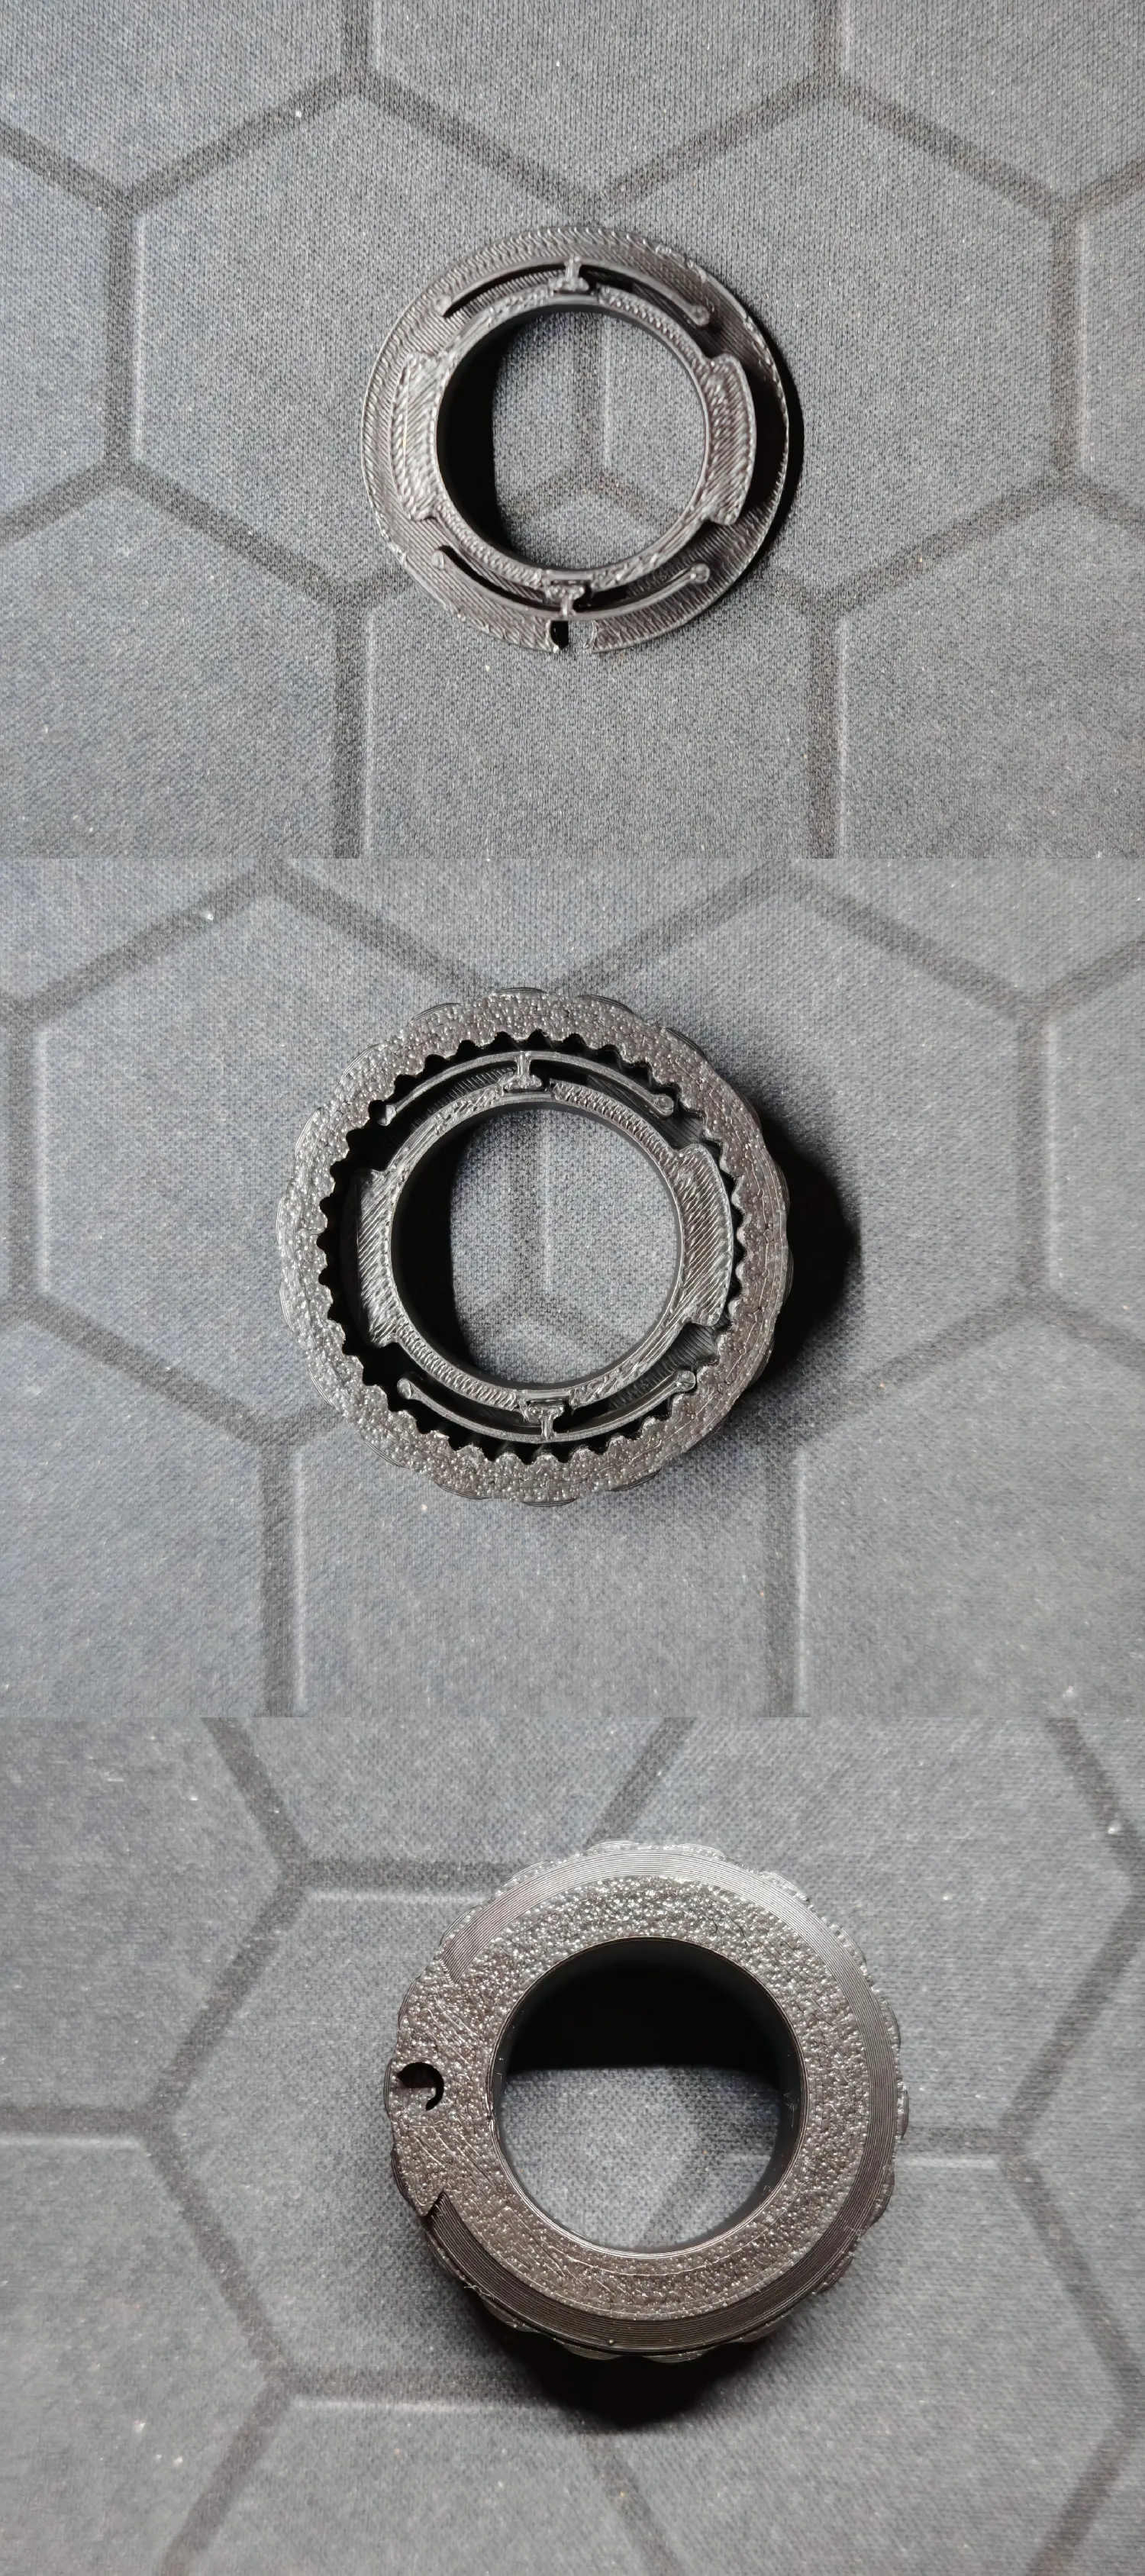
Added a FullPrint version ratchet; this version no longer requires the 5mm long spring and 3mm diameter ball. Installation instructions are as follows. Apply some lubricating grease to the inside of the wheel during installation to improve smoothness:
20250528 v3.4:
- Optimized the ratchet; adjusted spring position.
20250421 v3.3:
- Added a 6mm magnet version for enhanced sliding force.
One 6mm diameter, 5mm thick magnet
Four 6mm diameter, 3mm thick magnets
Four 5mm diameter, 2mm thick magnets
20250412 v3.2:
- Adjusted the ratchet.
- Fine-tuned the magnet slot depth.
20250325 v3.1:
- Optimized print parameters to improve overhang bridging.
- Optimized screw placement.
- Optimized slide rail placement.
Adjusted the ratchet.
20250307 v3:
- Optimized ratchet smoothness.
Optimized slider shape, layer lines, and slide rail precision.
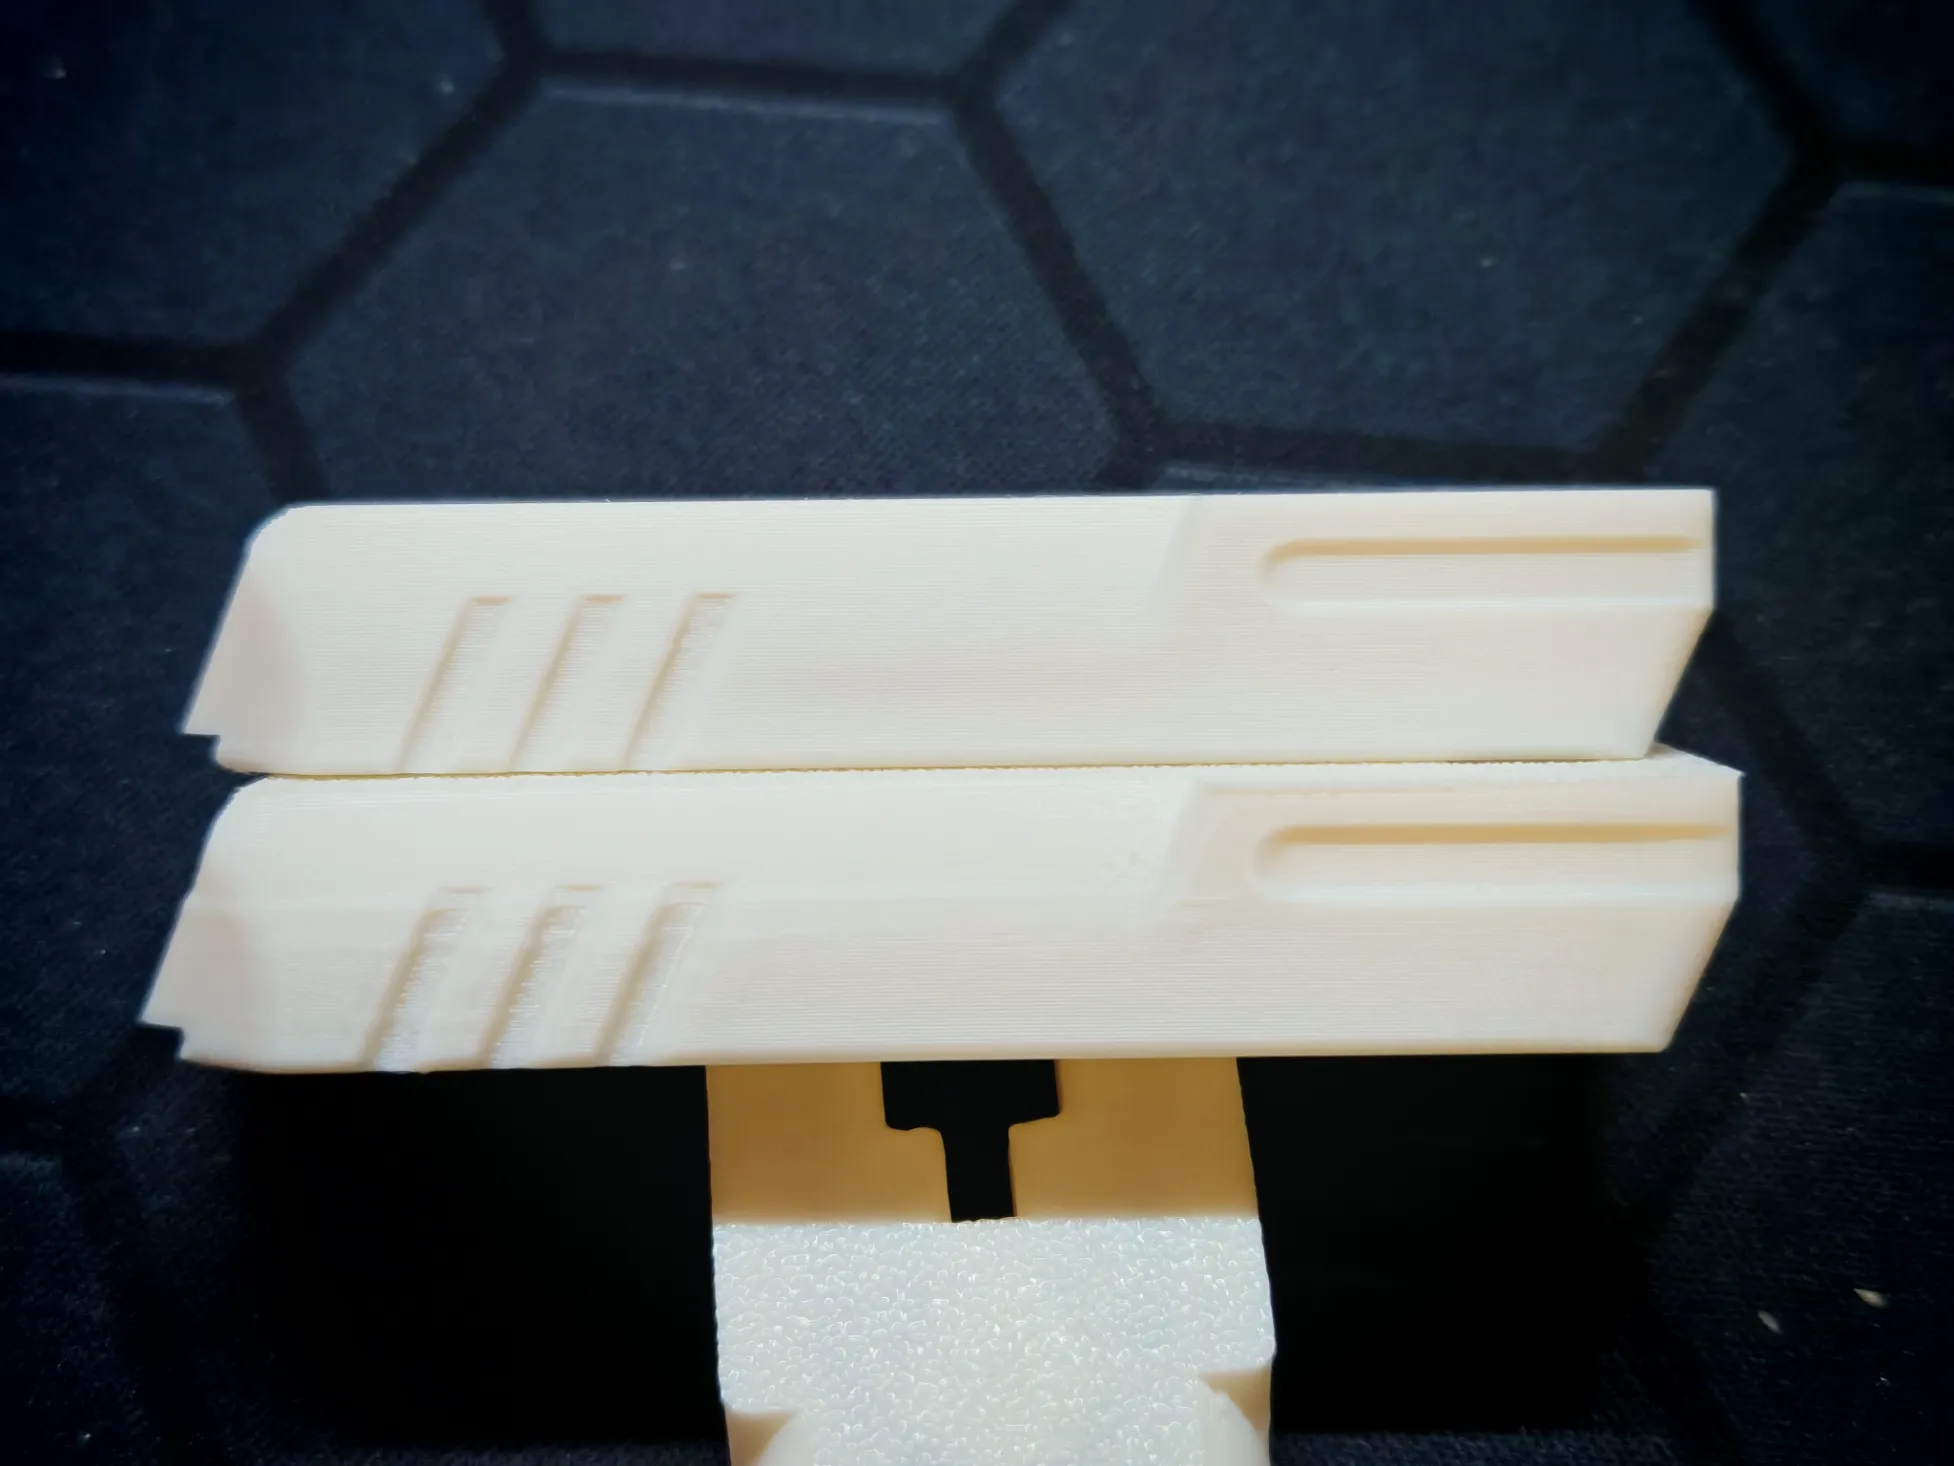

20250226 v2:
- Optimized ratchet smoothness.
Optimized slider shape.
Installation Instructions:
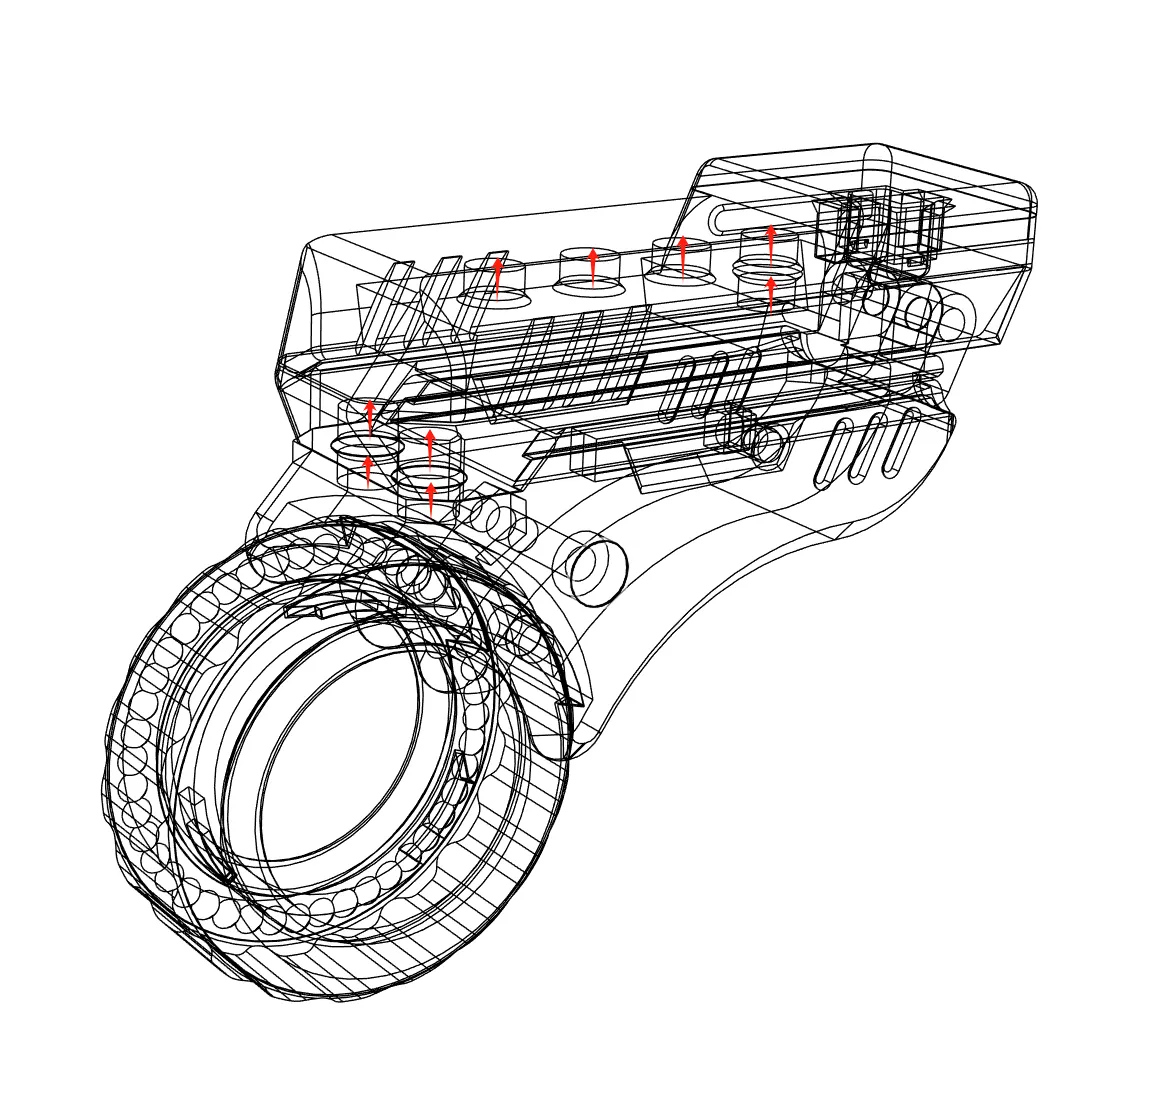
Magnet Orientation Diagram
Install the 3mm nut.
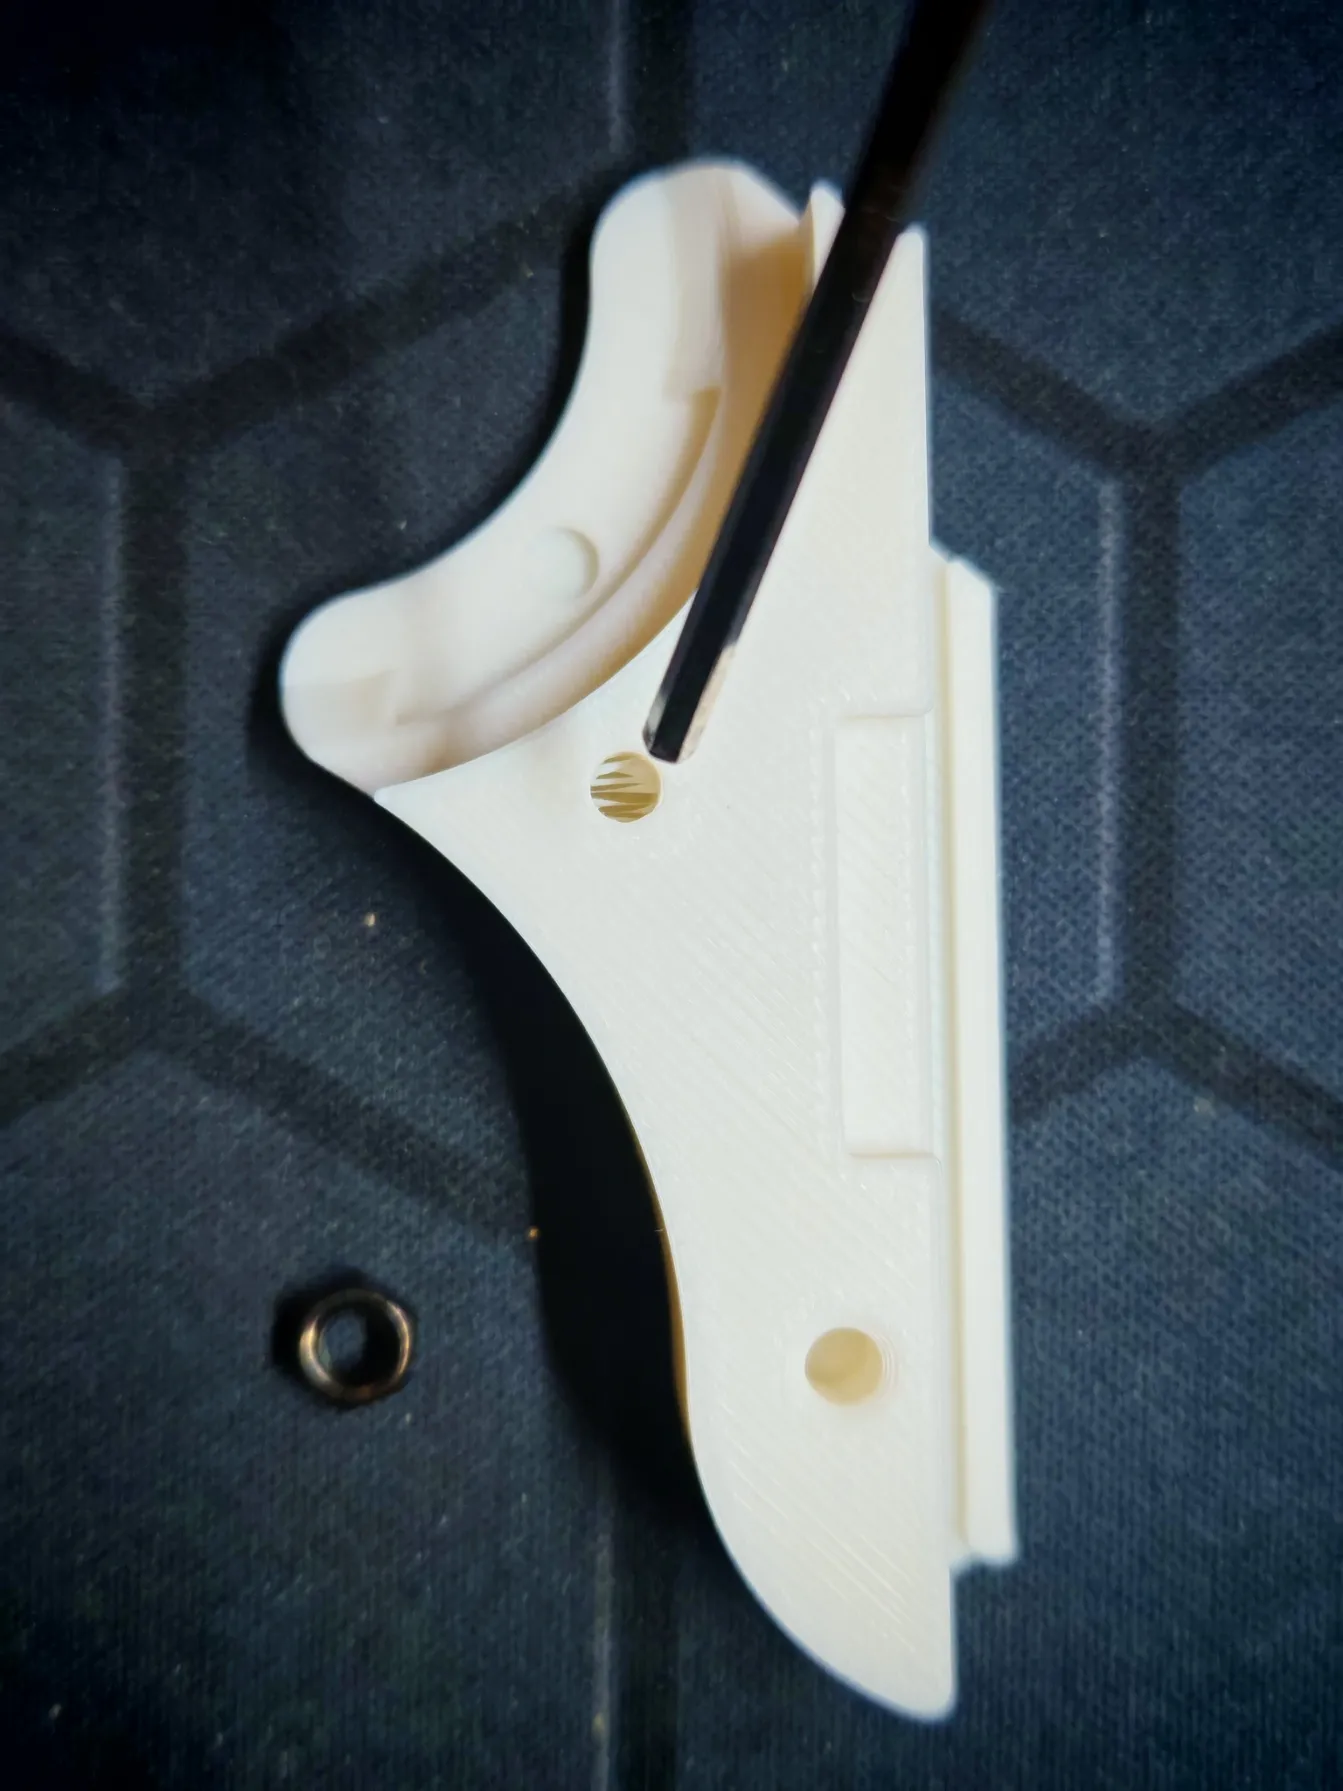
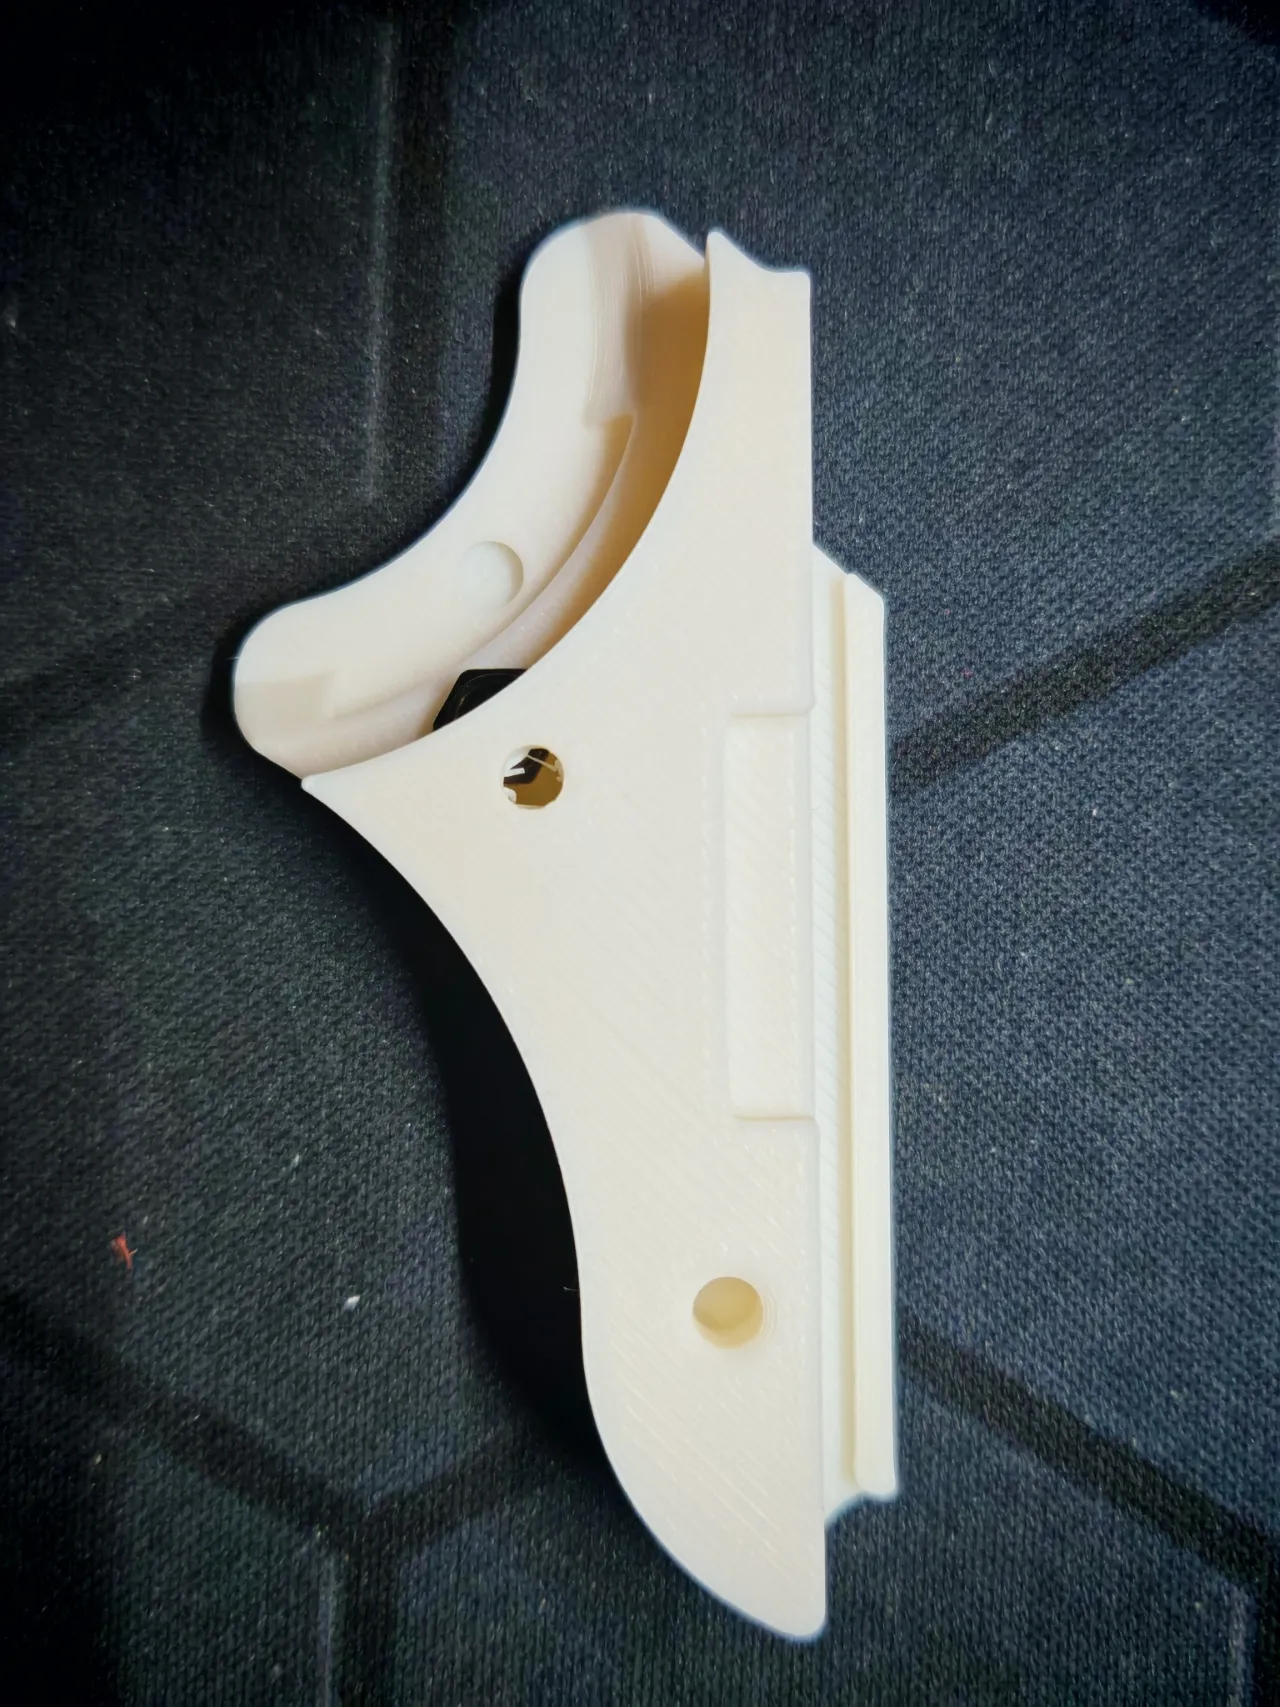
Install the wheel; the FullPrint version no longer requires the spring and ball.
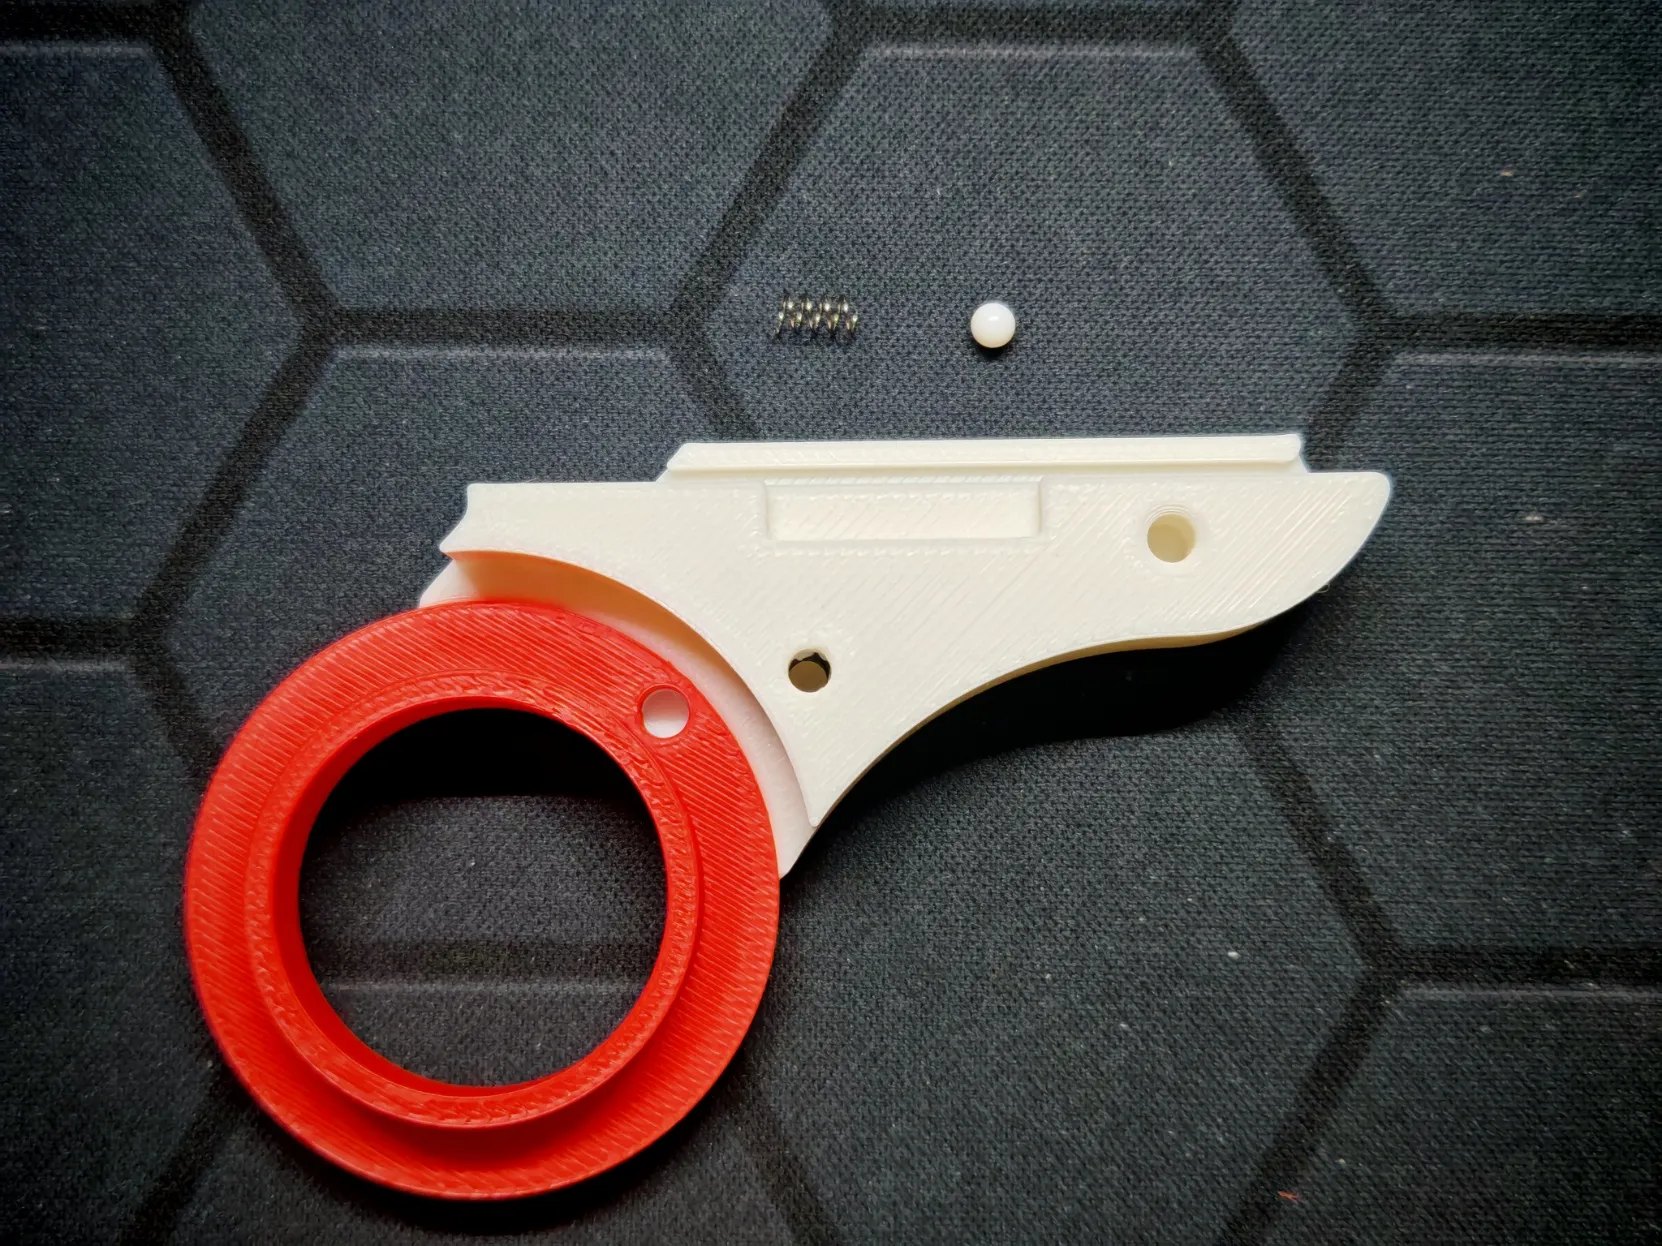
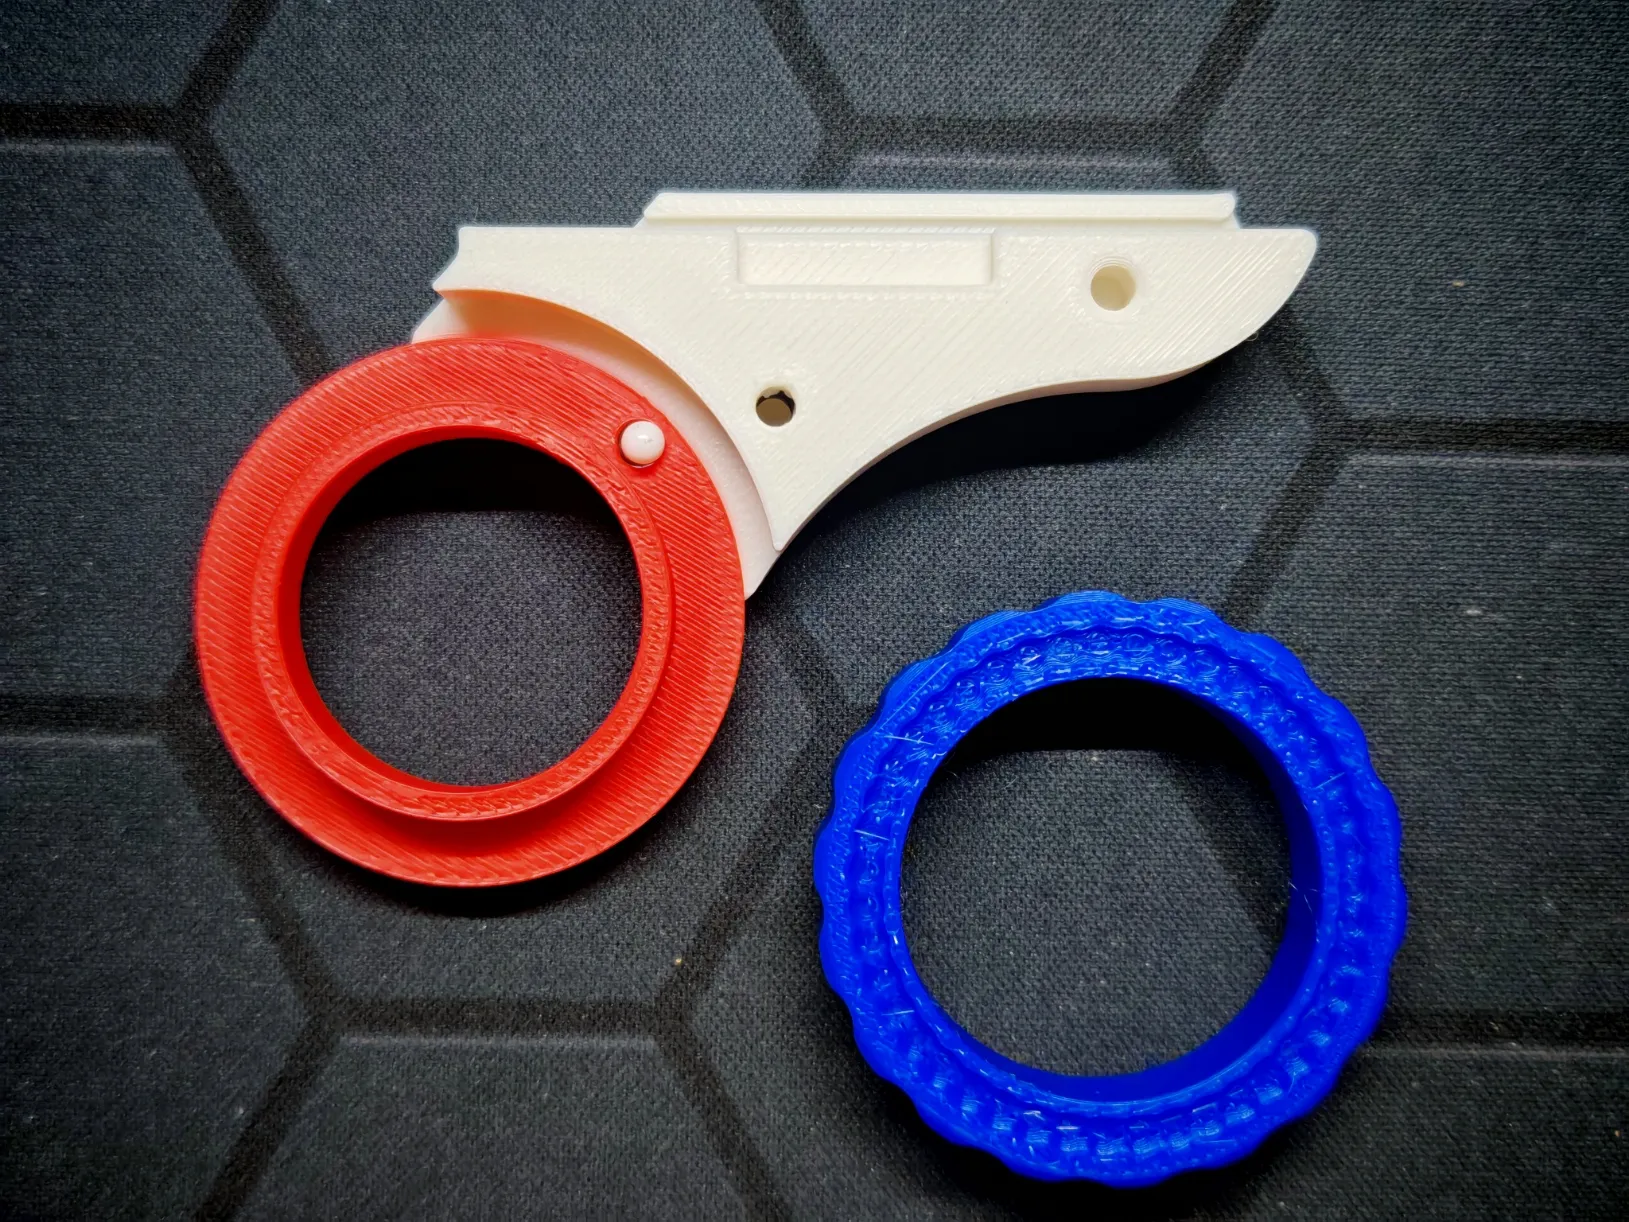
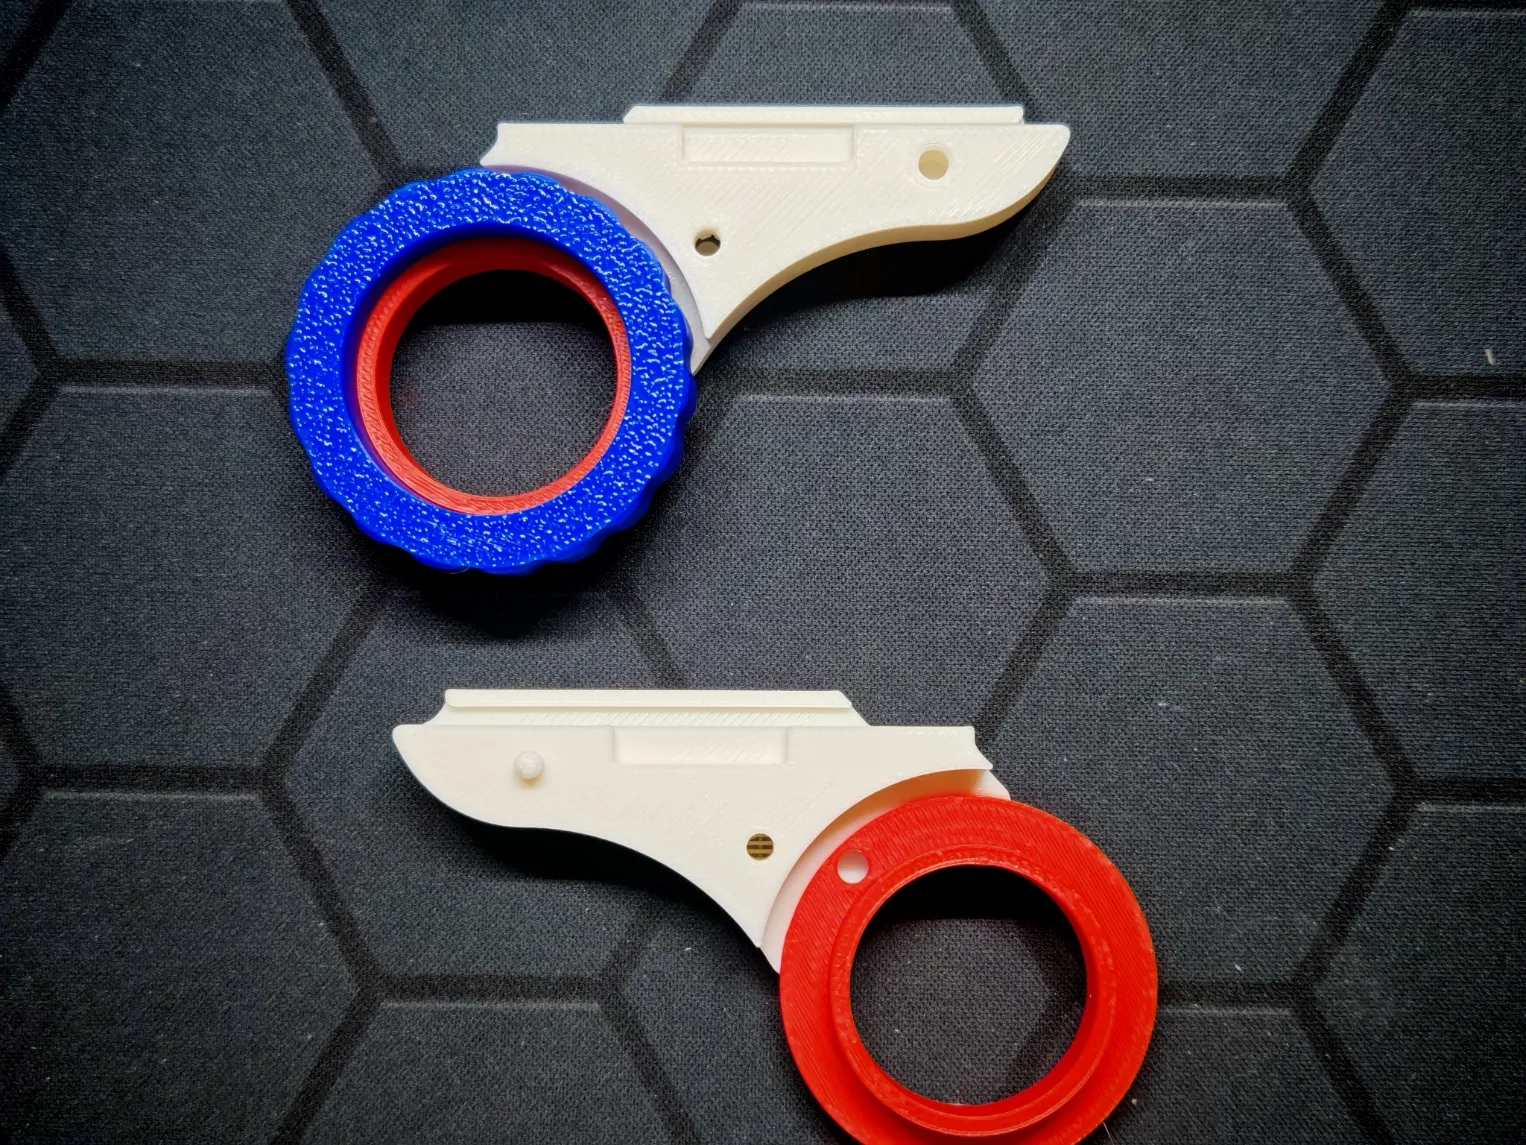
Install the slider.
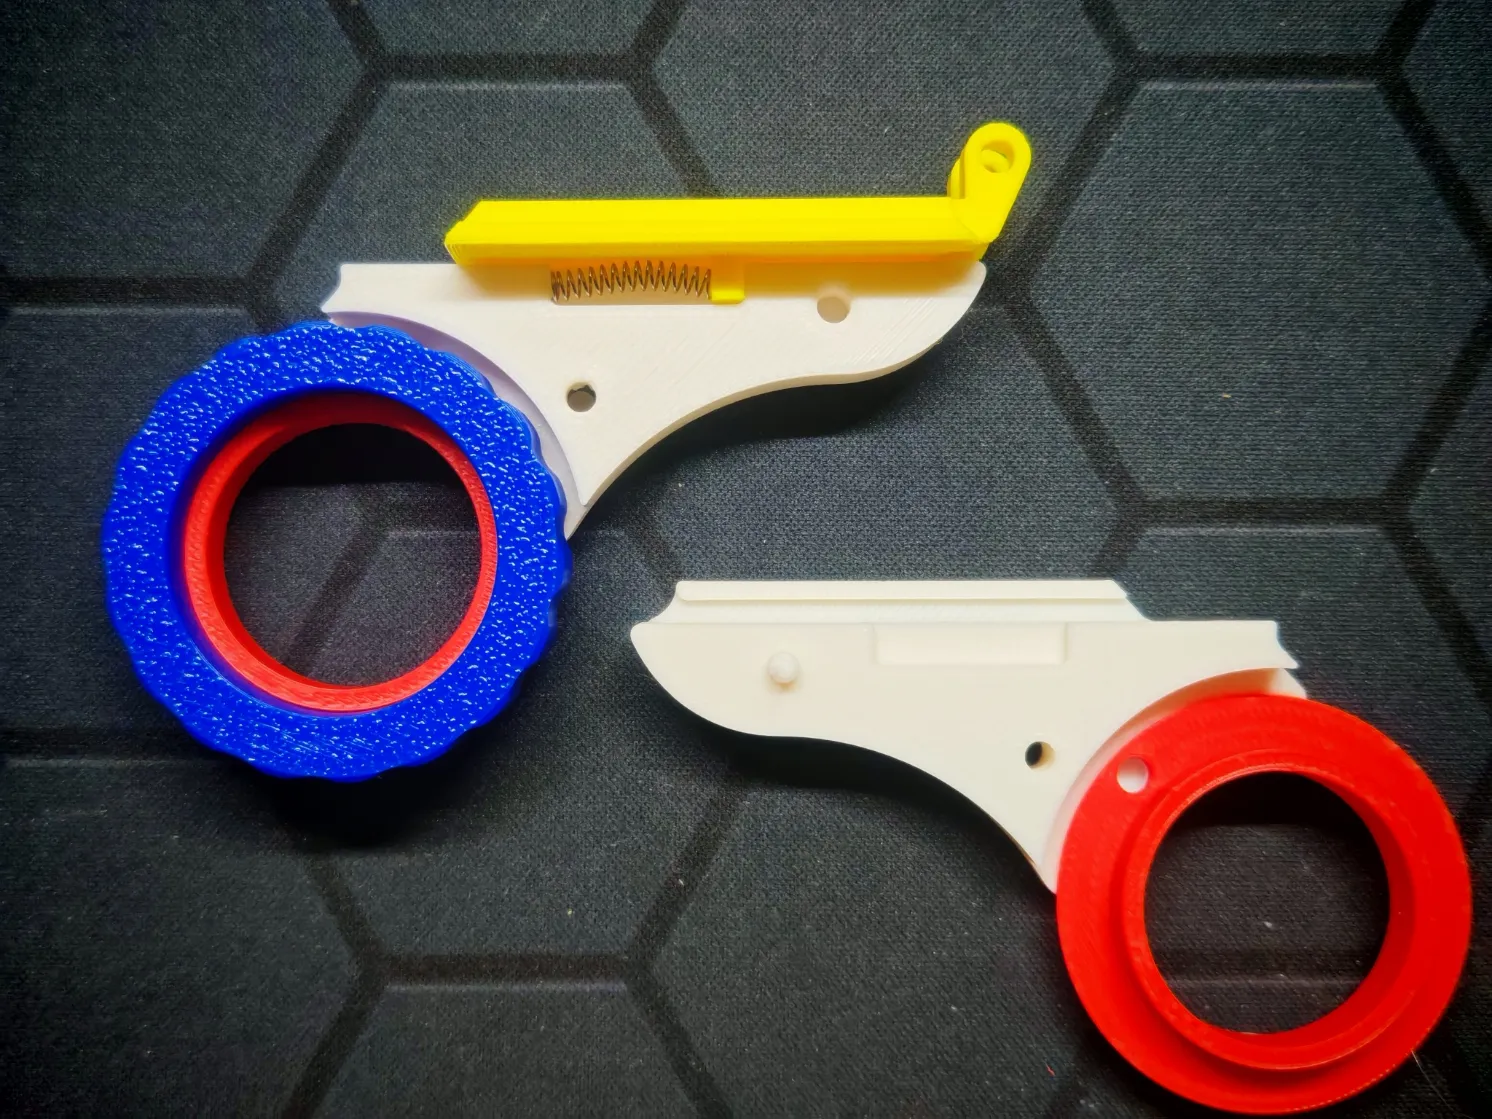
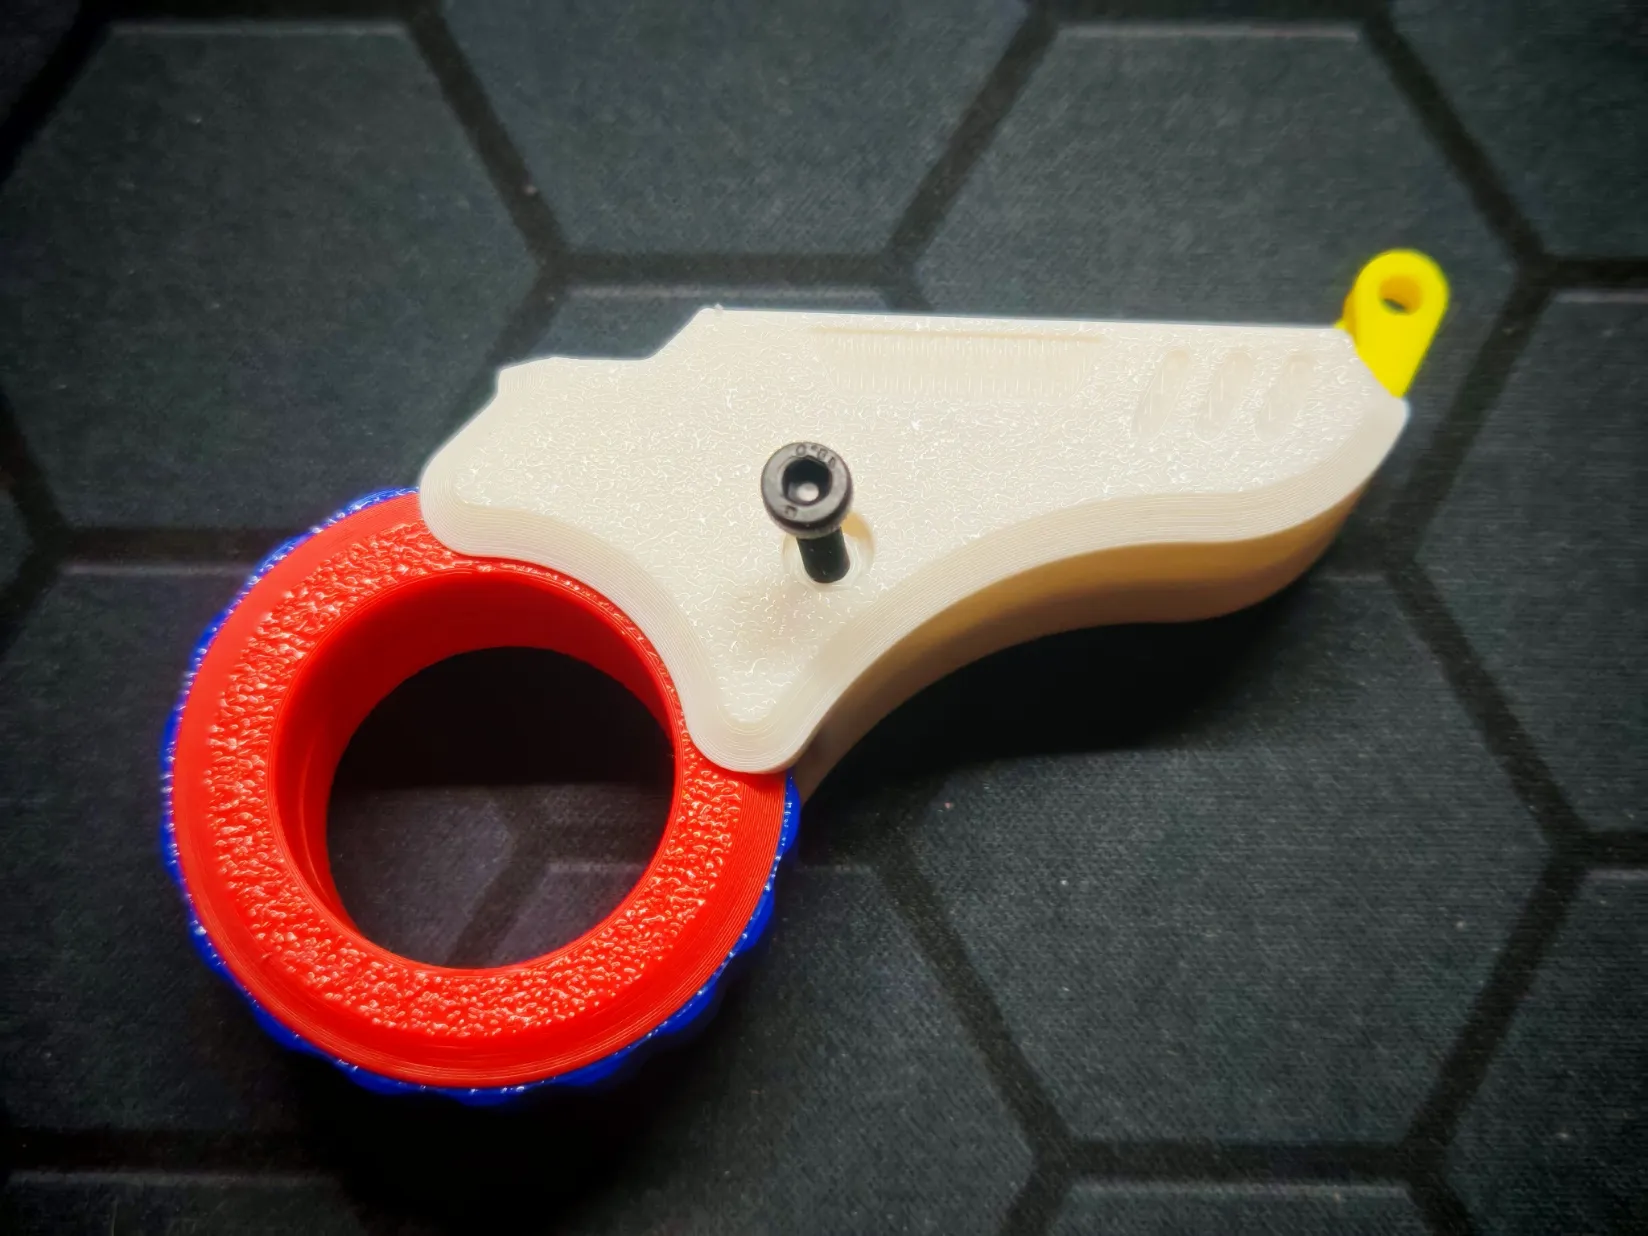
Install the rotating plate.
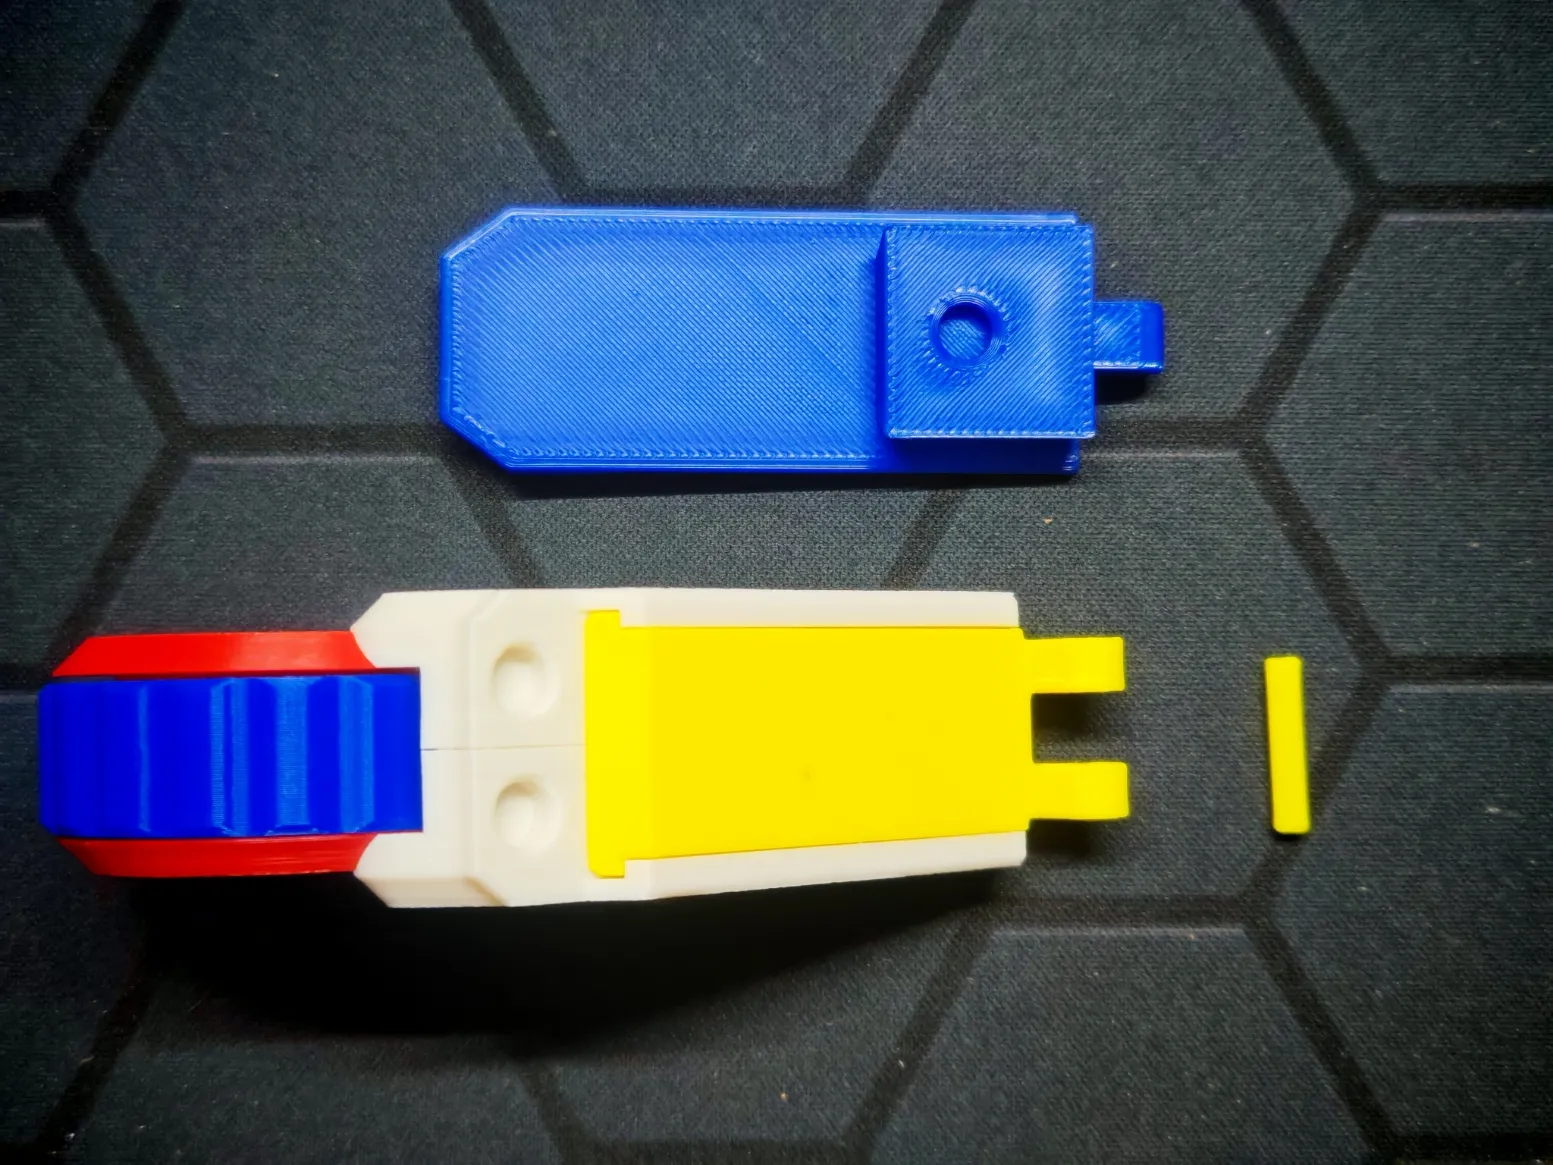
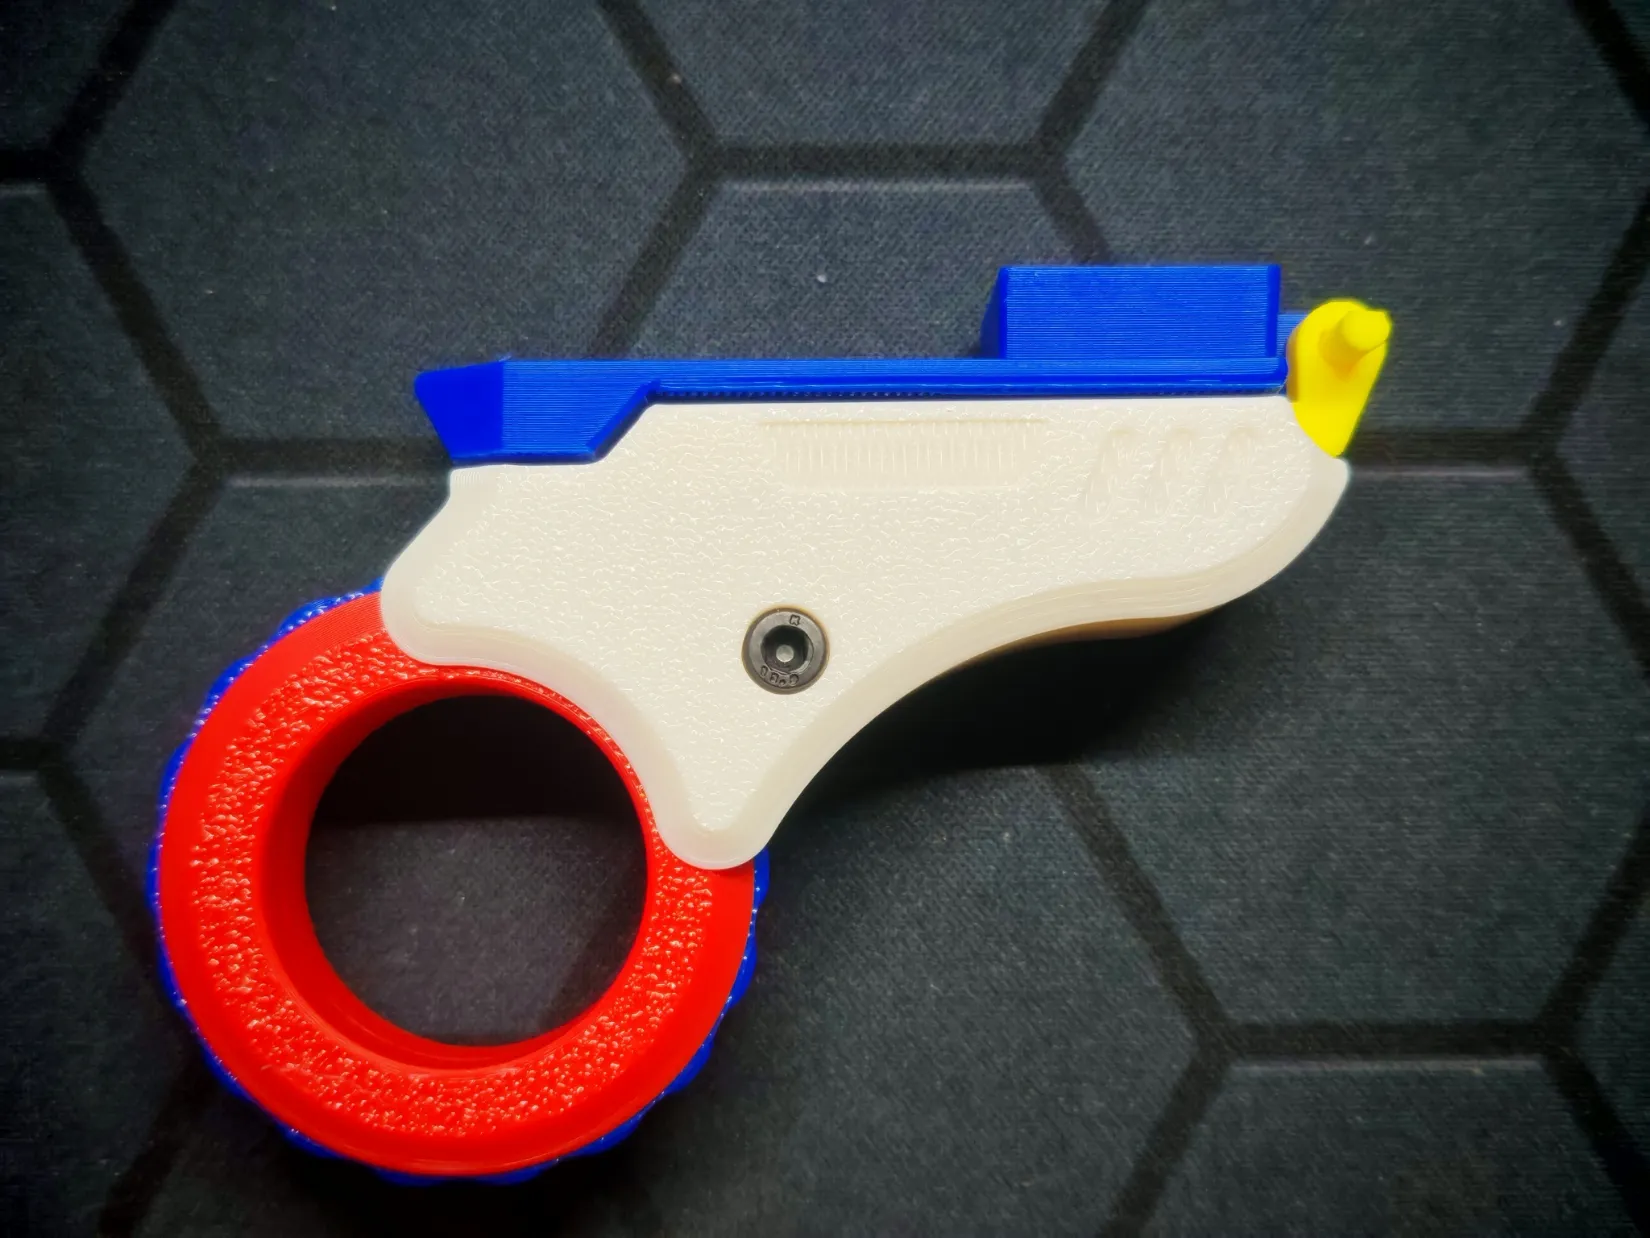
Install the magnets, paying attention to the magnetic polarity. Consider adding adhesive to the installation holes for reinforcement.
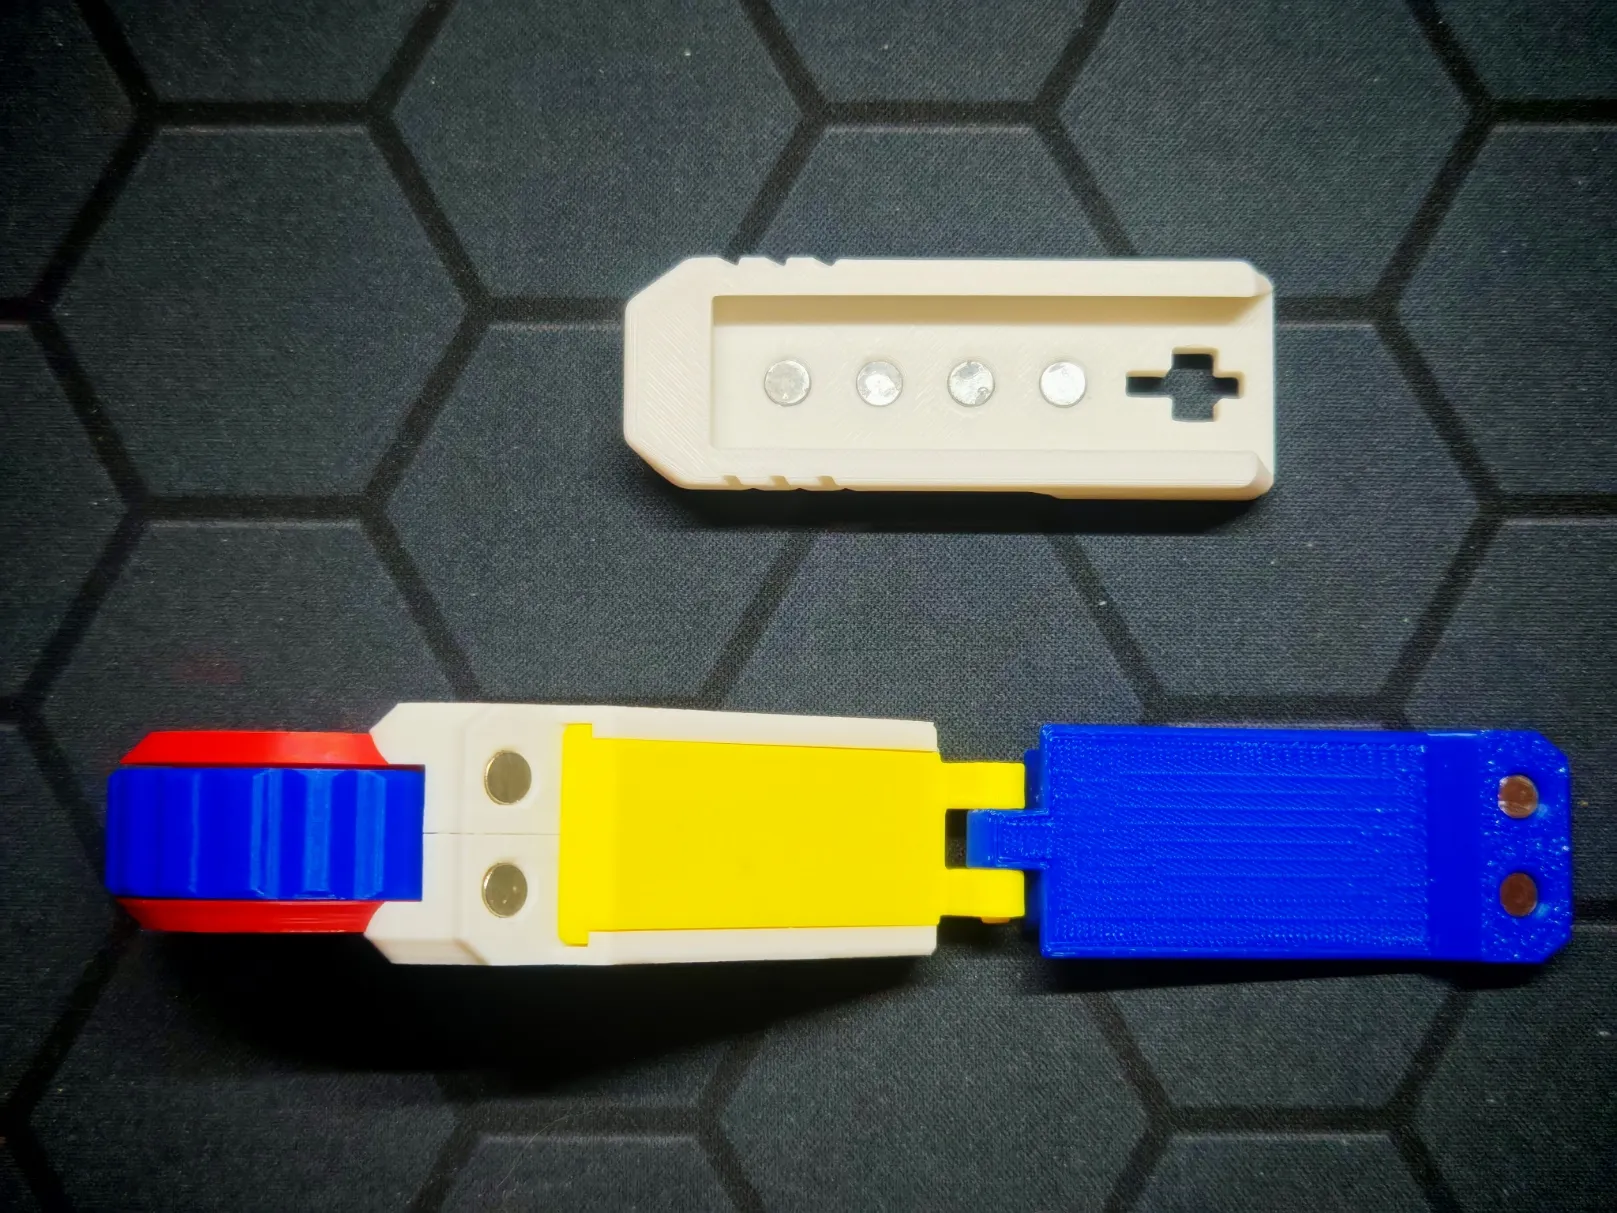
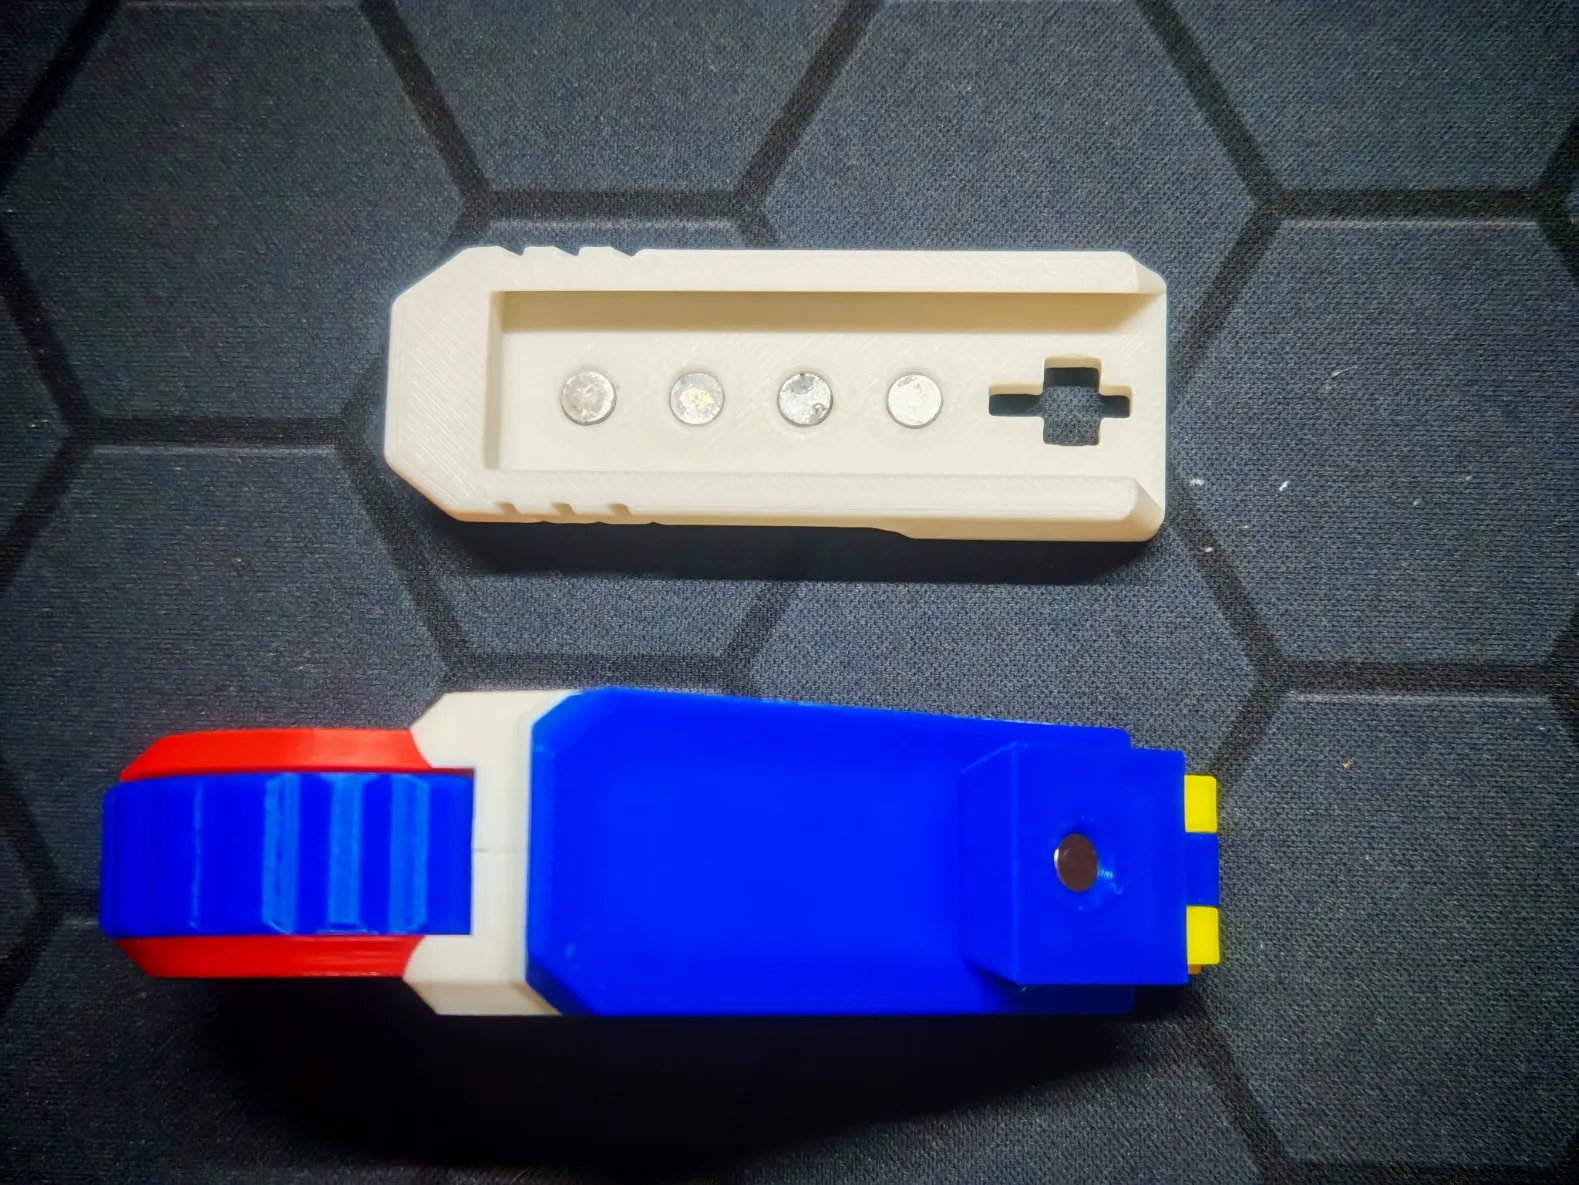
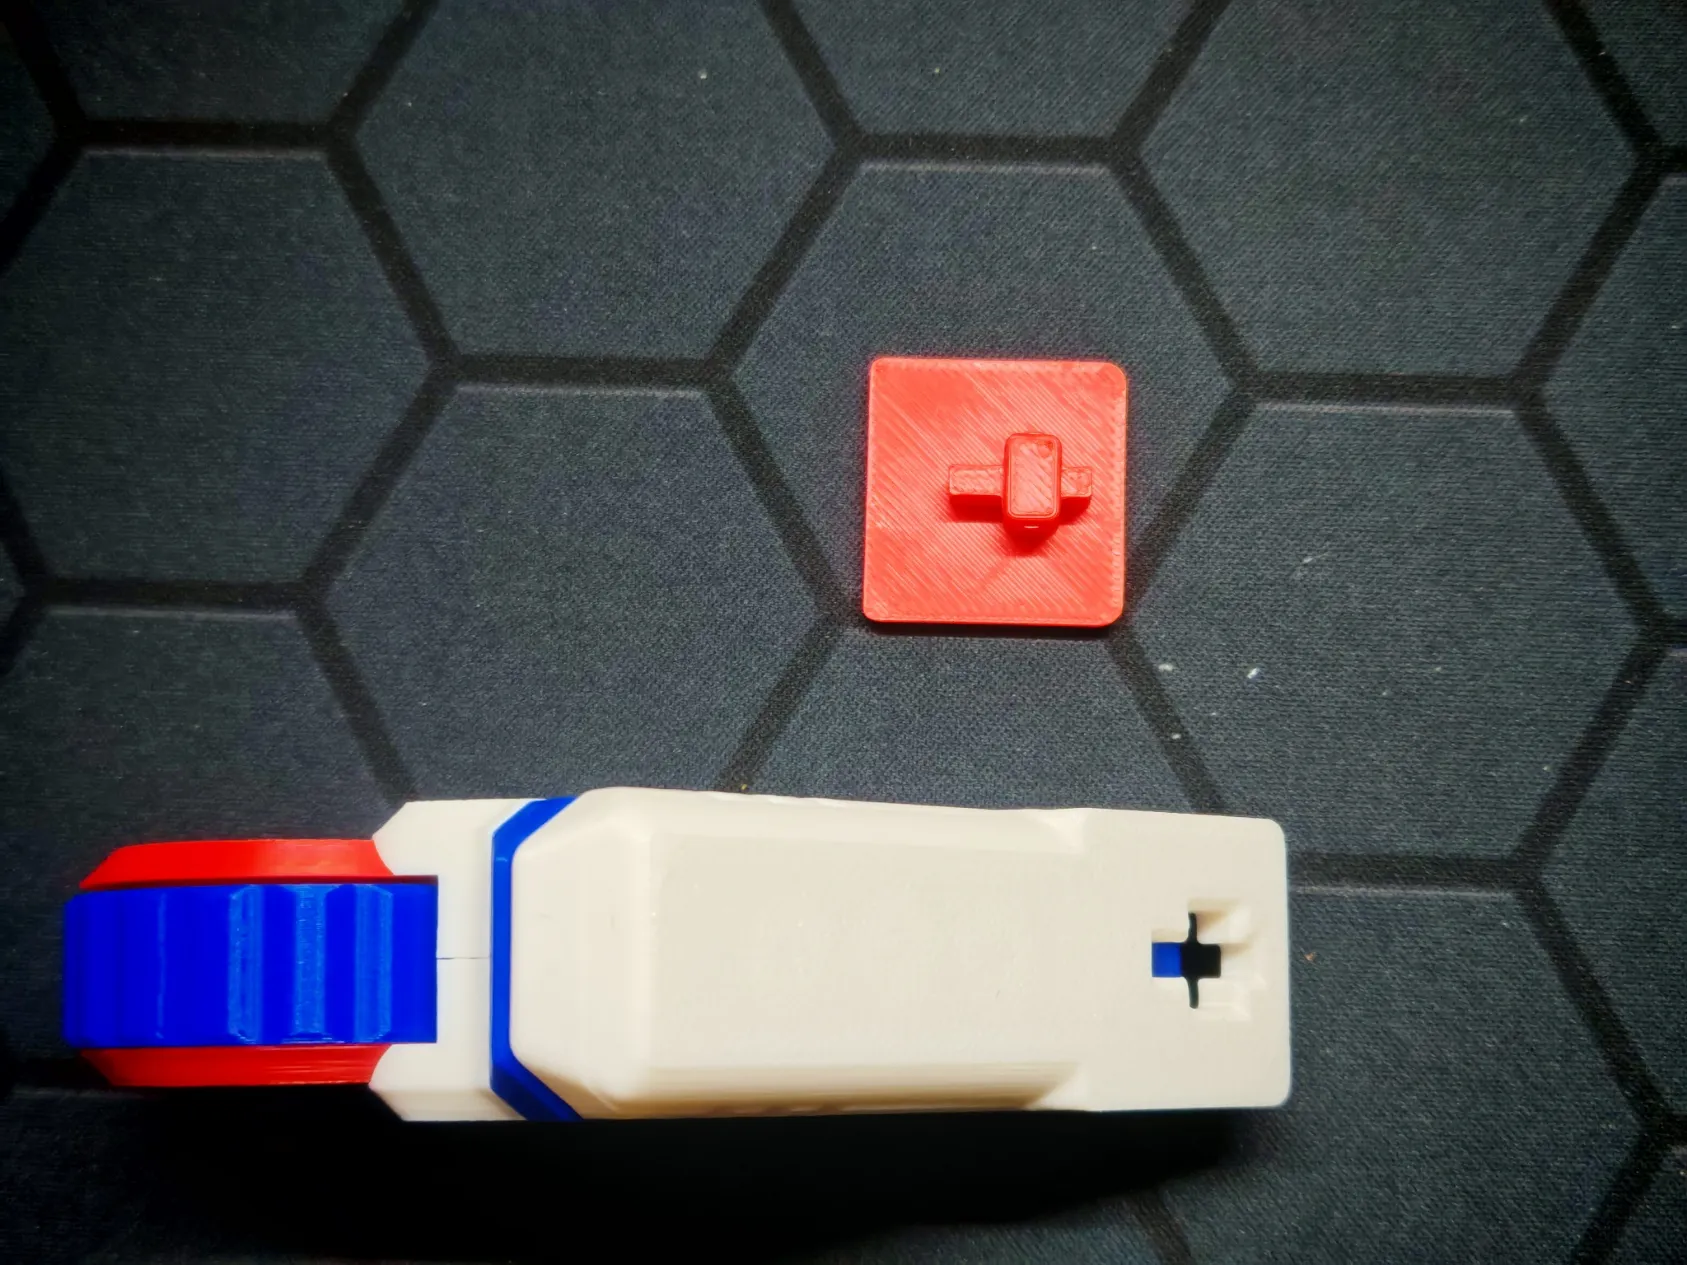
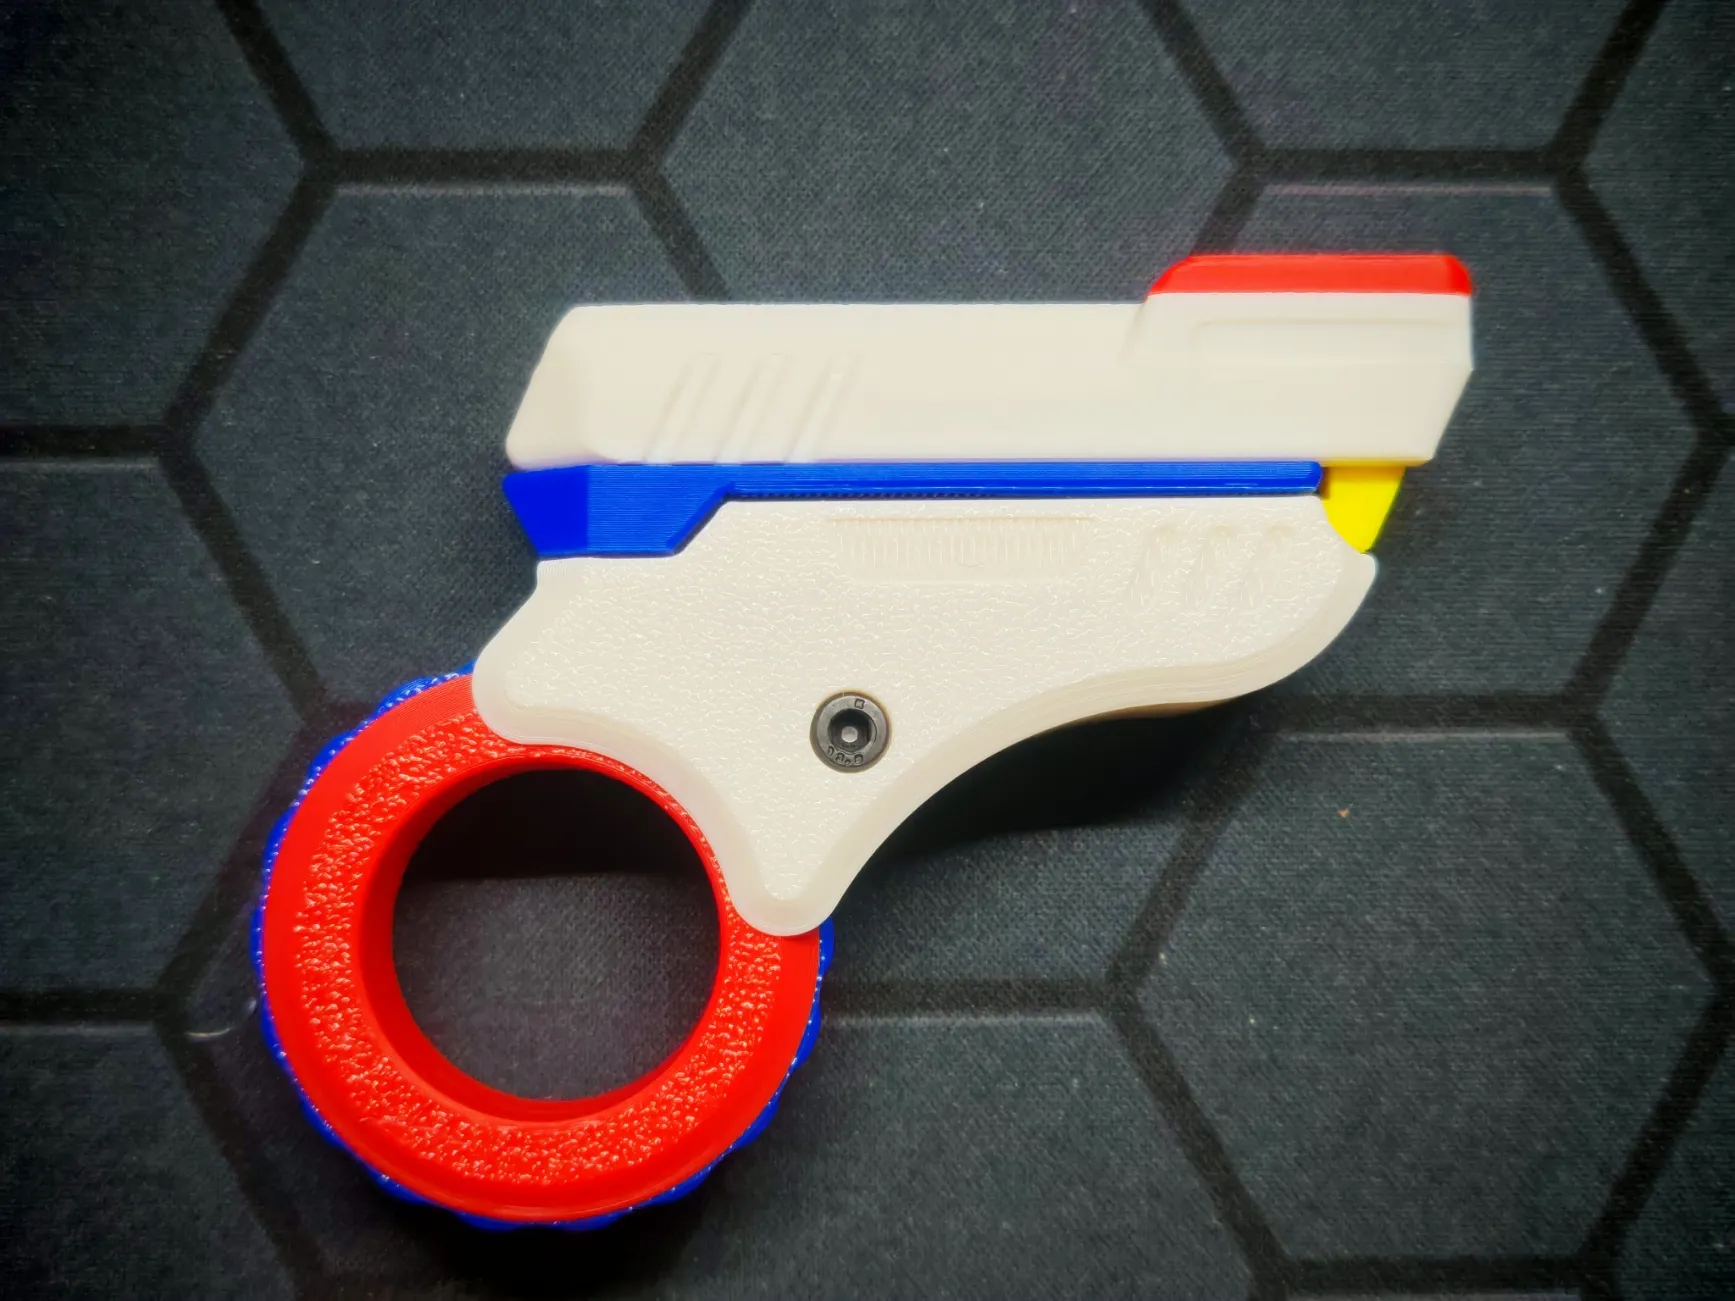
Install the slider and head stop to complete the assembly.
License

You shall not share, sub-license, sell, rent, host, transfer, or distribute in any way the digital or 3D printed versions of this object, nor any other derivative work of this object in its digital or physical format (including - but not limited to - remixes of this object, and hosting on other digital platforms). The objects may not be used without permission in any way whatsoever in which you charge money, or collect fees.


Comment & Rating (39)