
Pinecil v2 case
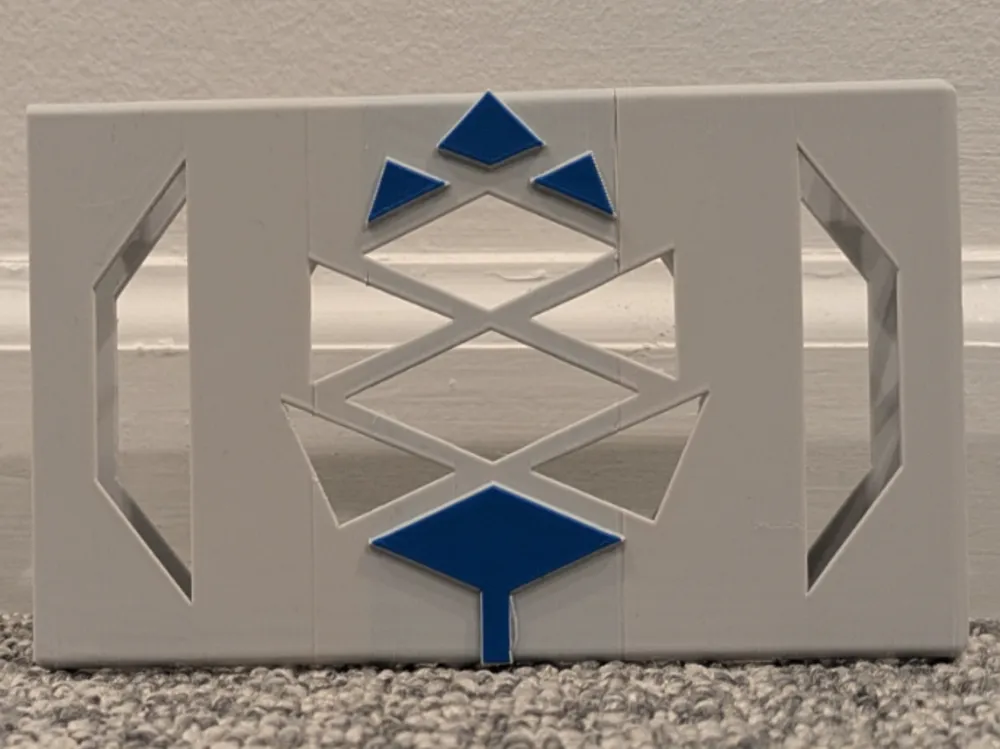

Print Profile(1)





Description
To assemble your Pinecil v2 3D printed case, first ensure you have the 3D printed case, the foam from the Pinecil v2 packaging, and the Pinecil v2 soldering iron. Check the 3D printed case for any imperfections and clean it if needed. Then, take the foam with the Pinecil v2 still in it and slide it into the side opening of the 3D printed case, ensuring it fits snugly. If the foam is loose, you can use adhesive or tape to secure it, making sure it doesn't interfere with inserting or removing the Pinecil v2. After securing the foam, check that the Pinecil v2 can be easily inserted and removed from the foam cutout. Make any necessary adjustments to ensure a proper fit. Test the fit by sliding the Pinecil v2 in and out of the foam a few times to ensure smooth operation and that the 3D printed case provides adequate protection and easy access to the Pinecil v2.
License

You shall not share, sub-license, sell, rent, host, transfer, or distribute in any way the digital or 3D printed versions of this object, nor any other derivative work of this object in its digital or physical format (including - but not limited to - remixes of this object, and hosting on other digital platforms). The objects may not be used without permission in any way whatsoever in which you charge money, or collect fees.


Comment & Rating (0)