


Print Profile(5)


Bill of Materials

- M4x40mmScrew x 12:
- M4x18mmScrew x 6:
- 1GallonJar x 1:
Description
Membership
Want to support me or buy a commercial license? Click Here!
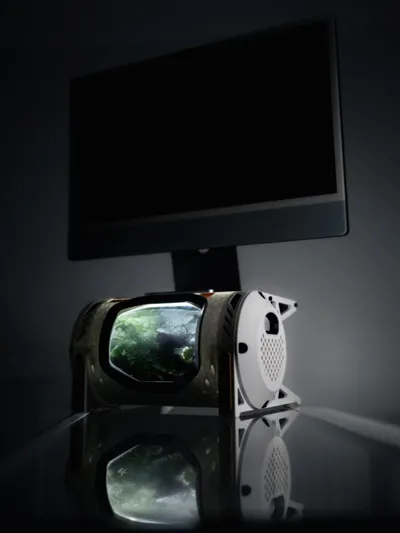
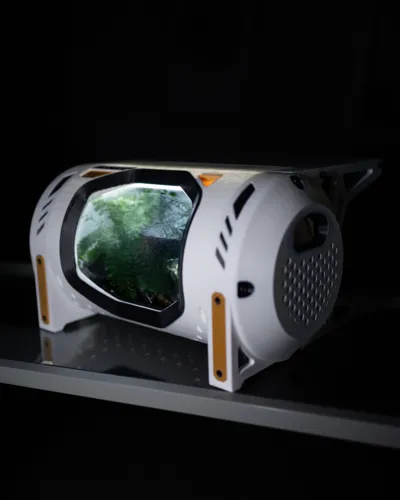
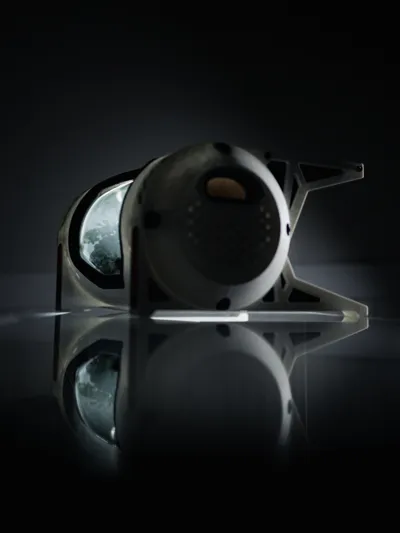
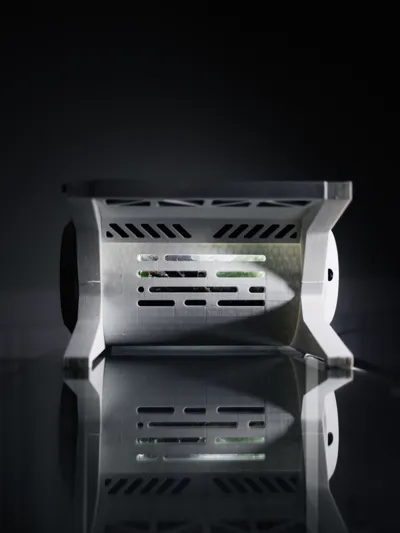
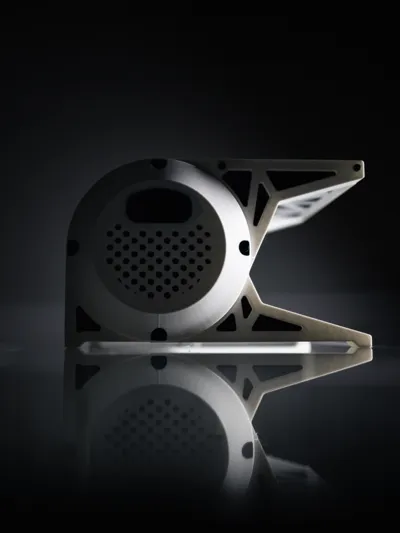
A futuristic terrarium monitor riser! This was designed to look like a specimen jar on a spaceship, or an experiment in a lab. This design utilizes a one gallon storage jar (around 6" diameter) as a terrarium insert. Swappable side panels can be used in order to tailor the jar environment for whatever plants or things you plan on putting in the jar. For low humidity plants, the jar lid can be left off so that the vented side panels can let air in or out. For high humidity plants or sealed jar projects, the solid panels can be put on for a cleaner look. It utilizes an LED light strip as the source of light and heat insert nuts for easy assembly.
I have included a couple print profiles - One for full color AMS printing, and one that requires a little more assembly, but it eliminates a little AMS waste and takes shorter to print.
For the jar at 103% Scale, I used:
At 100% Scale this jar fits well:
Assembly Instructions:
Step 1: Print the TEST PRINT plate FIRST to verify that the inner diameter will work with whatever jar or vase you plan on using. I found that some of the jar diameters differ even if they are from the same manufacturer, so before all the pieces are printed it is important to verify the tolerance. Scale Accordingly. Note: If using white or light color filament, this is also a good time to verify how many layers you'll need to stop light from transmitting through the print.

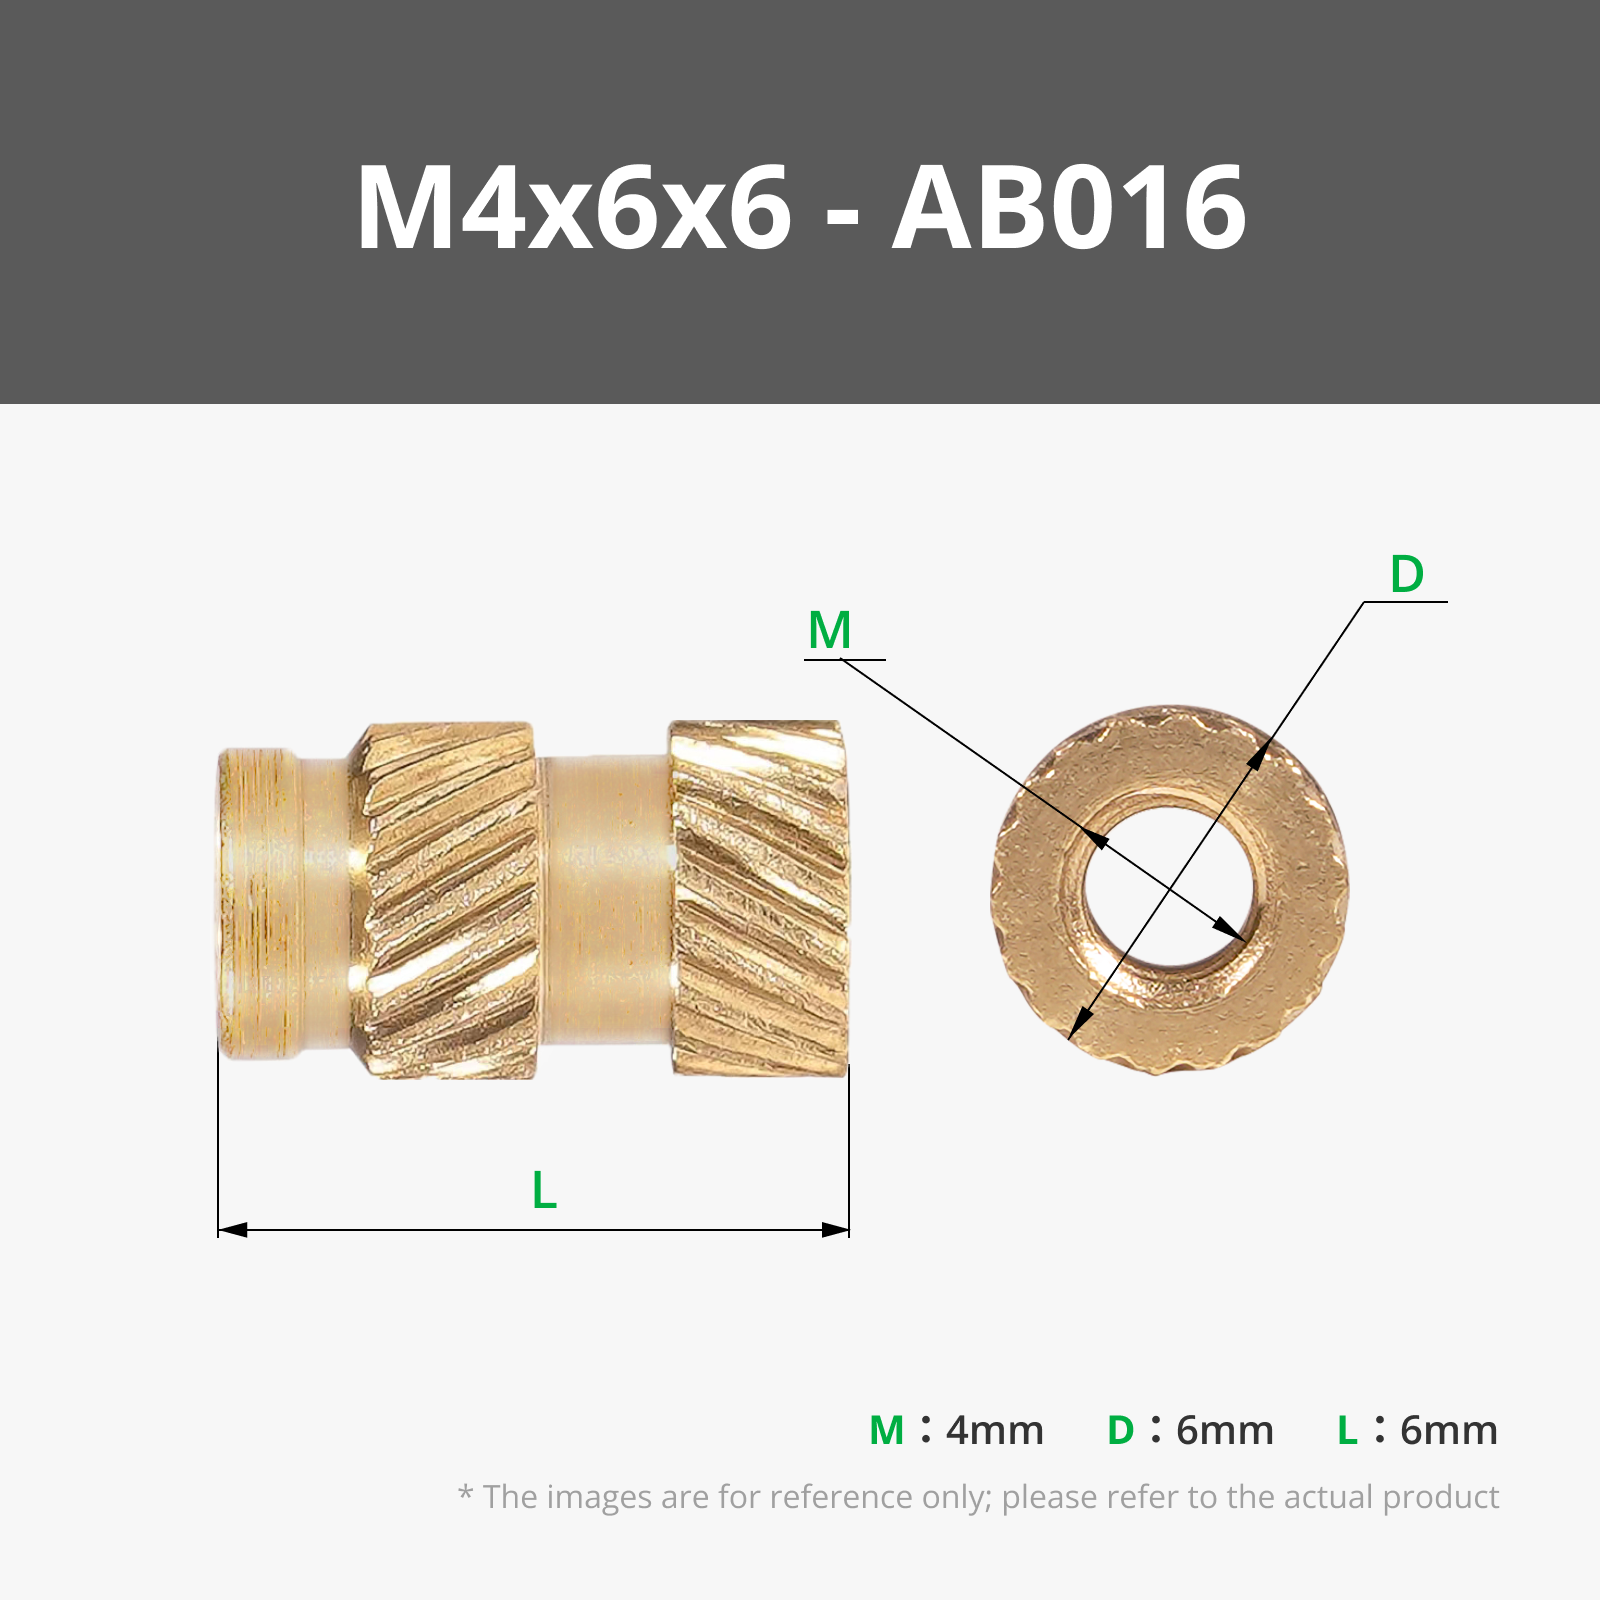
Step 2: Print the files and use a soldering iron or nut insert tool to press the M4 nuts into the holes of the CONTAINER and TOP. These are the only parts that need inserts, and each side should have a total of 9 inserts as shown.

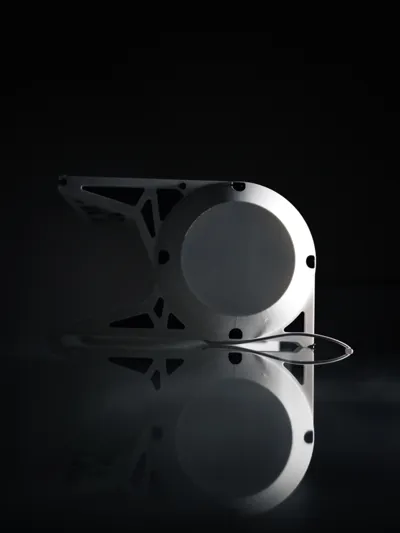
Step 3: Align the FRONT LEGS, SIDE LEGS, and SIDE BRACE as shown and thread the M4 x 18mm bolts through the recessed holes as shown. There should be 3 bolts per side.

Step 4: Cut the LED strip light to around 200mm (wherever you can cut the strip). Feed the LED strip through the square hole in the REAR LEGS. Take note that there are holes in both of the legs so feed the wire out of whichever leg works better for your setup. Then attach the strip into the recessed channel on the top of the assembly.

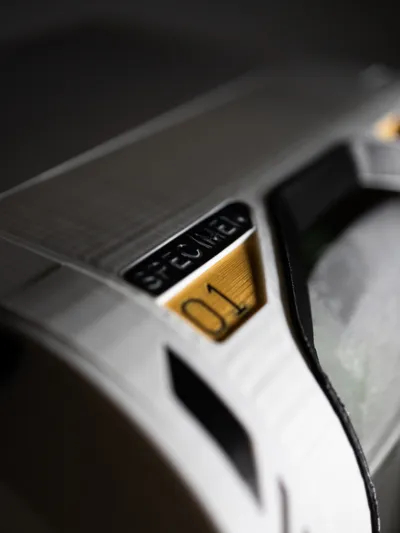
Step 5: If printing the profile with the bezel and label separately, glue the bezel and label on before bolting on the side panels. Insert the jar and make your terrarium. Attach the side and top panels with M4x40 screws. There should be 6 per side.

Step 6: Done! Plug the monitor riser in and place your monitor on top!
License
You shall not share, sub-license, sell, rent, host, transfer, or distribute in any way the digital or 3D printed versions of this object, nor any other derivative work of this object in its digital or physical format (including - but not limited to - remixes of this object, and hosting on other digital platforms). The objects may not be used without permission in any way whatsoever in which you charge money, or collect fees.
Comment & Rating (86)