
Tinker Knife
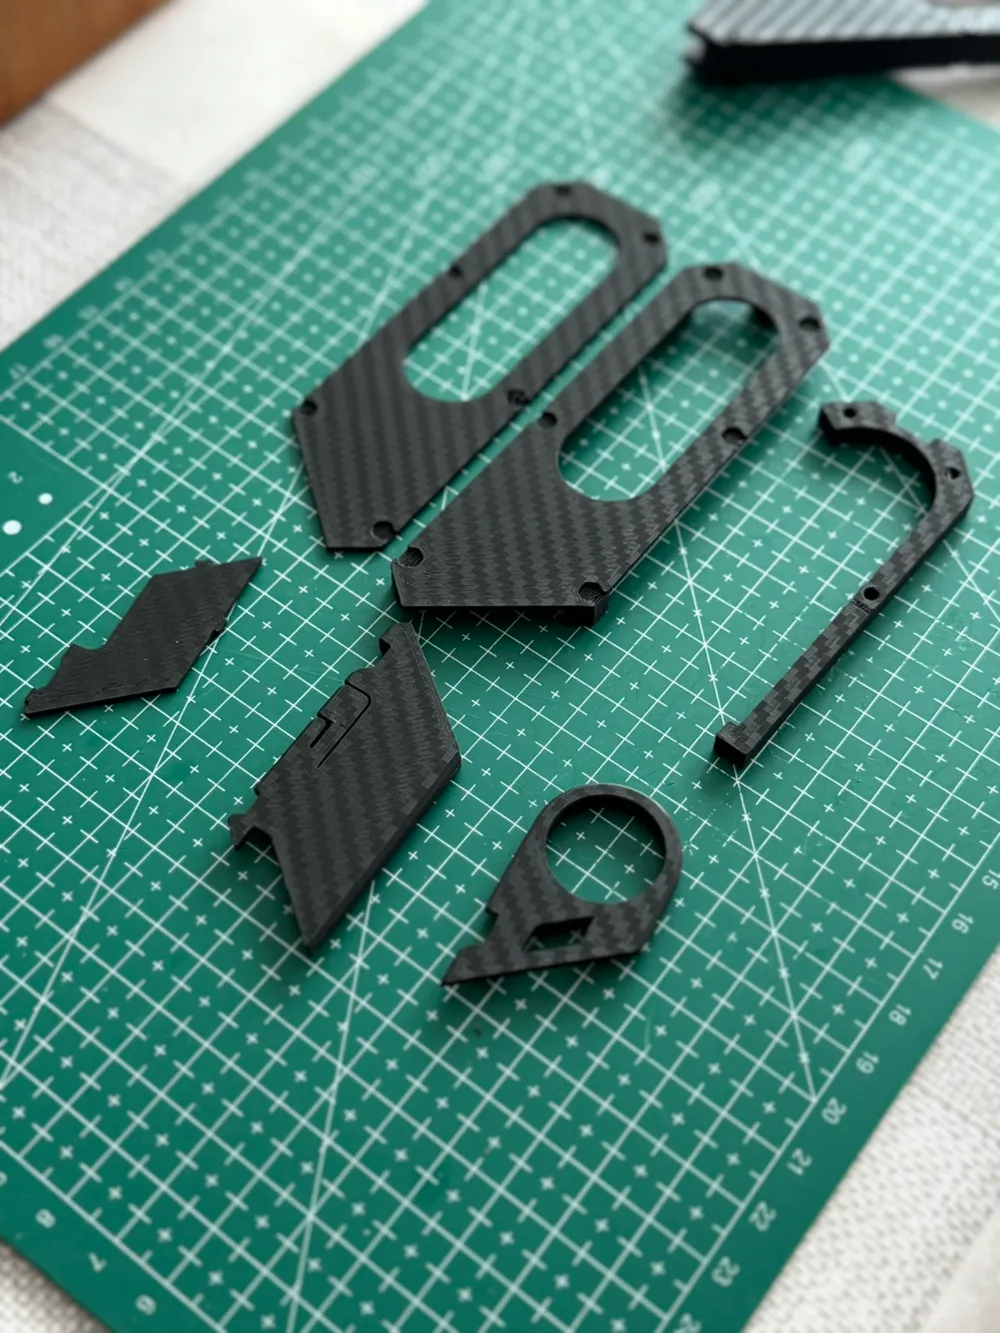
Print Profile(7)


Bill of Materials


Description
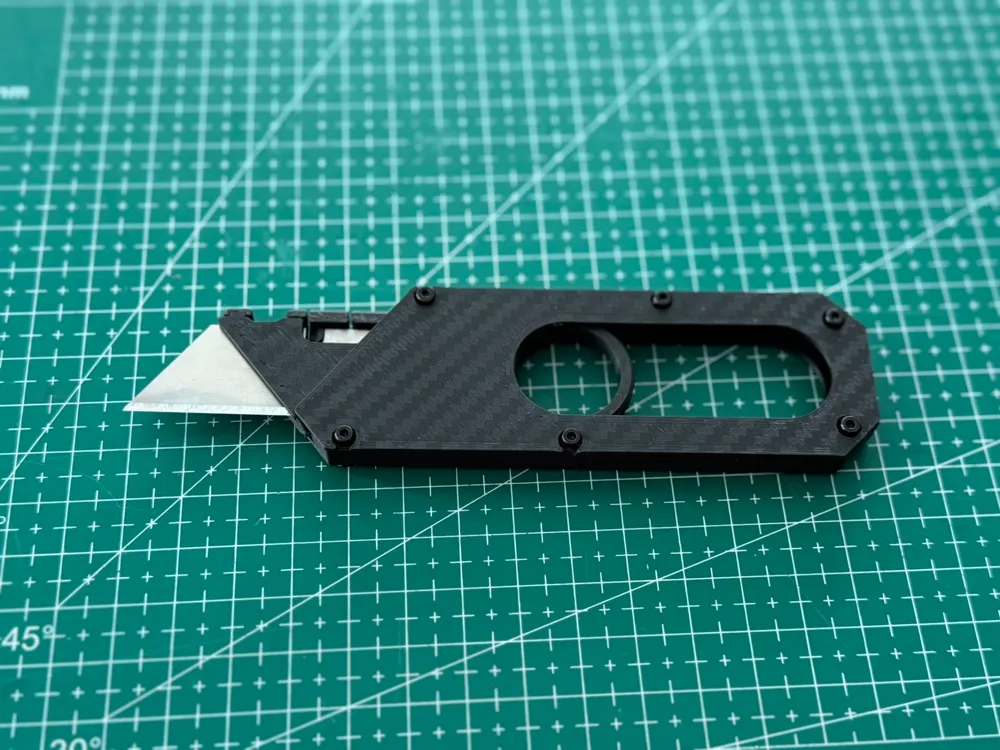
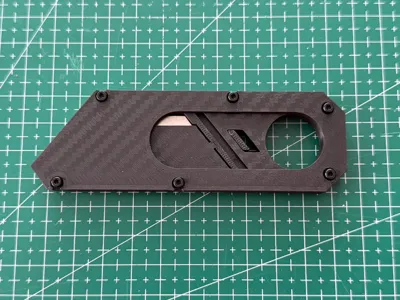
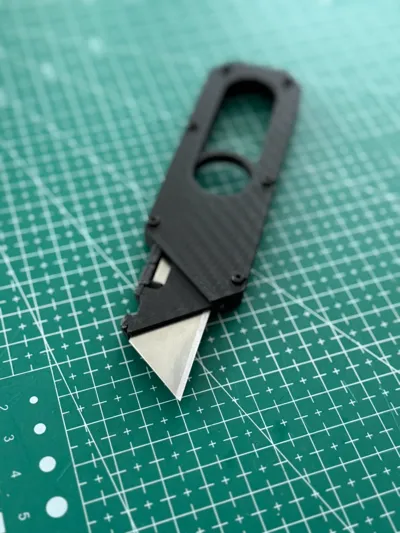
The Tinker Knife, make it, fidget with it, tinker with it, enjoy it!
*** Update 2025-02-15 ***
Release 2
Summary of Updates 2025-02-15:
- Added a new version where the fulcrum of latch was moved forward a little, slight increase in tension when sliding
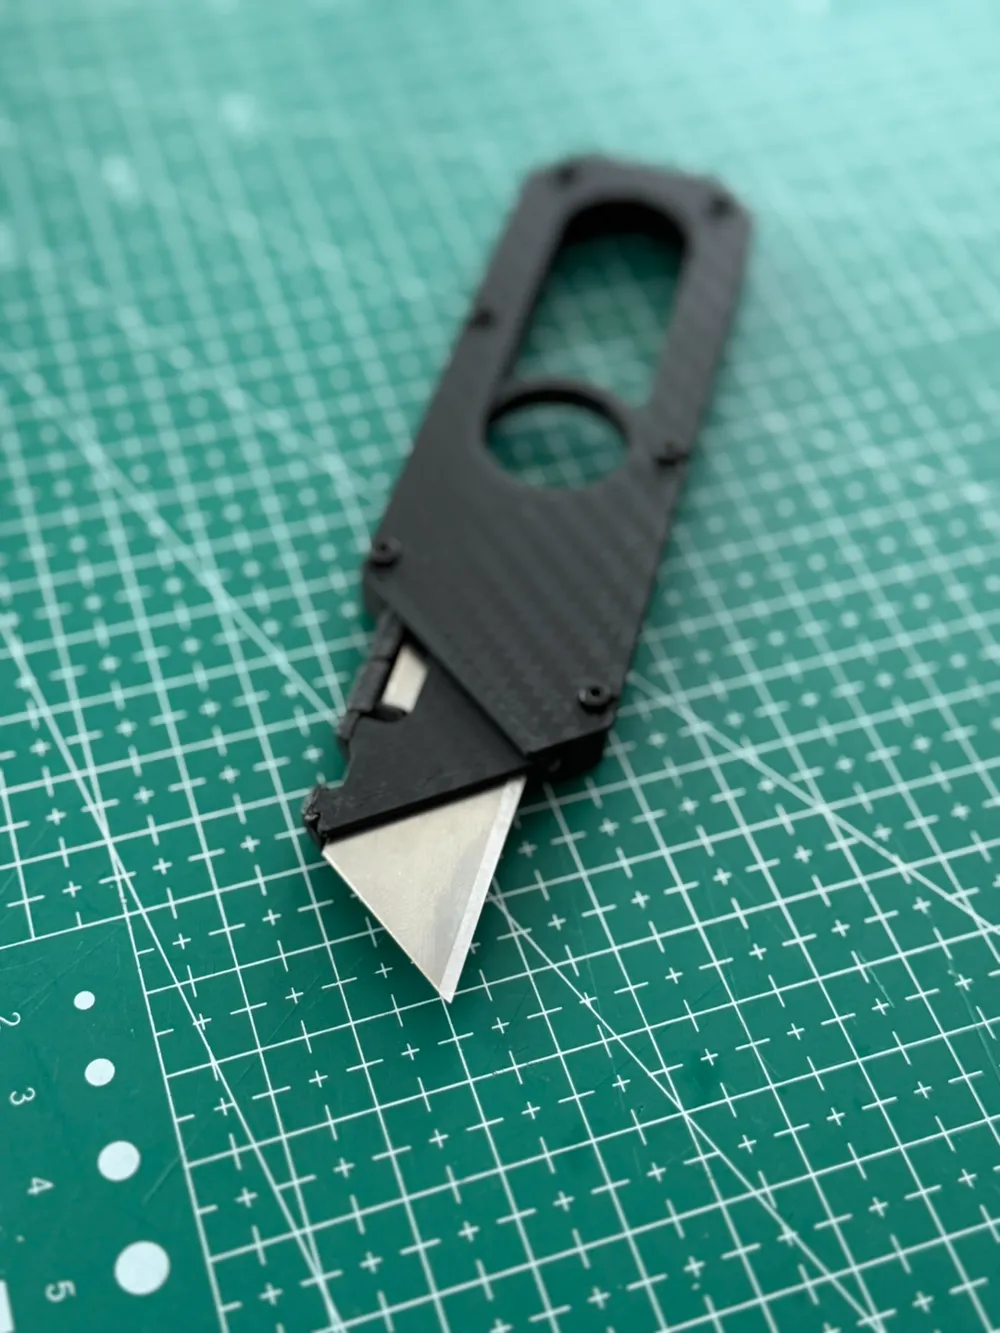
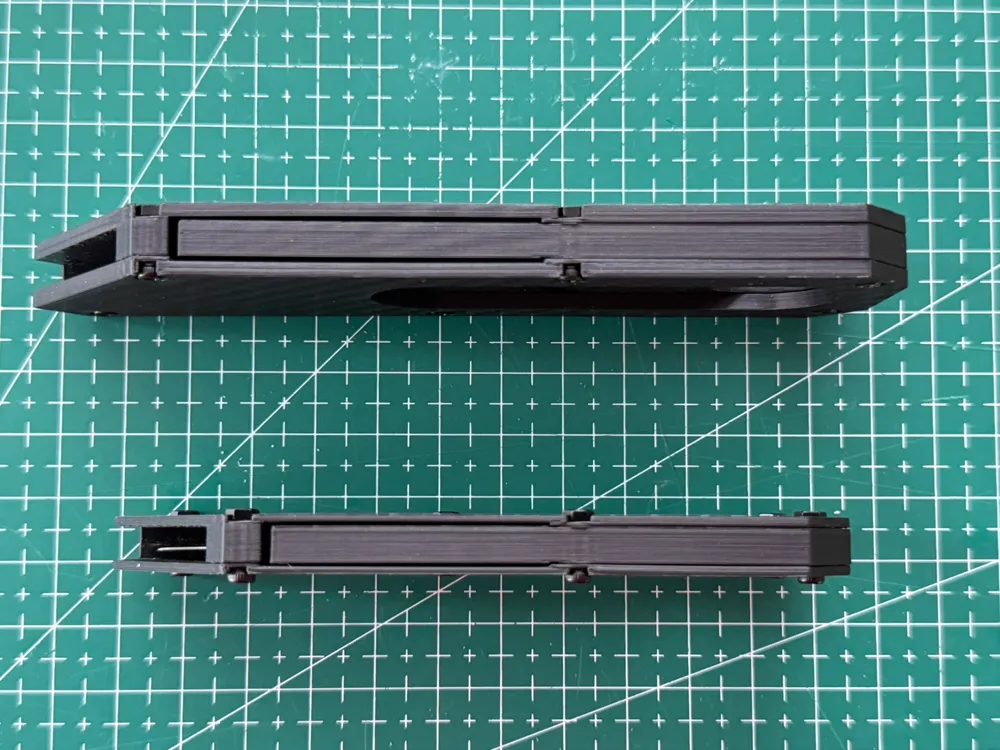
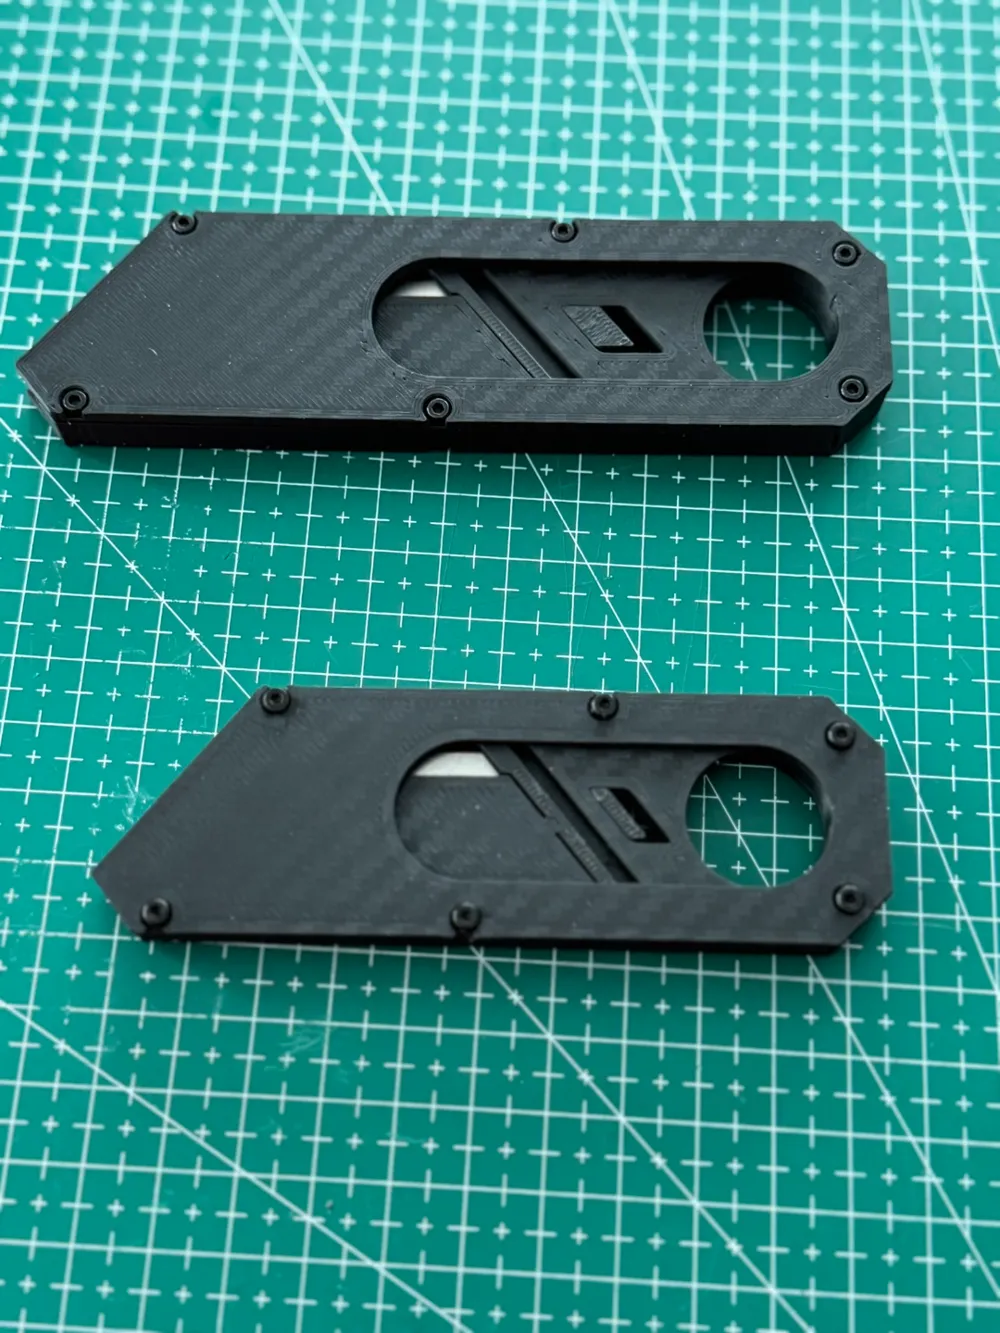
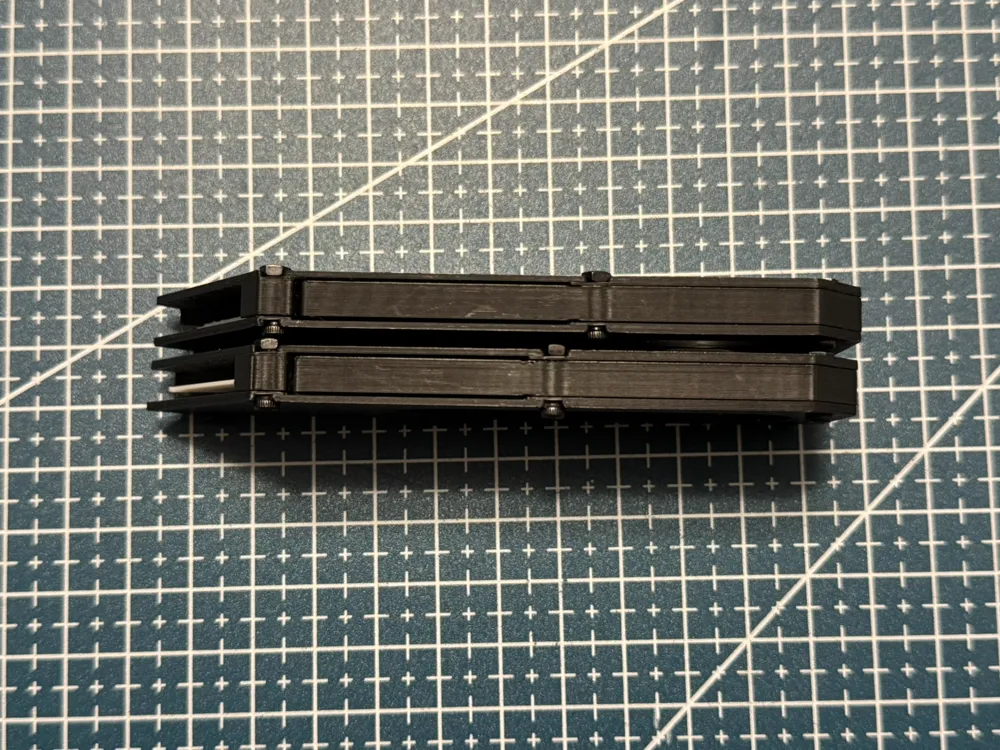
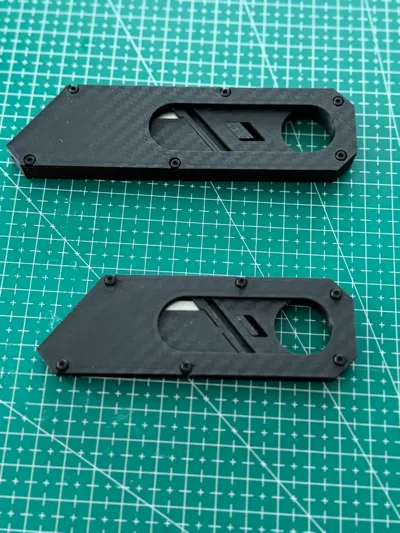
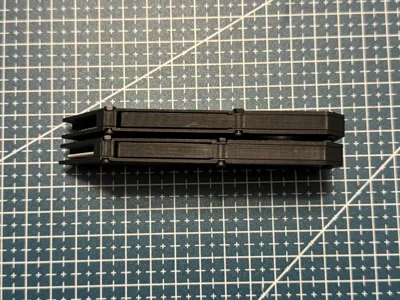
- Cosmetic: Slightly increased size of blade carrier to reduce the visible gap (see pics for difference)
- Cosmetic: Changed the slide + carrier connection pattern to closer match overall line profiles of the knife
- Cosmetic: Added some ironing to some surface layers to give a smoother look; there's also a slightly different feel when sliding
- Note: if you prefer the original sliding feel, then just remove the ironing from the insides of the two handles
- Added a plastic blade print
Description:
I've been playing around with the latch length (by moving the fulcrum around) to see it's impact. As you move the fulcrum closer to the front, effectively shortening the latch, the tension during the release between stops increases a bit. Giving a bit more feedback. The original length provides very light resistance, whereas the med provides slightly more, giving just a bit more feedback during the slide.
Both the orginal and new version are available, so it's based on your preference. For the majority of people, I believe the original length would be the smoothest.
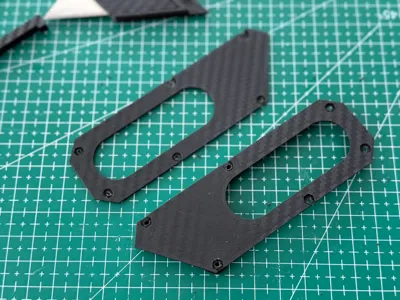
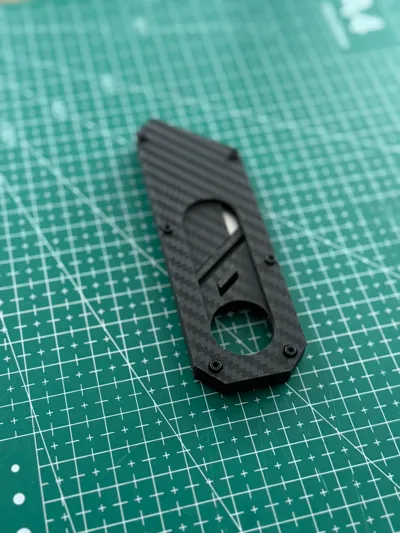
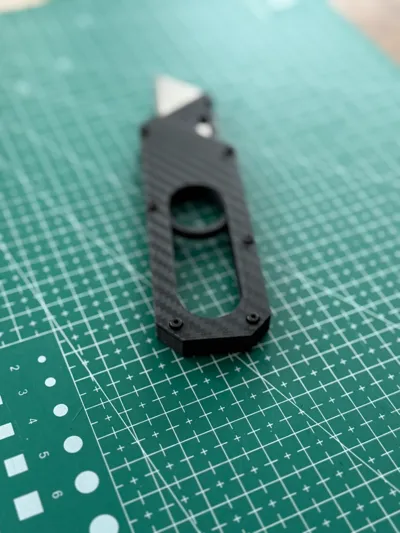
In addition, I've added an updated blade cover that is slightly larger, which closes the small gap between the carrier and cover. This gives it a cleaner look. See pics for the difference. Another cosmetic change was pattern between the slide ring and blade carrier. It's been updated to be more aligned with the overall lines of the knife. Neither of these updates changes any tension or resistance on the knife, it's purely cosmetic. If you prefer the new design, feel free to just print the carrier, cover, and slide ring. It is useable in the original handle.
I've also added some ironing modifiers on. The surfaces of the carrier and ring slide are smoother looking this way. For the insides of the handle, it provides a different tactile feel. If you prefer the original, then feel free to remove the modifiers from the handle.
Finally, I've added a printable blade that you can install while breaking in the knife or if you're using it as a fidget toy.
*** End Update ***
Original Release
I've been intrigued with Giaco's Maker Knife since I stumbled upon it on youtube, randomly. Sadly it seems to be out of stock for years. As I was looking for stock for the Maker Knife, I came upon this model, Maker Knife 3D Printed Version, by 3D_Cre8or. I didn't have a 3D printer at the time, so filed it away. Fast forward to this year, I purchased our first 3D printer and set about printing this out.
While I waited for screws, I also tried various models, such as the m.knife and it's variants. Although nice, and simple to assemble, and a smooth and ingenious “release and lock” mechanism, it had a major flaw. The wedge and spring mechanism became too easy to open and close. It was dangerous to use. It resorted to being just a fidget toy for me, since the spring mechanism was so ingenious and felt fun to play with. I also avoided any of the models that required super glueing, since It seems counter-intuitive to a tinkerer.
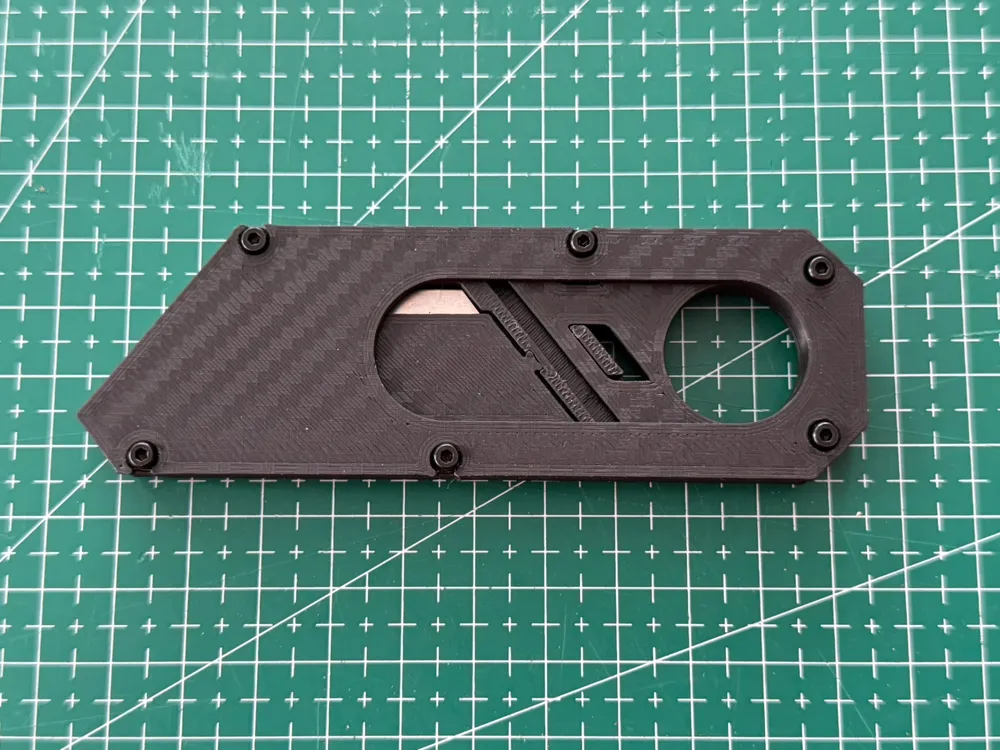

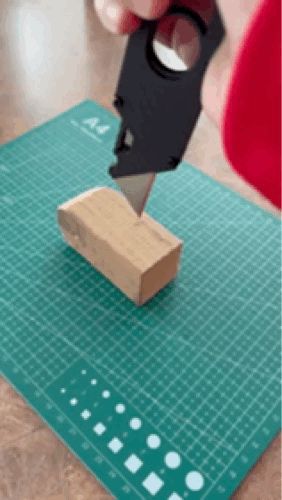
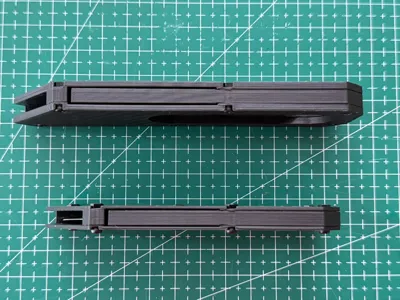
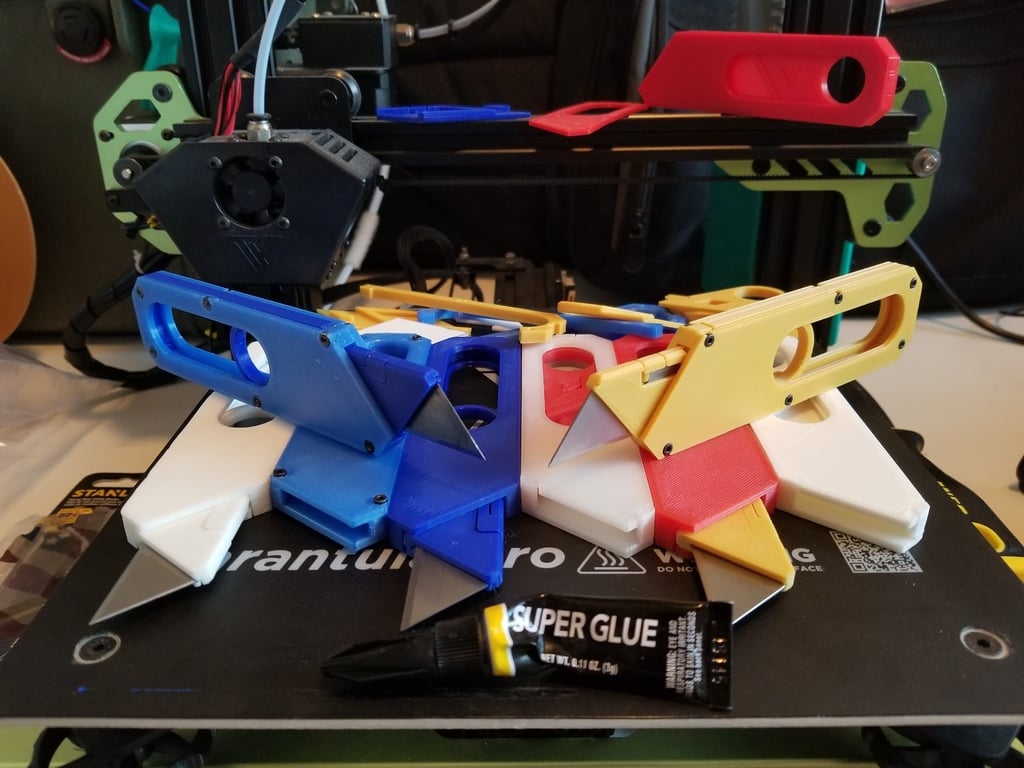
Finally, my screws arrived, and I got to assembling it. I was amazed at how close it resembled the original, Maker Knife! Including the strength of the locking mechanism! See the animated gif of me driving it into a scrap piece of wood. You can see the force by how the knife wiggles afterwards. The mechanism to release and lock the blade appears to be more sturdy, and the design is very clever (cudos to @3D_Cre8or). However, I felt it was too bulky to carry around. See pics for comparison between the original by 3D_Cre8or, and this remixed one.
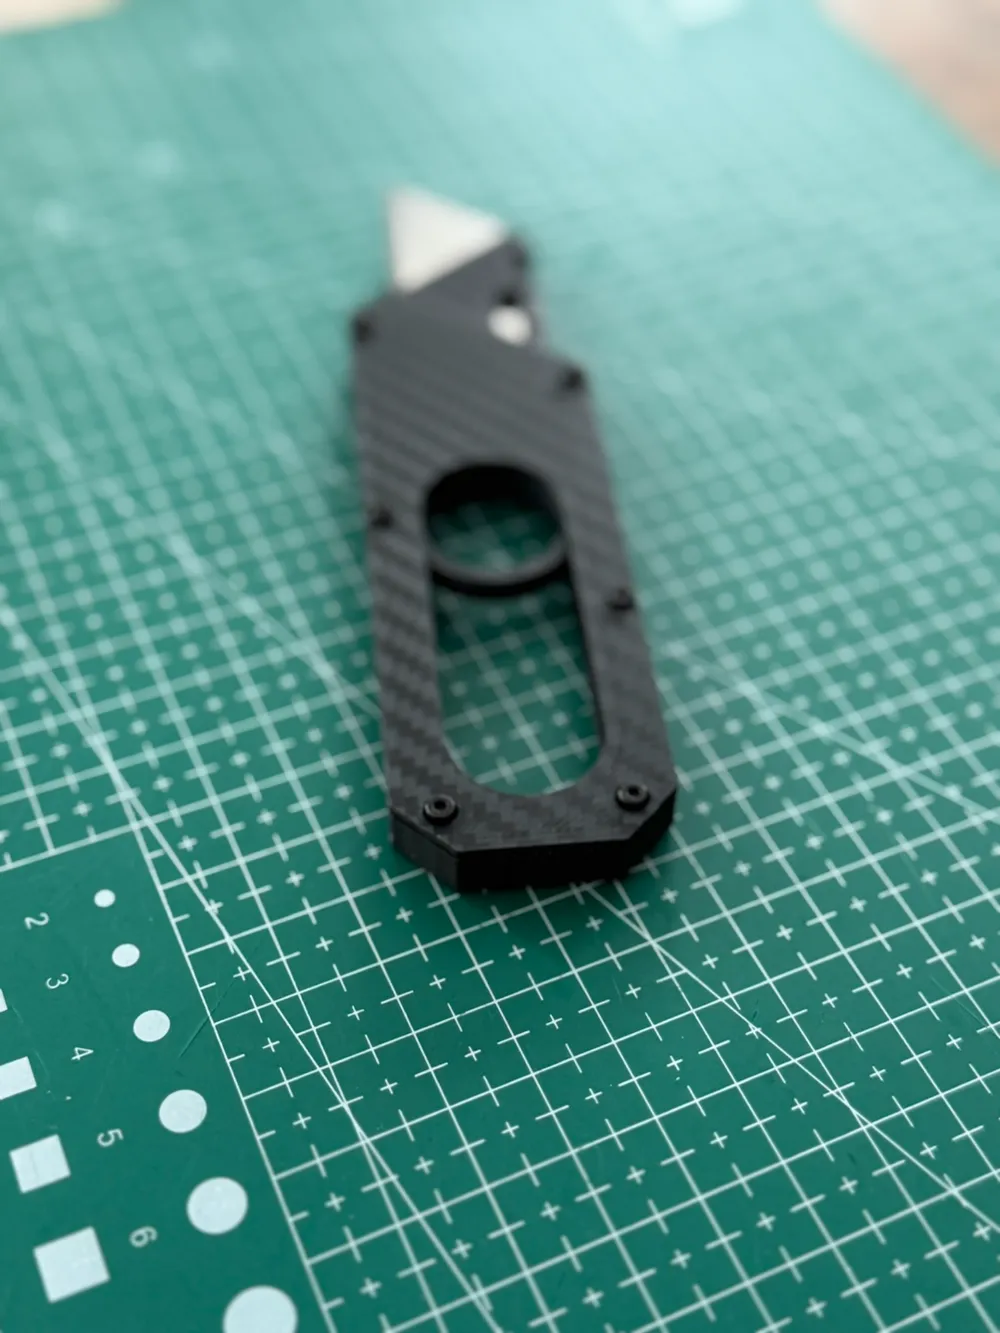
So I present to you my remix of 3D_Creator's Maker Knife, the Tinker Knife. It's been resized to match closer to the original Maker Knife by Giaco. This made it much more compact to hold and carry around. I also didn't like the idea of super gluing the blade carrier and cover together, so I made it press fit. This way all components can be “serviced” and tinkered with. More inline with a Maker's preference.
Like the original, the screws tensions can be adjusted to your preferences.
Requirements:
- 6 x M2x8mm bolts (choose head style you prefer - I like the socket head look for this knife)
- 6 x M2 nuts
There are the nuts & bolts I purchased: Amazon link They came with 4 small hex keys which was a nice touch, and enough to place around the workspace when need adjusting.
I'll provide some links from Maker Supply for your reference. Just use any M2 bolts.
Printing details:
- No supports
- Original creator recommends 100% infill; but I've been fine with 15%
Assembly Instructions:
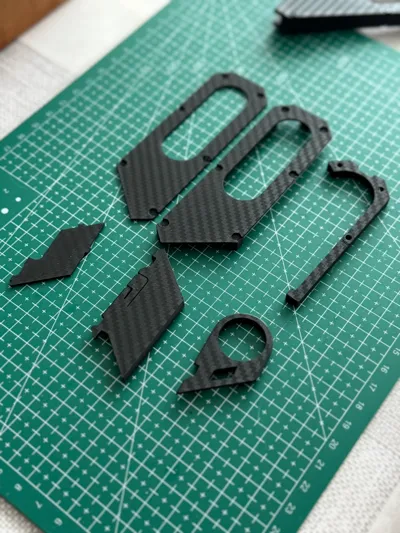
- Press fit the Blade Carrier and Blade Cover
- Slide standard utility knife into the carrier (The wedge+lever can be flexed back to help slide in the blade, as well as remove the blade)
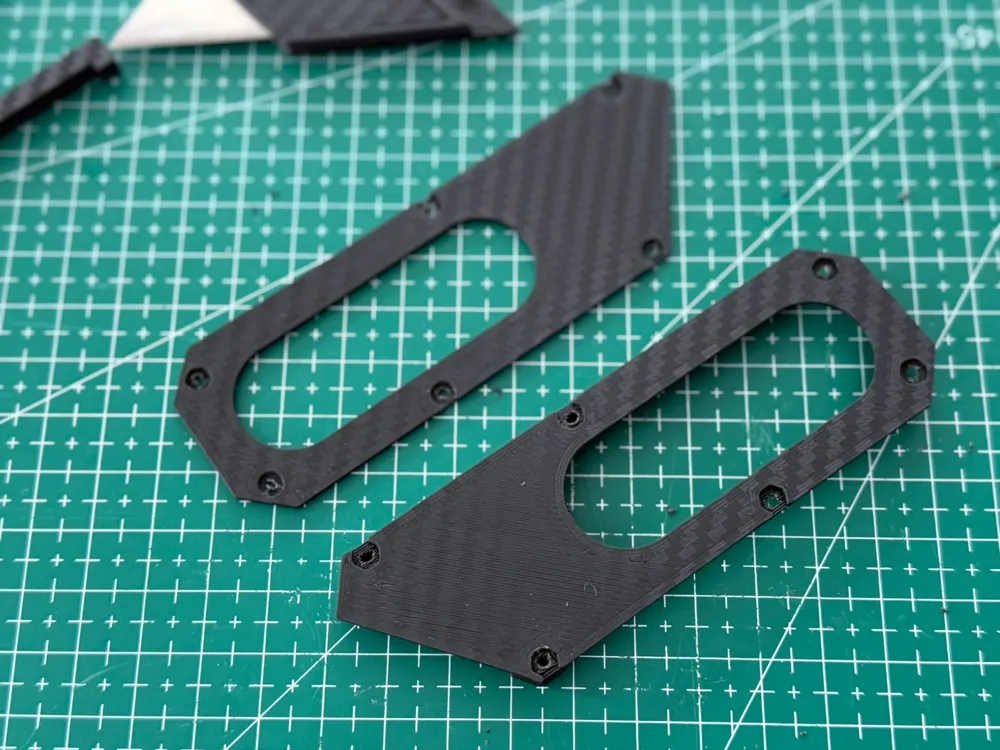
- Using the mini knife assembled in step 2, pierce the small overhangs in the screw holes in both the Top and Bottom Handle Covers, slightly, and then twist in a circle to widen the hole as much as you prefer. Careful not to cut it all out otherwise there's nothing to hold the plate on
- See my pic for how large I made my holes, I prefer some resistance, this way when I tinker and dissassmble, the small screws stay in place, as opposed to falling all over the place
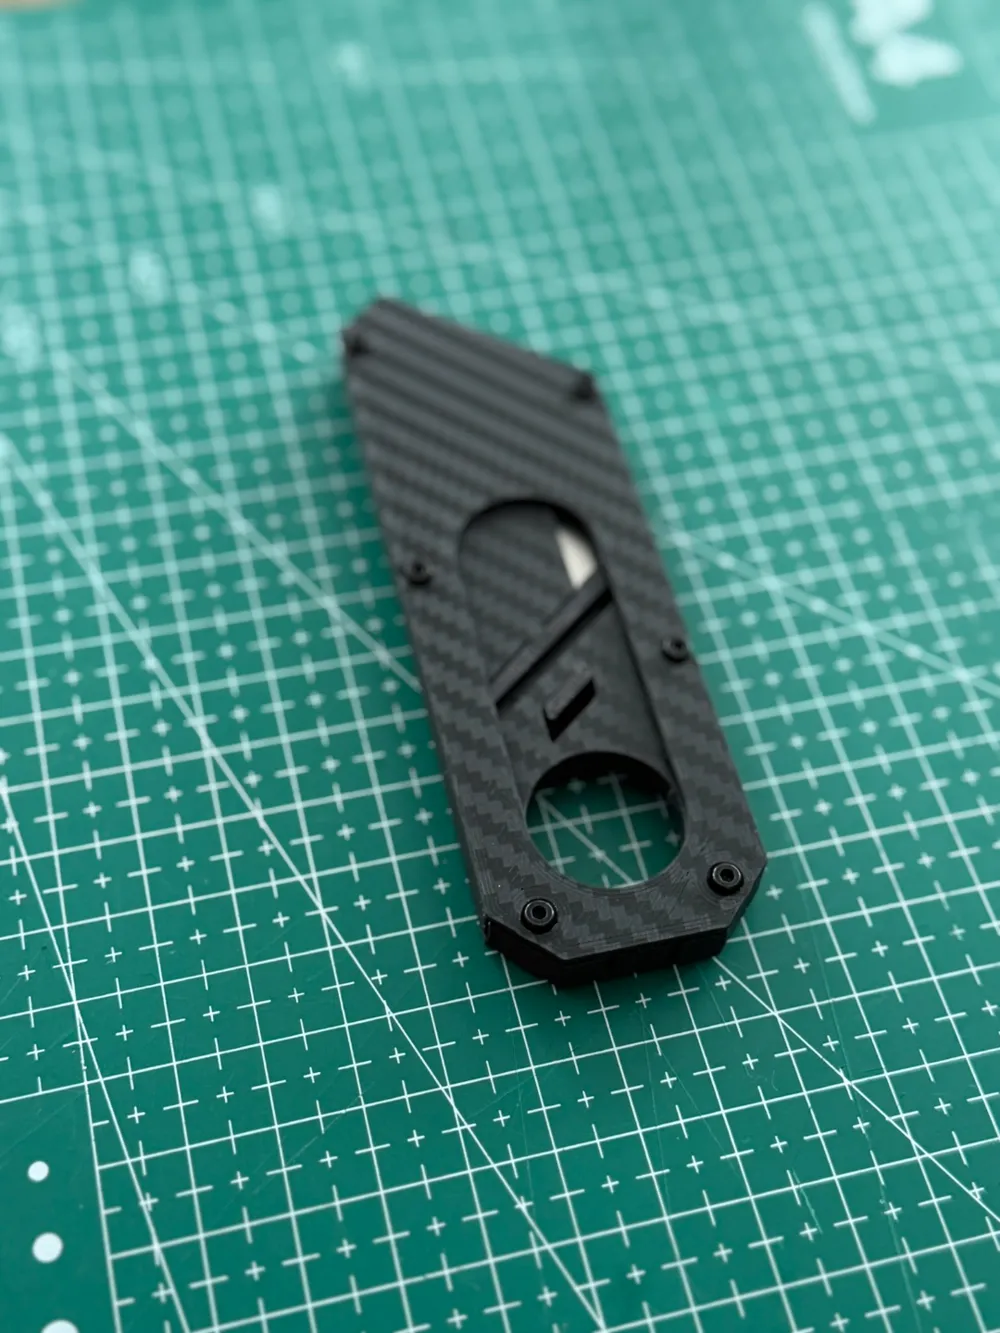
- Sandwich the Latch between the Top and Bottom Handle Covers
- Insert the bolts through the circular cutouts on the Top Cover
- Place the nuts in the hex shaped cut outs on the Bottom Handle Cover
- Gently tighten screws
- Place the Ring Slider onto the assembled Blade Carrier, align the cut out shapes
- Slide the blade carrier into the handle; make sure that the top of the blade carrier is aligned with the short side of the handle (where the L-shaped latch is
- Now slide it back and forth and adjust the screw tensions to your preference
- Enjoy!
Note, to remove the Blade Carrier from the Handle, I usually slowly push the blade forward from the closed position until I see the Latch raise itself; then I use my fingernail to hold the latch out, while pushing the Carrier all the way out, then you can take it out.
*** Disclaimer: This is a sharp instrument, use proper care and caution when handling and assembling! ***
This remix is based on
License



Comment & Rating (41)