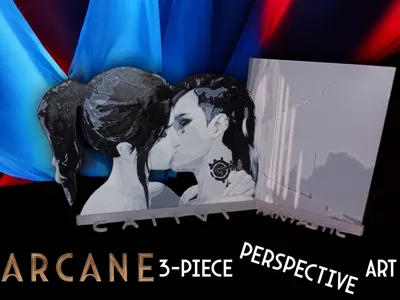
Arcane - CaitVi Fantastic Kiss (Cropped version)


Print Profile(4)


Description
Note: This is a height-cropped version which trims some of the artwork for obvious reasons. You can get the full height version if you pass the content warning here: https://makerworld.com/en/models/1050481
I redrew and reassembled this scene of Caitlyn and Vi from Arcane Season 2 Episode 8 to create a perspective-enhanced art stand using 3 separate parts. Each part is required if you want to assemble the entire display:
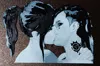
- Part 1: CaitVi Fantastic Kiss
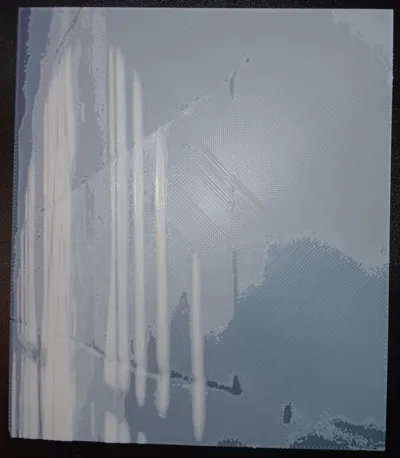
- Part 2: Background Wall
- Part 3: Art Stand*
*The stand is available in the Fantastic version or a Minimalist version. Both are perfectly stable and the text is just for fun, so pick whichever looks best to you.
Of course, if you just want to print Part 1 for its own display on the wall that will also look great.
Each .3mf file has all settings required built-in, just set your filaments to match, then slice and print.
Filament I used: PLA Overture Black (TD 0.7) and PLA Polymaker White (TD 5.0)
The white filament should have a TD between 4 and 6 to replicate the shading in my pictures. My stand was printed in a light grey since it worked best for the pictures, but anything that compliments the art along with your display location will look great.
- Build Instructions:
- The art pieces are meant to be a tight fit in the stand so that they sit flush with the backing. Angle each piece into the corner and it will press into the stand more easily.
- Place the background into the stand first to make assembly easier.
- Display it somewhere and feel fantastic.
Boost Me (for free)
I have so many more CaitVi ideas to print!
License
You shall not share, sub-license, sell, rent, host, transfer, or distribute in any way the digital or 3D printed versions of this object, nor any other derivative work of this object in its digital or physical format (including - but not limited to - remixes of this object, and hosting on other digital platforms). The objects may not be used without permission in any way whatsoever in which you charge money, or collect fees.
Comment & Rating (8)