
Fume extractor for soldering station
Print Profile(1)

Bill of Materials

Description
Disclaimer:
No amazon links provided. If you don't know how/where to buy parts or what those parts are, you shouldn't do this project.
Information, project, instructions and circuit are provided “as is” with no warranty.
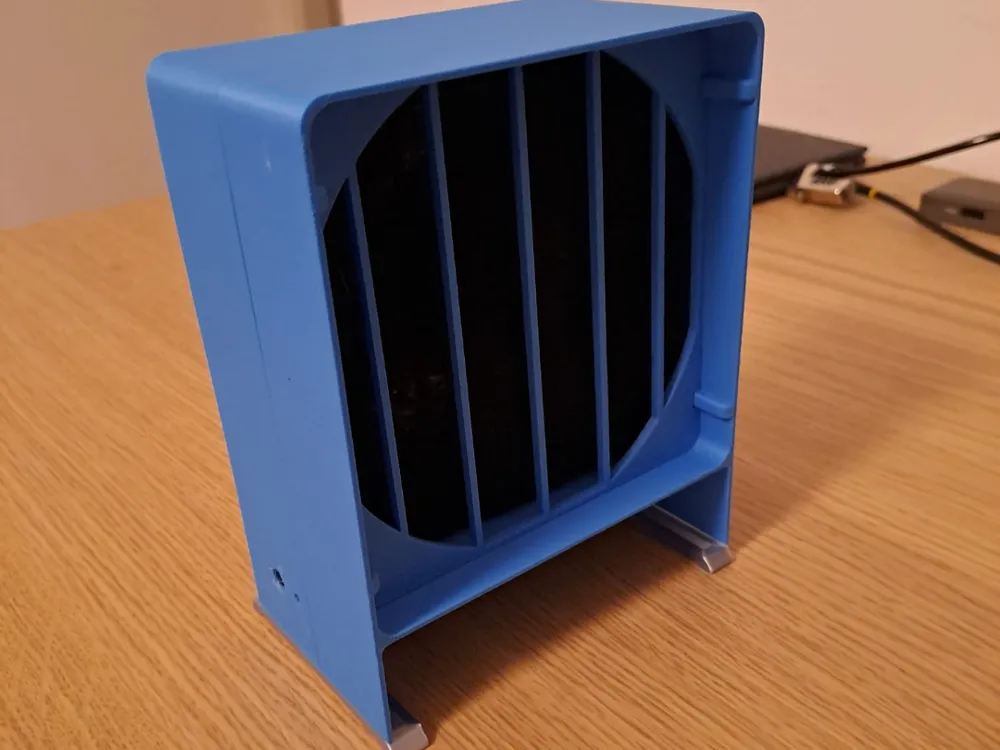
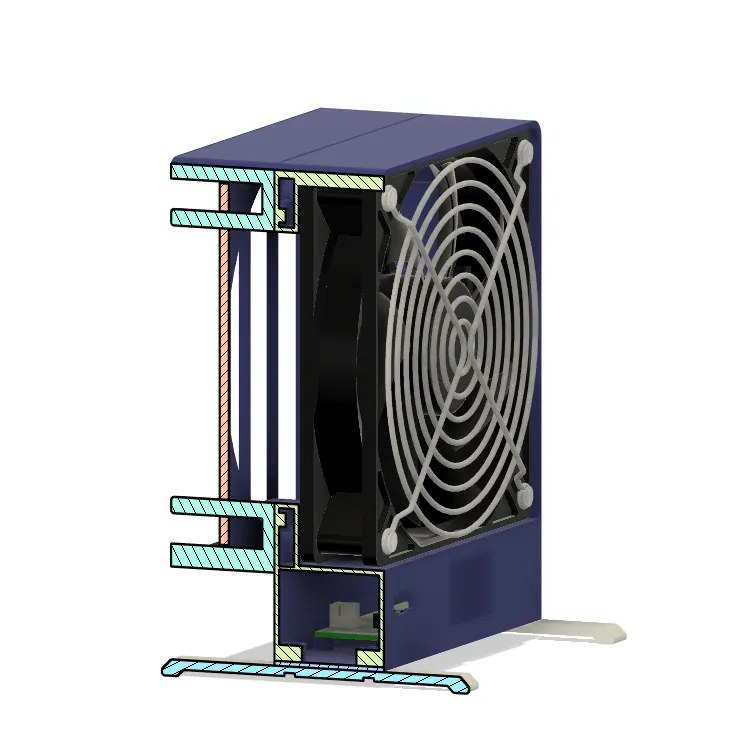
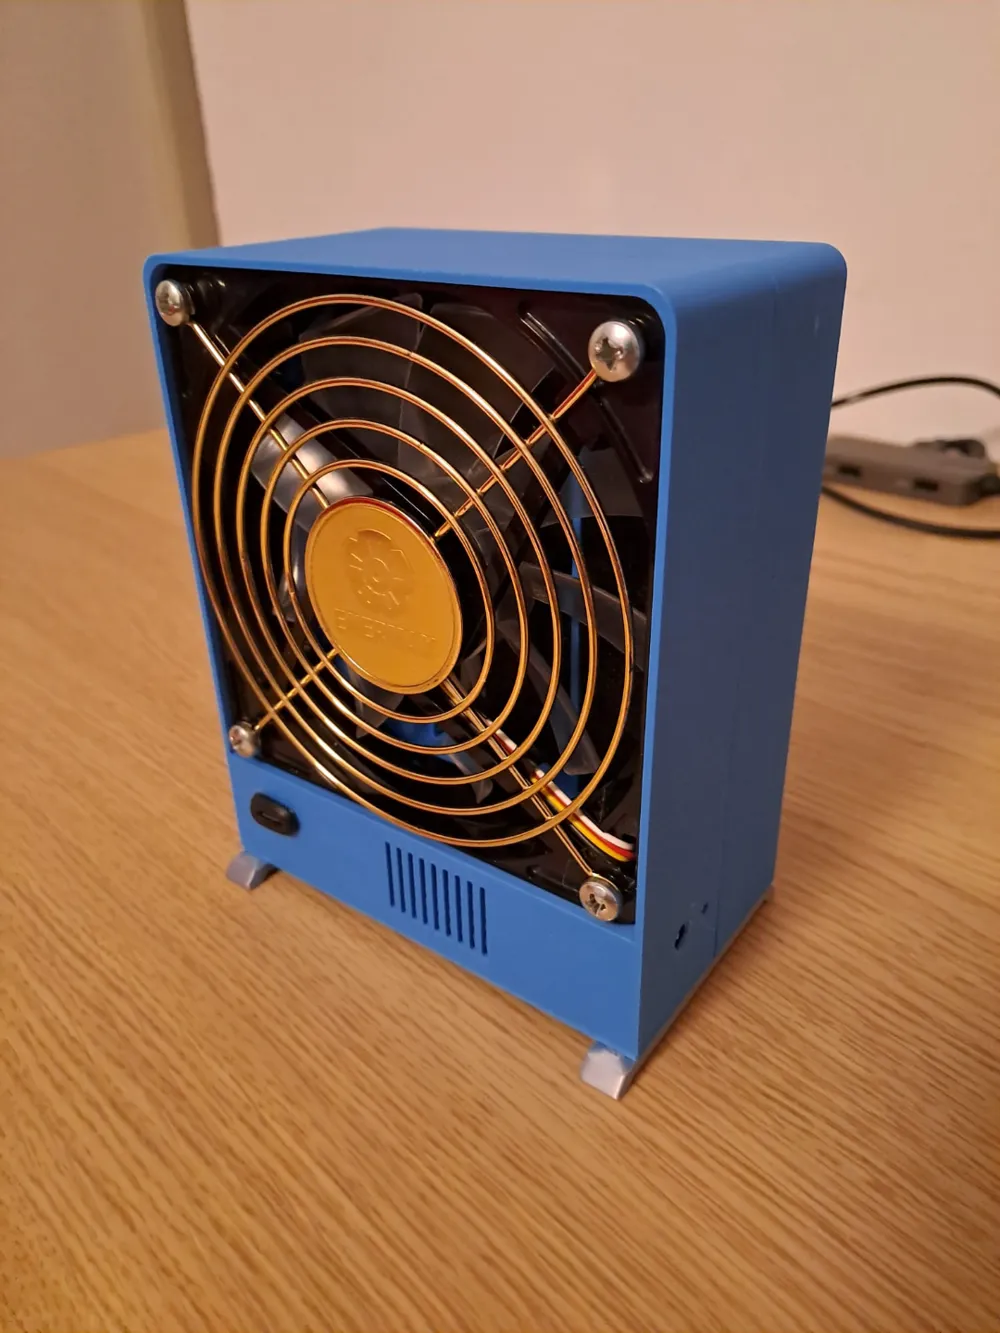
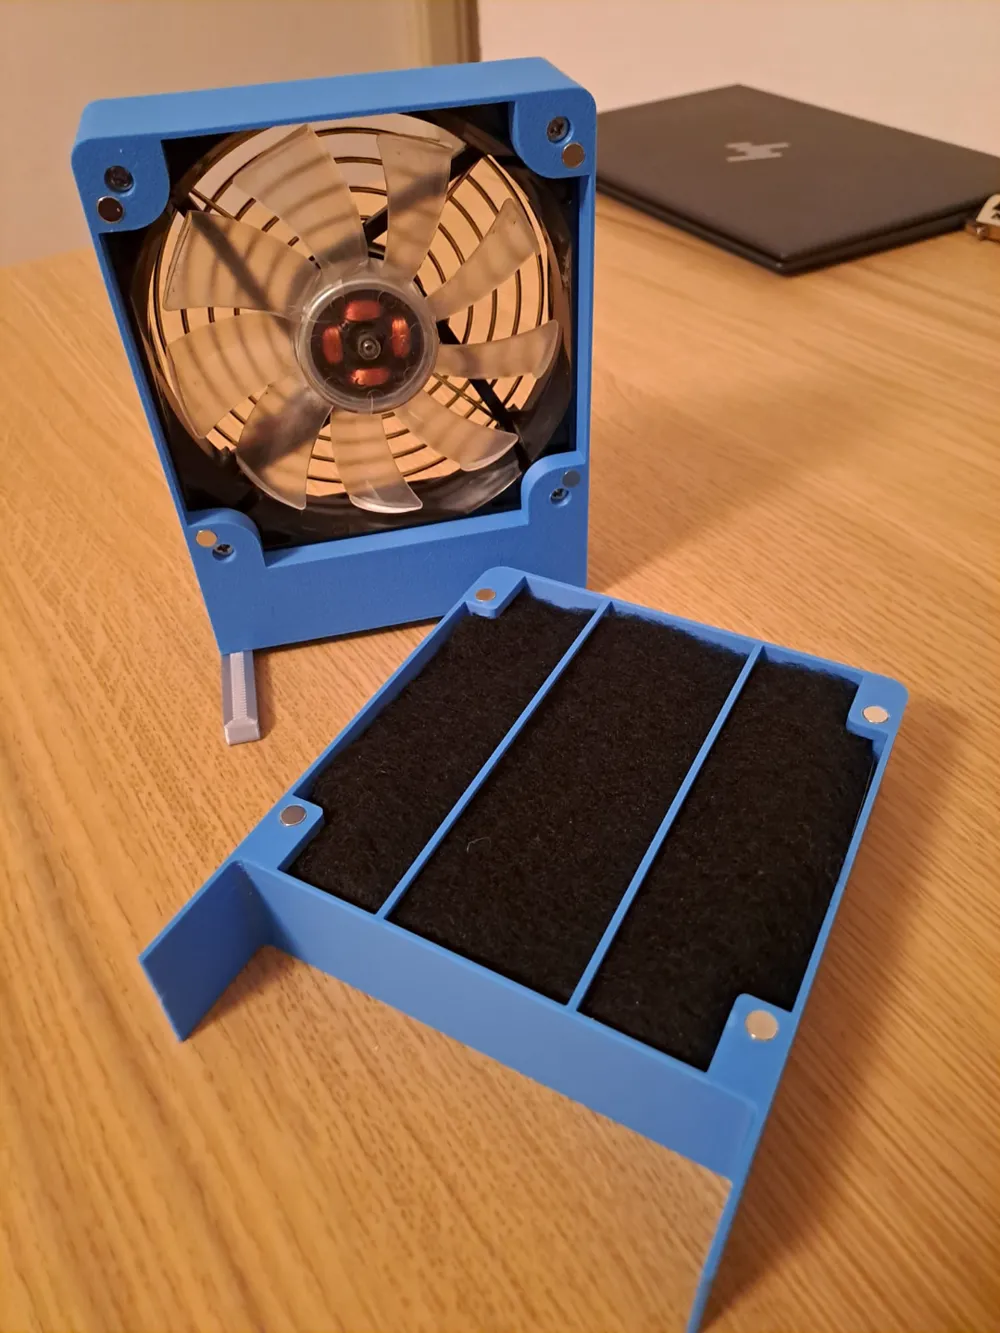
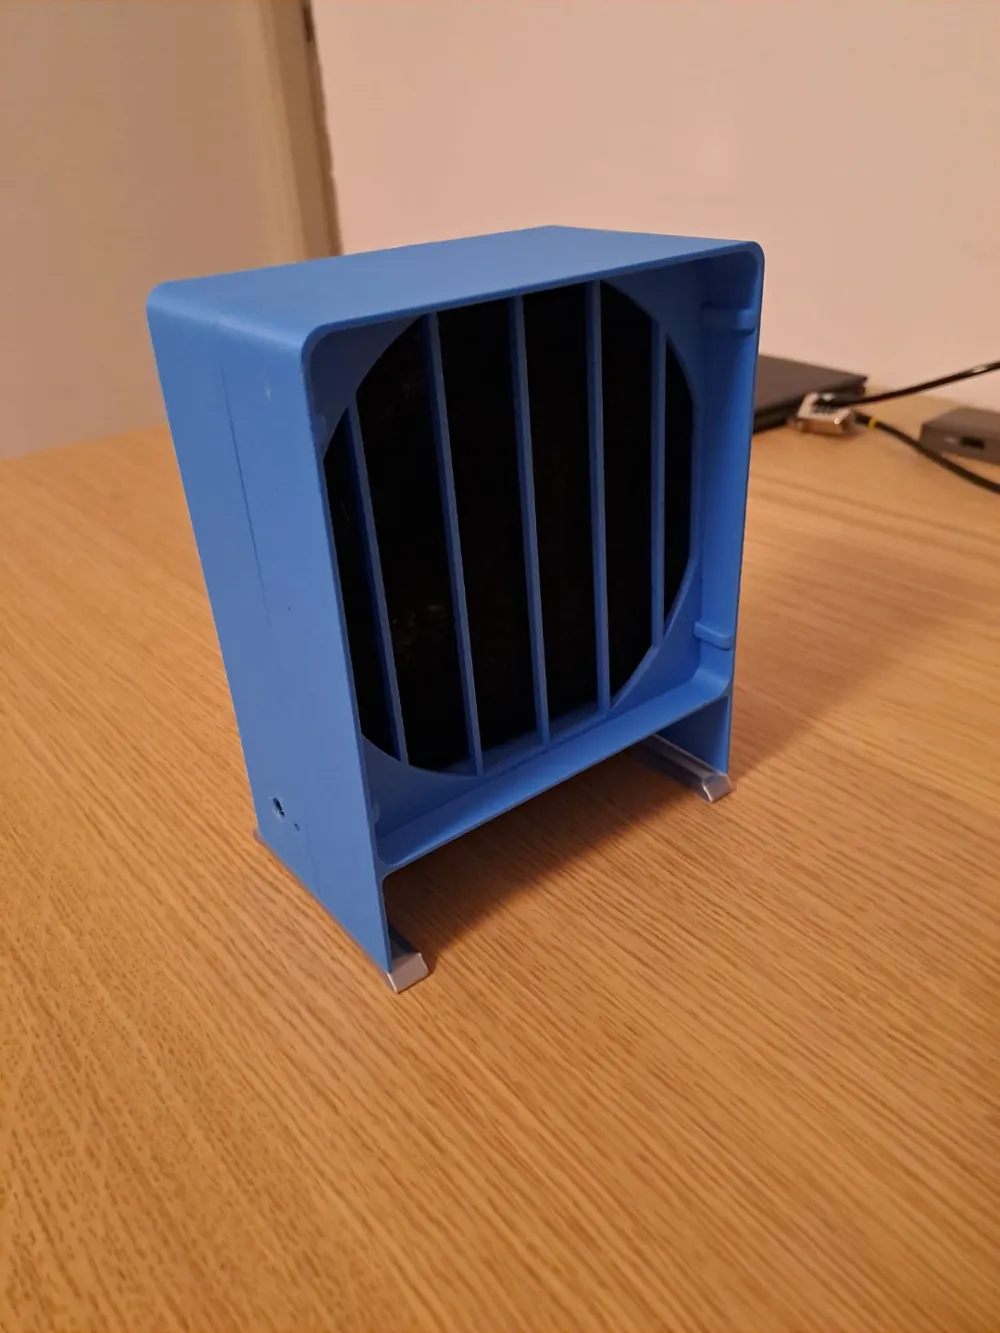
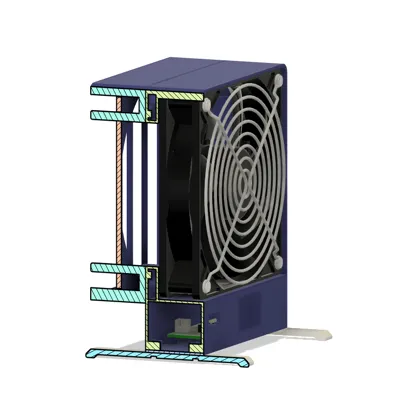
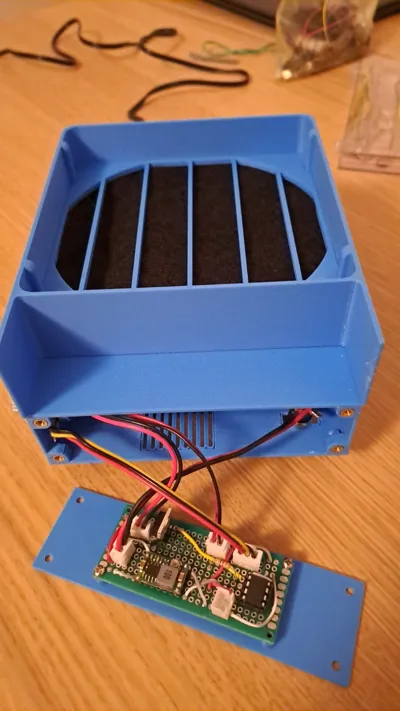
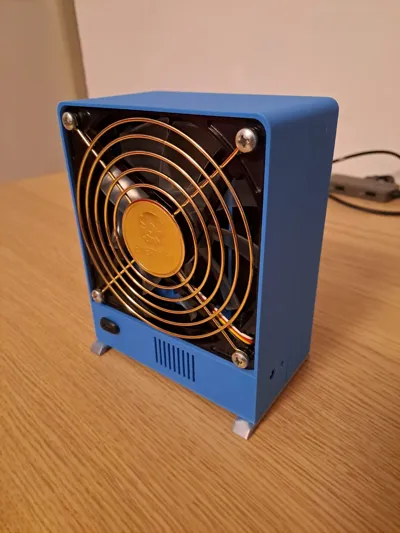
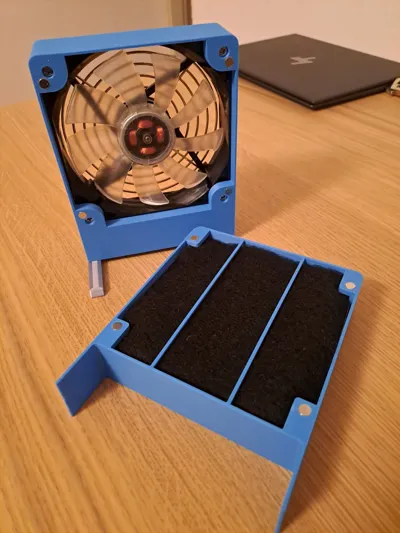
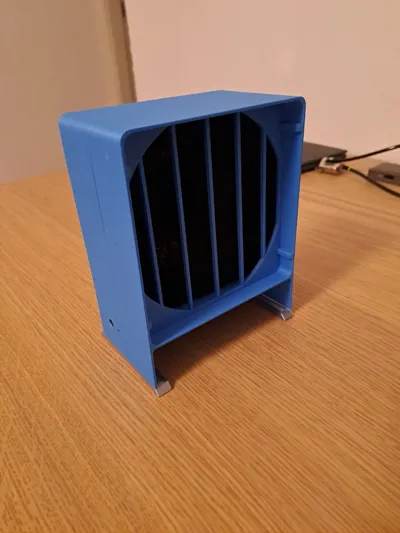
This is a powerful fume extractor for a 120x120mm fan controlled in PWM via an ATTiny micro-controller.
Please note: first version.
- You may need to adapt the DC-In connector plug hole and potentimeter knob depending on specific components you have.
- Please check inserts diameter and adjust holes if needed in the source Fusion360 file. Mine are M3x5mm length and about 5mm in diameter.
Additional note on the circuit:
This was initially designed to use USB-C power in and a DC-DC boost converter. If you do so you should be aware of the max current you can get with 2 wires cheap chinese panel USB-C female connectors (0.5A) which is not enough to power the fan.
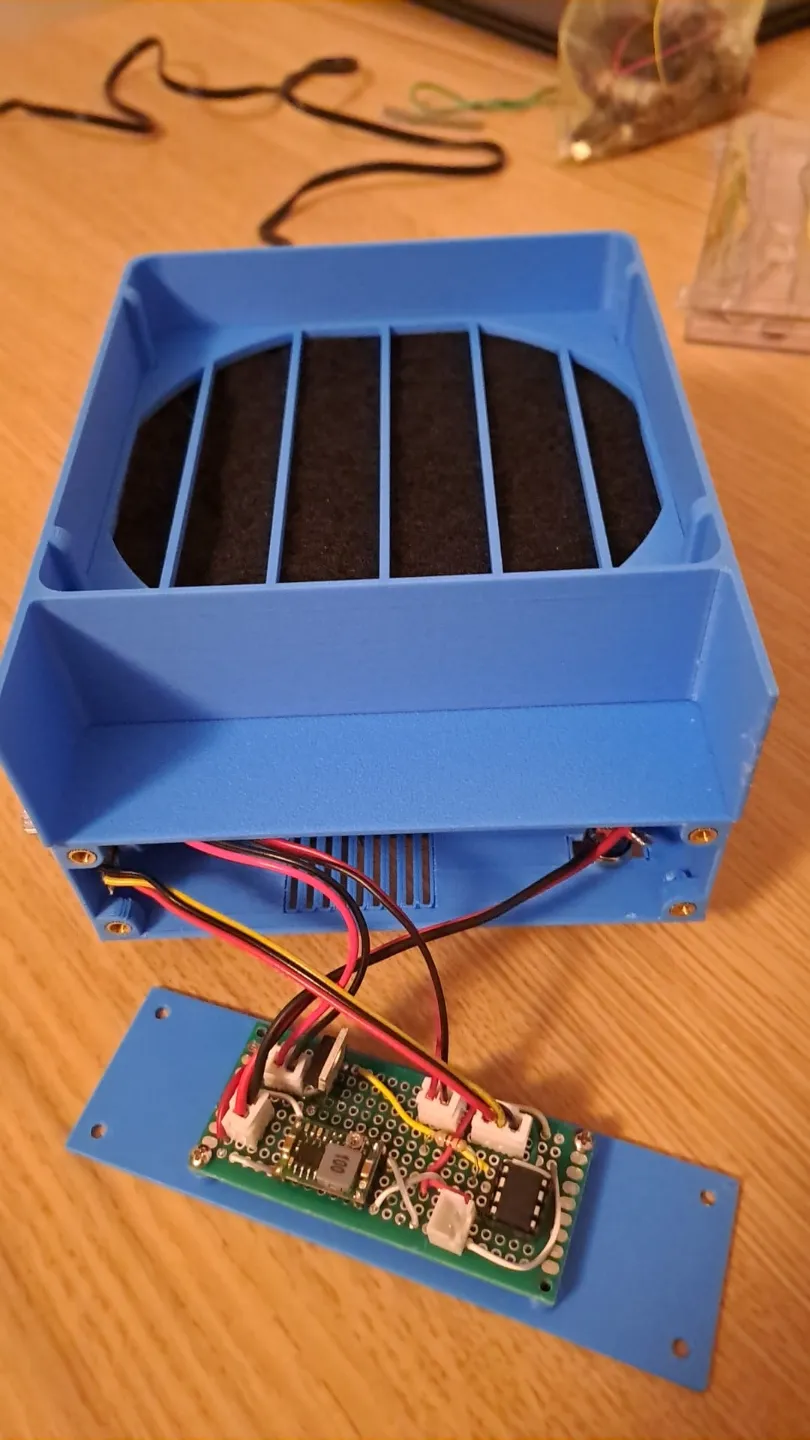
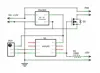
I simply switched to a barrel DC-DC connector and 12V power supply and changed the circuit as you can see here.
However, there are instructions in the Web and specific connectors to allow you to draw enough current from the USB-C. Do it at your own risk :)
Qty Description
1 30x70 mm prototype board
1 8 pin DIP socket
3 2 pin JST male board socket
3 2 pin JST female plug
1 3 pin JST socket
1 3 pin JST female plug
1 "Mini360" DC-DC converter (given currents a LM7805 without cooling should be OK)
1 ATTiny85
1 10 kOhm potentimeter
1 220 Ohm 1/4W 5% resistor
1 IRL540 or similar logic-level power mosfet (overkill but does not require cooling)
1 3mm led
1 120mm fan, like Sunon MEC0381V1-A99 12V fan (or any other 12V, 10W fan with good static pressure (>6) and air volume (>200m3/h)
1 Kitchen fume hood activated carbon filter
4 M3x5mm press-fit inserts
4 M3x10 screws
2 M1 screws for board
8 6x2 neodimium magnets
8 PC fan screws
1 120mm fan guard grille
Wires (at least AWG 22 for wires from power supply to fan and mosfet
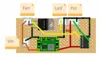
Schematics in Fritzing and Arduino IDE sketches are provided in the zip.
You will need something to program the ATTiny85, e.g. Arduino and jumper wires plus a breadboard.
See: https://www.instructables.com/How-to-Program-an-Attiny85-From-an-Arduino-Uno/
Documentation (3)
License



Comment & Rating (2)