
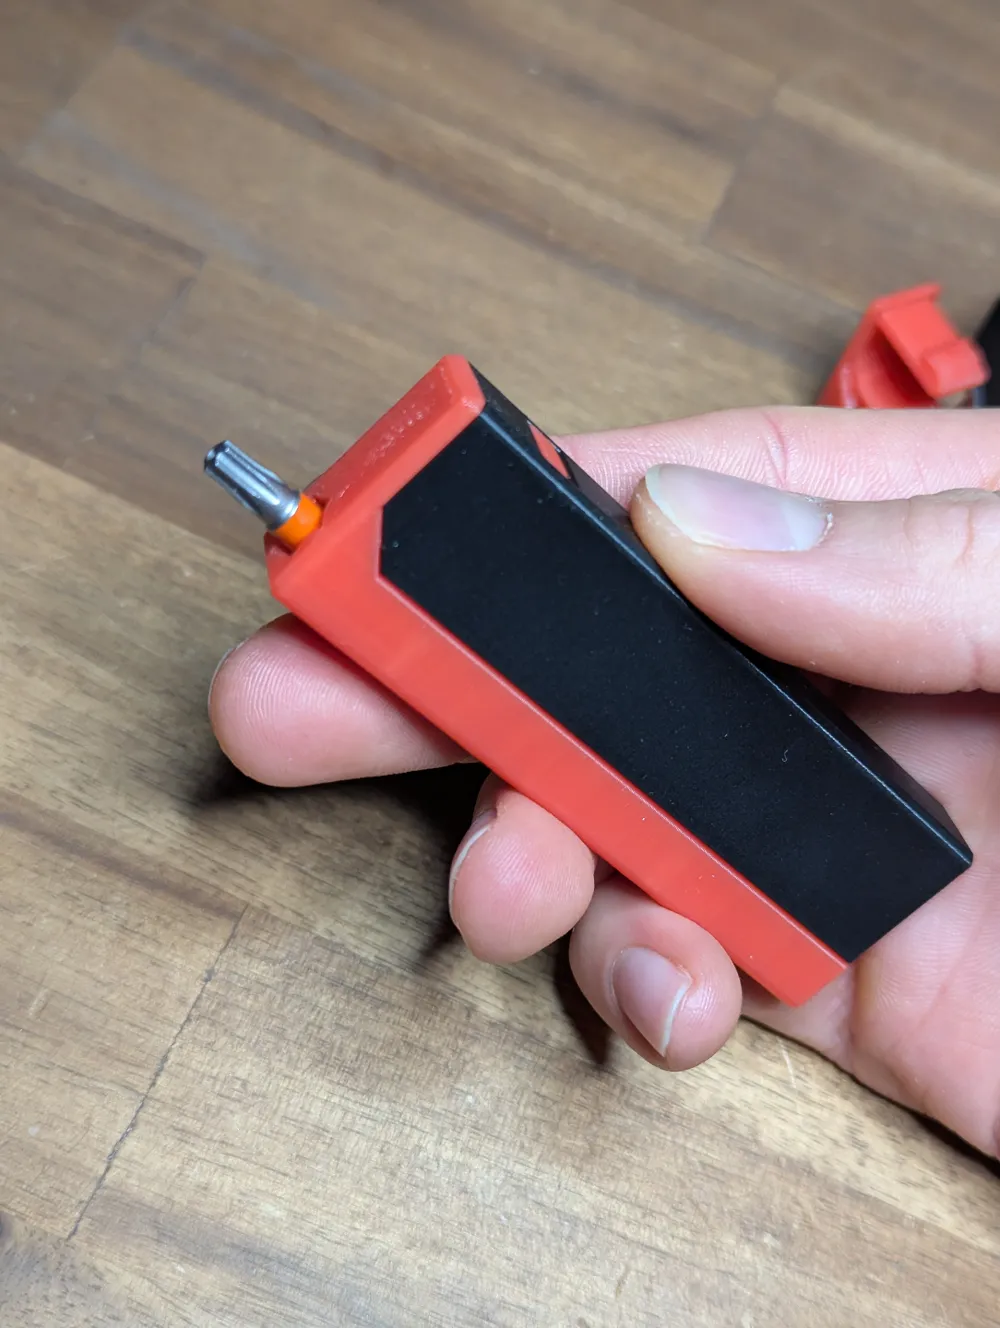
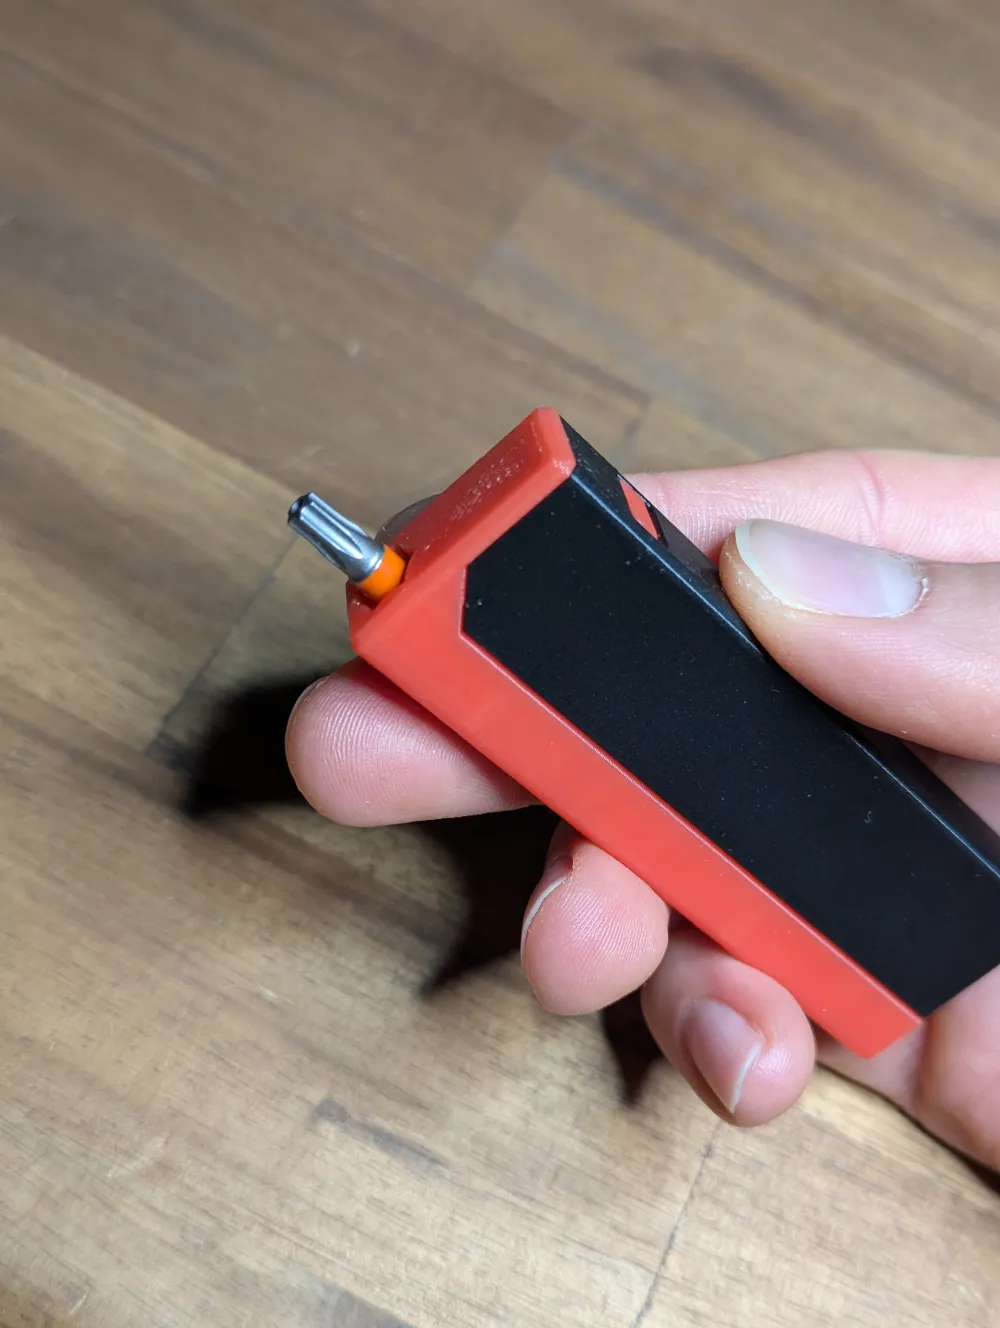
Tiny Pocketable Screwdriver

Print Profile(1)

Description
NOTE: To download the other Bit-Version, click on “Get STL/CAD Files” and choose the version you want!
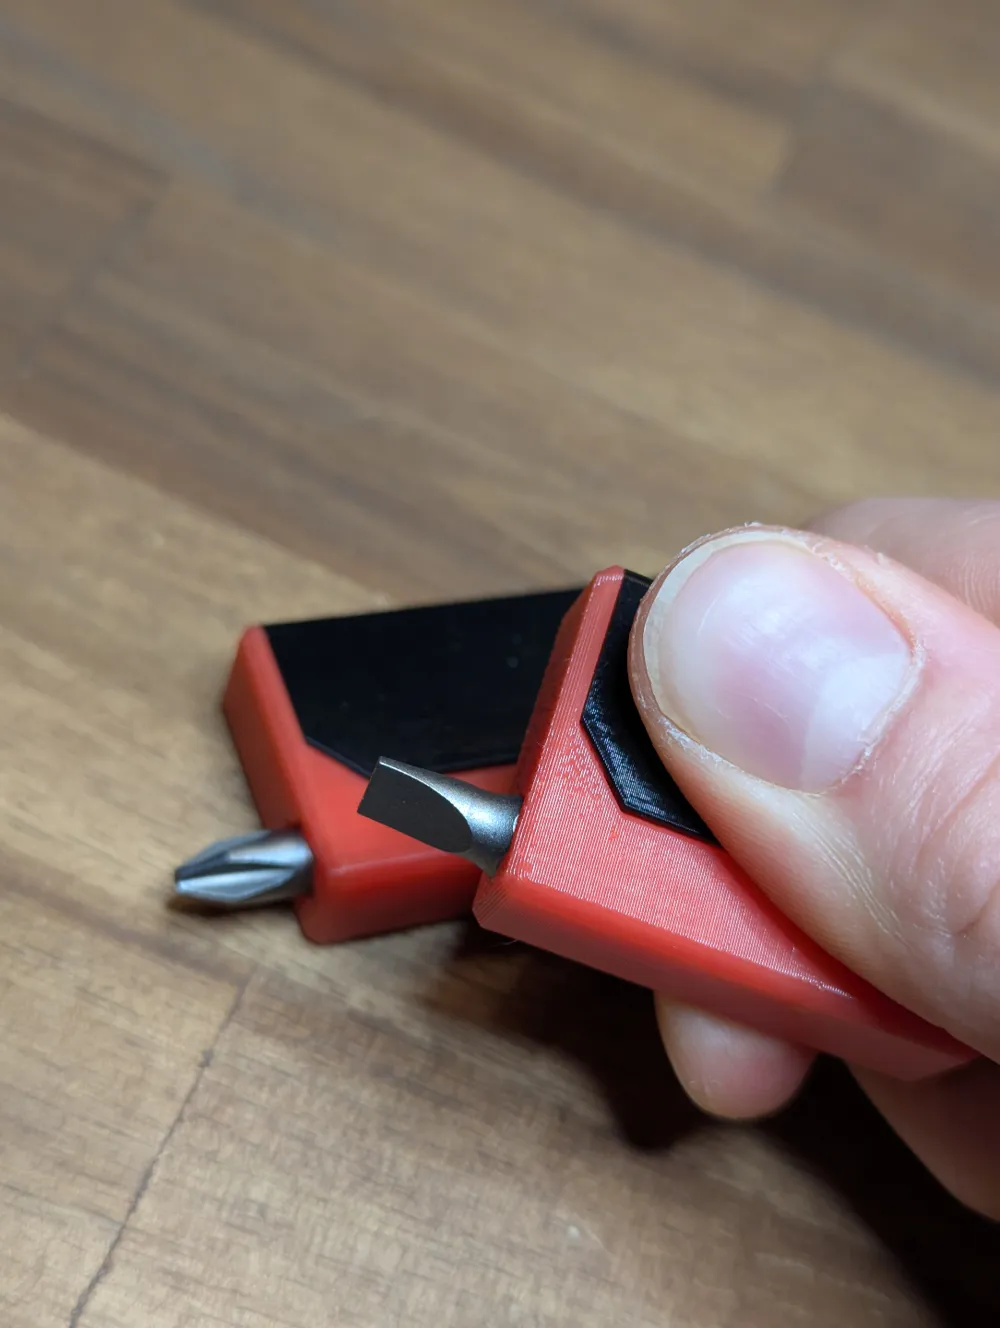
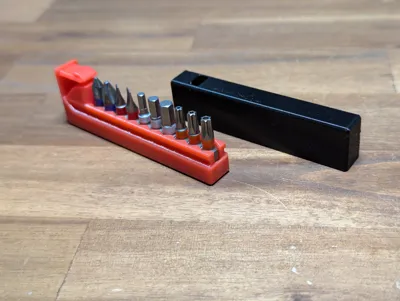
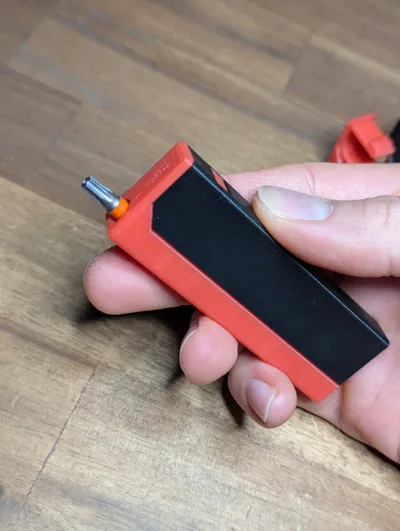
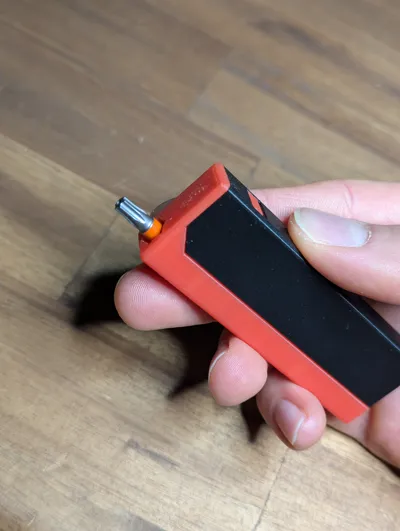
I wanted a tiny pocketable screwdriver with the following features:
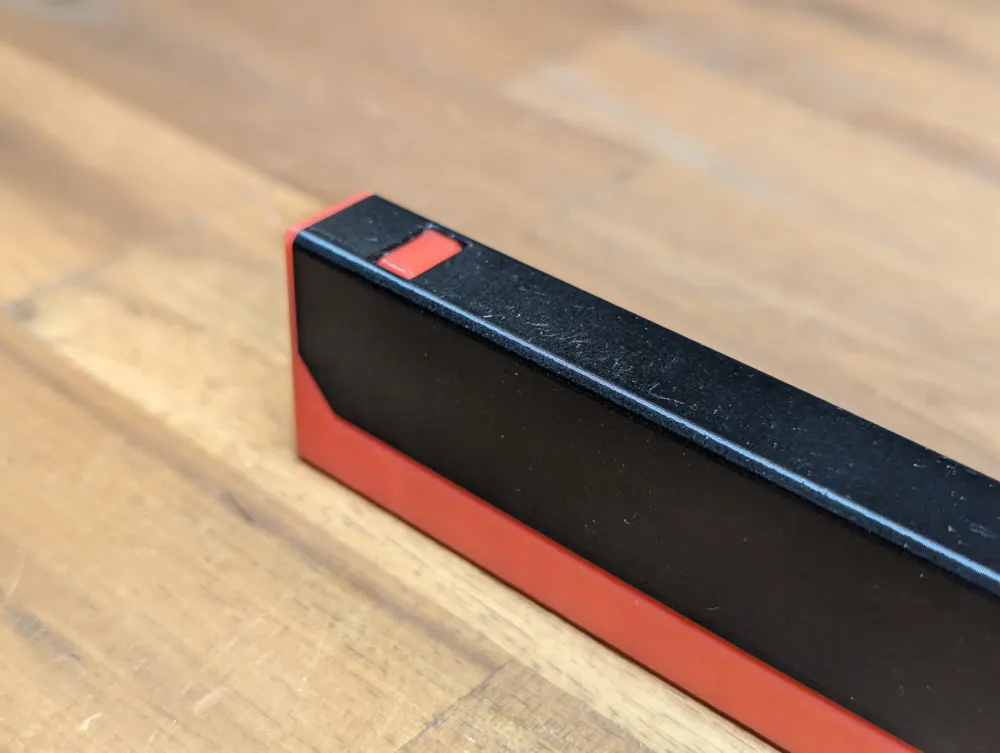
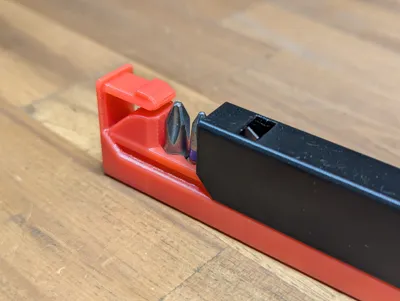
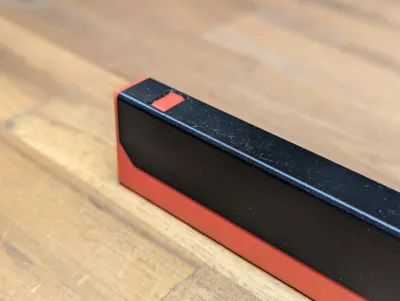
- no unused volume, as compact as possible
- lightweight
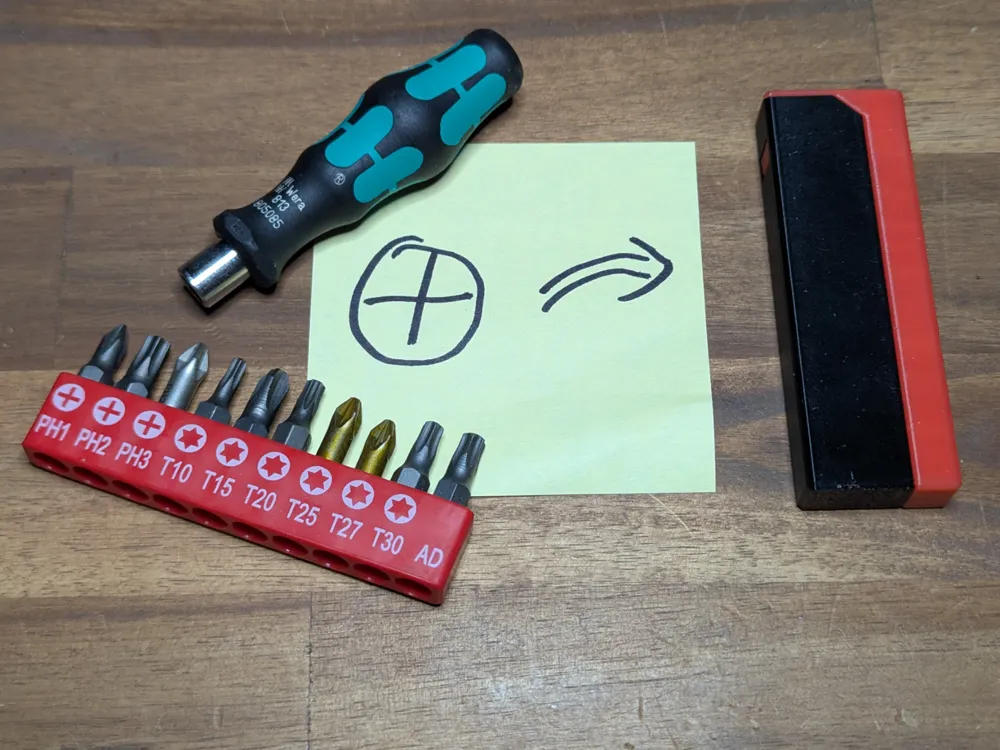
- uses standard hex-bits
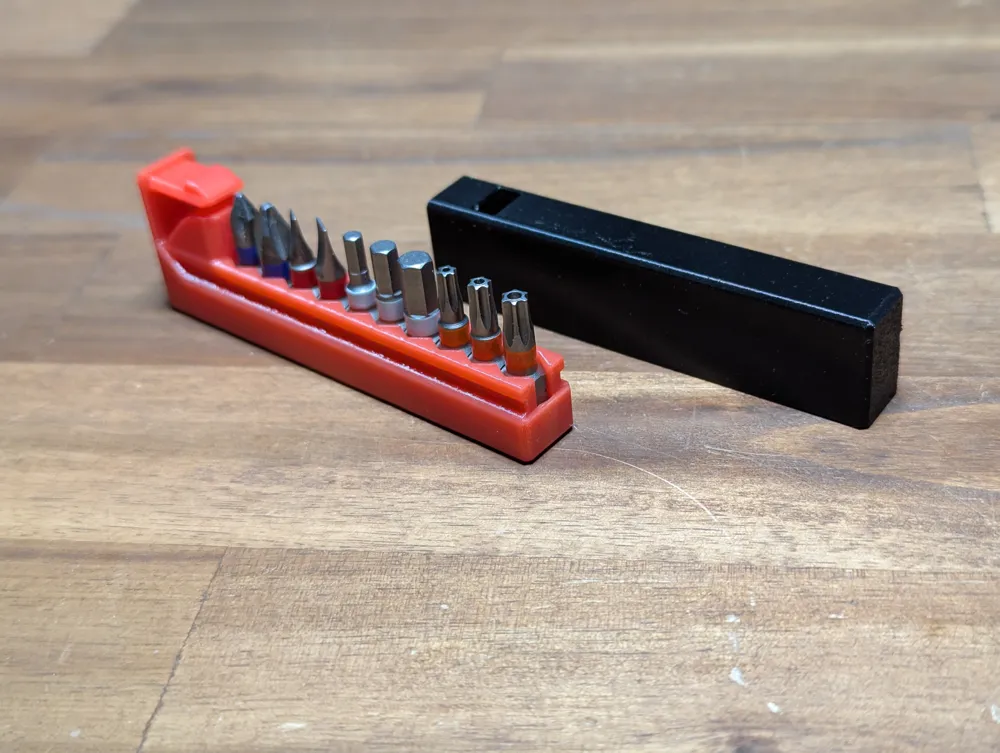
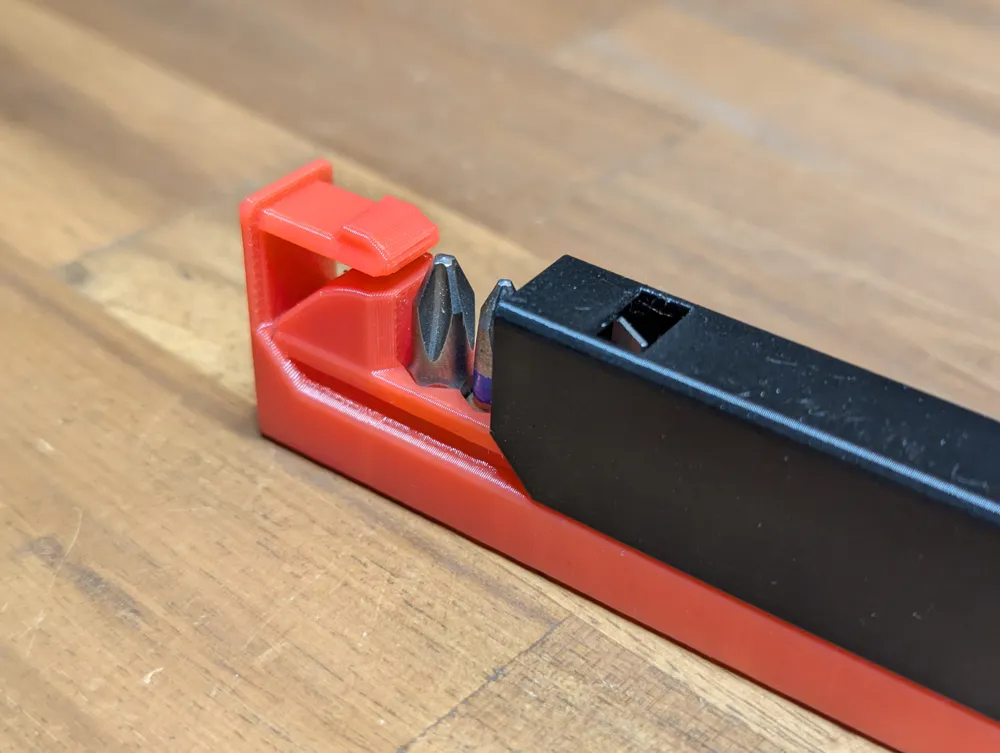
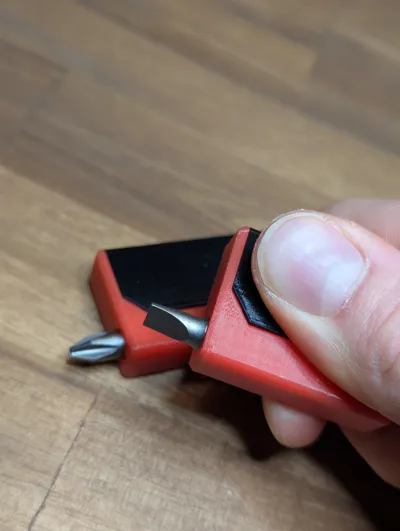
- securely stores the bits, so I don’t lose them or get poked when carrying them in my pocket -> suitable for everyday-carry (EDC)
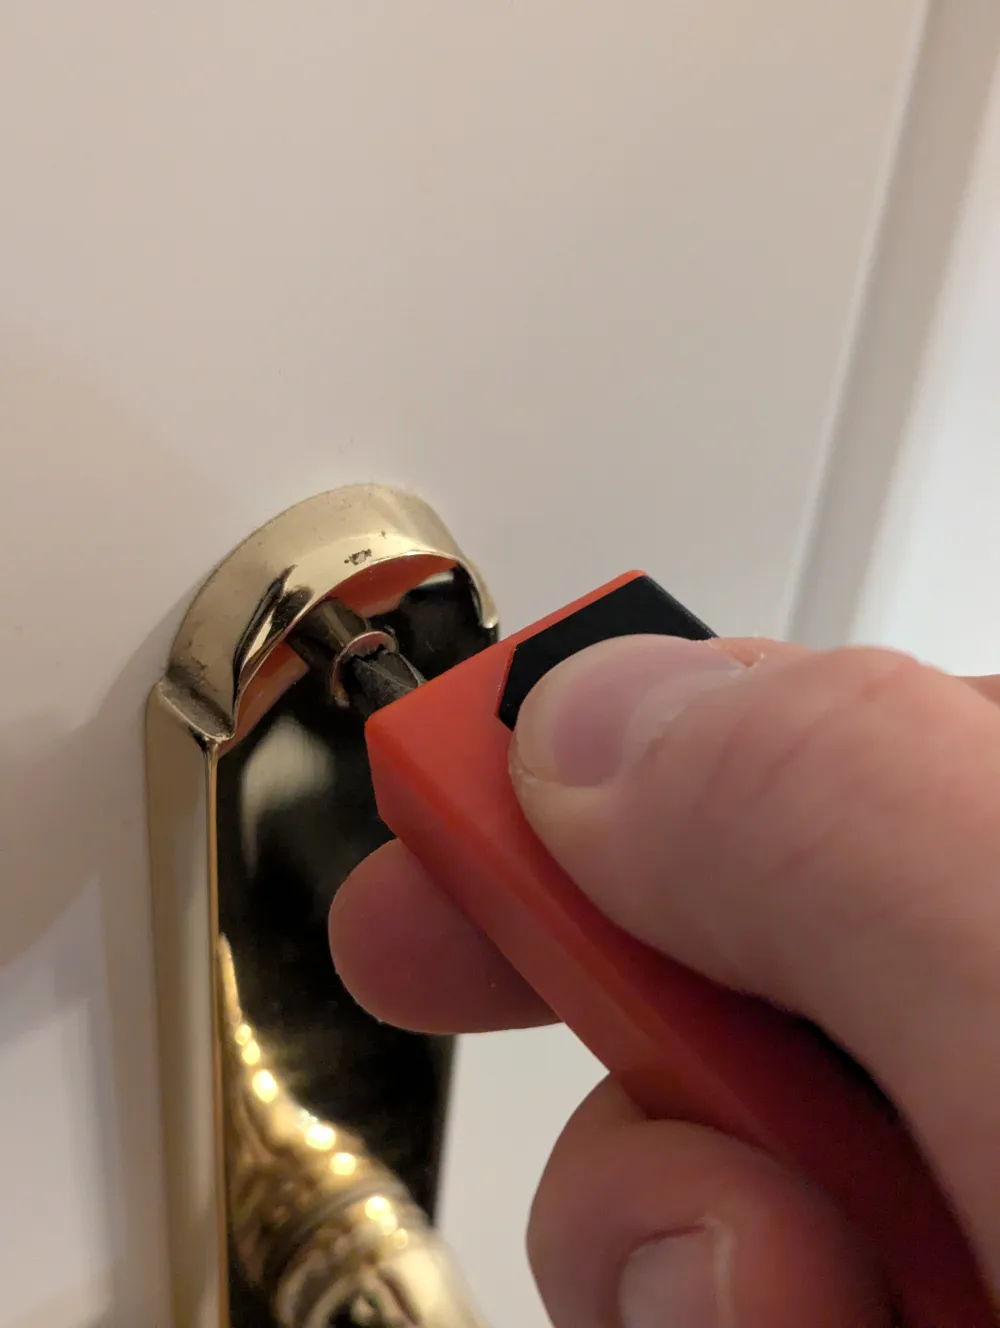
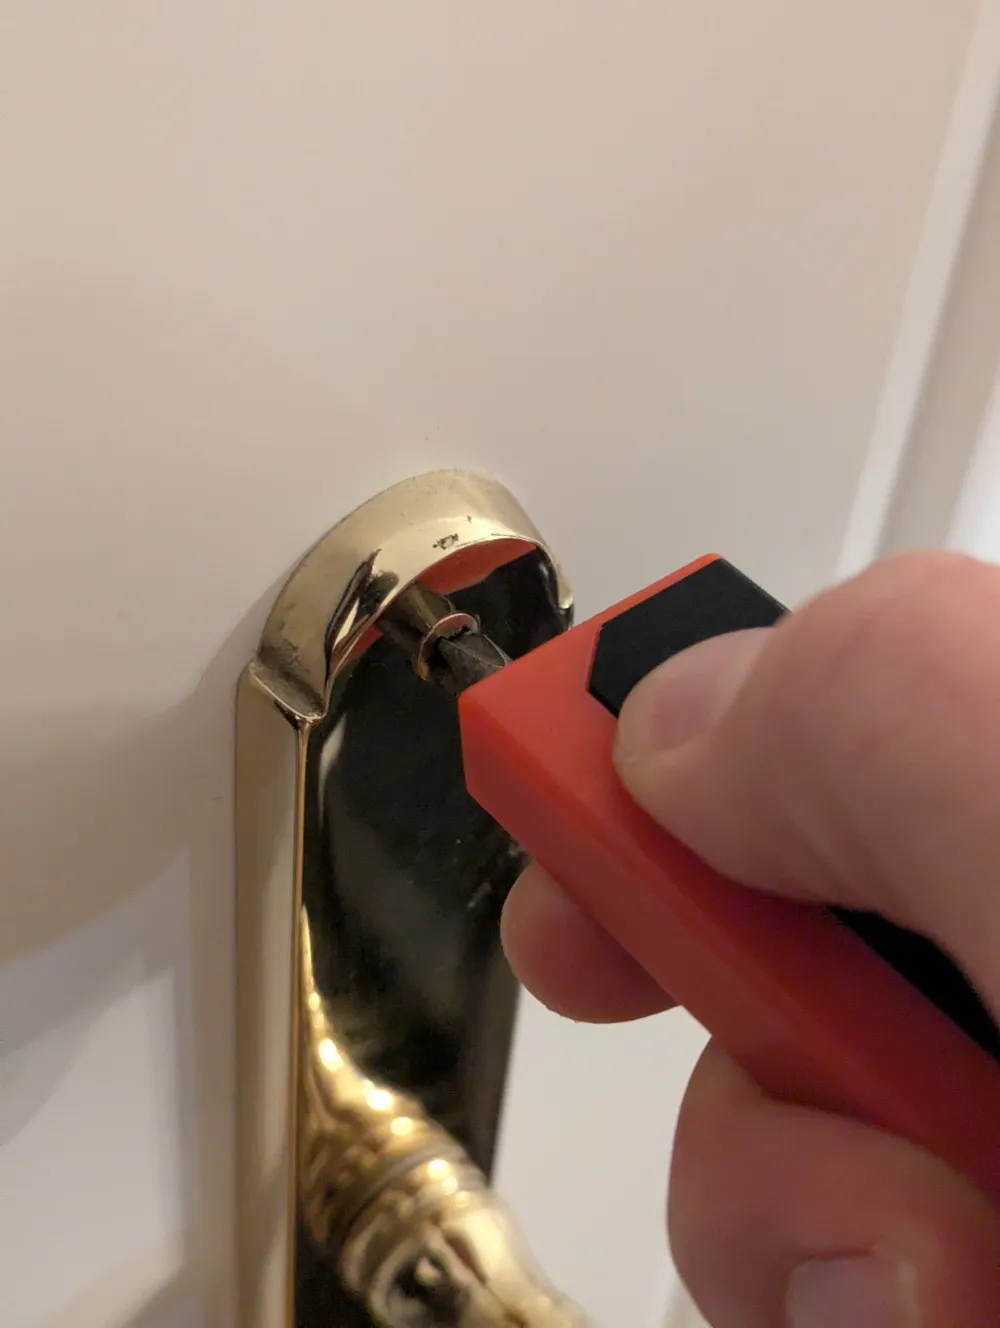
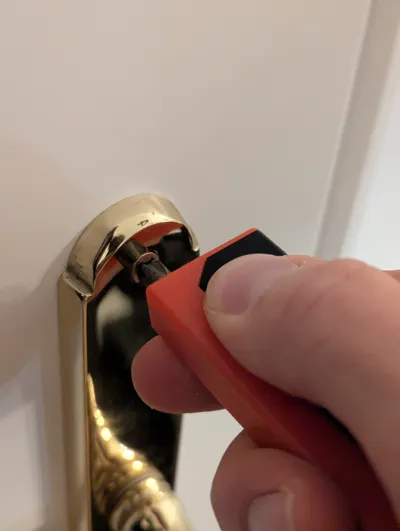
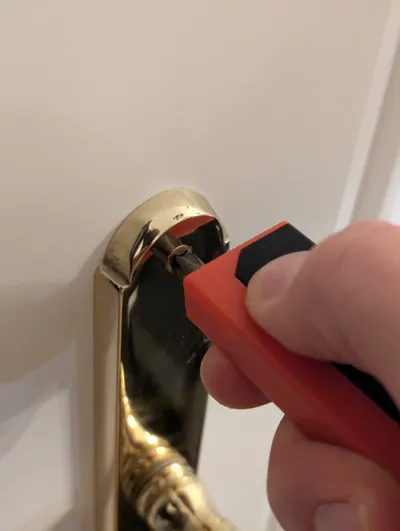
- should achieve similar torque than a regular small screwdriver (~5 Nm)
I designed the screwdriver to be printed easily without supports and no post processing. The only optional hardware you can use is a 6mm magnet inside the driving bit holder.
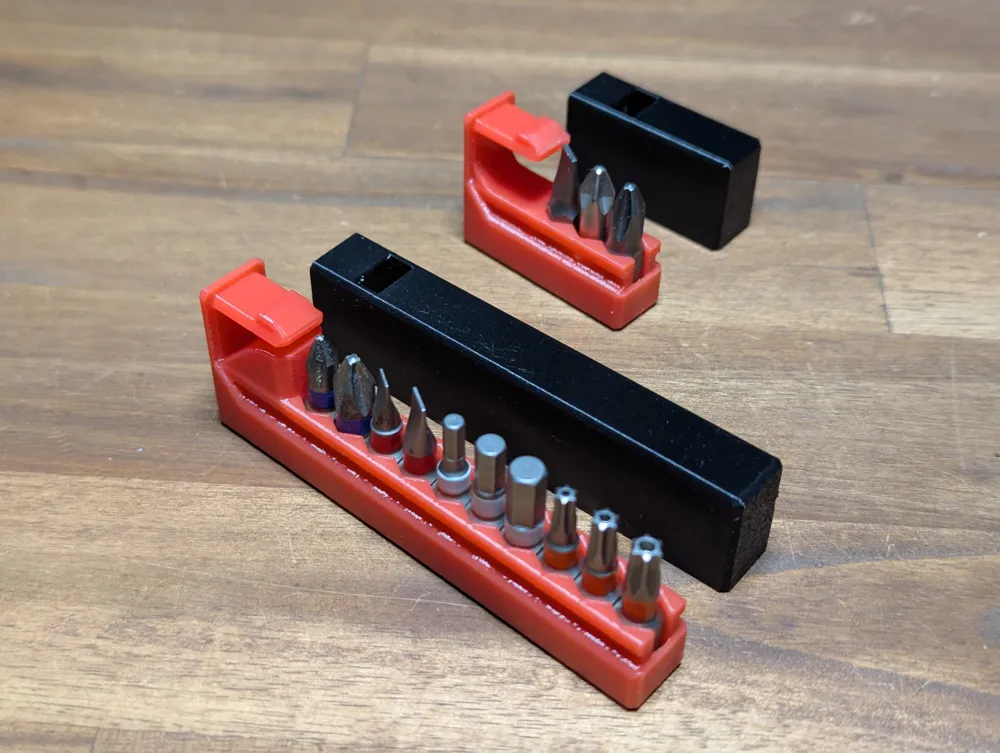
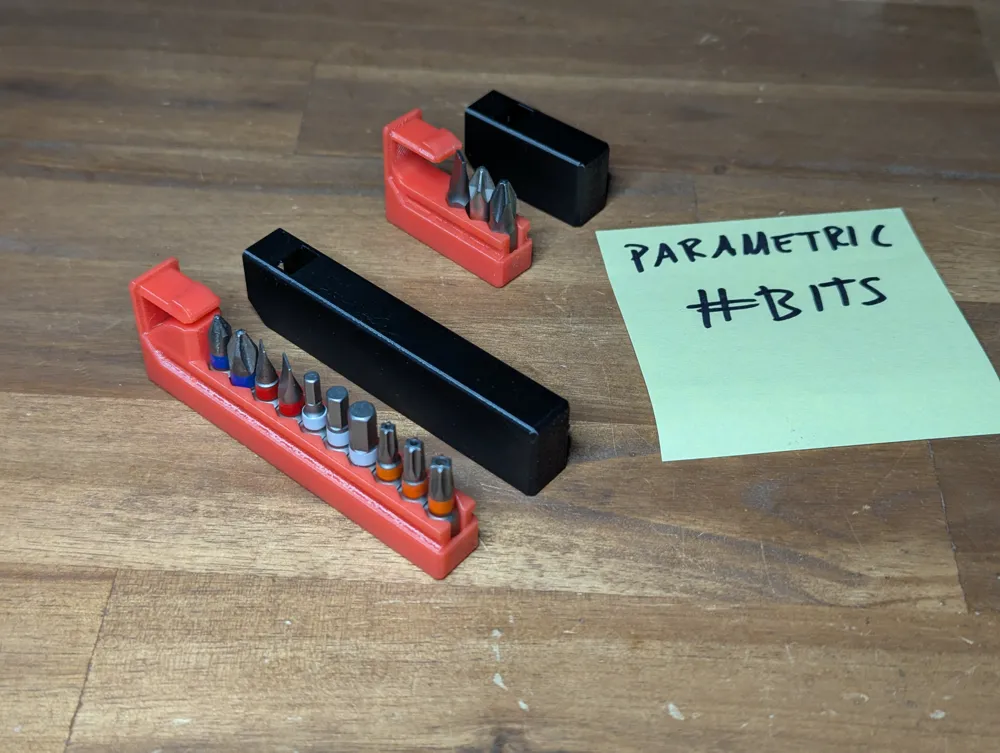
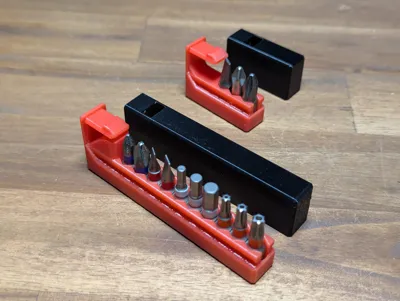
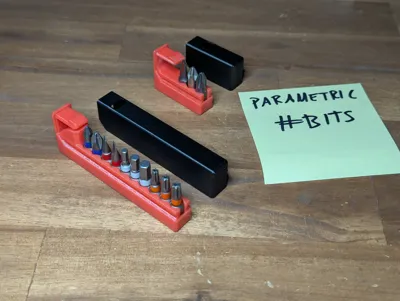
Since the design is parametric, I uploaded versions with 3, 6, 8, 10 and 12 bits. I personally printed the 3-bit and the 10-bit version.
The goal here is NOT to replace your day-to-day bit driver, but to offer a compact enough screwdriver that you can have on you in situations where you would not carry the real deal.
Regarding the driving bit holder:
I chose the star shape rather than the usual hex shape because I found the bit tends to get stuck in a 3D printed hex shape once some torque has been applied. This does not (as easily) happen with this design. Printed with PETG, I roughly measured about 5 Nm before the bit slipped inside the plastic. However, I used a vice and wrench to perform this test, just using the driver in my fingers I was not able to get the bit to slip and I could apply similar toque as with a small Wera driver.
TIPPS FOR PRINTING:
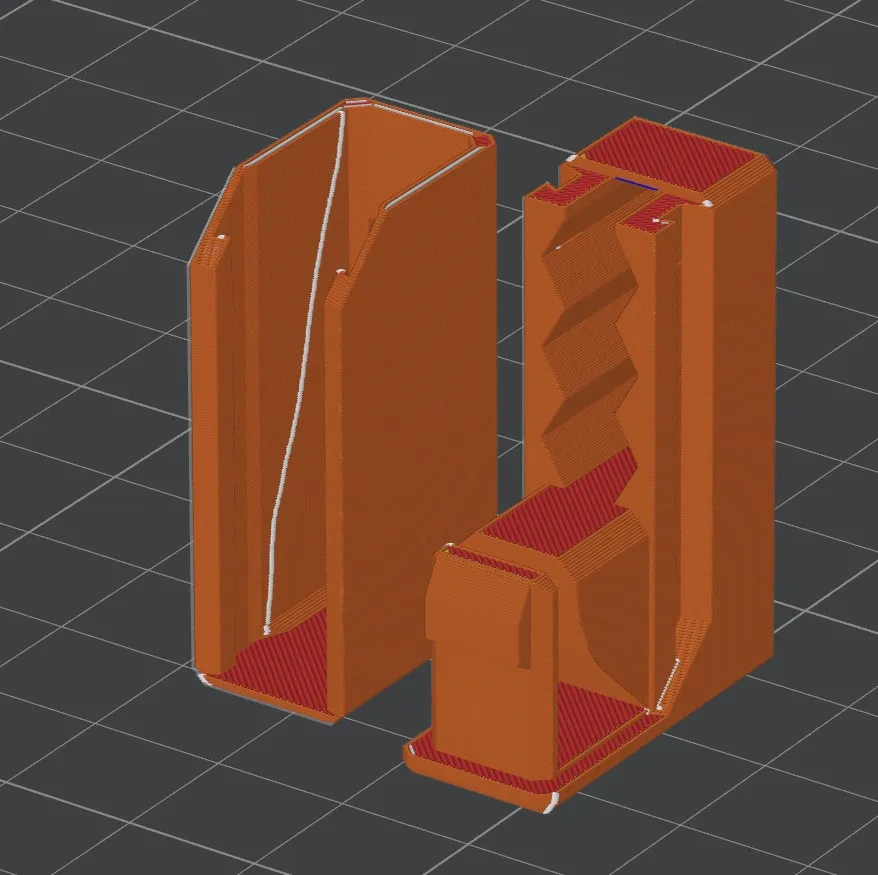
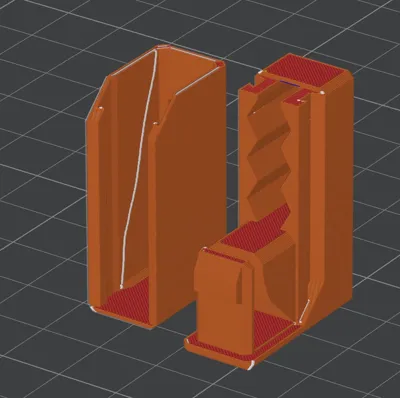
- Orient the parts as shown in the screenshot, no supports needed.
- For the shell, I would suggest to draw on the seam as seen in the screenshot to prohibit the slicer from placing it inside the already quite thin crack.
- Use settings and filament (I used PETG) to maximize layer adhesion, this is needed for the compliant locking mechanism to work.
- Print the shell in another layer height than the body (e.g. 0.2mm and 0.16mm). This makes the sliding experience smoother.
- If you print this, I would be happy to see your results and hear your thoughts on this
License



Comment & Rating (19)