
Dewalt Tool Battery Starlink Mini Slim Adapter

Print Profile(2)


Description
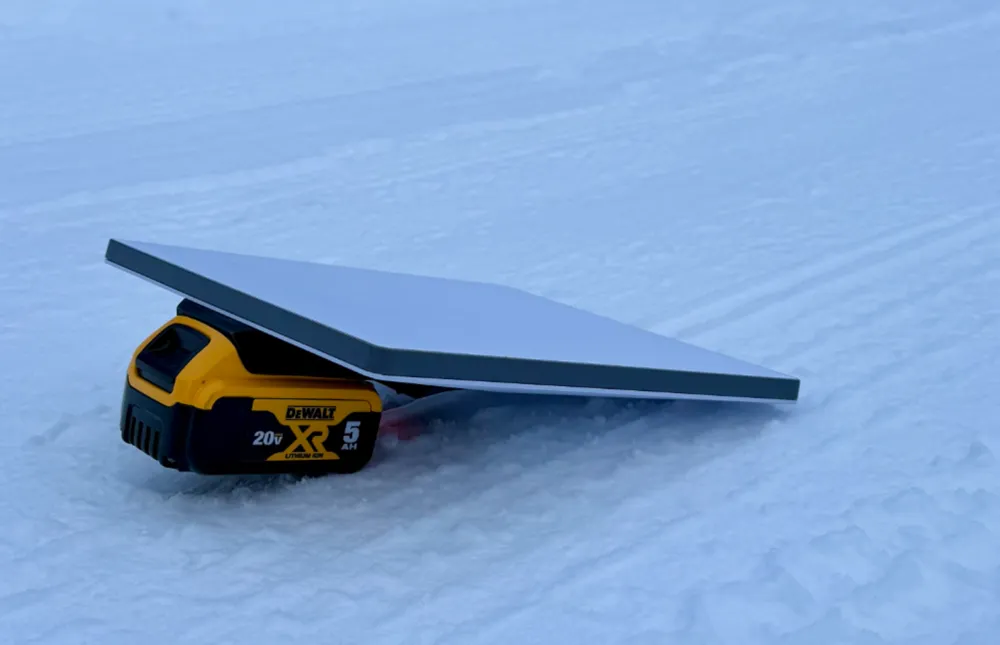
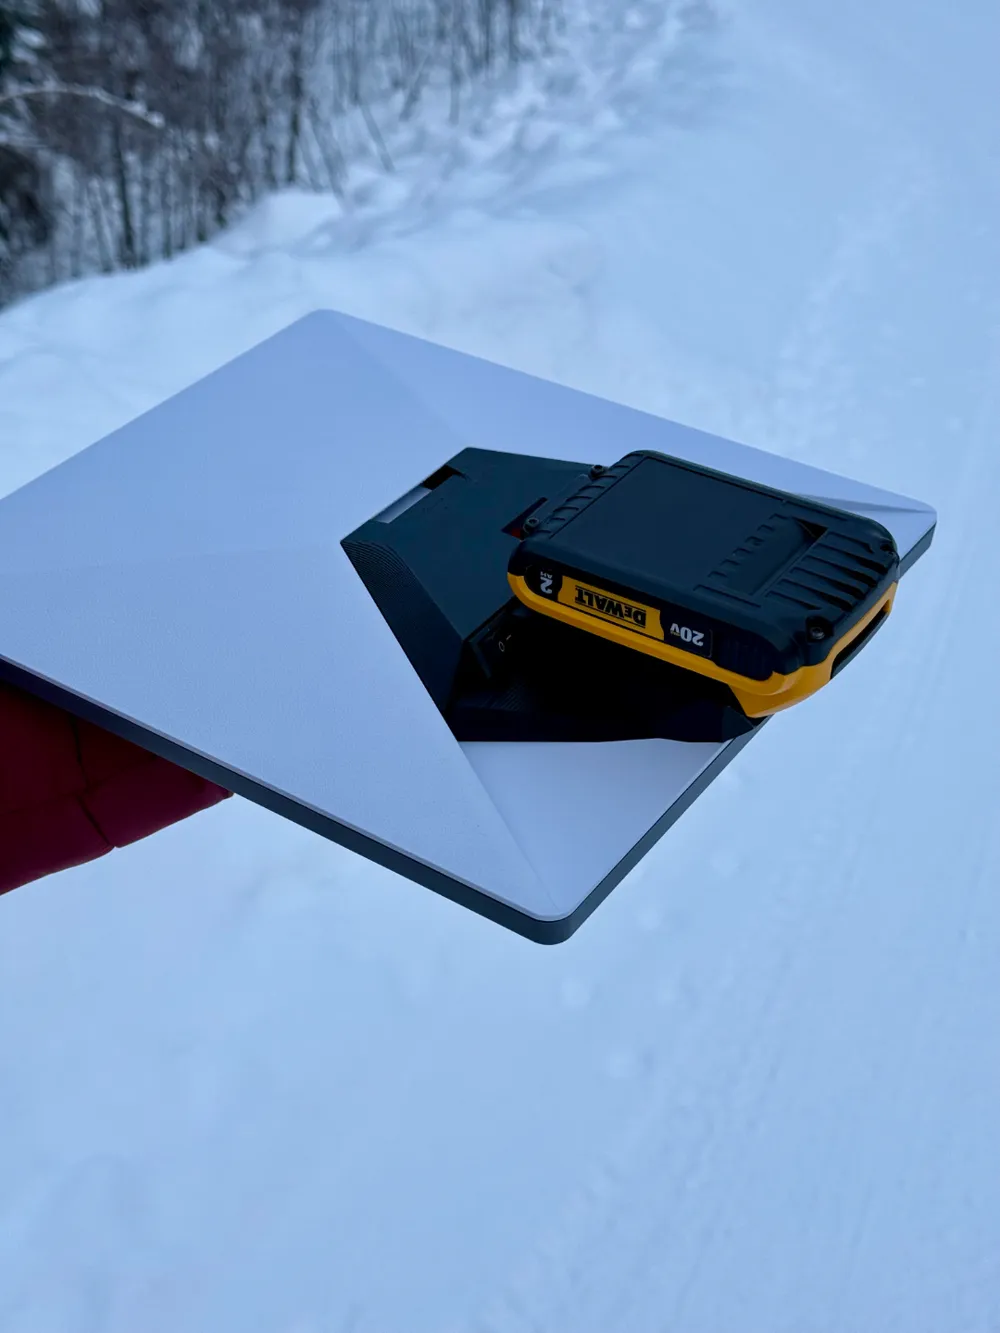
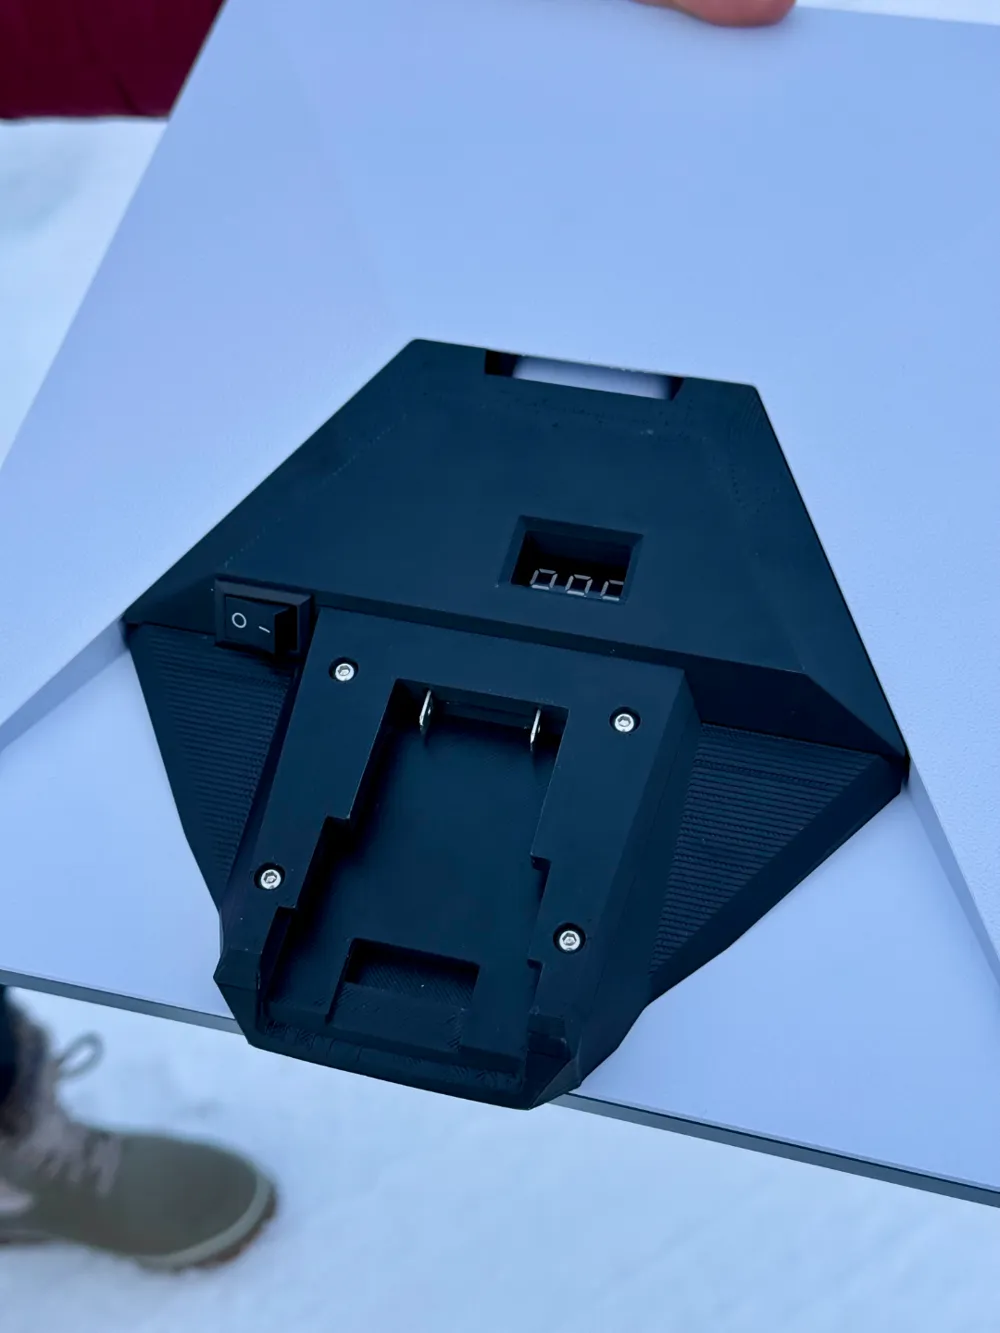
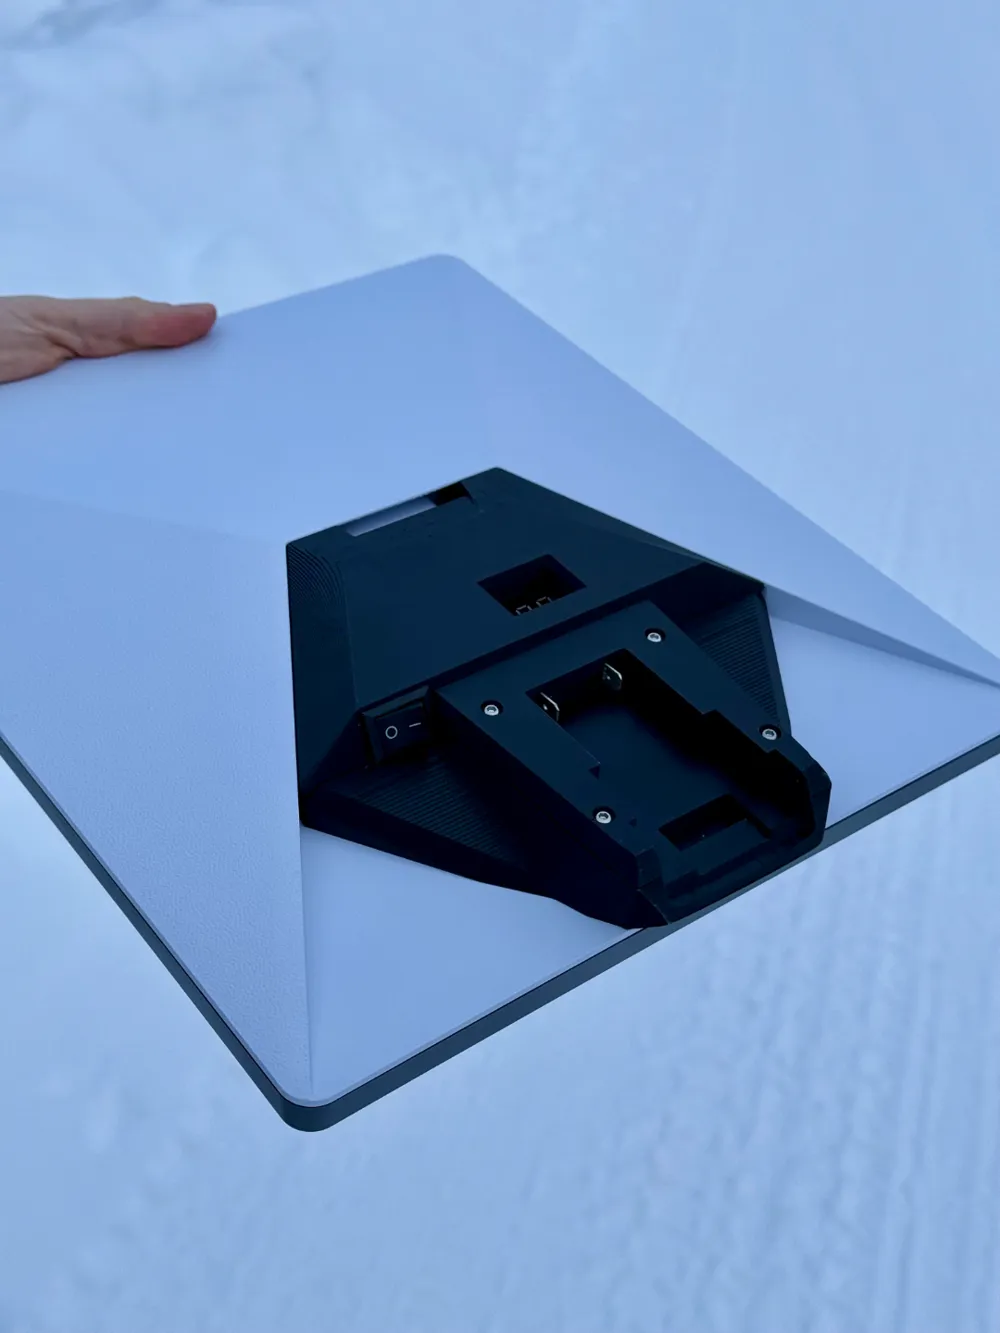
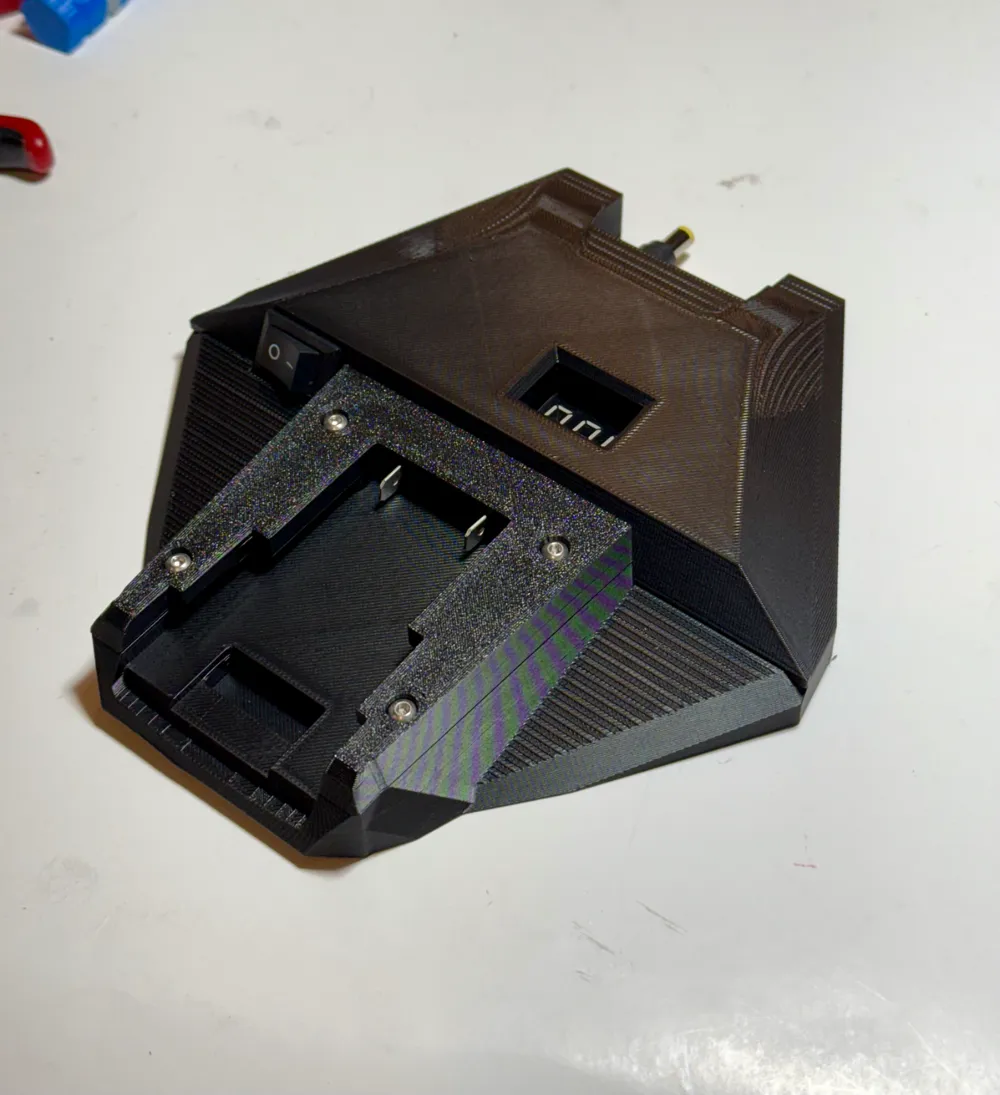
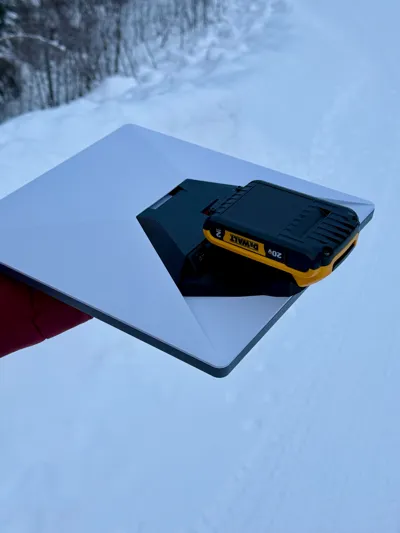
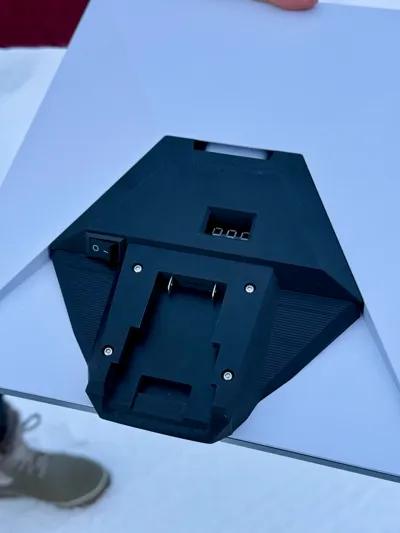
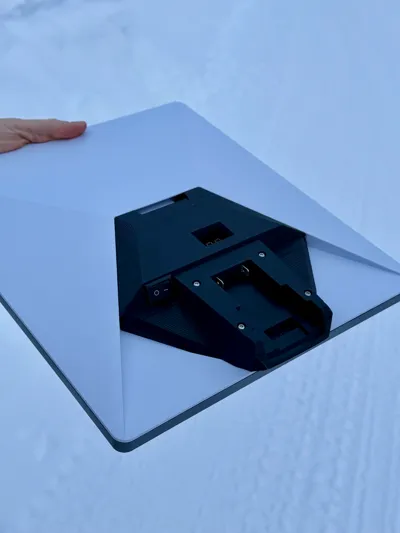
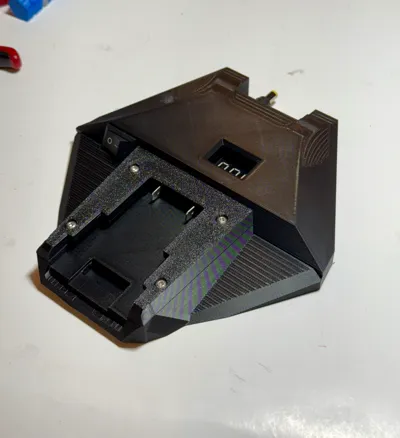
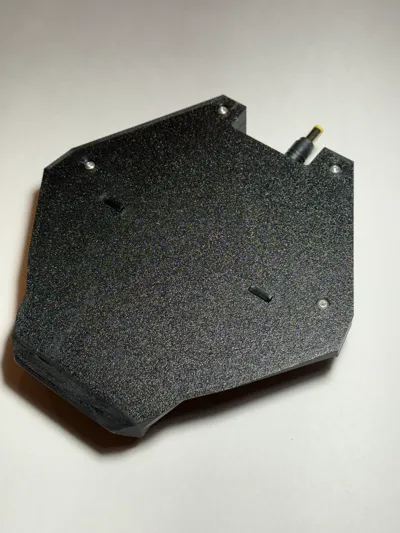
This model allows you to use Dewalt 20v batteries with the Starlink Mini. Key features include a simple click in/click out design, low voltage disconnect, and a slim design that does not add any thickness to the dish when installed. The adapter clicks into the back of the dish and automatically connects into the existing power port on the back of the Starlink. Additionally, the design incorporates a low voltage cutoff to prevent over discharging the batteries. I printed this design using PETG-HF, but would imagine PLA and ABS would work great as well.
My limited endurance testing has showed about 1.5 hours with the smaller 2Ah 20v battery and about 4 hours with the 5ah battery.
Bill of Materials:
- 1x Rocker Switch (Amazon Link)
- 1x DC Low Voltage Disconnect Board (Amazon Link)
- 1x 2.1mmx5.5mm Male Barrel Plug connector (Amazon Link)
- 2x Blue Male Spade Connector
- 8x M3 Threaded Insert (Amazon Link)
- 4x M3x4mm (to hold PCB board down)
- 4x M3x8mm (to hold battery top plate down)
- 4x M3x10mm (to attach to the two halves)
Assembly:
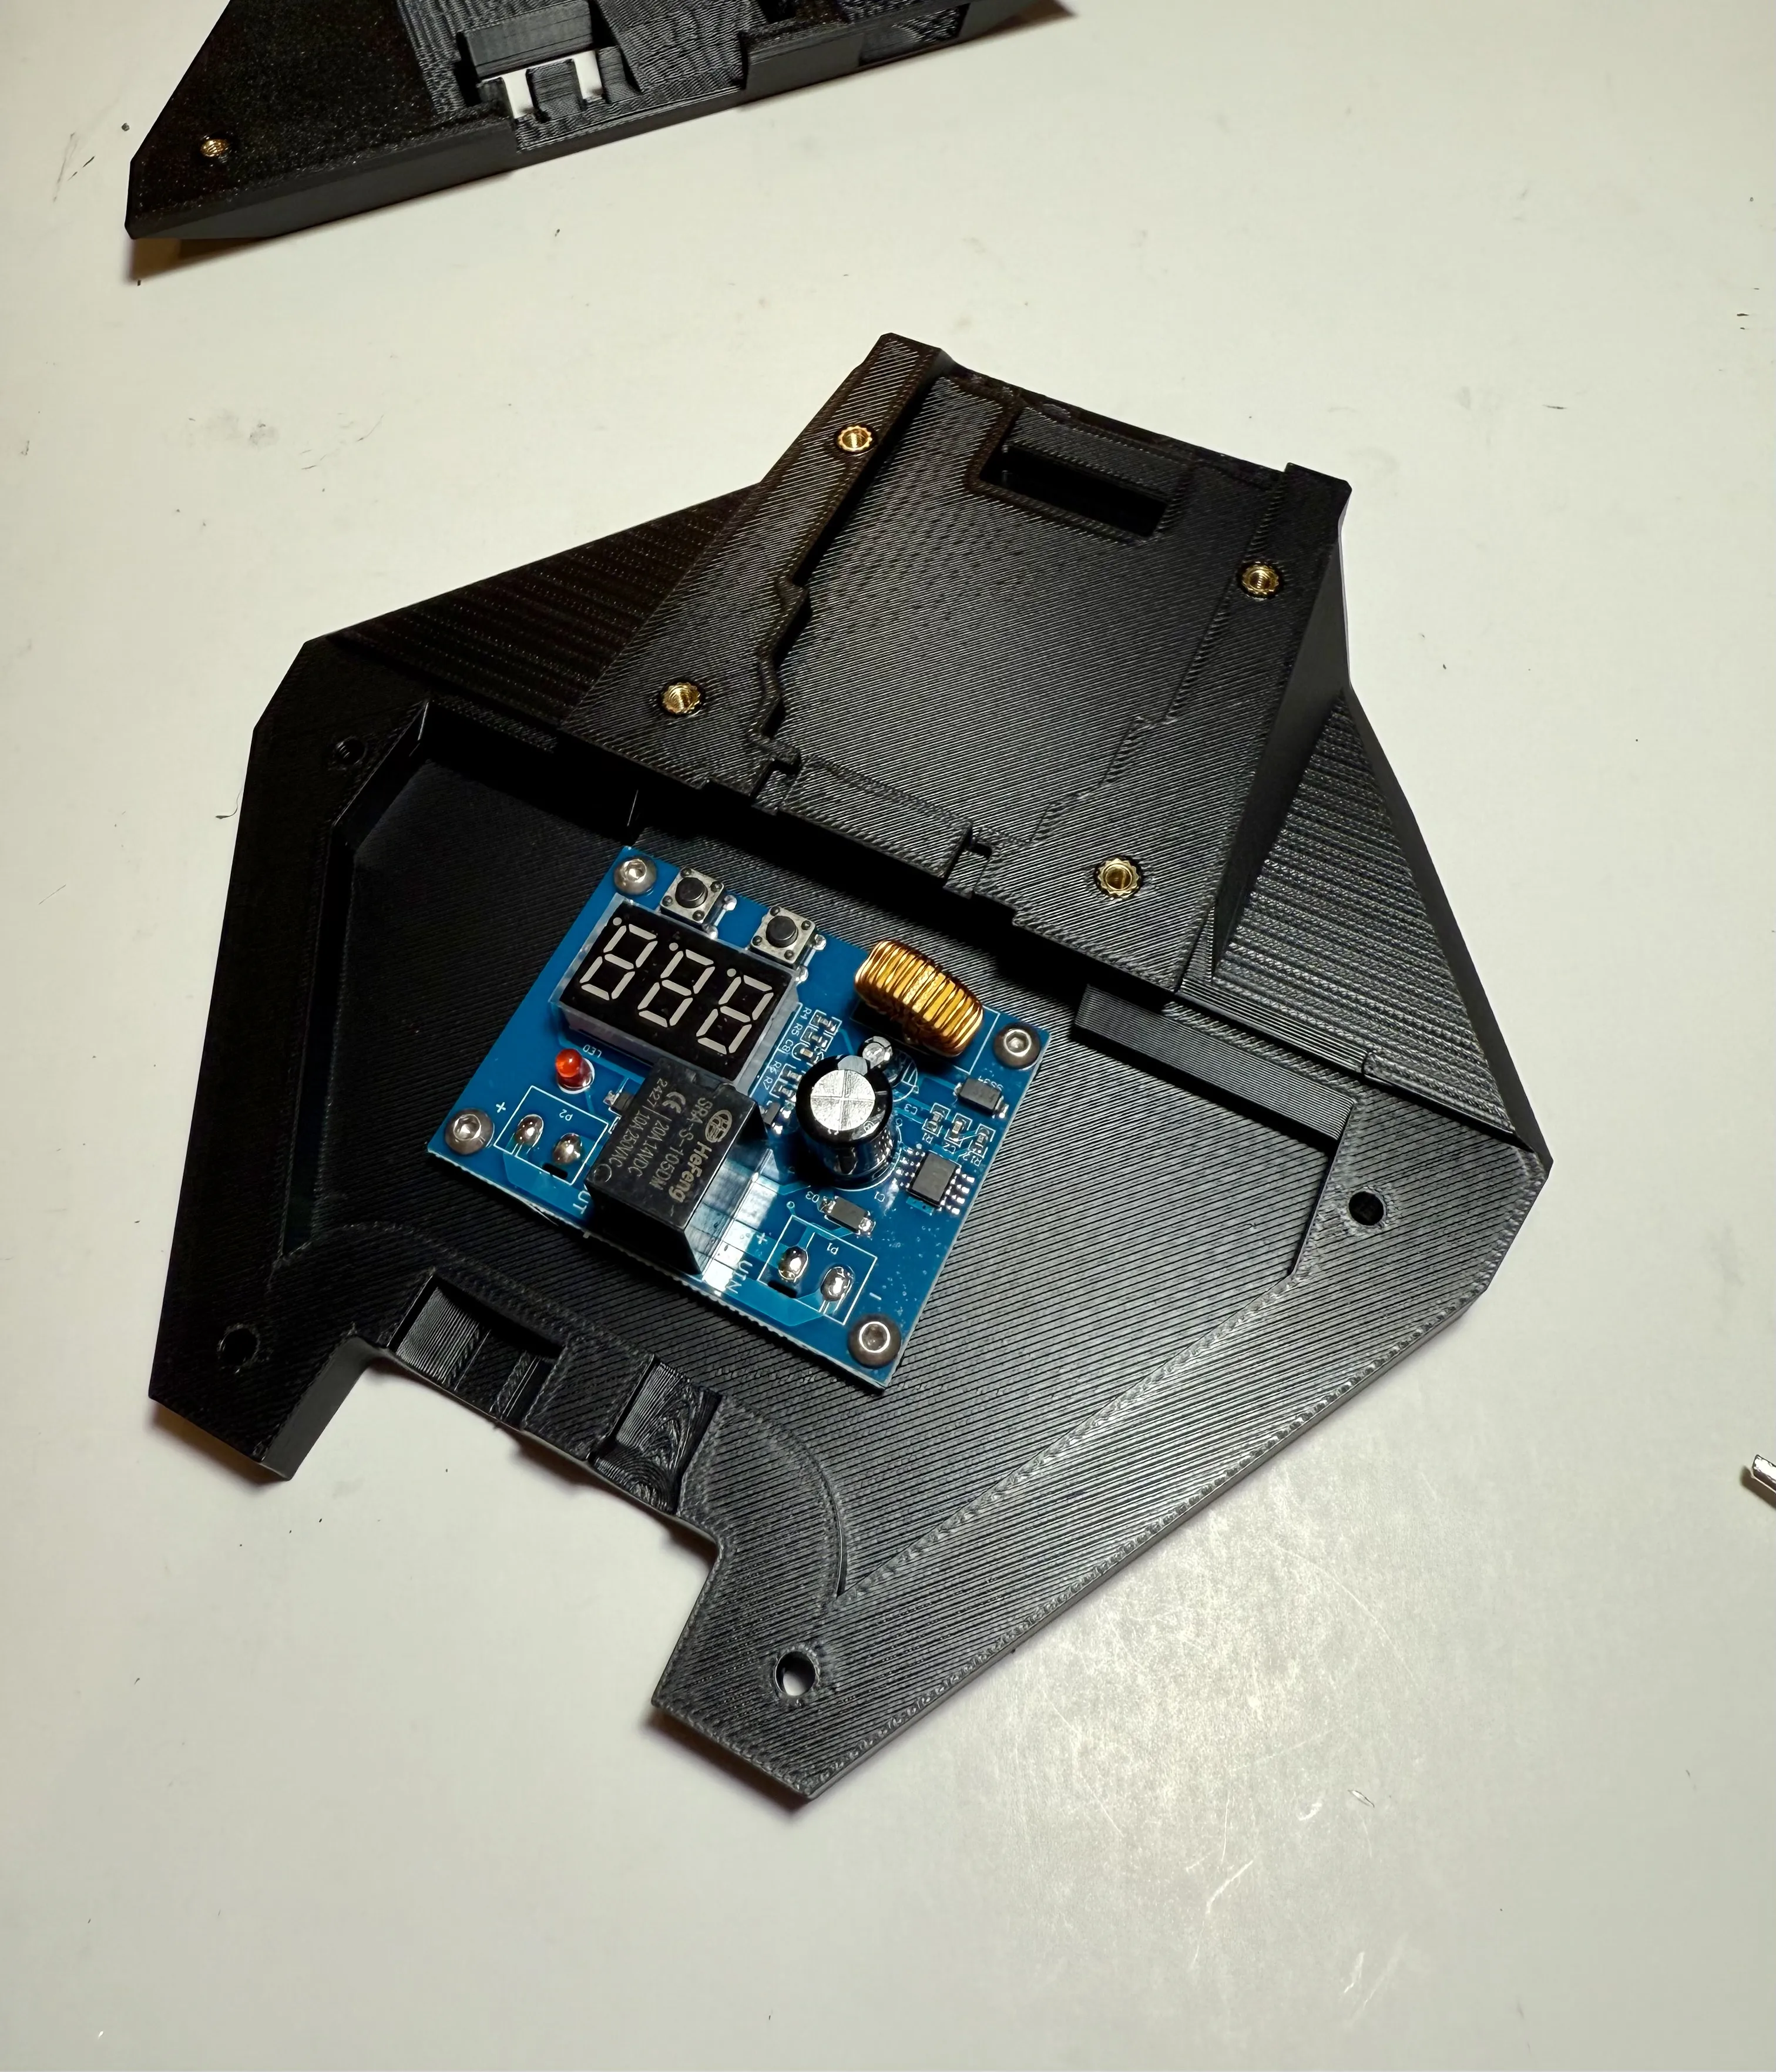
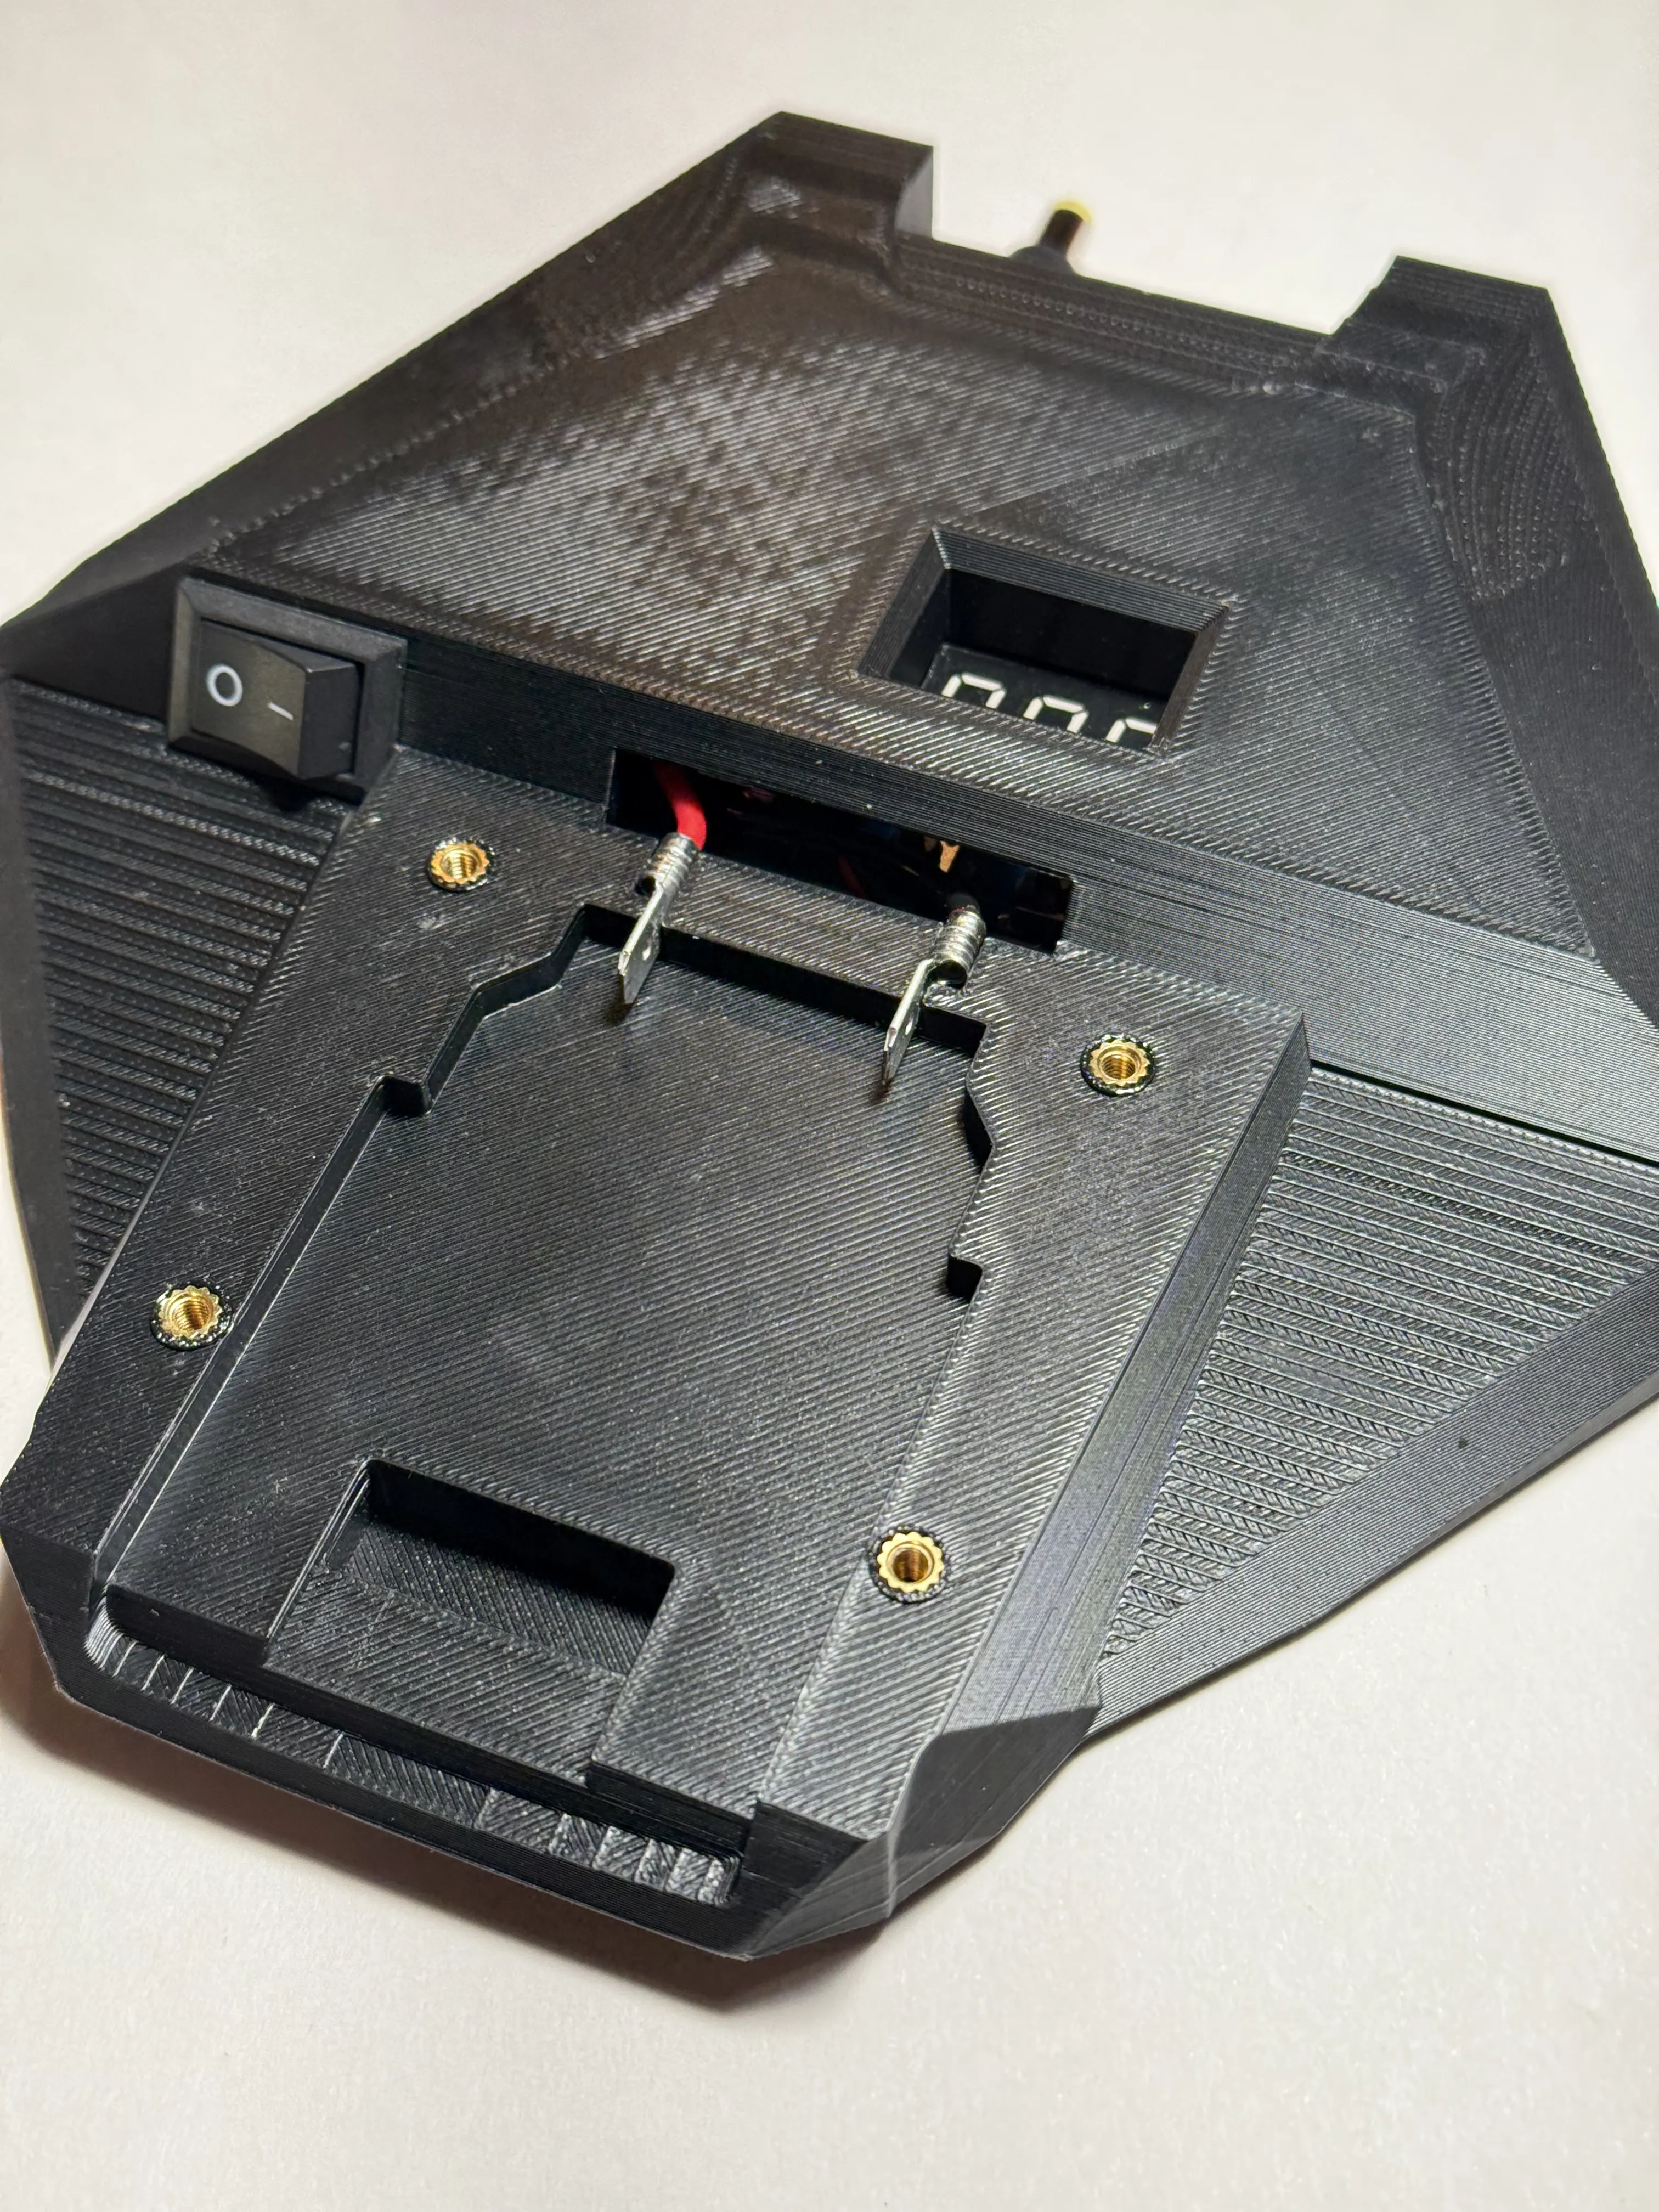
Install the 8x M3 threaded inserts into the prints using a soldering iron. 4 on the bottom plate (pictured) and 4x on the top plate (not pictured)
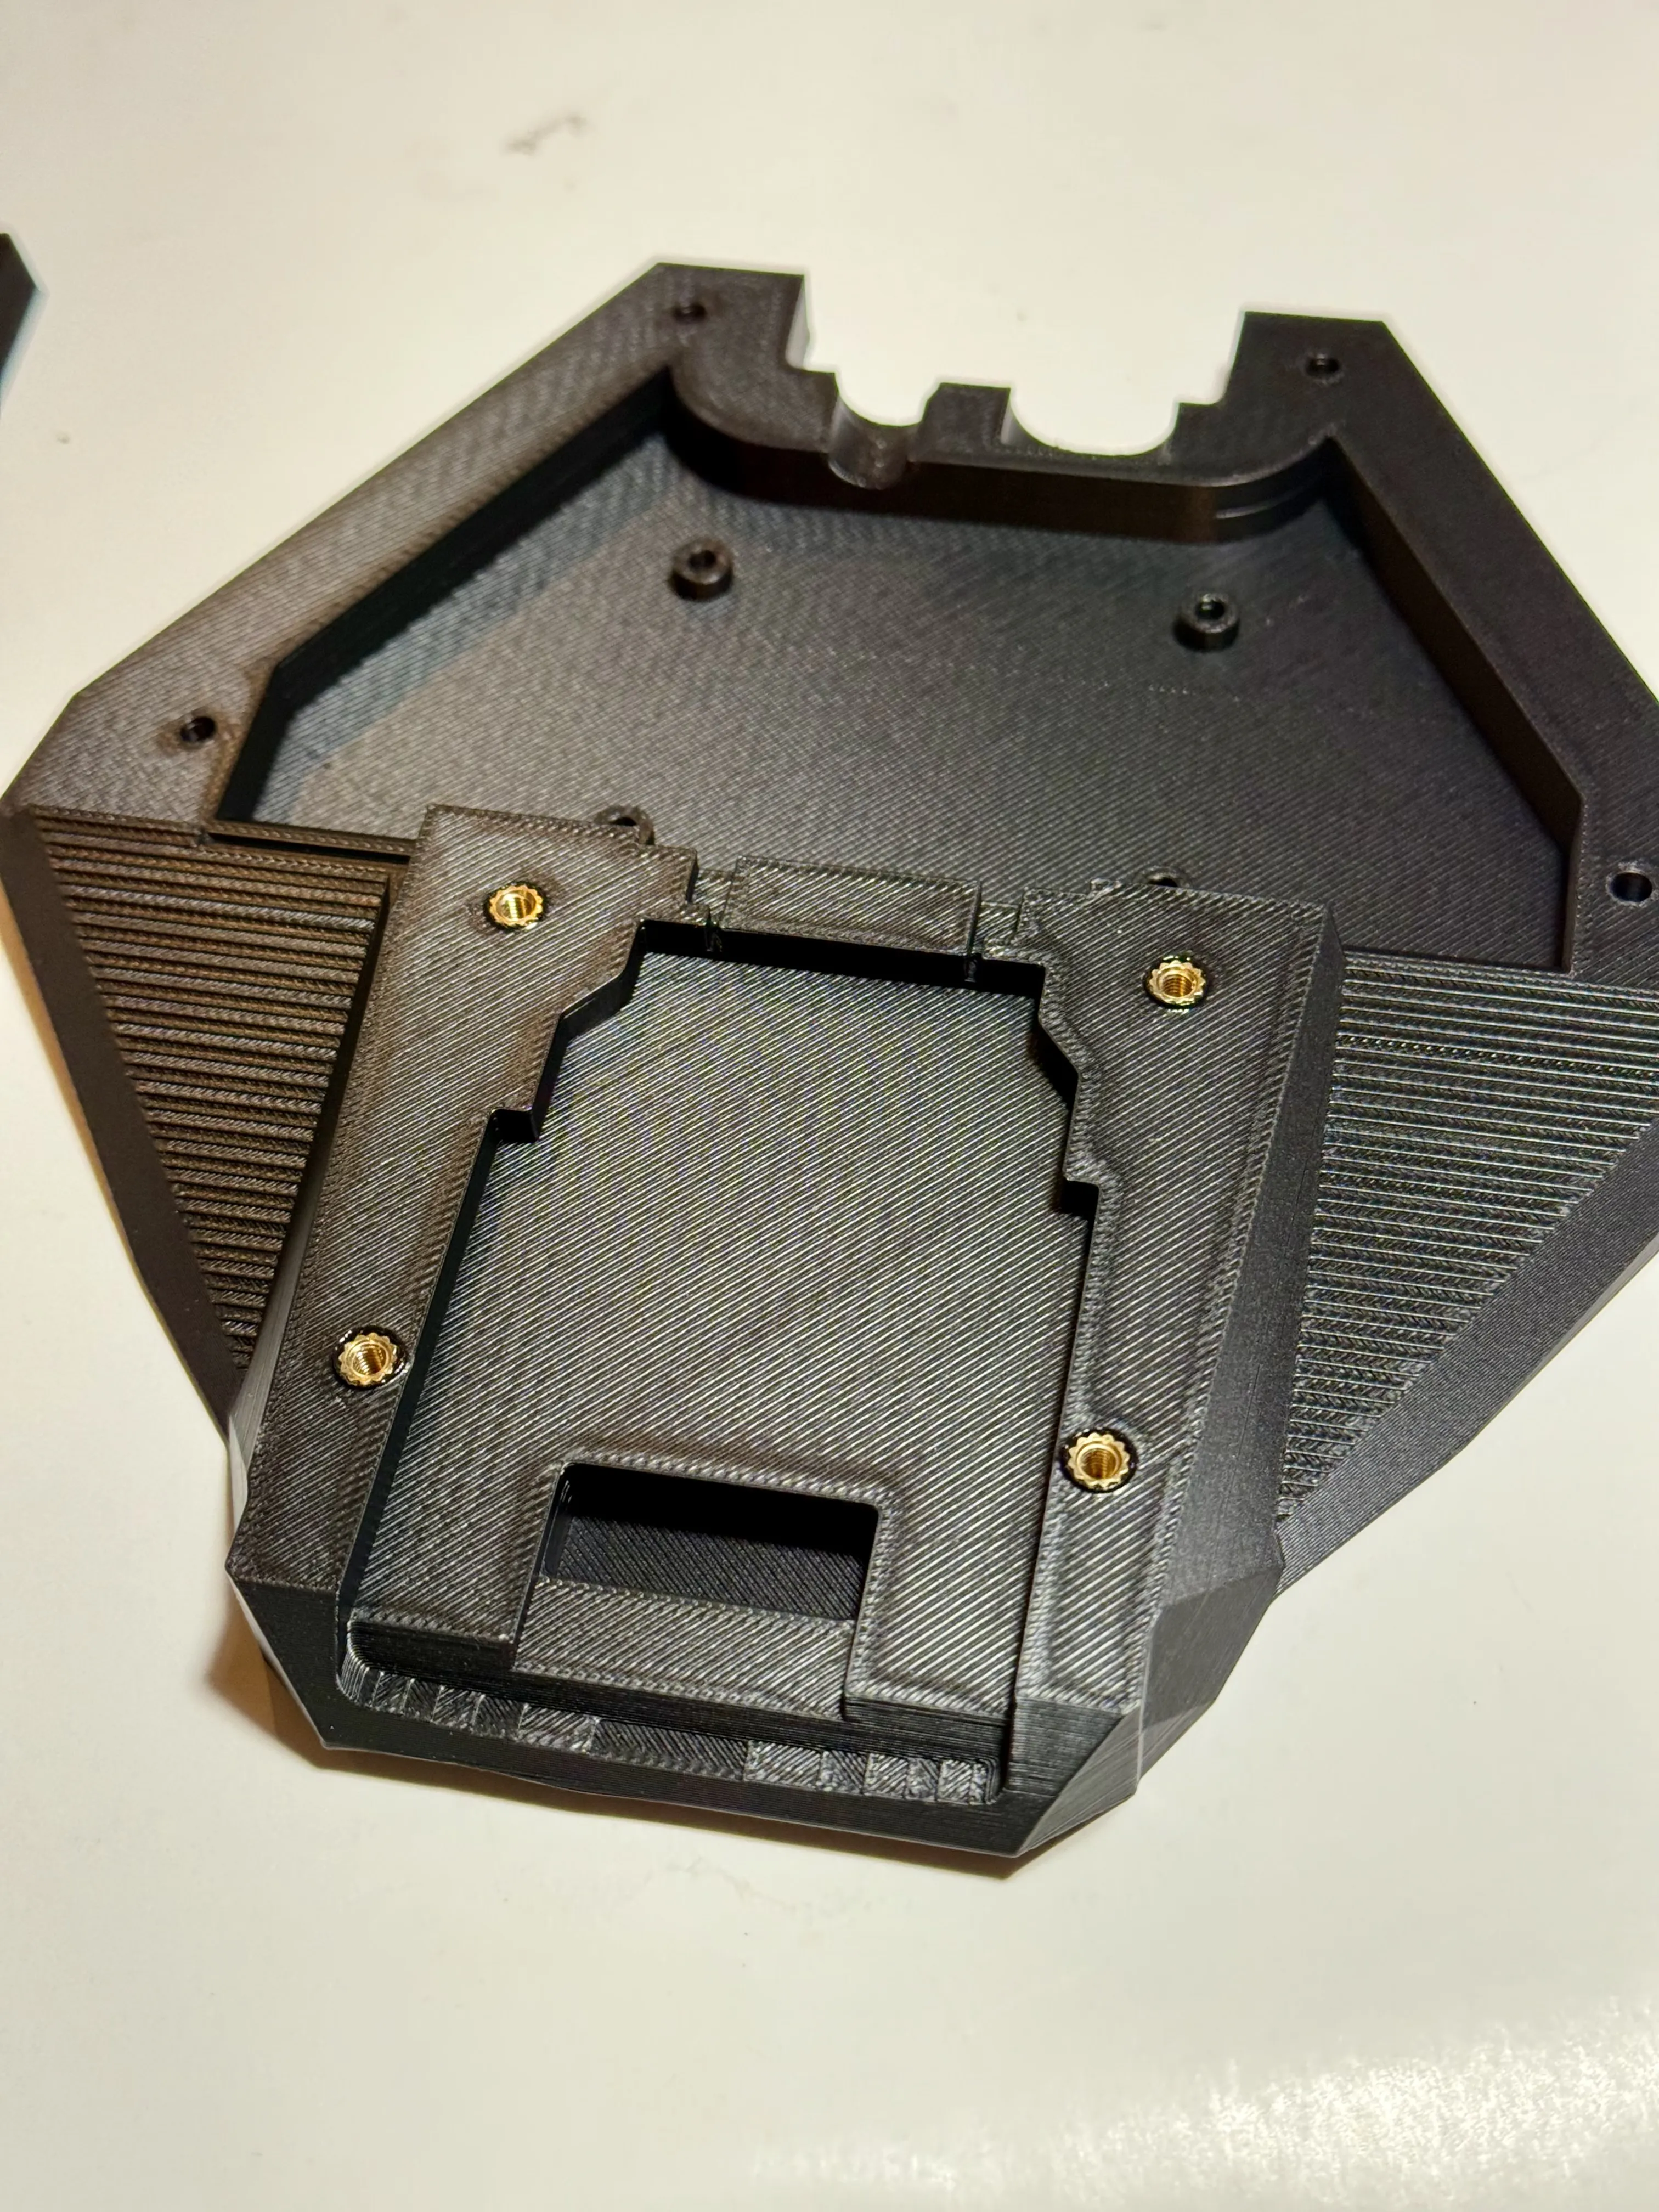
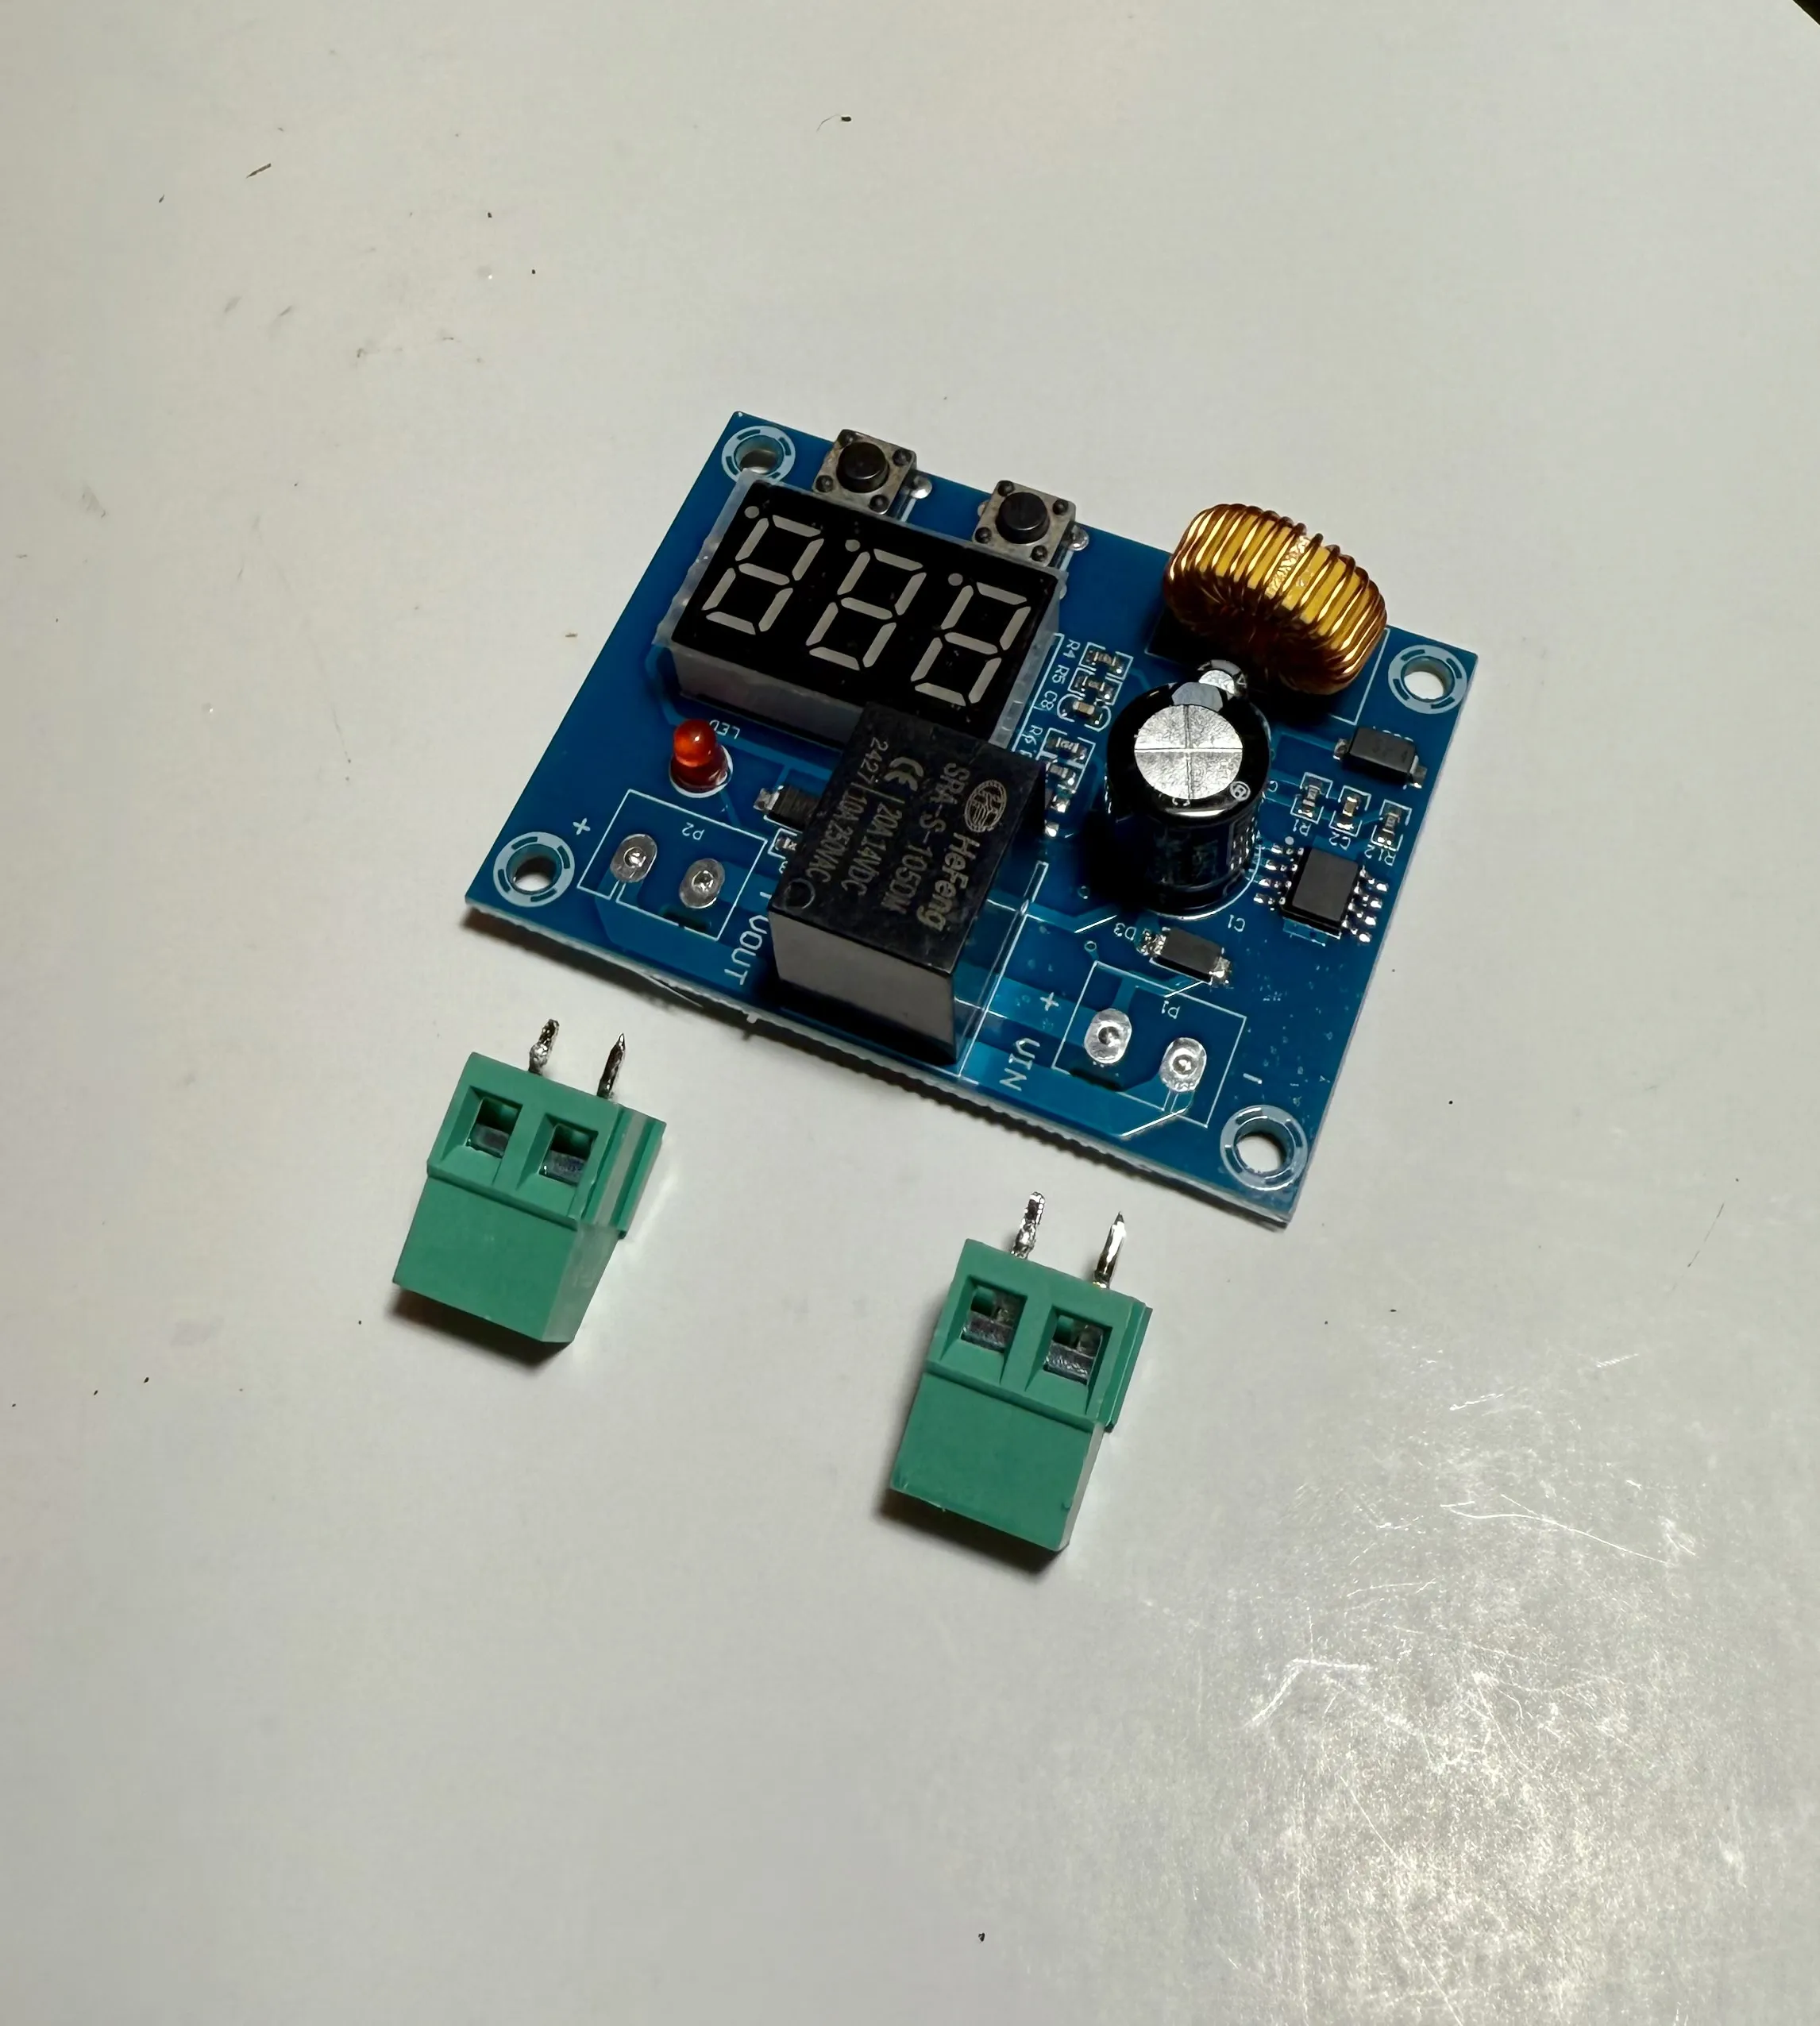
In order for the PCB to fit, de-solder and remove the green connectors from the PCB. Install into the print with 4x M3x4mm screws. These screws thread into the print itself without threaded inserts. Do not over tighten.
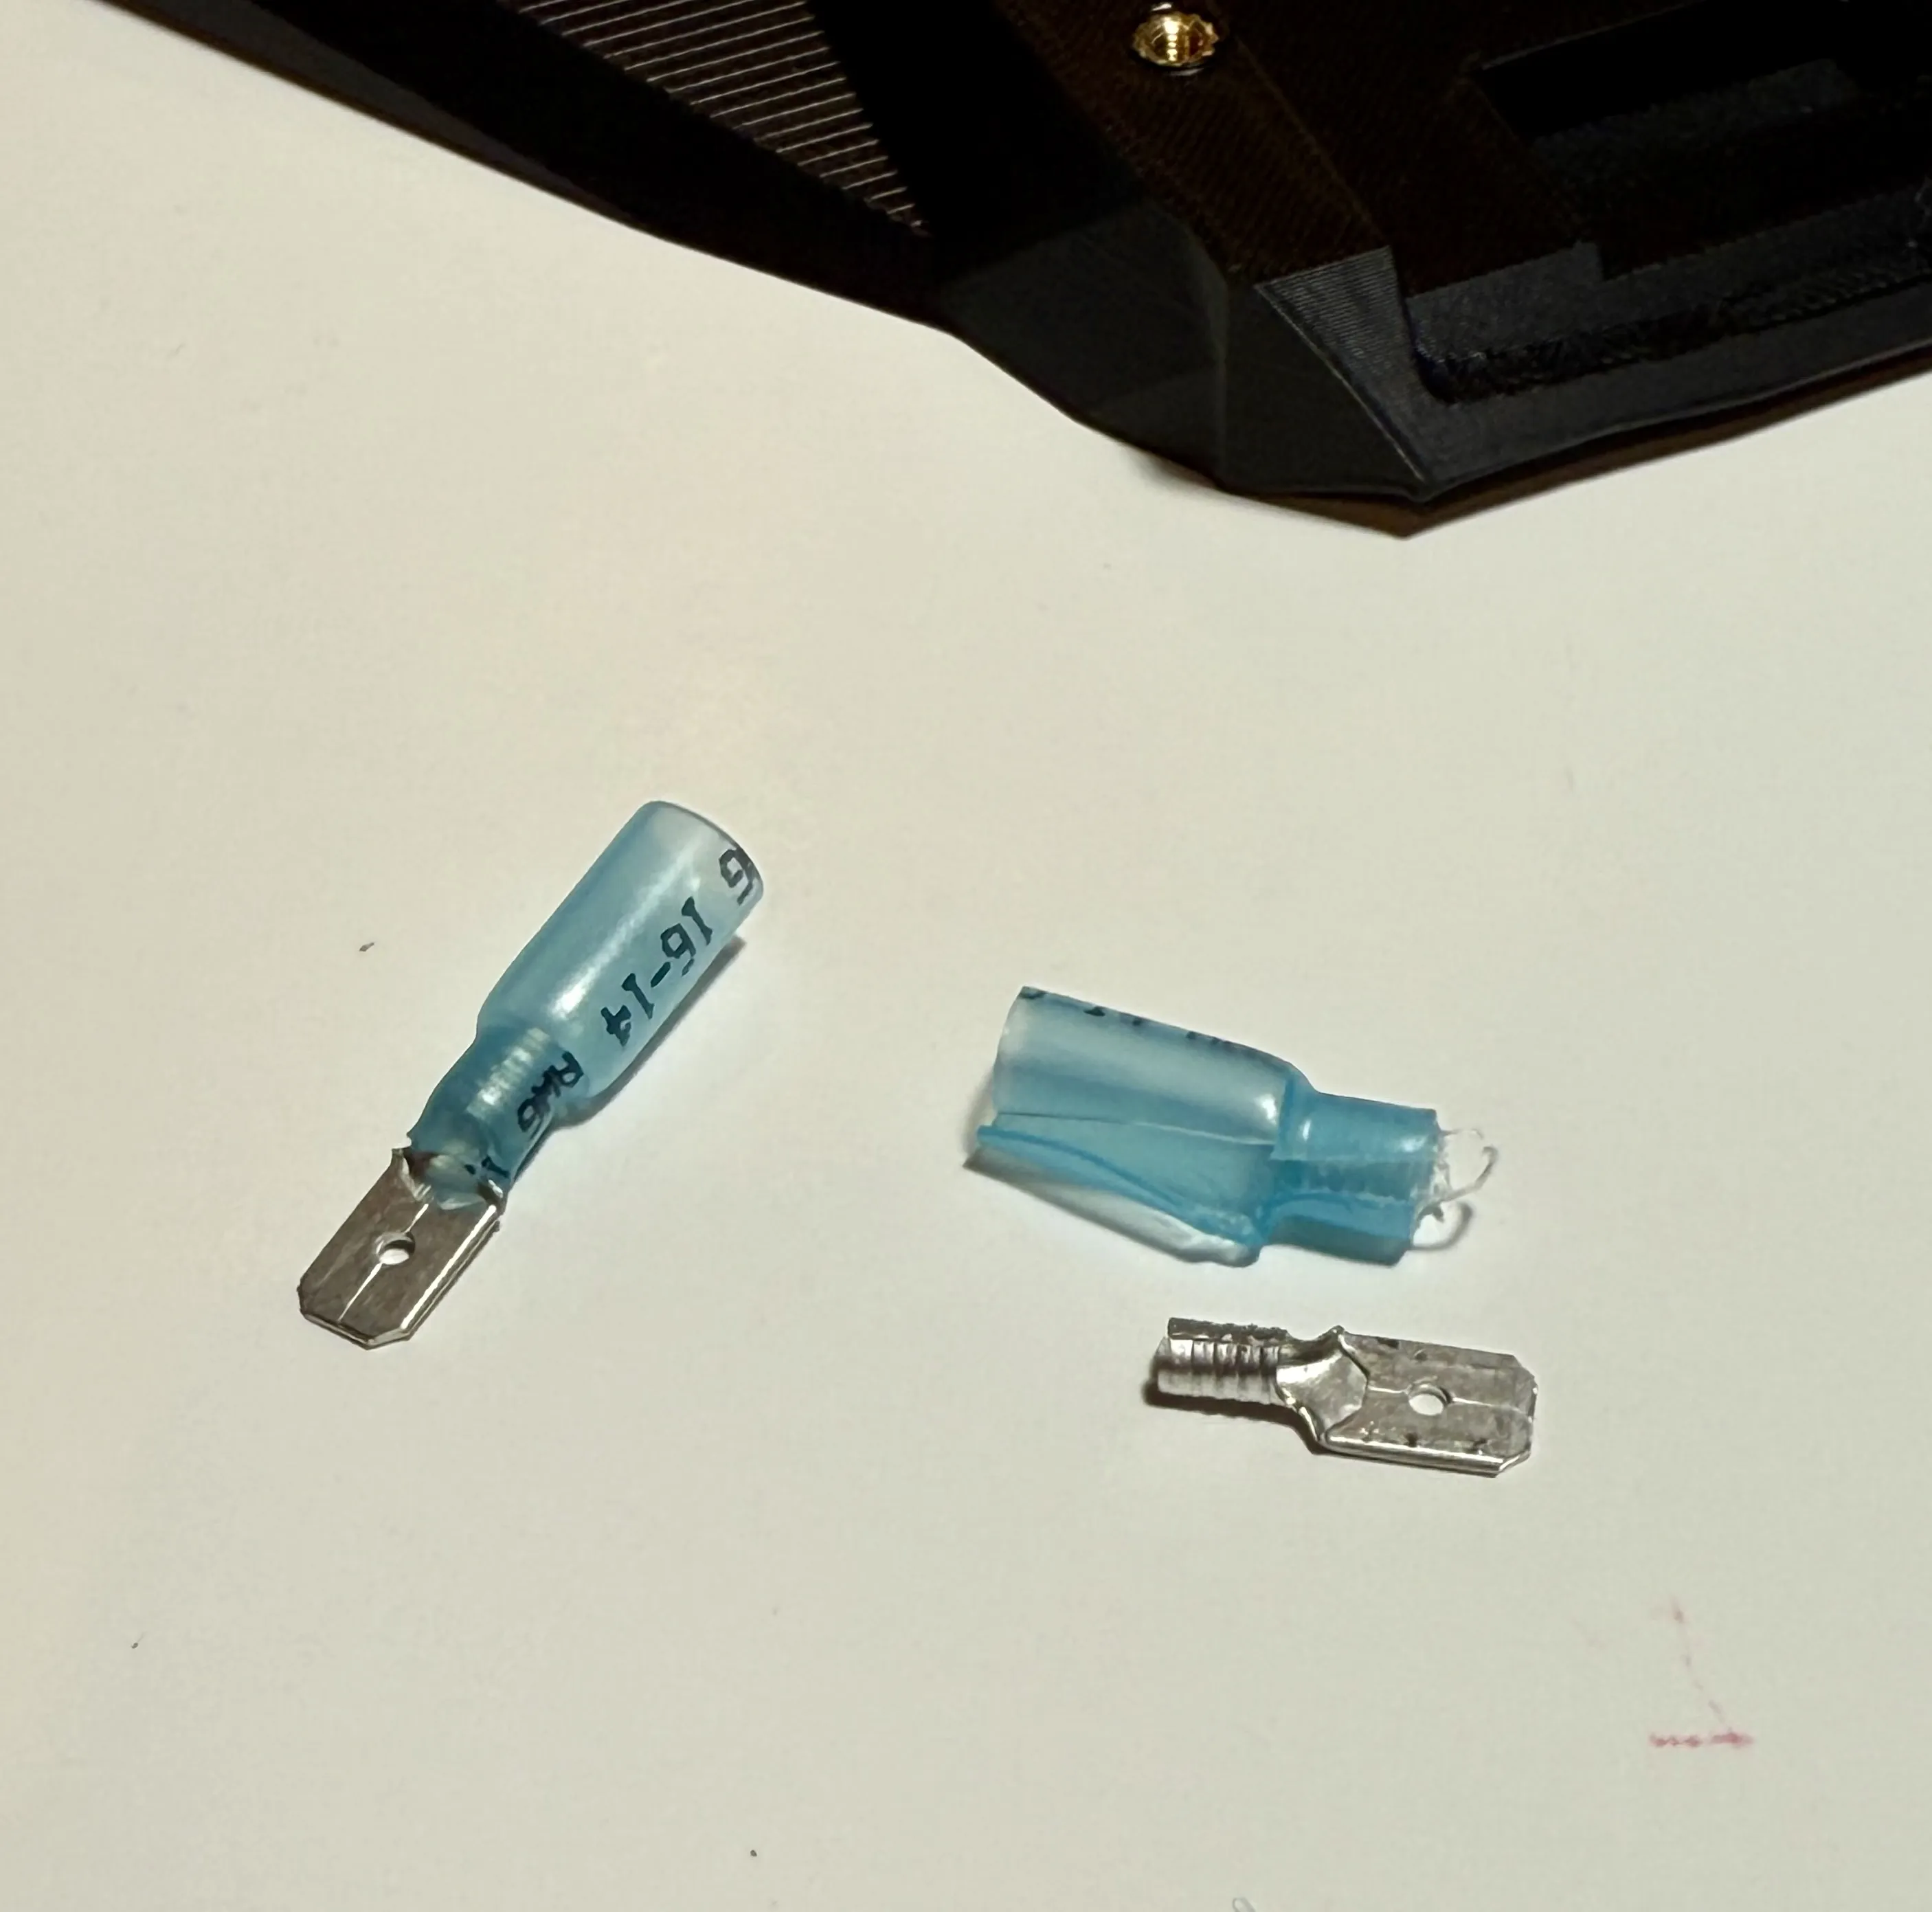
Remove the casing from the butt connectors. These will serve as the contacts for the Dewalt battery.
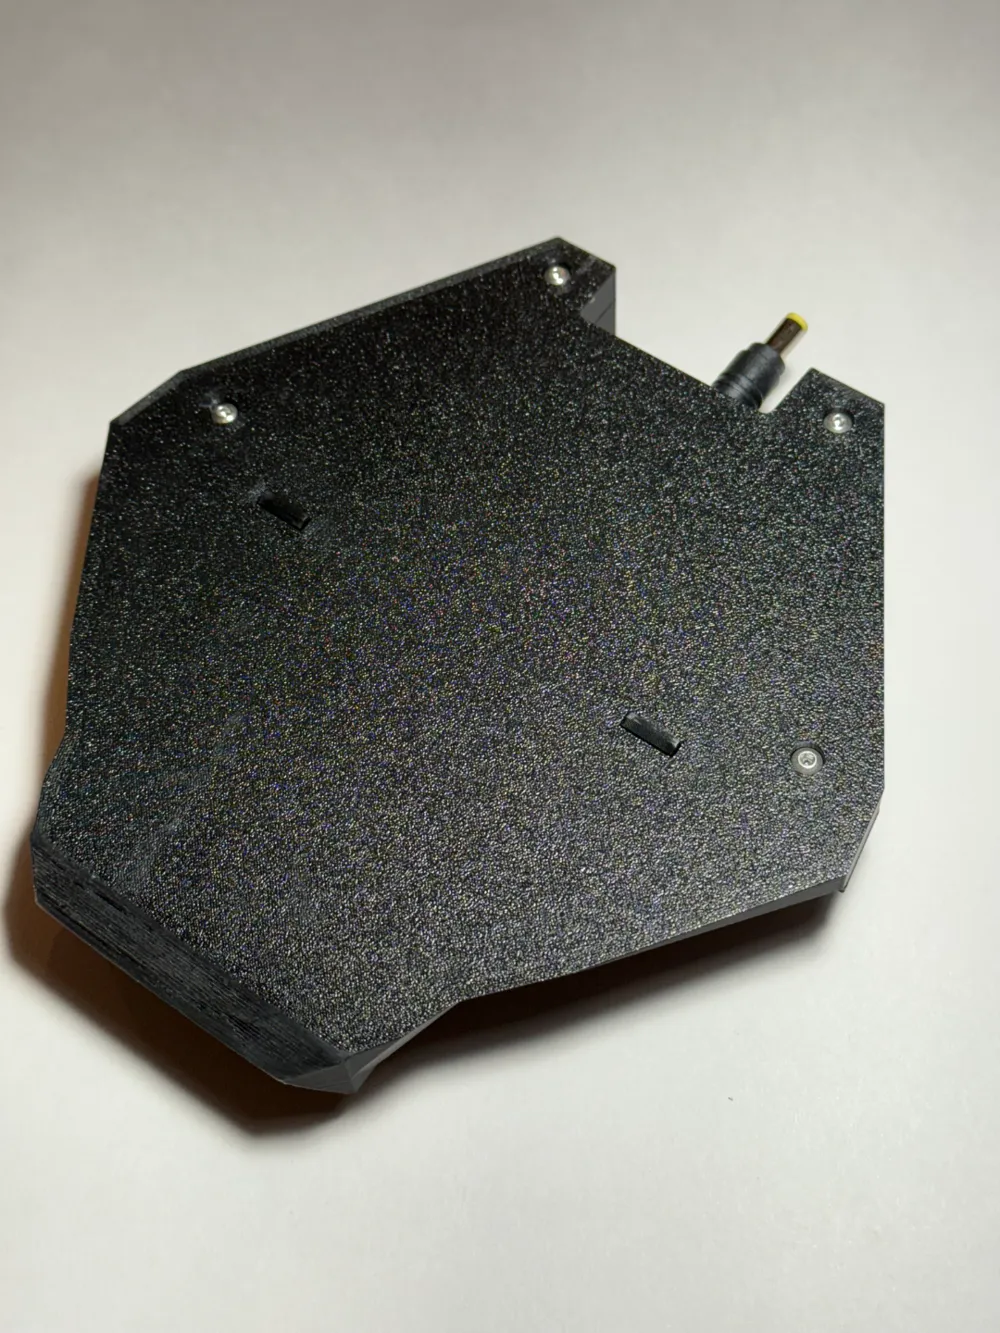
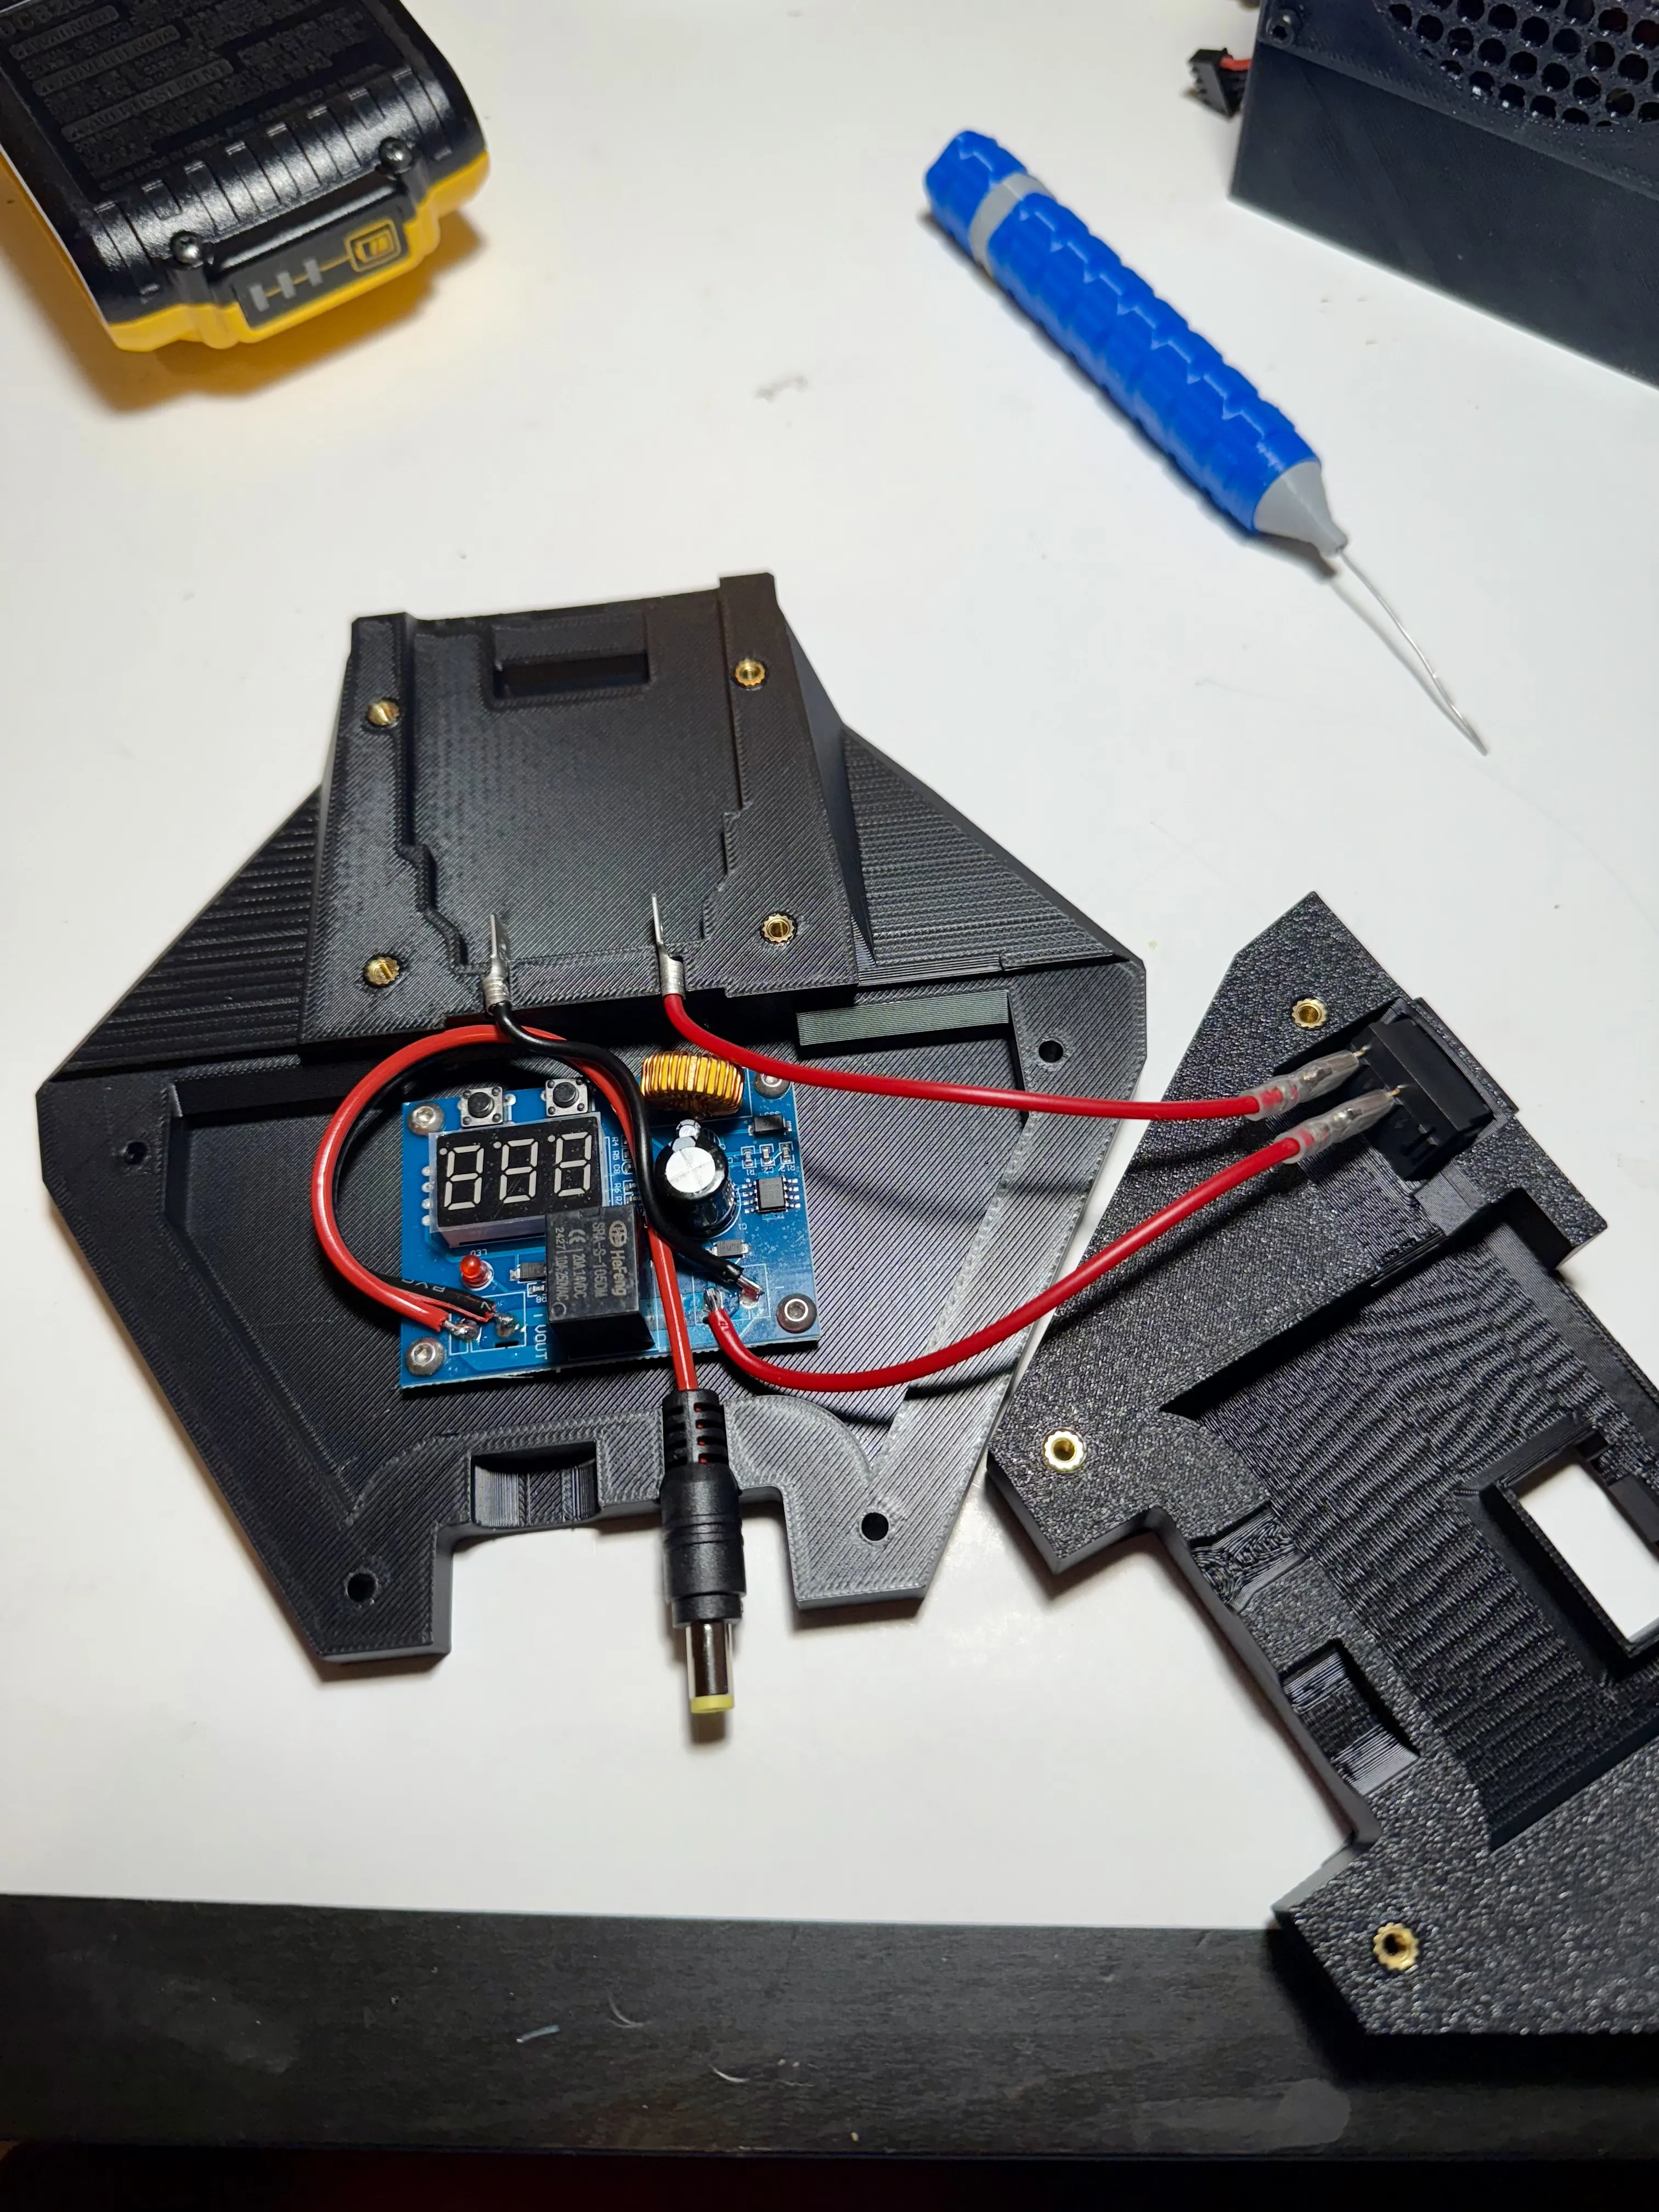
Install the switch into the top plate and wire up as in the following photos. The plug sits into the fitting a pictured. It is sandwiched between the top and bottom parts of the print. I intentionally leave it slightly loose as to not damage to the Starlink dish when inserting and removing this adapter.
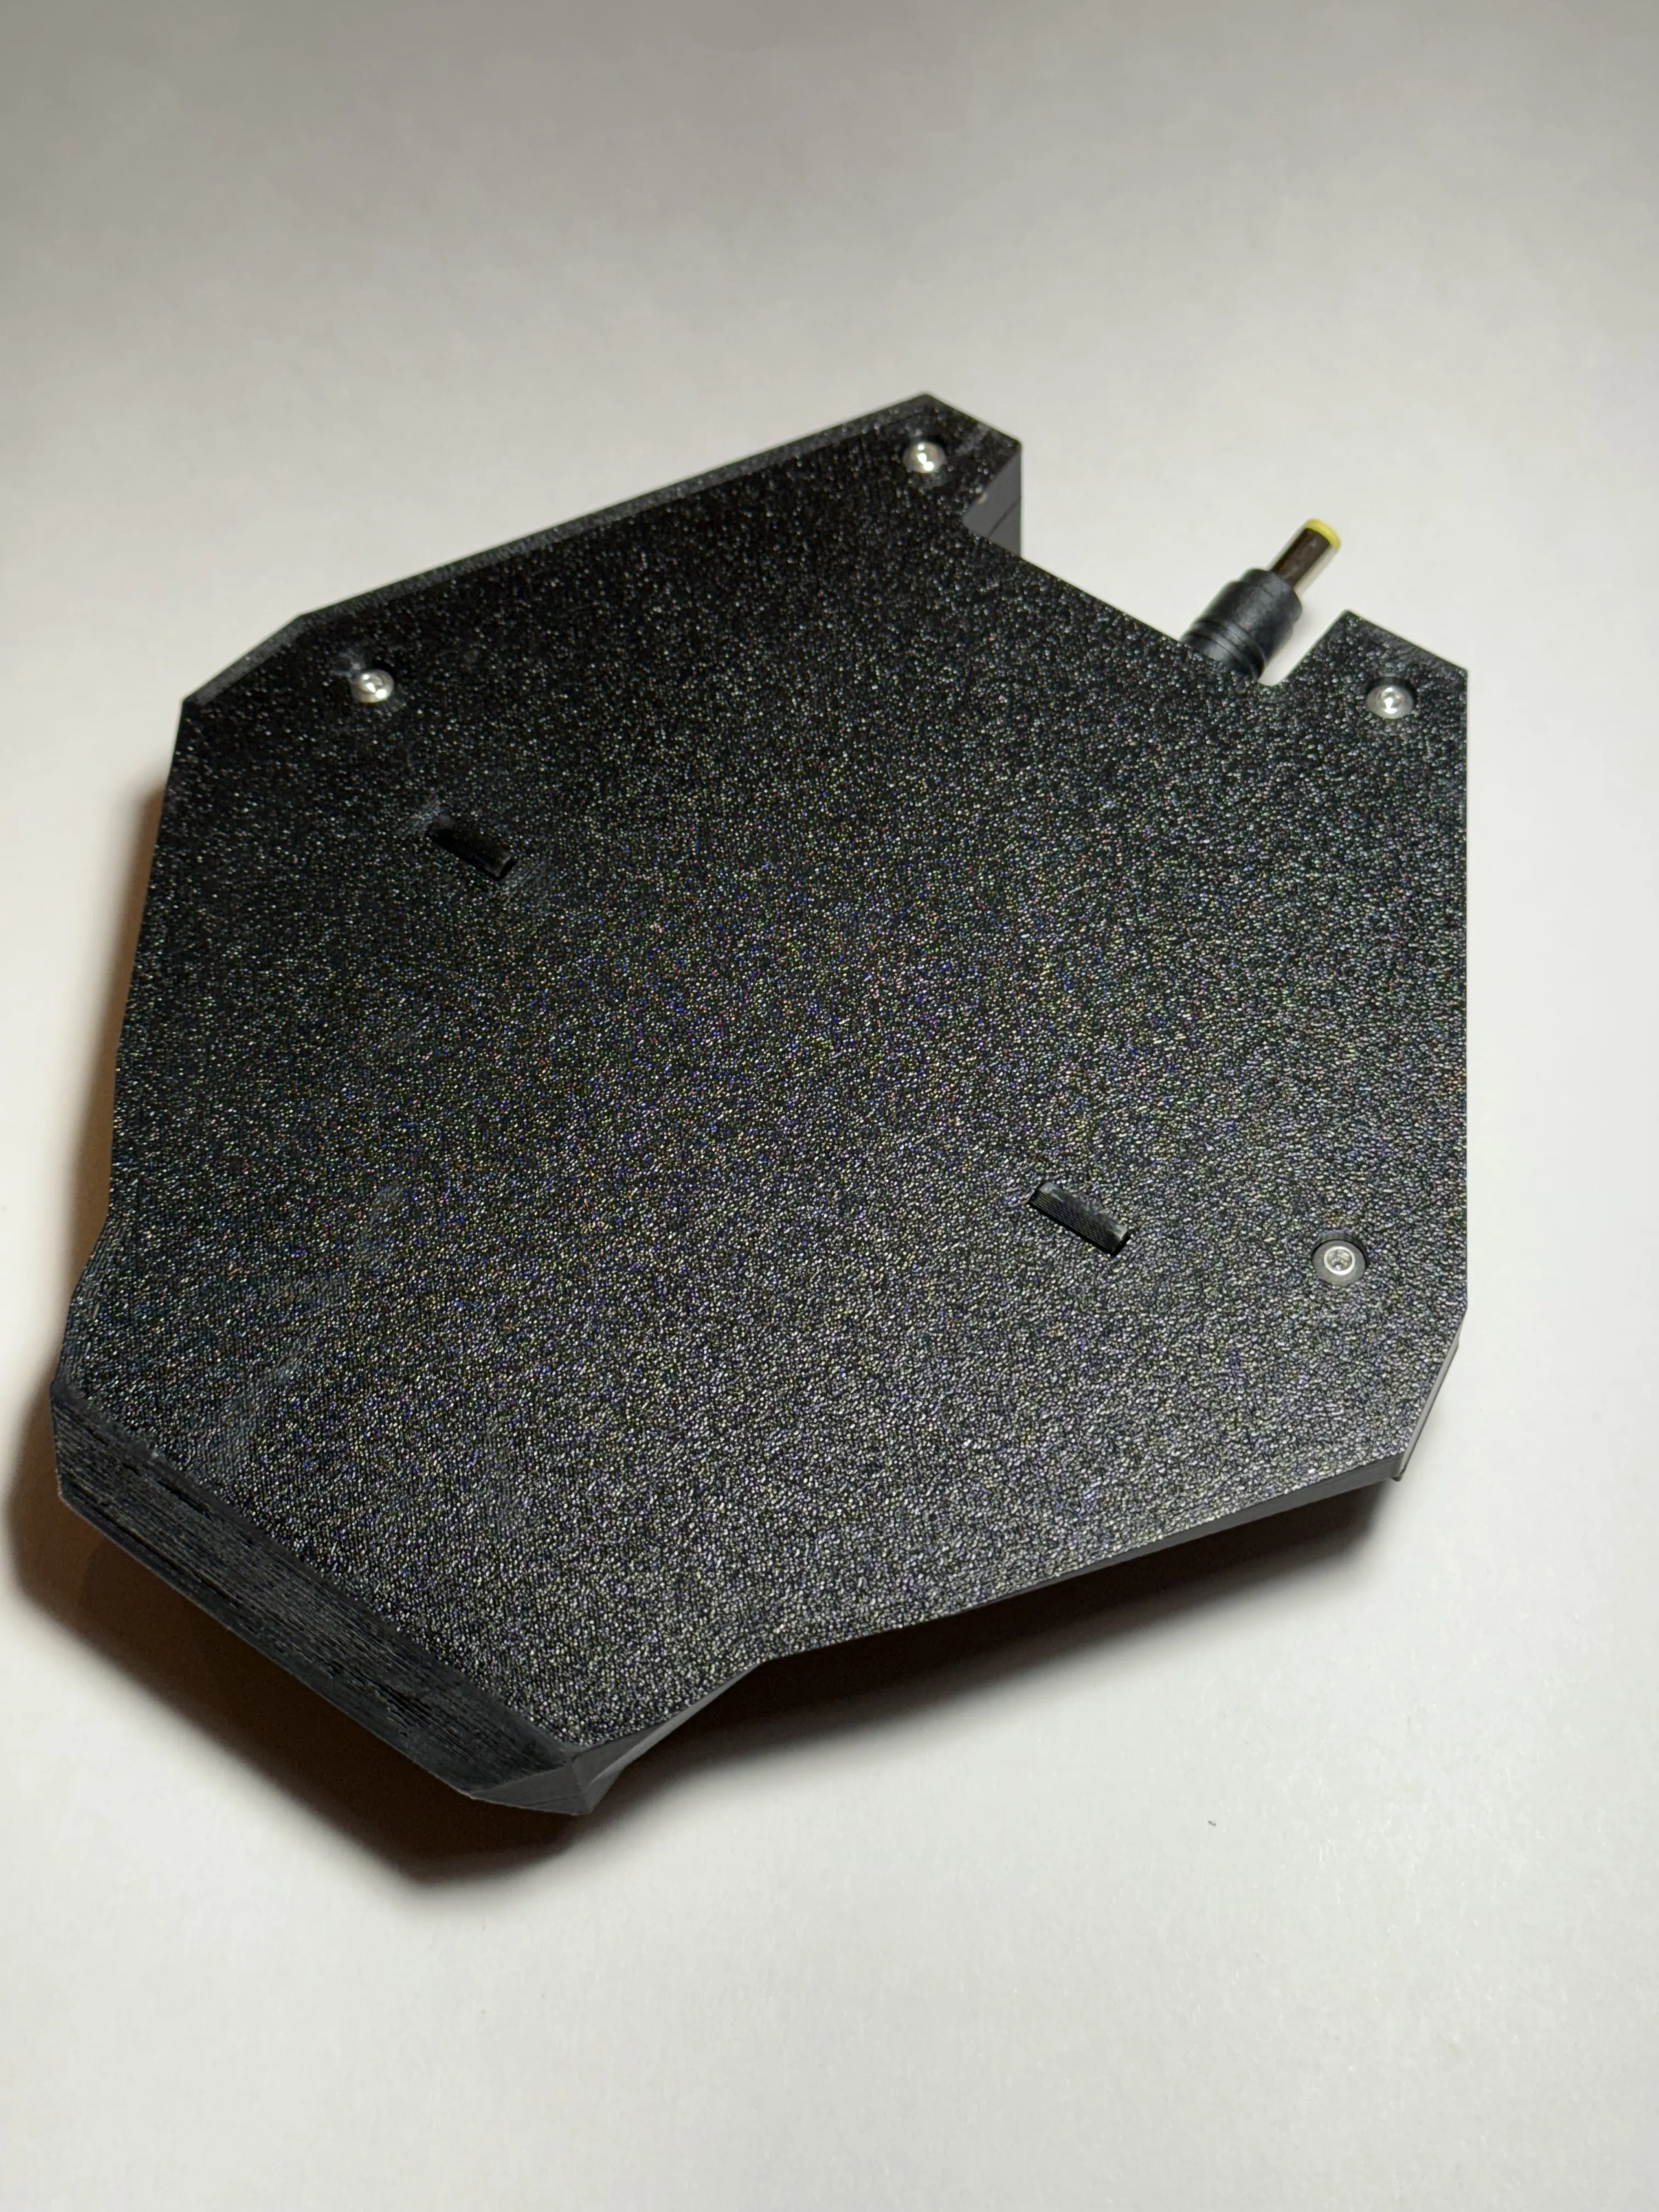
Glue the “clips” into the bottom of the adapter. I prefer to put the slanted side toward the back of the adapter to make removal from the dish easier. I use CA super glue to install the clips.
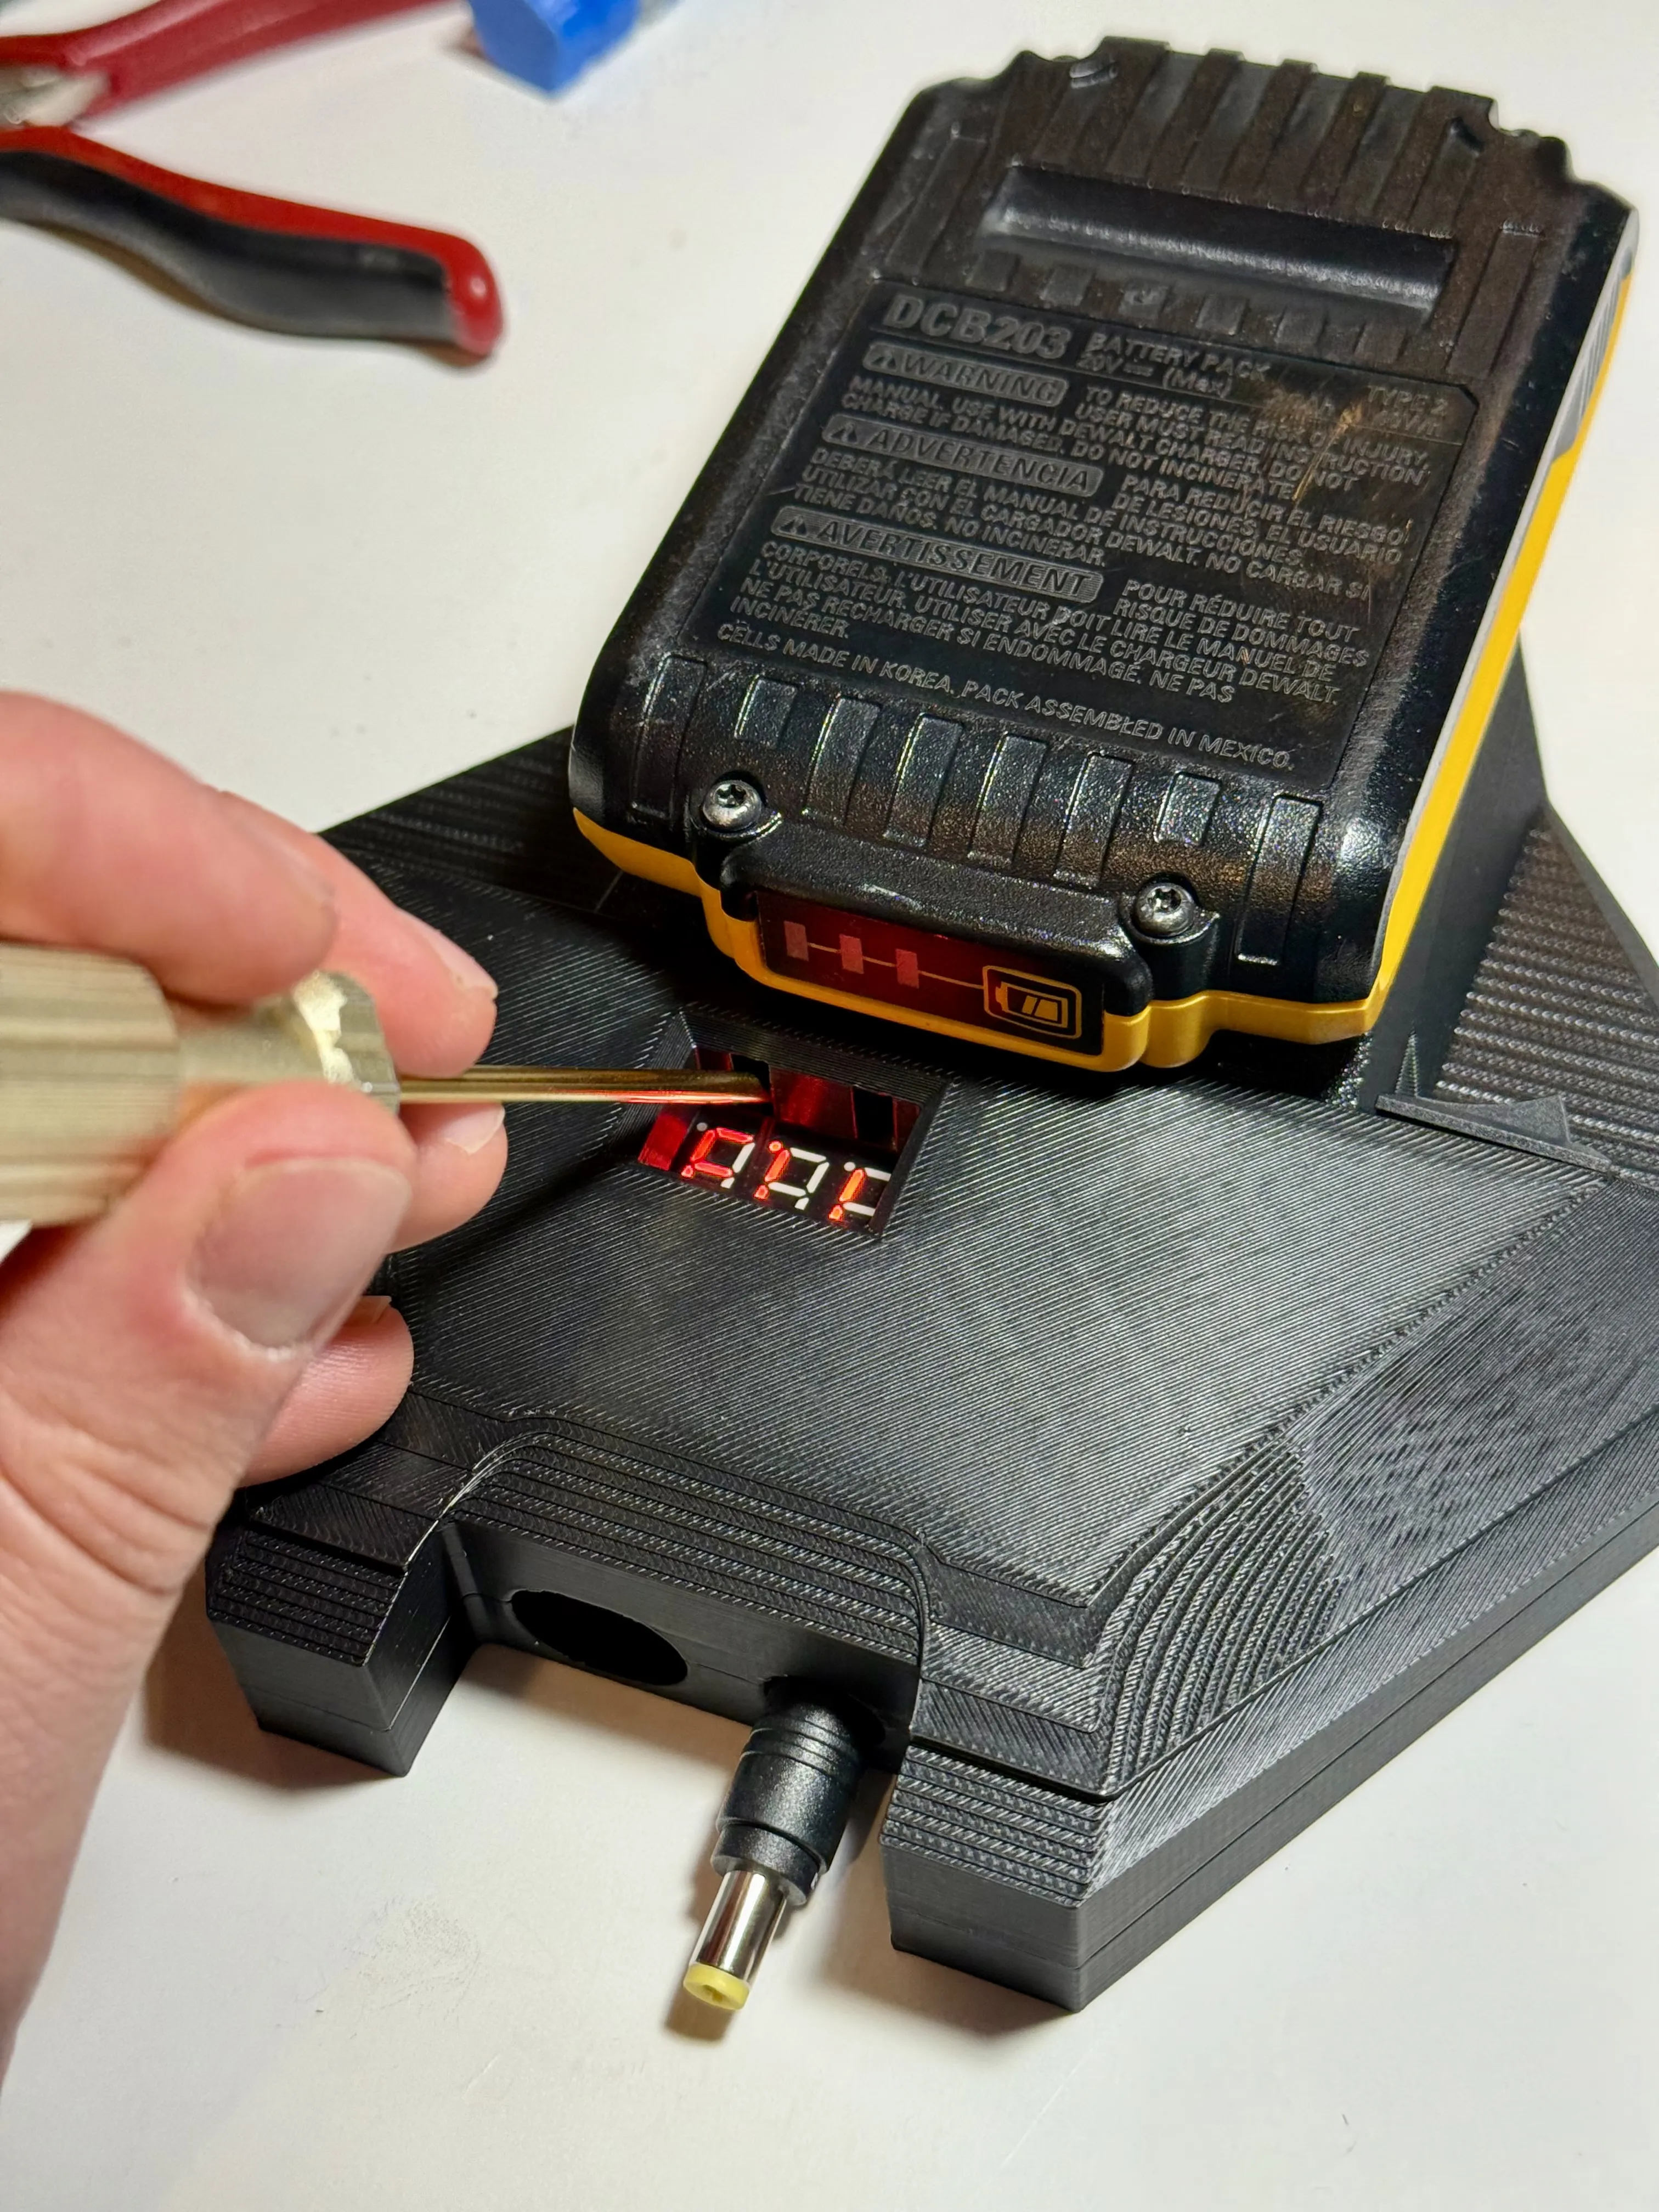
You can use an allen key or screw driver to press the buttons on the PCB to adjust the voltage cut-off voltage. I set mine to 16.5 volts.
License



Comment & Rating (92)