With the recent release of Makerworld's Flexi Toy Maker I really wanted to give it a try to design my own unique model. I wanted to provide an article of what I found useful in using the new design tool and how you can create your own creation. There was some tips within the app but found some items confusing.
What is nice with the Flexi Toy maker is that it cost no credits to use. Free for your use and re-publish. My other favorite AI tool ; Printmon does use those credits and I'm planning on creating an article for that tool.
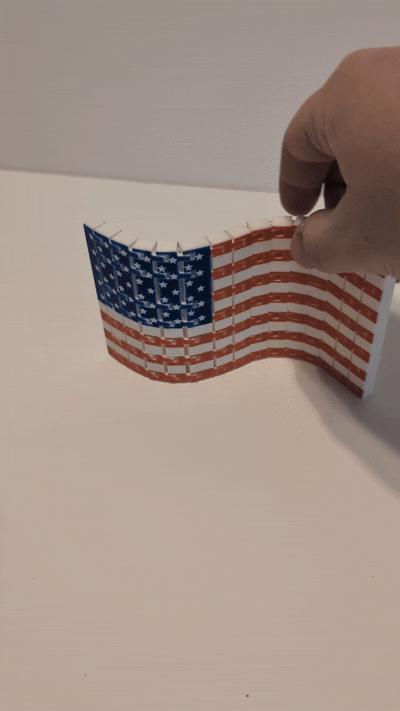
For this example, I am going to use my recent model (Flexible American Flag).
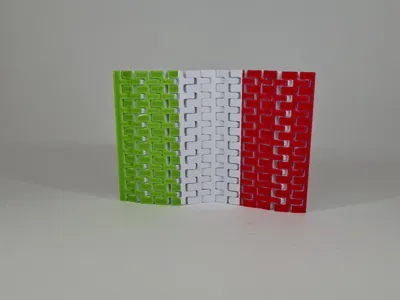
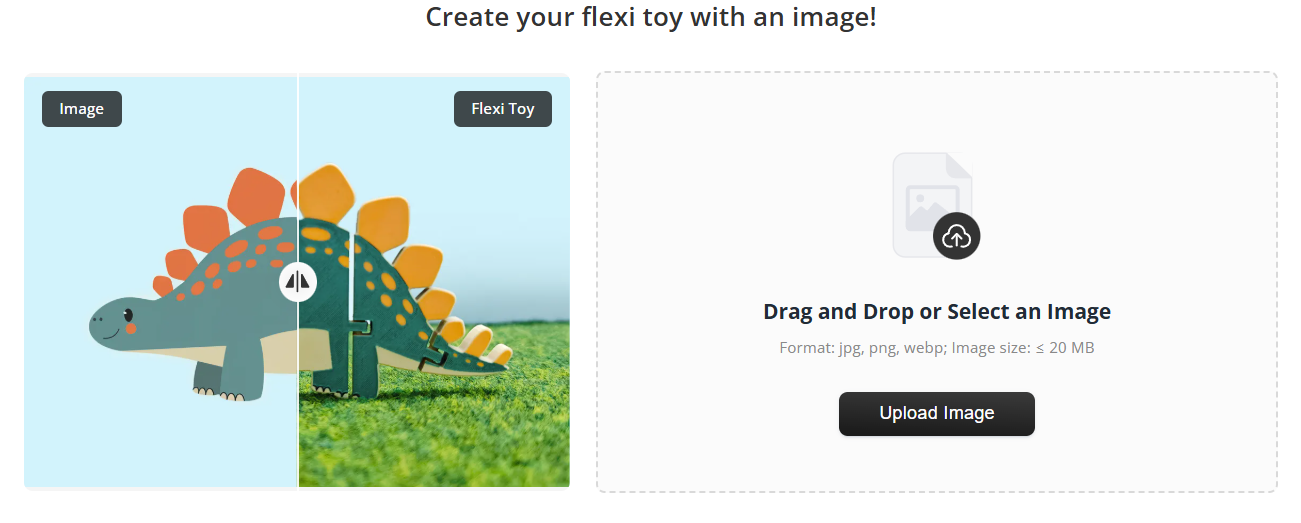
When you first load up the Flexi Toy maker you will see a screen like this; Find a good image to use. I really like the idea of Flags for the flexi Toy maker and following these steps you can create a NASCAR flag, USA states, other countries, sports teams, etc.
Be mindful of the image you are using and any CC that goes with it.
Once you load a picture you will start color mapping it. I like to find images with 4 or less colors so I can use my single AMS better.
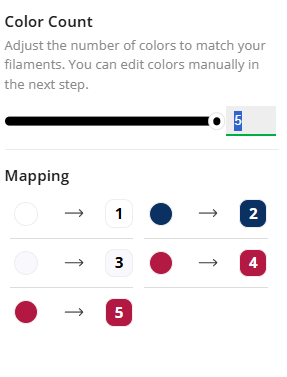
Starting off with my image we can see that there are slightly two different whites and reds in this image. By reducing the total amount of colors from 5 to 3 the system will automatically combine them. This system is similar to the keychain app if you are familiar with it. In the next screen you will be able to manually revise the color. You select on the image on the left to manual change a portion of the image to a new color or hit the groups on the right to change a multiple of them.
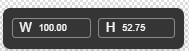
Before you start; you will see your image and the size that it will be. By selecting it now you can scale it to the size you want. My first go at it I ended up being two small and re-made it with a bigger Width.
Now comes the fun part of adding the hinges to the model. The global settings are fairly self explanatory so I'll skip those for now. If you have questions fill free to ask below.
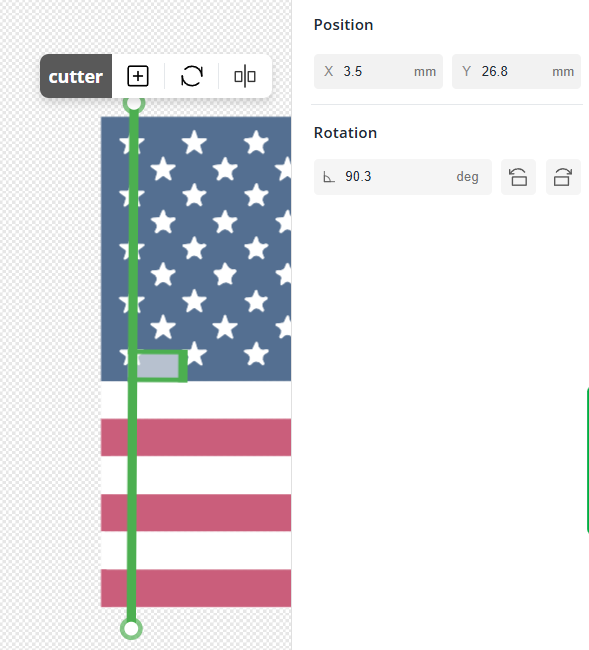
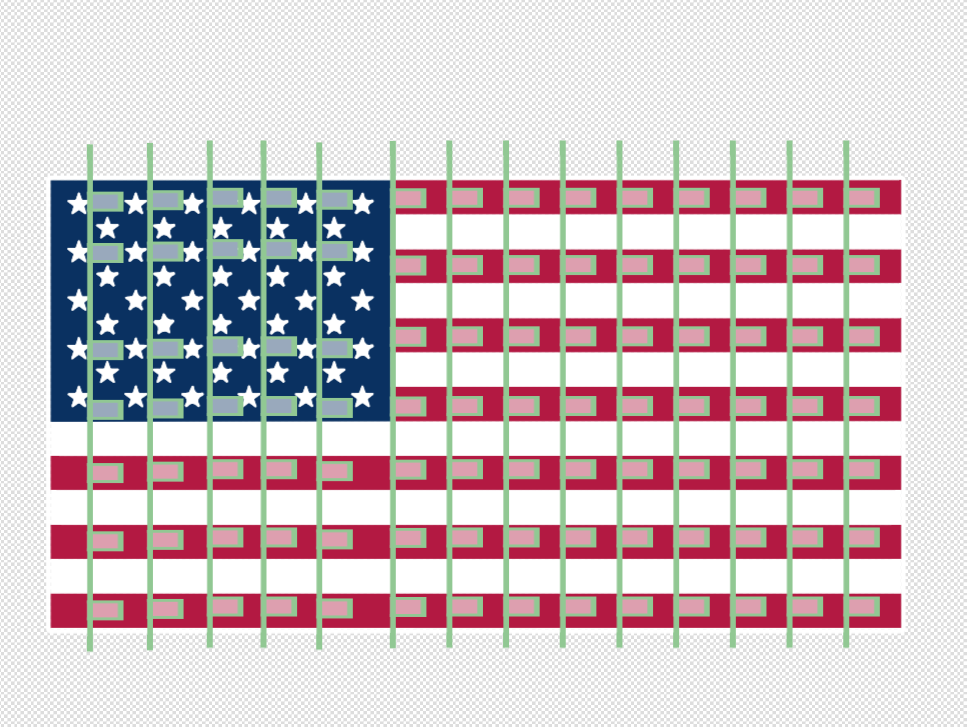
You need to make sure the hinge is completely across the image and that it turns green. Do not worry to much with your first placement you can modify the angle, and its position using the X/Y .
By hitting the + sign on the cutter you add in more hinges. I wanted to make sure I had multiple hinges to allow a more looking flag. One per stripe and aligned to not block the stars:
When you first put in the hinges they are evenly spaced. That's great for some models but wouldnt work for mine. The hinges slide along the line. By selecting the hinge you can manually put in the “joint dimension” which will align it down.
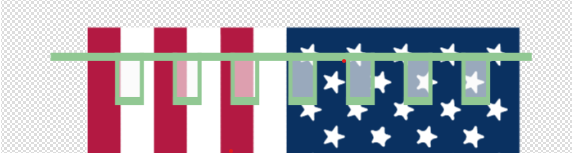
Once you select good positions for each joint of the first slice you can then CTRL+C and CTRL+V the line and it will paste it with the same settings.
GREAT, both are red. This means that there isn't enough spacing.
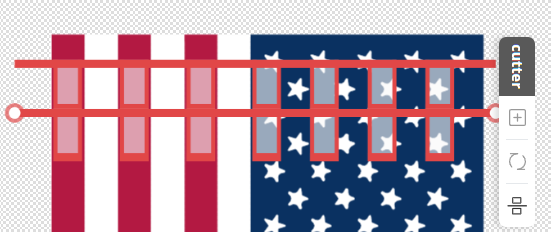
Clicking on the first Hinge I get a position placement of X: 3.6. I can select the second hinge and add a +10mm to the spacing to 13.6 and repeat to the end of the image:
With the model complete you can now “Download” and open it in Bambu Studio. I additionally added a negative cylinder (4mm) to my model to allow a flag pole to be placed.
Congratulations you just made your first Flexi Model . What are you going to create now?