1,000 Followers – Thank You
Recently I passed 1,000 followers on MakerWorld. So first of all, a big thank you to each and every one of you. 🎉
To give something back, I thought I’d share a bit of behind the scenes from my current photography setup, along with some thoughts on what to do and what to avoid.
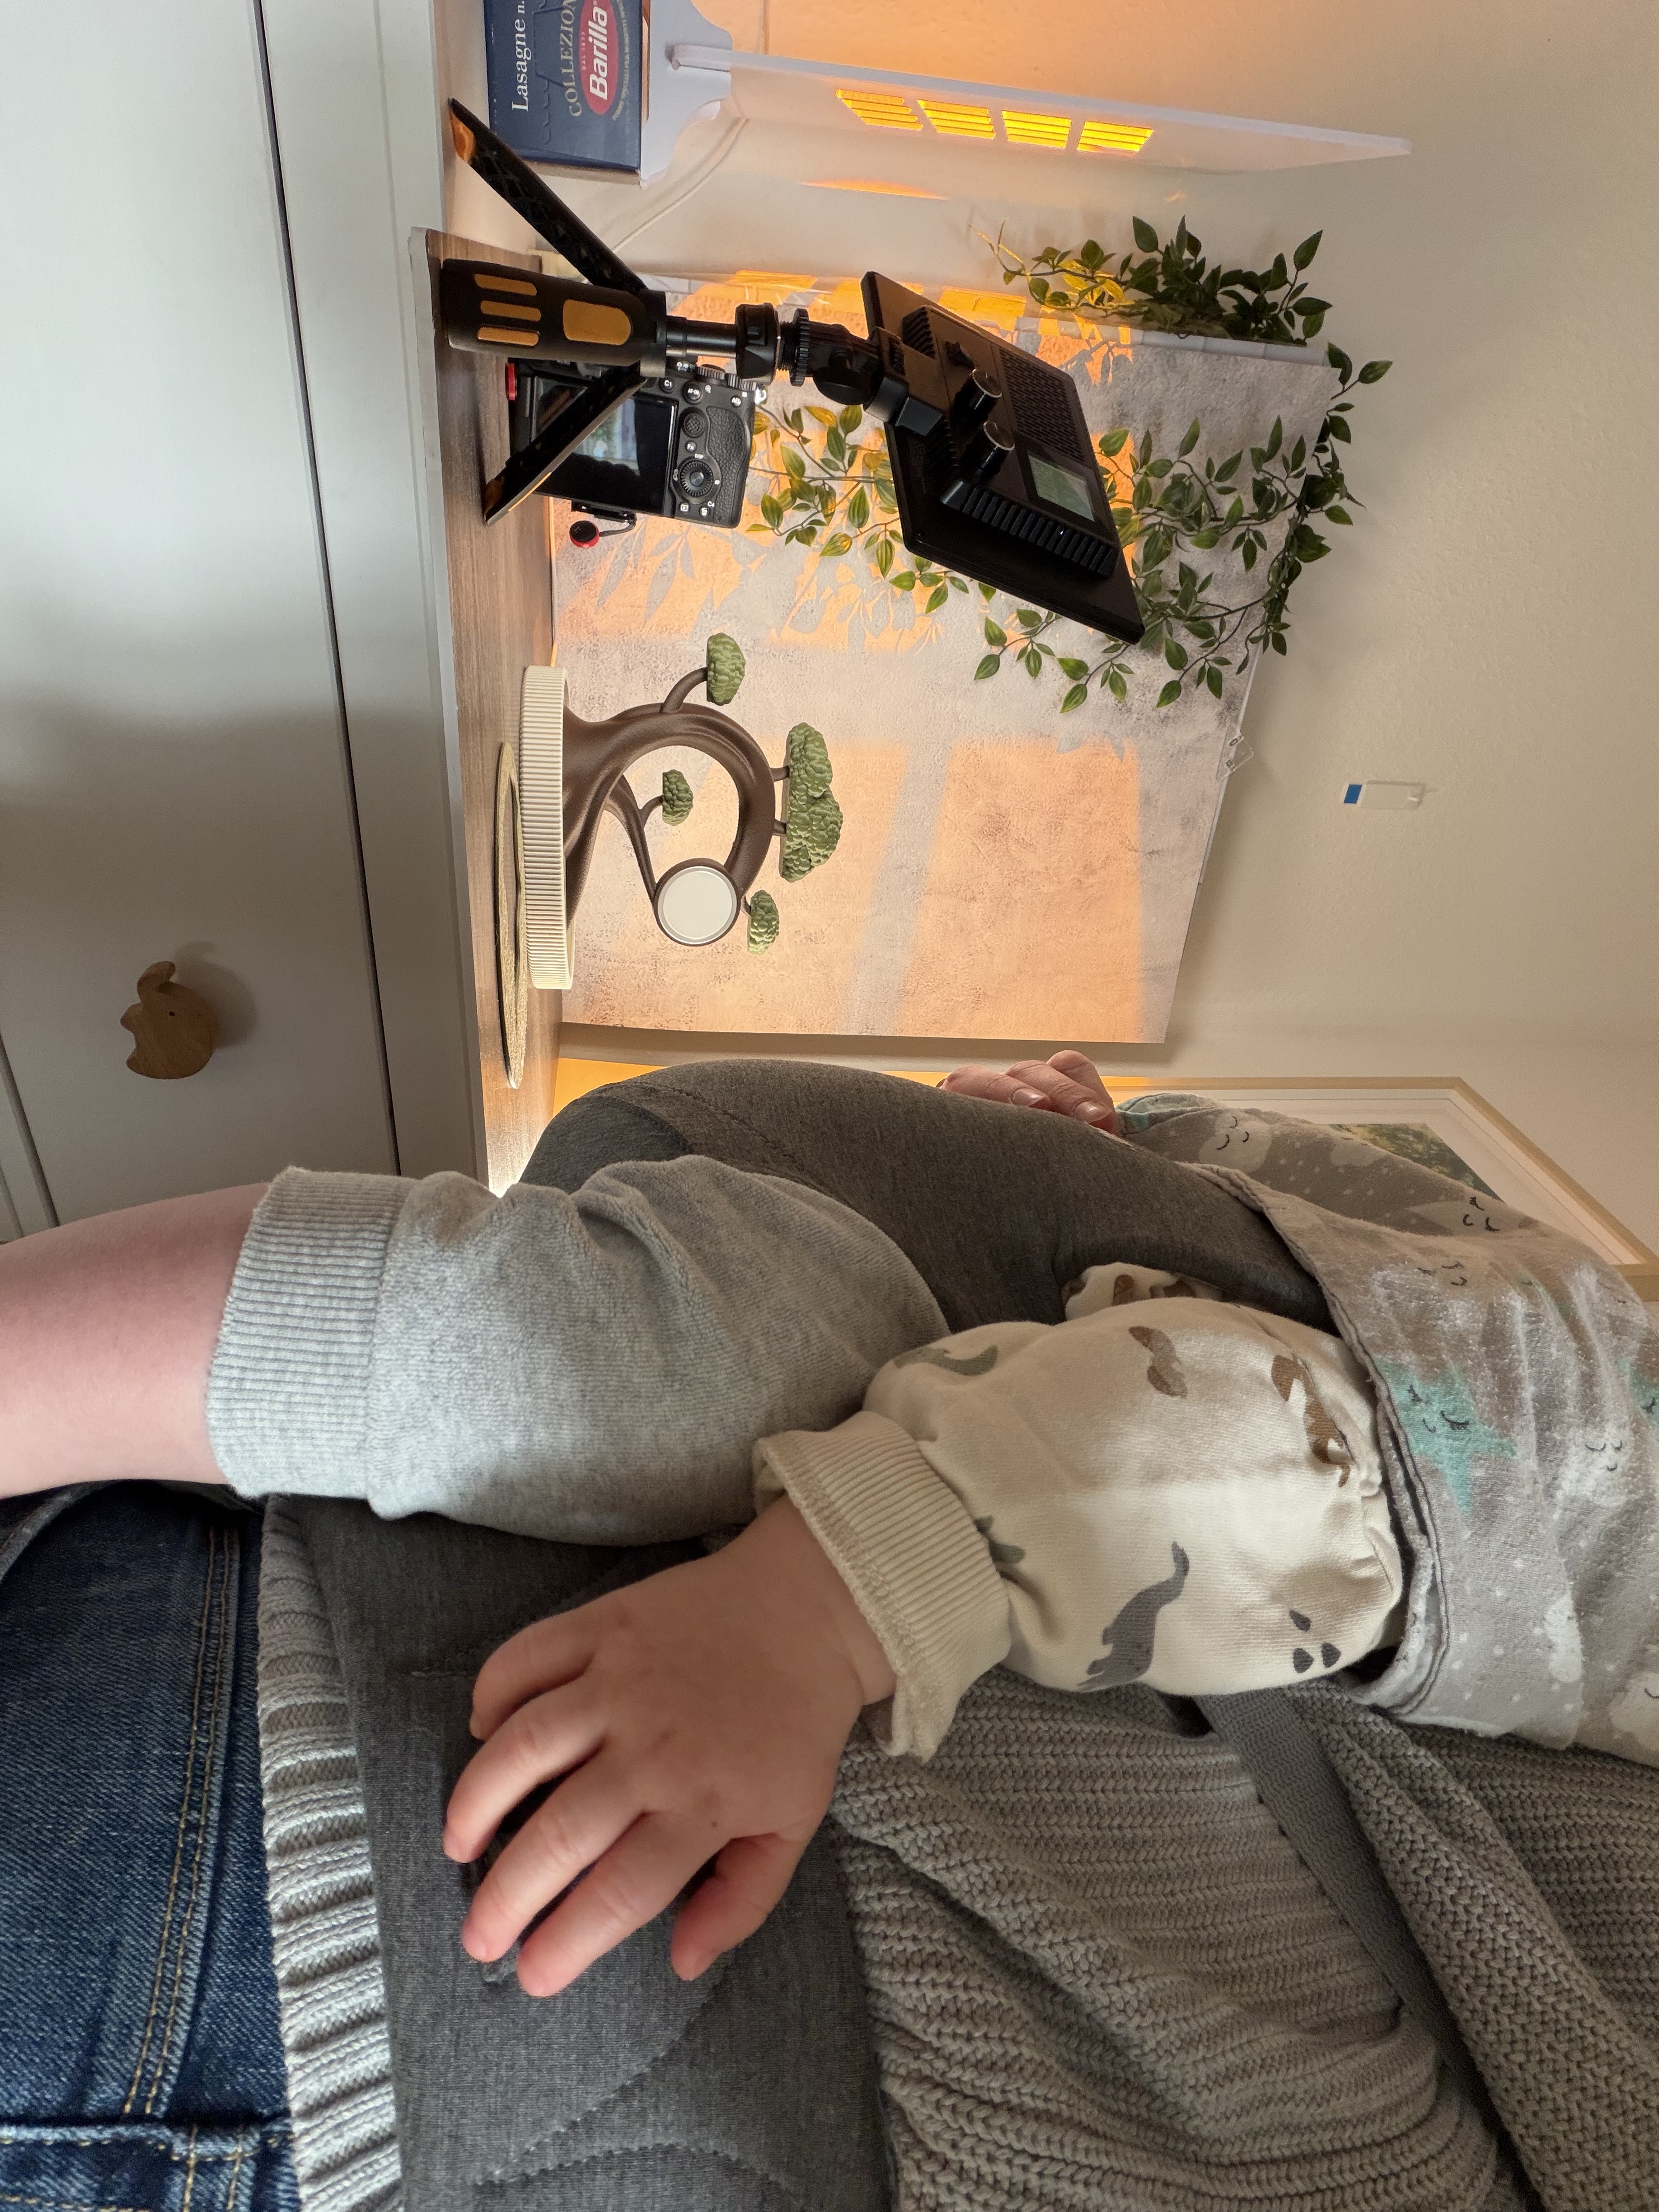
A “Studio” Built on Limited Time
I am a father of two young kids. The little “off time” I have, I spend creating 3D models and taking photos. Needless to say, I do not have a dedicated space for either. My only printer, a P2S, sits in the basement.
So I needed a setup that is quick to set up and just as quick to tear down. The need for speed mostly comes from the very narrow window between the kids falling asleep and me spontaneously falling unconscious due to prolonged sleep deprivation. A very reliable daily routine.
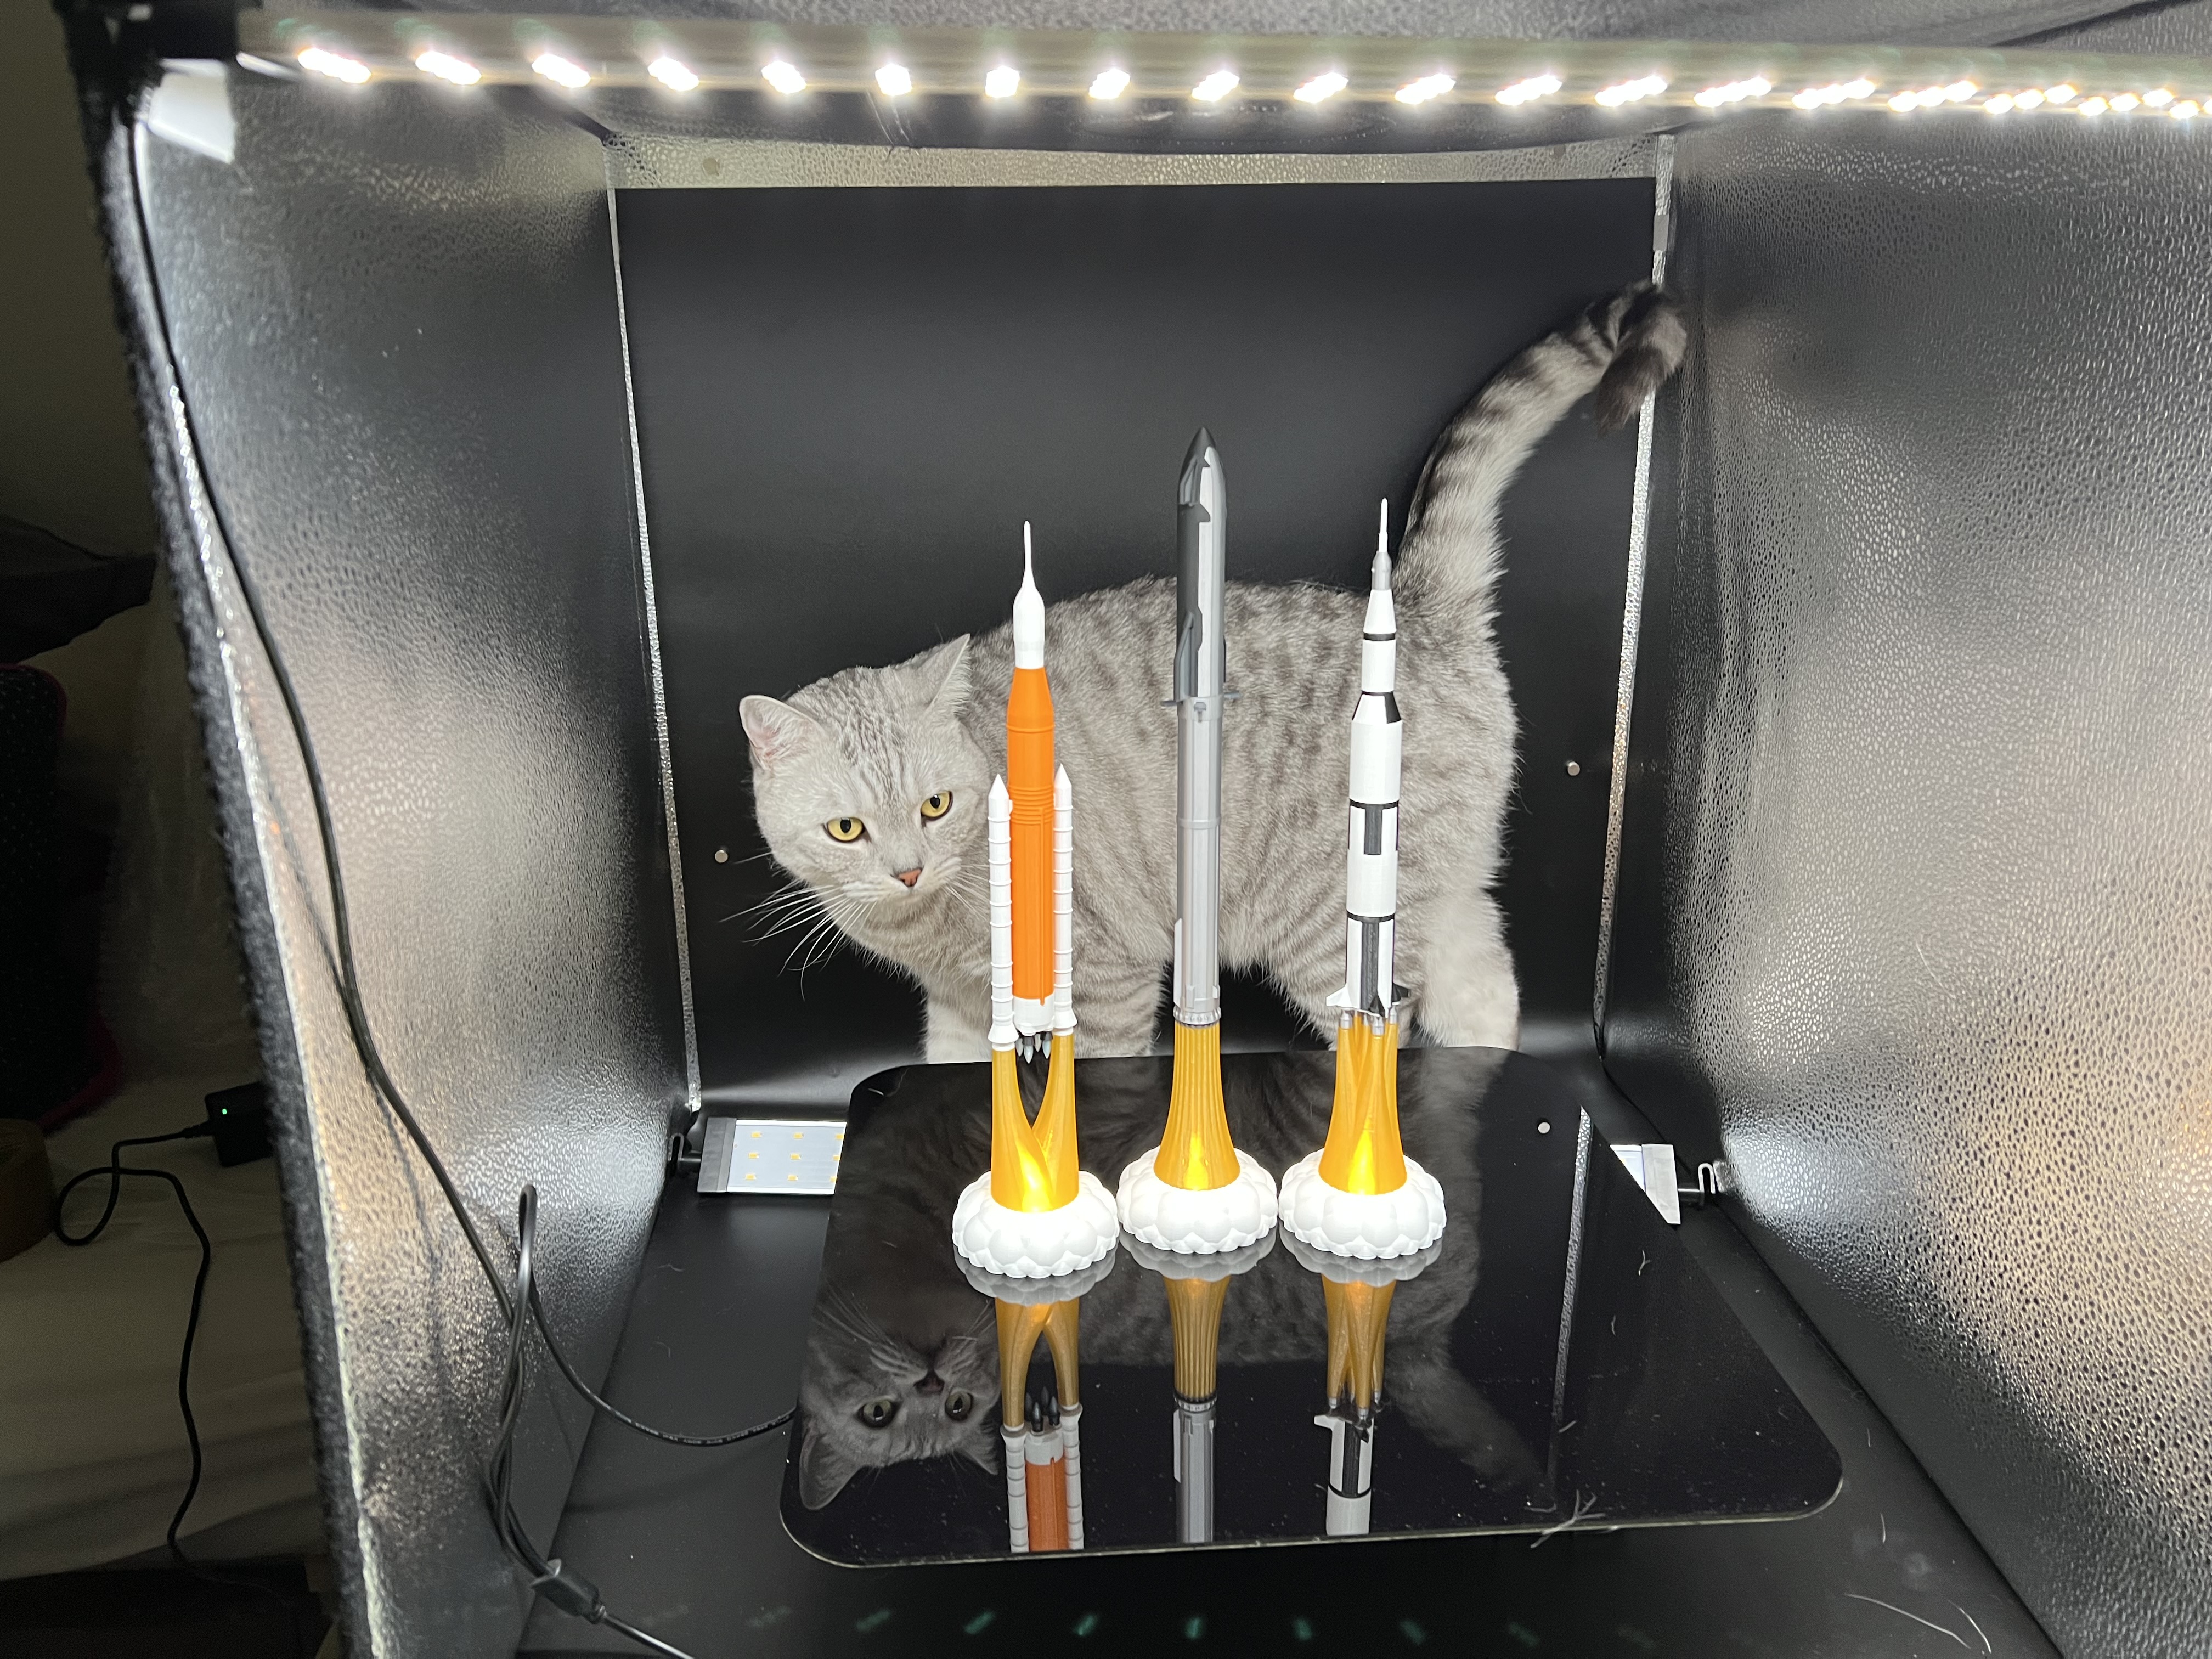
Think I'm joking…well on todays photo session I had an assistant:
Why I Don’t Use a Light Tent
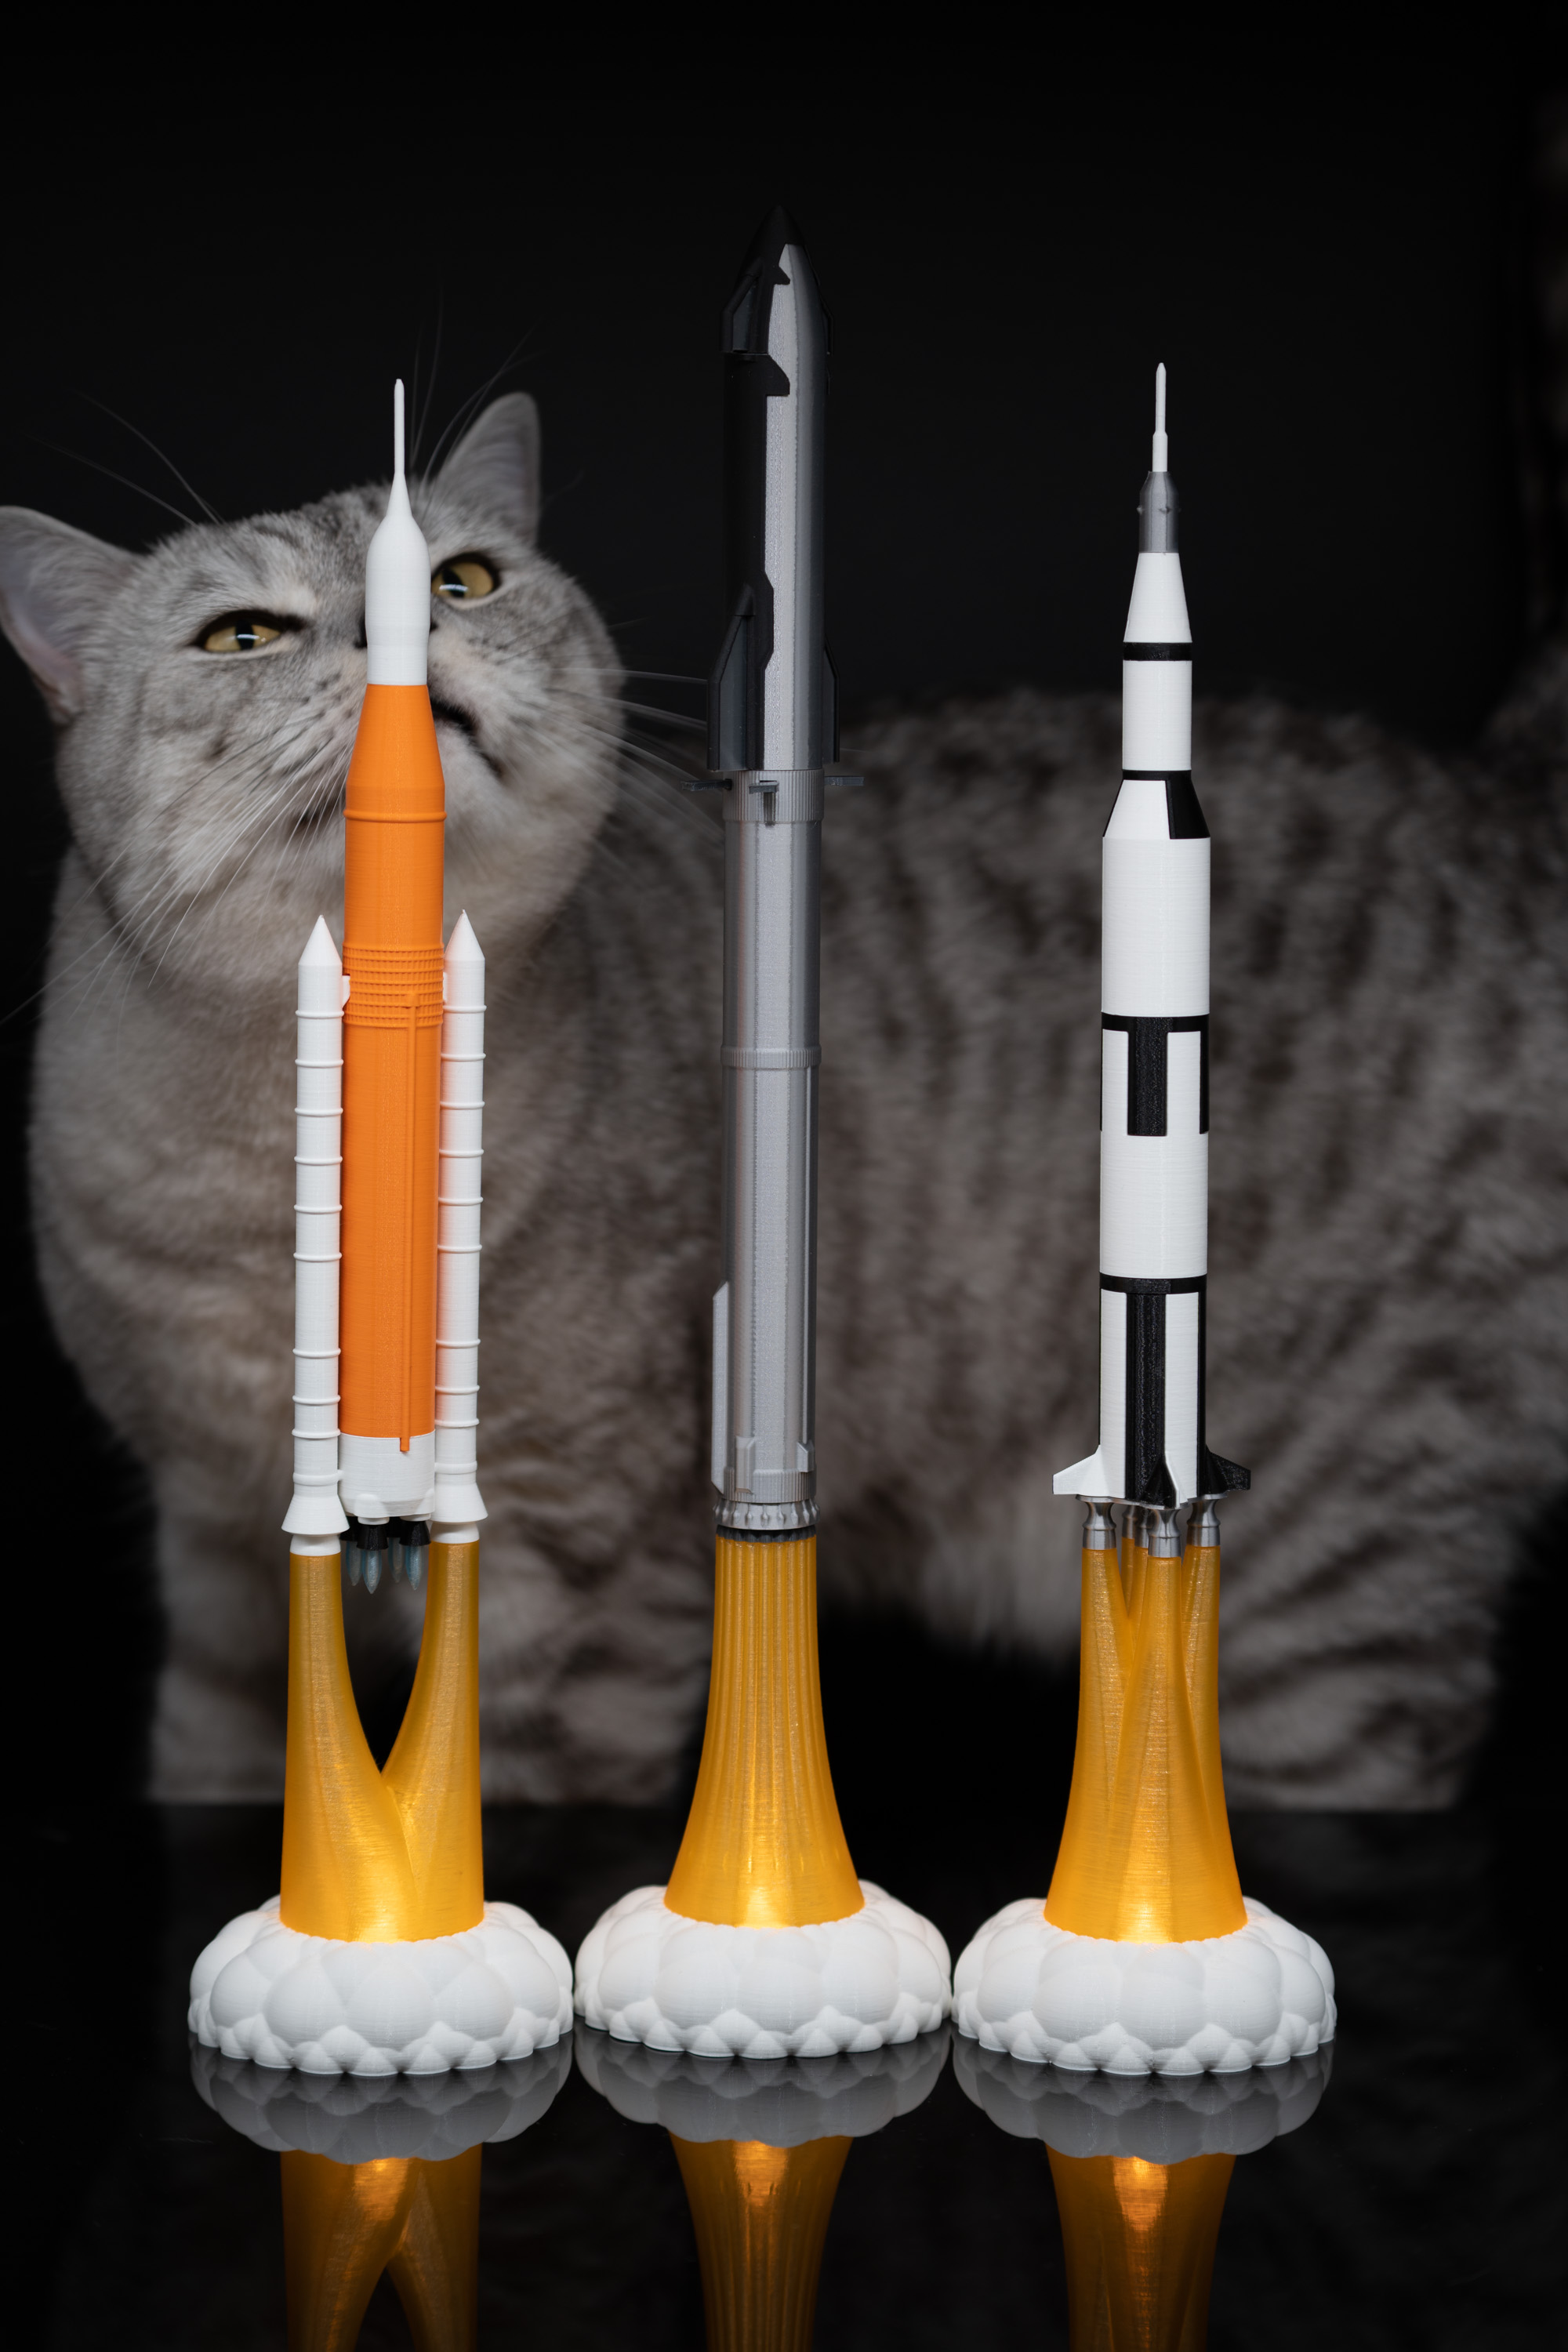
I decided against using a photography tent. I do have one, but I don’t use it anymore. It is too tedious to set up and, once it is up, not flexible enough for the shots I want. Back in the days I used my tent mainly for photographing rocket models for Etsy. The sterile environment of a tent was perfect for that. Sterile as long as no cat comes along that is…
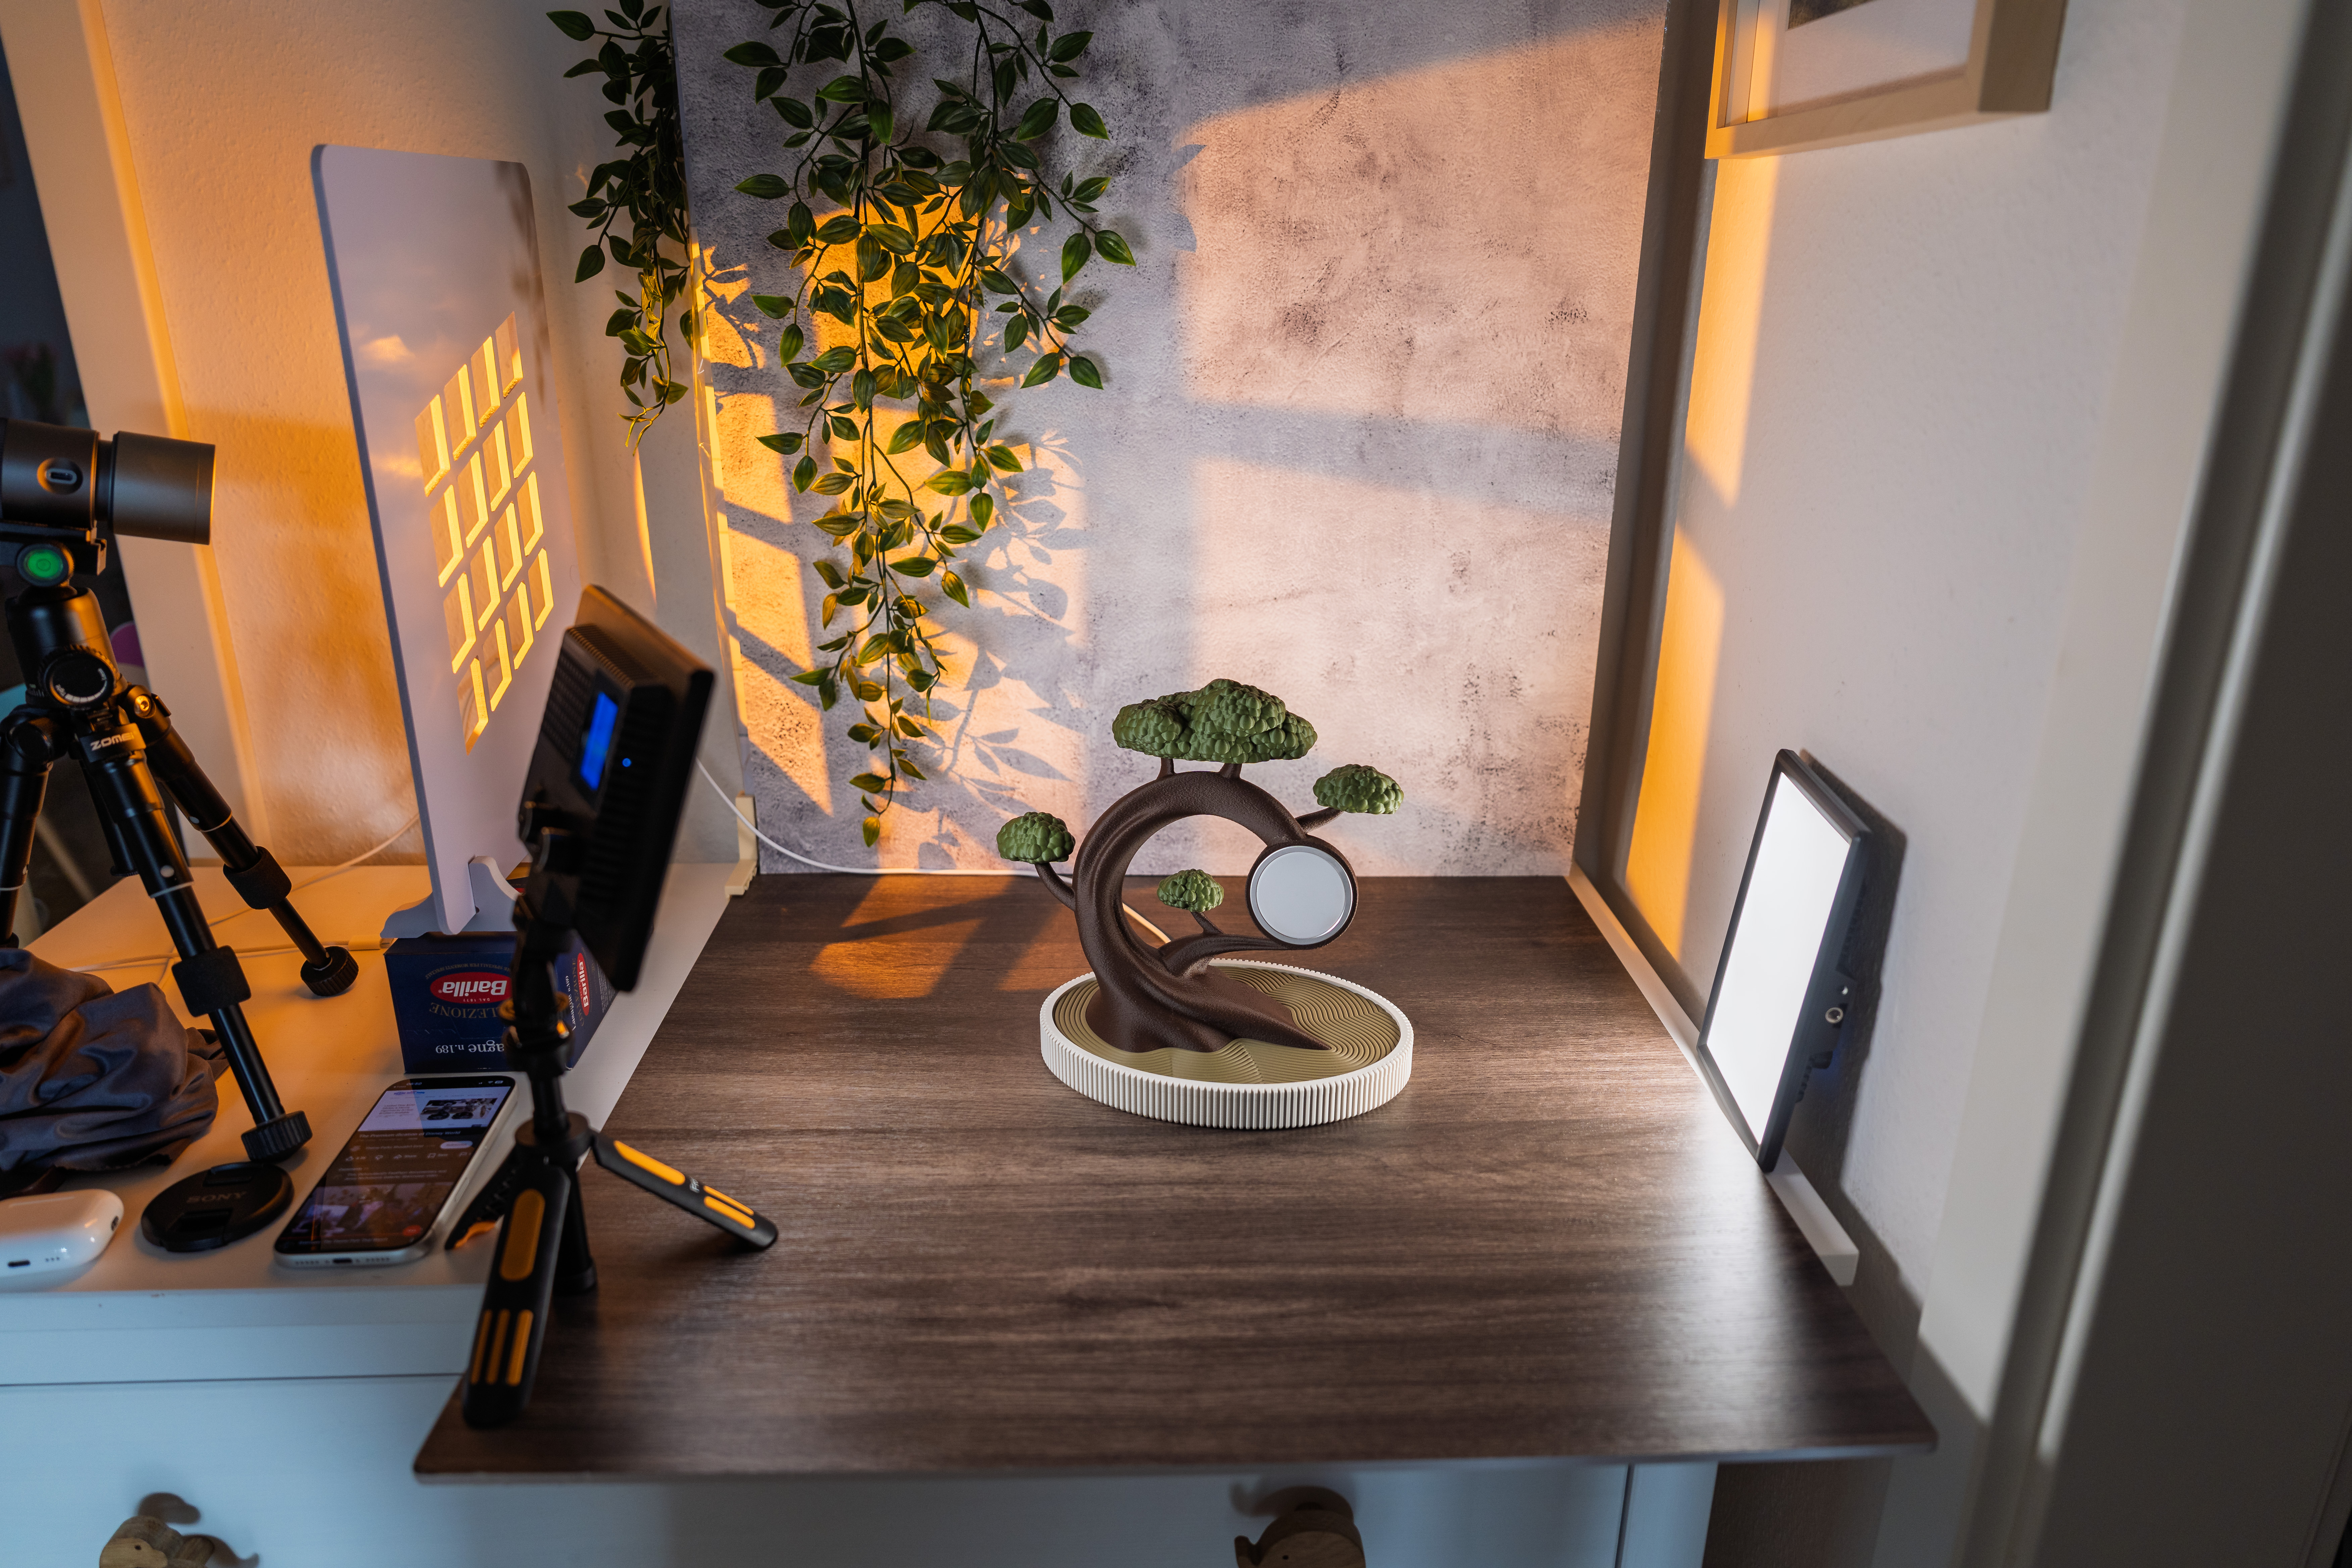
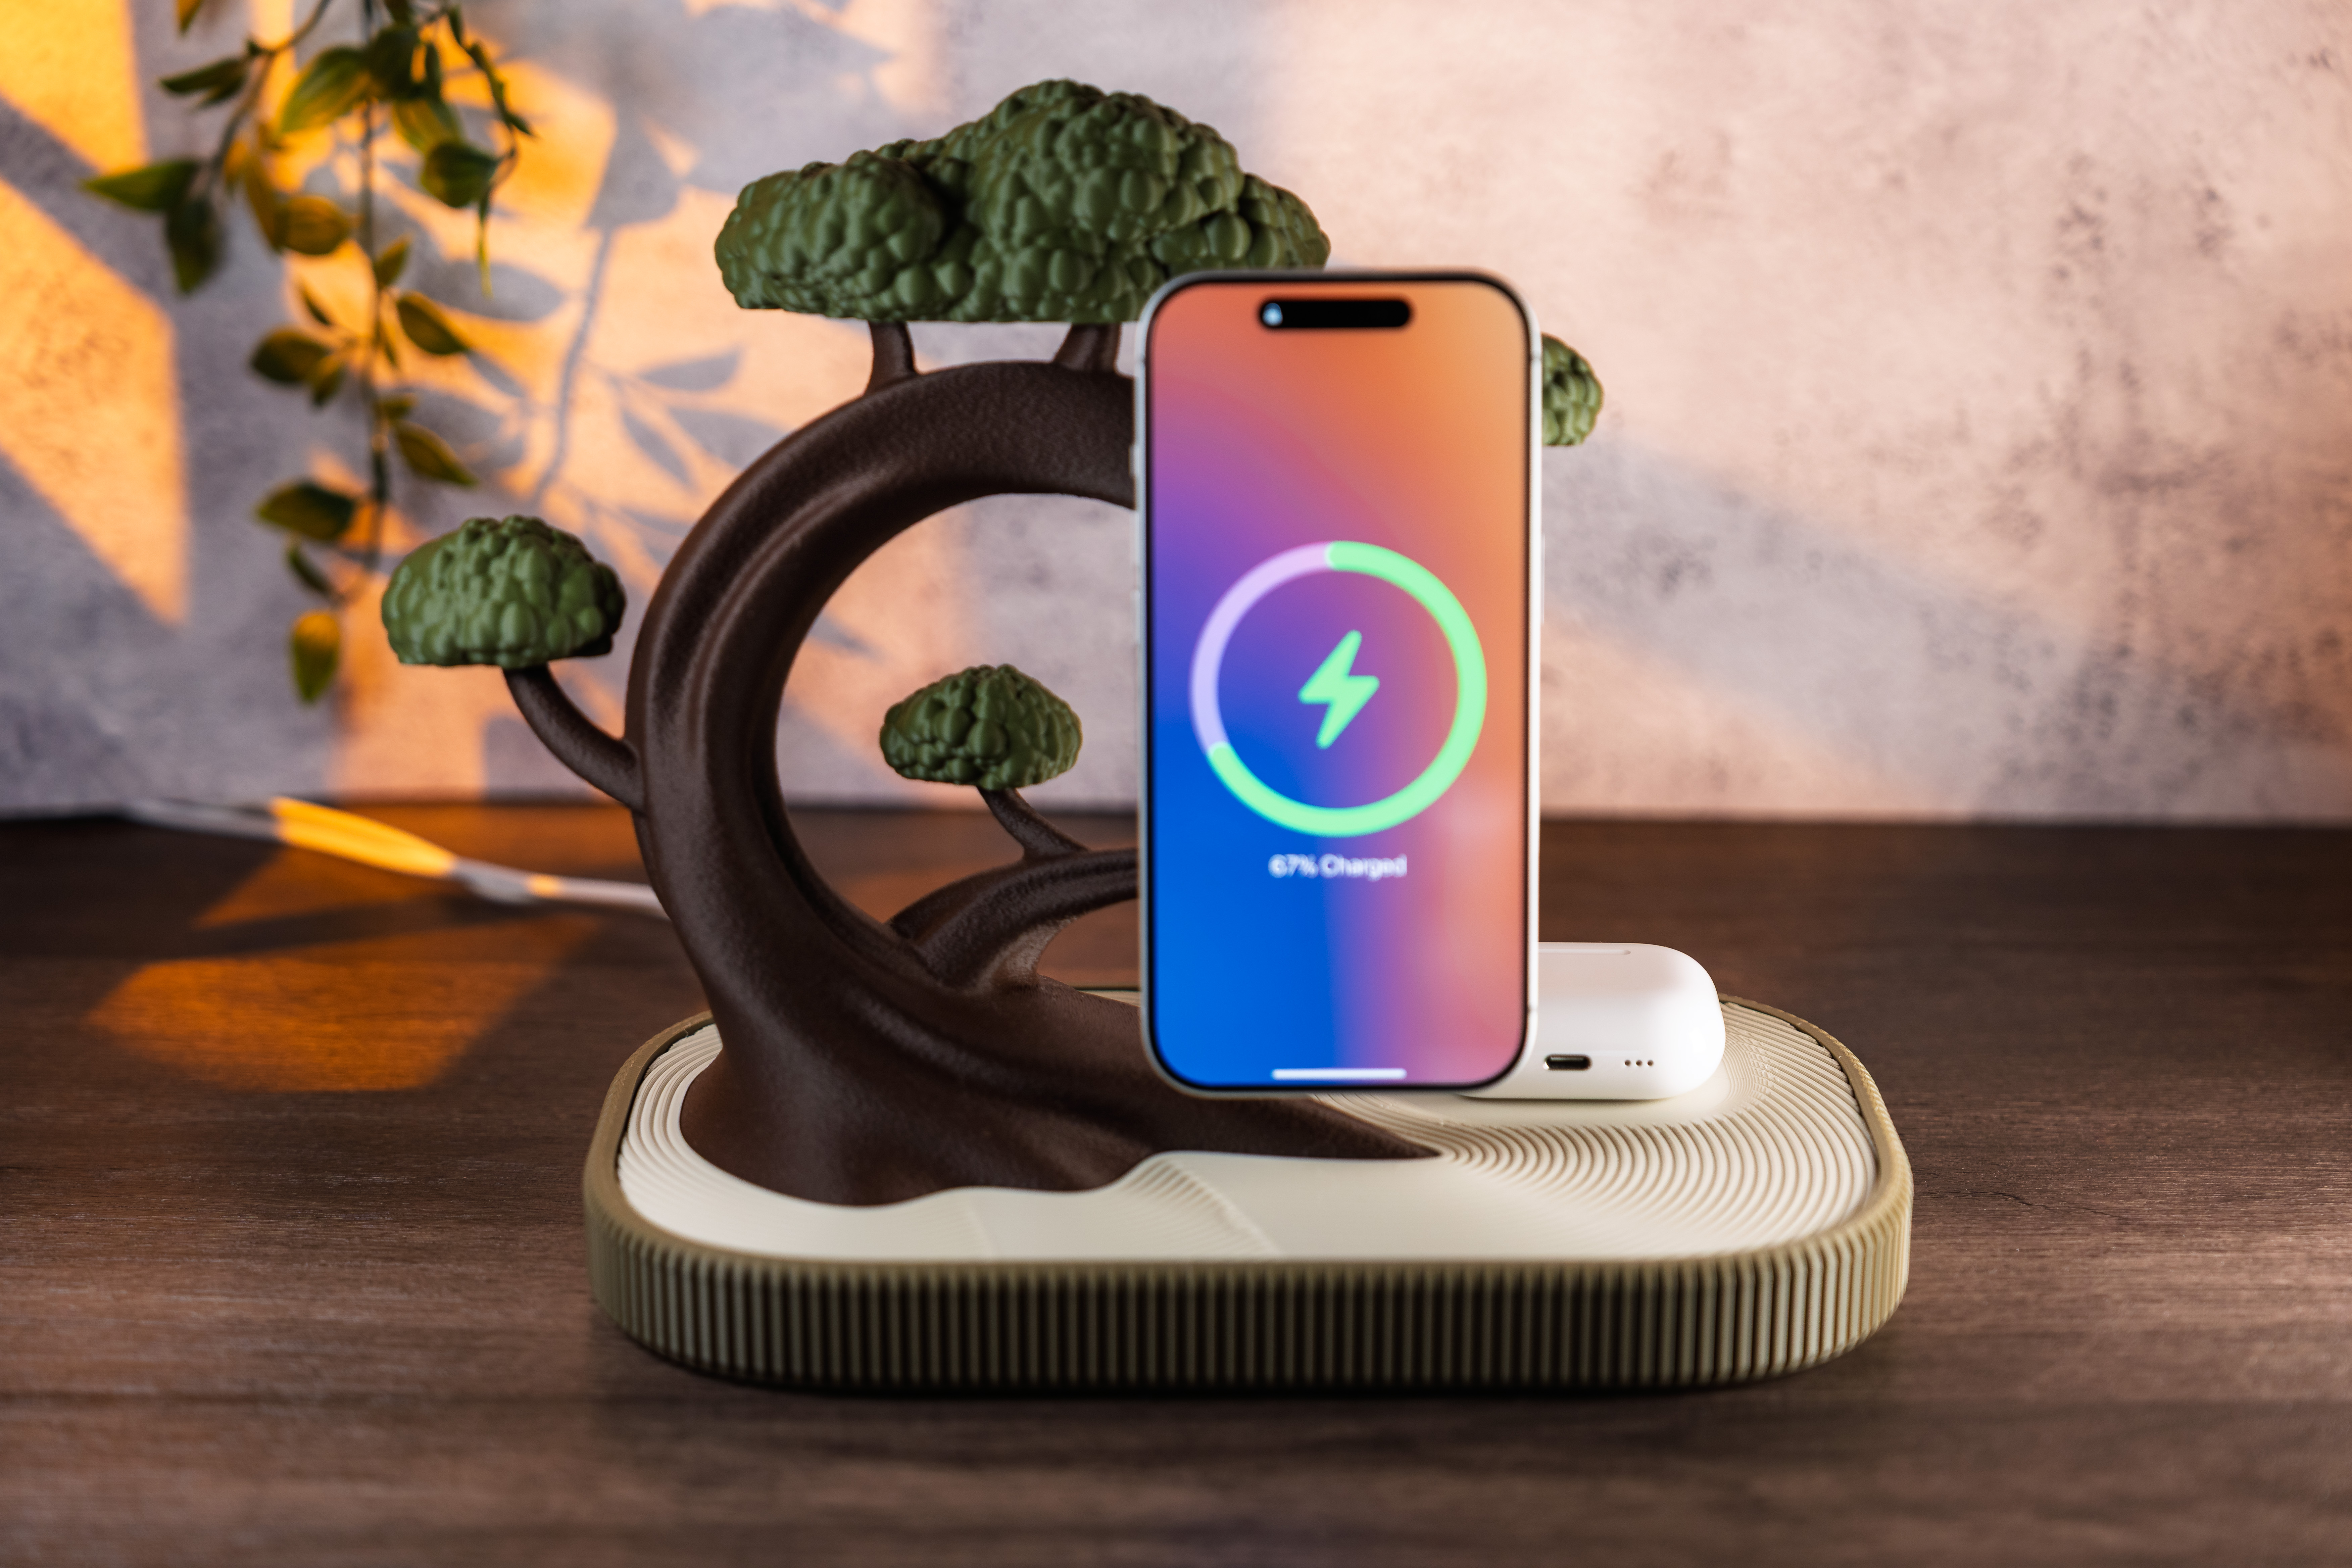
The most common print volume is 256 × 256 × 256 mm. I do not design models that fill that space, and I don’t plan to, but it is the general upper limit. My dual charger Bonsai planter comes in just under 250 mm, which already pushes smaller setups to their limits.
So I wanted something that could comfortably handle larger models.
I ended up with a simple backdrop setup. Two 60 × 60 cm boards and a set of interchangeable sheets. The boards are double sided with textures like wood and brick. The sheets range from marble and concrete to plain colors.
This gives me a lot of flexibility, both for the background and for the “floor” the model stands on.
For the Bonsai, I used a dark wooden base with a light concrete background.
Separating the Model from the Background
As a rule of thumb, you want to separate your model from the background. No distracting elements intersecting with it.
Contrast helps a lot. A dark model in front of a dark background loses detail, and the other way around.
You can also blur the background. This can be done with expensive lenses or with pretty much any modern smartphone using portrait mode. Honestly, phones have become so good that you can get excellent results with just a phone and some decent lighting.
A much simpler trick is distance. Do not place your model directly against a wall or backdrop.
Give it space.
If possible, place it near the edge of a table and shoot slightly into the room instead of straight at a wall. This creates natural depth. The background falls away, becomes softer, and looks less staged. It also separates your model nicely without needing expensive gear.
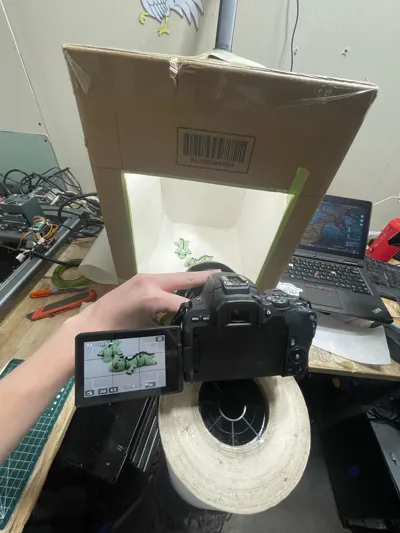
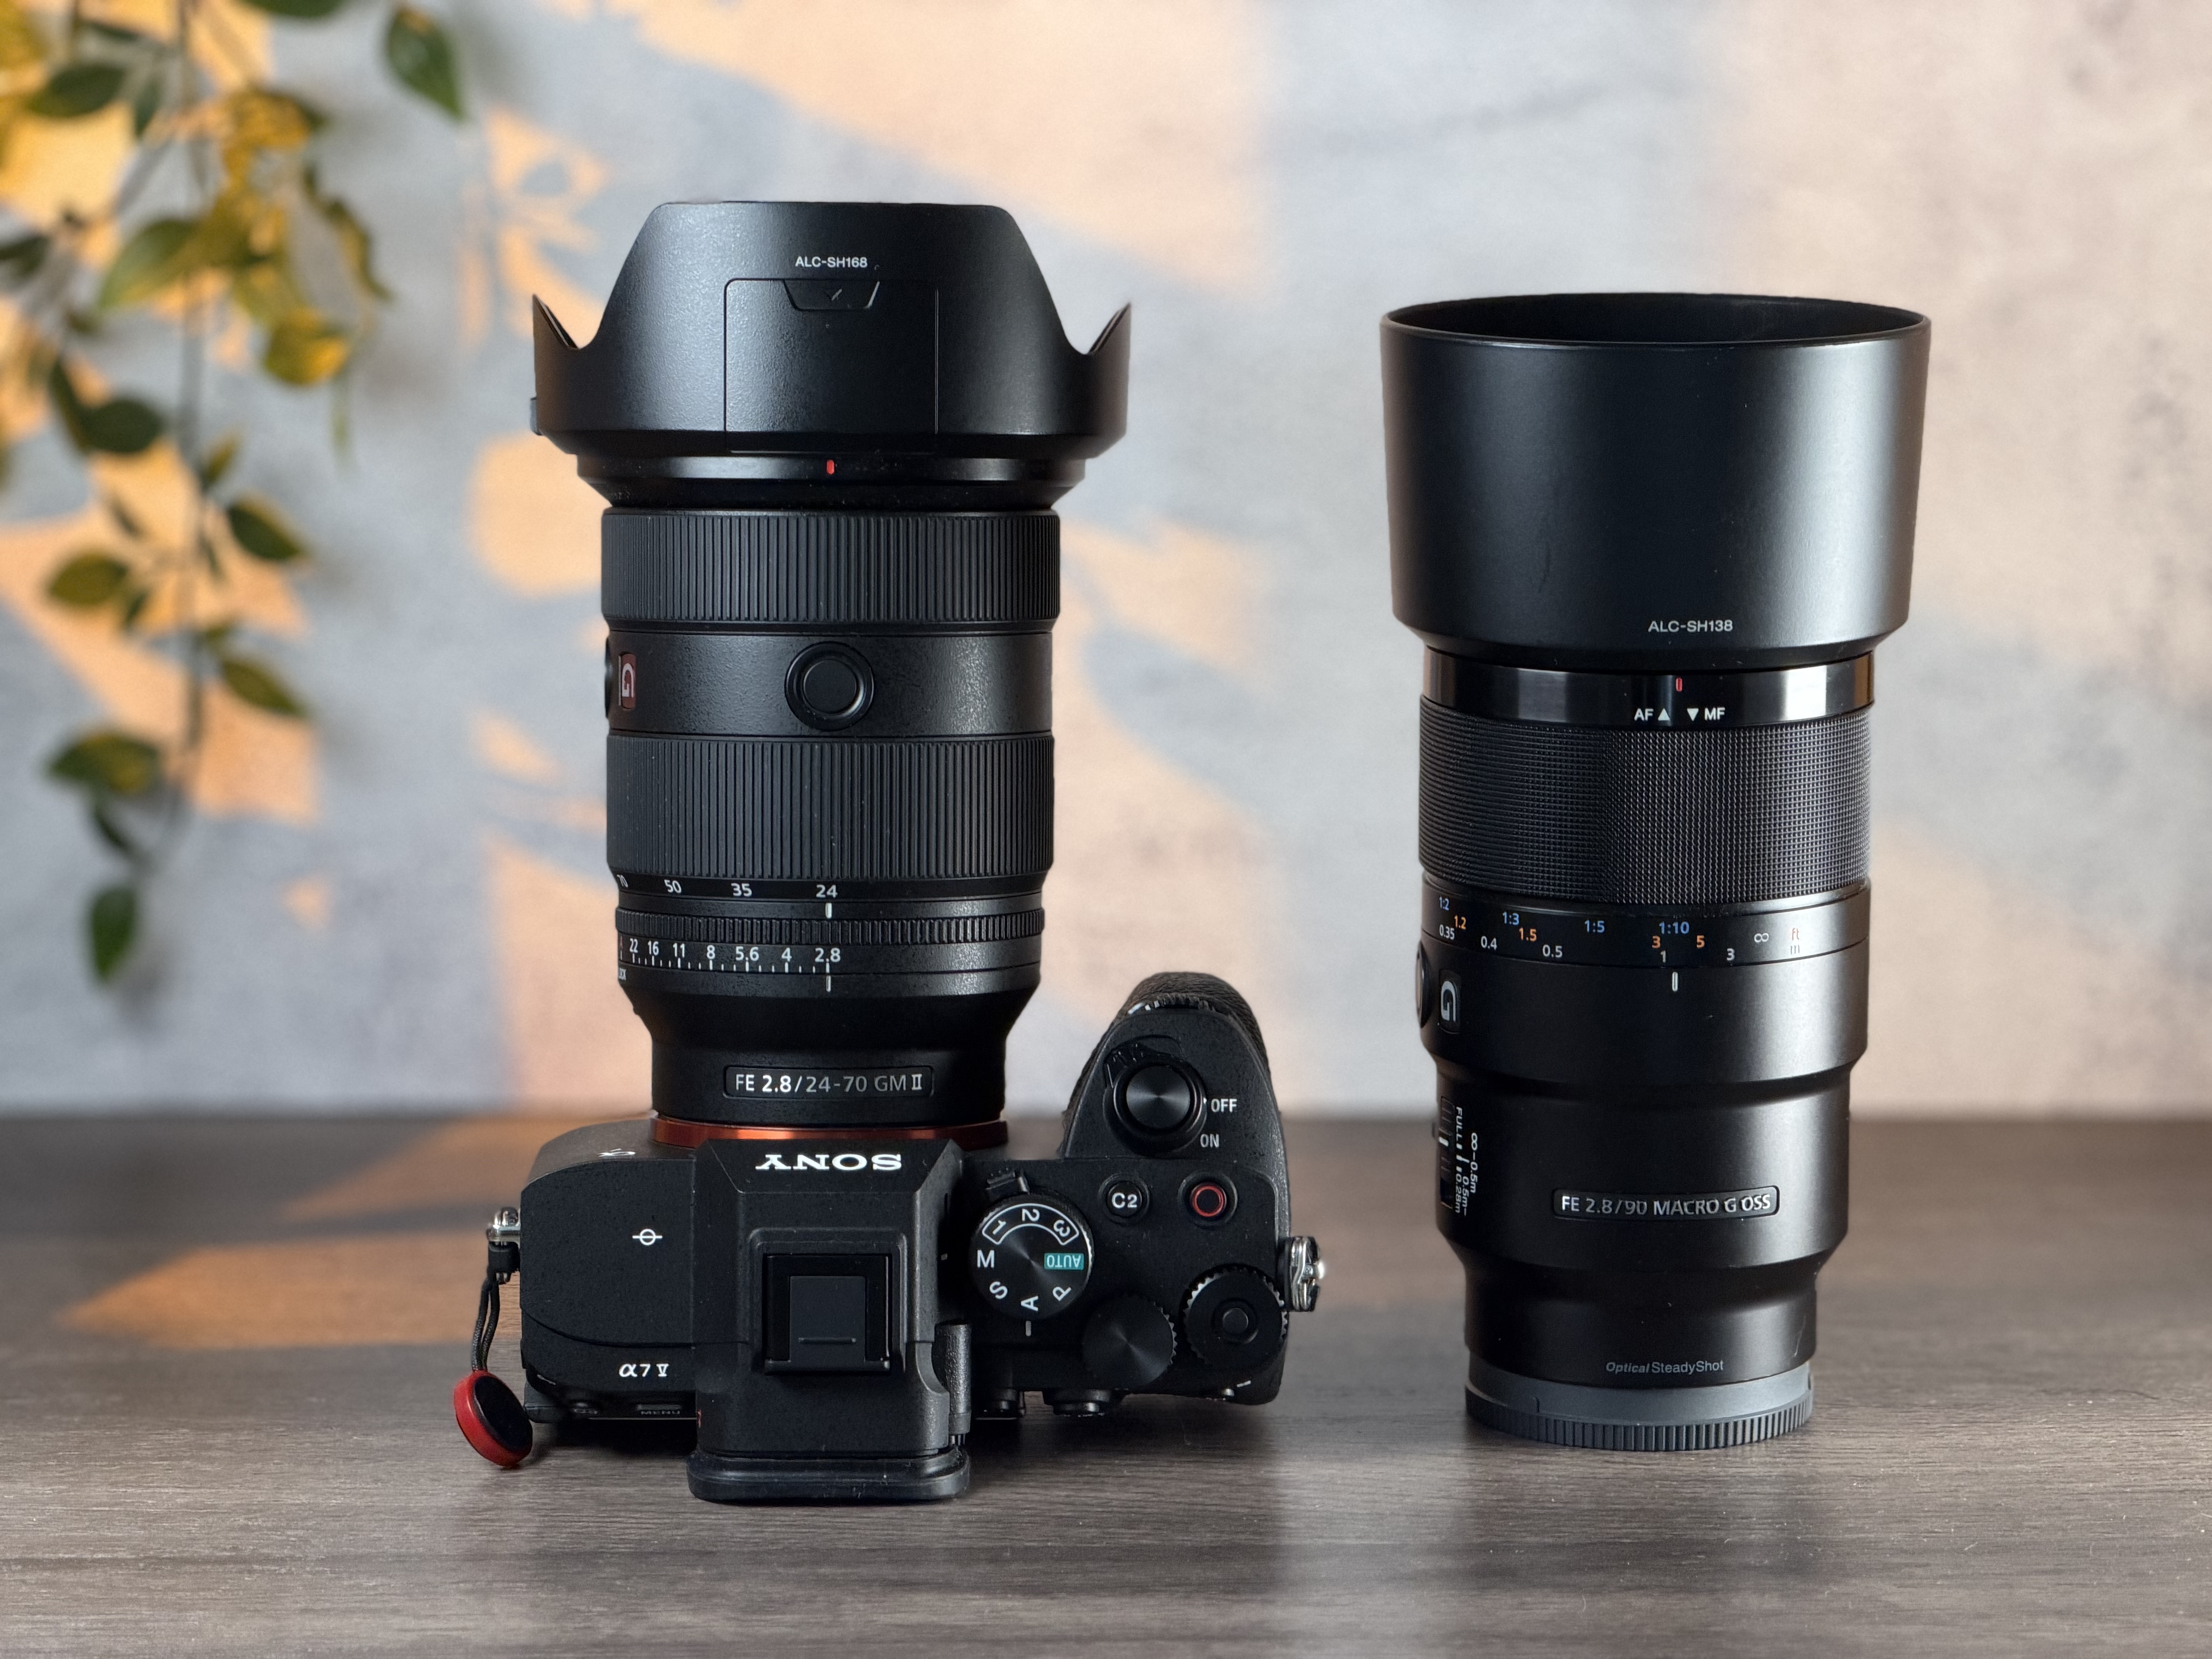
That said, I enjoy photography and make consistently questionable financial decisions. Ask my wife. So I use a proper camera setup: Sony A7V with a 24–70 mm f2.8 GM II and a 90 mm macro.
Be informed though, the next photo of my camera was taken with my phone. Which feels a bit disrespectful.
Light. Probably the Most Important Thing
Light is everything. The more control you have, the more flexibility you get.
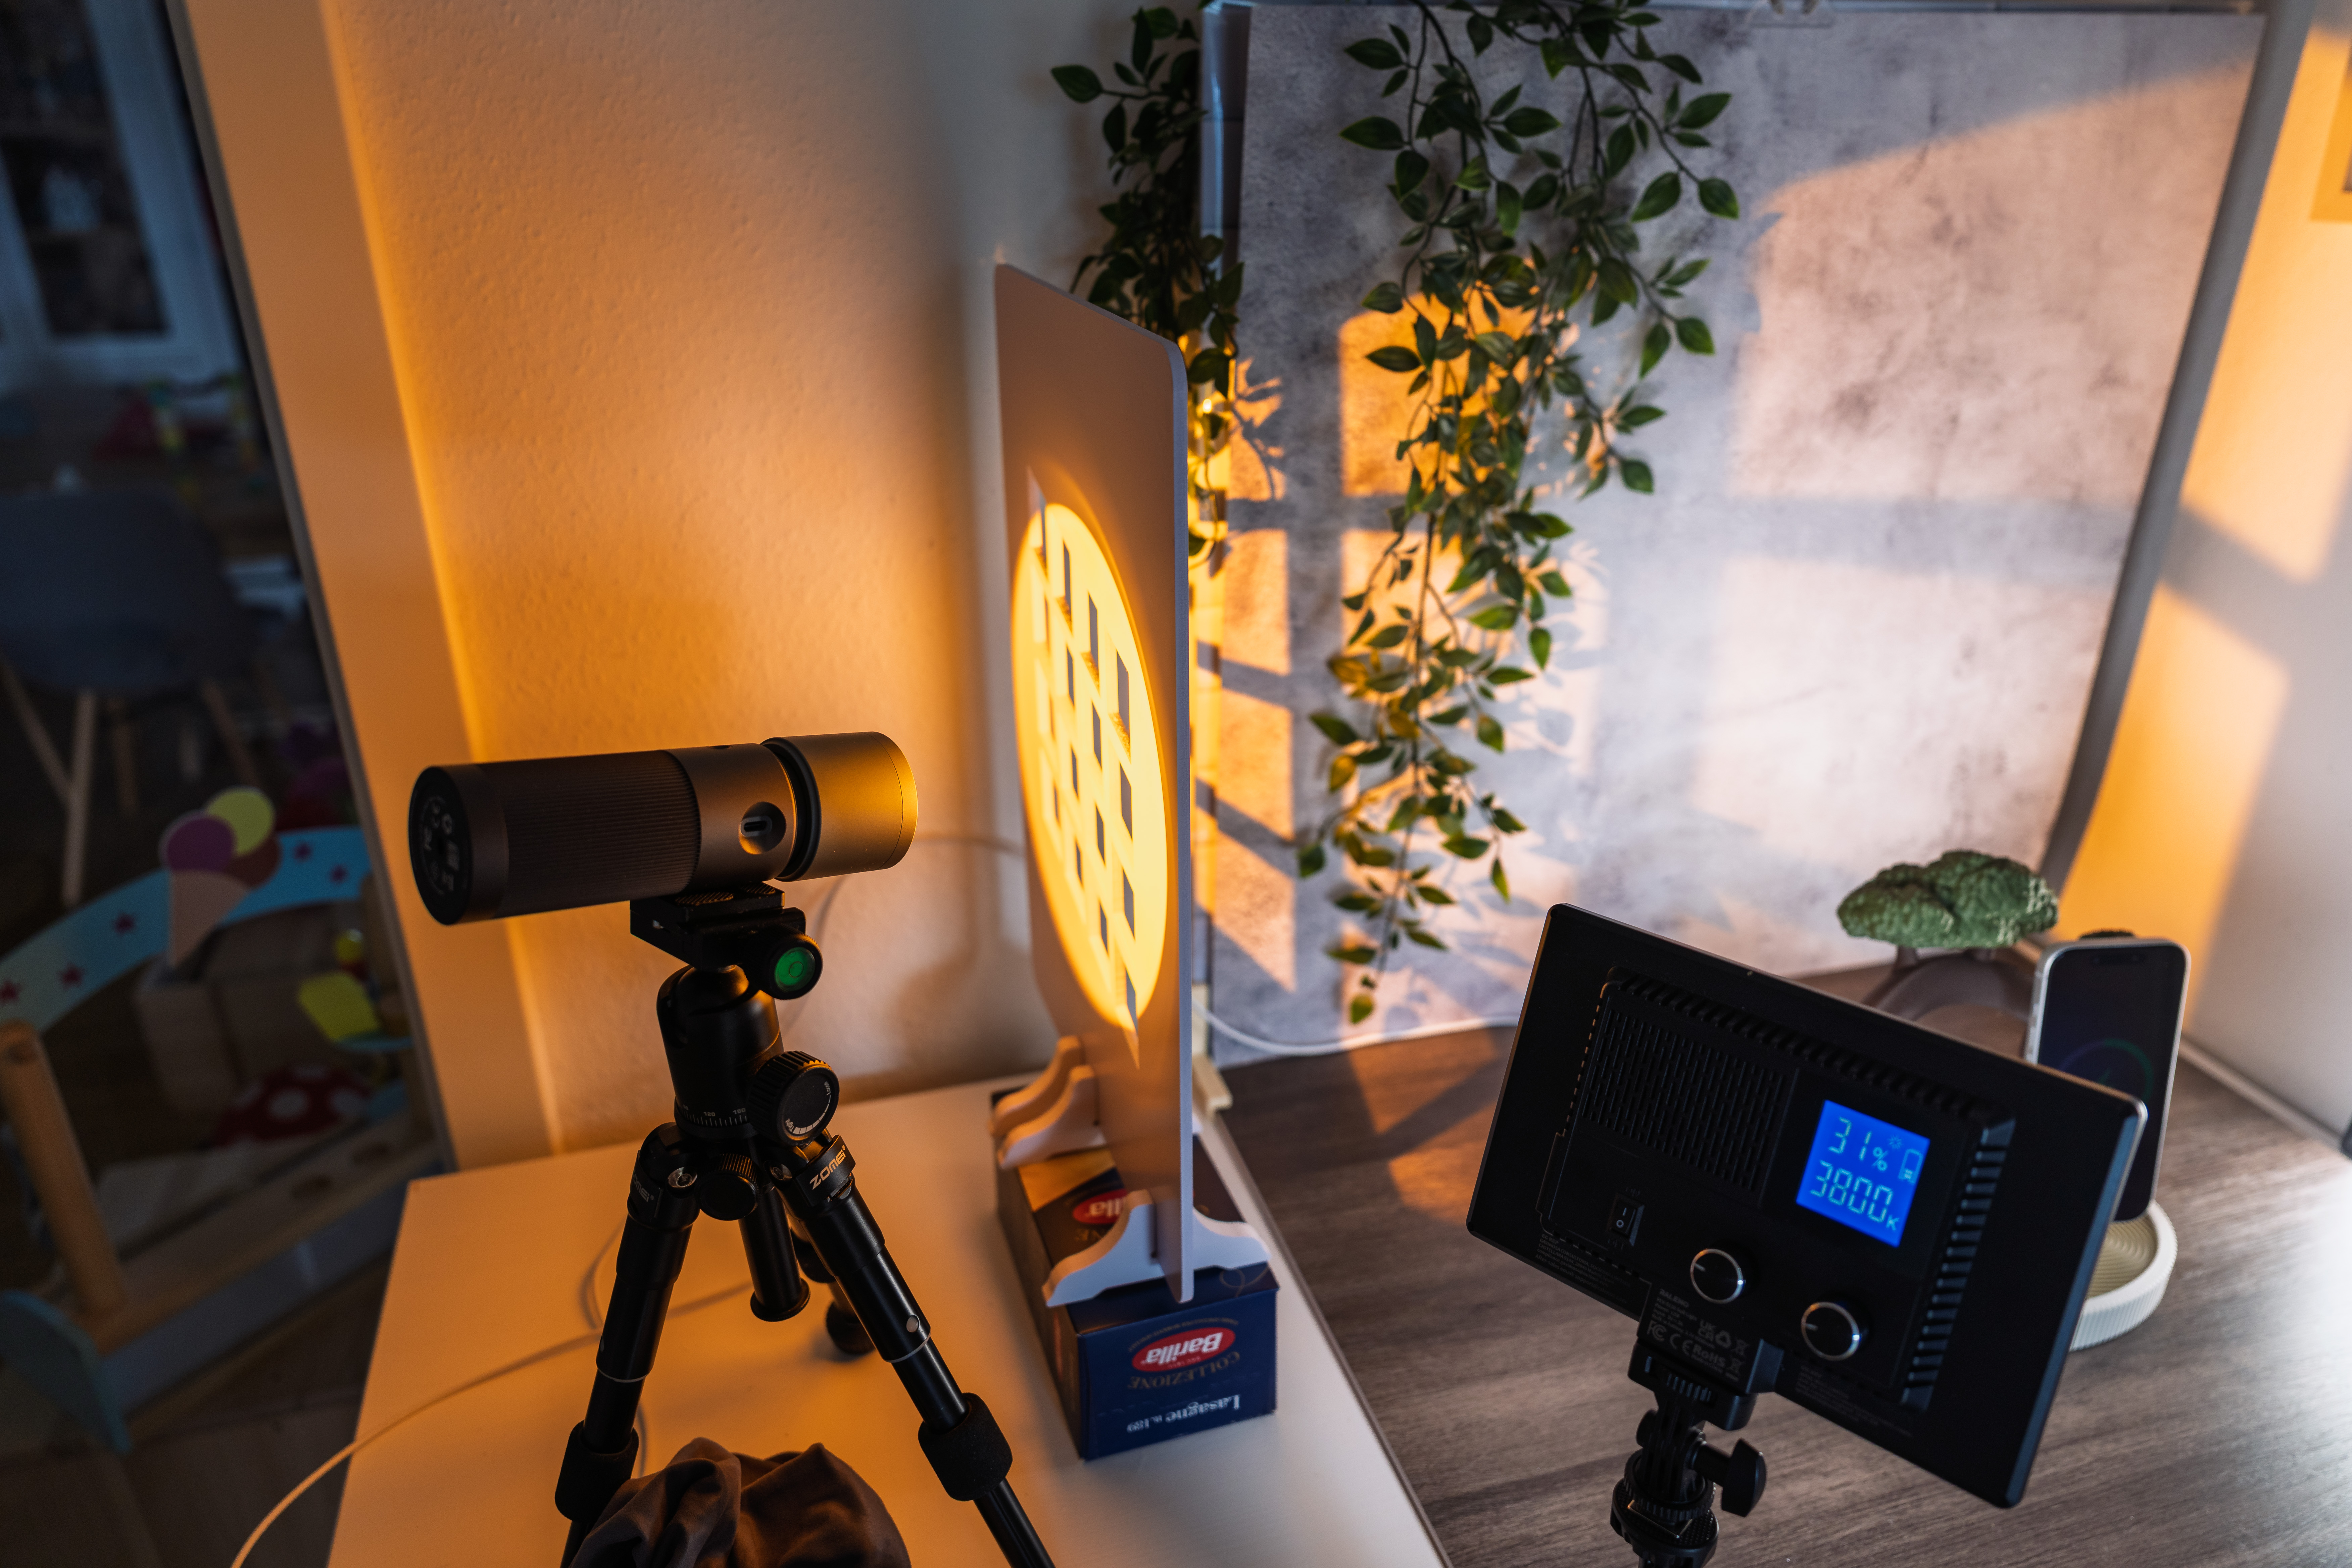
I use two LED panels for fill light and a small spotlight for more creative use. The panels are simple 12 W LED lights with adjustable color temperature and built-in batteries. Nothing fancy, but they do the job.
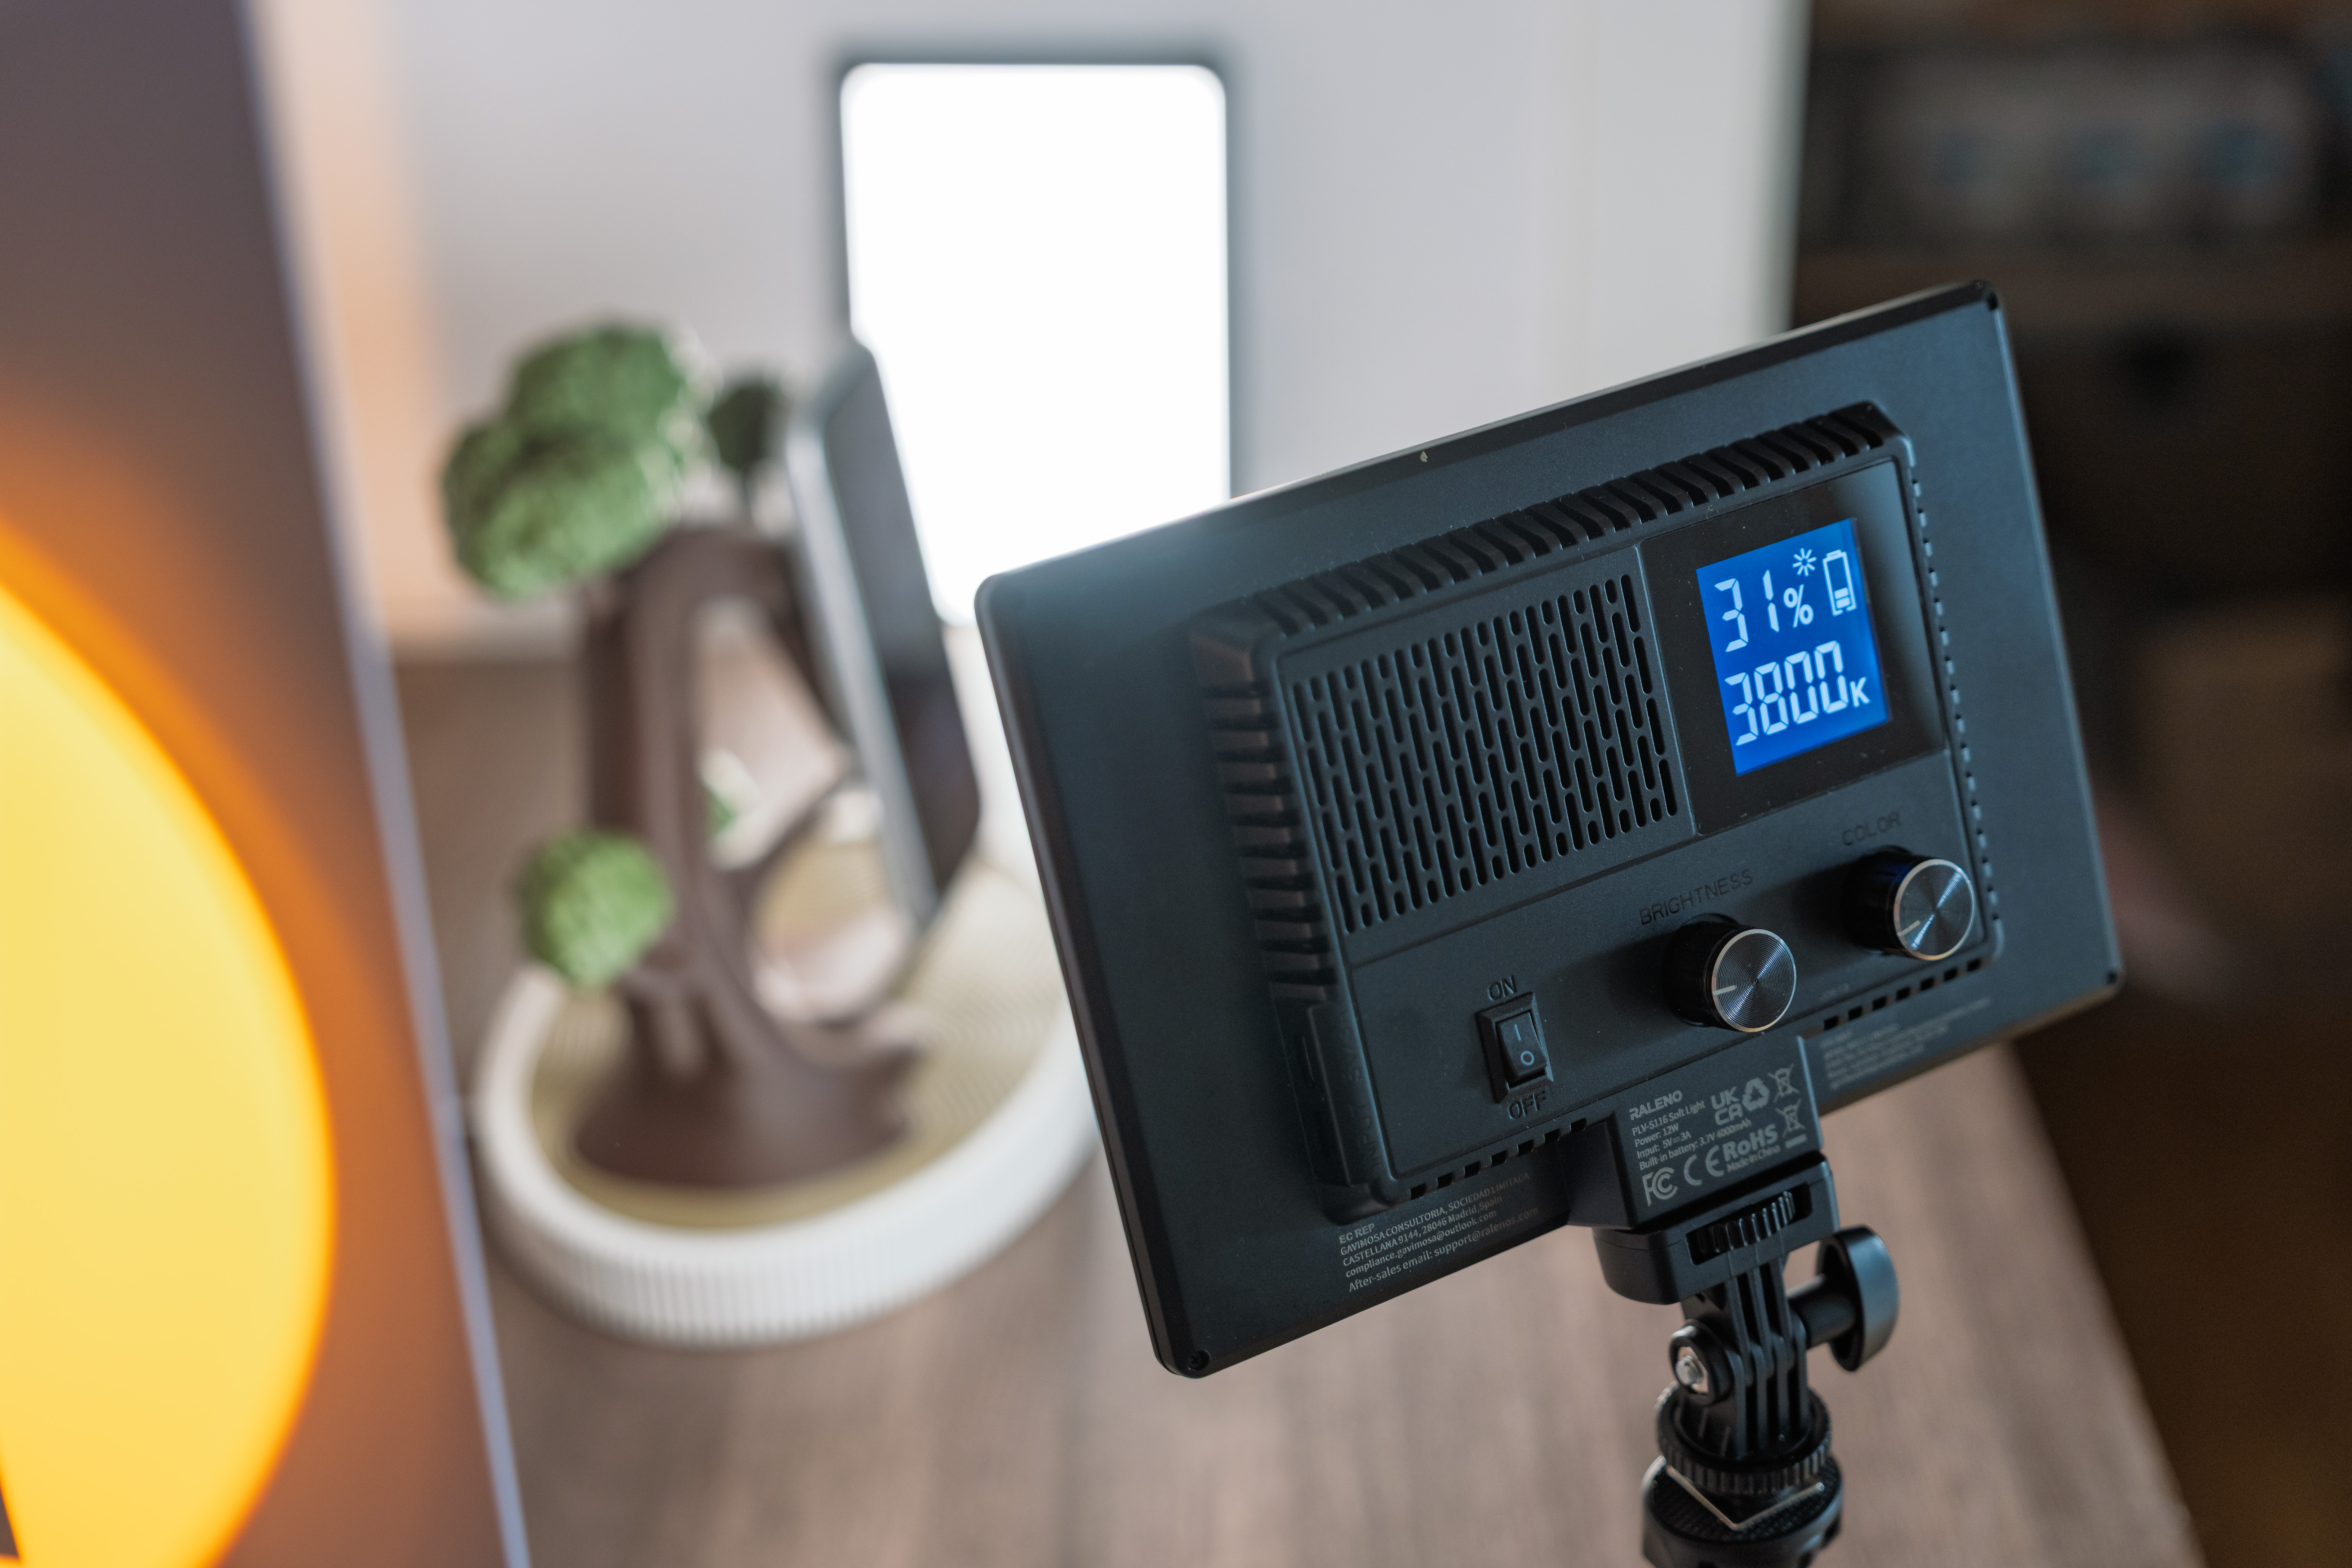
One light sits in the front, slightly to the left or right. The other sits on the opposite side, a bit lower and closer to the model. This gives even light from the front while the side light adds some contrast along edges.
You can get very similar results by placing your model next to a window.
If you include lamps or other light sources in your shot, dim them. Otherwise you will need a lot of light from the front to balance things out. Without that, your camera will darken the whole image and question your life choices.
Adding Depth With Light
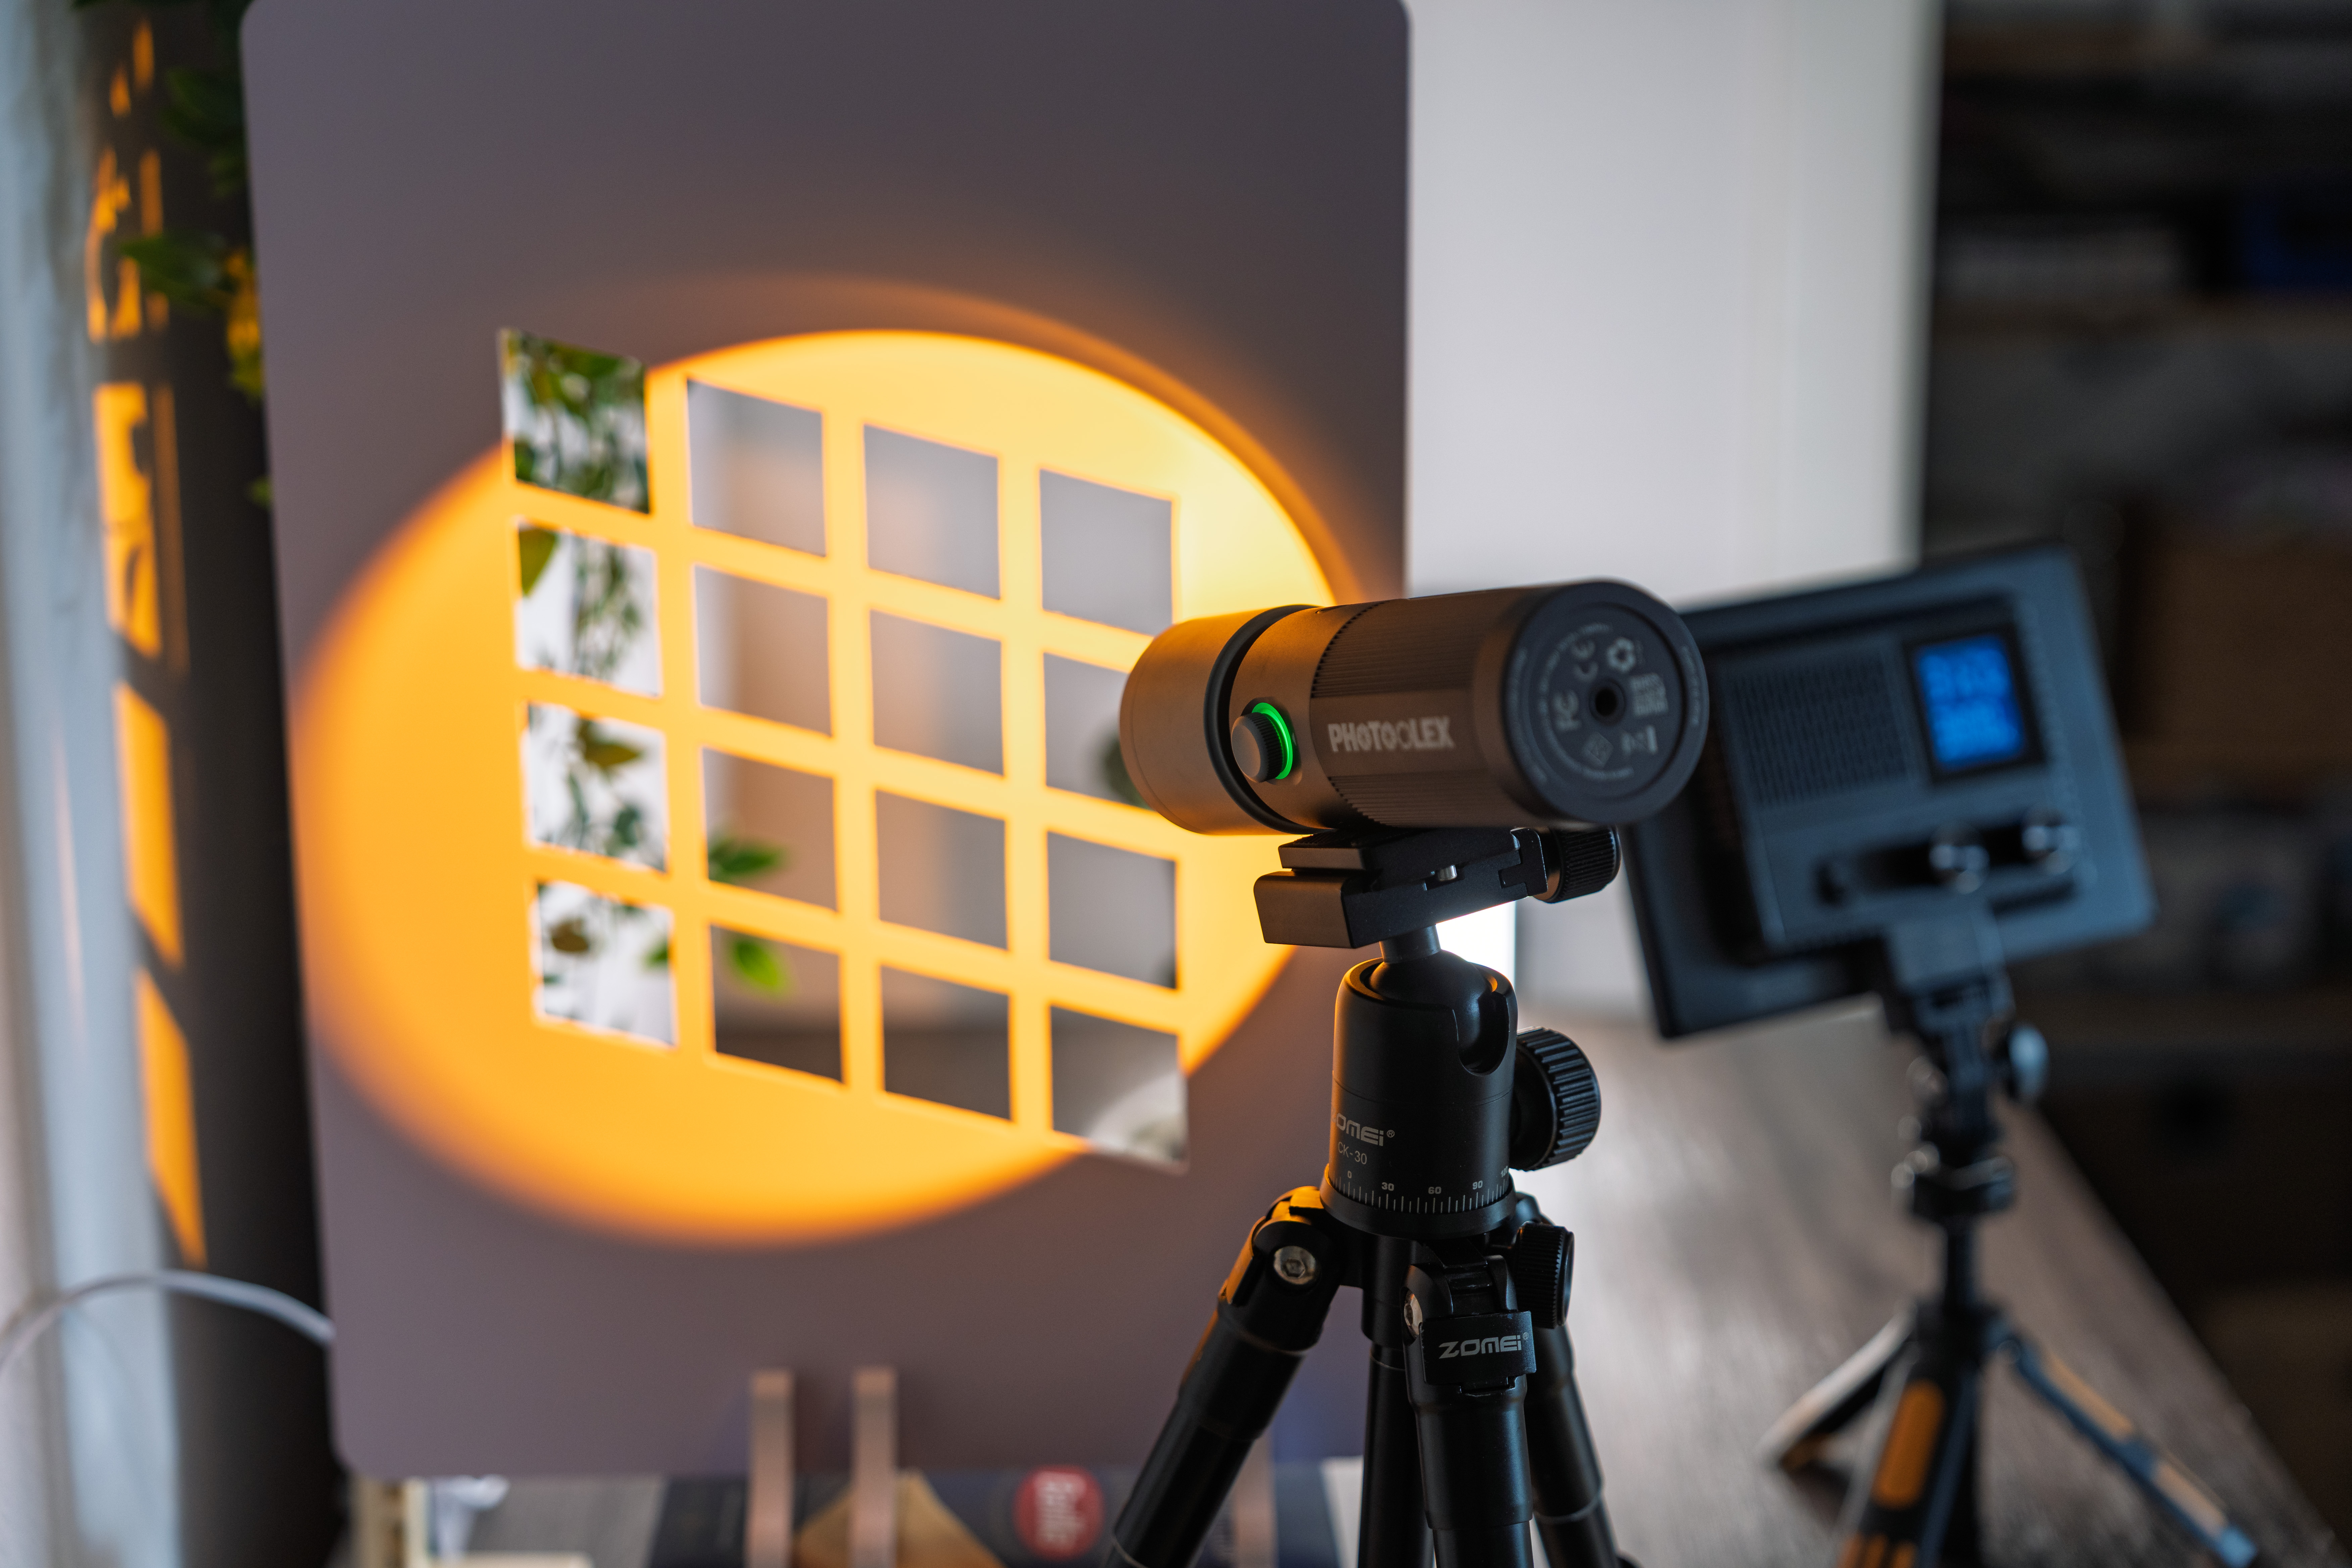
For the spotlight, I use a small handheld LED with interchangeable pattern plates. These cast distinct shadows when placed in front of the light.
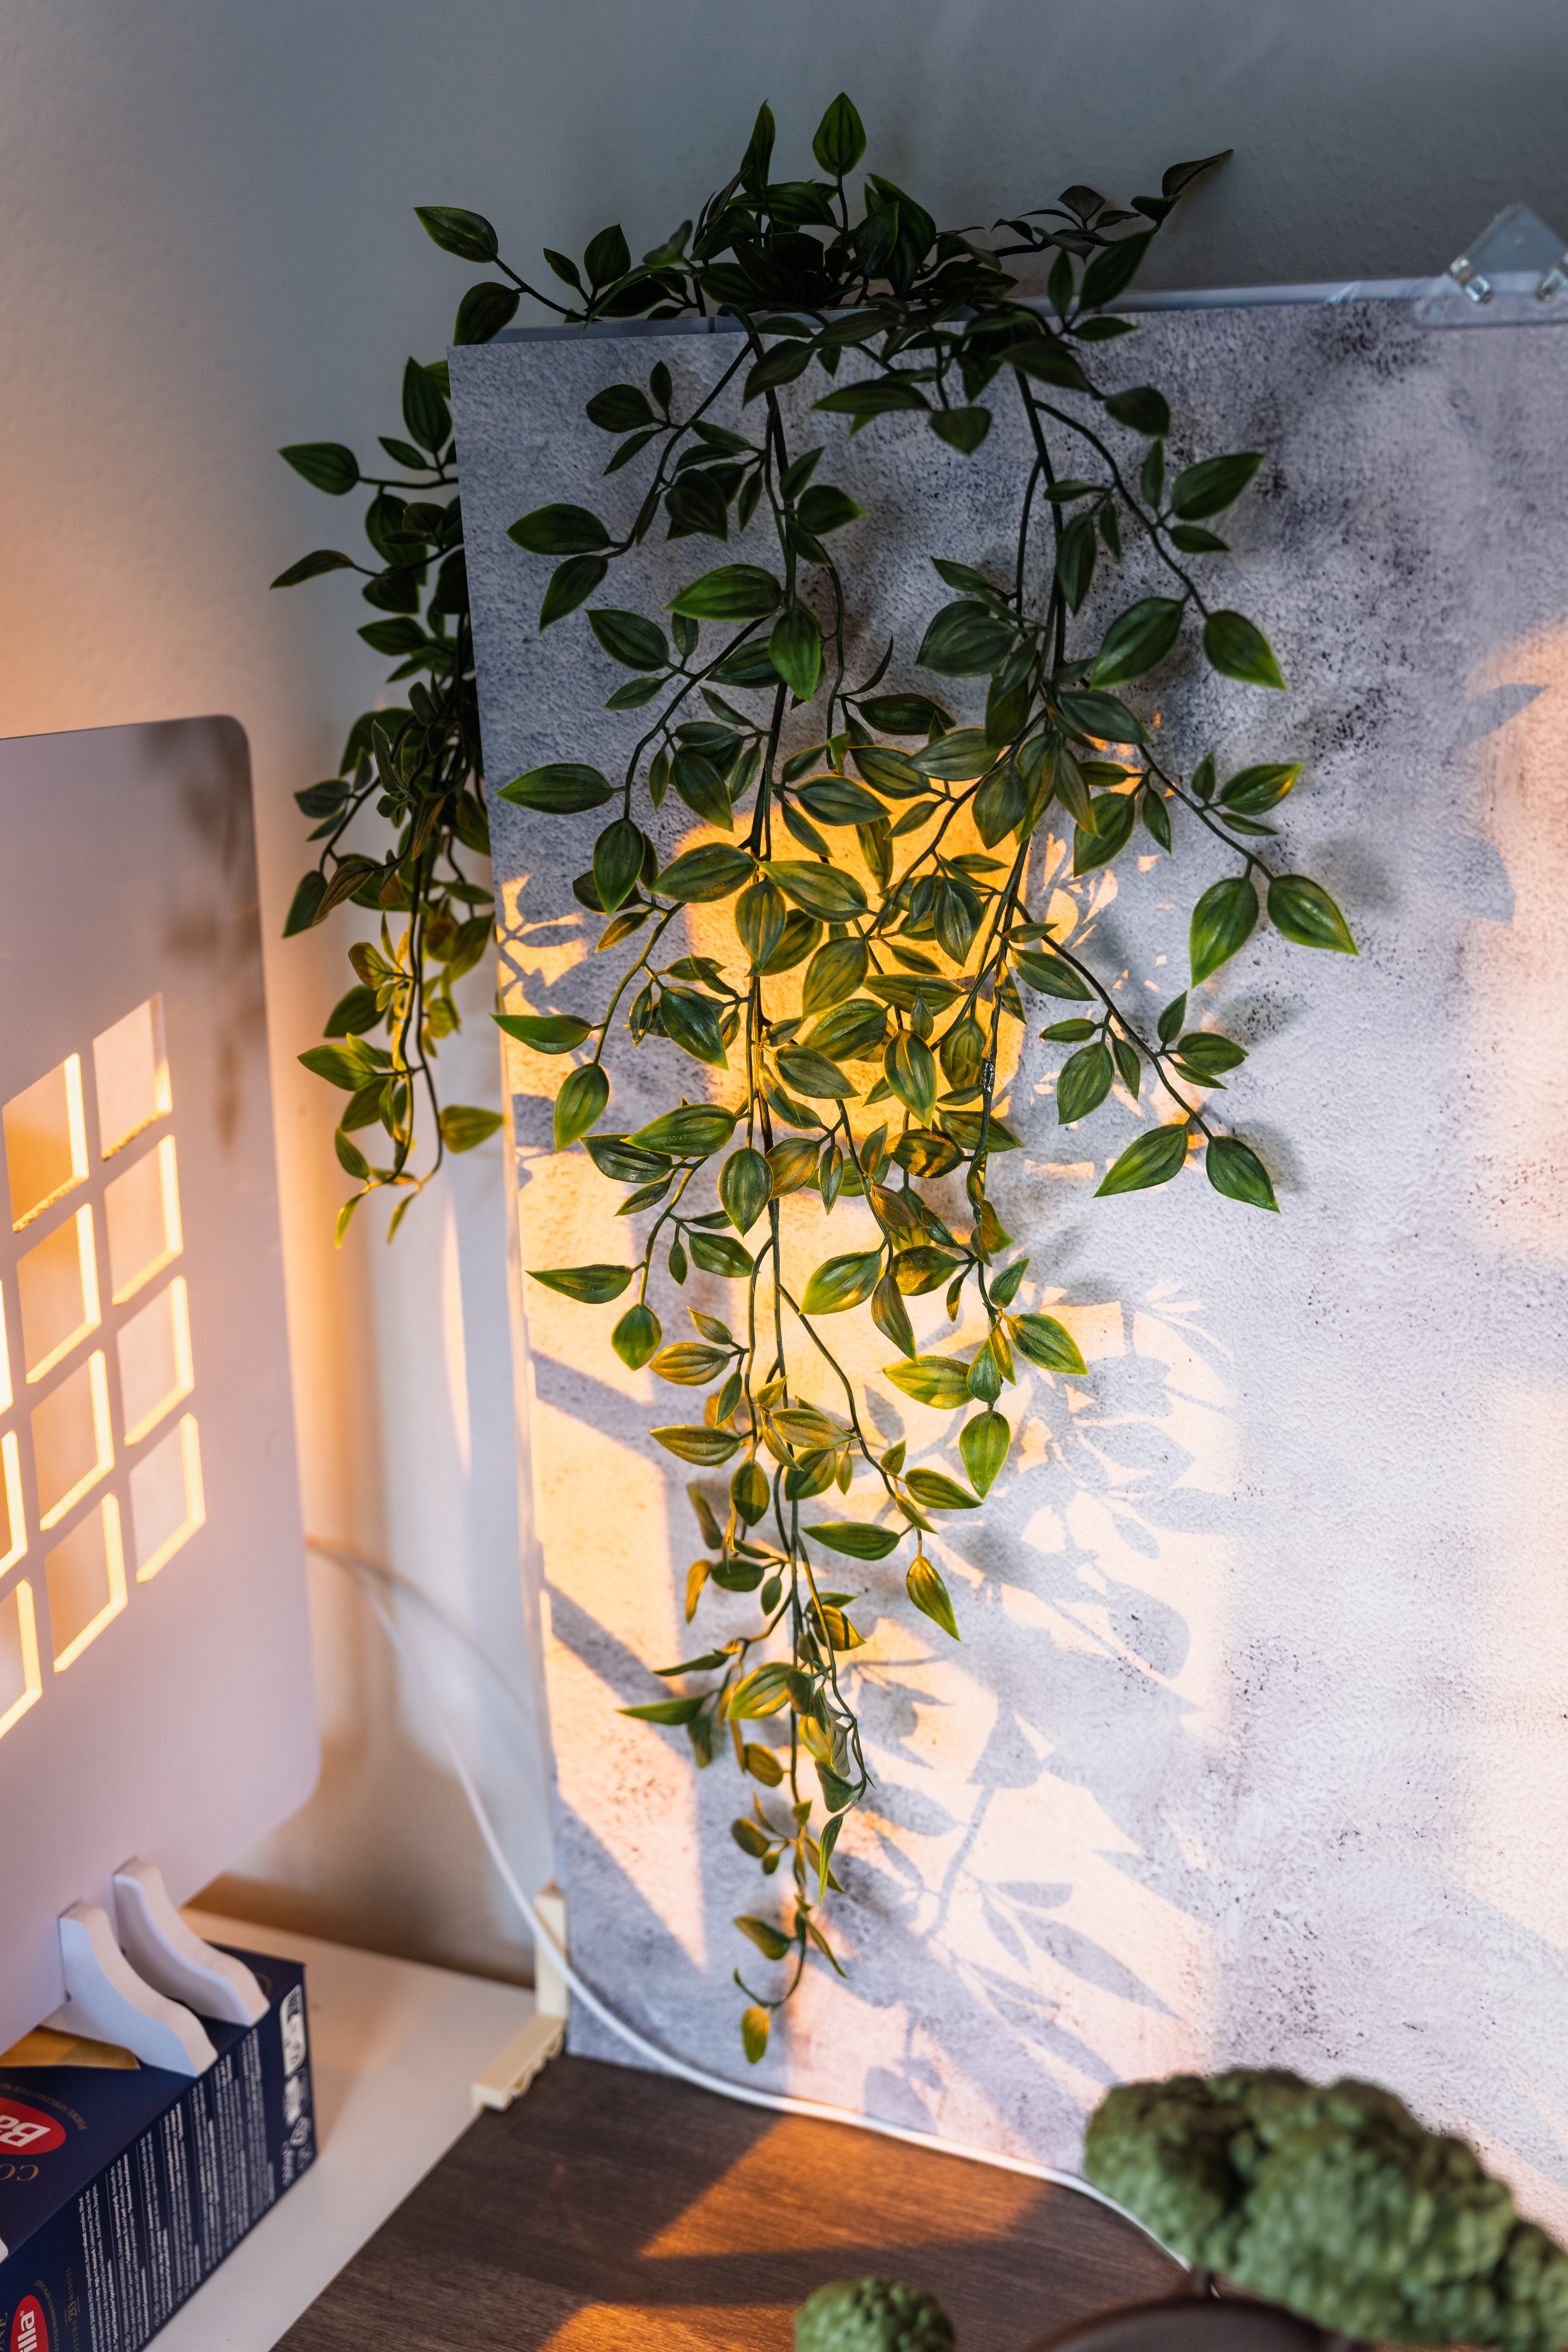
They mimic things like sunlight coming through window blinds. It is an easy way to add some subtle detail in the background and create lines that lead the eye toward the model.
 .
. 
Props and My Very Unfortunate Relationship with Plants
For background decoration, I try to match the theme. If it is something you would place in a living room, like a charger, I might add some greenery.
That said, I have what you could call a very brown thumb. I am not even sure if that is a real saying, but it should be. Plants tend to die when I enter the room, sometimes out of principle.
So all of mine are fake. Thanks, IKEA.
On AI, Renders, and Other Things That Bother Me Slightly
I don’t use AI for my images. At least that is what I would like to say.
The amount of AI-generated content in both models and photos is impressive, but also a bit discouraging. Some of the most popular model pages are filled with it and still collect hundreds or thousands of likes.
I am also not a big fan of renders. As a user, I want to see an actual printed object from a real printer like mine.
So why can’t I say I don’t use AI?
Because sometimes my setup ends a few centimeters too early and I get things in the frame that I don’t want. Wallpaper. Random household items. Diapers. Did I mention the whole setup sits on a baby changing station?
In those cases, I sometimes use AI to extend the edges of an image. But only to expand what is already there. Never to generate content that does not exist in real life.
Final Image
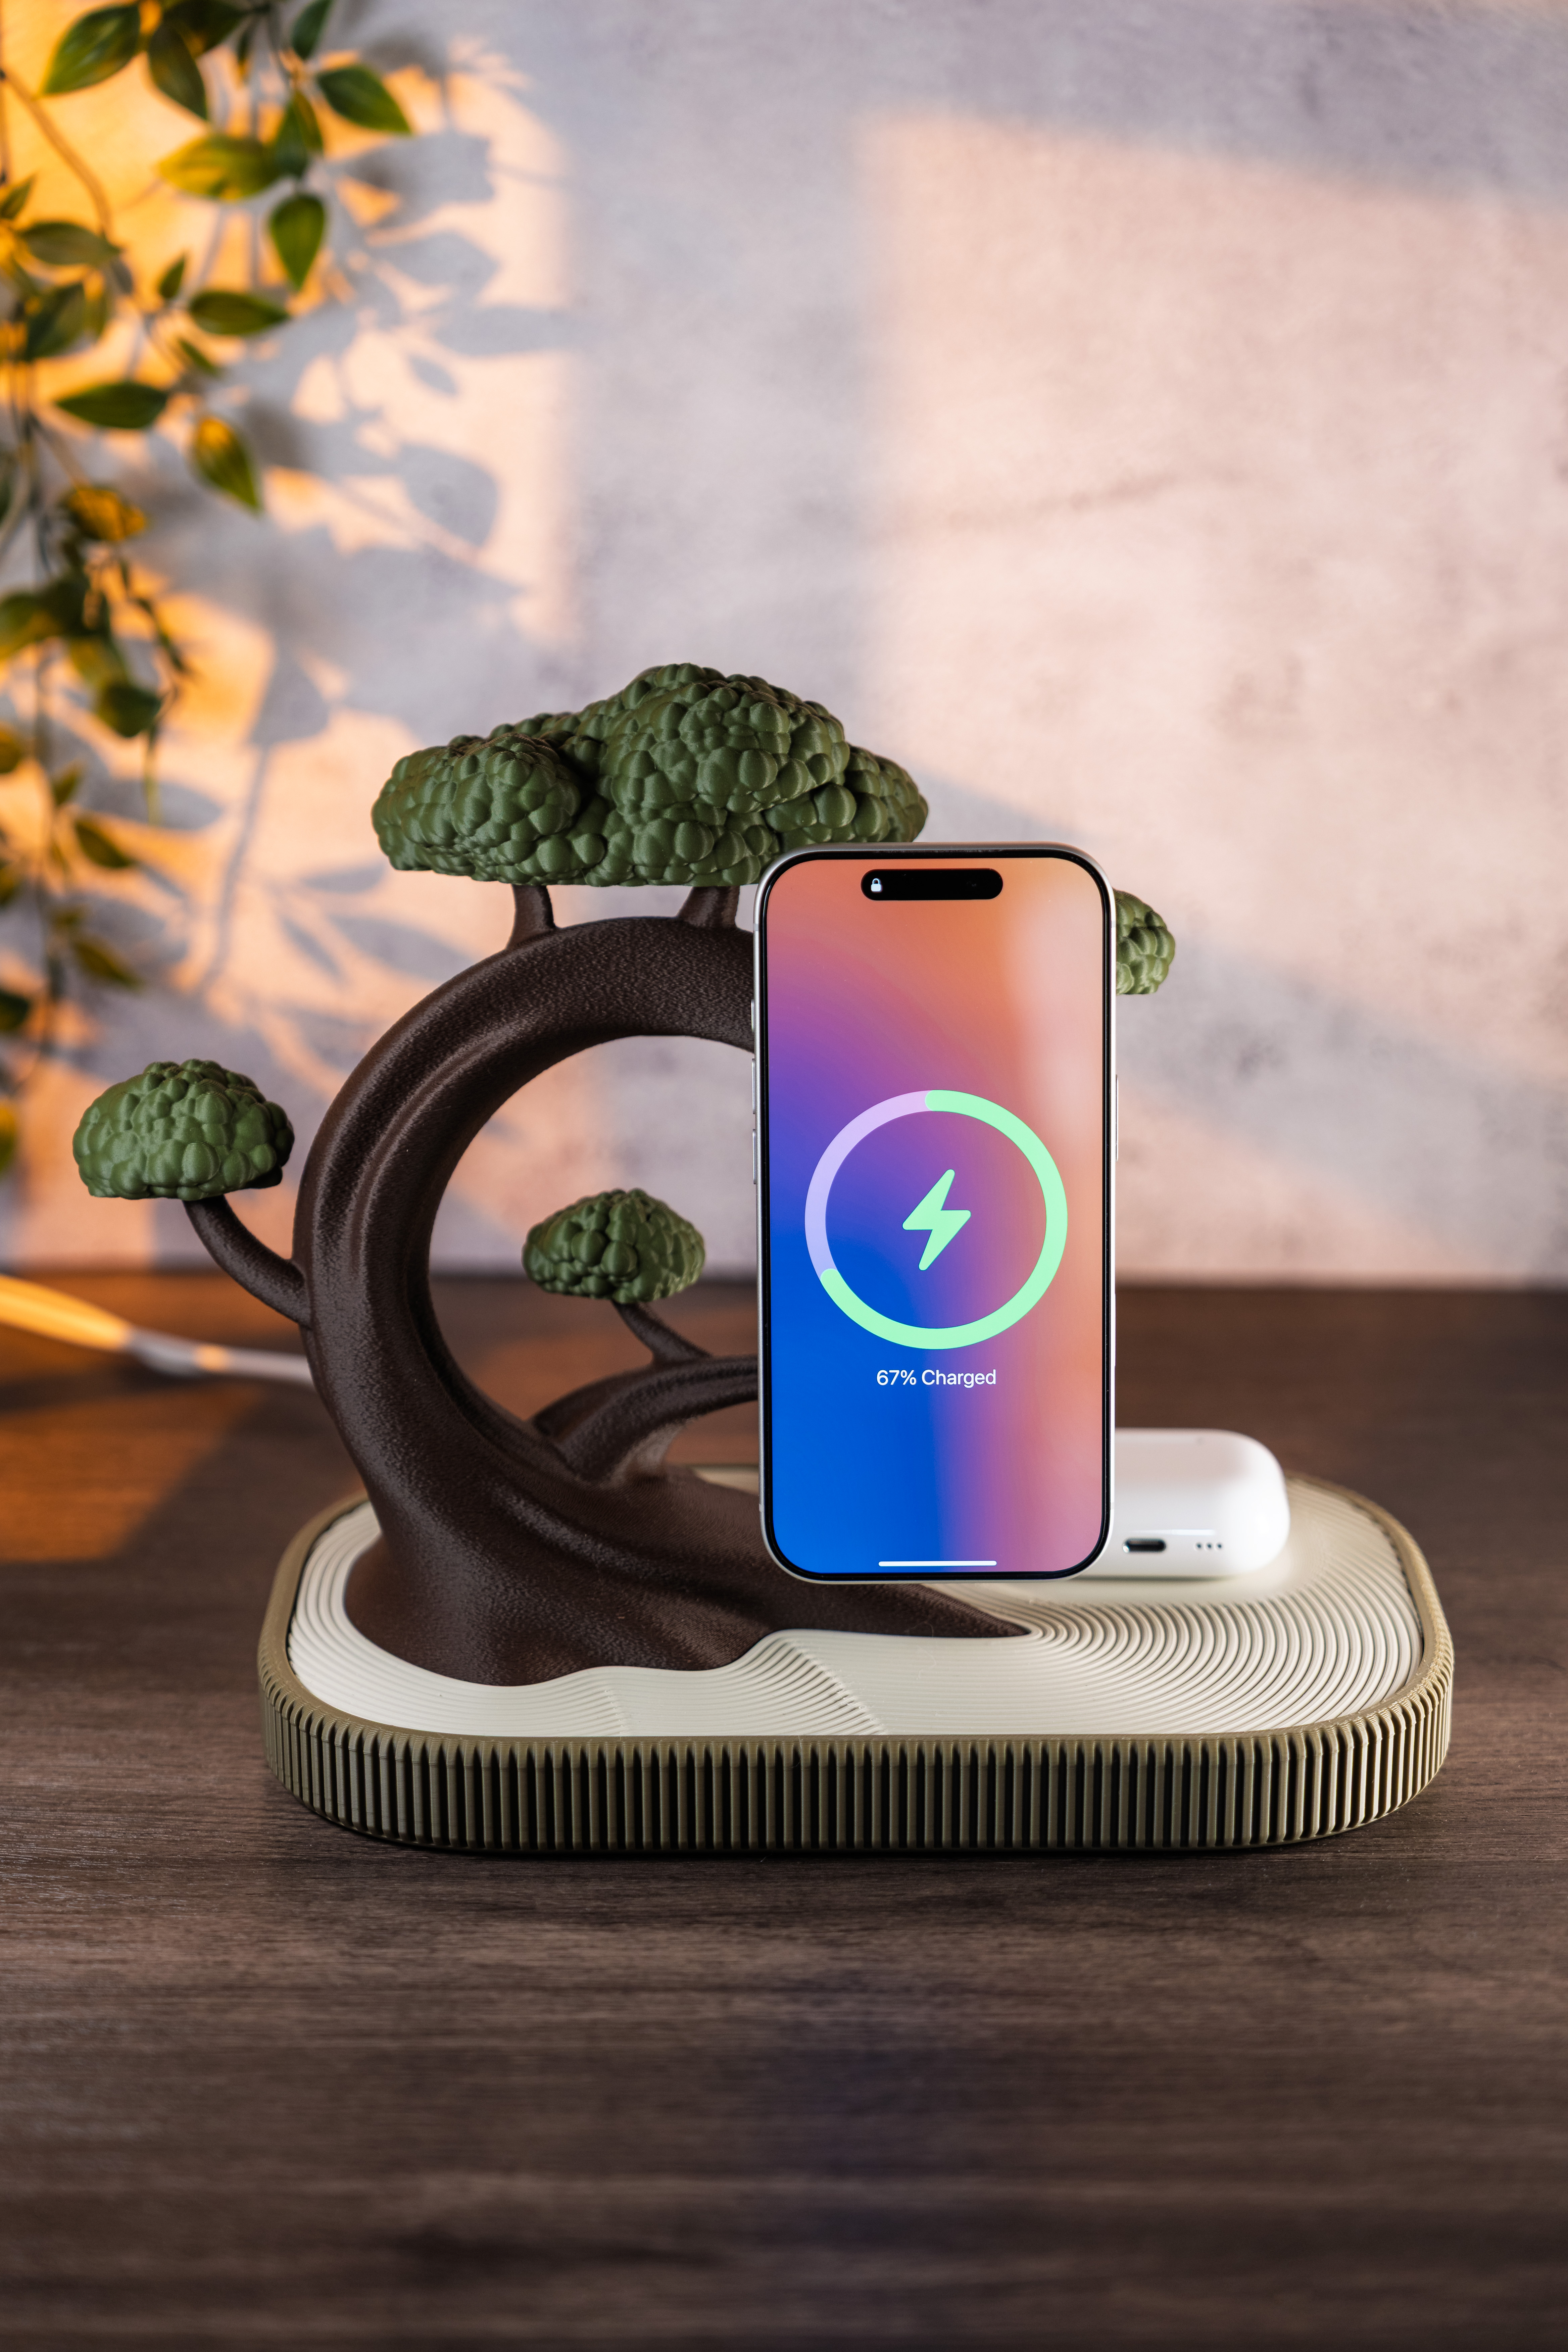
Looking good? I think I like it.
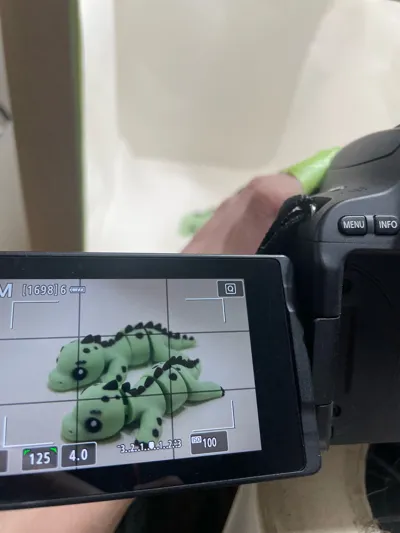
However on the landscape shot I missed focus, forgot to close the aperture and ended up with a blurry photo. I didn't check the images before tearing down the setup, sleep deprivation is no joke. Oh well, time to set it up again tomorrow…
Feel free to ask for more details or advice. I will do my best to answer.
Best
Adrian