Overview
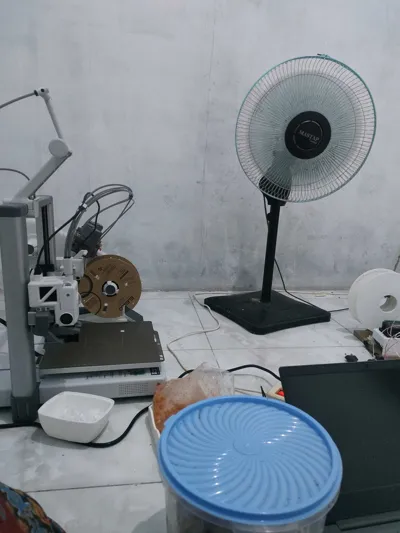
I have been very interested in the possibilities of turning waste plastic into useable parts. I started my journey a few years back when I was introduced to the Recreator3d (https://www.recreator3d.com/) and how turning trash into filament was possible. I gave it a go, and with much success with the recreator machines I have (the mk5 and mk6) turning the plastic into filament, my ender 3 and Prusa mini (what I had at the time) just weren't cutting it for me. The material kept crystalizing and jamming, and the non-quick-swapping nozzles were a huge pain to deal with. I stopped after a while as it just wasn't fun to print with anymore as it was jamming and failing more than completing prints. But all that has changed…
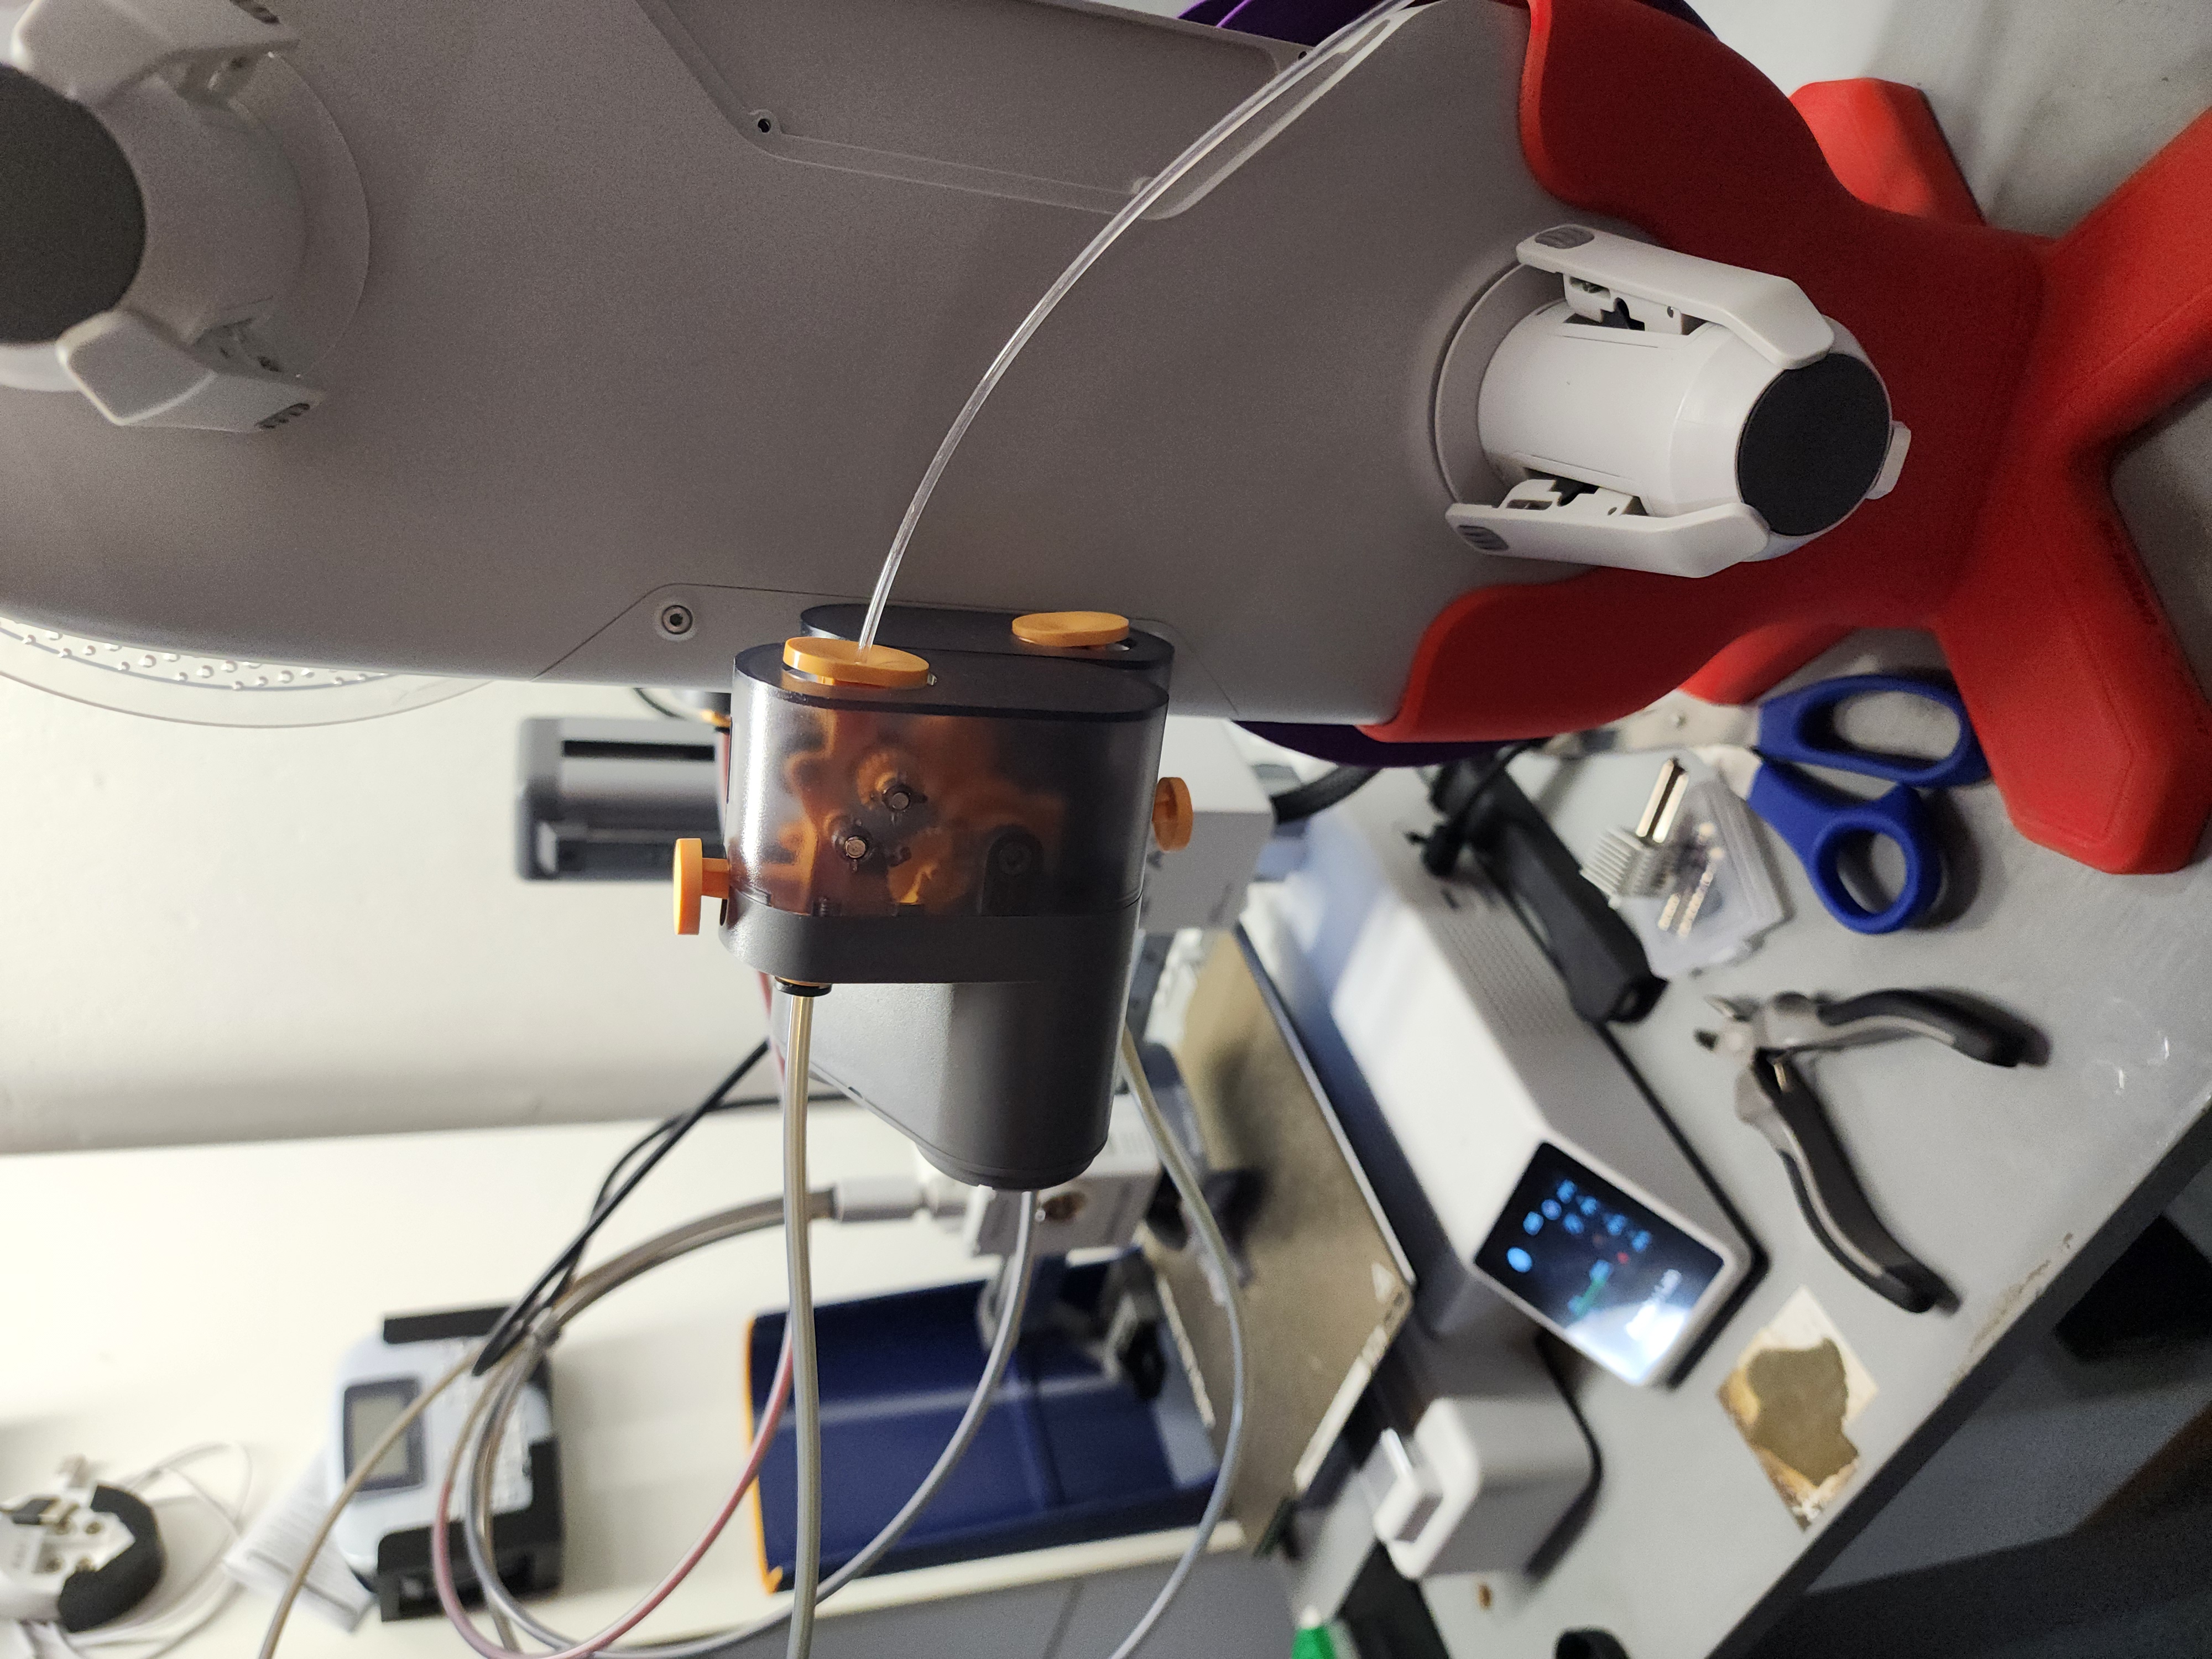
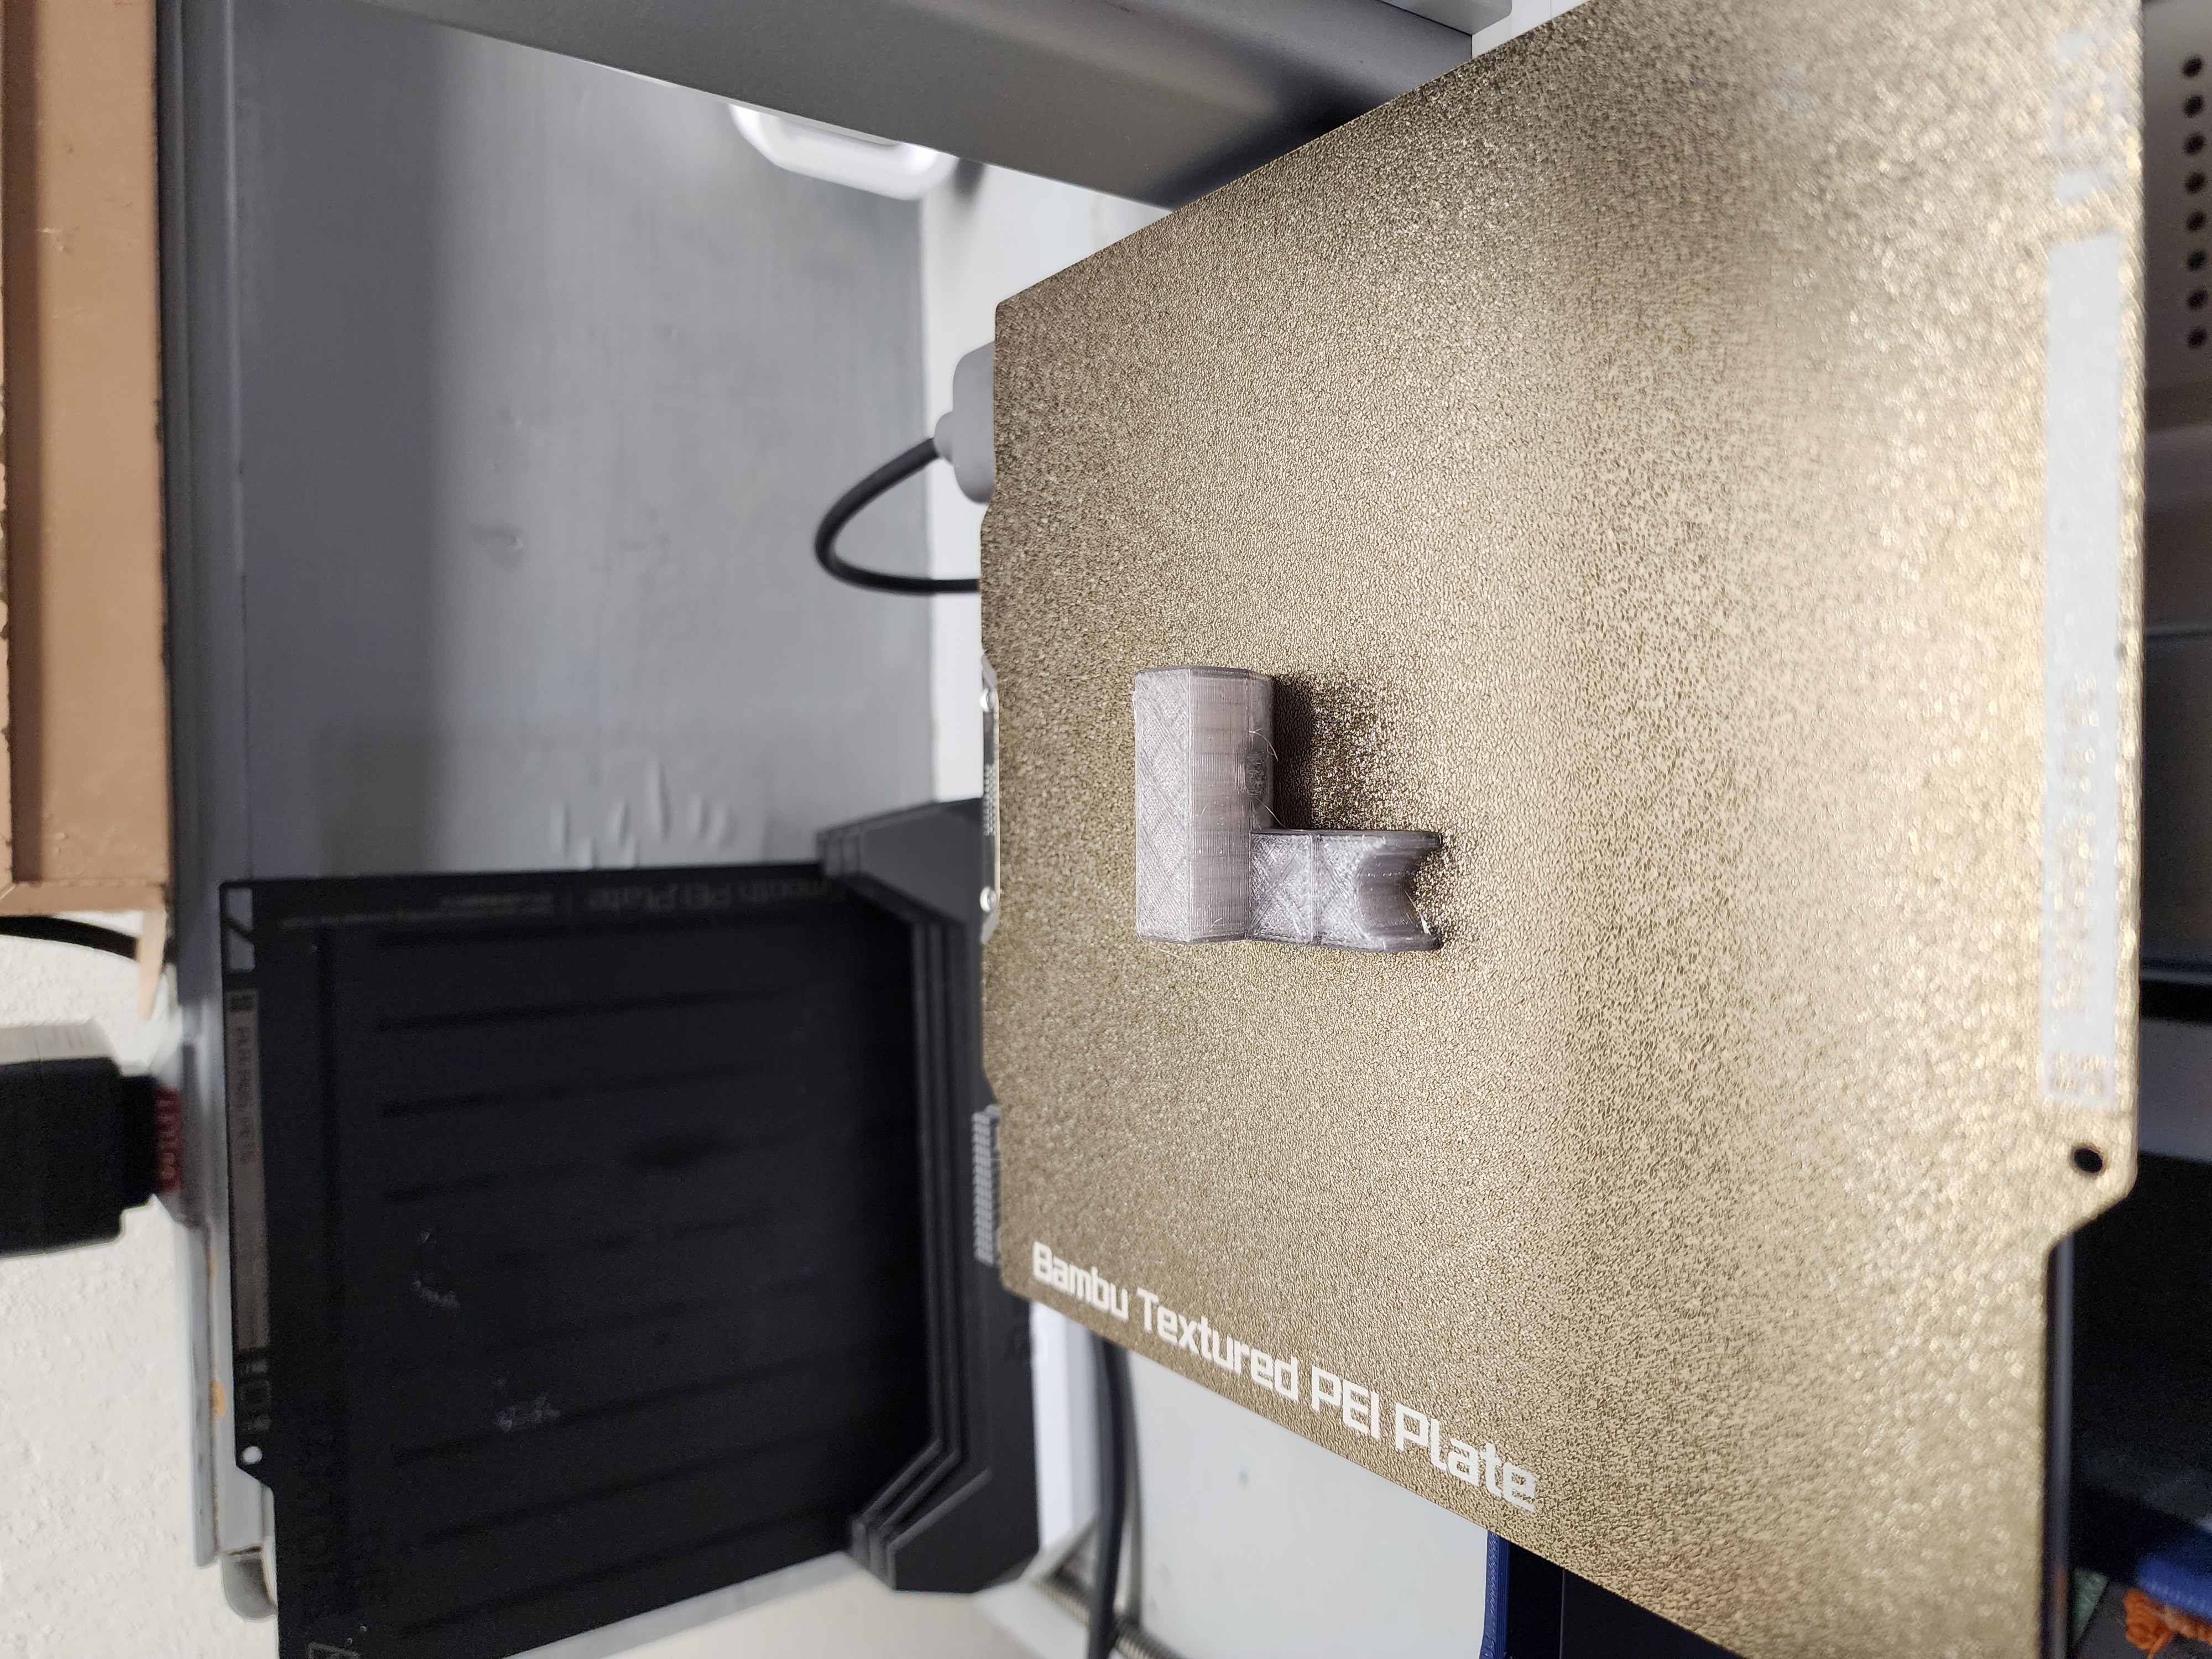
I was hesitant to try this material in my Bambu machines, as it seemed a bit silly to risk jamming my expensive x1c just to see if this would work. Once I got my hands on a much cheaper a1 mini, I was willing to gamble a few jammed nozzles and clogging as it would be much easier (and cheaper) to fix if something went wrong. So I tried it with freshly prepared PET bottle plastic filament, and I was amazed to see the print quality on the first try. Barely any stringing, no jamming, and a fantastic feature of the Bambu printers; AMS availability.
Being able to print is one thing, but since bottles dont have a very high yield, especially anything smaller than a 2L bottle, having to babysit the machine and reload material all the time was a burden. Now with AMS, loading a few mini rolls (or loose lengths) of filament is easy, and I can now print without the hassle of constantly loading material manually!
Printing with PET will always be a slight challenge and a tedious process, but I cant deny that making stuff out of actual trash that would otherwise be lying in a landfill forever is super cool, and a great way to recycle!
There are many resources online about how to create PET filament, and I encourage anyone interested to go and check them out! I have outlined my process below for anyone who has been wanting to try and print this material on their A1 mini (or any other machine).
Use the following settings at your own risk. This material is not designed to be used this way, and does have the potential to jam and can damage your machine. The following process worked for me and has given me good results, but recycling methods of PET bottles and quality of said bottles can affect results. Strong knowledge of 3D printing and your individual printer is strongly suggested before experimenting with this method. YMMV! If you're ok with that, try the settings out and see what you think!
My Printing Process
I start out by creating a new material basic PETG profile and go from there. Only a few settings are changed overall: Flow Ratio, Nozzle Temp, Bed temp and Volumetric Speed.
Adjust the recommended nozzle temperature as well.
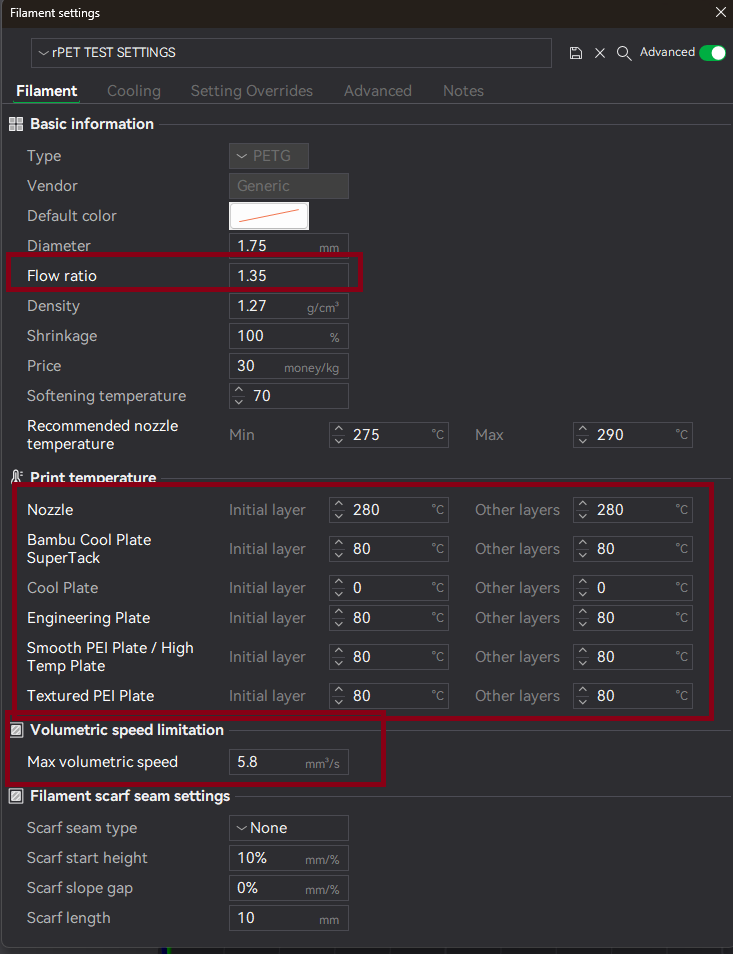
That's really it for settings, at least for now. This is still in testing but I've had repeatable success with these settings.
I Print with a 0.6mm nozzles to avoid any potential clogs caused by debris that may be on the bottles (I clean mine really well making sure there is no residue or dirt, but it can happen) and potentially crystalized material.
After I am done printing, I make sure to purge any leftover PET in the nozzle and run some PETG or similar material with a higher print temp through to make sure its all cleaned out.
That's it! Everything else I do like I normally would with any other material. I have only tested this on a textured PEI sheet, but other sheets would probably work too, except the cool plate.
Conclusion
Printing with PET Bottles will always be cool to me, and I hope by sharing this info with others it inspires them to recycle their bottles into the things they make! I have some other photos below ! Happy Printing!
Tl:dr -
Nozzle temp 280
Bed temp 80
Volumetric speed 5.8
Flow Ratio 1.35
Still in testing, but good place to start
Make sure to flush nozzle with PETG or similar at the end of a print to remove any leftover PET that may be built up
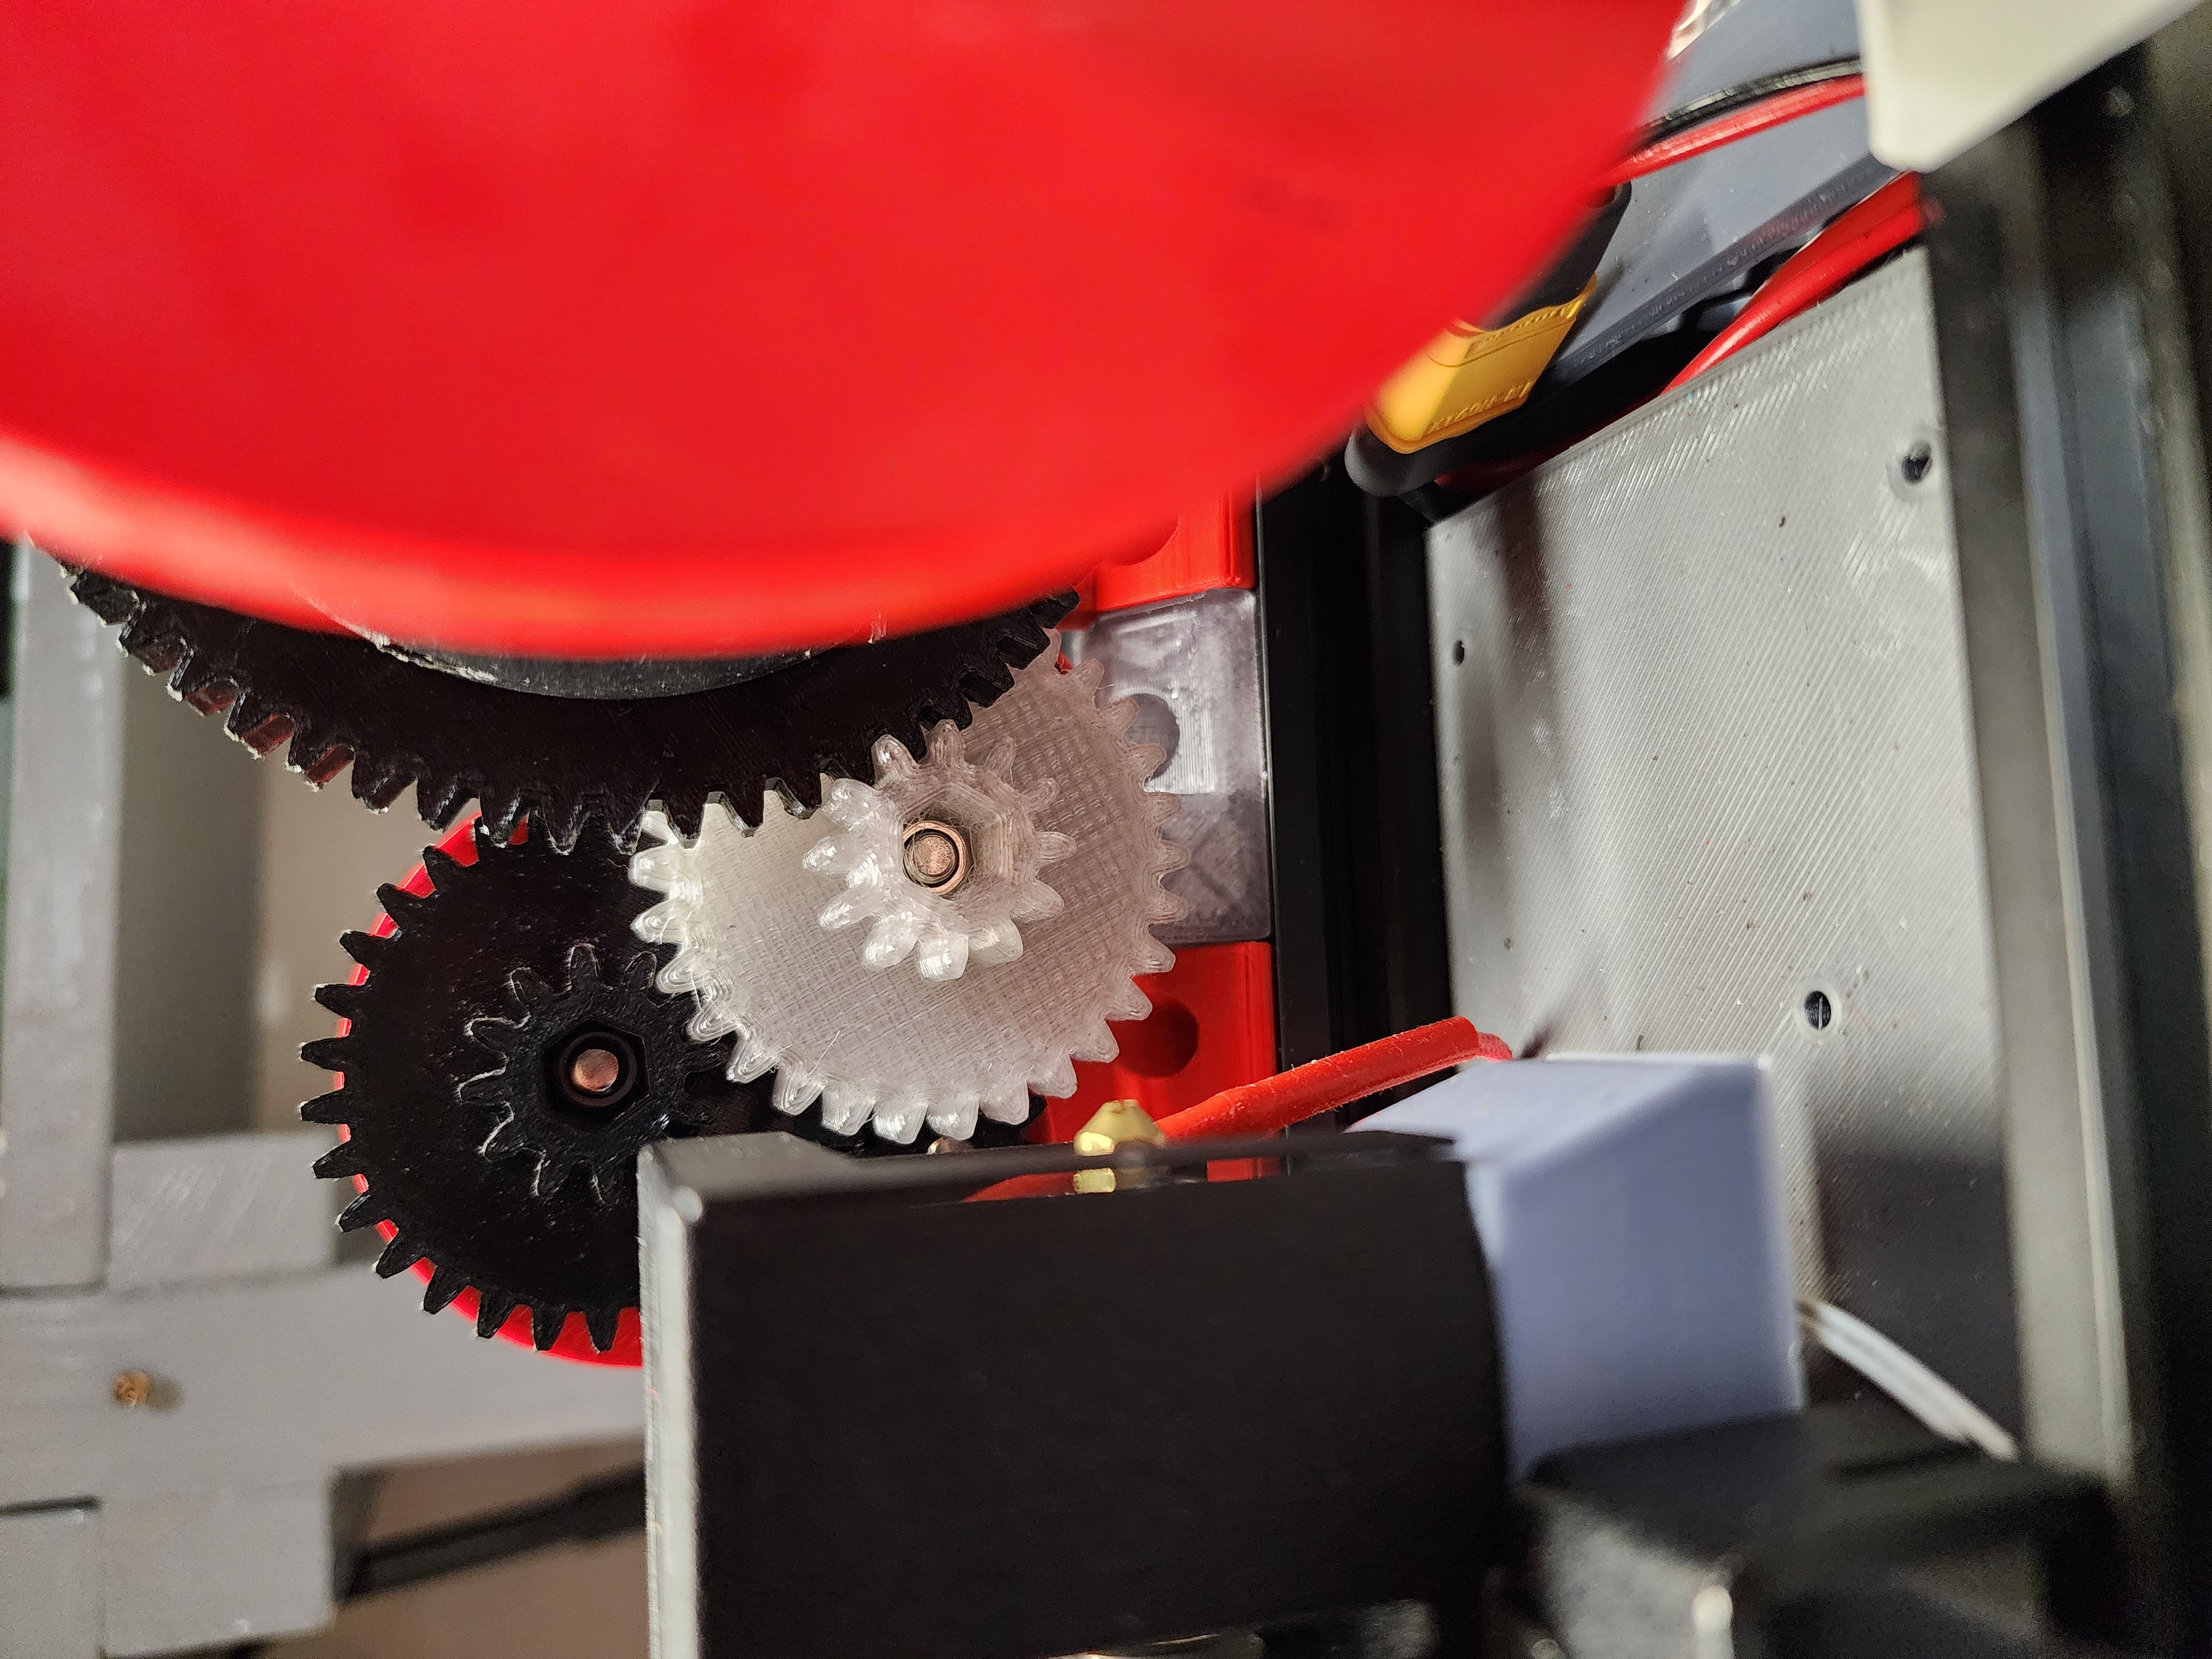
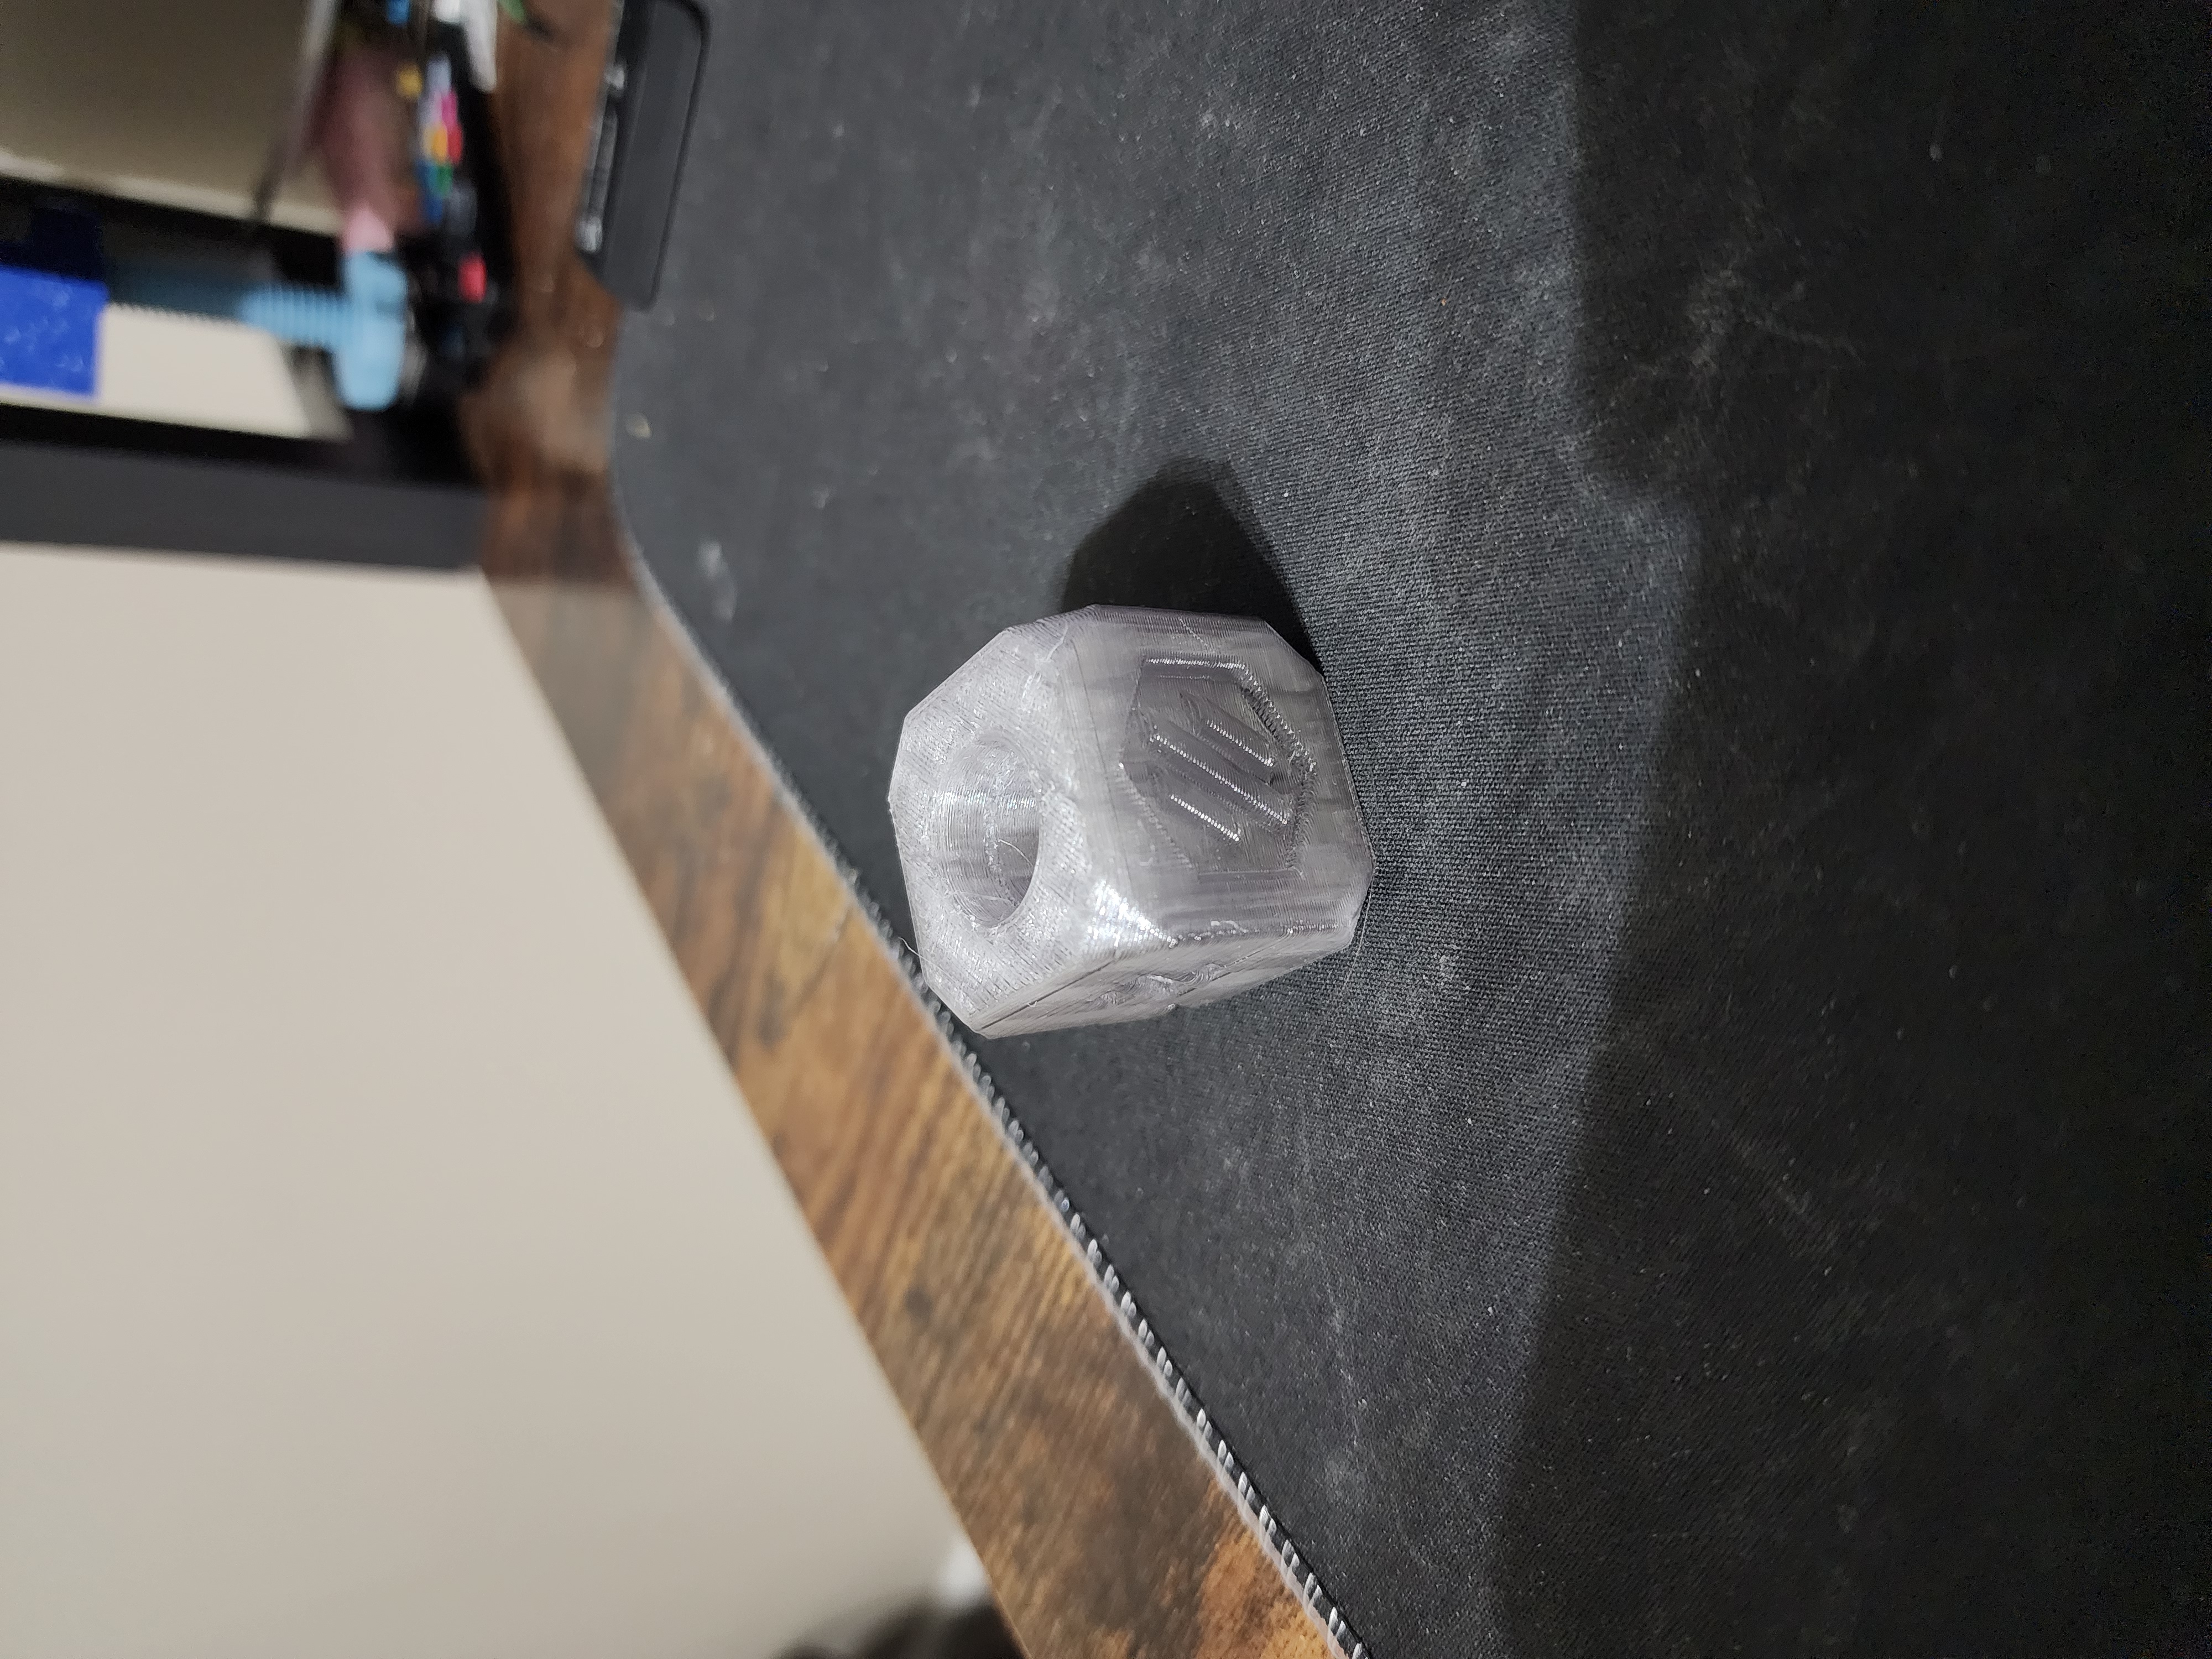
If you have any questions, feel free to message me on here, I check it every now and then.
@Bradsprinterworks
Knowledge Links
https://www.cnckitchen.com/blog/how-strong-is-pet-bottle-filament