SURFACE FINISHING AND PAINTING OF THE SPACE SHUTTLE ORBITER
BUILD-A-ROCKET KIT
In this project, we set out to demonstrate how far the visual quality of an FDM-printed scale model can be taken with proper post-processing.
The subject is the Space Shuttle Orbiter from my BUILD-A-ROCKET kit, printed by me on a Bambu Lab A1 and professionally finished and painted by my friend and scale modeling specialist Flavio Scheiner.
The goal was to achieve a surface and paint quality comparable to injection-molded scale models, while starting from a standard PLA FDM print.
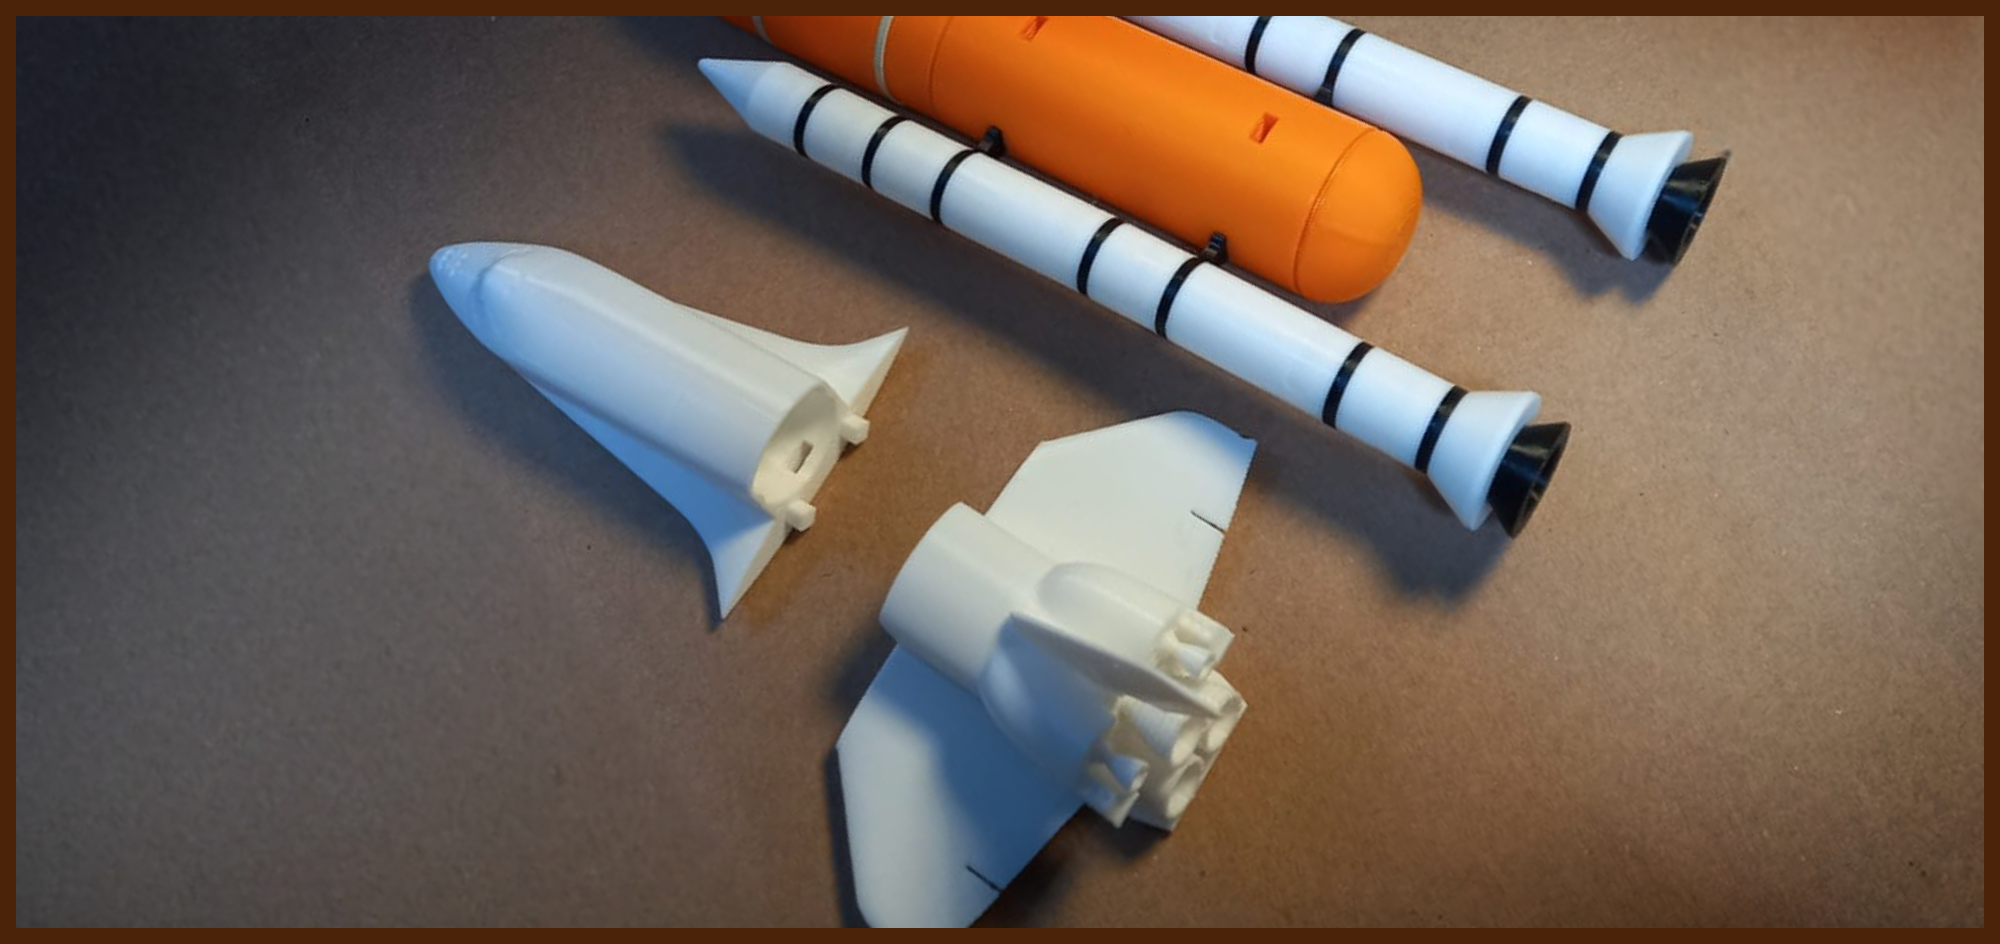
1. Surface Preparation
The process began with a complete sanding of all printed parts to remove layer lines and small surface imperfections inherent to FDM printing.
After the initial sanding, a surface leveling putty was applied:
- Product used: Tamiya Putty White
- Purpose: Fill micro-gaps, seams, and remaining print artifacts
- After drying, all areas were sanded again to restore clean geometry and smooth transitions.
2. Priming
Once the surface was uniform, the model received:
- Three coats of primer, applied with an airbrush
- After each coat:
- Full drying
- Light sanding with very fine grit sandpaper
This step is critical to:
- Reveal any remaining defects
- Ensure perfect paint adhesion
- Create a homogeneous surface tone for the final colors
3. Base Paint Application
With the surface fully prepared, the painting stage began:
- Paint type: Automotive polyester paint
- Application method: Airbrush
The sequence:
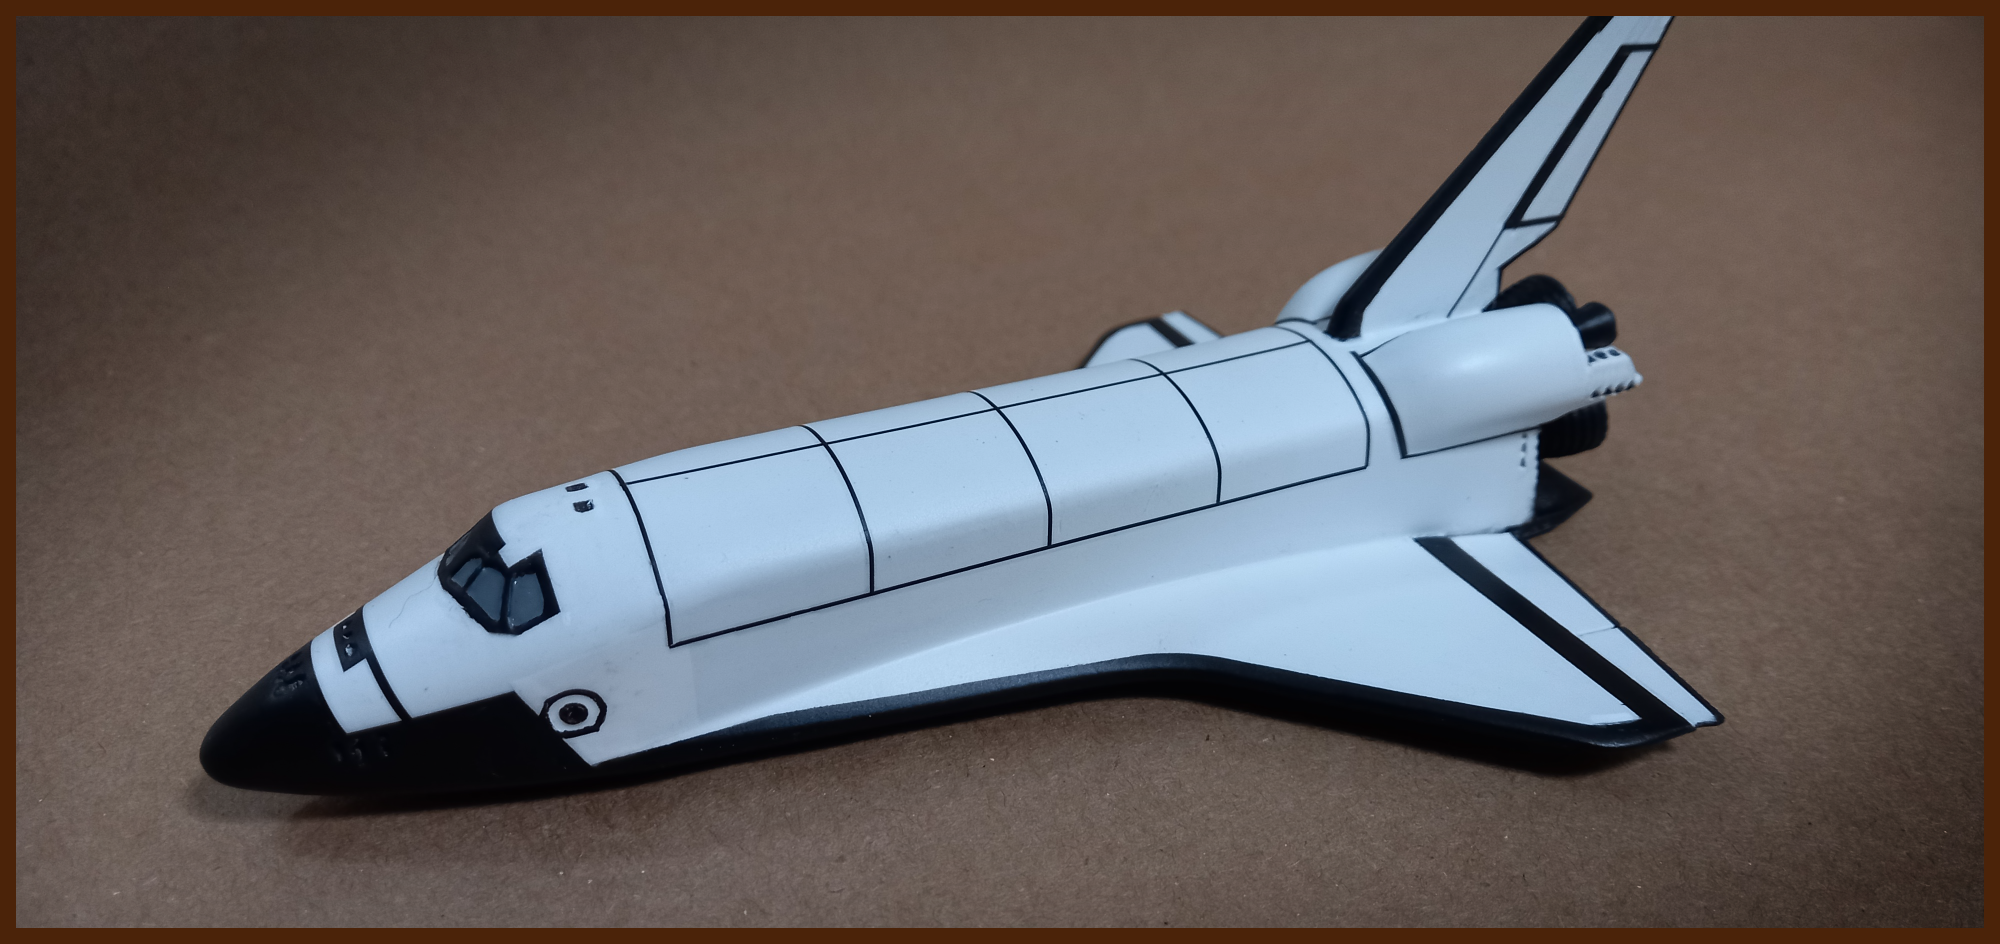
- White base color applied first (main body color of the Orbiter)
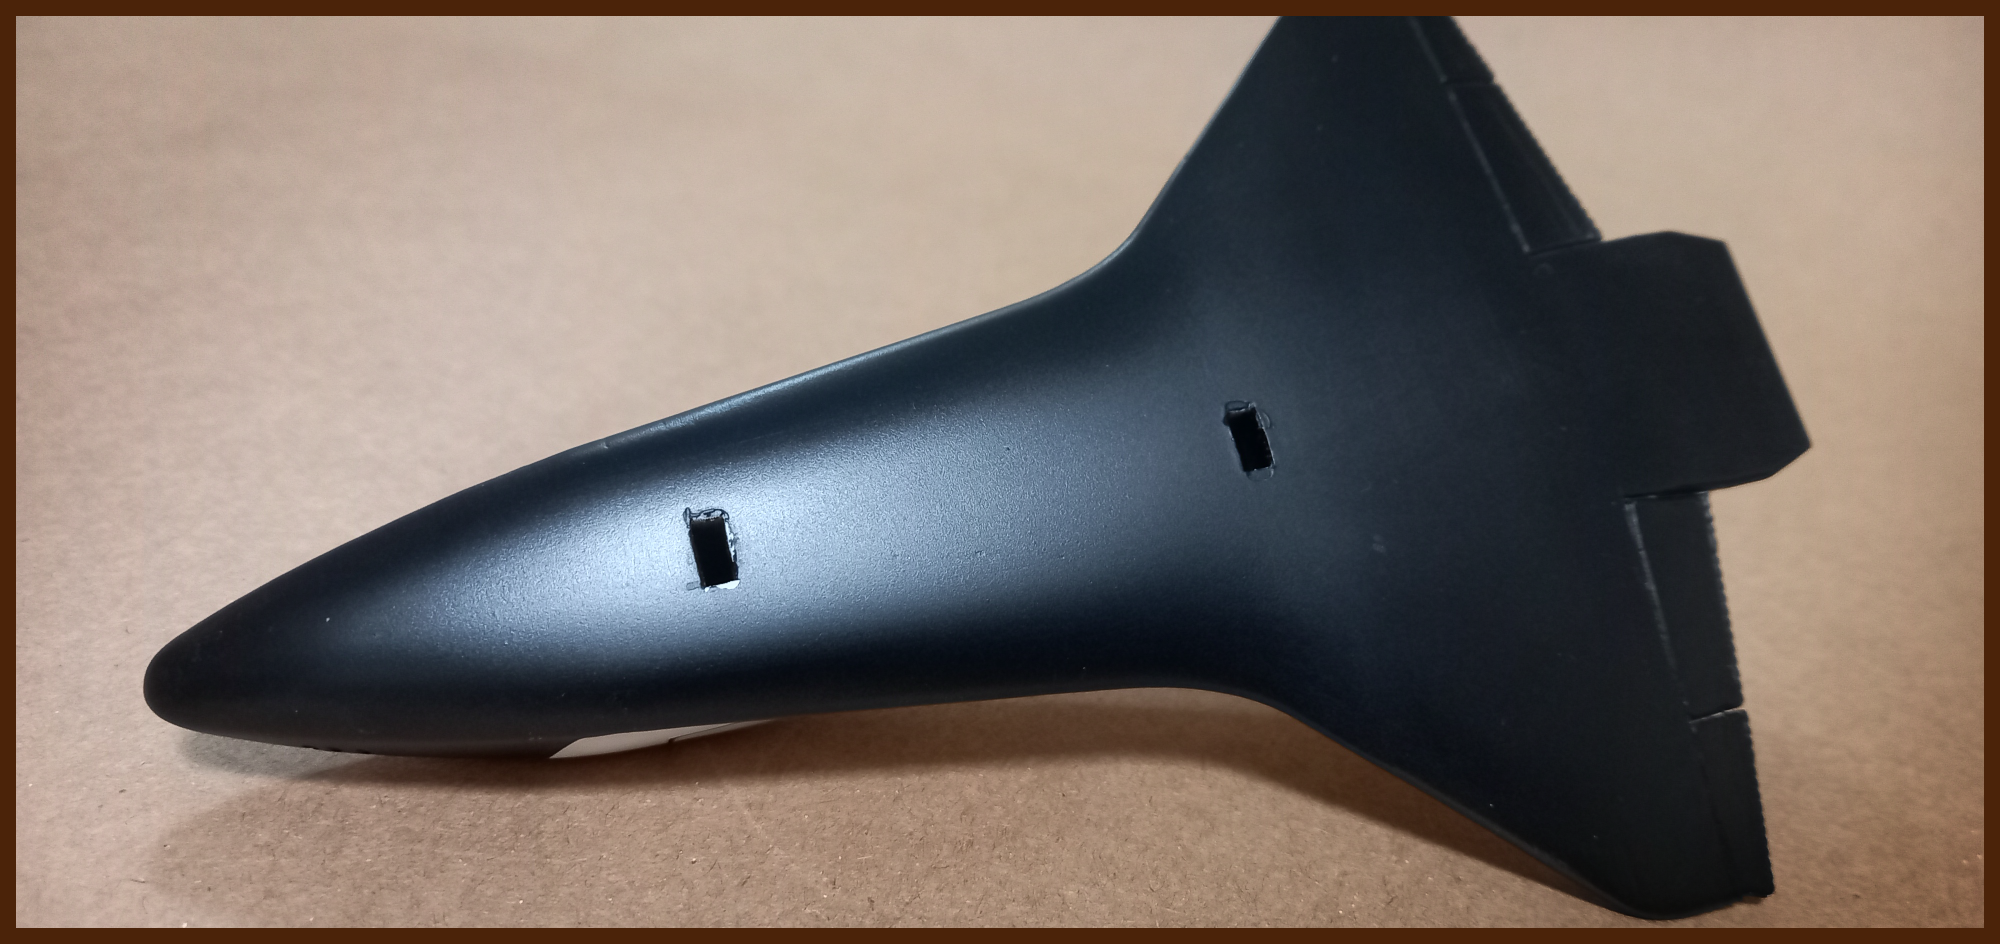
- After curing, the model was carefully masked for the black areas
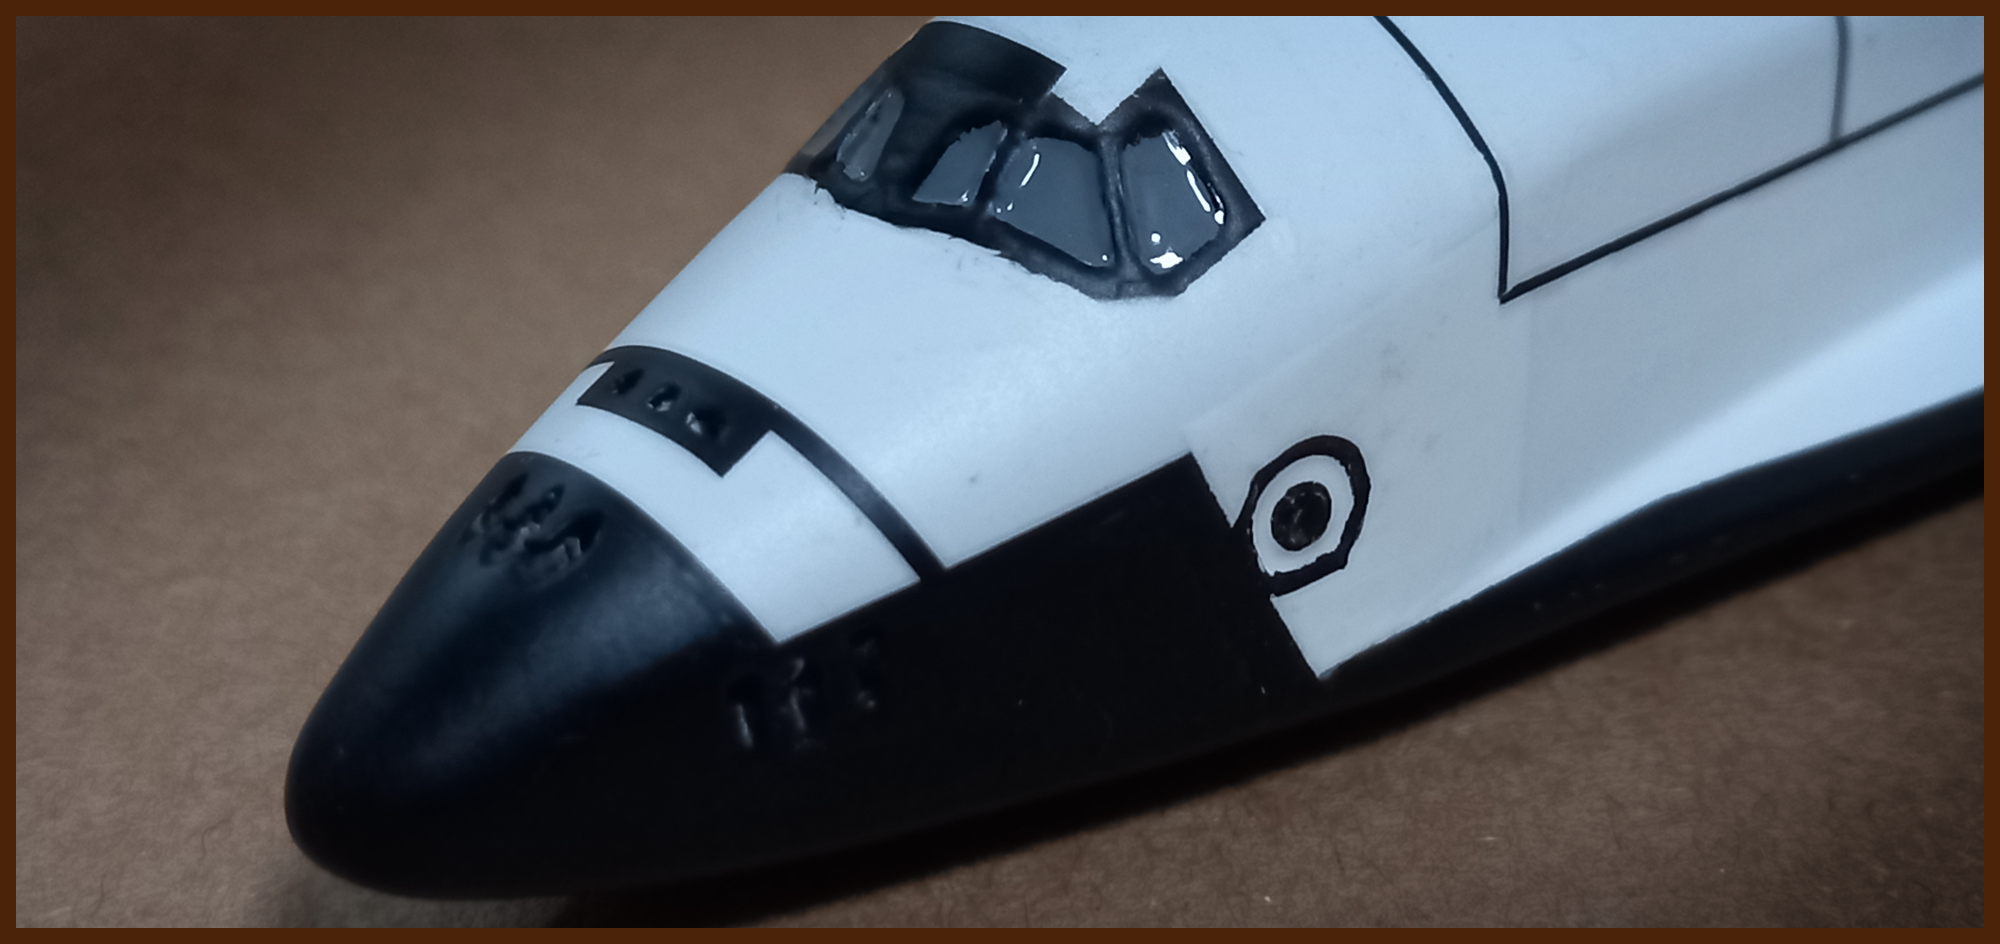
- Black polyester paint applied using precision masks, including:
- Standard masking tapes
- Flexible curve masking tape for complex contours
4. Details and Panel Lines
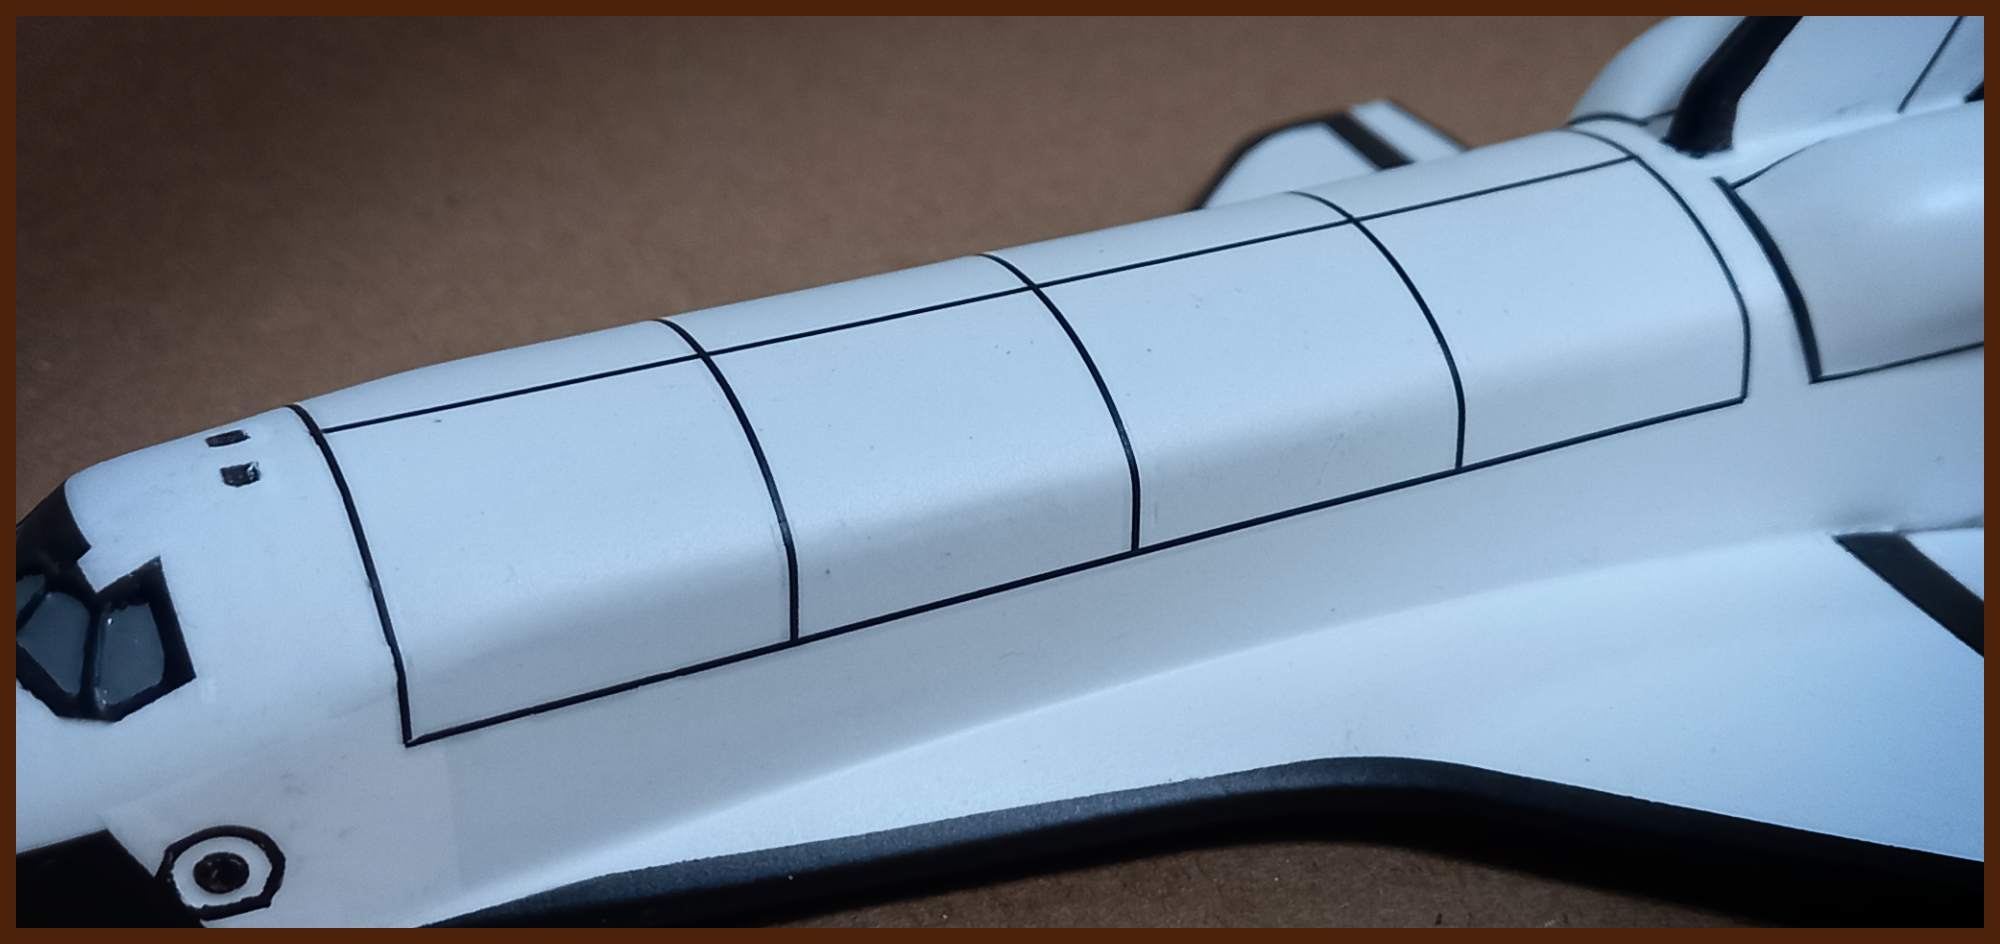
To reproduce the characteristic panel layout of the Space Shuttle:
- Panel lines were added using thin decal strips
- Fine details were enhanced with:
- Ultra-fine brushwork for small markings and corrections
This step brings scale realism and breaks the uniformity of large white surfaces.
5. Clear Coat and Final Finish
The final protection and surface refinement consisted of:
- 4 to 5 coats of semi-gloss automotive polyester clear coat
- After full curing:
- Light wet sanding using water sandpaper, grit 5000 or finer
- Always sanding with the surface fully wet to avoid scratches and achieve optical smoothness
This final step unified all layers, protected the decals, and delivered a scale-accurate sheen.
Final Result
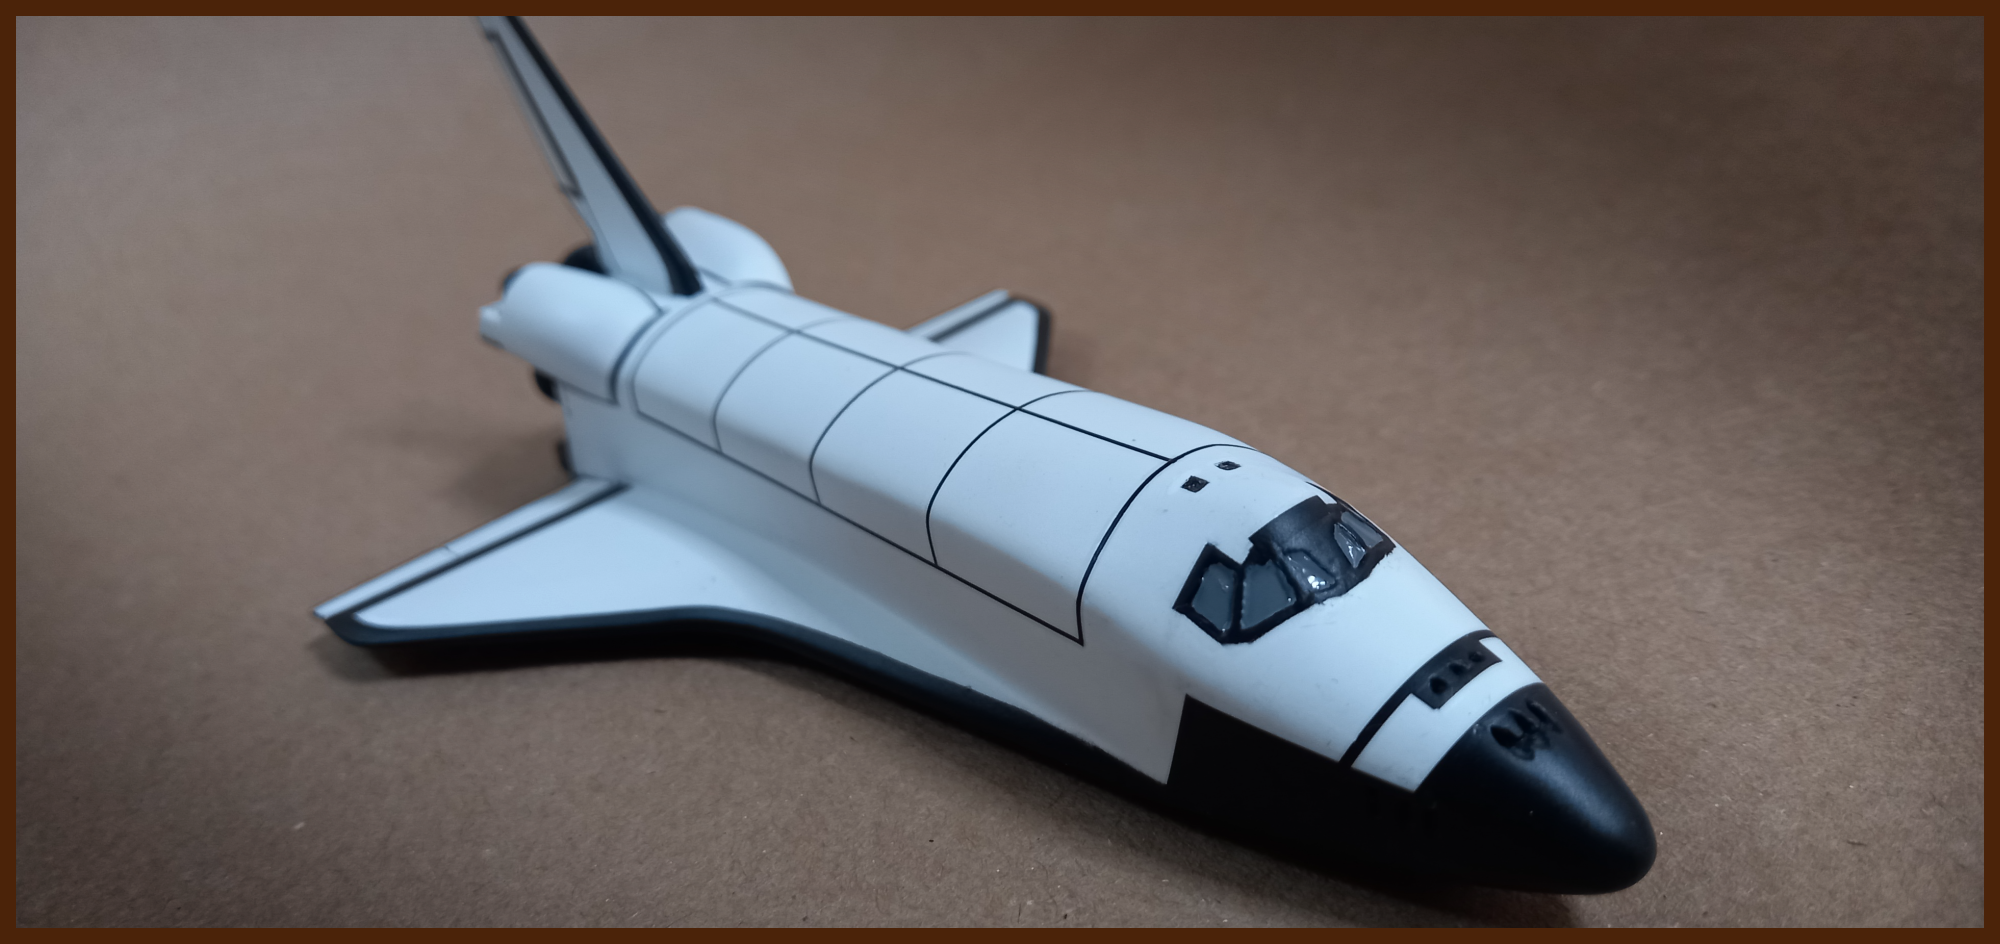
The combination of:
- High-quality FDM printing on the Bambu Lab A1
- Professional surface preparation
- Automotive-grade paints
- Precision masking and detailing
resulted in a Space Shuttle Orbiter that visually rivals traditional plastic scale models, proving that FDM printing, when paired with advanced finishing techniques, can reach an exceptional level of realism.
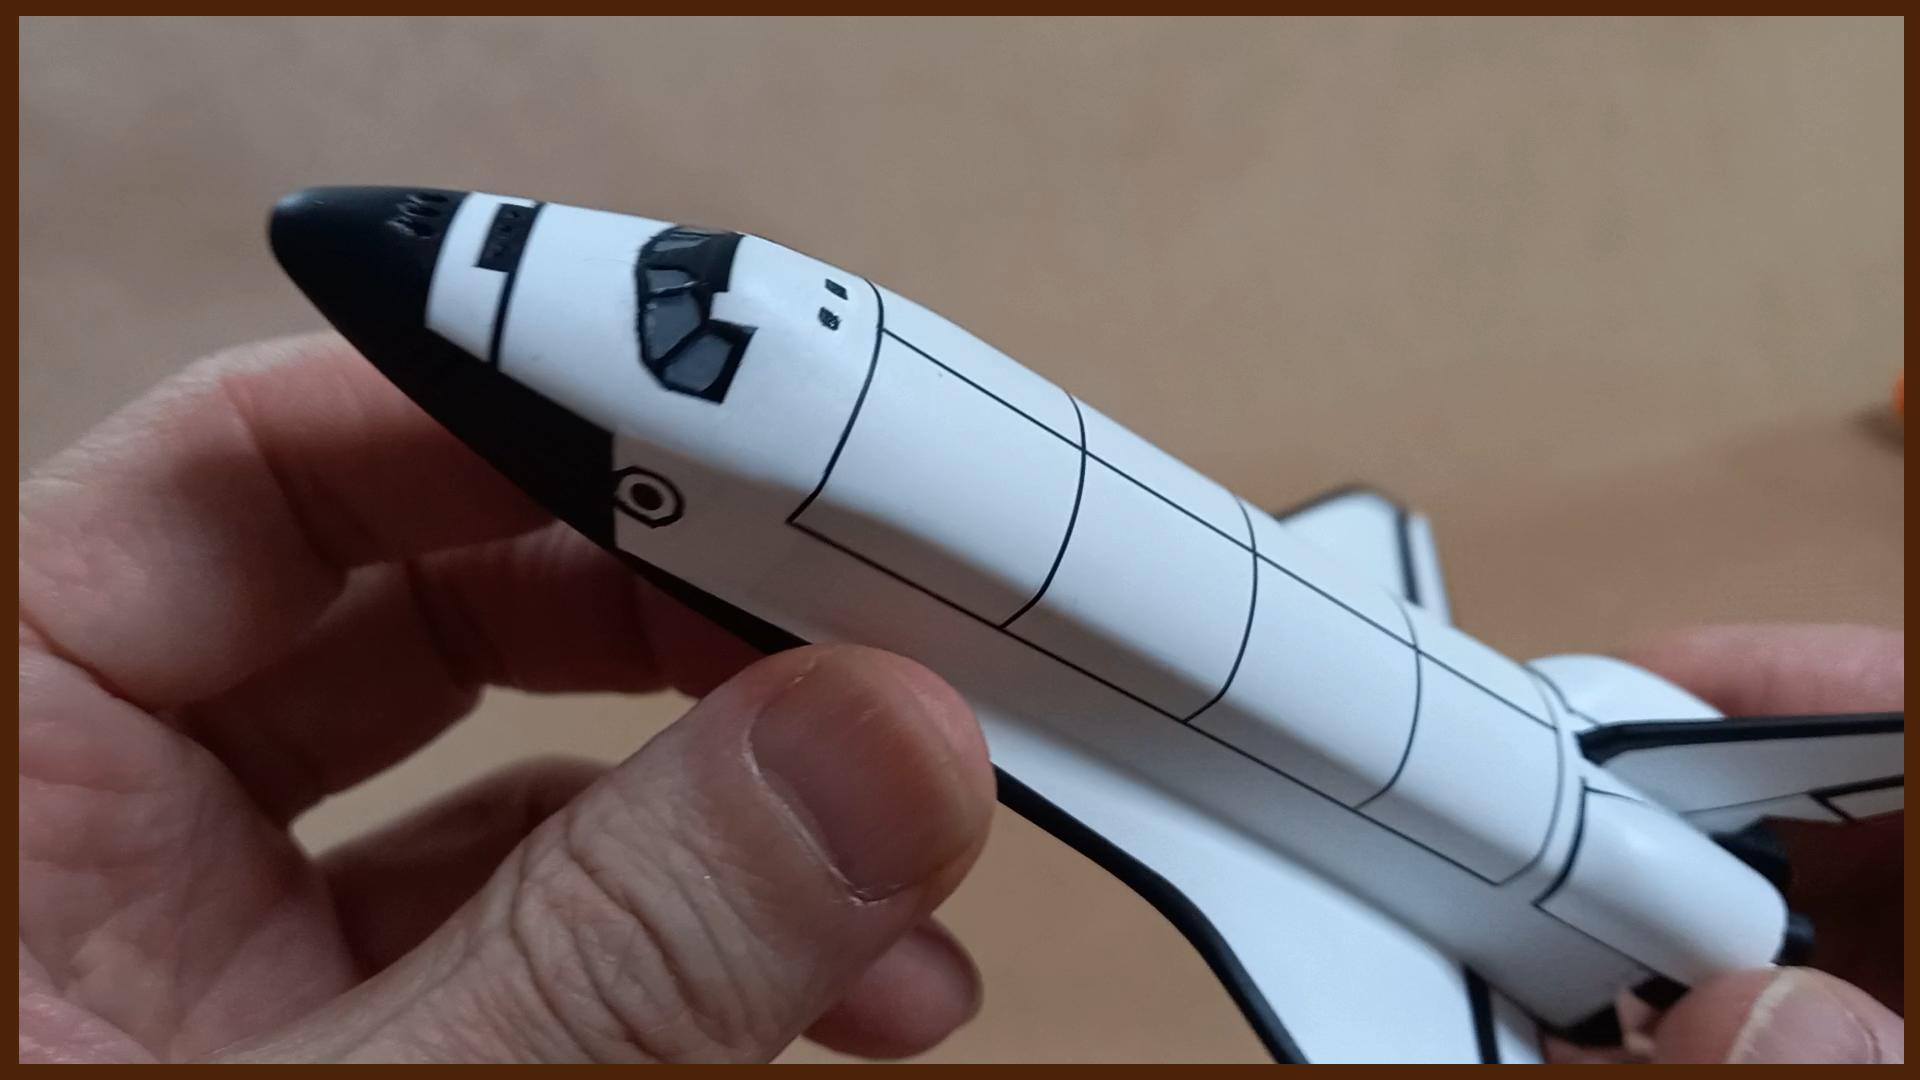
Special thanks to Flavio Scheiner (Instagram @flavio_scheiner) for the outstanding modeling, painting, and finishing work that brought the BUILD-A-ROCKET Orbiter to this level of quality.
Thank you.