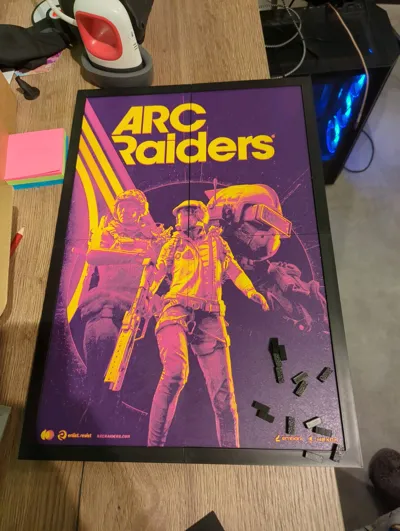
Makerlab (Makerworld) released a new feature: Chroma Canvas. A tool to generate a 3D printed image in layers, by simply uploading an image, selecting the color scheme you want and generating the result.
A technique a lot of 3D enthousiast are familiar with by the program “Hueforge”.
A notification you receive when opening the tools mentions this:
Hueforge prints have been my go-to print for when I have to create an easy present with a “WOW”-factor. When gifting money it is something that makes the gift more tangable, and shows the epicness of 3D printing without to much hassle.
A subrscription to Hueforge is on my wishlist for over a year. So I was very eager to test this free tool by Makerworld.
So, here are my findings
What does Chroma Canvas do?
Simply put: It paints your picture in 3D.
The tool analyses the color differences in the image you upload, makes you chose a color scheme and generates a file that tells the printer when to print in what color on what layer.
The software calculates the exact thickness of each colored layer, taking into account the filament's translucency. This layering and blending creates the illusion of many colors and gradients, even if you only use a few spools. It then provides the instructions for where to pause and swap colors in your 3D printer's slicing program.
Testing process
To clarify: mistakes were made, this part describes my searching/learning process.
I started with the following image:
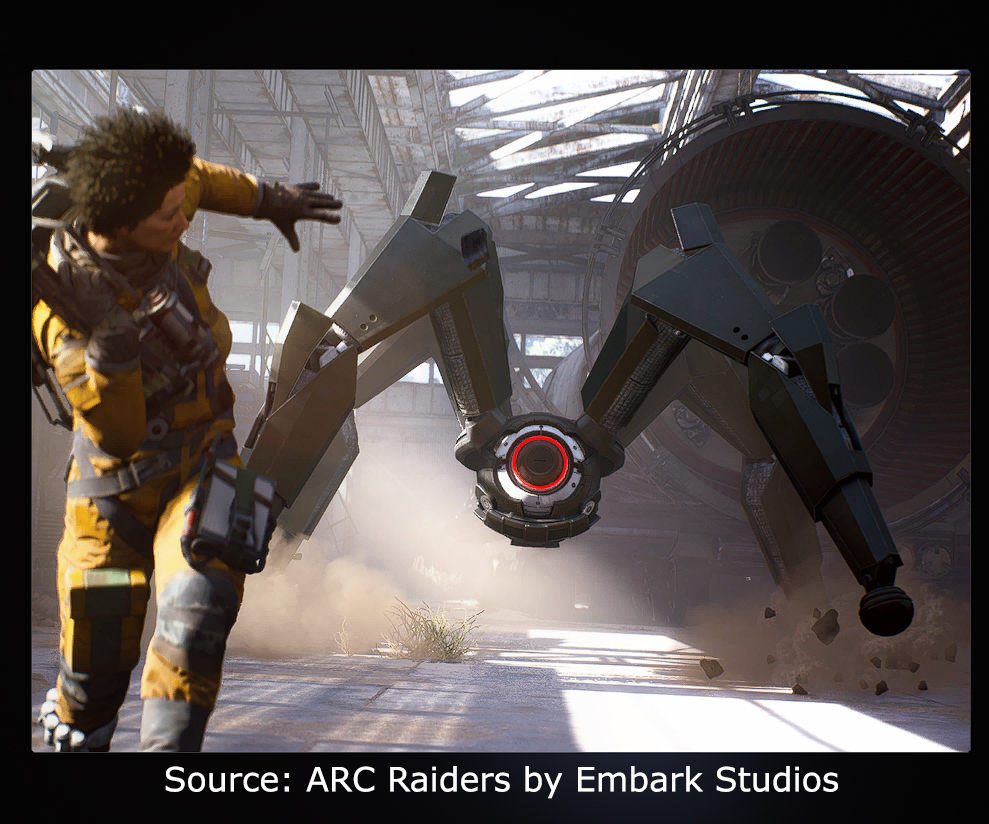
It is a screenshot from the game “ARC Raiders” by Embark Studios. It is an image out of the codex of the game.
The goal is to make a Chroma Canvas christmas ornament with it. So I don't want the full image.
Using Photoshop I cut out a circle:
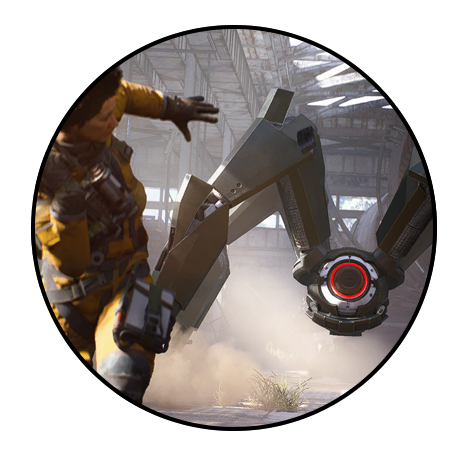
Saved it, and was ready to go.
Chroma Canvas really talks you trough it. When you upload an image, it already tells you what stepts to expect.
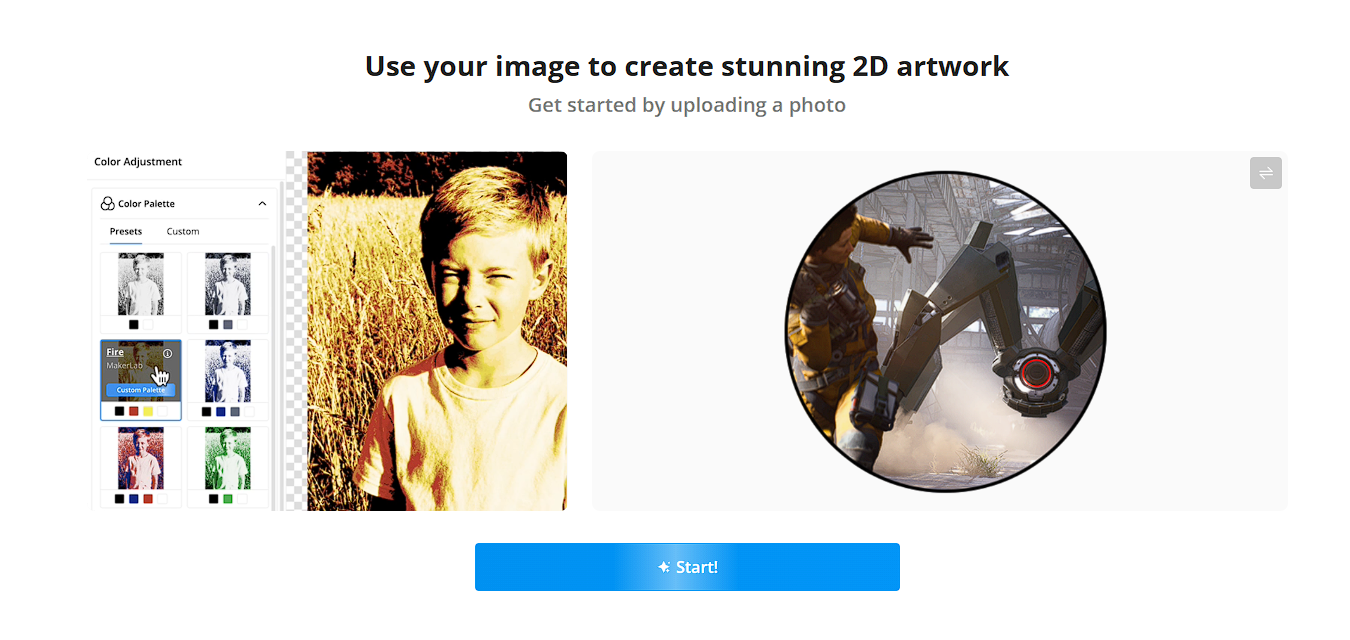
So when Uploaded, I could chose between the different color schemes.
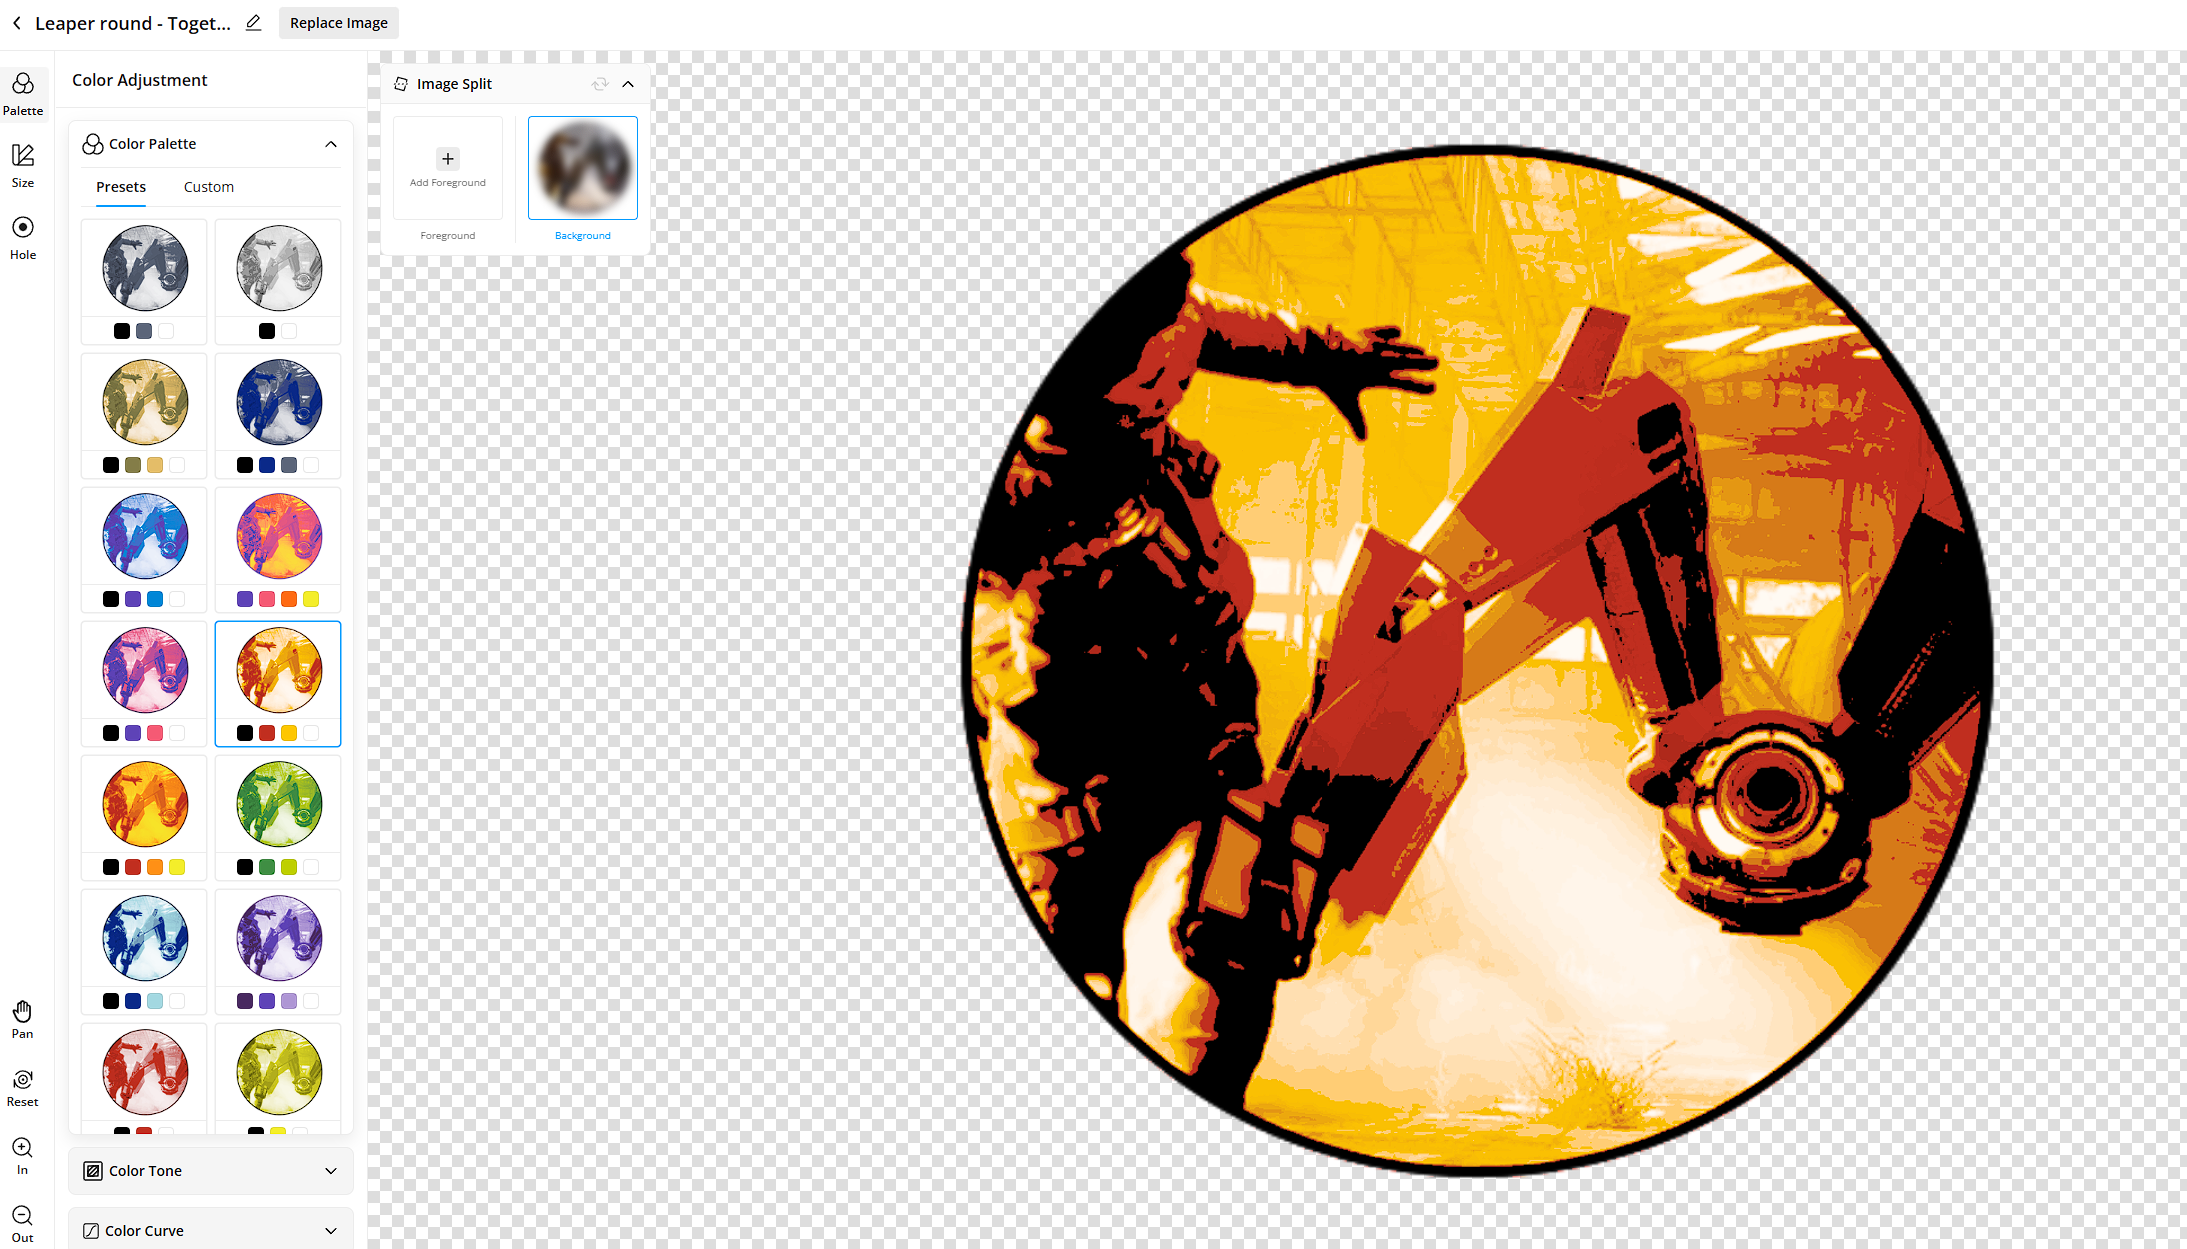
Since a leaper in the game is one very dangerous ARC enemy, I chose the fire-scheme.
i like that it already says how many colors you'll need and the different options you have.
The same image in a “mono” scheme, gave this result:
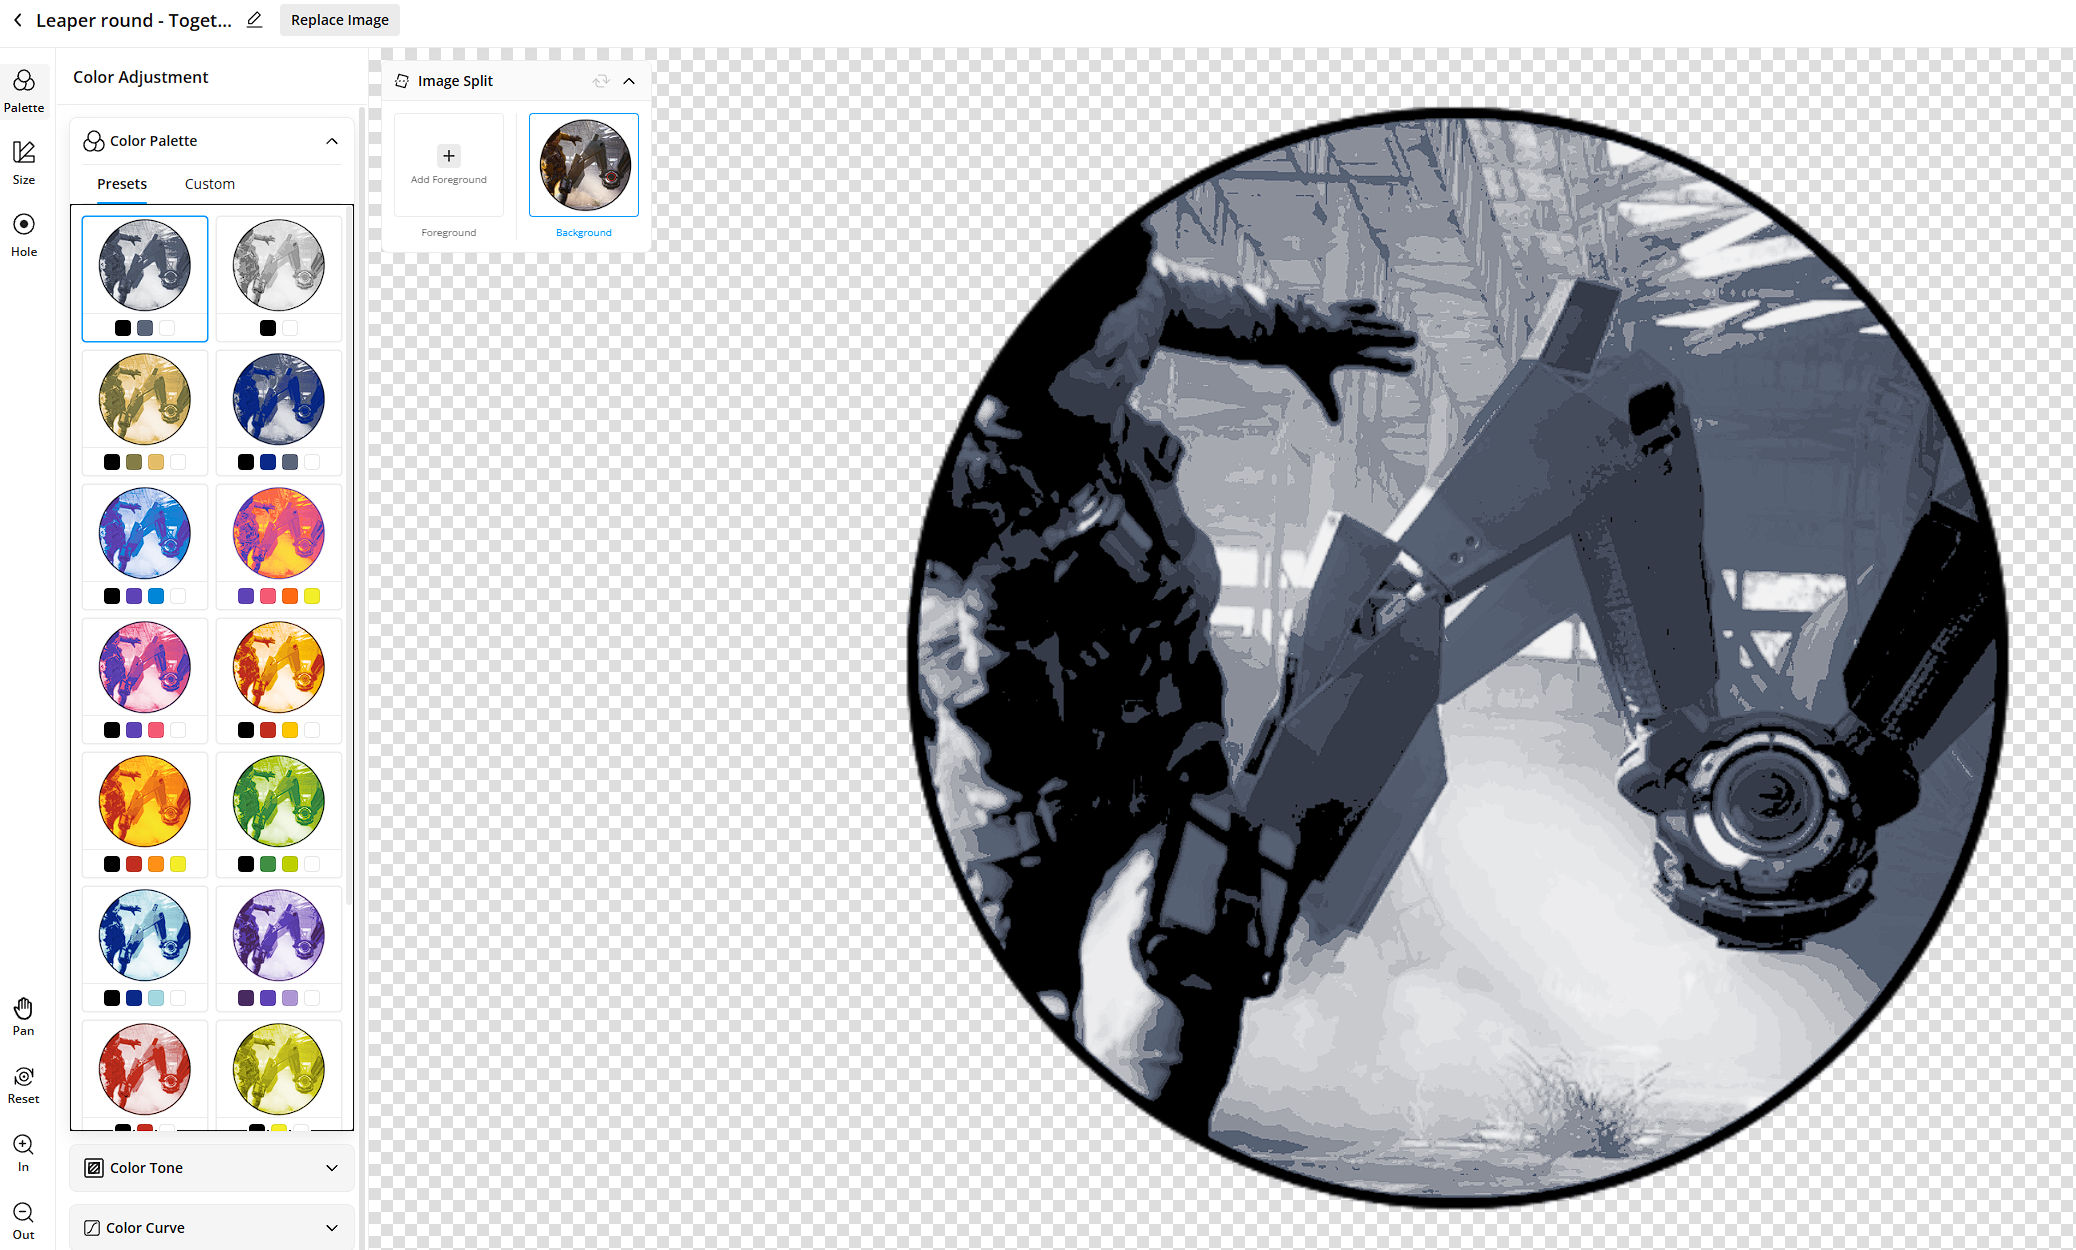
I was exited, exported it, switched the colors in my AMS and pressed print.
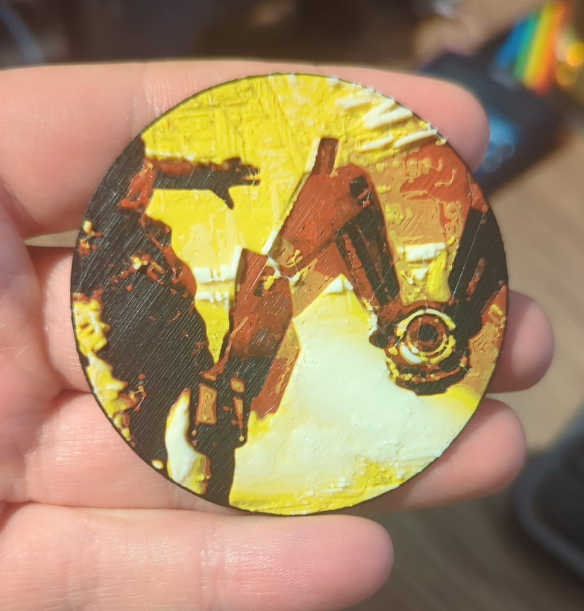
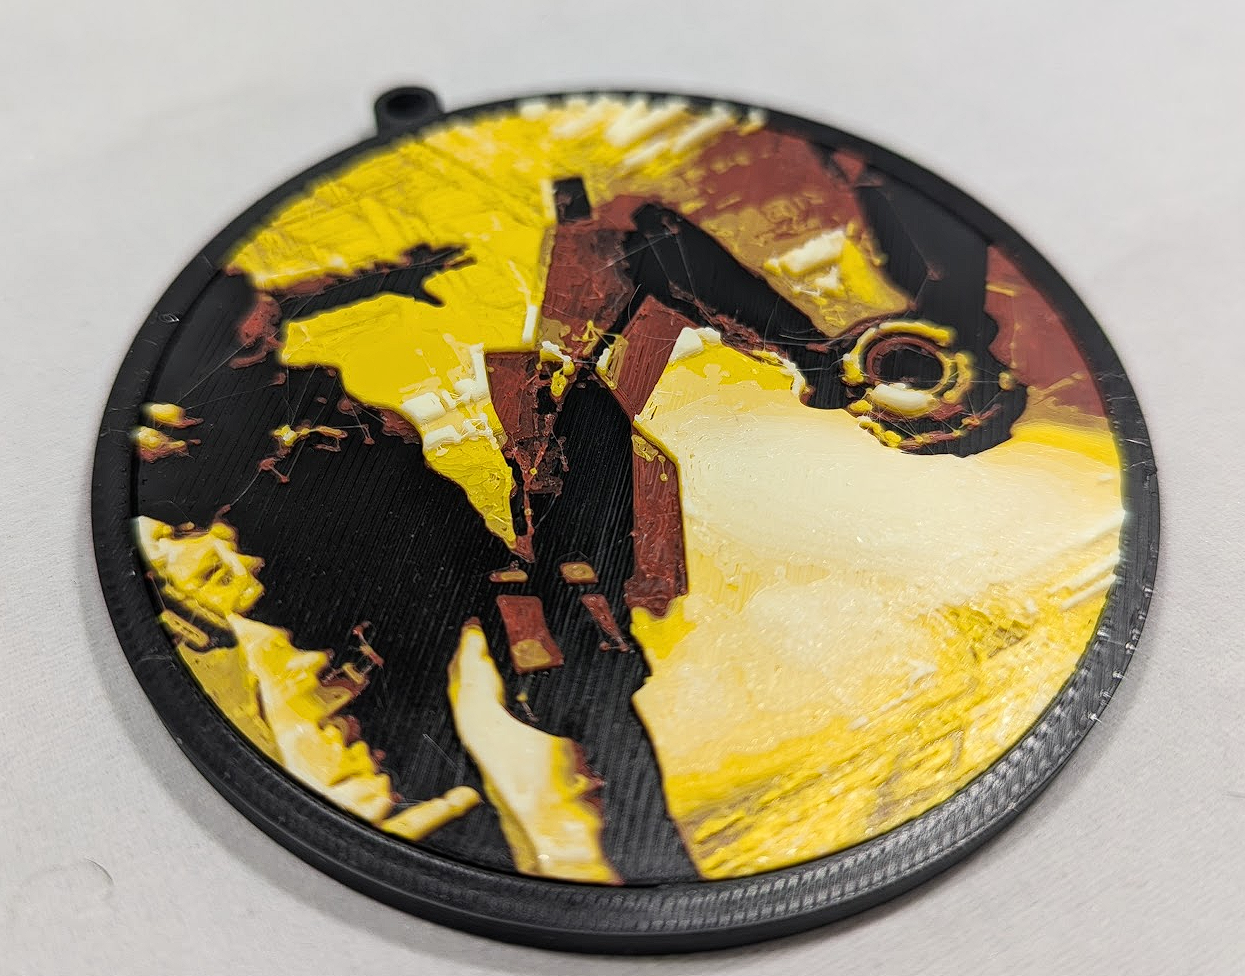
My first result was adorable!
Options
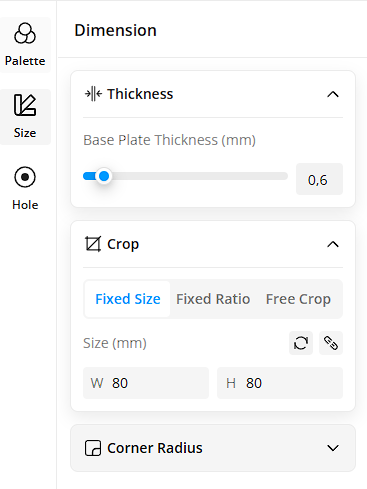
After that I looked a bit further in the Chroma Canvas options. Finding a 2nd tab with size settings:
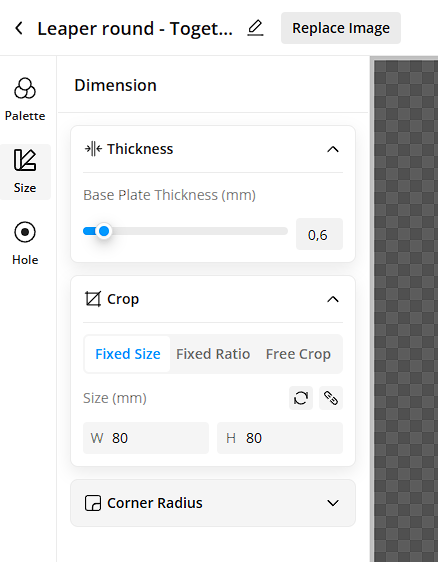
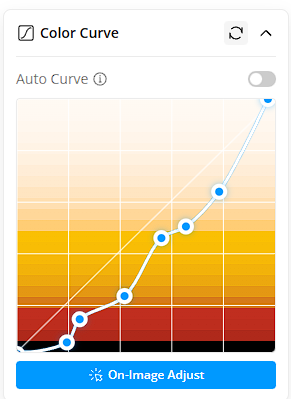
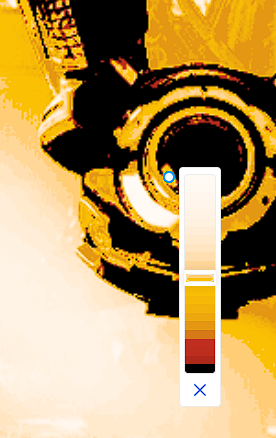
You can also change the gradiants of the colors by simply sliding the graph. The visual changes almost instantly, so it's very easy to reset and play with it:
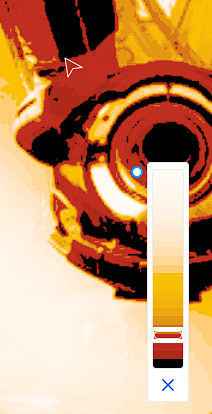
You can even change the colors on the image itself:
But to be honest, I was just super hyped for the result.
I changed my size too 80 mm x 80 mm (the size I want) and kept the plate thickness.
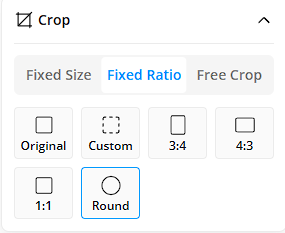
By changing the shape to round, I basicly had what I wanted.
The only thing is I couldn't seem to find a scaling or aligning tool. Making it possible for your image to be in the perfect centre or changing the dimensions of the image, and therefor making sure you get the size you want.
You can scroll to scale, but this wasn't accurate enough. it was or to small, or to big. There is probably something I'm missing, or you're supposed to change the size in Bambu slicer itself.
Anyway, I settled for this:
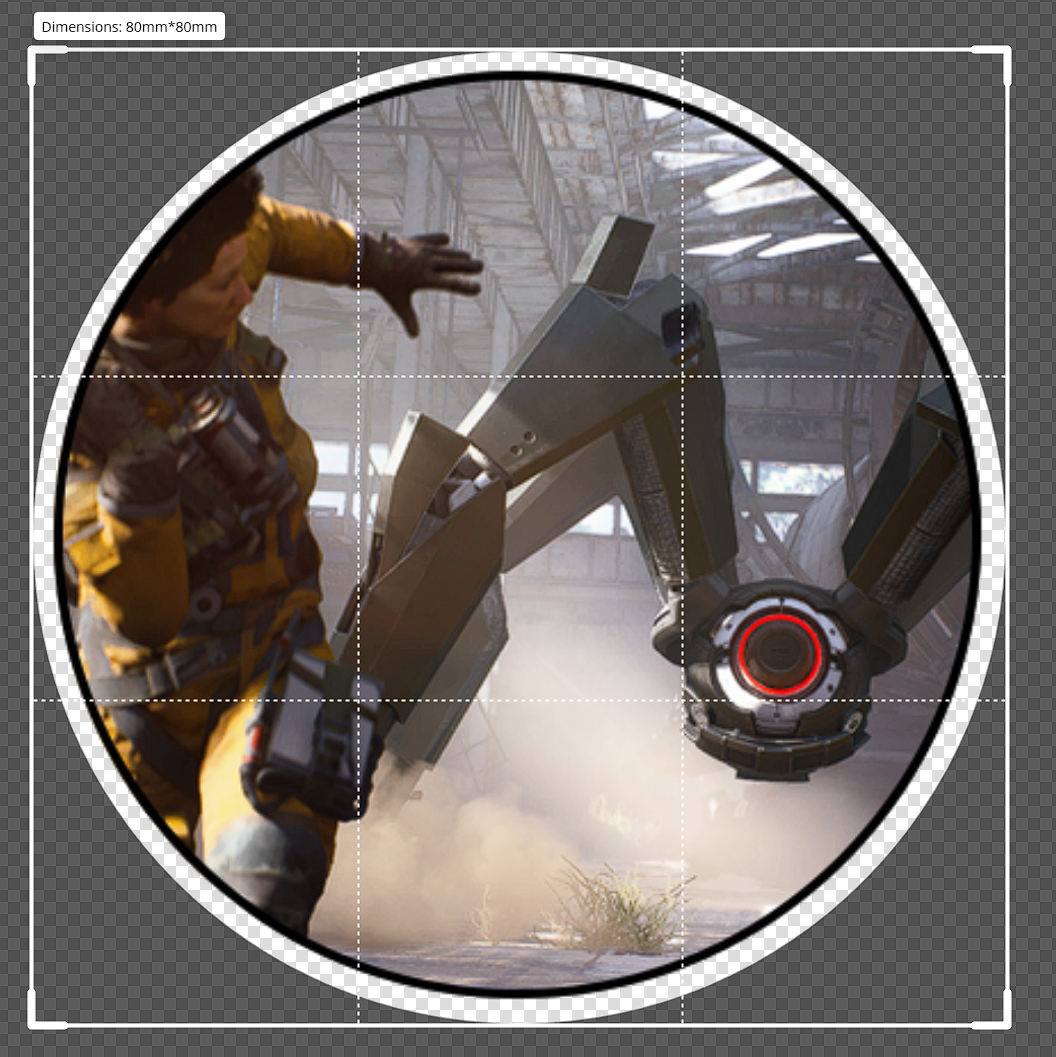
And like that, print number 2 was ready to go!
Figured it out
While waiting for that to print. I figured out that you're not supposed to do the cutting in advance. But rather upload the whole image, and use the range as a cut out tool.
That makes it even easyer.
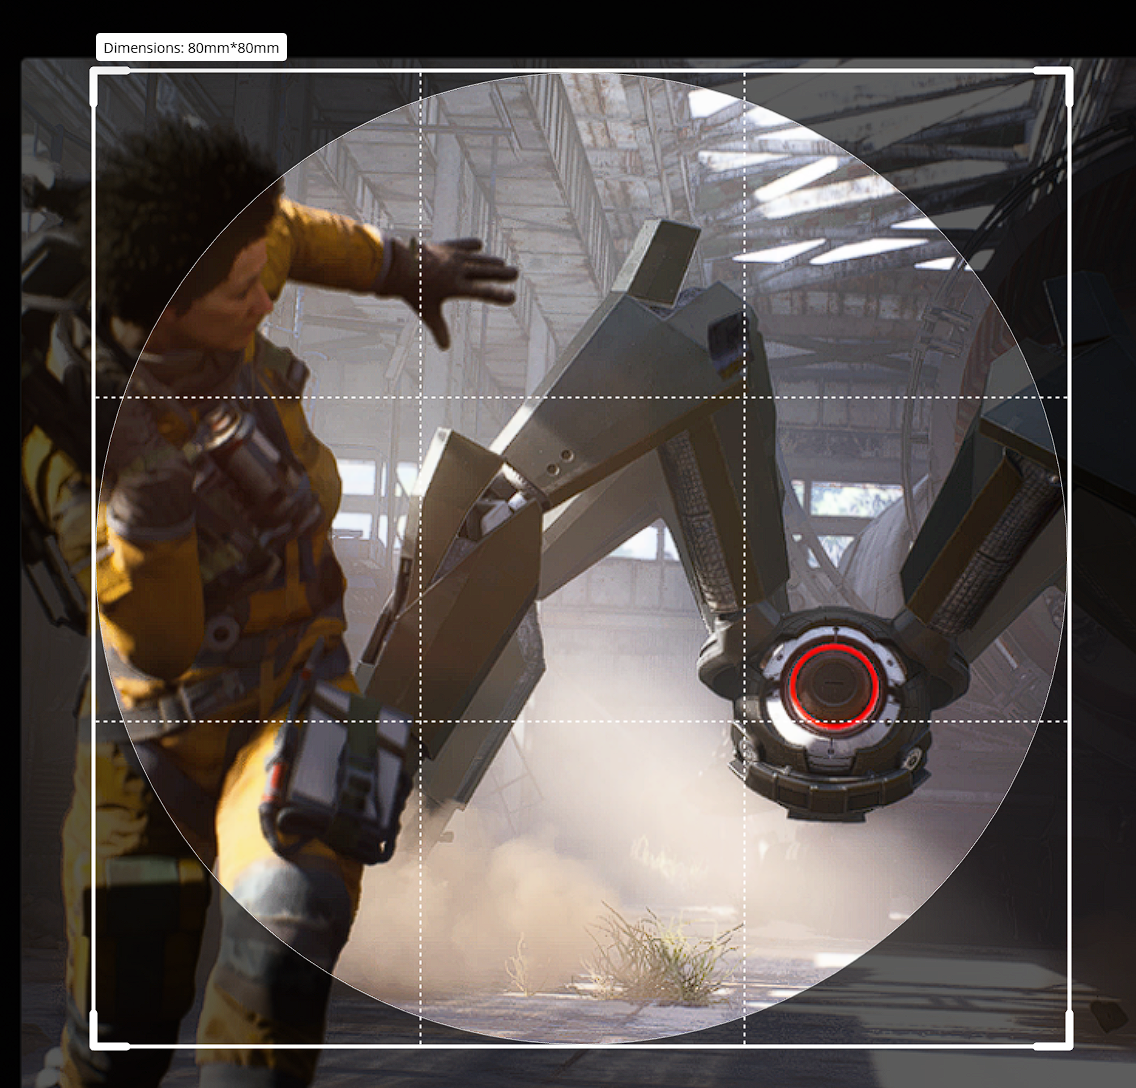
So with the full image uploaded, I cut out a 80x80 mm circle like I did in Photoshop:
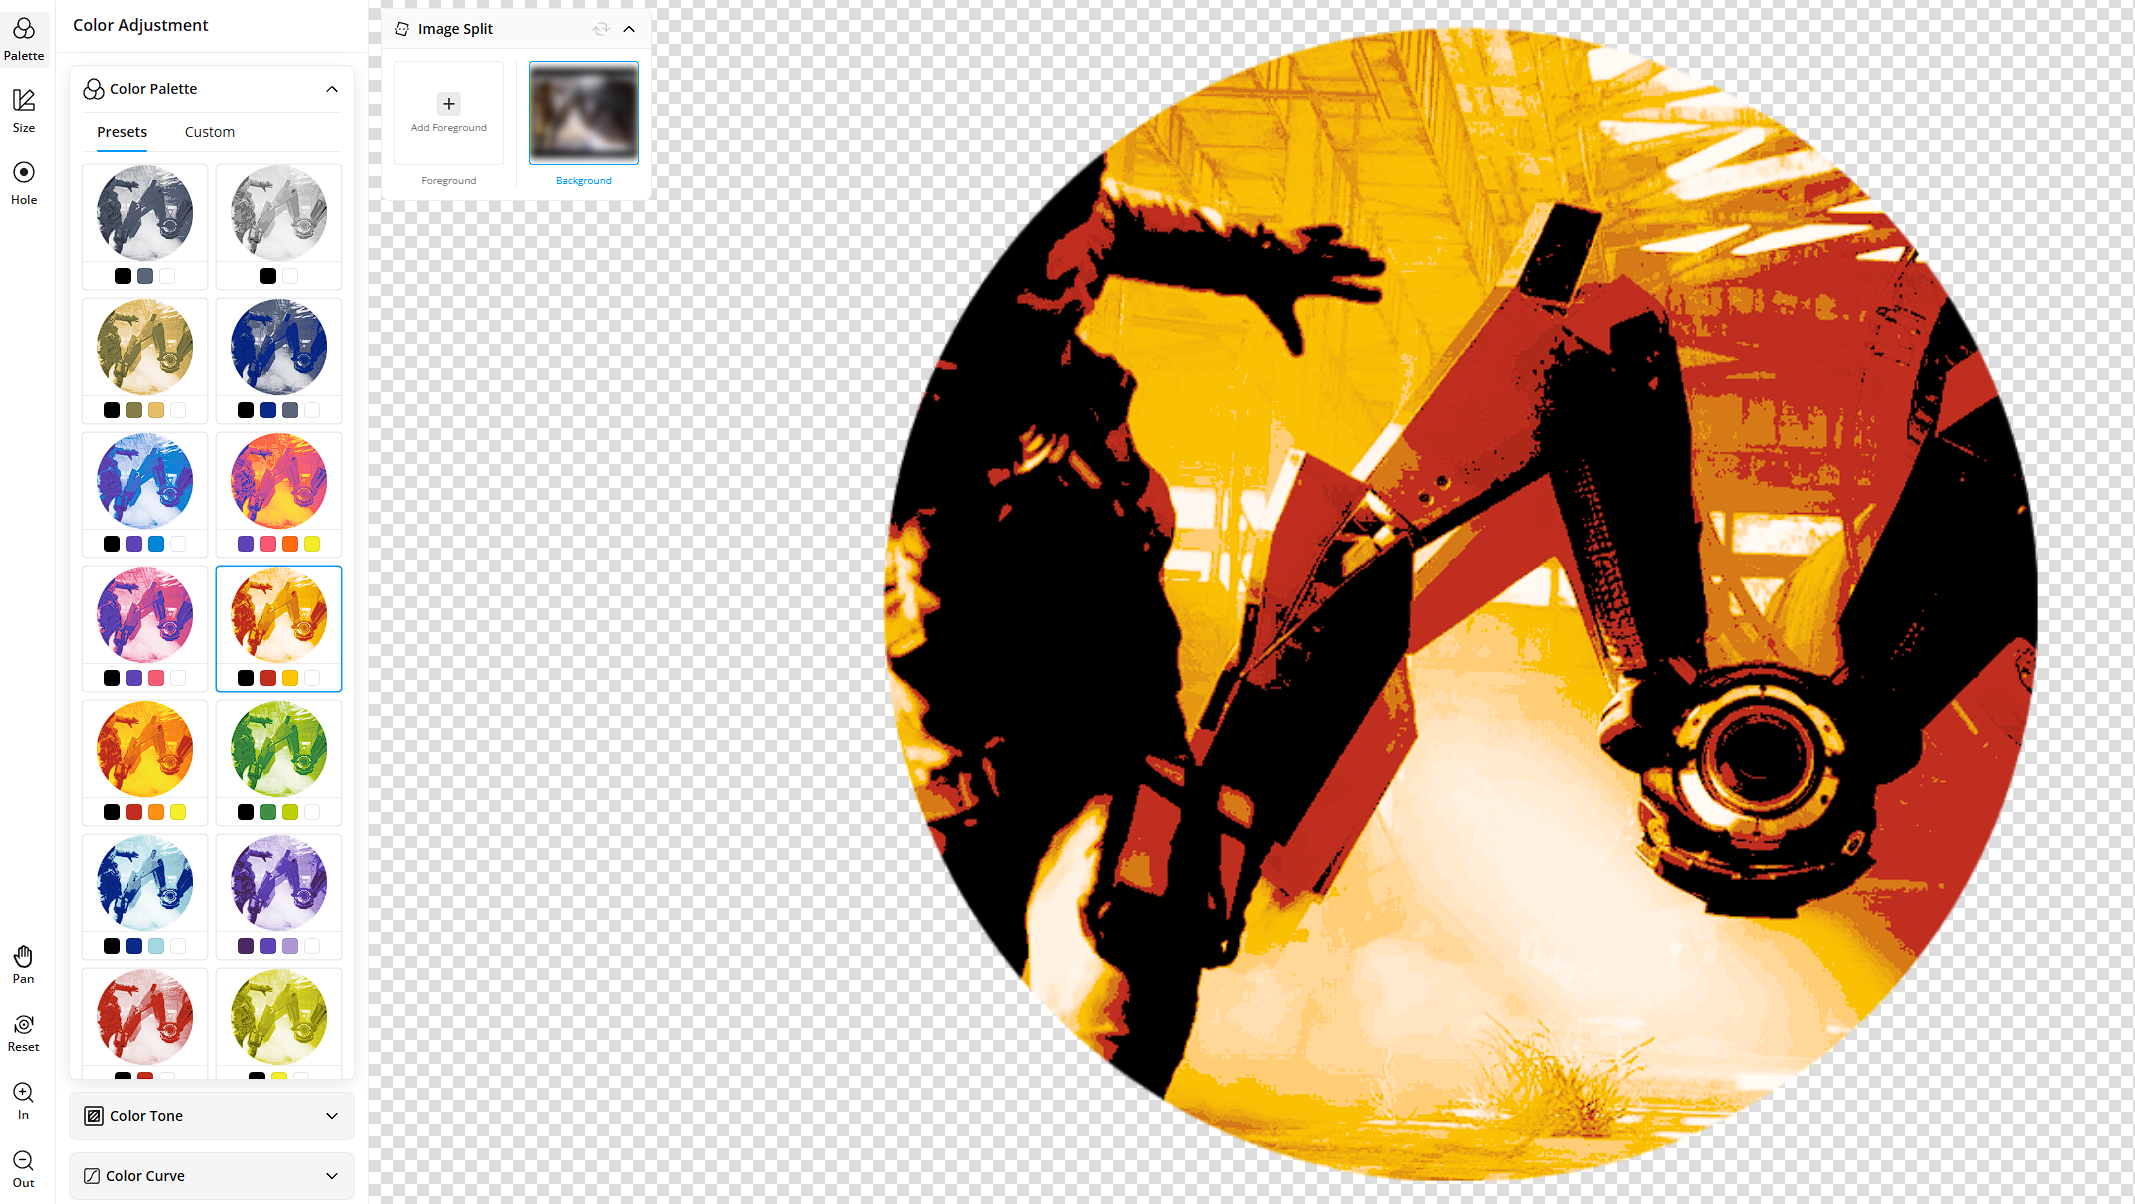
When going back to palette, you see the result, a nice cut out circle. Perfect 80x80:
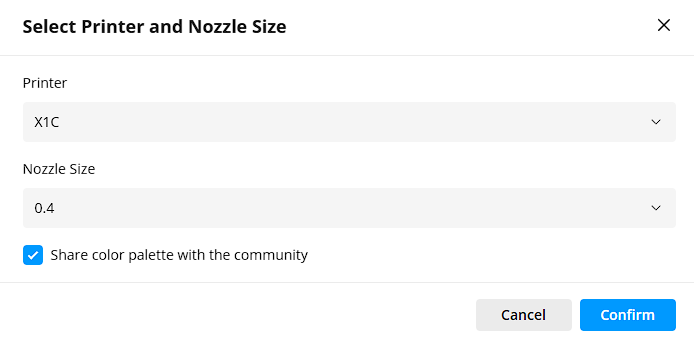
Export, selecting your printer and the correct nozzle (standard is 0.4).
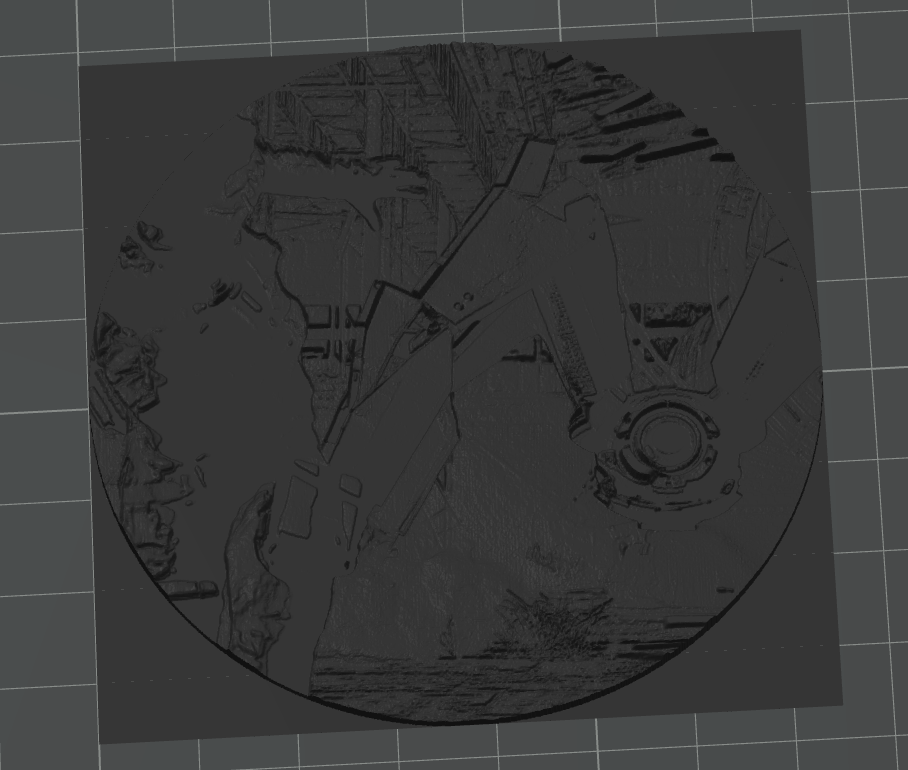
Looking in Bambu Maker you can see the original square size:
When sliced, you see the lovely colors:
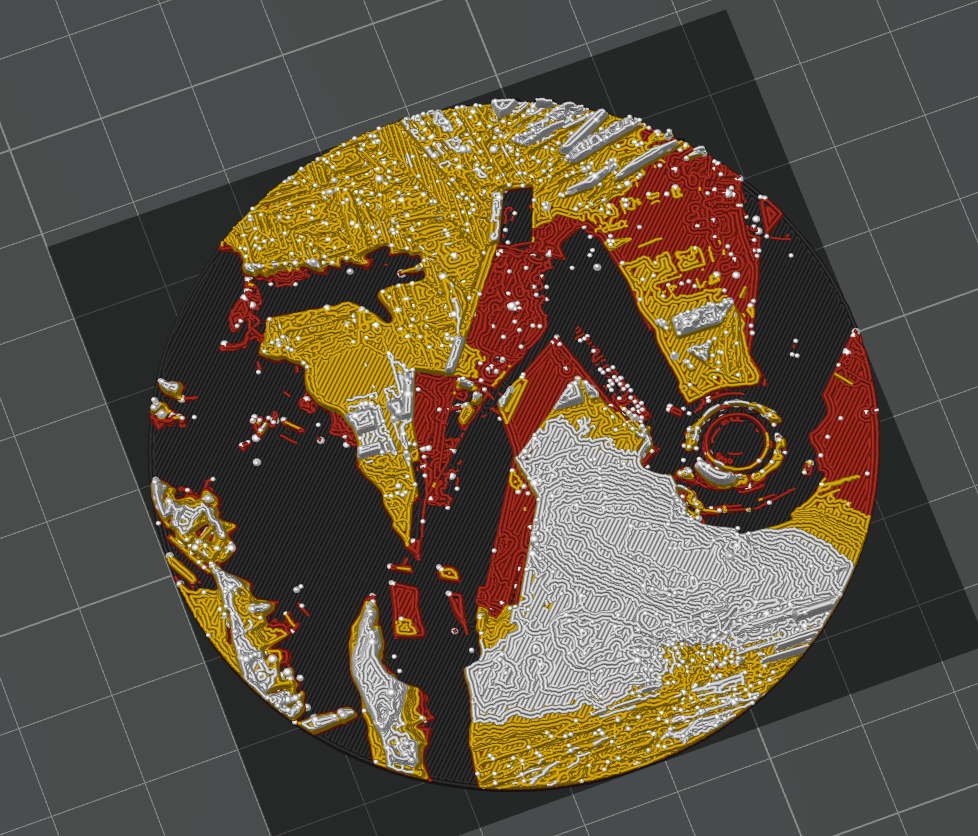
as well as the coloring scheme:
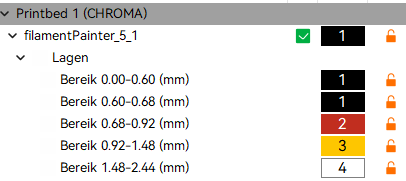
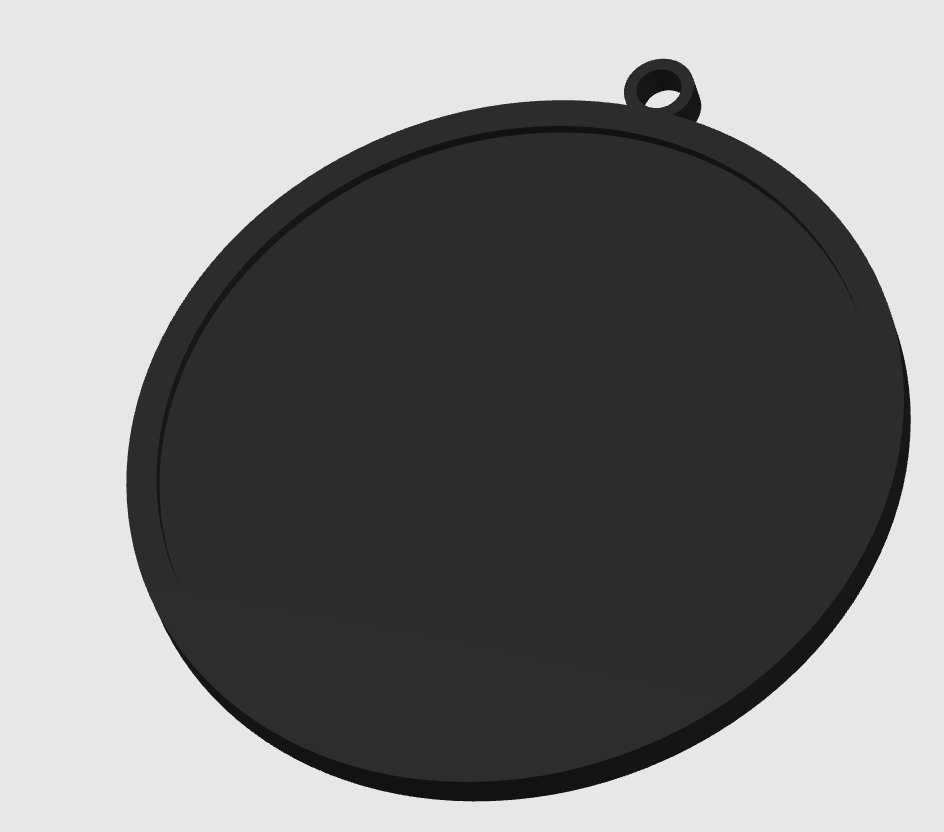
While it was printing, I designed a quick inlay for the disks to be put in, to be able to hang it in our Christmas tree.
As reference, I used a 0,4 tollerance for the cutout. And a border of 3 mm on each side (so 6 mm in total larger disc then the insert).
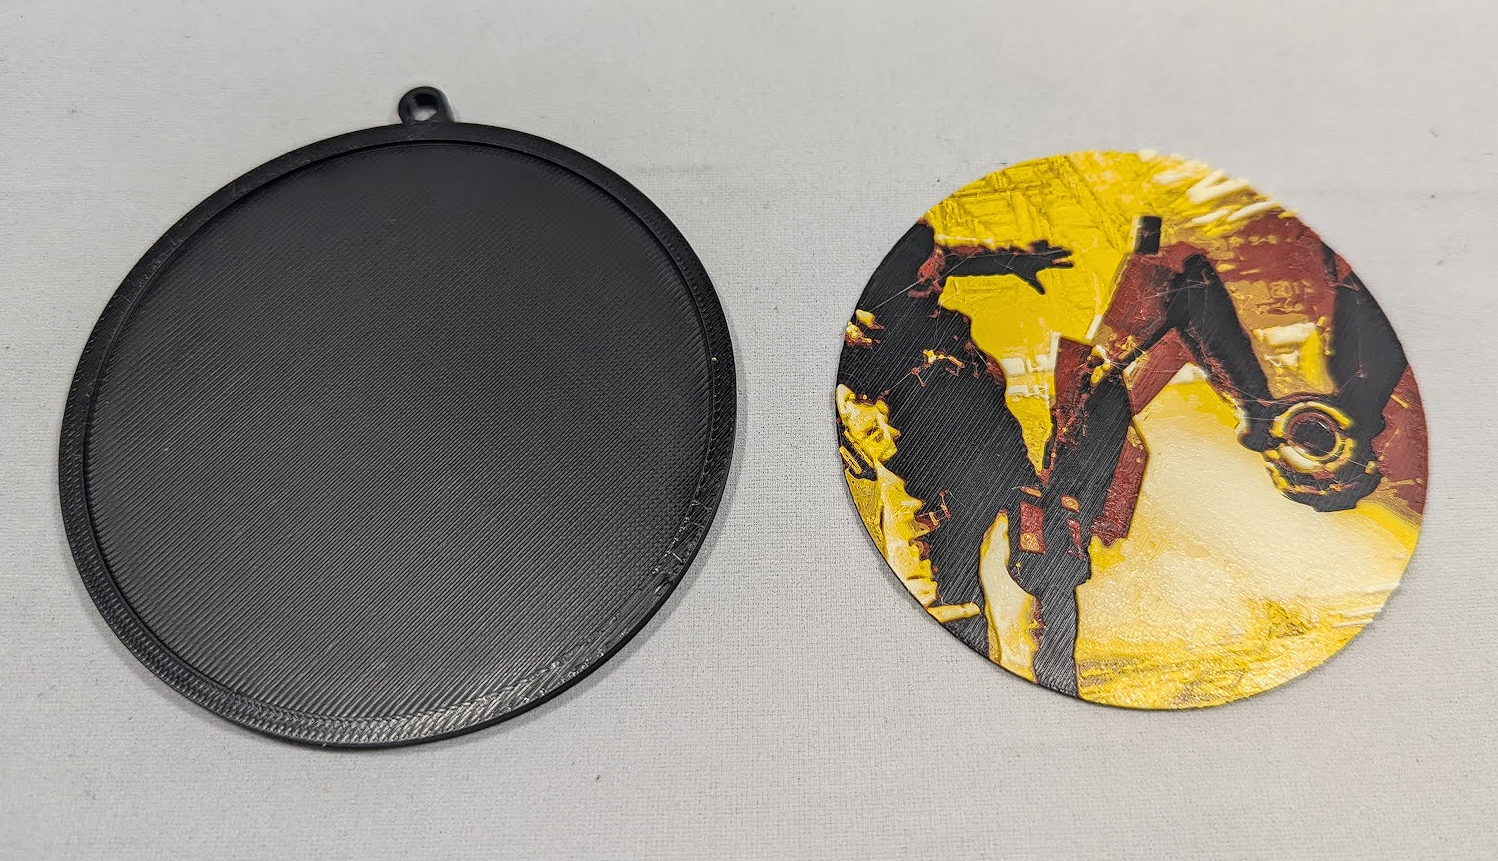
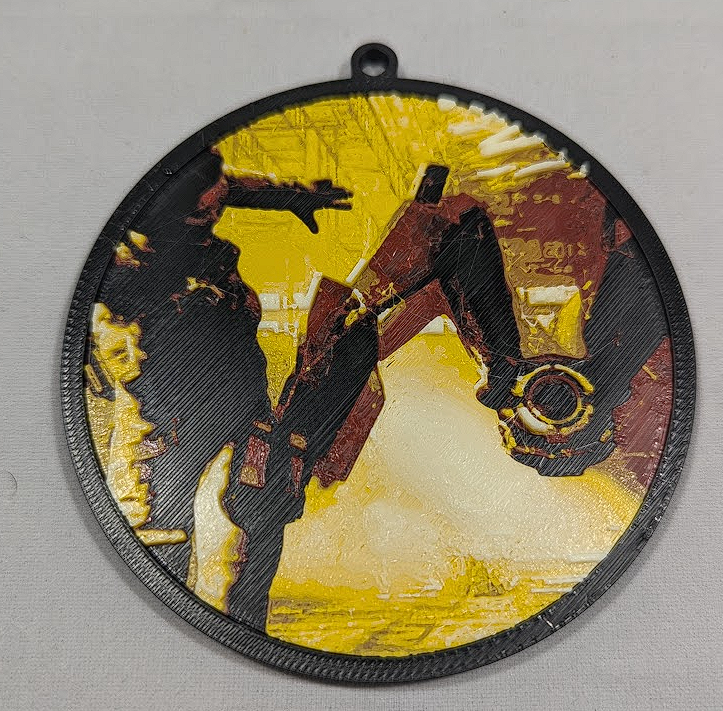
I made the cut out go in for 1,2 mm and it was perfect. Just a dab of glue and done.
Final result
Final thoughts
Conclusion: I'm blown away.
The fact that this tool is free to use, makes personal gift giving around the end of the year so much more fun.
I see myself (and even my kids) upload images, tweaking it only a little bit, and printing epic personalised images for the whole family.
I'm still looking for the correct way to size the images I put in, since scrolling to size up and down is a very big leap and I can't seem to find a size-slider.
So if I missed this function: let me know!
If it's not there: I look forward that it will be added 😉
The only thing that is bound to happen, is a giant flood of Chroma Canvas prints on Makerworld.
But let's be honest, Hueforge was already a big part of Makerworld. And since I have a christmastree that has at least 10 hueforge christmas ornaments made by other designers in it, I'm not complaining.
Now I can just make them myself, with Chroma Canvas.
Ready to try it out? You can find the tool at “MakerLab”
Happy printing!
Marjan, from Together 3D
P.s.: there is also a foreground function and a hole-maker, but I didn't need that so did not discuss that. I will test it out in the futur.