Bambu A1 Quick-Swap Filament Guide


Print Profile(2)


Bill of Materials


Description
Boost Me (for free)
Boost Me! Level up your Bambu A1 with a fast, simple, and affordable multi-filament solution—print this guide and swap colors in a snap!
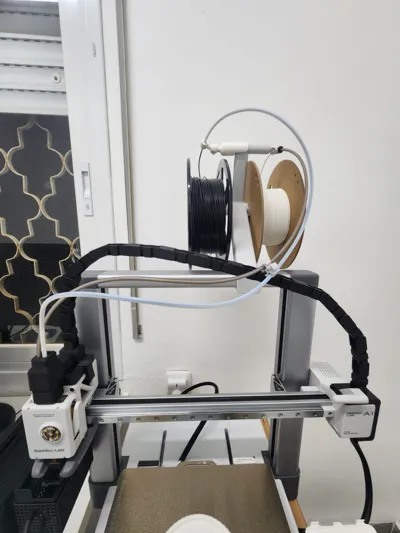
Upgrade your Bambu A1 with this custom filament guide, designed for use with a “Poor Man’s AMS” setup! By combining this guide with Arzhang Lotfi’s ingenious swap system (see link below), you can easily switch between two filaments and achieve a quick DIY multi-material experience—all with just a PTFE tube and a 3D-printed part. No special connectors required! Added a print profile for a remix if you want to use on both sides.
This guide works perfectly with the modular InfinityClamp system for added versatility if you are using a filament dryer!
Check out the Poor Man’s AMS here: https://makerworld.com/en/models/822710#profileId-765972
To get started, grab the InfinityClamp Base here: https://makerworld.com/en/models/1045532#profileId-1031278
And the Filament Guide Attachment here: https://makerworld.com/en/models/1045642#profileId-1031418
Assembly Instructions
- Remove supports. Clean off all support material from the printed parts.
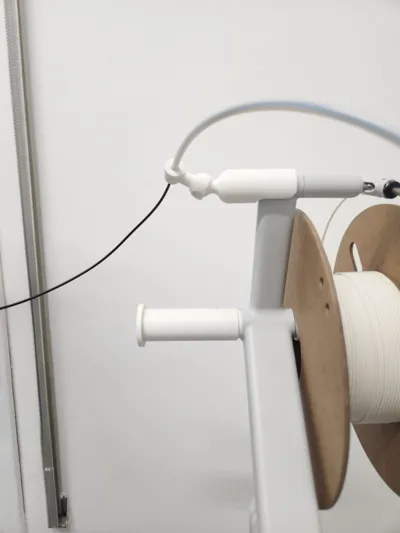
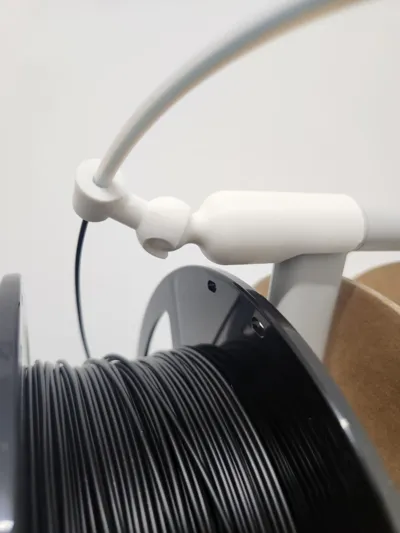
- Connect the guide’s neck and head. They should fit snugly together.
- Insert the PTFE tube. Push the tube into the larger-diameter part on the guide’s head.
- Measure and cut the PTFE tube. Make sure it’s the right length for your specific setup.
- Attach the guide. Place it onto the filament holder in the orientation shown in the reference photos.
Using the MMS
- Unload the first filament. Use the printer’s settings to unload. Once the filament is released, push it up slightly.
- Load the second filament. Insert your second filament and use the printer’s loading function.
With just a quick swap, you can smoothly transition between filaments—perfect for switching colors or materials on the fly!
License
You shall not share, sub-license, sell, rent, host, transfer, or distribute in any way the digital or 3D printed versions of this object, nor any other derivative work of this object in its digital or physical format (including - but not limited to - remixes of this object, and hosting on other digital platforms). The objects may not be used without permission in any way whatsoever in which you charge money, or collect fees.
Comment & Rating (176)