
Top-mounted AMS Lite A1

Print Profile(4)


Bill of Materials

Description
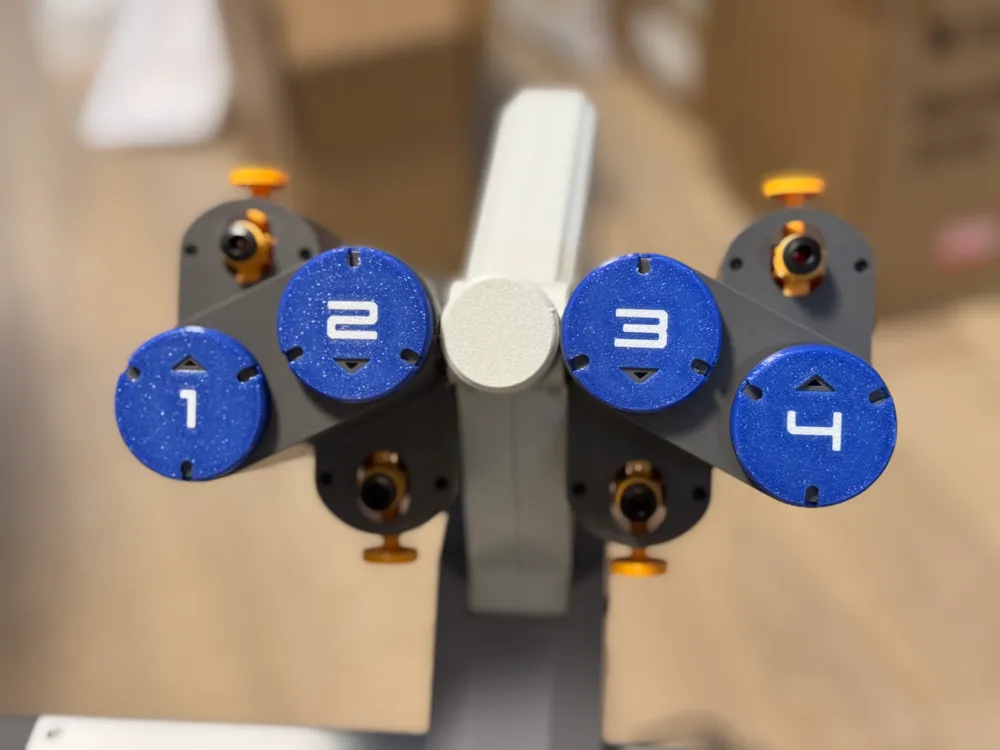
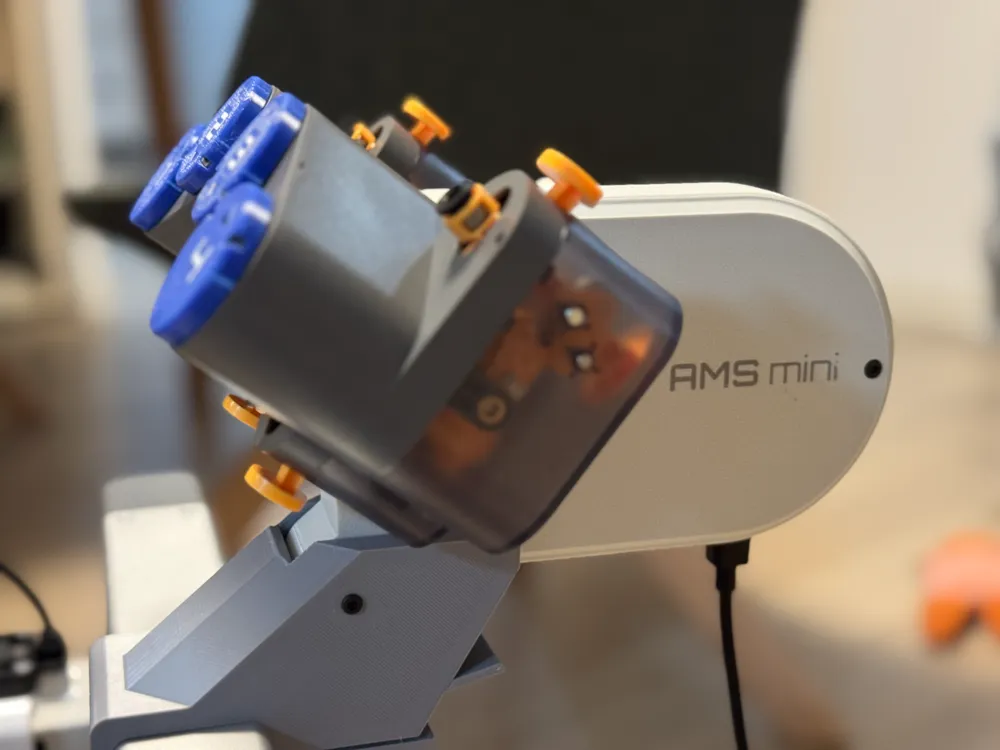
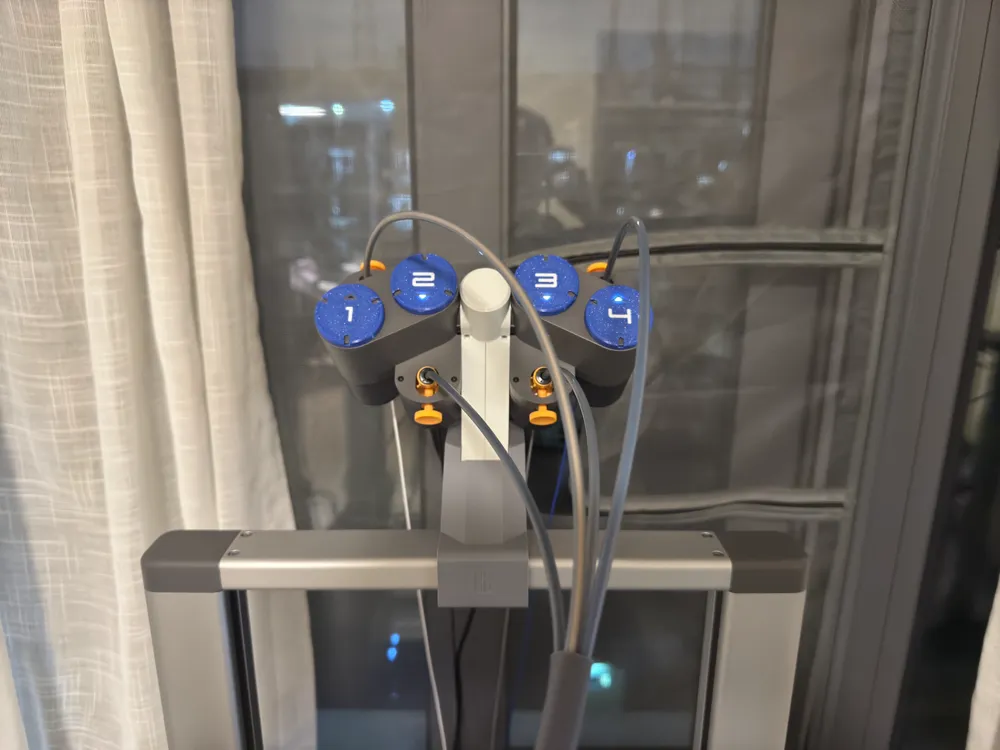
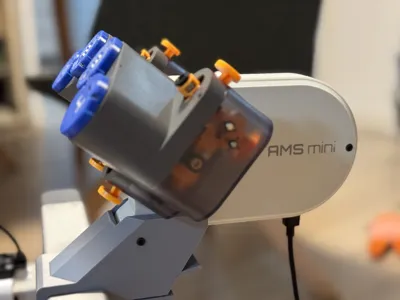
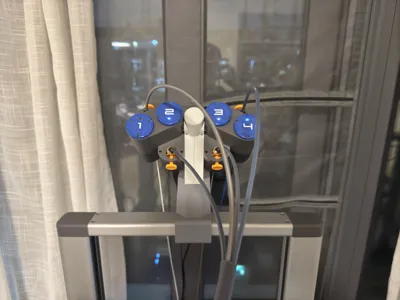
This 3D-printed model is designed specifically for the Bambu Lab A1 AMS Lite and supports top-mount installation. I modified the original design from Brandon Li , to address the arrangement of the feeder units. The original model arranged the four units in a reverse 4-3-2-1 order, which made adjusting material colors in the software less intuitive. I redesigned the mount interface and increased the model’s height to prevent the feeder units from conflicting with the top mount bracket. Now, the feeder units can be arranged in a straightforward 1-2-3-4 order, making the process much easier to manage.
The AMS Lite used 4 screws to secure the feeder units, but the original design reduced this to 2, which raised concerns about stability. To address this, I restored the use of 4 screws for securing the feeder units, ensuring a more stable and secure fit.
Additionally, the chamber in this model is larger than in the original, allowing more internal space for cable routing, though this requires slightly more material to print. My model includes only the chamber, lock, screw, and the normal numbers cup(optional). The Top Mount Bracket can be downloaded from the Original Design, and my model is fully compatible with it. If you’ve already printed the original model, you’ll only need to print two more chambers. The lock, screw and Top Mount Bracket do not need to be reprinted.
Screw Specifications:
- 5x M3*20 screws: 2 for securing the Top Mount Bracket, 3 for securing the chamber. M3*16 also fits.
- 3x M2*6 screws: For securing the AMS Lite motherboard using the screws already attached to the motherboard—no extra purchase required.
- 4x BT2x5 screws: For securing the feeder units using the original screws—no extra purchase required.
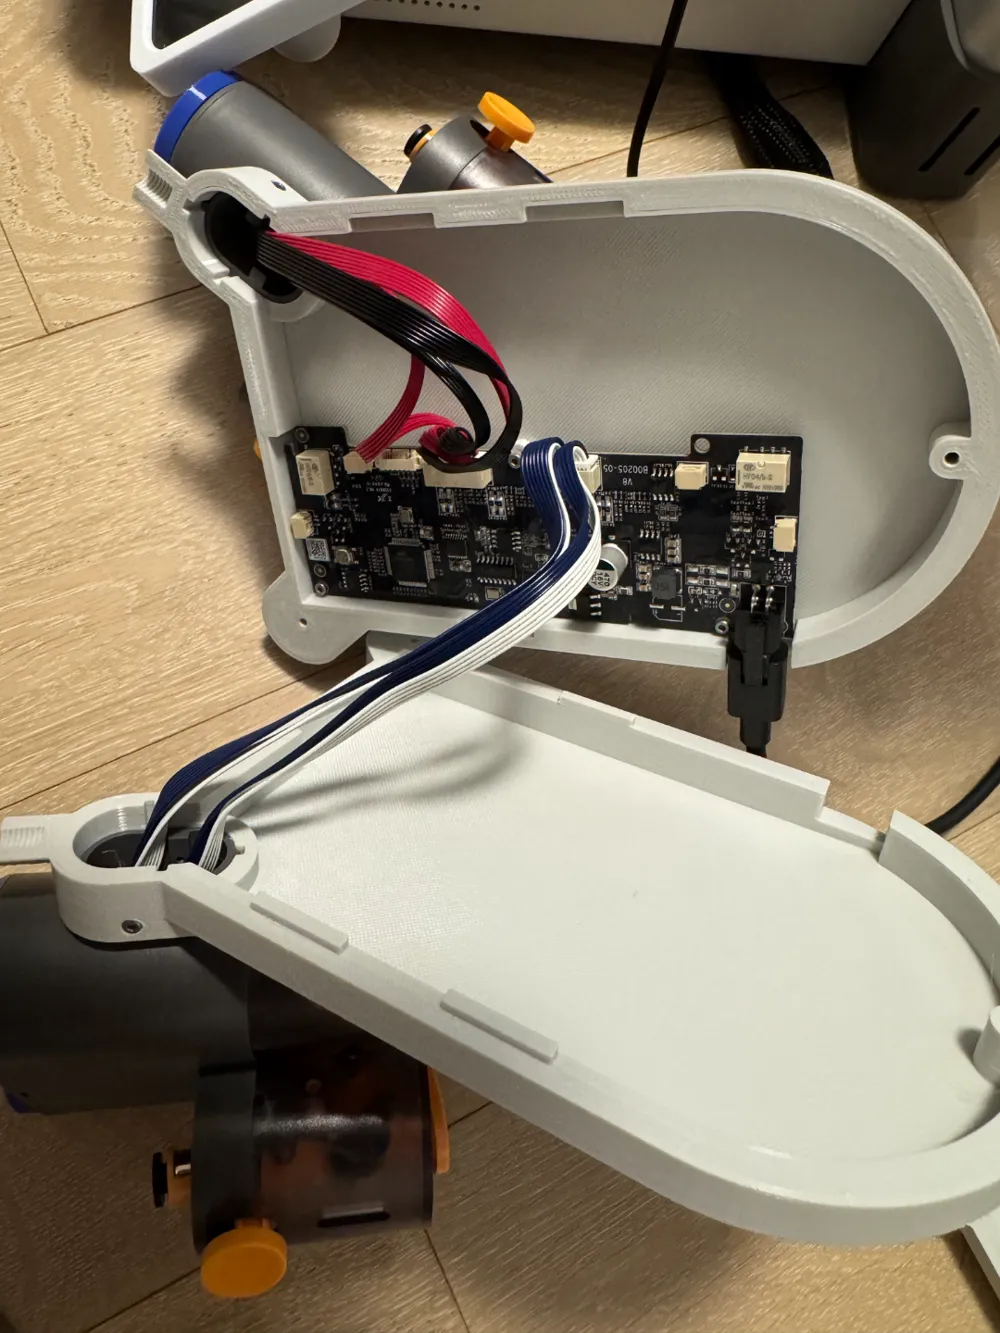
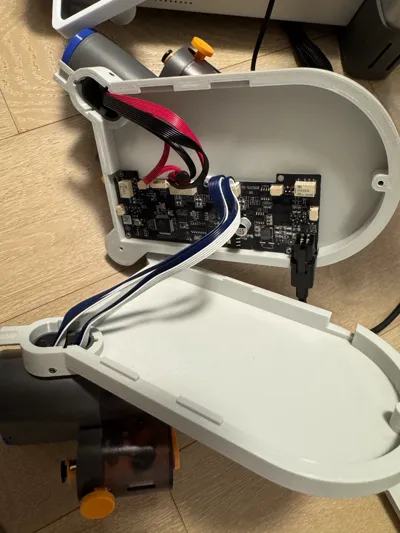
Refer to the images for guidance on motherboard wiring to help with the installation process.
How to Remove the AMS Feeder Units
How to Disassemble the AMS lite Main Body
---------------------------------------------------------------------------V1.1---------------------------------------------------------------------------
Suggestion from @user_4234308418. Move the feeder units back a bit to increase the distance from the tool head.
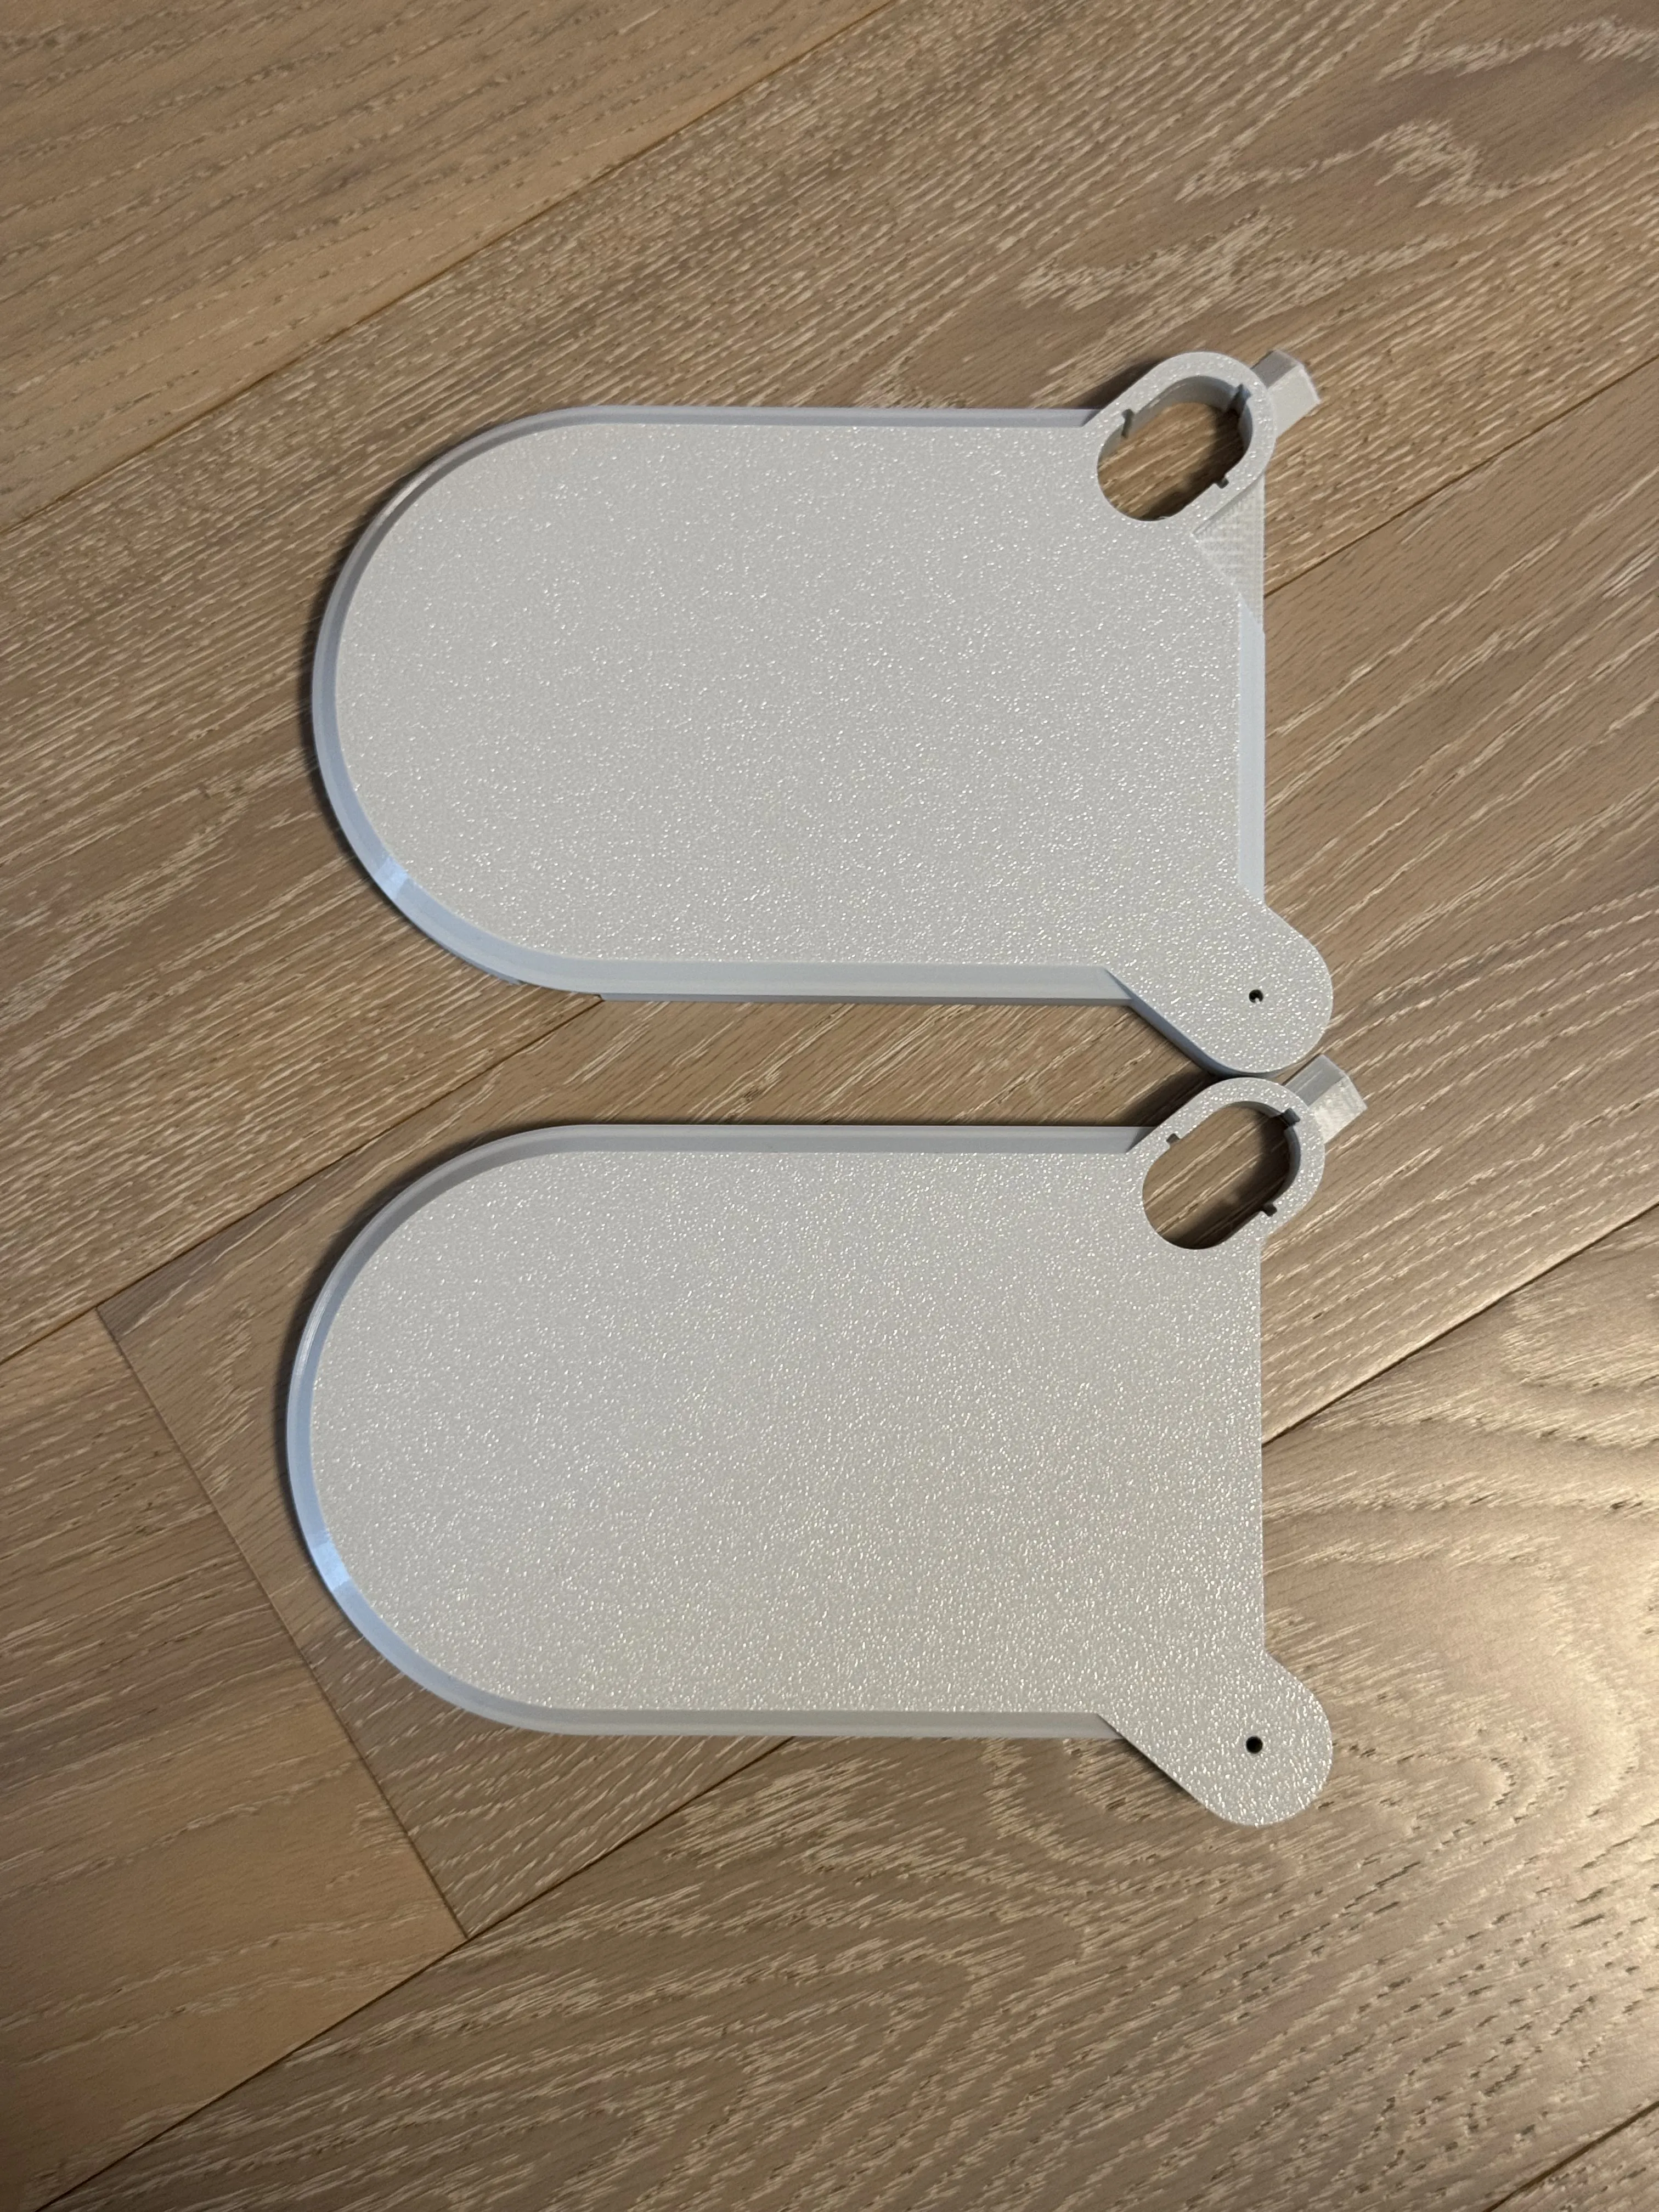
I've updated two chambers and the lock to v1.1. You’ll need to print these three items. Everything else remains unchanged and is compatible with the original design.
Boost Me (for free)
This remix is based on


License



Comment & Rating (176)