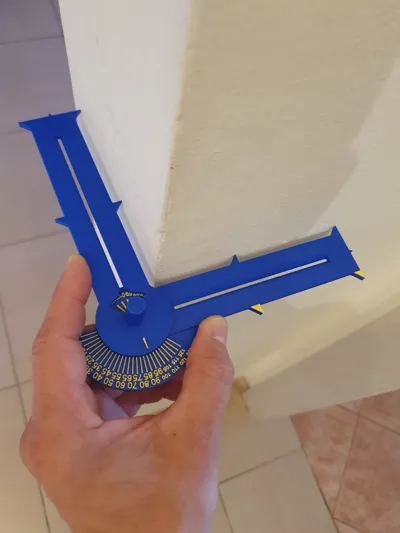
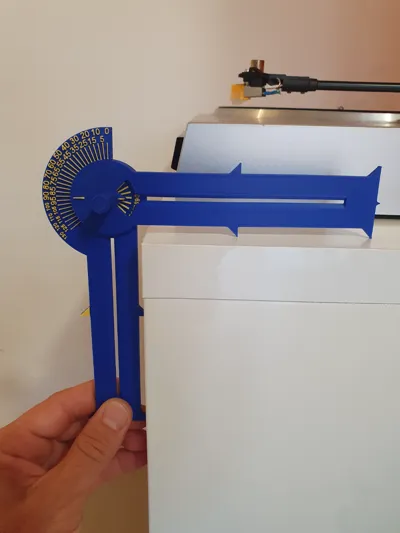
Portable Goniometer


Print Profile(1)
Bill of Materials
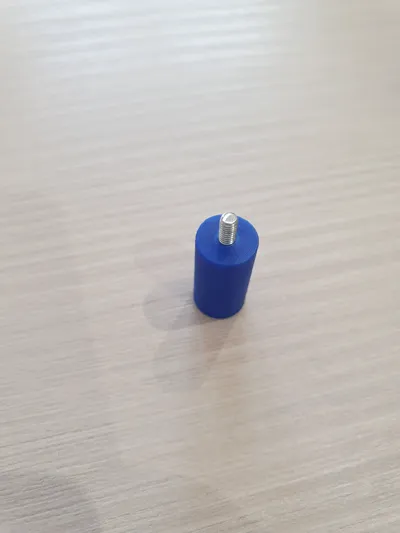
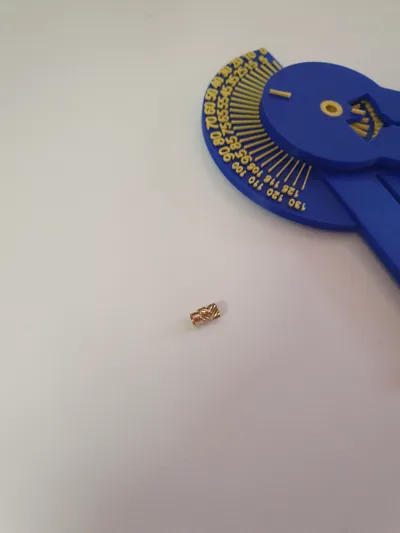
- Boccola in Ottone M2.5x6x3.5 x 1:
Description
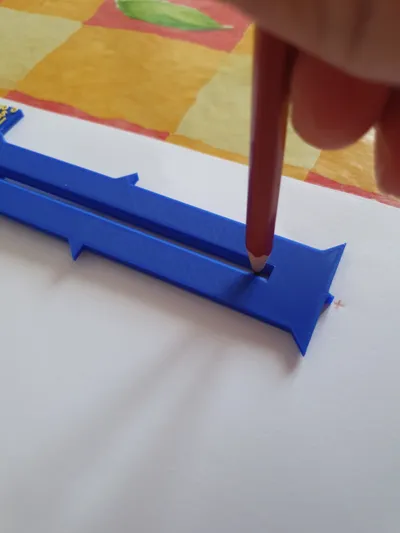
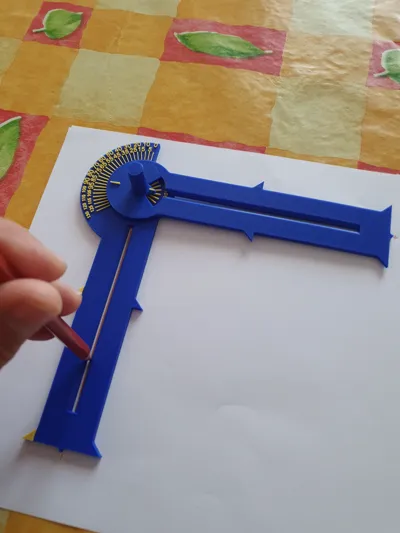
This is a compact goniometer, ideal for quick and small measurements without the need for a full set of protractors, levels, etc…
I made it according to my own needs, to be able to take some quick measurements without having to be extremely precise, and to know where to intervene next with precise measurements and work using the appropriate tools.
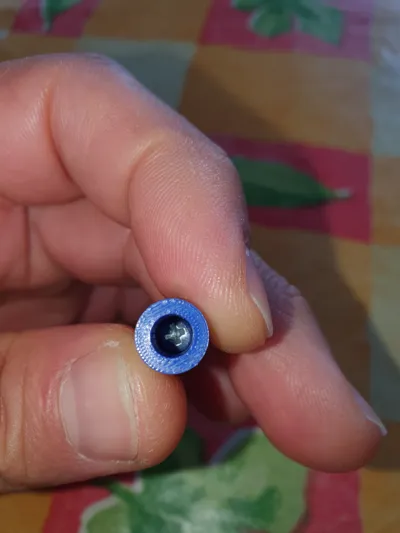
The two parts are held by a threaded pin that tightens onto a brass bushing.
I inserted the M2.5x6x3.5 brass bushing with the two parts assembled so that the area where it is inserted is not overly dilated and to avoid any play or inability to insert the upper part. The area is very hot and soft after insertion, so I recommend cooling it immediately to prevent deformation. Blowing on it for a few seconds or waving it like a fan was enough.
*Updated on 25/09/2024 The washer may not be present, but the screw still tightens, and if you want to install it, I recommend threading the screw into the hole first to adapt the thread. If you try to thread the washer directly onto the pin, it is best to not have already inserted the cap, as the force could unscrew the screw on the pin, requiring you to remove the cap and re-thread it. Also, rotating the entire measuring arm beyond 130° may result in bumping into the markings on the external graduated scale and damaging them. Therefore, I recommend removing it if you need to take measurements beyond those degrees.
Comment & Rating (0)