

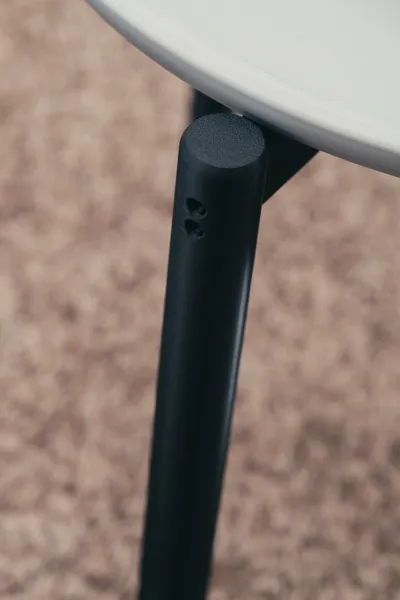
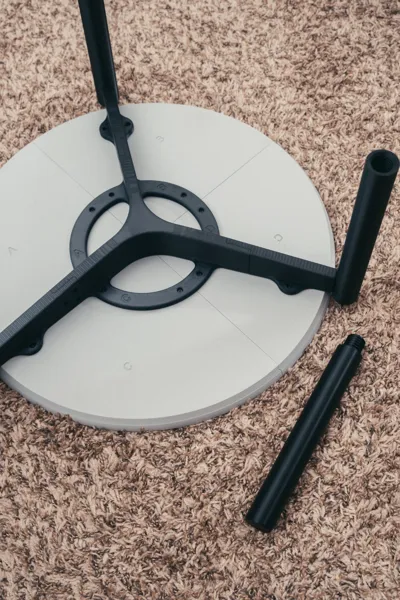
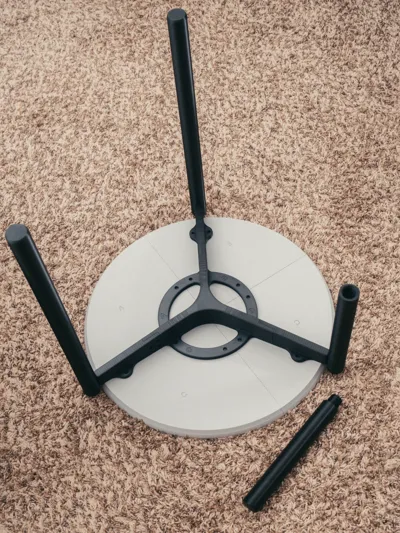
Print Profile(1)

Bill of Materials




Description
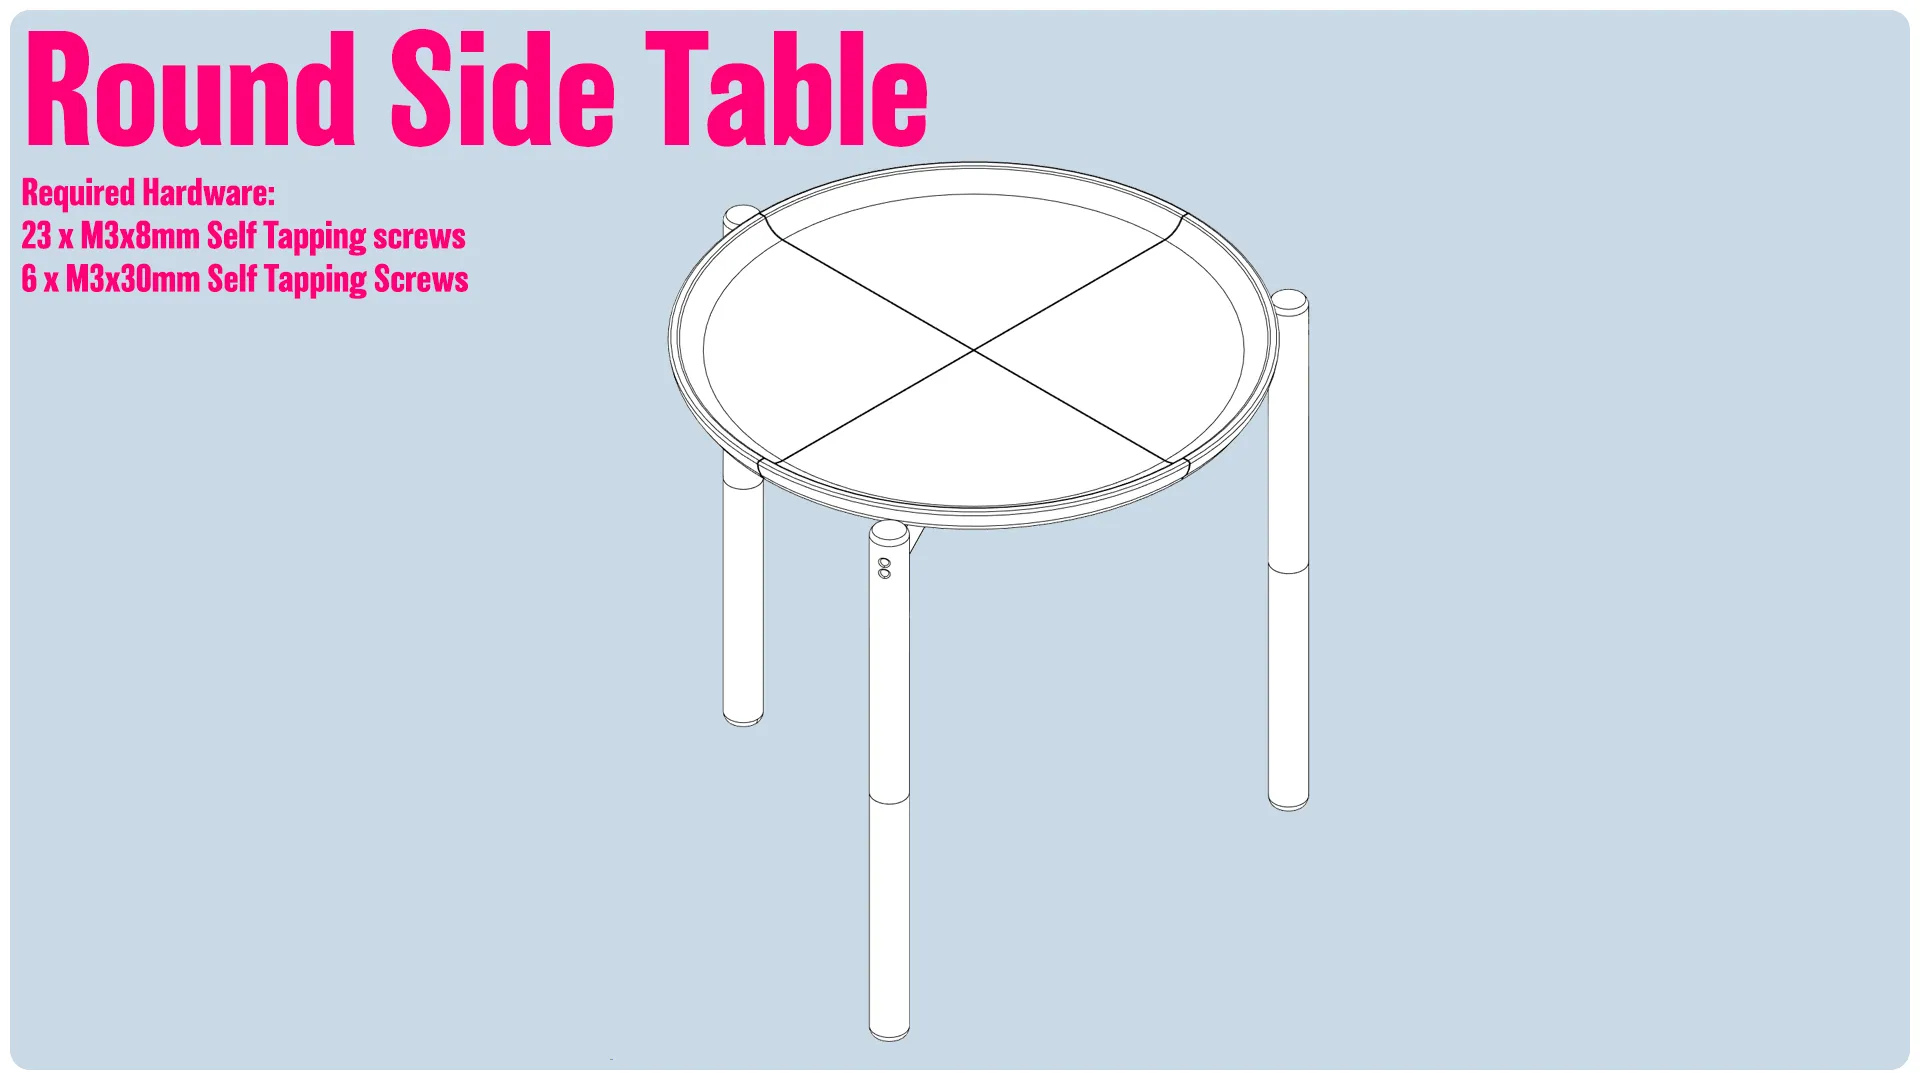
[Introduction]
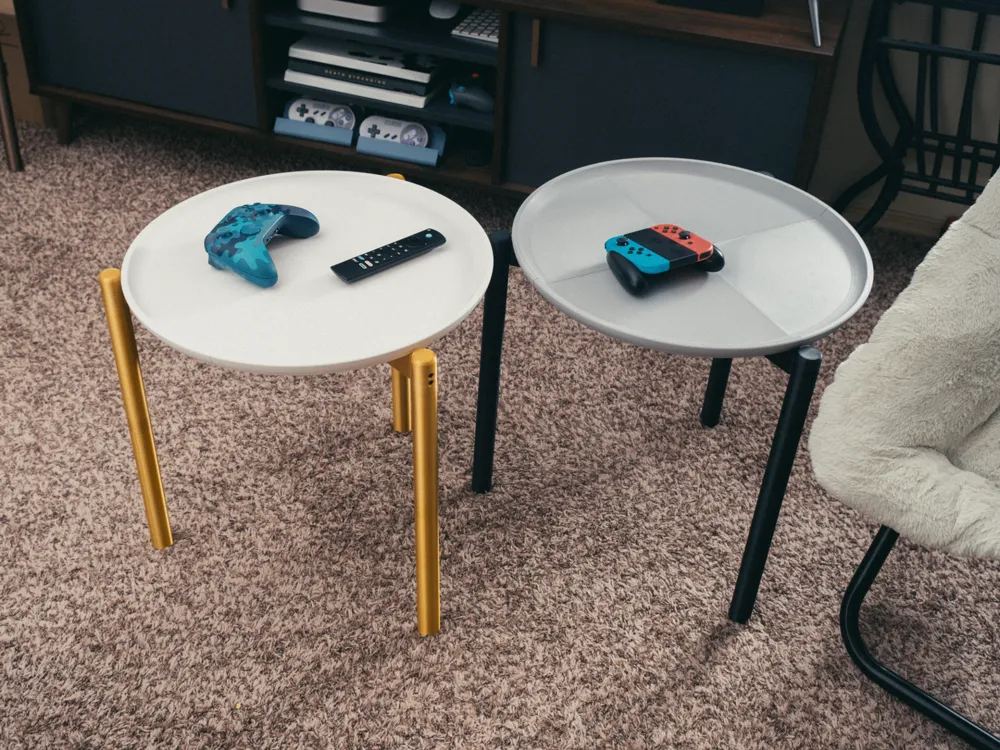
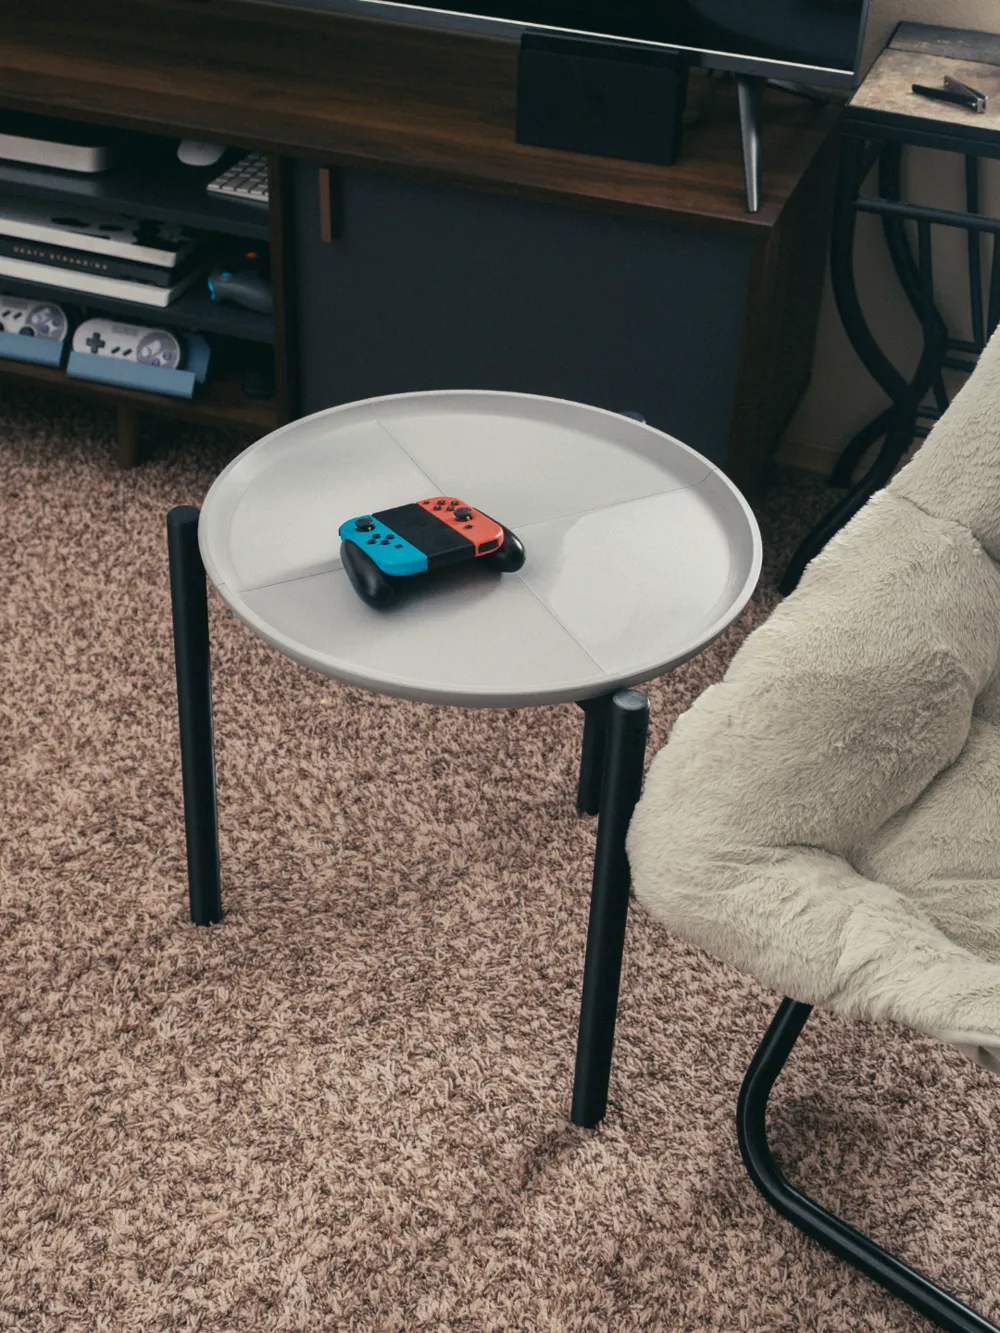
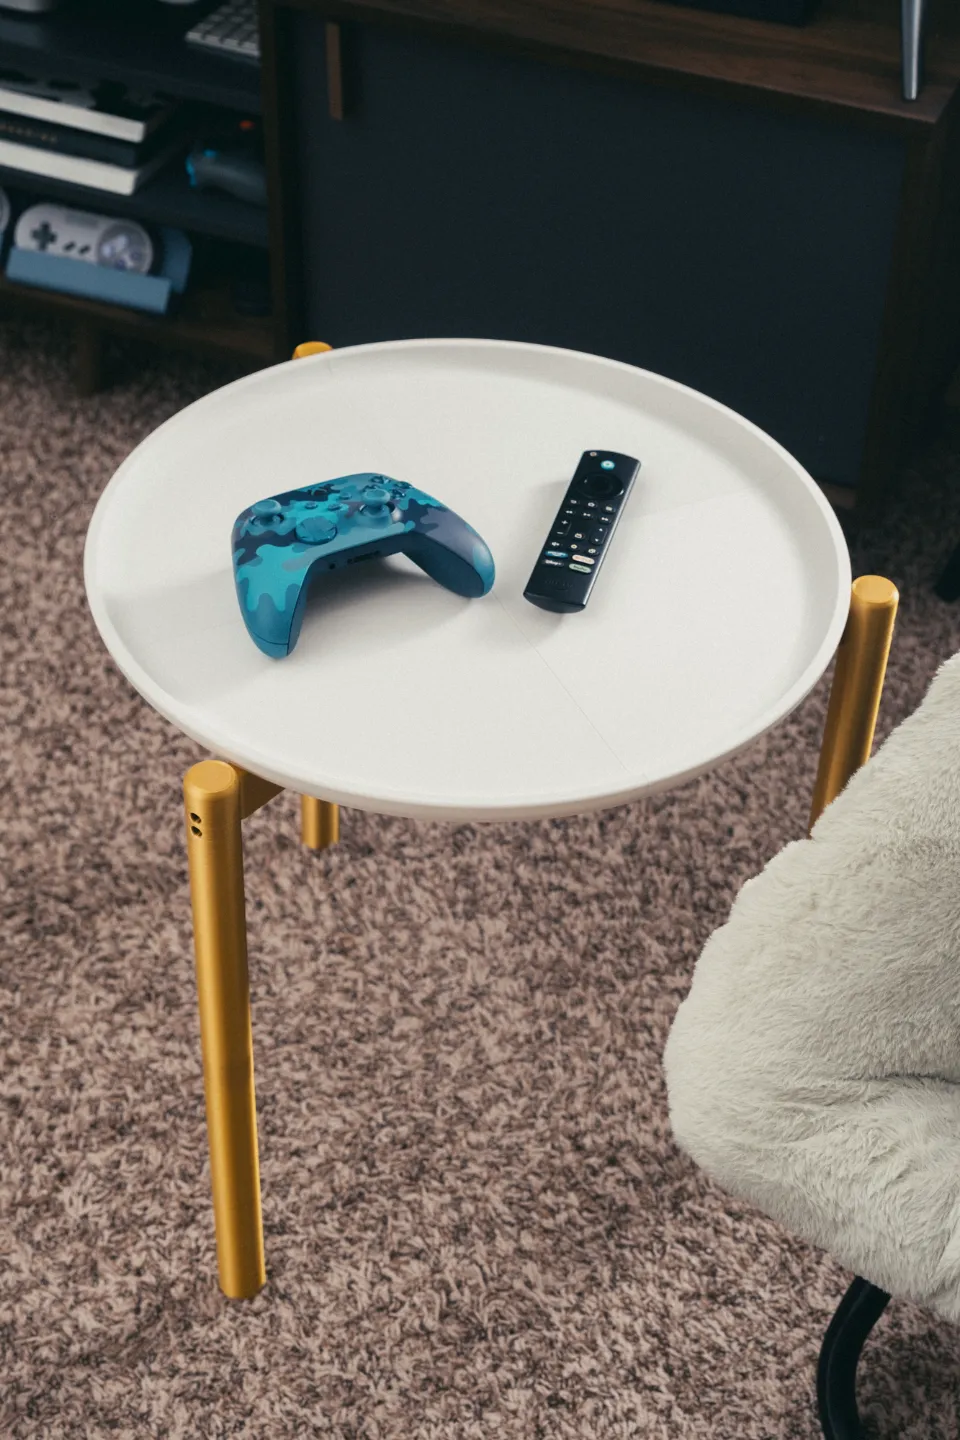
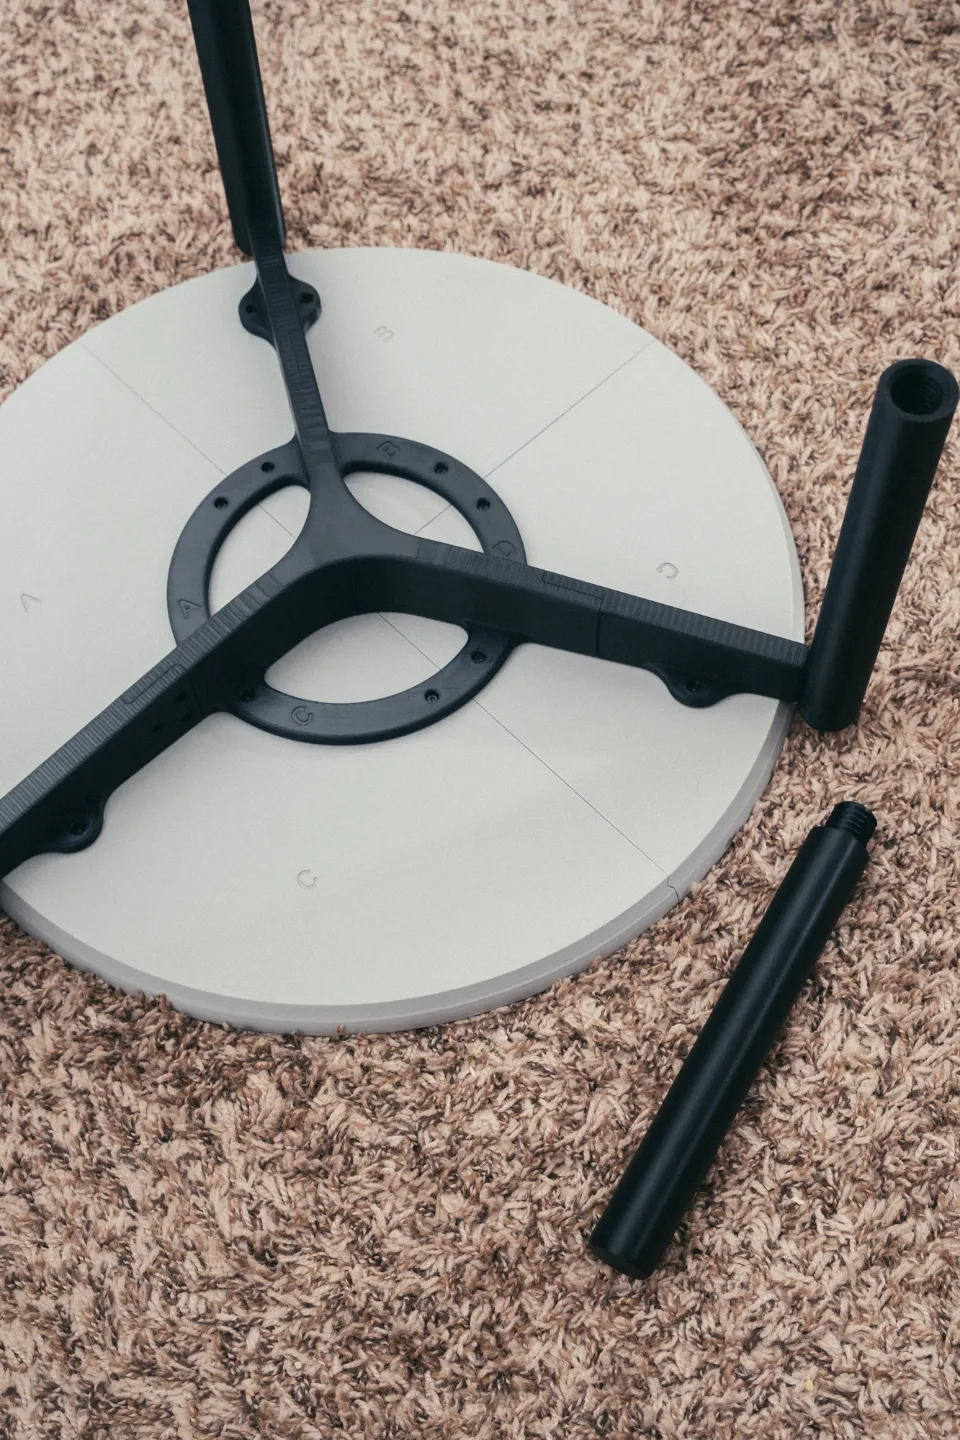
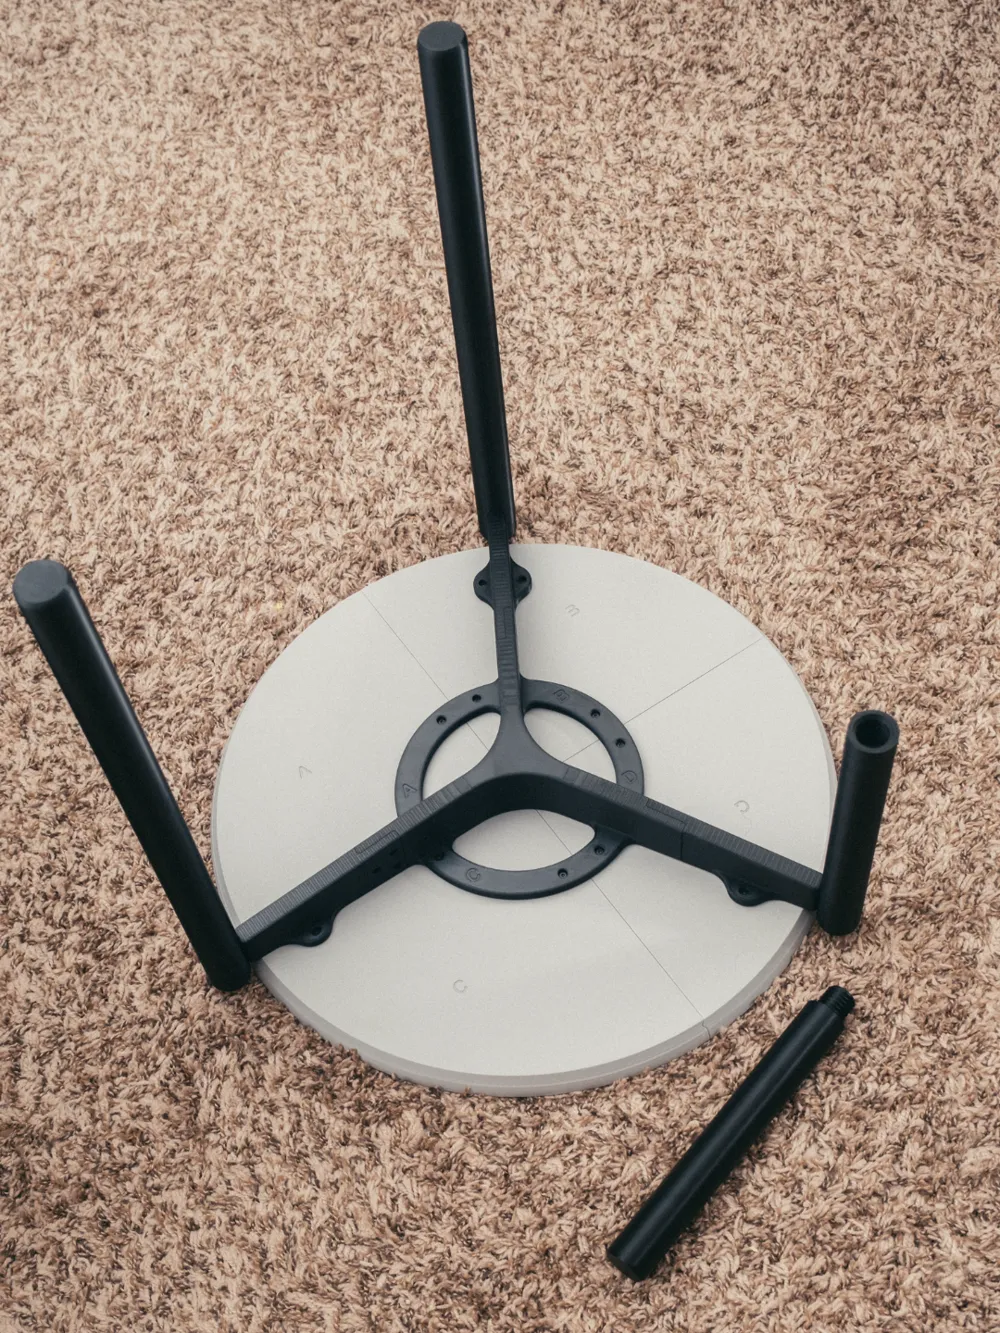
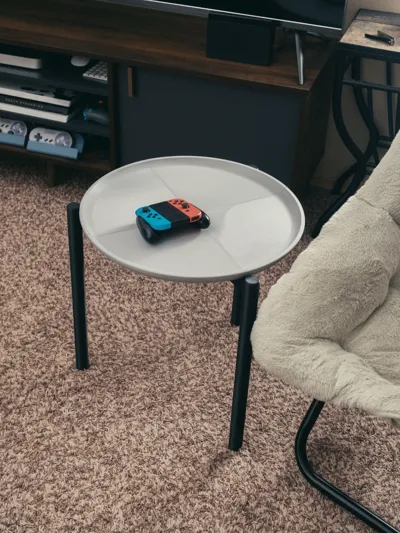
A 3d printable end table! What's not to love? Based on a somewhat commonish design, I wanted to adhear to it as closely as I could. Because of the nature of plastic, this does introduce a little extra wiggle, but overall in practical use, it has served to be a study side table for my uses. The first prototype I printed survived a cat body slamming it multiple times!
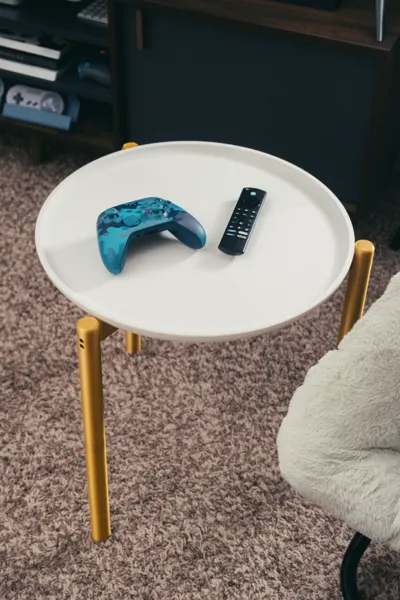
I'd recommend printing it out of PETG, or another higher strength material, like ABS or PLA+. One of the sample models I did was produced with Bambu's PLA Silk, which looks nice, but I'm not sure how strong it'll hold up as even compared to regular PLA, it tends to split a little easier. It'll use about 1.5-2kg of filament. Split evenly between the top and legs/frame.
[Hardware & Filament]
Featured Filaments:
- Bambu PLA Silk Gold
- Bambu PLA Matte Ivory White
- Bambu PETG-HF Black
- Bambu PETG-HF Gray
Hardware:
(Full disclosure, I am part of the Amazon Affiliate Program. All amazon links are affiliate links. I earn a small commission from these links without any added cost to you. These links help to support me so I can bring more content for free!
I use screws from Bambu's Makersupply, and mainly design around those. However, you can purchase self tapping screws from amazon if that's easier for you. I'd recommend an assortment like this Amazon US which includes the sizes needed, plus additional screws you can use on other projects from me!)
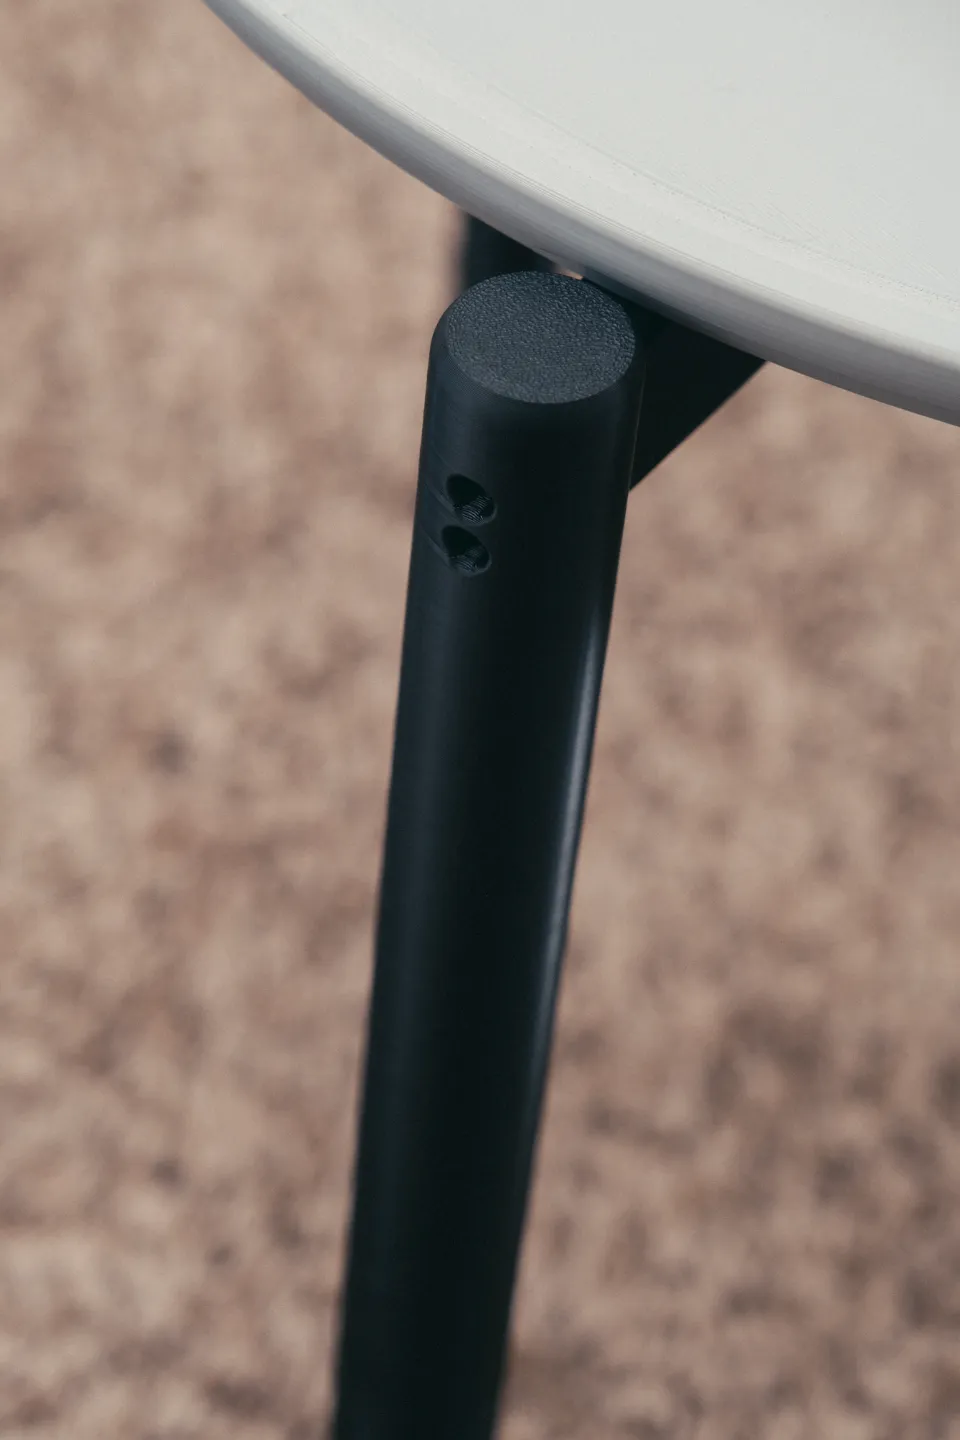
- 23x BT3x8mm Self Tapping Screws
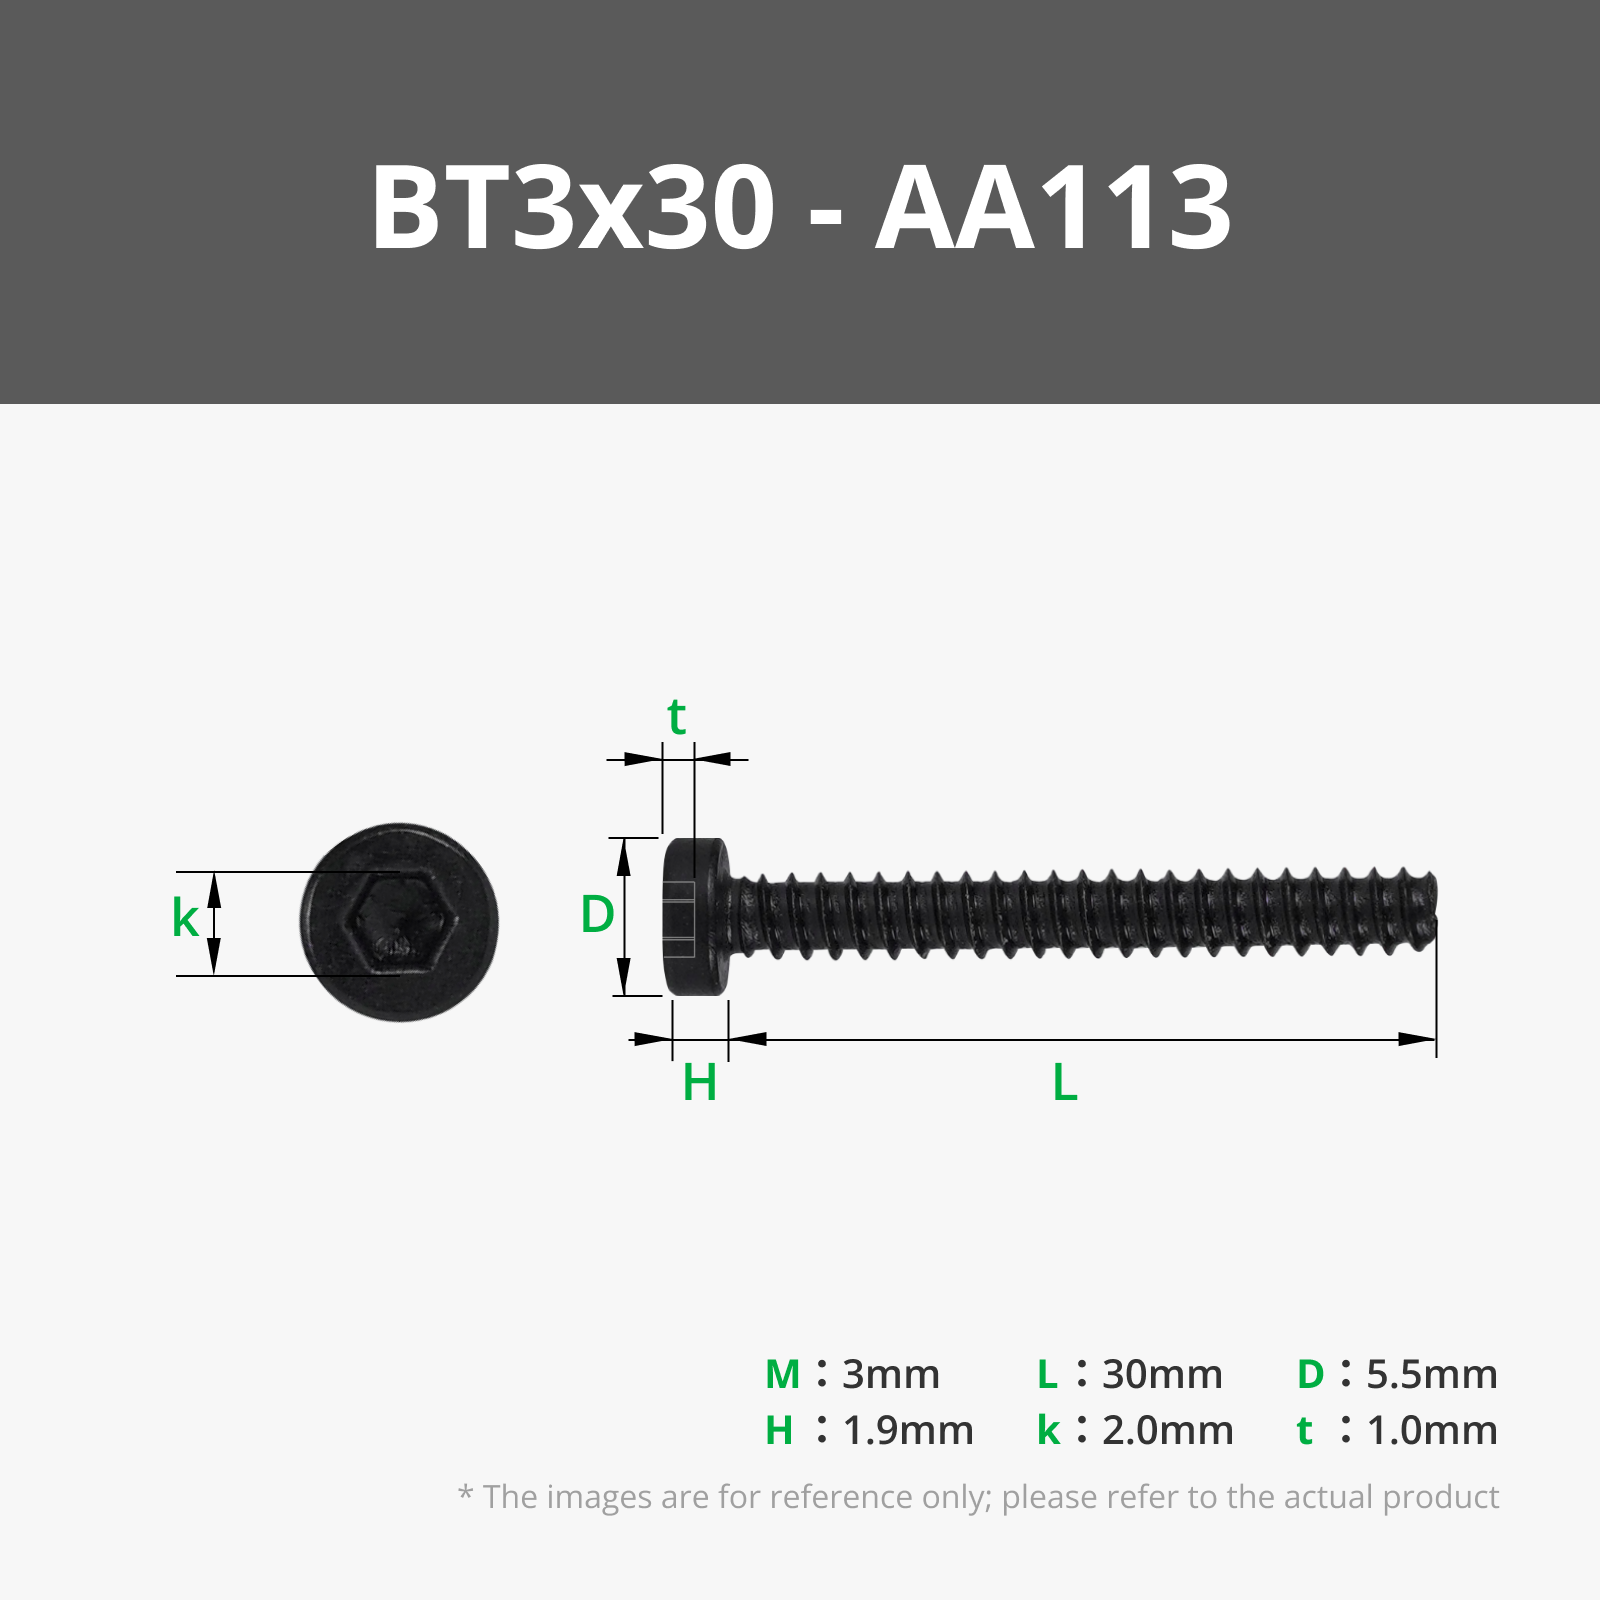
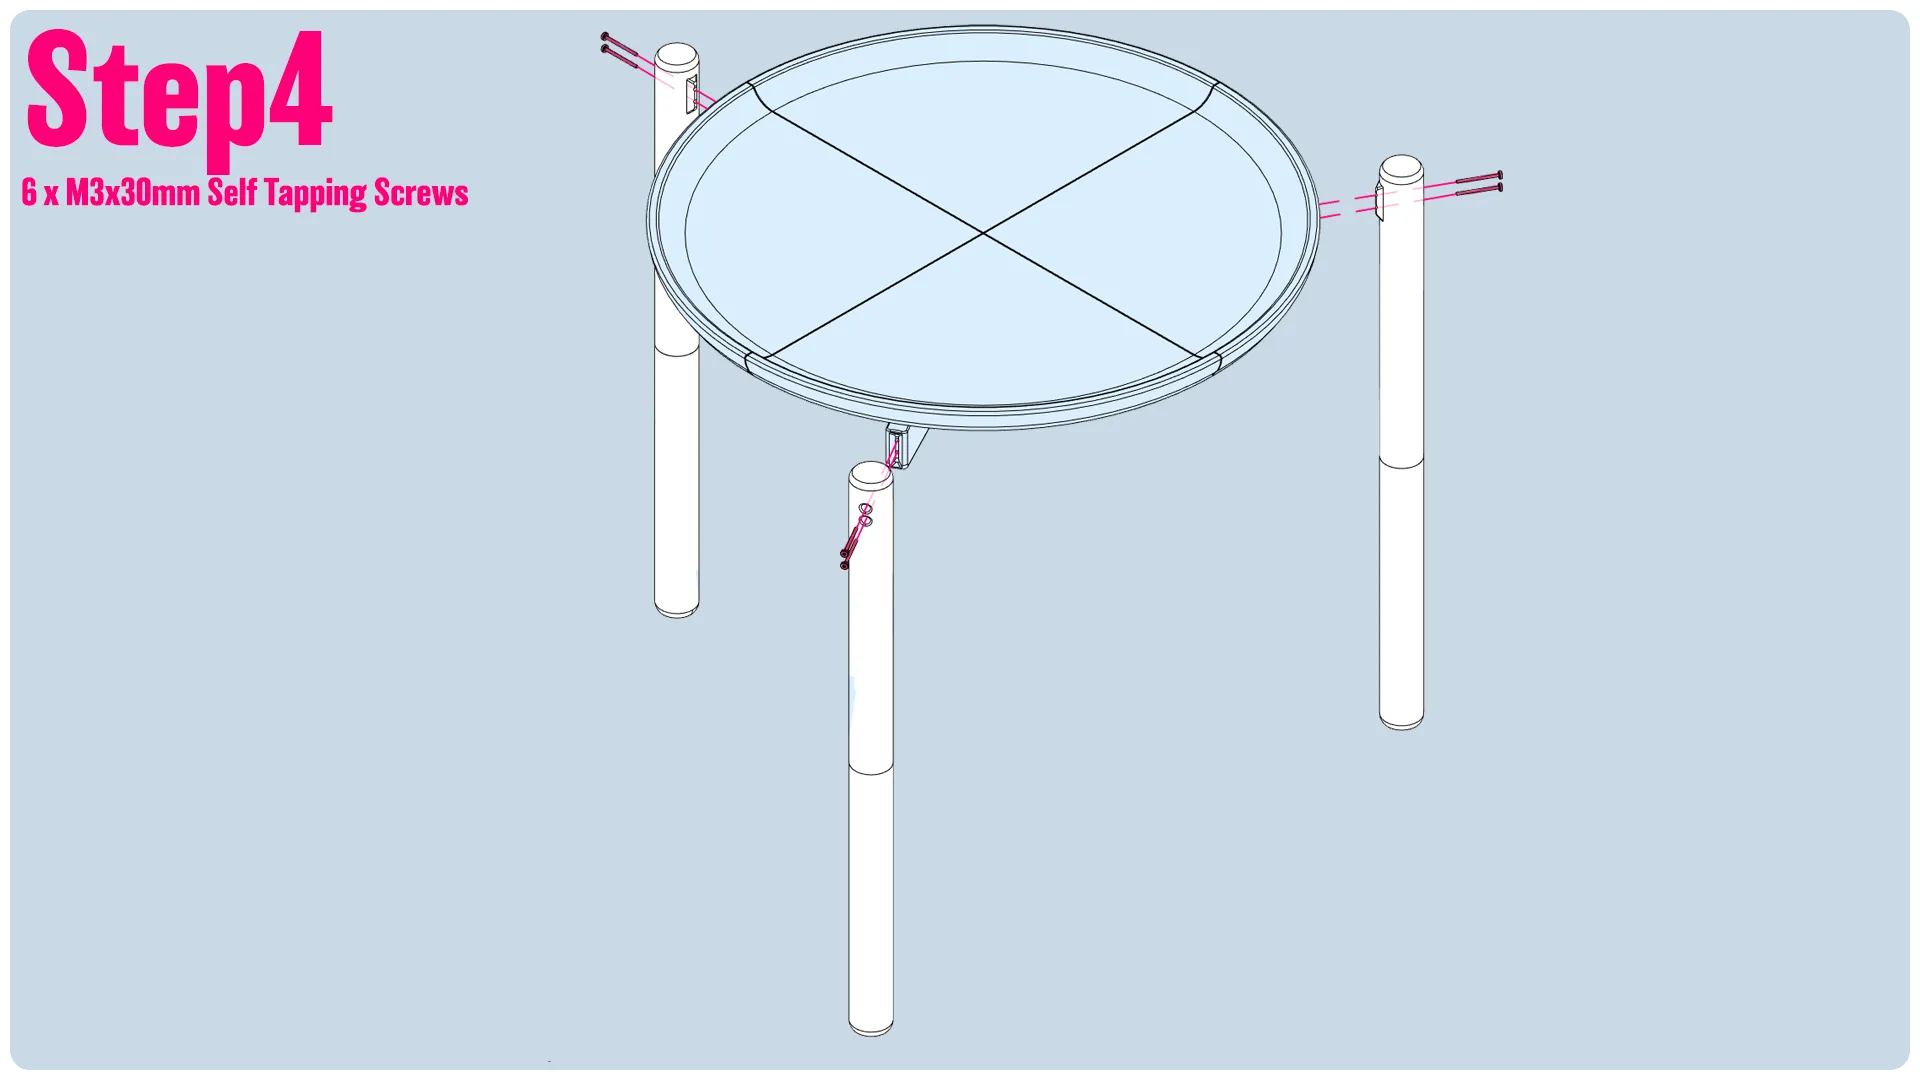
- 6x BT3x30mm Self Tapping Screws (You can use as short as 20mm, but recommended is the full length 30mm)
Optional:
Glue (For added strength, you could apply glue to all mating surfaces before attaching everything together with screws)
[Assembly]
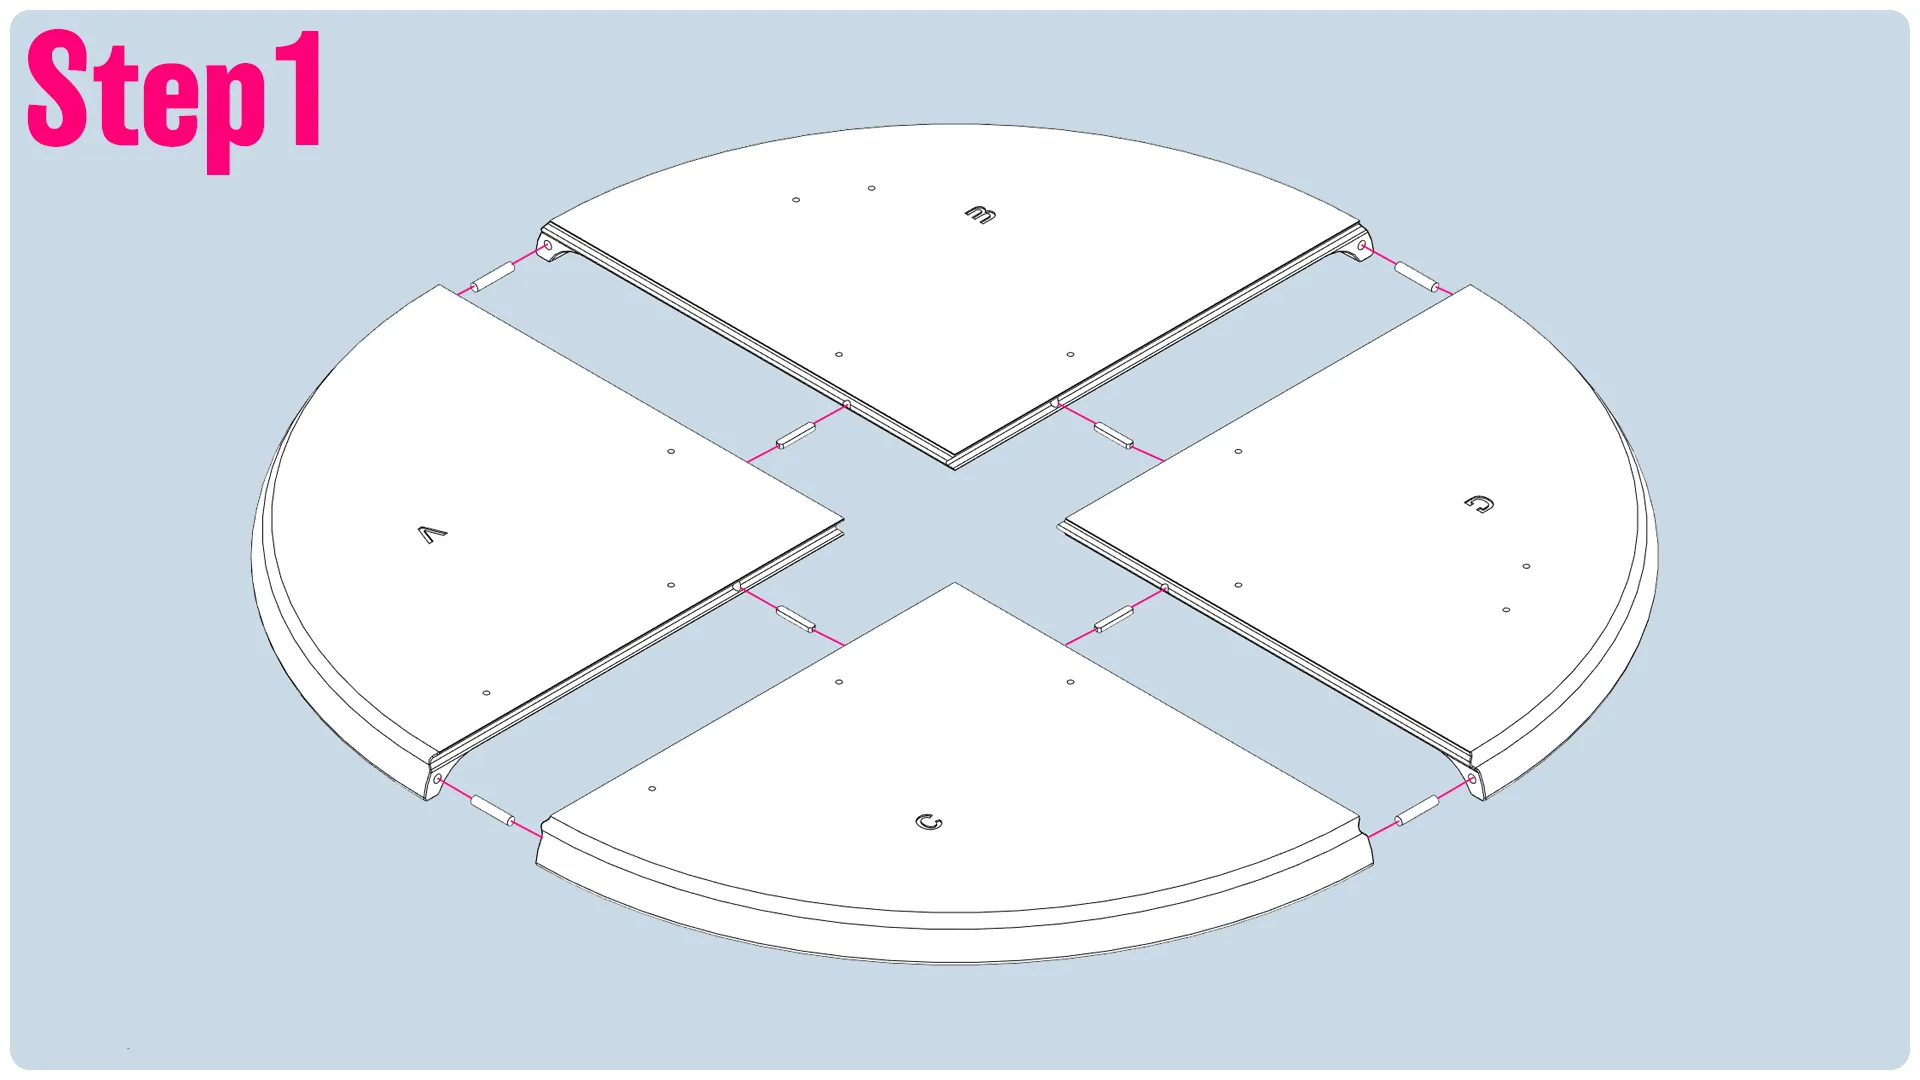
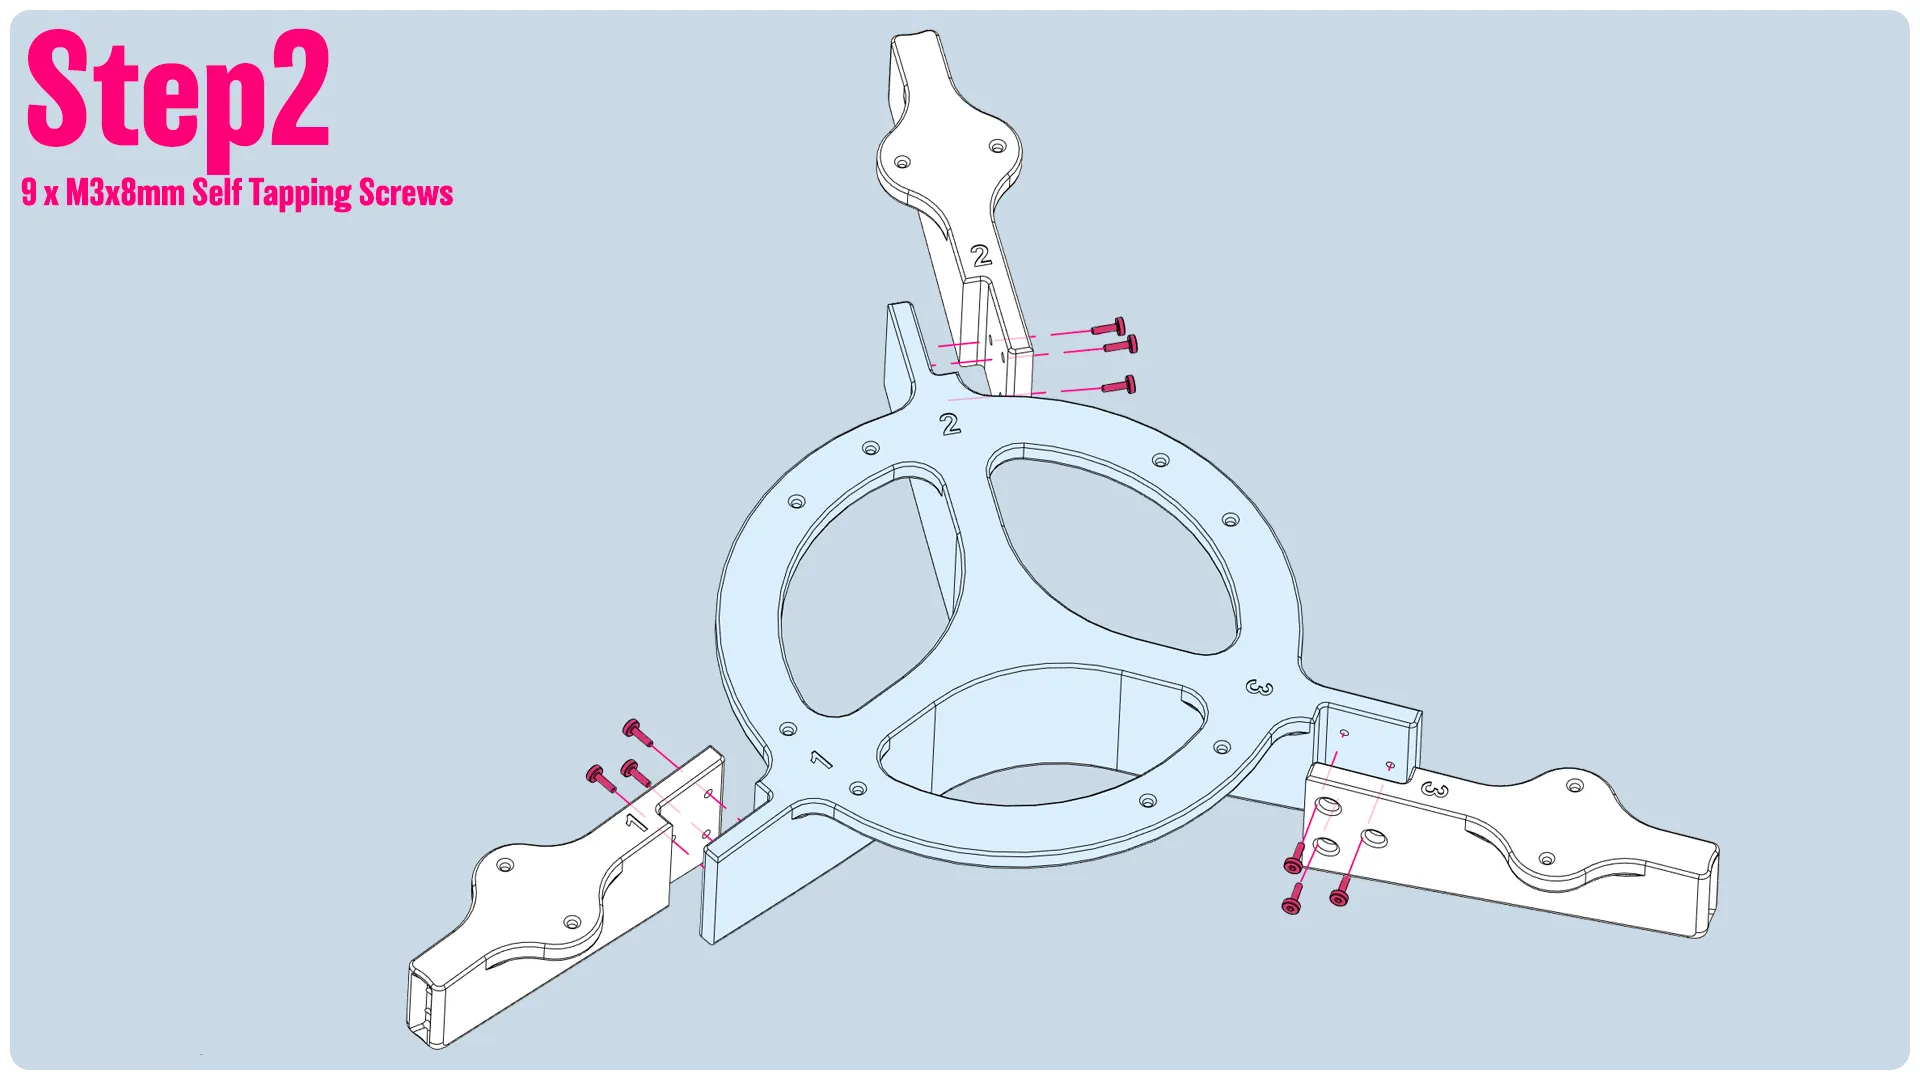
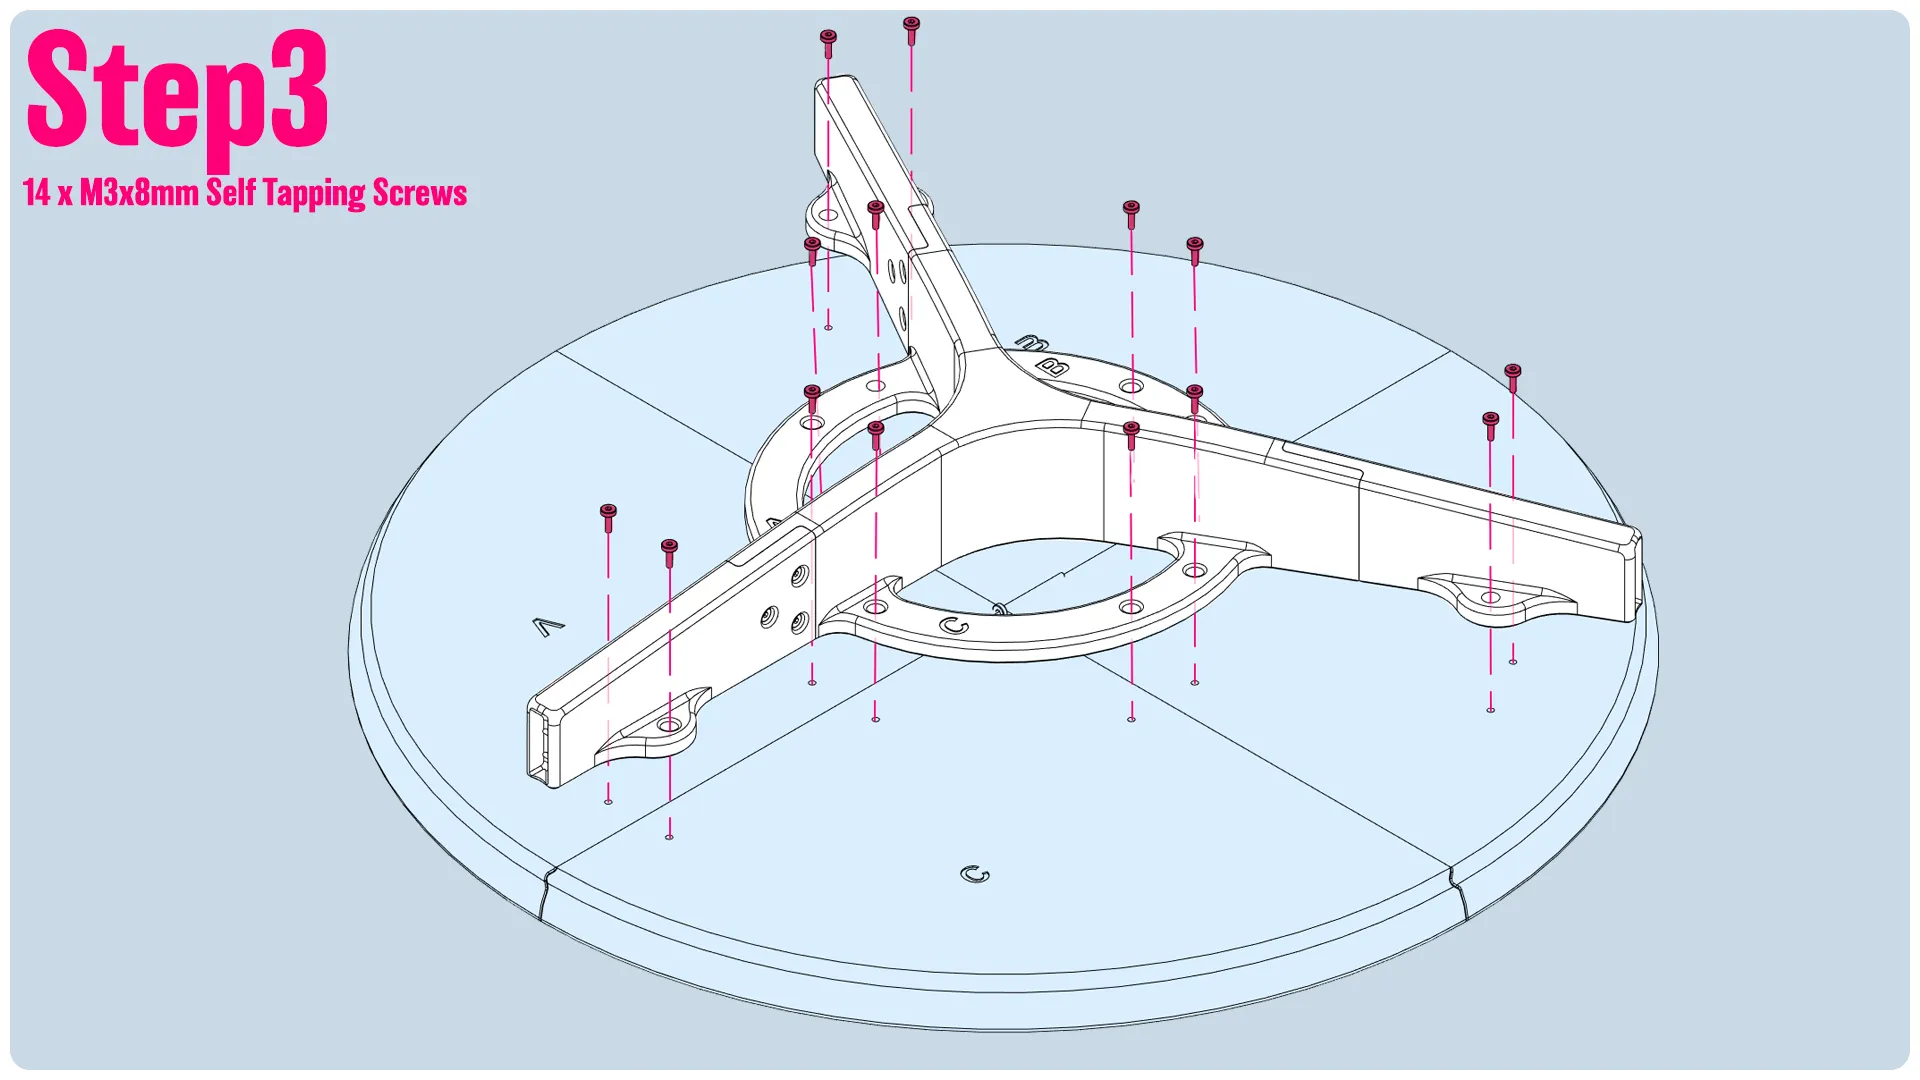
-------
If you like my work, consider showing your love by Buying me a coffee. Additionally, if you're looking to sell prints of my design, please check out my Patreon page for more information.
License



Comment & Rating (18)