Search models, users, collections, and posts

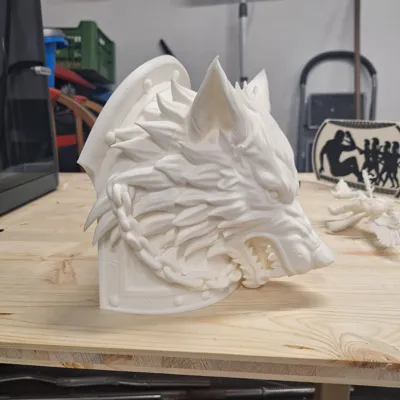
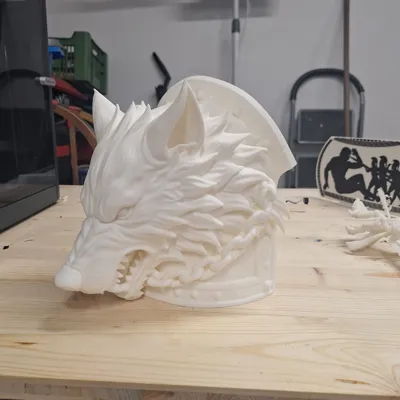
Shoulder Armor - Wolf
IP Report
Print Profile(1)
0.2mm layer, 3 walls, 20% infill
Designer
18.6 h
1 plate
Open in Bambu Studio
Boost
7
7
1
0
1
0
Released
Description
Content has been automatically translated.
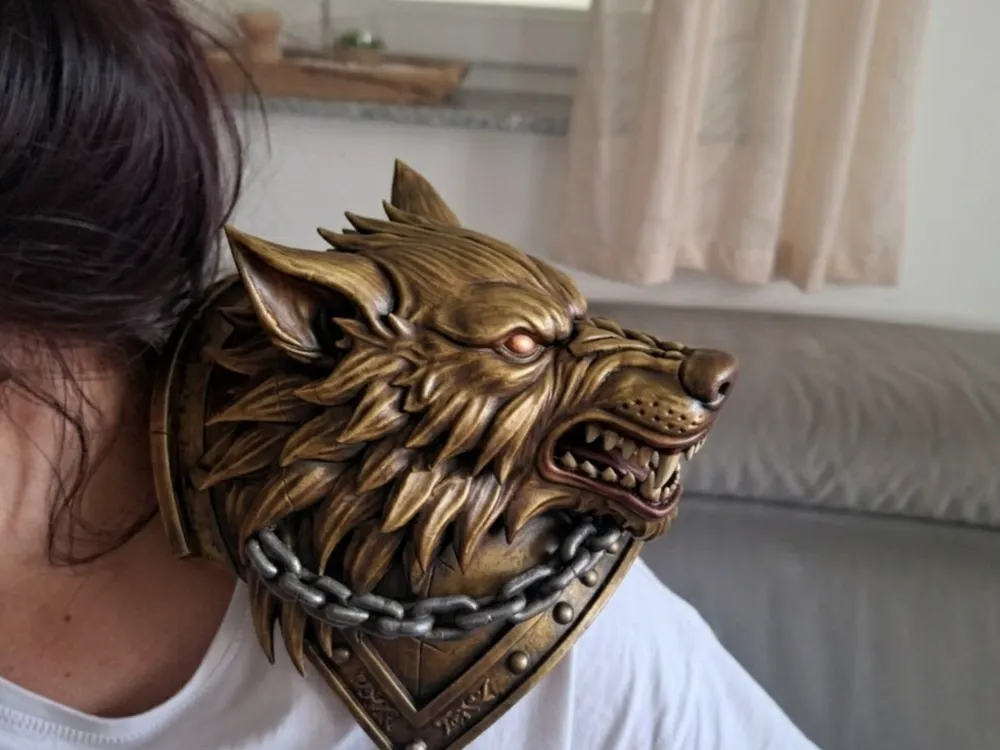
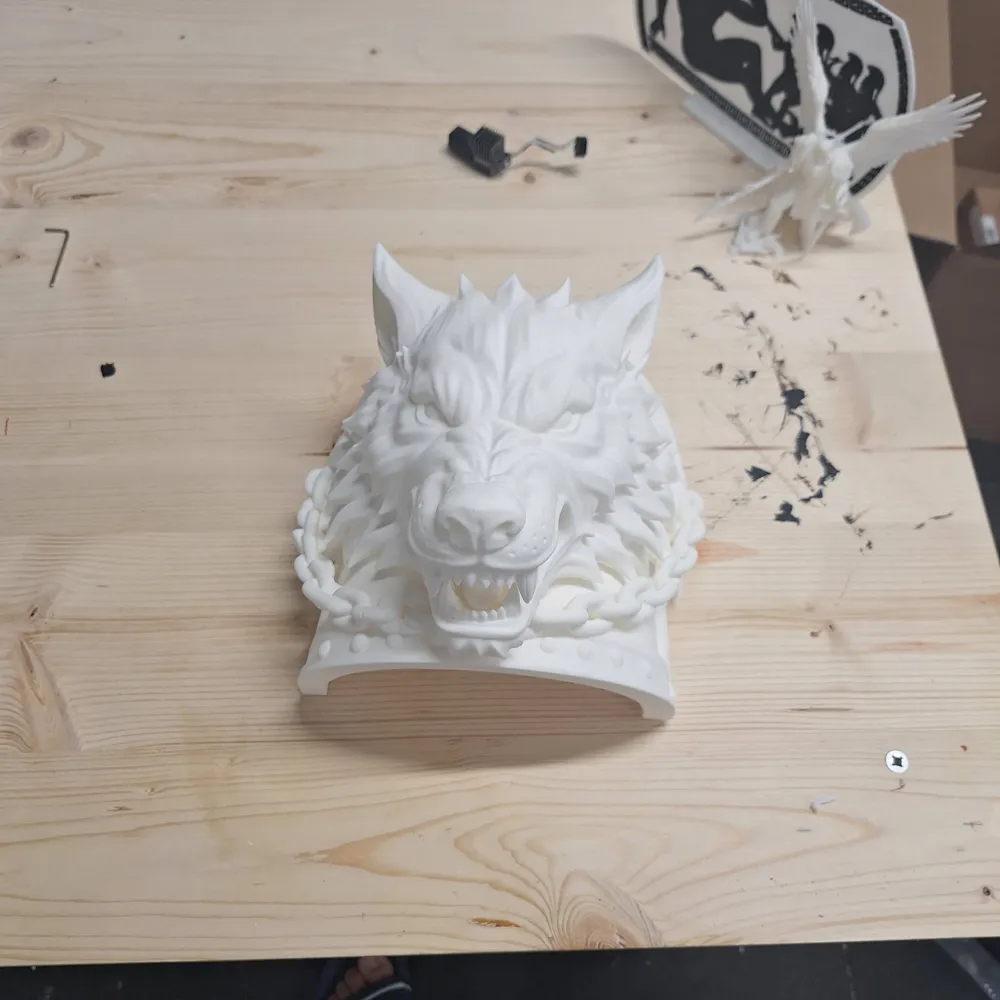
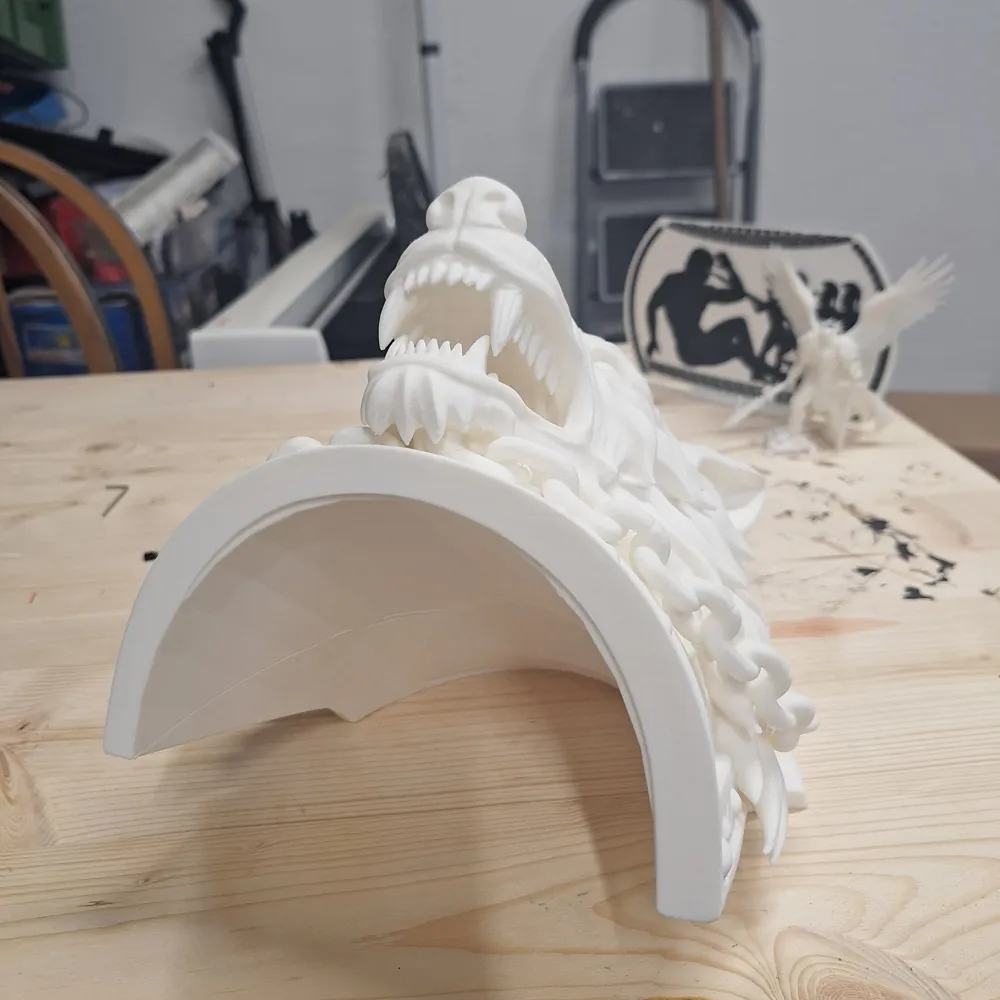
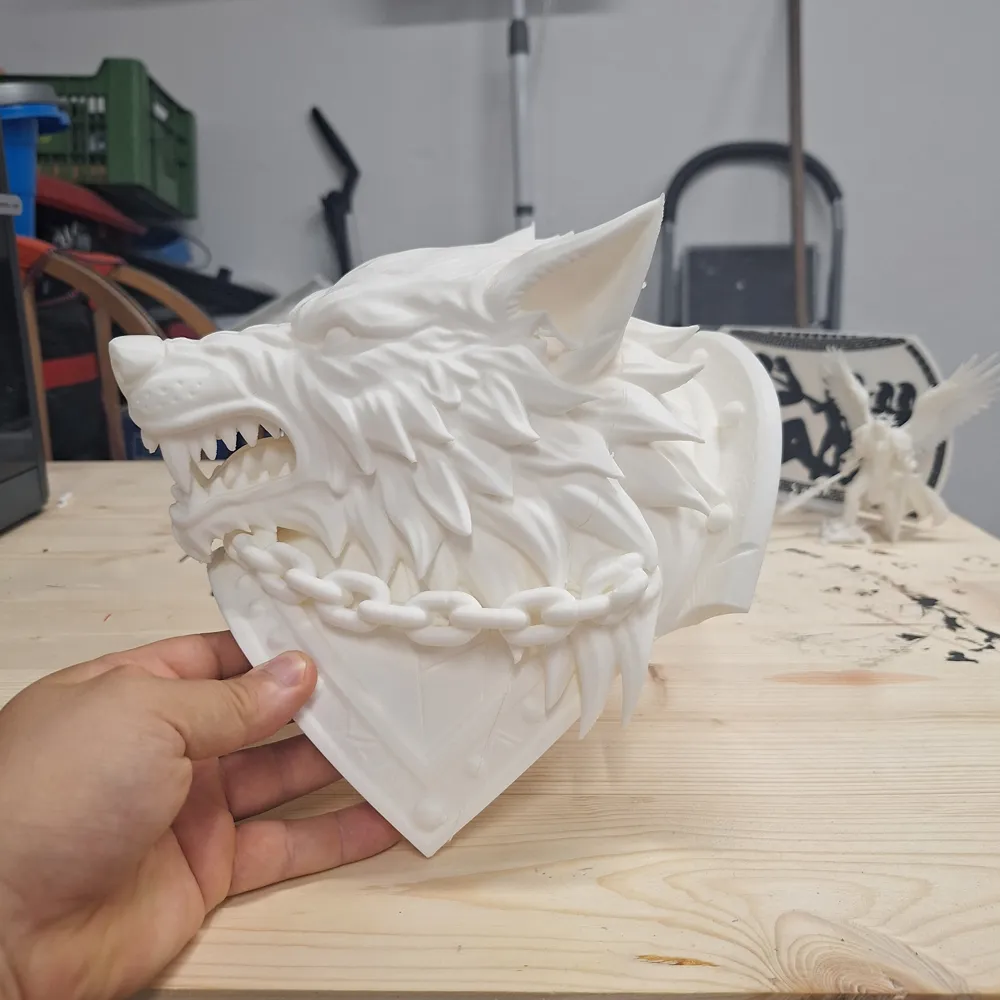
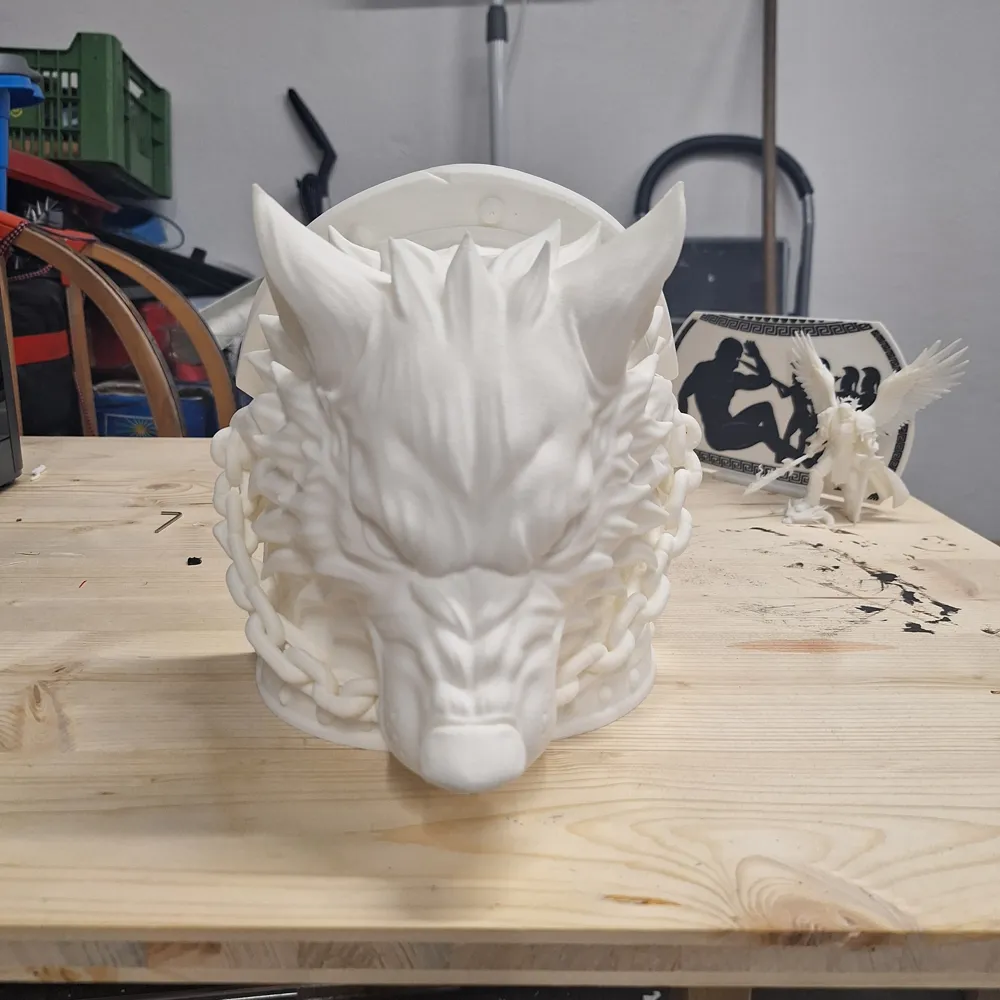
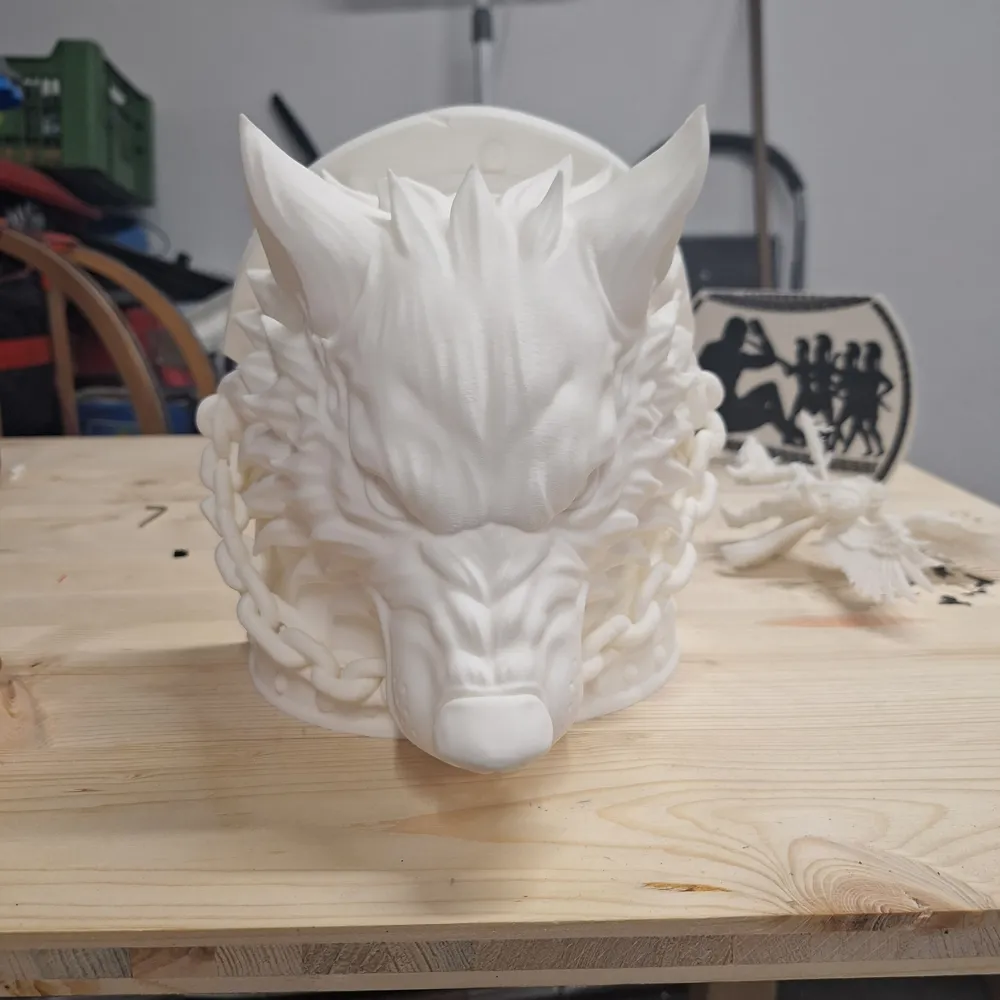
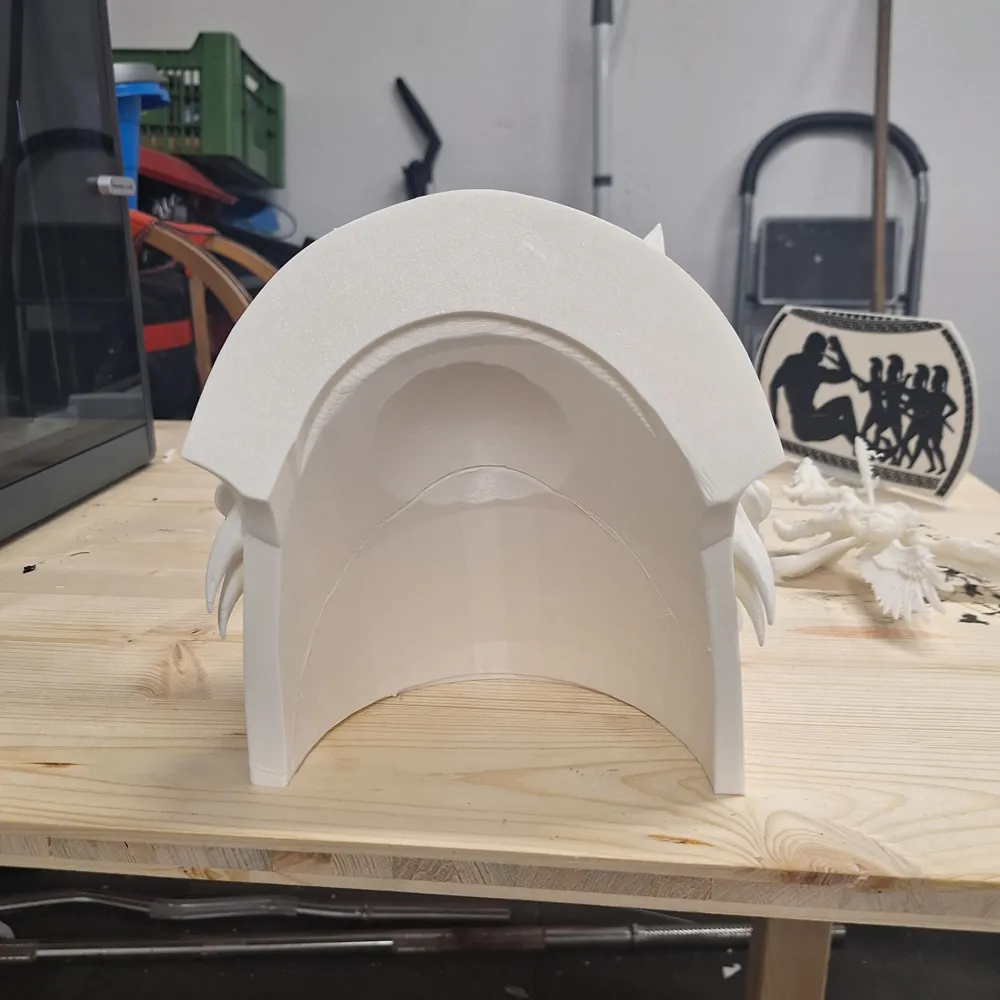
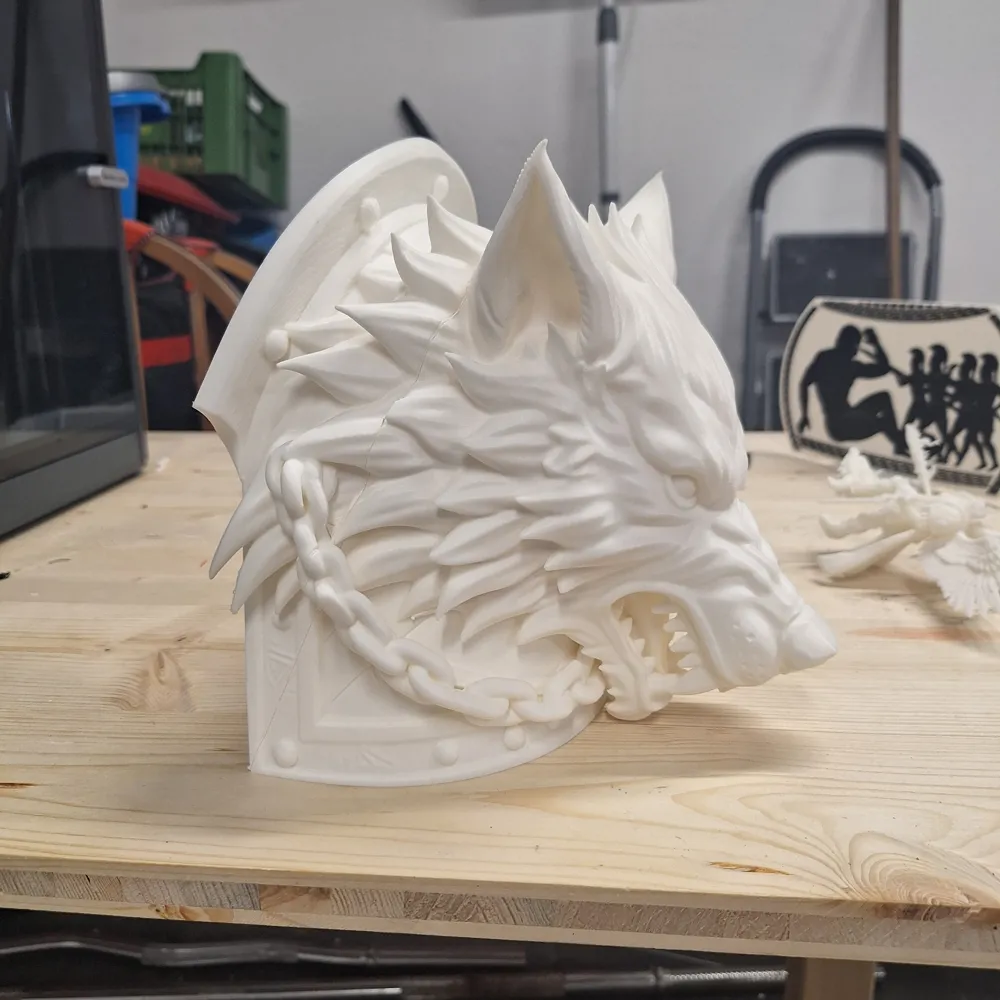
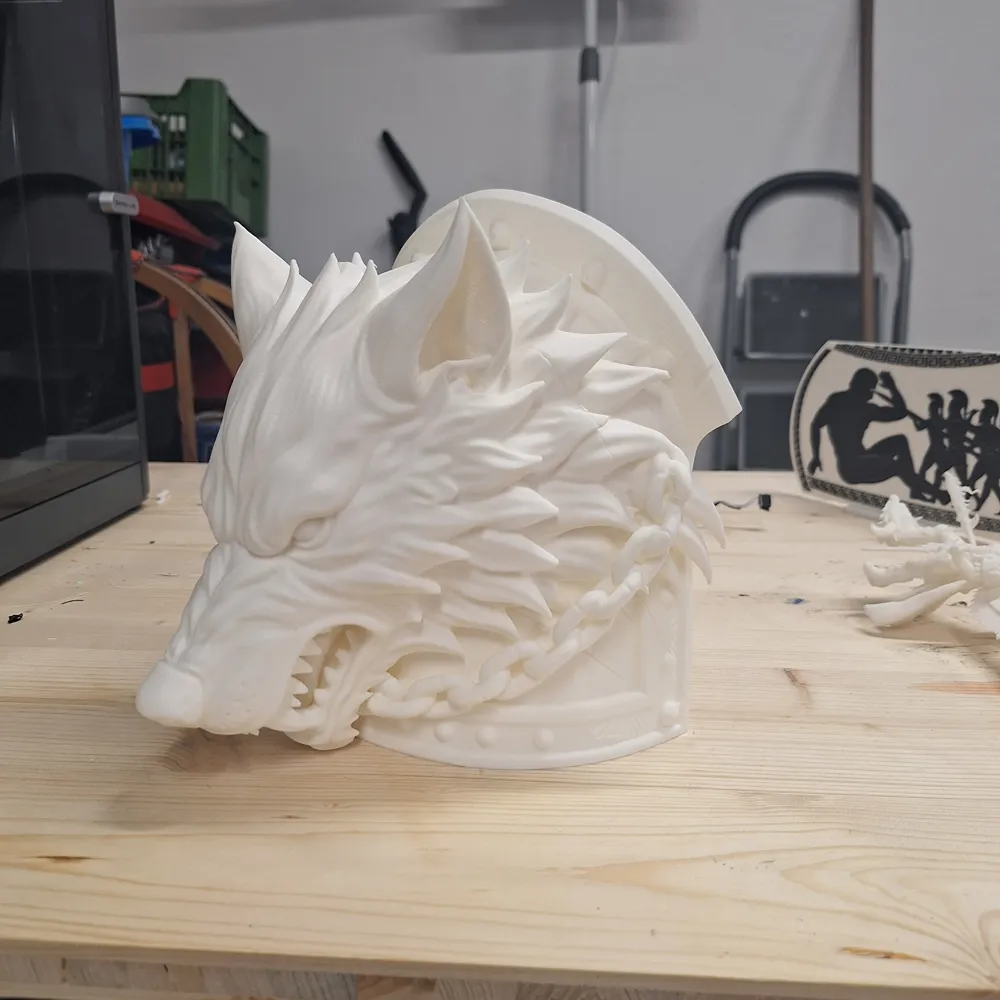
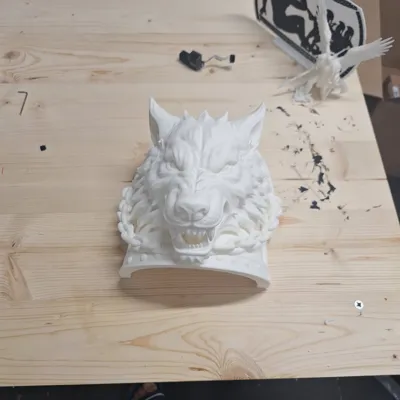
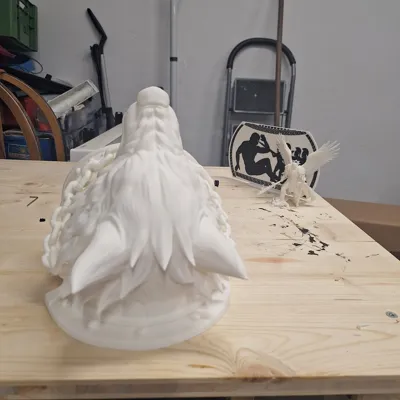
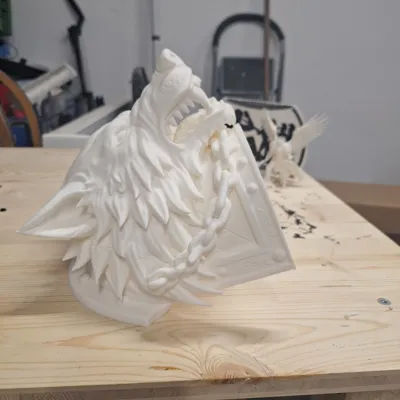
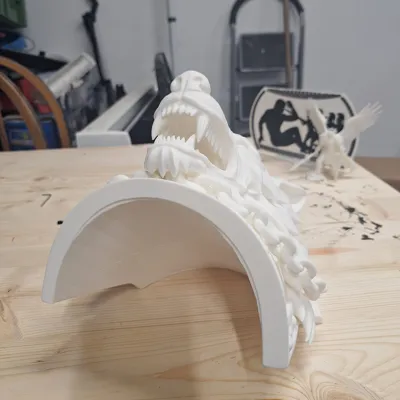
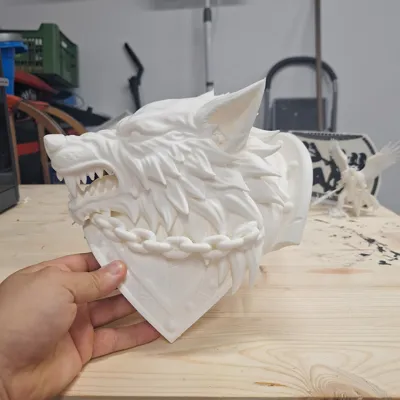
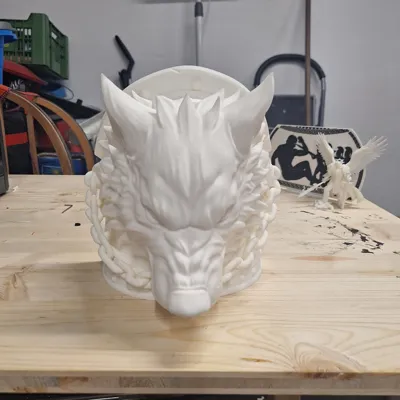
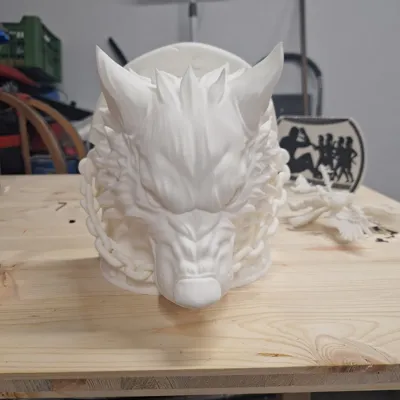
🐺 Epic Wolf Head Shoulder Armor (Cosplay & LARP Armor)
🌟 Highlights & Features
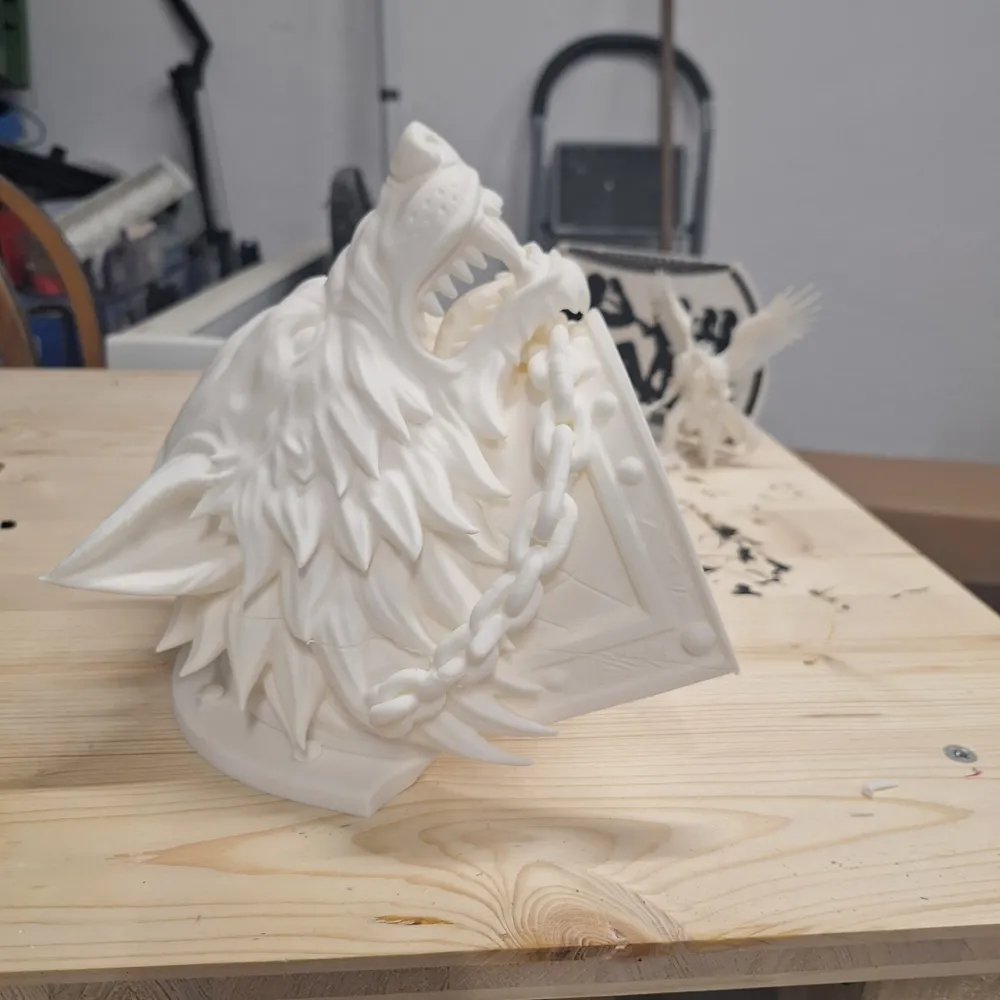
- Fearsome Design: An aggressively snarling wolf head with realistically detailed teeth and a dynamic snout.
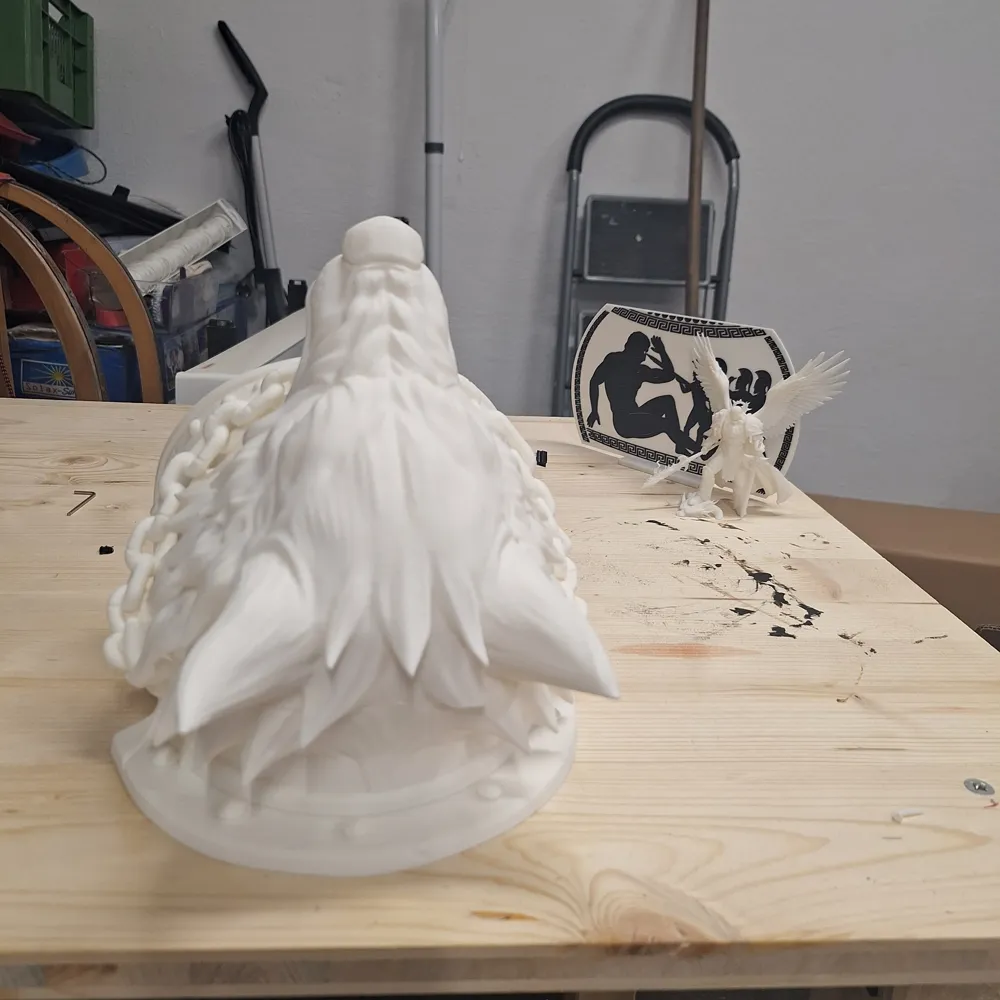
- Textured Details: Deep, coarse fur that is excellent for wash and drybrush techniques when painting.
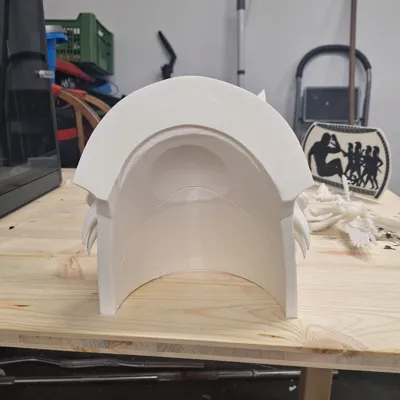
- Authentic Armor Elements: A massive shoulder plate as a base, adorned with fine runes/engravings, rivets, and a surrounding chain around the wolf's neck area.
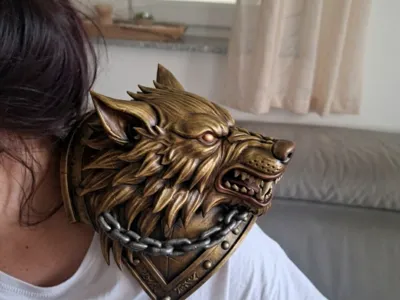
- Perfect Proportions: Large enough to appear powerful on the shoulder, but proportioned to maintain freedom of movement.
⚙️ Print Settings & Recommendations
To achieve the best results for this complex geometry, I recommend the following settings:
- Layer Height: 0.12 mm to 0.16 mm – Recommended to accurately capture the fine details of the teeth and fur.
- Wall Loops: 3 to 4 – For additional stability, especially at edges and tips.
- Infill: 15%-20%. The model should remain lightweight so it doesn't bother you when worn.
- Supports: Tree Supports are absolutely essential! Especially under the jaw, the overhanging fur tips, and the chain links.
- Material: PLA is excellent for details. If the armor is worn outdoors in summer (cosplay conventions), PETG or ABS/ASA are preferred due to their higher heat resistance.
🎨 Painting & Post-Processing
- Sanding & Priming: Use spray filler to lightly smooth layer lines, then prime completely matte black.
- Dry-Brushing: Brush over the raised areas of the fur and armor with a coarse brush and metallic acrylic paint (gold, bronze, or antique brass). The black basecoat remains in the recesses, creating a strong 3D contrast.
- Details: Highlight the teeth and eyes with a fine brush and finally seal the entire piece with clear varnish.
Have fun printing and crafting! If you print the model, feel free to share your painted versions in the comments!
License

This user content is licensed under a Standard Digital File License.
You shall not share, sub-license, sell, rent, host, transfer, or distribute in any way the digital or 3D printed versions of this object, nor any other derivative work of this object in its digital or physical format (including - but not limited to - remixes of this object, and hosting on other digital platforms). The objects may not be used without permission in any way whatsoever in which you charge money, or collect fees.


Comment & Rating (1)