
Print Profile(1)
Description
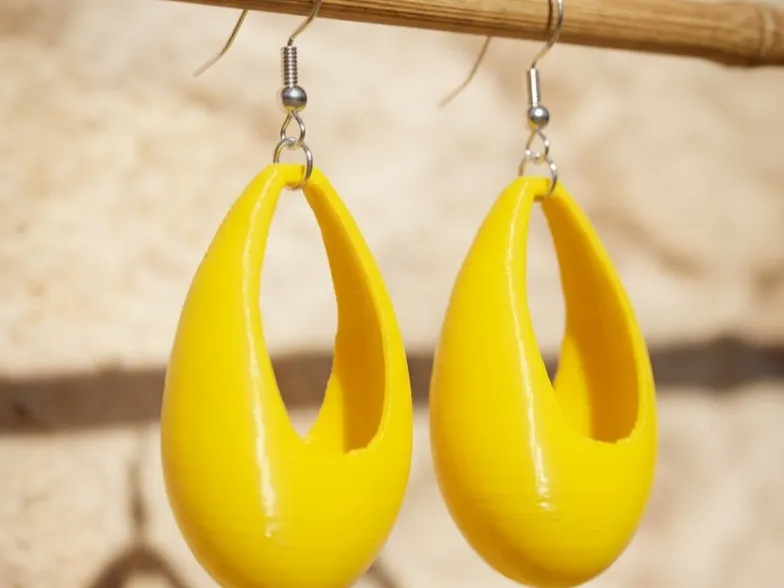
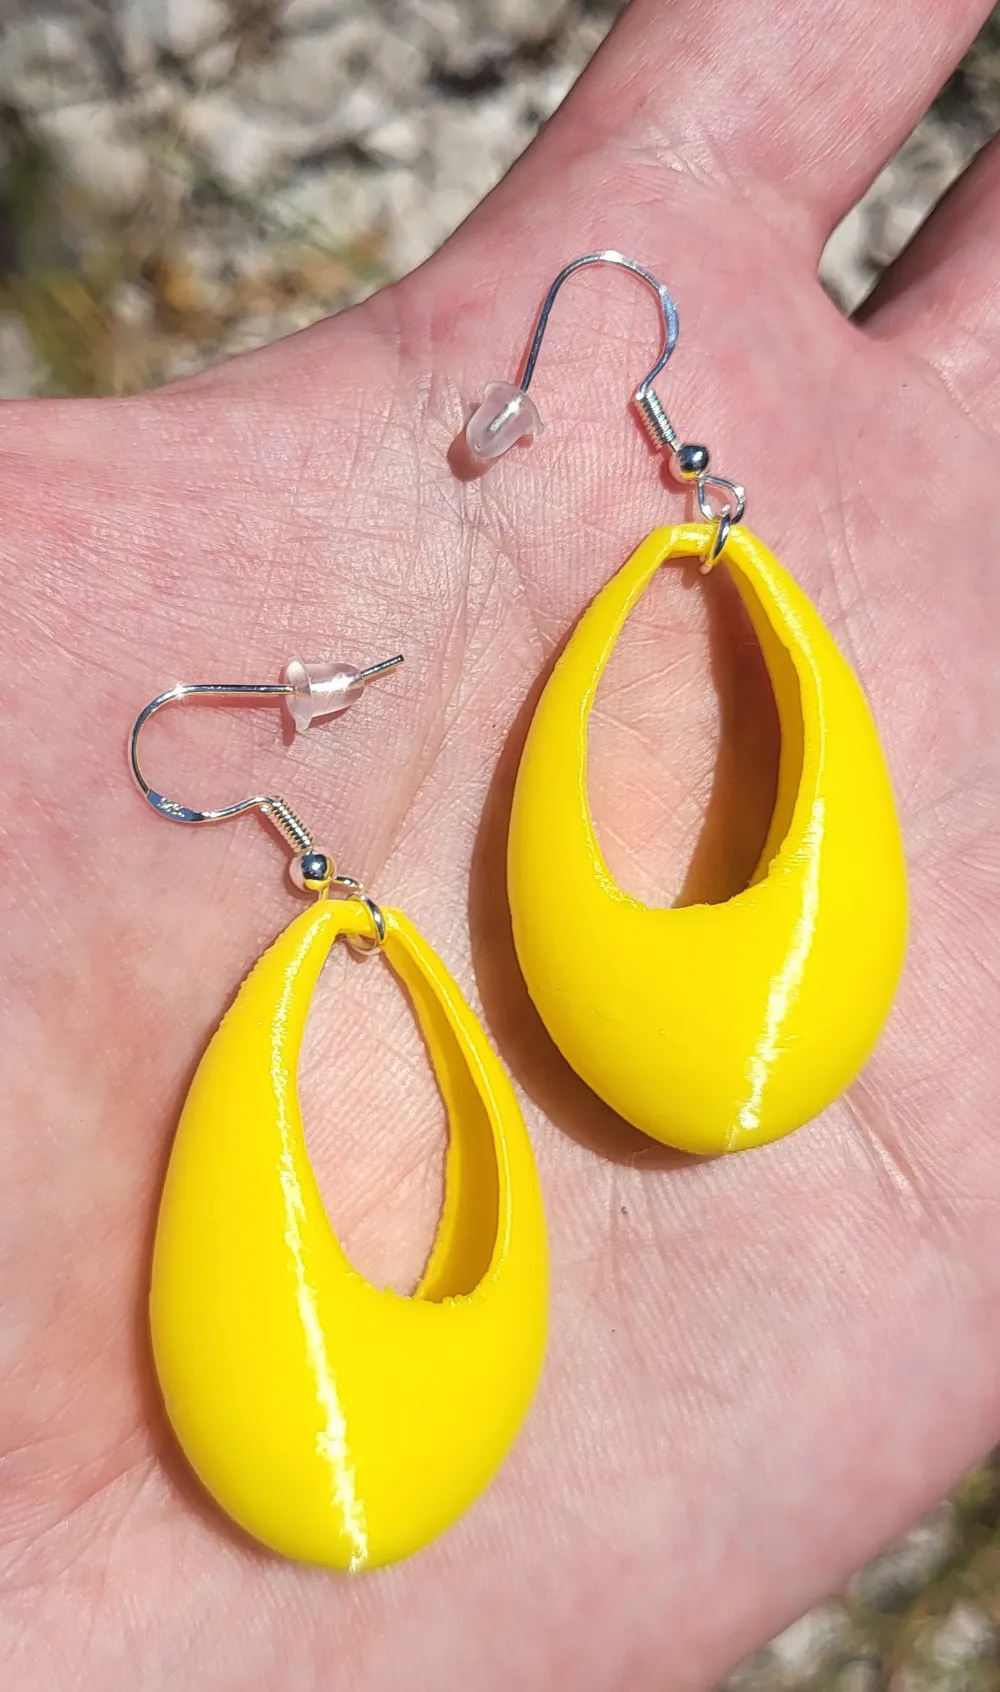
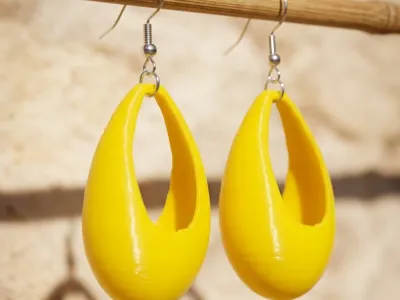
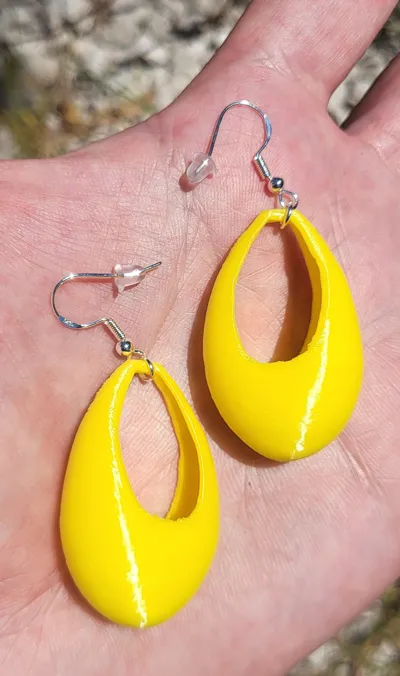
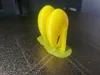
🌟 Sculptural "Drop" Hoops — Minimalist Chic in FDM
Inspired by current trends in contemporary high jewelry, these chunky drop earrings perfectly balance bold, minimalist volume with absolute lightness. A fluid, versatile design that pairs just as effortlessly with a casual t-shirt as it does with an evening dress.
🛠️ Recommended Print Settings
To beautifully capture the curves and ensure a successful print, here are the maker secrets:
- Layer Height: $0.12mm(highly recommended) to maximize the smoothness of the rounded shape and make layer lines virtually invisible.
- Speed: Be patient! Slow down your print speed (especially for outer walls) to ensure excellent surface quality and avoid artifacts.
- Seam Management: Enable the Scarf Seams option if your slicer supports it. This will help blend the seam line into the curved silhouette of the earring.
- Infill: low. The jewelry needs to remain ultra-lightweight and comfortable to wear all day.
📐 Stability & Supports (Maker Tip)
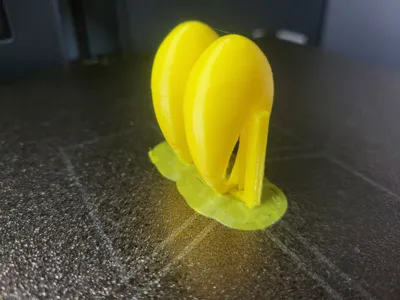
The model features a thin geometry at its printing base that requires a little extra attention:
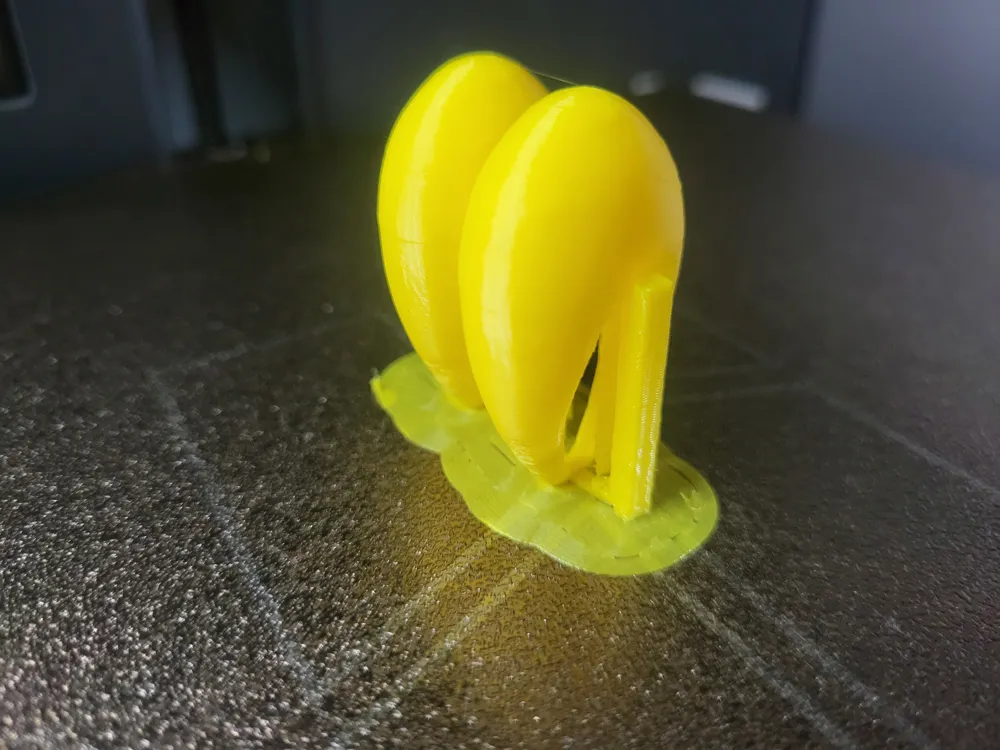
- Custom Support: It is highly recommended to add a manually drawn support (or a thin manual support column) right underneath the top arch. This secures the part during the print process and prevents any wobbling or detaching from vibrations.
- Bed Adherence: Using a brim is recommended to stabilize the part on its narrow footprint.
✨ Post-Processing & Assembly
Once the print is done, the jewelry-making fun begins:
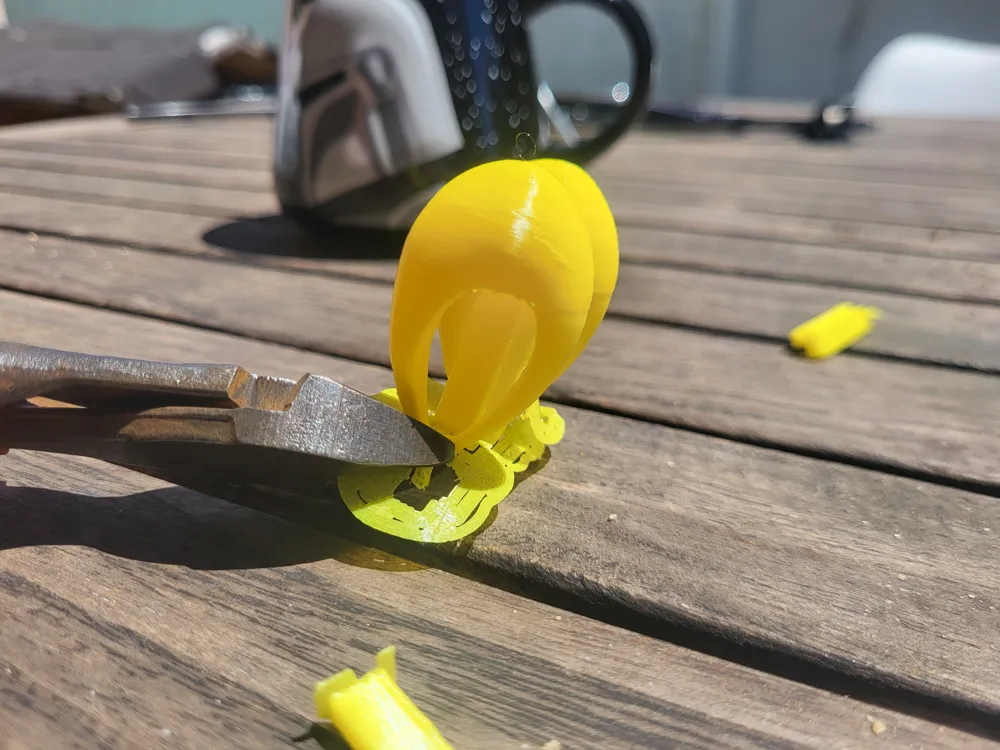
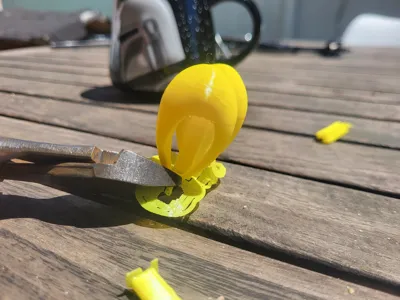
- The Cut: Use a pair of precision flush cutters to cleanly snip away the built-in custom support legs under the arch.
- Sanding (Optional but recommended): Use a very fine grit sandpaper (400 then 800 or 1000 grit) wet with a bit of water to smooth out the support attachment area for a perfectly clean finish.
- Hardware: Slip a small jump ring through the 3D-printed top eyelet and attach your earring hook (fishhook style).
Don't forget to share your Makes and your best color combos (Silk, Galaxy, or co-extruded dual-color filaments look absolutely stunning on this design)!
Boost Me (for free)
One click costs you nothing, but it means the world to me — whether it’s a like or a boost, your support makes the magic happen.
Collections available:
License



Comment & Rating (0)