Simple CAD Joystick


Print Profile(1)
Bill of Materials

- Arduino Pro Micro (ATmega32U4) x 1:
- Analog joystick module (KY-023 or similar) x 1:
- Jumper wires or thin electrical wire x 1:
- Soldering iron + solder x 1:
- USB cable (USB-C or Micro-USB depending on board) x 1:
Description
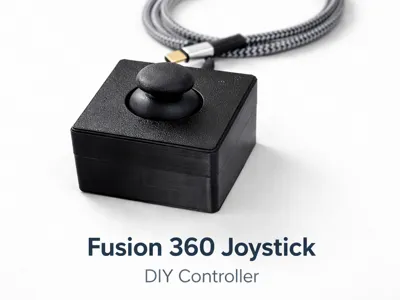
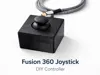
🎮 DIY CAD Navigation Joystick
Control Fusion 360 & SolidWorks like a SpaceMouse
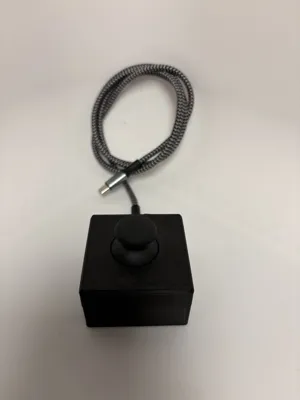
Build your own compact controller to navigate 3D models smoothly using a joystick and an Arduino Pro Micro.
Video link :
🧰 Materials Required
- ✅ Arduino Pro Micro (ATmega32U4)
- ✅ Analog joystick module (KY-023 or similar)
- ✅ Jumper wires or thin electrical wire
- ✅ Soldering iron + solder
- ✅ 8 × M2.5 screws (for enclosure)
- ✅ USB cable (USB-C or Micro-USB depending on board)
- ✅ 3D printed enclosure parts
💡 Why the Pro Micro?
➡️ It supports USB HID, allowing it to act as a mouse.
🖨️ 3D Printing
Suggested Parts
- Bottom case
- Top cover
- Joystick mount
- Ergonomic thumb cap
Recommended Settings
- Layer height: 0.2 mm
- Infill: 15–20%
- Supports: Not required
- Material: PLA or PETG
💡 PETG recommended for durability.
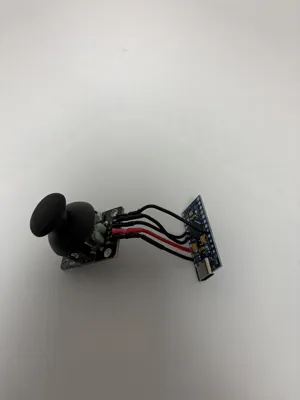
🔌 Wiring Diagram
The joystick module has 5 pins:
| Joystick Pin | Pro Micro |
|---|---|
| GND | GND |
| VCC | VCC |
| VRx | A0 |
| VRy | A1 |
| SW | D2 |
👉 The button (SW) can reset the view or trigger an action.
🔧 Assembly Steps
1️⃣ Solder the wires
- Solder wires to joystick pins.
- Ensure no short circuits.
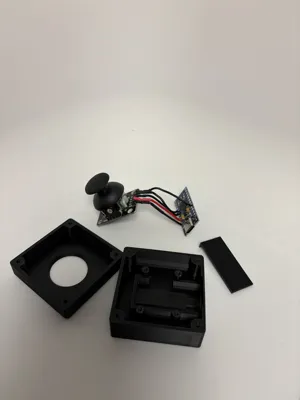
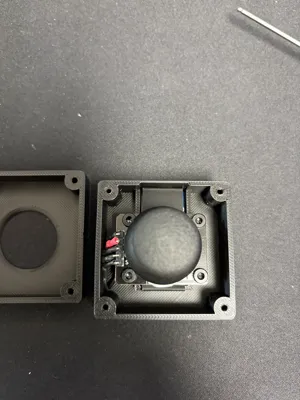
2️⃣ Mount the joystick
- Insert joystick into the printed mount.
- Route wires through the cable channels.
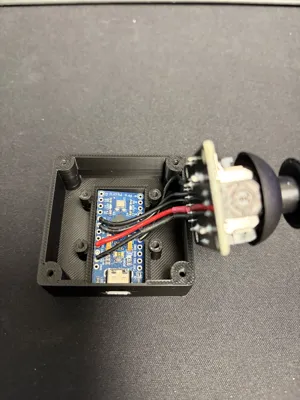
3️⃣ Connect to Pro Micro
- Wire according to the table above.
- Secure the Pro Micro inside the enclosure.
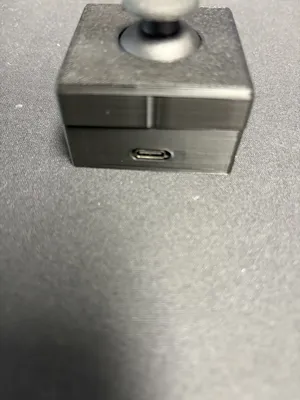
4️⃣ Close the case
- Assemble the enclosure.
- Fasten using the 8 M2.5 screws.
💻 Arduino Code (Mouse HID)
Upload this sketch to your Pro Micro.
/*
Hackman3D Joystick CAD Controller
PAN / ORBIT toggle + axis invert
makerworld.com / @Hackman3D
*/
#include <Mouse.h>
#include <Keyboard.h>
#define X A0
#define Y A1
#define SW 2
#define DEAD 25
#define SENS 100
#define TICK 10
#define LOCK 150
bool pan=0, moving=0;
int prev=HIGH;
unsigned long tToggle=0, tTick=0;
inline void apply(){
if(!pan) Keyboard.press(KEY_LEFT_SHIFT);
Mouse.press(MOUSE_MIDDLE);
}
inline void releaseAll(){
Mouse.release(MOUSE_MIDDLE);
Keyboard.release(KEY_LEFT_SHIFT);
}
void setup(){
Keyboard.begin();
Mouse.begin();
pinMode(SW,INPUT_PULLUP);
}
void loop(){
unsigned long now=millis();
int b=digitalRead(SW);
if(prev==HIGH && b==LOW && now-tToggle>LOCK){
tToggle=now;
pan=!pan;
if(moving){ releaseAll(); apply(); }
}
prev=b;
if(now-tTick<TICK) return;
tTick=now;
int dx=(analogRead(X)-512);
int dy=-(analogRead(Y)-512);
if(abs(dx)>DEAD || abs(dy)>DEAD){
if(!moving){ moving=1; apply(); }
Mouse.move(dx/SENS,-dy/SENS,0);
} else if(moving){
moving=0;
releaseAll();
}
}
⚙️ Setup in Fusion 360 & SolidWorks
Fusion 360
- Hold middle mouse button to orbit.
- The joystick emulates mouse movement for smooth navigation.
SolidWorks
- Works directly with middle mouse orbit.
- You can map additional shortcuts if desired.
💡 Tip: adjust sensitivity by changing the divisor in the code.
License
You shall not share, sub-license, sell, rent, host, transfer, or distribute in any way the digital or 3D printed versions of this object, nor any other derivative work of this object in its digital or physical format (including - but not limited to - remixes of this object, and hosting on other digital platforms). The objects may not be used without permission in any way whatsoever in which you charge money, or collect fees.
Comment & Rating (30)