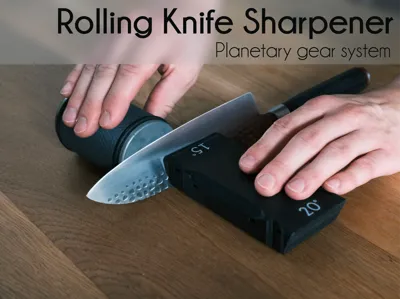
Rolling Knife Sharpener


Print Profile(5)


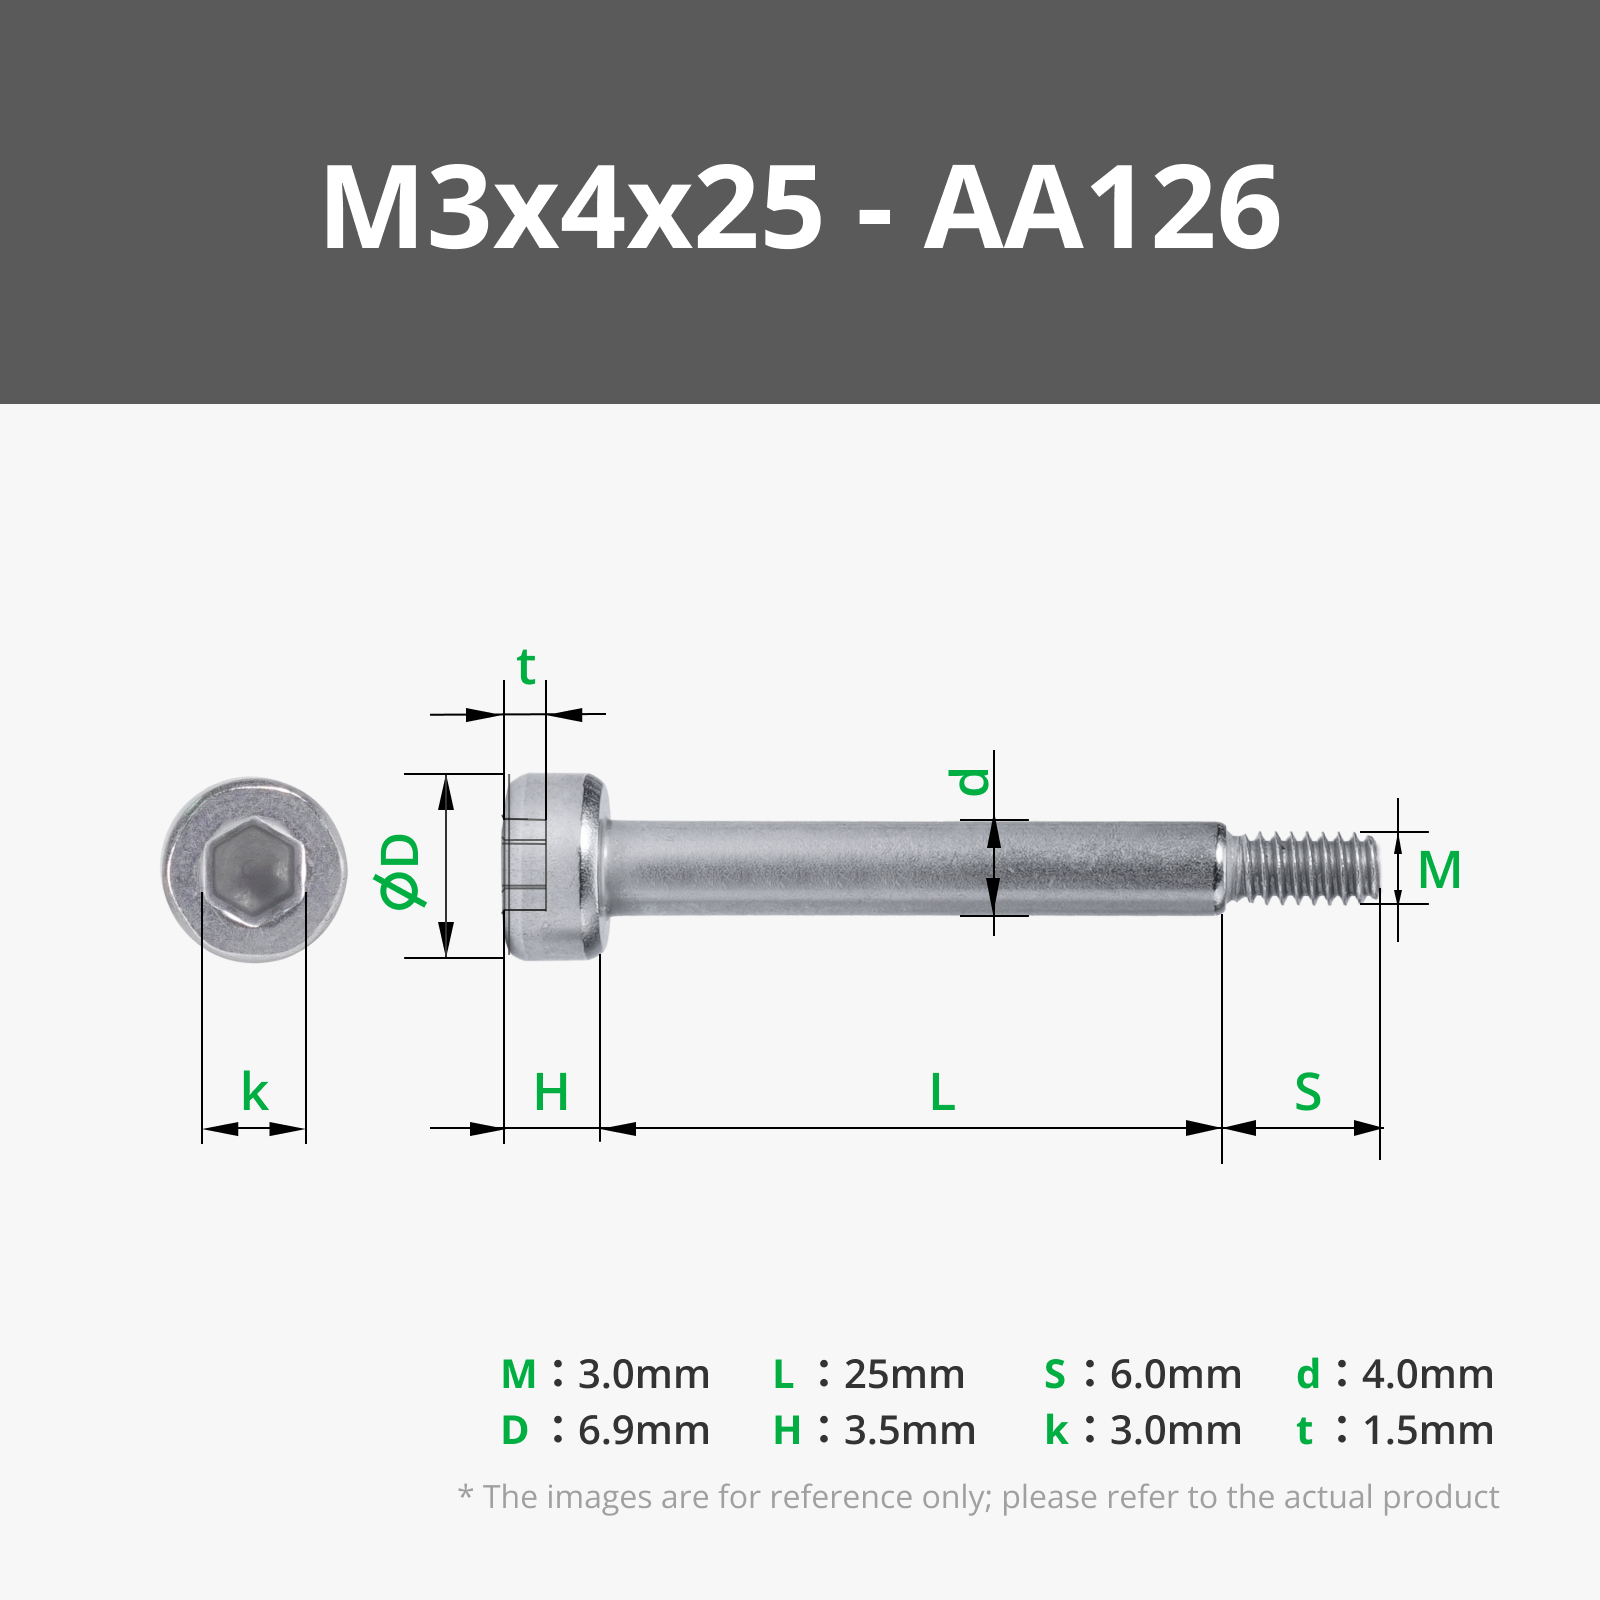
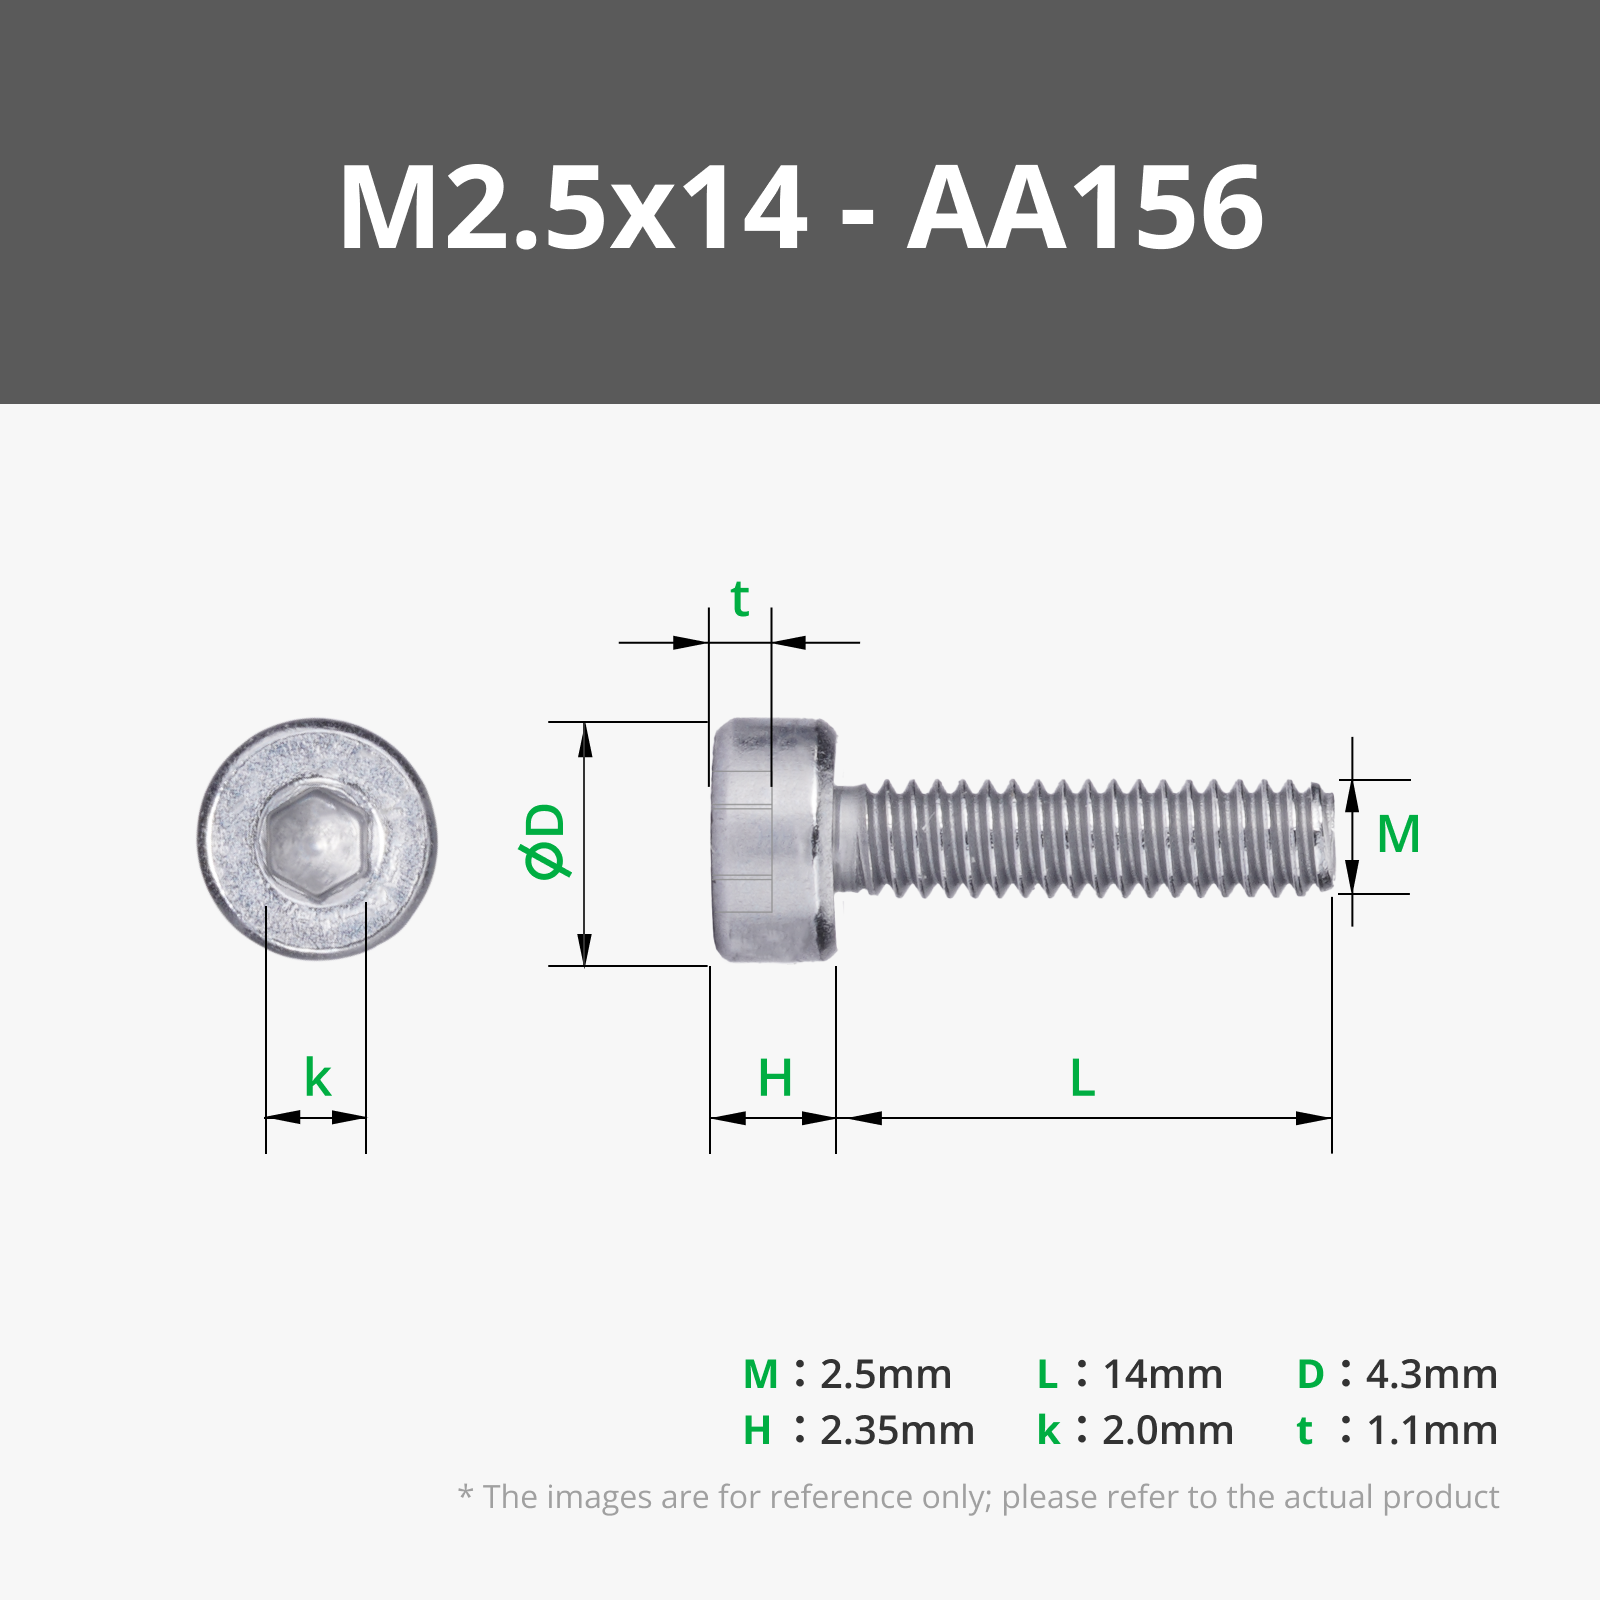
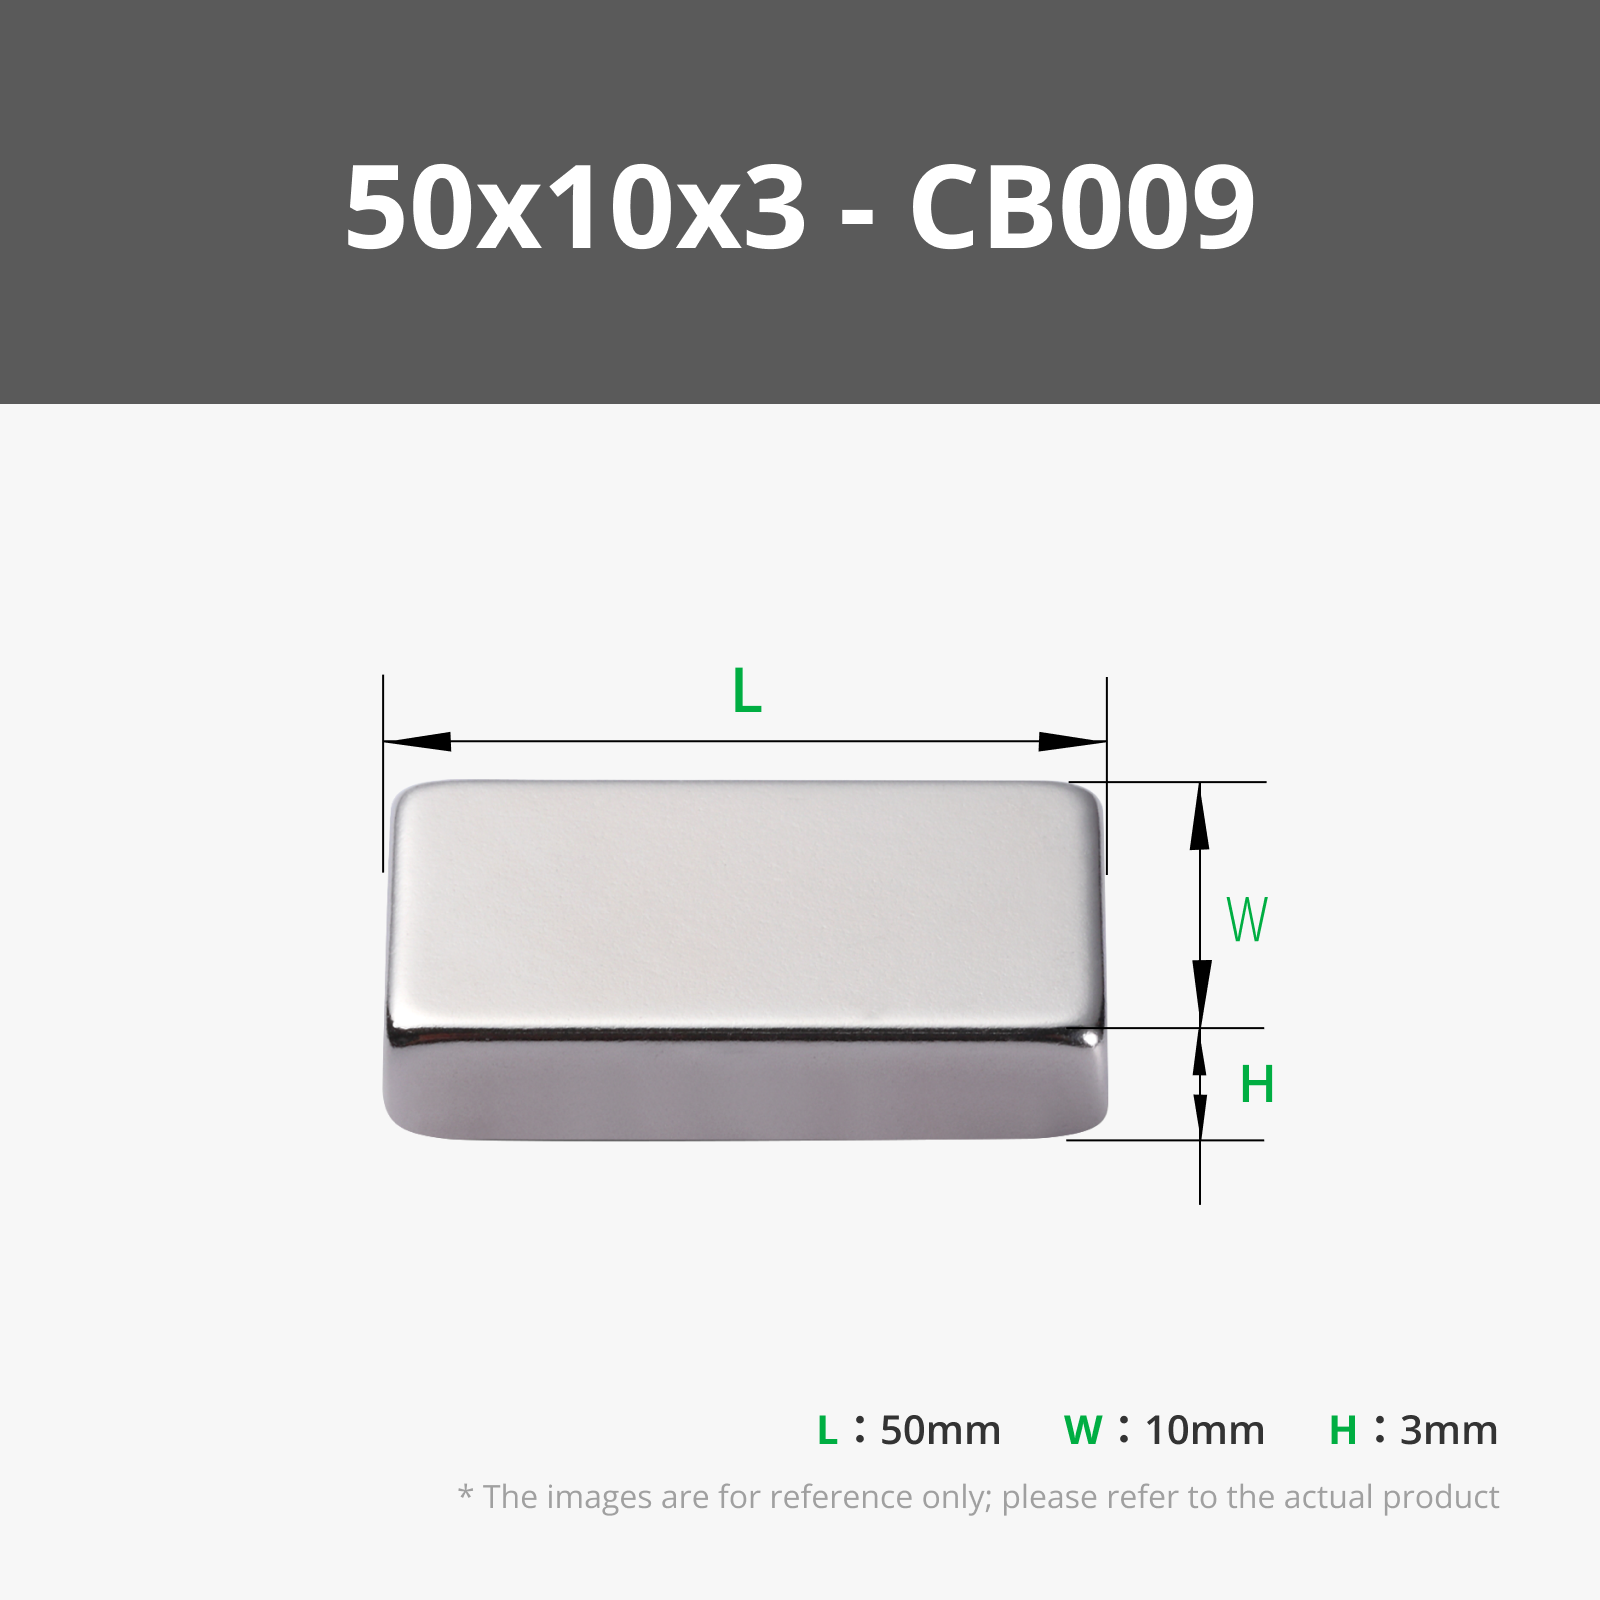
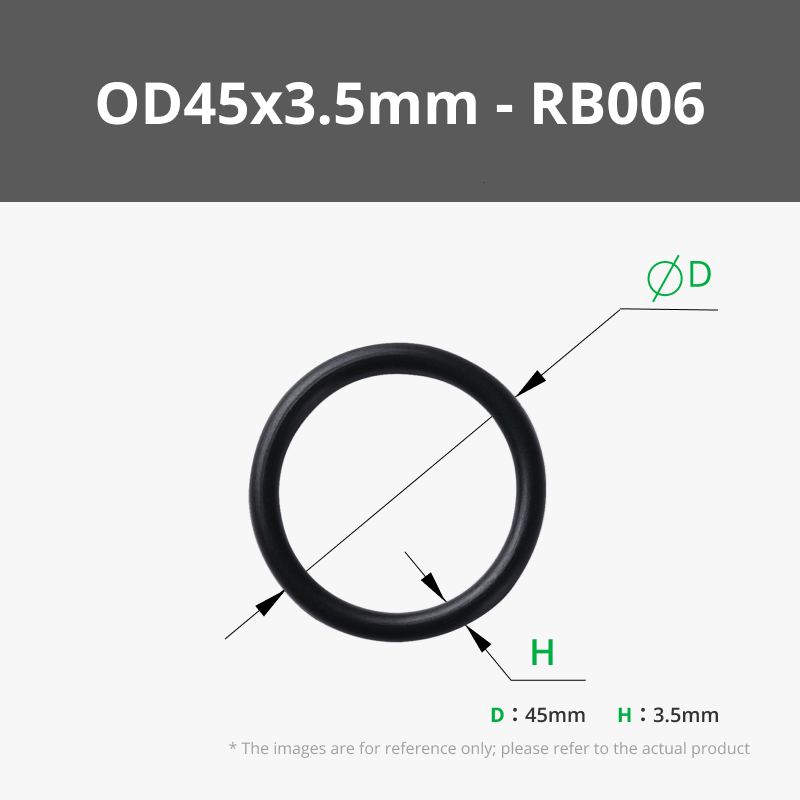
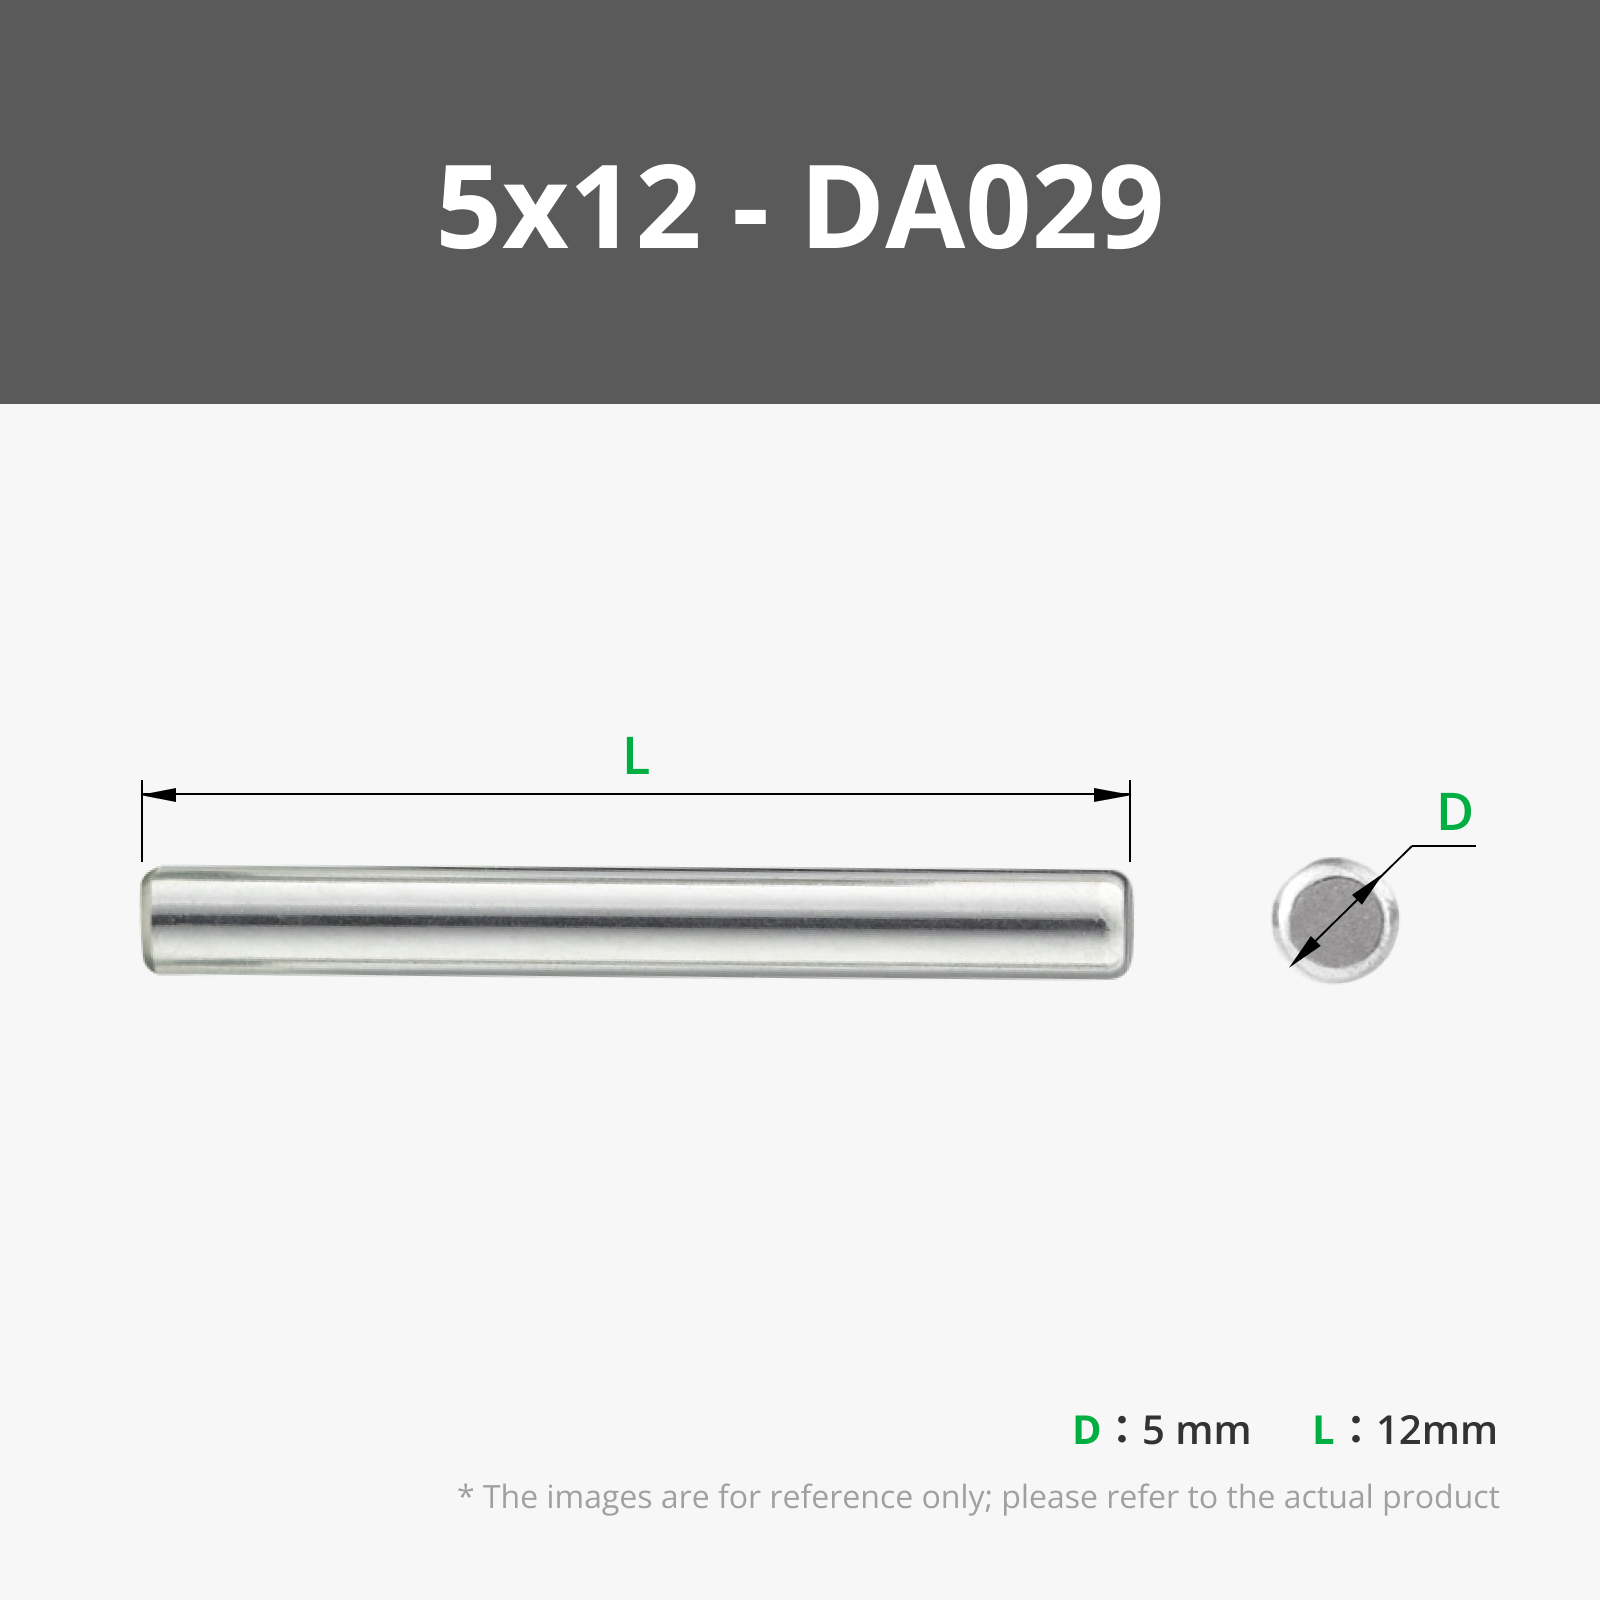
Bill of Materials


Description

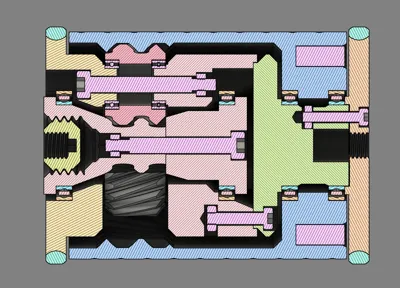
I’ve been using the Horl 2 knife sharpener for some time and absolutely love it. However, I always felt it could perform even better if the sharpening stone rotated faster, ideally using an internal planetary gear system. As it turns out, Horl already sells a “Pro” version with exactly that feature… but at around $400, it’s a steep investment.
Since I wasn’t ready to spend that much on a sharpener, I decided to create a more affordable alternative made entirely from 3D-printed parts and standard MakerSupply components.
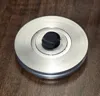
This design is fully compatible with Horl 2 sharpening stones (which I already owned). If you don’t want to purchase them separately (the diamond and ceramic pair still comes in at about $100) I also developed a 3D-printed stone system that uses simple sandpaper. I recommend using sandpaper between 800 and 1200 grit to avoid damaging your knives.

Here are the links to the stones from Horl if you want to purchase them :
Horl 2 diamond stone : https://www.horl.com/fr/en/accessories/whetstones/horl-diamond-standard/
Horl 2 ceramic stone : https://www.horl.com/fr/en/accessories/whetstones/horl2-ceramic-honing-wheel/
If you’d like to build this sharpener yourself, you’ll need a well-calibrated 3D printer and a few MakerSupply parts, but the results are absolutely worth it.
Printing
I recommend printing all components in a durable material such as PETG. My own PETG build has held up perfectly after several months of regular use.
Assembly
I’ve created two assembly guides: one for the sharpener itself and one for the knife holder.
For the sharpener, you have a few customization options:
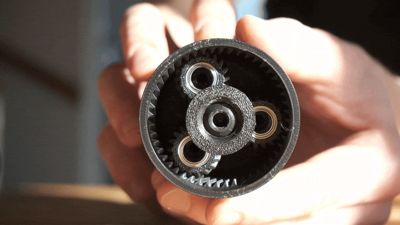
- Weighted Core:
You can insert 5×12 mm stainless steel dowel pins into the core to add weight. This greatly improves the handling and overall feel.

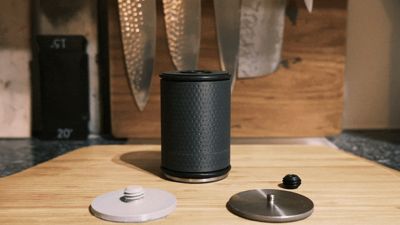
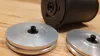
- Table Contact Rings:
For the rings, you can choose between printed TPU rings or MakerSupply O-rings (RB006). Good grip is essential, otherwise the stone won’t rotate as intended.
I personally prefer the RB006 O-rings. They require a significant stretch to fit into the groove, but they offer noticeably better grip on the table. I’ve only tested TPU 95A, a softer TPU might also work well.

Knife Holder
I made the knife holder magnetic so you can switch angles easily between knives.
- 20° for standard kitchen knives
- 15° for Japanese or harder steels
- 10° if you want extreme sharpness (at the cost of edge durability)
Tutorial on how to use this rolling knife sharpener
1. Choose the Correct Angle
The angle determines both sharpness and durability.
- 20° → standard kitchen knives (European knives, chef knives)
- 15° → Japanese knives or harder steels (VG10, AUS10, etc.)
- 10° → ultra-fine edge, very sharp but more fragile
Attach the knife to the magnetic angle guide so the edge faces upward.
2. Select Your Starting Grit
You don’t always need to start at a coarse grit.
Start with:
- 800 grit (or equivalent) for regular maintenance
- 400–600 grit only if the knife is very dull or damaged
- 1000–1200 grit if the edge is already in good shape and you just need a refresh
3. Position the Knife
- Place the magnetic knife holder on the table.
- Stick the knife blade flat against the magnet.
- Ensure the edge is facing outward, directly toward where the rolling sharpener will pass.
Make sure the holder is stable—good grip is essential so it doesn’t move.
4. Roll the Sharpener Along the Edge
This is the main sharpening action.
- Place the sharpener stone on the table surface.
- Align it with the knife edge.
- Roll smoothly from heel to tip, keeping the stone in full contact with the edge.
- Do 10–20 slow passes on one side.
Do not press down hard—the weight of the tool is enough. Pressure causes uneven sharpening.
5. Check for a Burr
A burr is a tiny metal ridge that forms on the opposite side of the blade.
It tells you the edge has reached apex and is properly sharpened.
Run your finger lightly from spine to edge (never along the edge!).
If you feel a faint “scratchy lip,” you have a burr.
If no burr: do 5–10 more passes.
6. Flip the Knife and Repeat
- Lift the knife off the magnet.
- Flip it and stick it back on the other side of the angle guide.
- Repeat the same number of passes.
Maintain the same motion and pressure to keep the bevel symmetrical.
7. Move to a Finer Grit
Once both sides are sharpened with the medium grit:
- Switch to a 1000–1200 grit for refining
- Then optionally to the ceramic stone for polishing
Use lighter pressure as you go finer.
10 passes per side is usually enough for each grit.
8. Deburr and Polish
After your finest stone:
- Make 5–10 very light alternating passes (left-right-left-right).
- This removes the last burr and polishes the edge.
Optional:
You can finish with a leather strop for a mirror edge.
9. Clean the Knife
Wipe the blade with a clean cloth to remove metal dust and stone residue.
Documentation (2)
License
You may create derivative works based on this object, provided that all such derivative works are published exclusively on the MakerWorld platform and include proper attribution to the original creator. You may not share, upload, host, distribute, or publish this object—or any derivative work of this object—on any other digital platform, marketplace, or distribution channel. Commercial use of this object and any derivative works is strictly prohibited. This includes, but is not limited to, selling, renting, sublicensing, or using the object in any context in which you receive monetary compensation or other financial benefits.
Comment & Rating (91)