BatBag


Print Profile(1)
Description
ITA
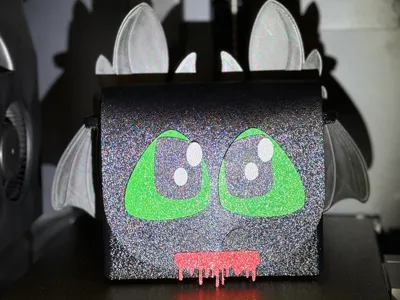
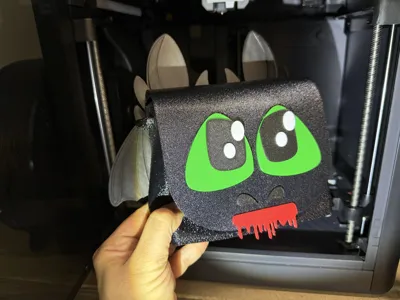
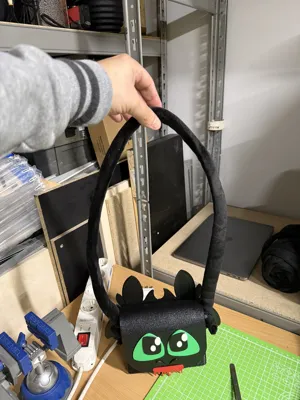
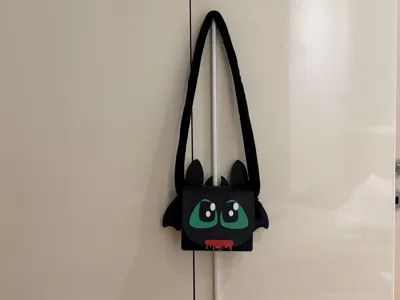
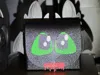
Halloween si avvicina, mia figlia vuole andare a fare dolcetto o scherzetto con le amiche e mi ha chiesto una borsetta per le caramelle che le regaleranno. Eccola accontentata
Lista Materiali
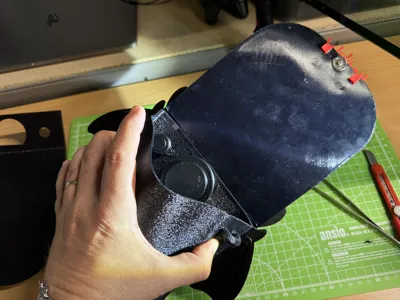
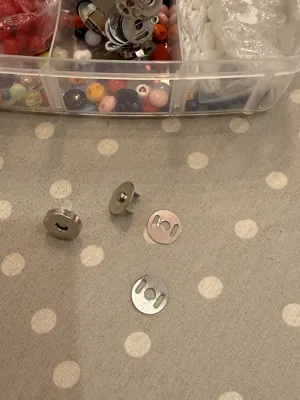
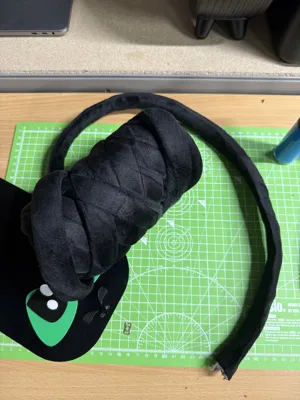
Per assemblarla avrete bisogno di : colla per pla, chiusura magnetica a bottone da 14 mm(se volete ho il link di Aliexpress) e 1 metro di corda nera. Tutto il materiale che ho usato lo trovate nelle foto.
Assemblaggio e istruzioni di stampa
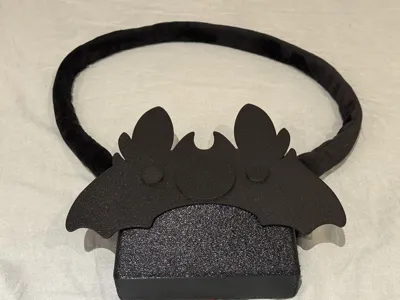
Il piatto con la borsa l'ho stampato con supporti ad albero, il piatto con la chiusura della borsa e il piatto con la parte verde degli occhi l'ho stampato con supporti standard.
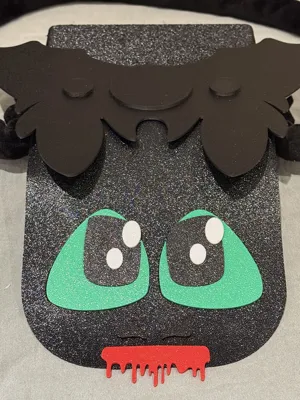
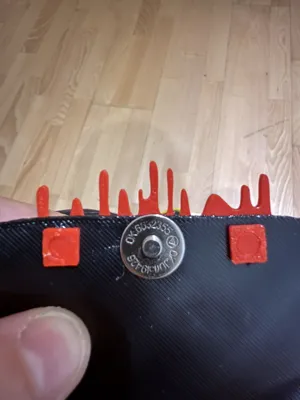
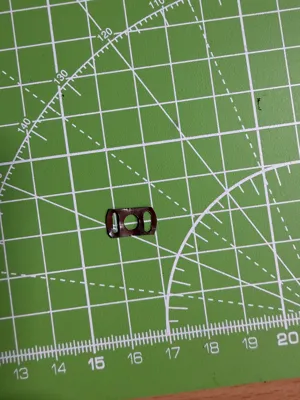
Per montarla prima di tutto potete inserire il bottone magnetico sia sul corpo borsa che sulla chiusura, l'aggancio del bottone che andrete ad inserire sul corpo chiusura deve essere tagliato come potete vedere in foto. A questo ponto potete incollare gli occhi e i baffi poi di seguito potete inserire la bocca con i suoi due fermi(potete mettere una goccia di colla anche li). Quando la colla sarà asciutta potete montare il tutto inserendo le viti prima nelle ali poi nella chiusura ed infine nella borsa, a questo punto stringete i dadi per bloccare le viti. Per ultimo mettete la tracolla con una corda facendola passare nelle fessure della borsa e bloccandola con un nodo.
ENG
Halloween is approaching, and my daughter wants to go trick-or-treating with her friends and asked me for a little bag for the candy they'll be giving her. Here she is!
Materials List
To assemble it, you'll need: PLA glue, a 14mm magnetic button closure (I have the Aliexpress link if you'd like), and 1 meter of black string. All the materials I used are shown in the photos.
Assembly and Printing Instructions
I printed the plate with the bag using tree supports, while I printed the plate with the bag closure and the plate with the green part of the eyes using standard supports.
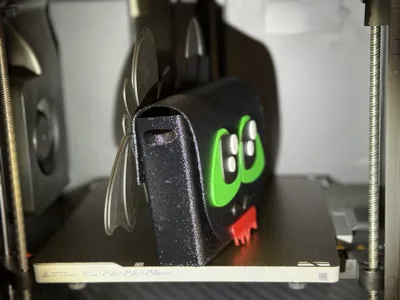
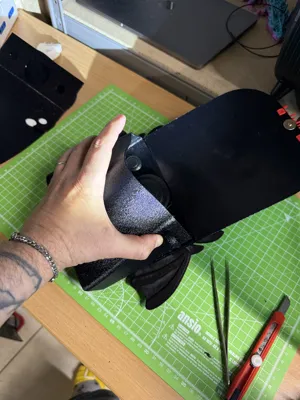
To assemble it, first insert the magnetic button into both the body of the bag and the closure. The button attachment that you'll insert into the closure must be cut, as shown in the photo. At this point, you can glue on the eyes and whiskers, then insert the mouth with its two clasps (you can also add a drop of glue there). Once the glue is dry, you can assemble everything by inserting the screws first into the wings, then into the clasp, and finally into the bag. Tighten the nuts to secure the screws. Finally, attach the shoulder strap with a cord, threading it through the slots in the bag and securing it with a knot.
License
You shall not share, sub-license, sell, rent, host, transfer, or distribute in any way the digital or 3D printed versions of this object, nor any other derivative work of this object in its digital or physical format (including - but not limited to - remixes of this object, and hosting on other digital platforms). The objects may not be used without permission in any way whatsoever in which you charge money, or collect fees.
Comment & Rating (0)